When you click on links to various merchants on this site and make a purchase, this can result in this site earning a commission. Affiliate programs and affiliations include, but are not limited to, the eBay Partner Network.
I got a call today from Porsche dealership that they need to postpone my service regarding changeing o-rings for Turbo system, Divereter valves,etc...
So I thought ok, I am going to change it, and boy I was wrong... I removed right hand side pipe and changed o-ring. But then the hell broke lose!
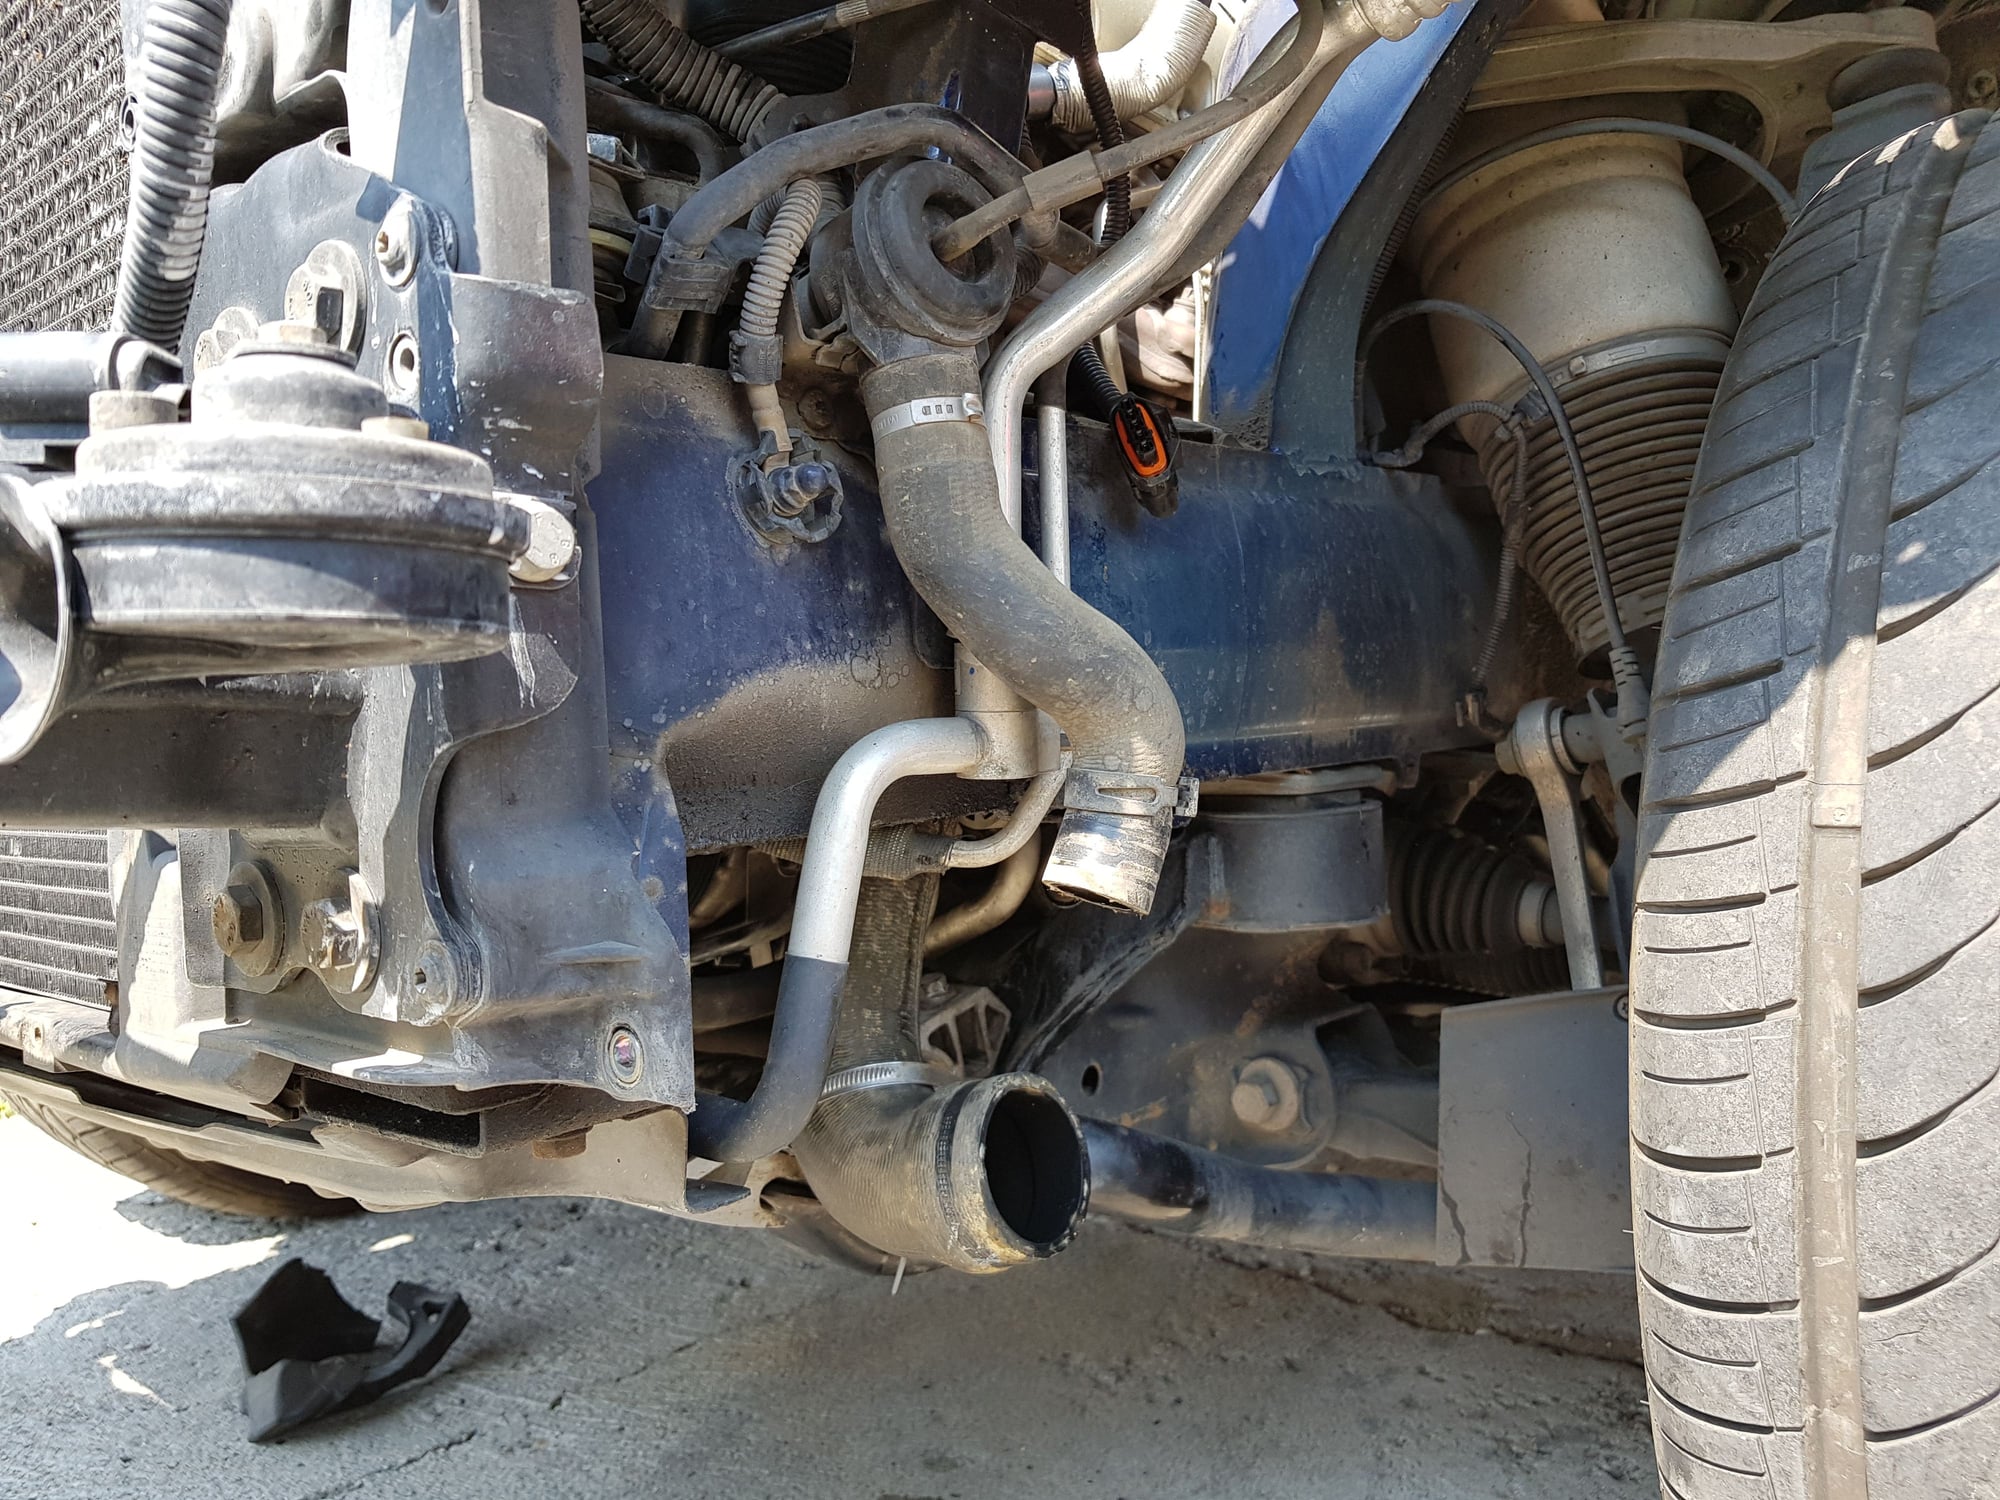
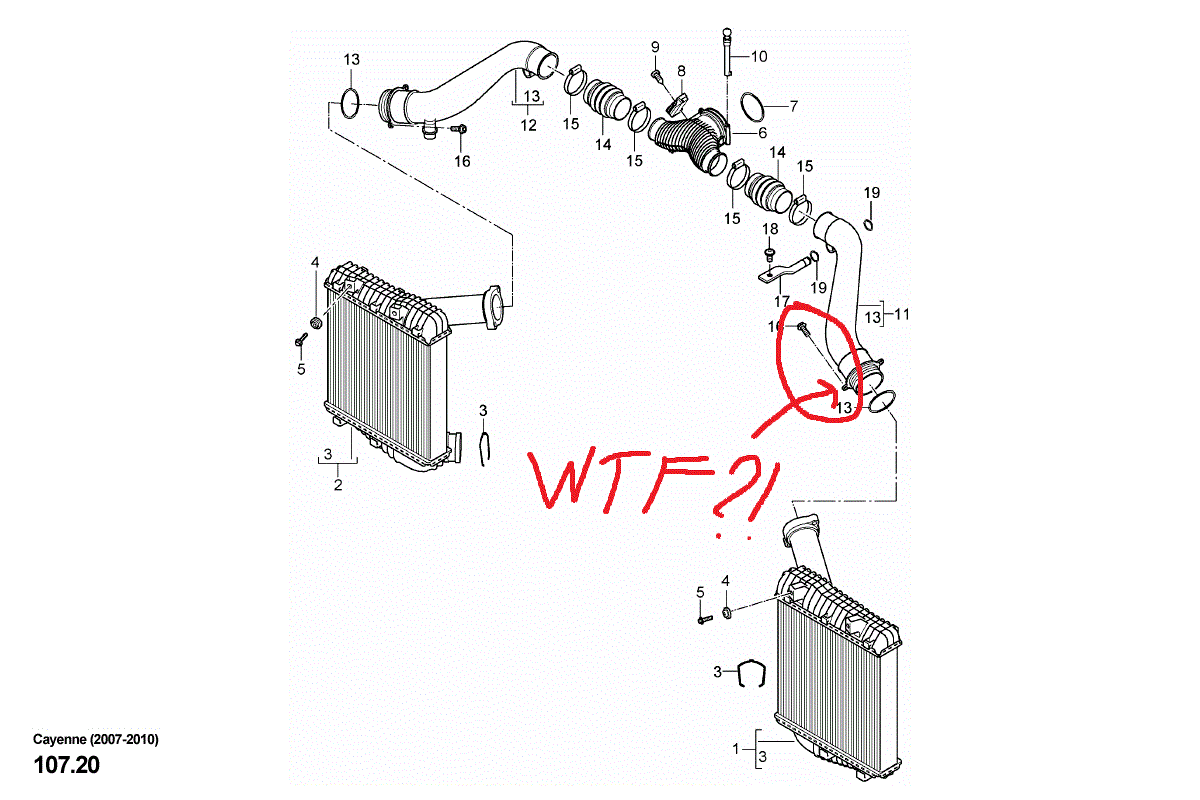
I wanted in order to change left side o-ring. But I really cannot figure out how the hell am I suppose to remove screw that is market on the pic below??? Guys who engineered this screw place, they were drunk! Then I let it be like that and figured out maybe I can go from below like Peter suggested me.
I started to remove the Turbo inlet pipe and got stuck because Diverter Valve hose was below it and nearly impossible to remove with appropriate tool. Rubber got so stuck on plastic pipe that I am afraid that It may brake. Ok then... I went south and removed big hose and changed that o-ring. No problem. Now I am stuck with that screw I cannot remove and right side is waiting me too
What is the eaiest way to remove this screw and what do I need to remove from body parts to be able to finish the hell I started???
Last edited by stefan063; 09-03-2018 at 06:38 AM.
Reason: Resolved issue...Changed title
That side is absurdly tough and a perfect example about how little ease of service mattered to the engineers.
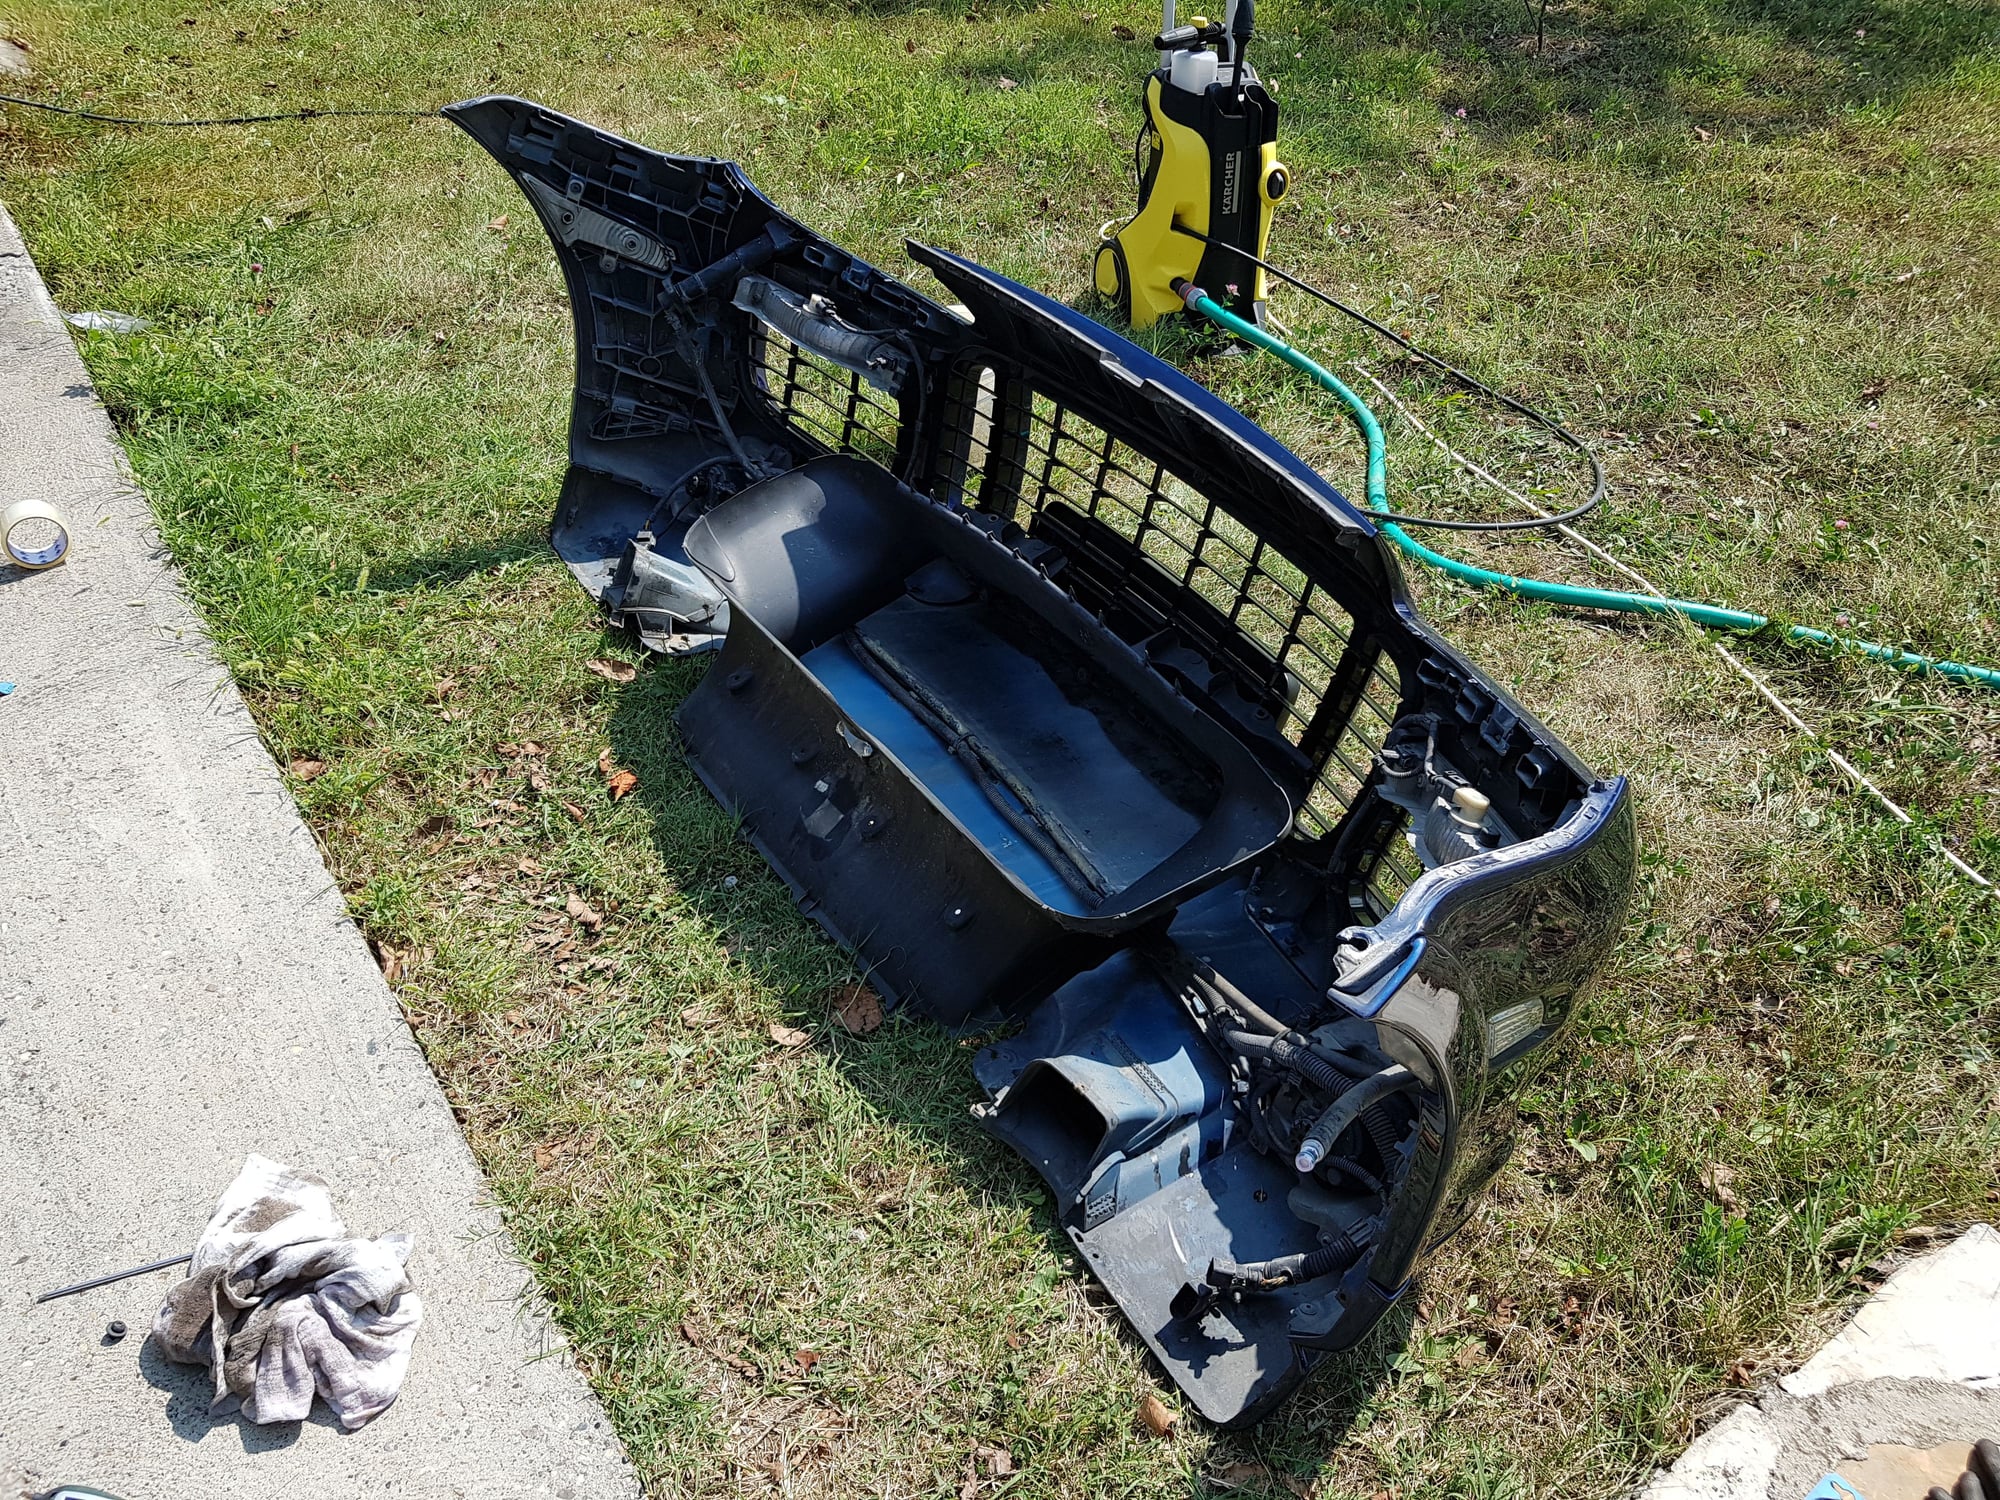
It is actually easier to me to remove the bumper, then the front and rear ducts from the intercooler, then pull the three bolts from the intercooler so that you can take it out the fender well as one piece with the intercooler. Don't forget about part number 17.
The other side can be done without taking the bumper off, but if it is already off, you might as well consider doing it the same way since it is almost as big of a pain in the *** to get to even if you have all the 1/4 drive ratchet extensions.
If you have trouble getting the diverters swapped, I have seen some people report it taking them 4-6 hours before, then I would recommend putting the car into lock mount service position. It will be easy as pie at that point, because it gives you perfect access.
Thank you! So I will remove front bumper and wheel arch plastic covers. Basicly I can also lossen bolts of intercooler (left) so that I can remove that screw. But if it gets hard again I will remove both intercoolers. What do you think, how many minutes I need to remove intercoolers? Also about no. 17, already removed.
Thank you! So I will remove front bumper and wheel arch plastic covers. Basicly I can also lossen bolts of intercooler (left) so that I can remove that screw. But if it gets hard again I will remove both intercoolers. What do you think, how many minutes I need to remove intercoolers? Also about no. 17, already removed.
Intercoolers come out very easily once the bumper, wheel well liner, and ducts are removed.
The ducts come off very quickly and easily. Study them closely at the top and bottom. There is a little tab that you have to pull outward with a flat head screwdriver that catches on one of the plastic ribs. Then slide it about an inch towards the direction away from the car. Once you see how the first one works, it will make sense. Do not force anything. You will see the tracks in the intercooler and tabs in the plastic duct that interact together. Once the bumper and wheel well liners are out, this is just a few minutes of work. I find the wheel well liners to be much harder than the bumper. It just takes a second person to help get it back on because the hose that feeds the headlight washers can be a bitch to get aligned behind the bumper inside of the foam recessed area in the subframe.
Also, you will probably see that your intercoolers are pretty plugged up with road grime. It is a good time to give them a good cleaning when you pull them out.
UOLAAAAAA Finaly finished. Went to work at 9:30PM finished 7:15PM.... Boy this was a hell of a ride Thanks nodoors for yesterdays posts,they helped a lot... And because of that I managed to do what I had to do.
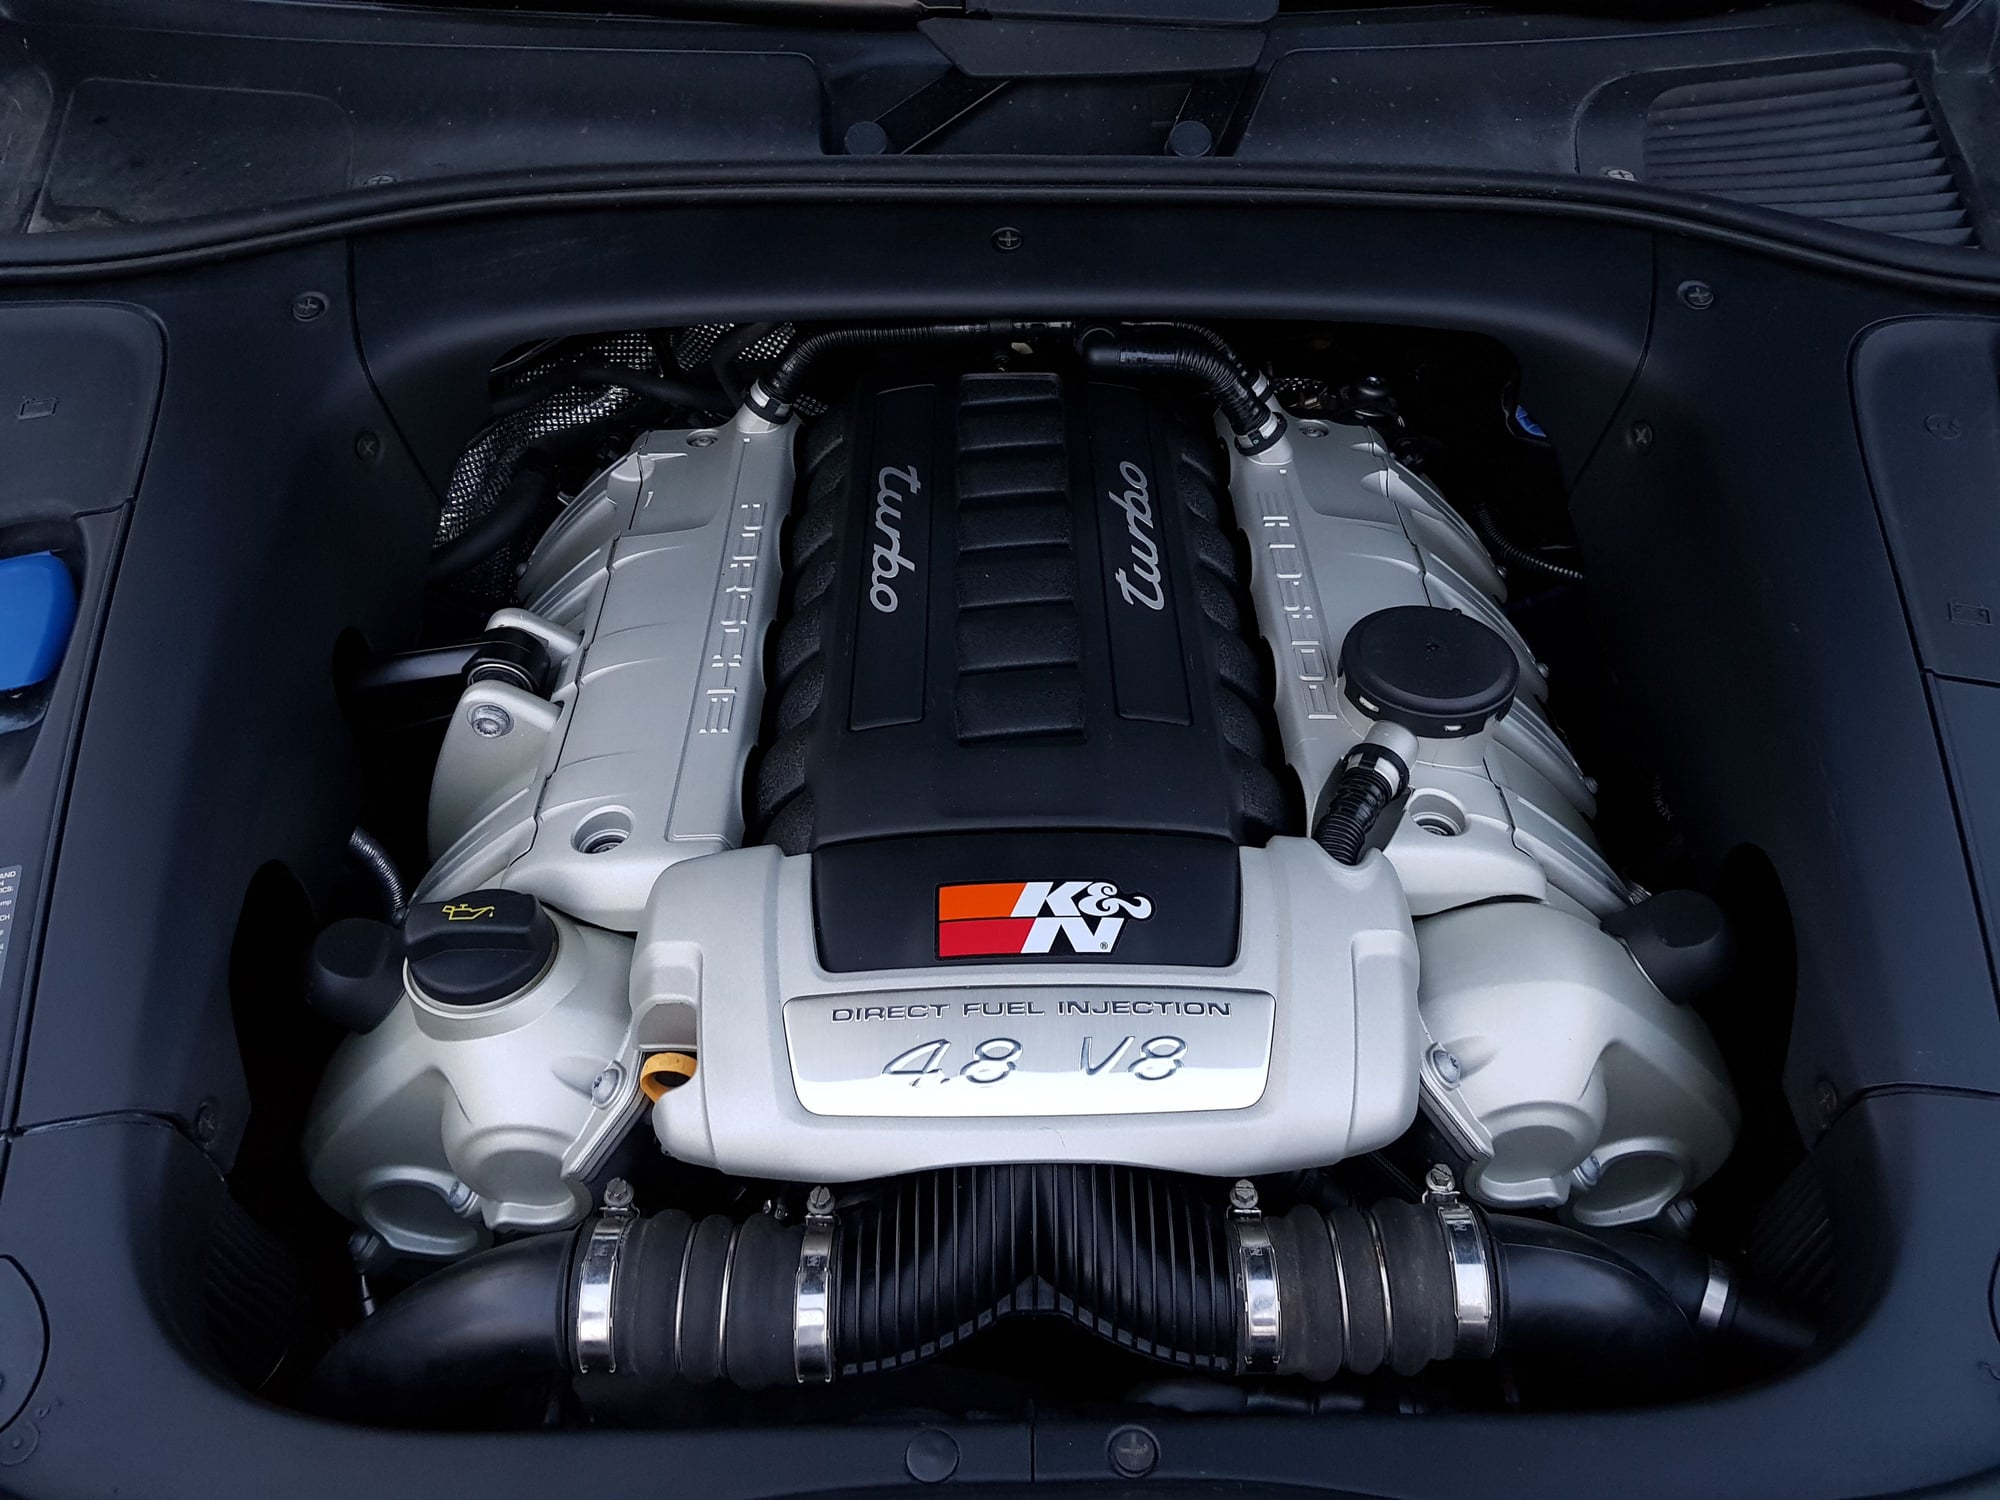
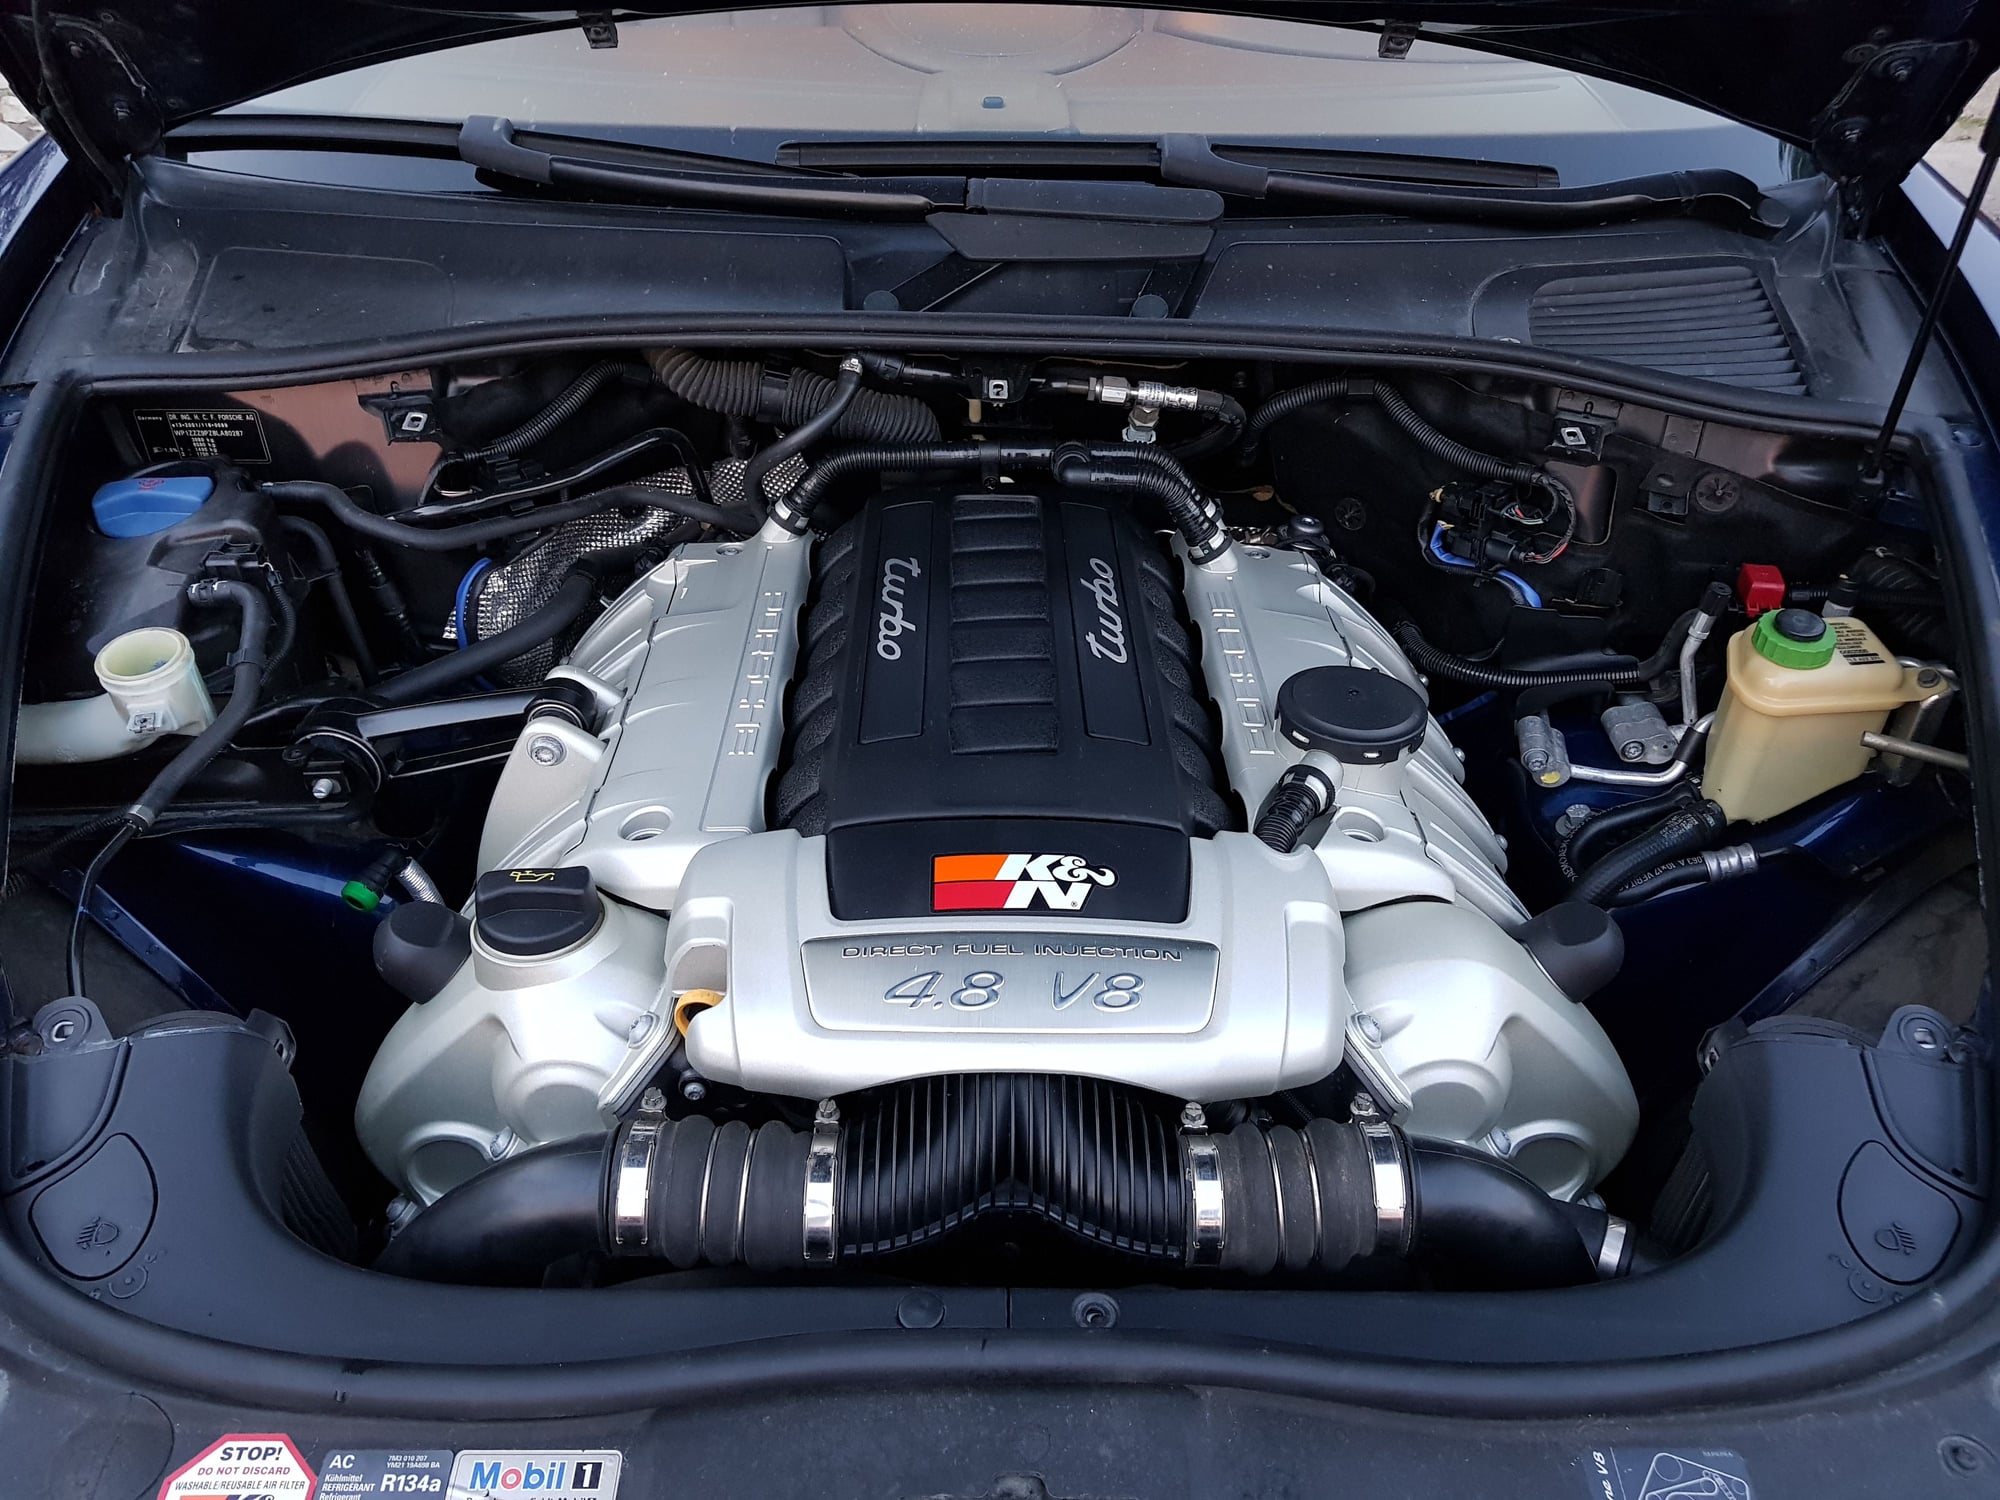
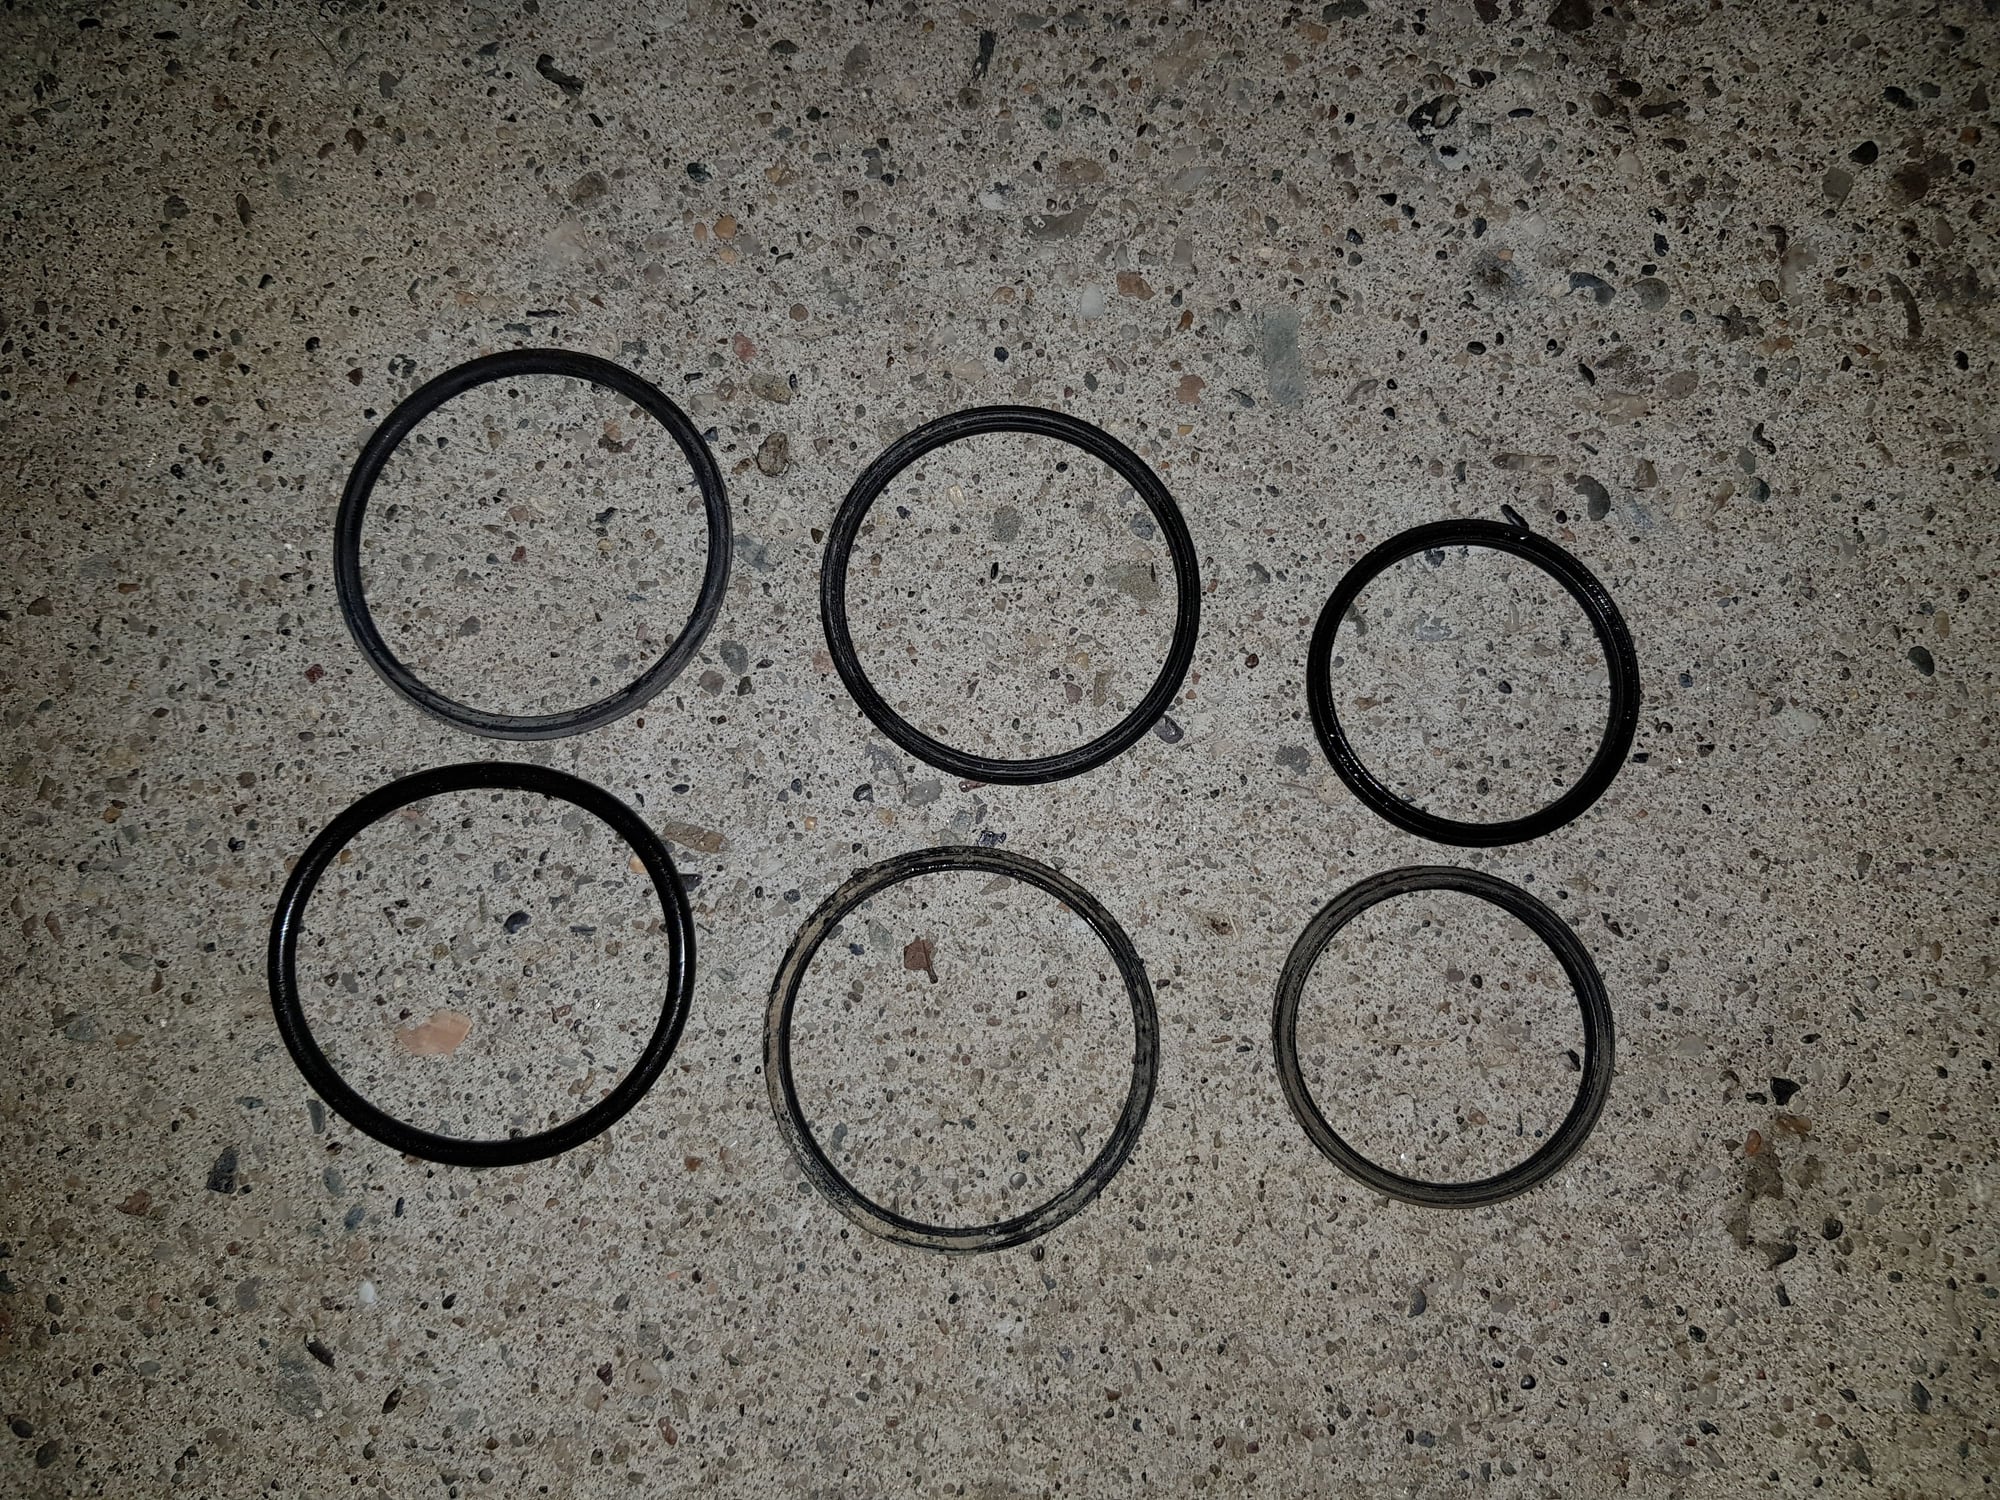
I don't know where to start!? This was so hard to do it... That screw was pain in the a**. But now I can do it again in no time As for o-rings,4 out of 6 were damaged and cracked all over. Left side was really bad compared to right. Left turbo o-rings were catastrophic. My turbo was covered all over with oil deposits. Both turbos o-rings were bad. Only upper inter-cooler o-rings were good but I changed them also. Throttle body o-ring I haven;t changed since I couldn't take it any more. I will change it in the coming days... It is easy to change that. I will clean throttle body also.
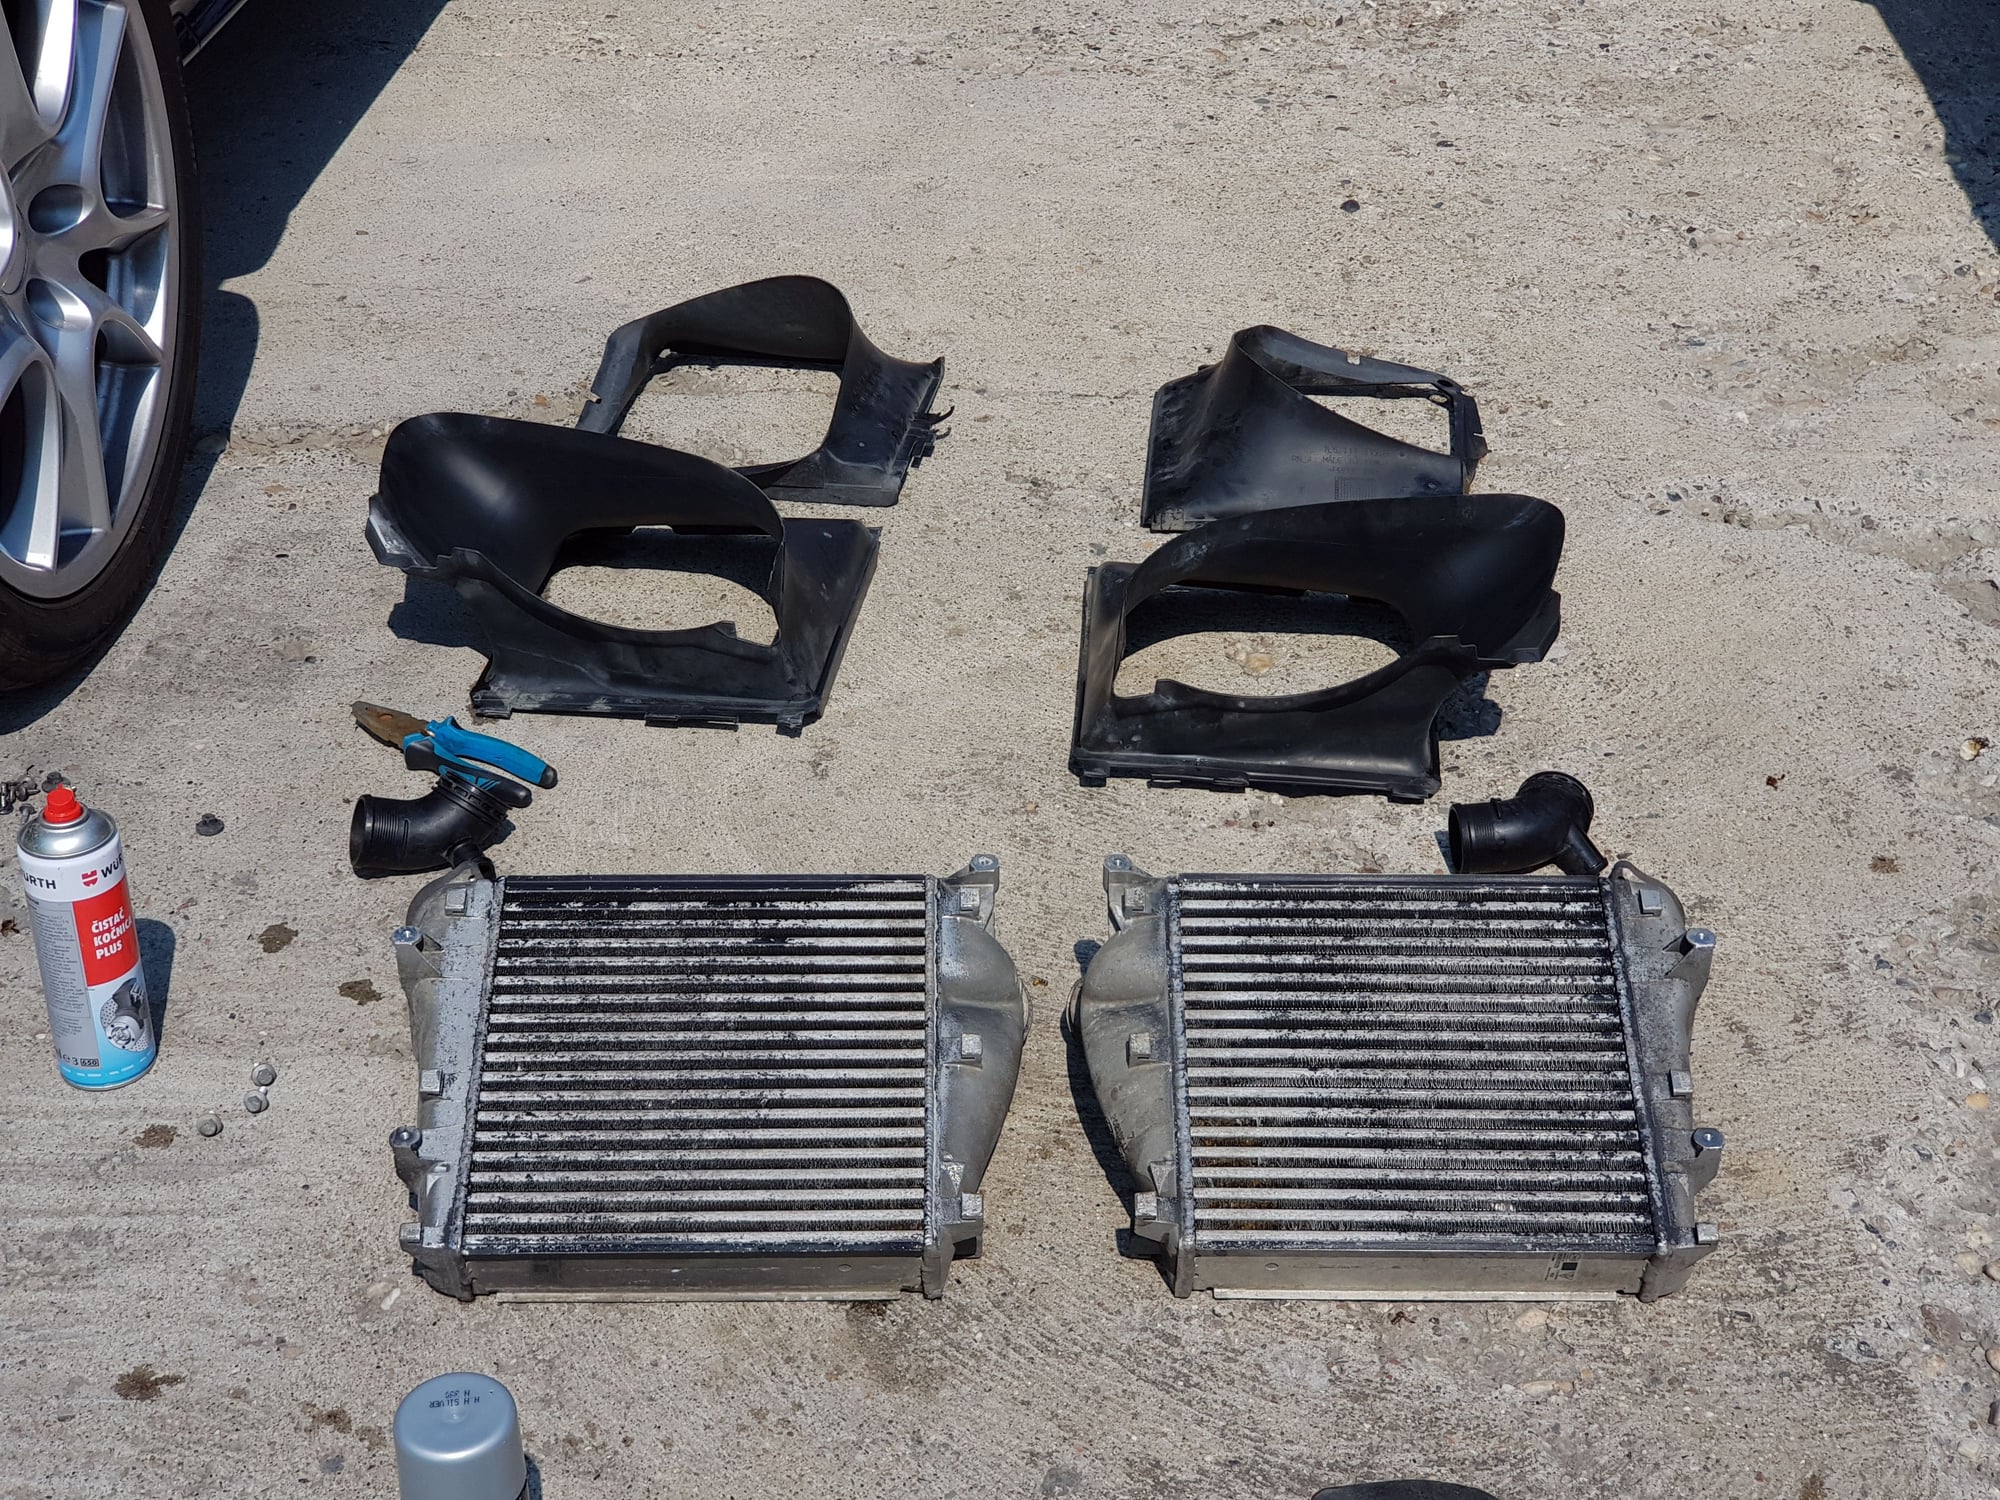
As for inter-coolers, YES, they were full of mud and sand... Cleaned then inside out. I cleaned inside first with white spirit then nitro thinner then again white spirit. And finally gave them full wash with contact less car shampoo. I have repainted them all over.But haven't made pic of them when they were outside of the car,only when I installed them on my car. I will take a pic of them tomorrow morning.
I have also removed stock air boxes, well 1/2 half of them since I removed only one part when I installed K&N filters last year. Also that air duct was pain in the a** also to remove. You need to rotate it to get it out...
And at the end I gave my TTS full engine detail while it was all removed... It runs great now... No hissing noise I had before,no suction (odd) sound from before. Everything is phenomenal!!!
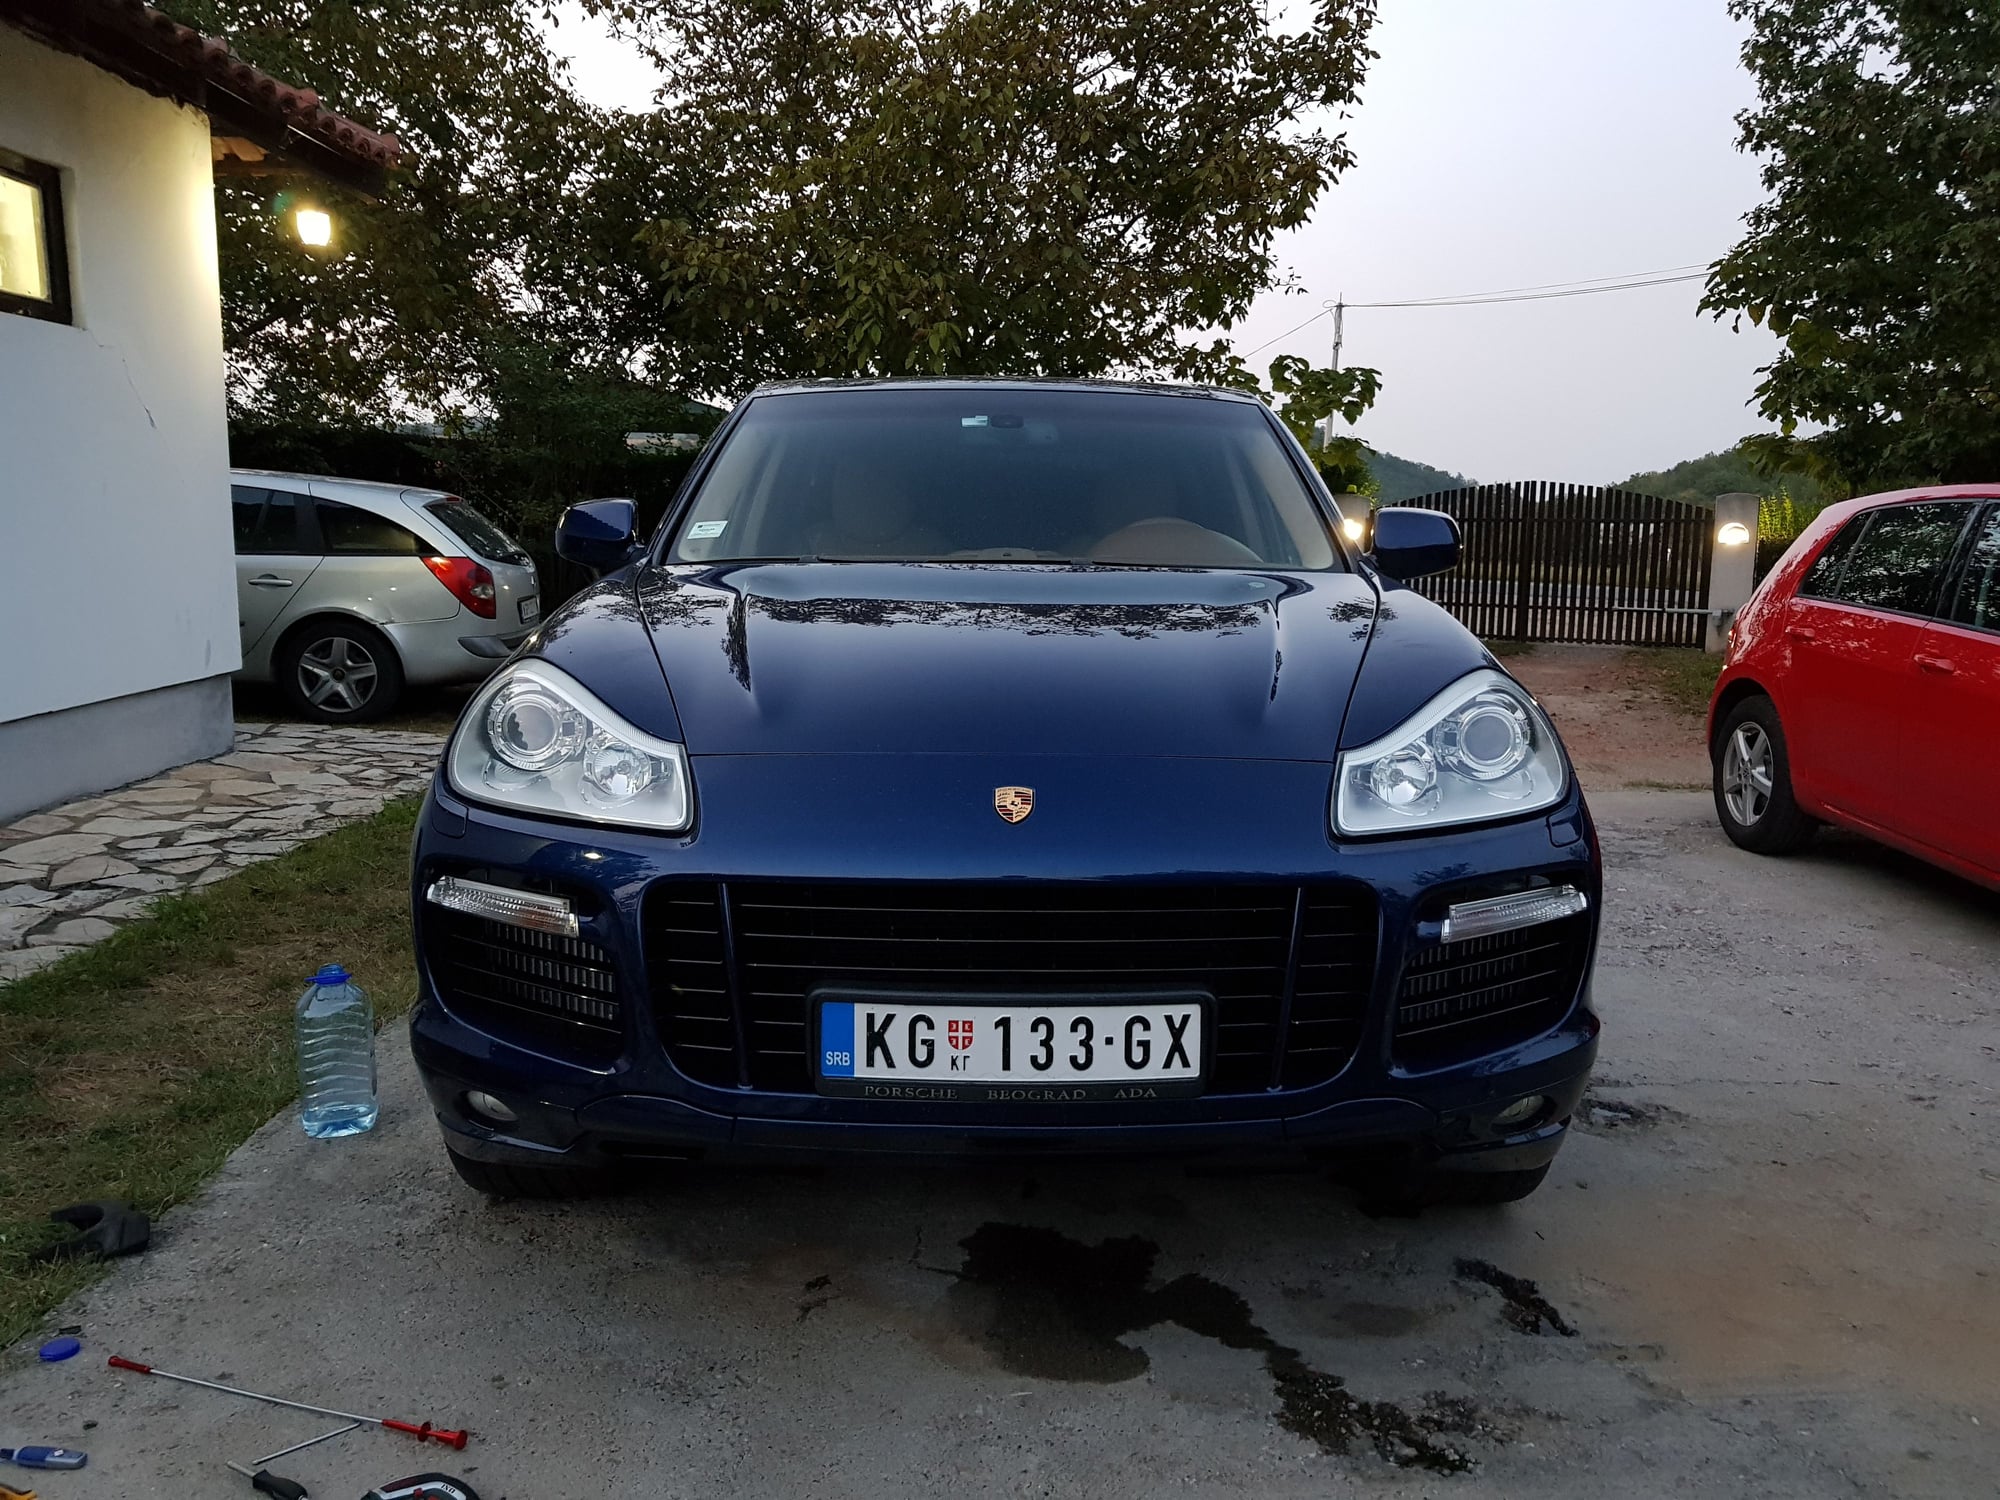
Here are some pics so that you can see what was going on
Great work. So it sounds like the original goal of fixing the boost leak was accomplished? Is your boost gauge going higher now? These things are not easy to work on, but when they are running perfectly it is all worth it!
Great work. So it sounds like the original goal of fixing the boost leak was accomplished? Is your boost gauge going higher now? These things are not easy to work on, but when they are running perfectly it is all worth it!
Yes it's accomplished 😊. Turbo gauge is stuck at 0.8bar and maybe passing a bit, to maybe 0.85bar. It runs like charm now. Very happy 😊. A few more things to do and it is going to Stage 2 chip tuning 😊
Great work. So it sounds like the original goal of fixing the boost leak was accomplished? Is your boost gauge going higher now? These things are not easy to work on, but when they are running perfectly it is all worth it!
Hey I wanted to change throttle body O-ring but when I opened little bag I saw that this doesn't seems to be the one. And I was correct. When I got throttle body out I saw that the one I have is for Y-pipe So I changed it and cleaned throttle body why I was there. It wasn't too dirty by the way. The O-ring that I changed was in good condition but since I got the brand new one I swapped them. Now as I can see I will be getting another o-ring for my pretty Just ordered over eBay,because my Porsche Dealer takes 7-10 days to get me my order. eBay 3-4 days from USA to Serbia

 09-01-2018, 04:56 PM


 Finaly finished. Went to work at 9:30PM finished 7:15PM.... Boy this was a hell of a ride