Intake vent re-installation
 11-19-2012, 07:51 PM
#1
Racer
Thread Starter
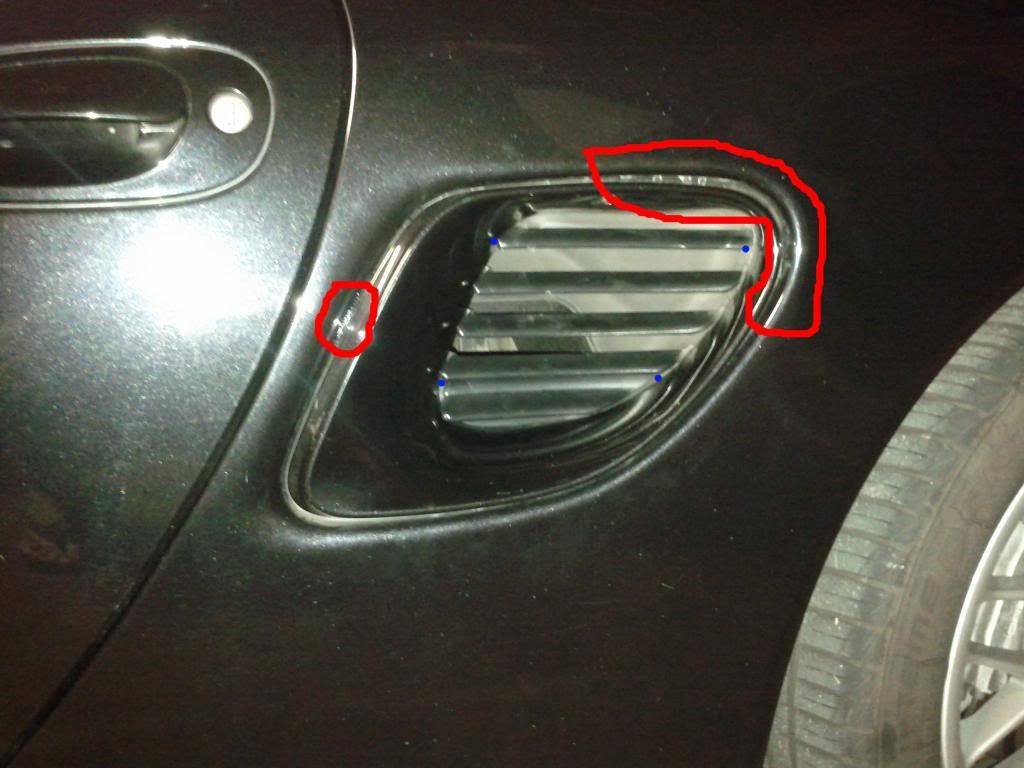
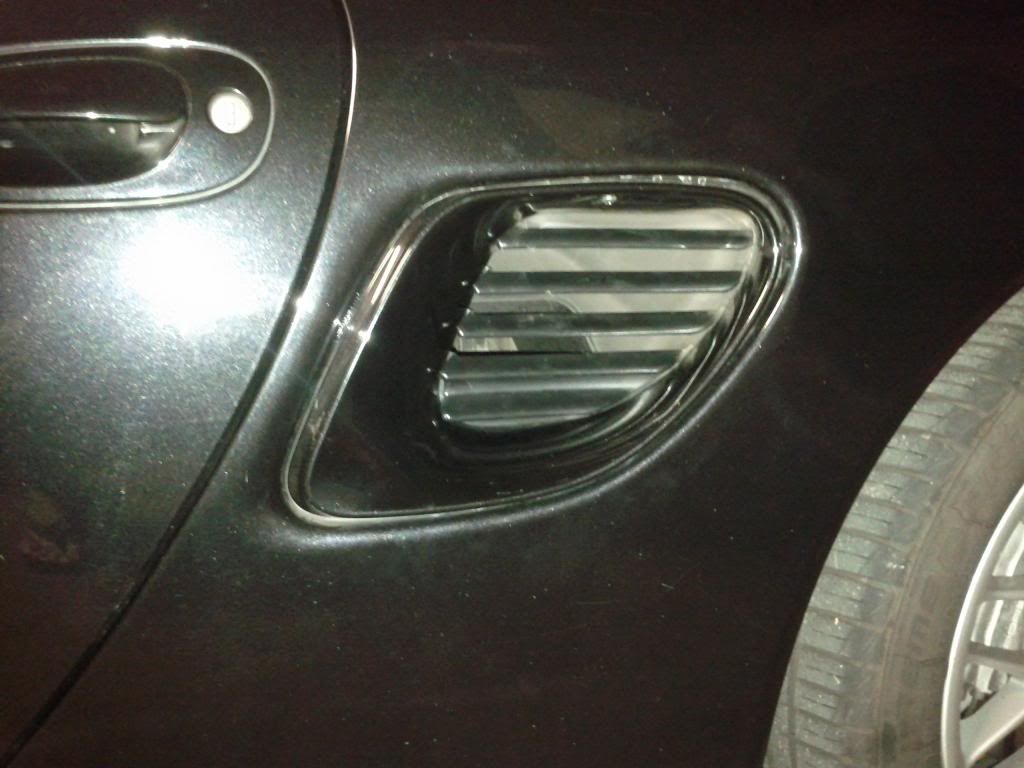
So tonight I did the "snorkel delete" on my 986. It sounds great, but I can't seem to get the intake vent to fit properly. This is where it is now:
I don't believe the gaps were noticeable and the screw was definitely not offset like that. Has anyone gotten this thing back on correctly? There some trick to it?
I don't believe the gaps were noticeable and the screw was definitely not offset like that. Has anyone gotten this thing back on correctly? There some trick to it?
 11-19-2012, 08:51 PM
#2
Intermediate

Join Date: Jul 2011
Location: Waterloo, Ontario
Posts: 37
Likes: 0
Received 0 Likes
on
0 Posts
ep3_lol,
I'd be curious if you could offer up some advice on how to get to the snorkle in the first place. I get as far as removing the screw and bail out for fear of breaking the something. I know this isn't why you posted but insight would be much appreciated.
Steve
I'd be curious if you could offer up some advice on how to get to the snorkle in the first place. I get as far as removing the screw and bail out for fear of breaking the something. I know this isn't why you posted but insight would be much appreciated.
Steve
11-19-2012, 08:59 PM
#3
Rennlist Member

Can't really tell what's wrong by the pic, but you just have to manhandle both pieces, they are tougher than you think!
11-19-2012, 09:57 PM
#4
Racer
Thread Starter
ep3_lol,
I'd be curious if you could offer up some advice on how to get to the snorkle in the first place. I get as far as removing the screw and bail out for fear of breaking the something. I know this isn't why you posted but insight would be much appreciated.
Steve
I'd be curious if you could offer up some advice on how to get to the snorkle in the first place. I get as far as removing the screw and bail out for fear of breaking the something. I know this isn't why you posted but insight would be much appreciated.
Steve