When you click on links to various merchants on this site and make a purchase, this can result in this site earning a commission. Affiliate programs and affiliations include, but are not limited to, the eBay Partner Network.
I am a relative rookie here , but can share my personal experience with the coolant fitting issue ..
i purchased my 2007 997TT with 72K miles from a Porsche dealer Jan 1 . She was bought new and serviced there with extensive records and passed my inspection . 1600 miles of spirited driving later:
. I blew a fitting and dumped all the coolant on the freeway on ramp.
. Flat bedded the car home and researched what to do for a week . Seems the early 07 TTs had the biggest probability of this due to the adhesive used , and or the procedure . The process was improved in later 07 and 08 cars from what i read , and very rare in 09 models .
. I elected to replace all the plastic fittings with aluminum and have a large Porsche Indy race shop weld them .
. $4800 estimate turned into $10k as i added to the while we are there list .
If i had to do it over again , i would get a PPI and a warranty as most here would recommend. I would surmise that a PPI may see evidence of seepage if a leak is starting , but it may blow a fitting without a hint .
In order to keep my sanity , i view it as part of the price of admission to enjoy such an incredible machine . I bought a 10 year old Supercar.
As i was once told , just because you get one of these cars for $70k more or less , you are still maintaining and/or repairing a $130k-140k car .
I have since put 8000 trouble free miles on and have 0 regrets .
That's my story for what its worrh .
To clarify on the 07 turbo there are the 7 aluminum fittings that can be re-glued or welded. It's better to replace them first with BBi Autosport aluminum fittings rather than re-using the old ones. In addition, there are the 3 plastic fittings that are best replaced with the Shark Werks stainless fittings. I replaced all 10 with engine still in the car!
If you don't mind me asking, how did you do this with the engine still in the car? I thought some fittings were only accessible with the engine out? Were the fittings pinned and glued?
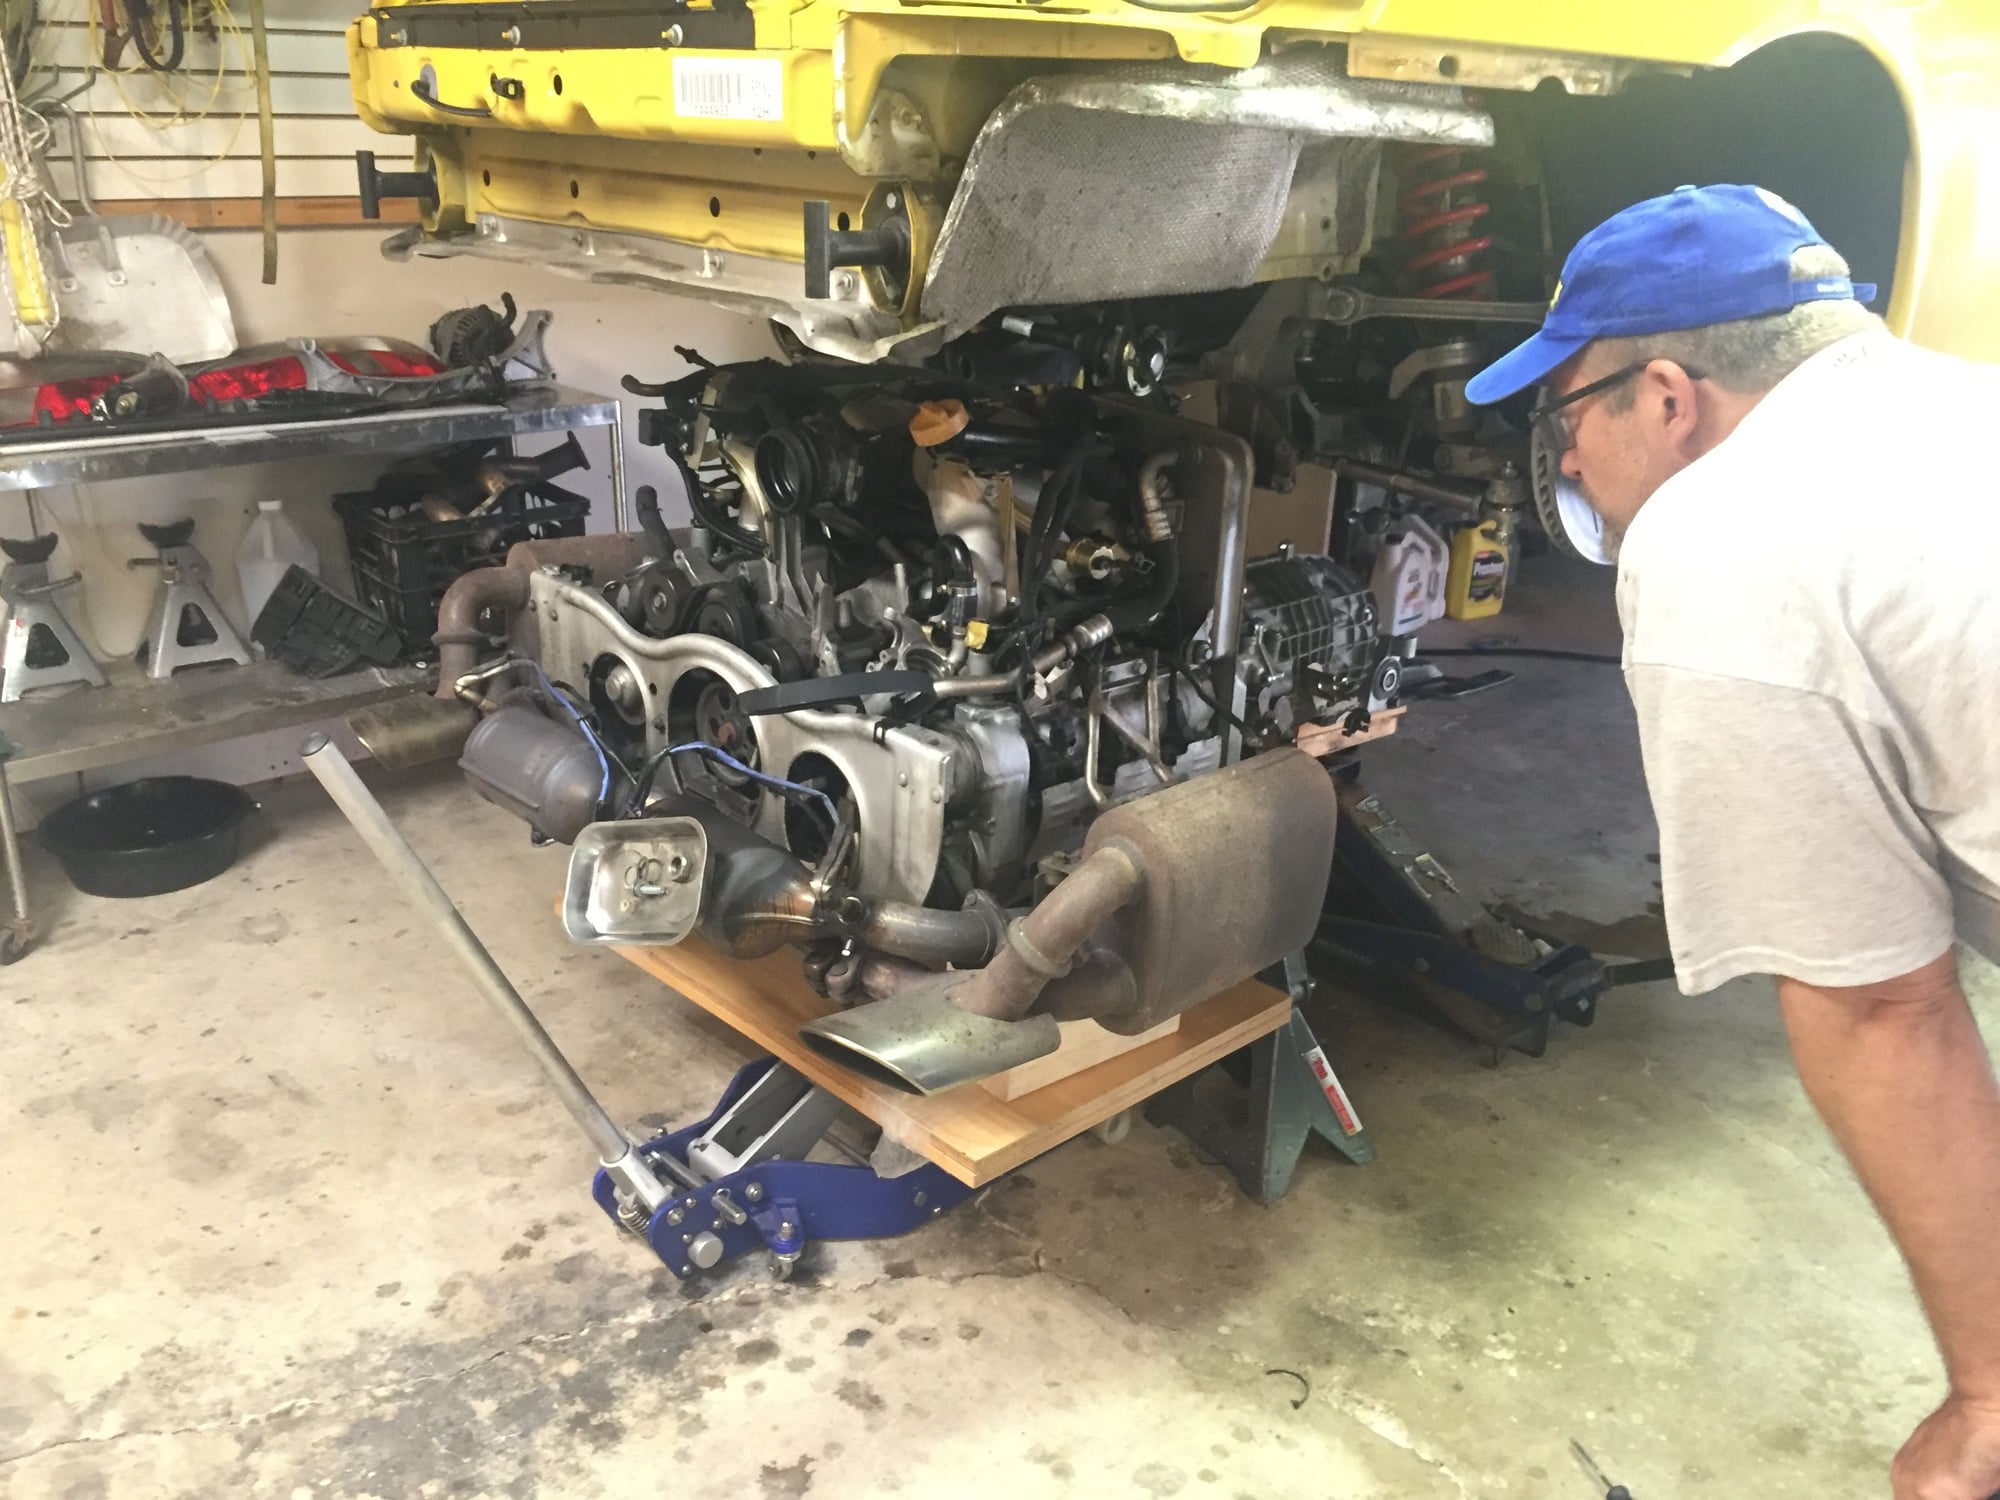
Removed tailpipes, lowered the engine about 6".
Removed throttle body, compressor inlet ducts, AIR pump, fuel filter, oil filter console, intake manifolds, and fuel rails.
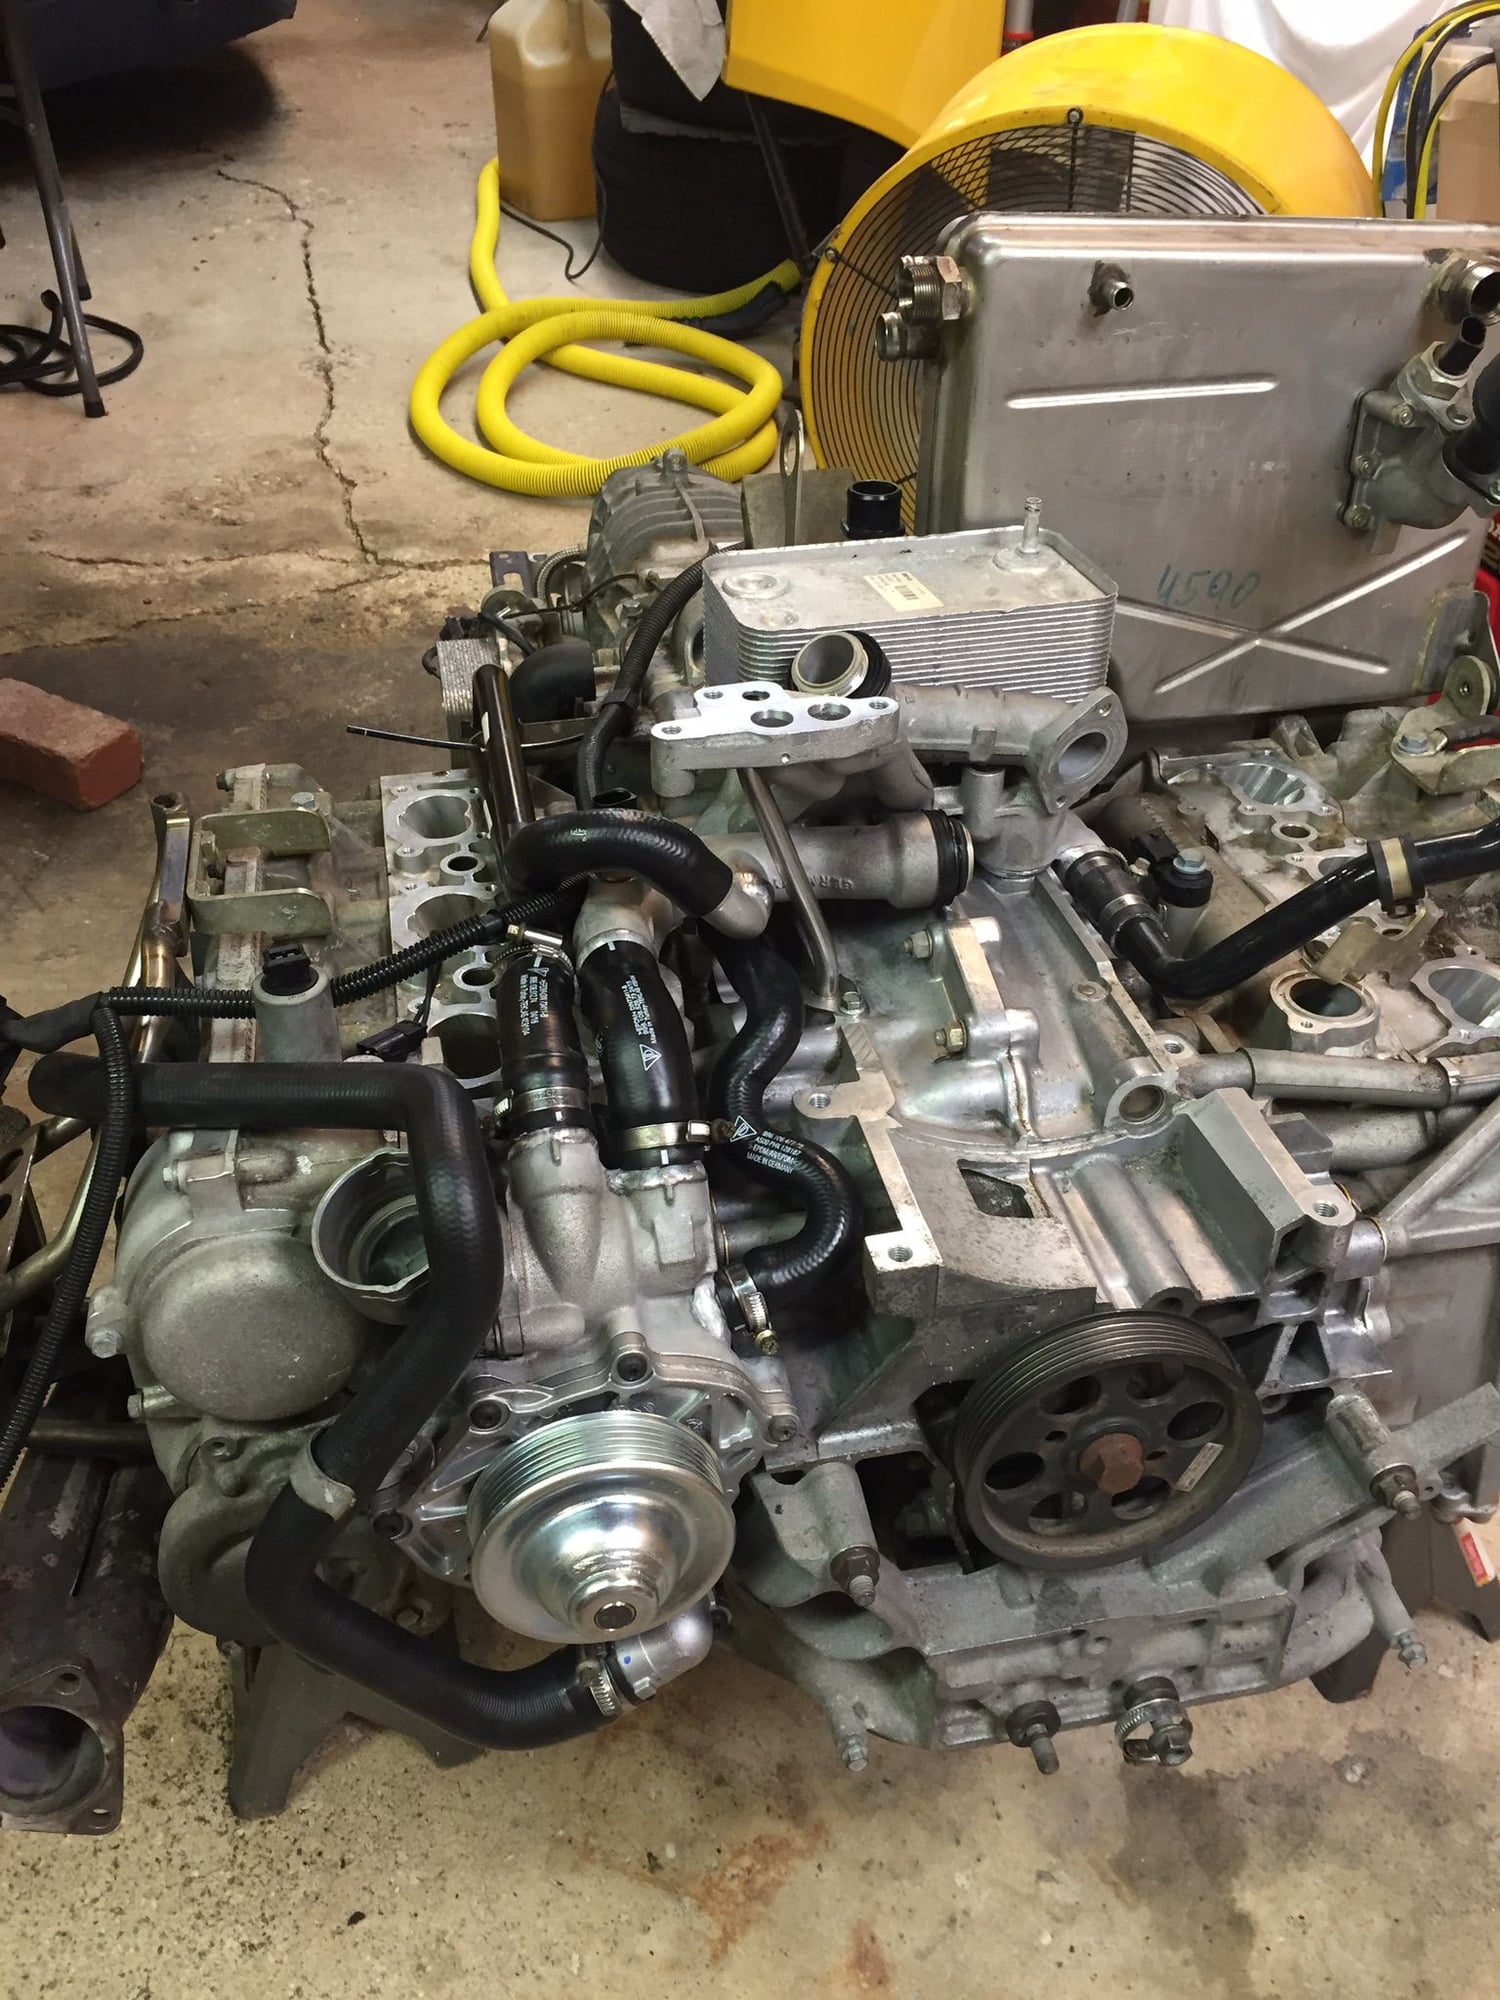
Removed alternator, P/S pump, Pulled the A/C compressor out of the way and removed the large casting they mount on. This casting has one aluminum fitting. Removed the smaller casting near it that has three. Got new aluminum fittings from BBi Autosport. Watched the Youtube how one of the shops JBweld and pin.
Removed mufflers and water pump housing. This housing has three aluminum fittings to replace.
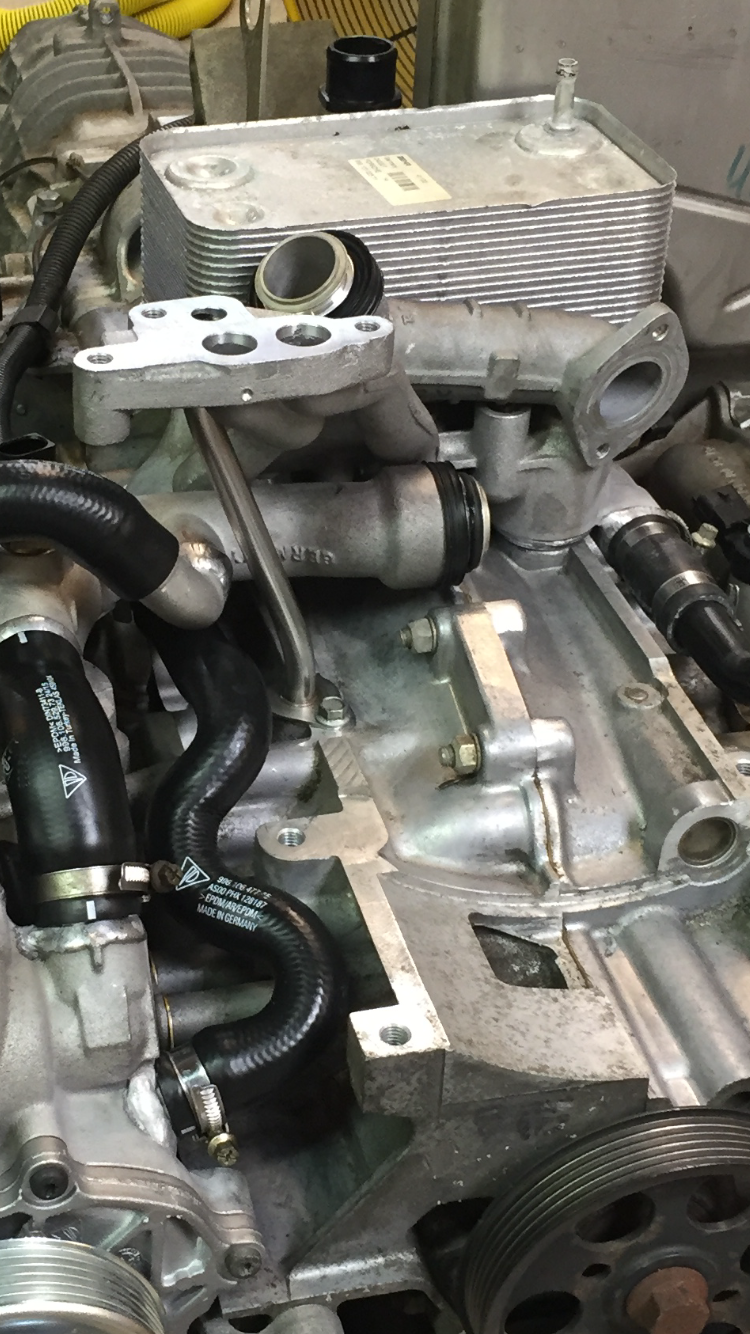
Removed oil/water heat exchangers to get both top and bottom access to the three plastic fittings.
So here's the critical part. I don't think you can or want to remove the large casting that the heat exchangers mount on. Would have to move the oil tank for that. So, with the heat exchanges off you can push the plastic fittings down and out at the same time pulling them out from below. The retaining screws for the plastic fitting are under the housing and the left hand forward one was a little tense to handle that one. It took some effort to work out the plastic fittings. Had to be careful not to scratch the bore if using tools to push. Used a Home Depot pipe extractor to pull from the bottom after one the plastic fittings broke off completely.
Fix it right or dont bother, dont forget about the two fittings connected Back by the heat exchanger which you cant see or reach without disasembley.
DIY: Make it a winter project! Use certified welder and pressure testing pre-rebuild. Ph and your likey to find plenty to replace as 10 years is along time for some parts like water pump bearings and rubber parts! Always something else!
I'm glad Gadsby posted because that clarifies something that was confusing me for some time.
On the GT3 you can see he had to remove the casting that holds the heat exchangers in order to weld, and therefore remove the engine. Similar on 996 turbo I think.
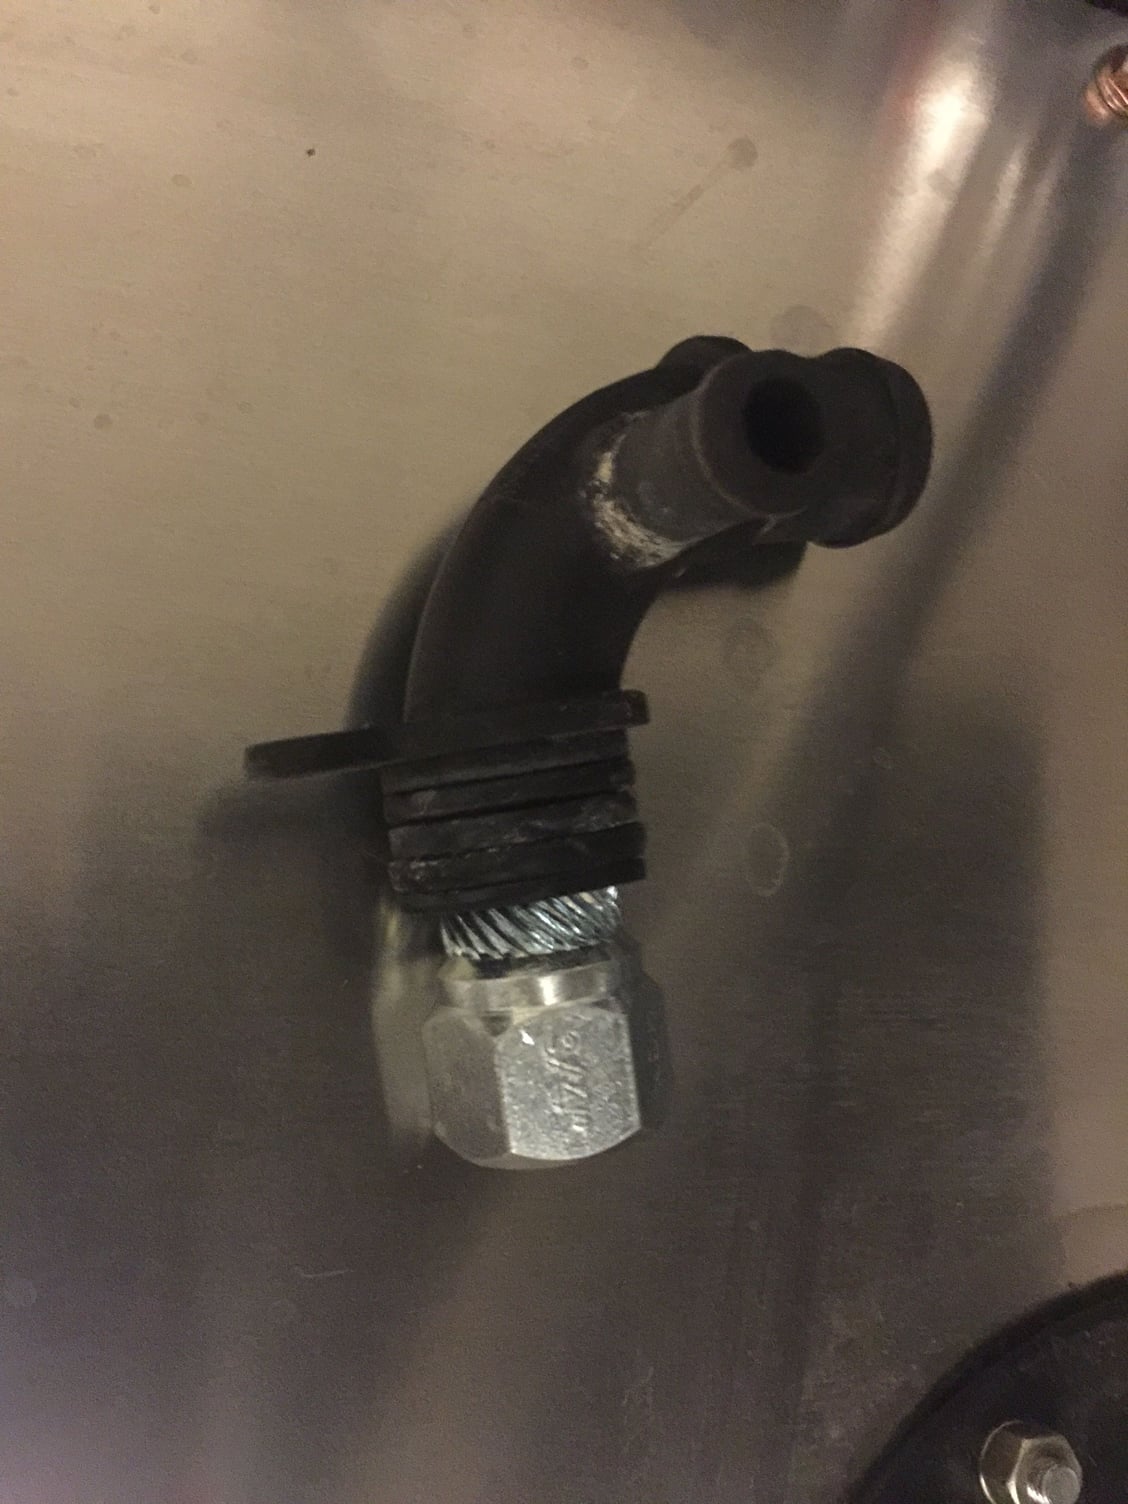
On the 997 turbo however, the plastic fittings can be pulled out of the casting and replaced with Sharkwerks elbows with the casting still on the engine. The plastic fittings and the Sharkwerks fitting both seal with an o-ring and are secured with a screw.
Skwerl, I think often they pin the 7 aluminum fittings engine still in car but they don’t replace the 3 plastic ones because when they go bad they just drip, not explode. I think plastic is used on 997.1 tt only.
Skwerl, I think often they pin the 7 aluminum fittings engine still in car but they don�t replace the 3 plastic ones because when they go bad they just drip, not explode. I think plastic is used on 997.1 tt only.
I replaced all of last stuff in my own garage. Sharkwerks elbows also done. No more leaks. But really what happens is the return lines from each turbo feed into the OEM plastic elbows. Two of them specially, right and left. The right hose one usually bursts first! And all of the coolant escapes quickly! To replace both of them requires the engine to be removed. like Kevin said, I used a borescope to see them. The elbows leak at the junction to the manifold. I ended up replacing all the hoses, flywheel, clutch, master slave etc. 4K in parts from Sonnen. Pictures taken and all my work documented for my own self pride. Don�t intend to sell my car so I don�t really give a **** about anyone asking me where I did it. As far as that pining and gluing nonesence, mine did not exhibit any reside or lose glue joints or any of that stuff. If it ain�t broke, don�t **** with it.
Have the engine pulled and coolant pipes welded.....welding them in will leave no worry in the future. Pinning can lead to leaks down the road. Its a big job so you do not want to do it again.
Im doing my repair this winter while I will not be driving the car. I havent tracked my car and do not plan on it, but I do take it on long drives/road trips so its good piece of mind.
Last edited by o7silverturbo; 12-05-2017 at 02:46 PM.
Thanks SilverTurbo. Do you plan to address the plastic fittings? How?
Yeah....Ill be using the shark werk metal elbows.
Im going to do a repair thread when the times comes....pictures, steps, parts etc
Im going to have the guys over at AIM performance weld the coolant pipes and I'm bringing them the engine to have them pin the cam shaft while its out. I dont feel like doing this again for a while
 11-29-2017, 10:05 PM