When you click on links to various merchants on this site and make a purchase, this can result in this site earning a commission. Affiliate programs and affiliations include, but are not limited to, the eBay Partner Network.
I bought a 12x48 inch roll of the same 3M product Porsche uses for $20. I then used a piece of parchment paper to make a template of the original guard by holding it up to the car with one hand and tracing the outline with my fingernail. Then I traced the template onto the film roll and cut it out.
Before removing the old guards I marked the 4 "corners" with tape. To assist in removing them I used a space heater to warm them and they peeled right off in one piece after using a plastic scraper to lift one corner.
After cleaning the area with adhesive remover and soap and water I sprayed it with a dish soap and water solution. I also sprayed this generously on the backs of the new guards before applying them. While everything is still wet you can move the guard around to get it into place before you use the squeegee to remove the bubbles.
Turned out great (not sure why the photos are sideways).
Pro tip: Wash your car really well before hand. Less chances of contaminants being lodged behind the new guards.
Cheers on a job well done for 15 quid! I really need to do mine but cant spend the $90 on a $20 in materials and an hour of fun. Something in my DNA. But now that you made it easy with a link.....
Very nice DIY job, thank you for sharing. Yep, we have the stone guards cut for the 997 here with free shipping: http://www.pelicanparts.com/catalog/...pg3.htm#item10. OEM and Genuine brands. If anyone has questions let me know.
Just finished. I used a heat gun on low and removed the old guards in one piece. Then re-stuck the old guard on the new 3M and used the old guard as a template. I was surprised how it held it shape. I used a pair of quality scissors to cut the corners and a new Xacto for the rest. Then peeled off the old guards.
Chris, it was good of you to post this. However, I hope you don't mind a suggestion for others.
Pulling to the right (back over the film) as you appear to be doing or straight out greatly increases the risk of pulling some of the paint off the car. This happened when my 2006 997.1's rock guards were replaced and required a partial repaint so I know first-hand this can happen (fortunately the dealer's newbie guy did it when I bought the car so they paid for it!). The pros do not recommend that you peel it that way.
If pulled correctly, captainbaker would never have been able to use it as a template since it gets quite stretched as you go so I assume he pulled it that way too. At least nothing went wrong!
However, the pros recommend pulling it out towards the direction you came from, stretching the film as you go. In your photo, you would have been pulling the film the the left and stretching it, effectively destroying the film as you go. This allows the adhesive to release more gently and gradually. This can be in several pro videos including this one from a frequent visitor and a sponsor on the forums. Listen to him discuss this at the 4:25 point in this video and again shortly after the 11 minute point.
Also, I recently replaced my rock guards on my current car as well. I used a heat gun along with an IR temperature-sensor (these are cheap now!) to heat the film to around 130F as I pulled.
On reapplying the first one, I only used water and one drop of baby soap but I had some trouble with it wanting to adhere too readily and had a harder time than I expected working out the water bubbles. Looking online for help with this, I tried another pro tip on the second one and used a mix of alcohol and water with a little more soap. This one was much easier to move around and to work the bubbles out. I created a two cup mix that was effectively 20% alcohol and 80% water with two generous drops of Johnson's Baby Bath.
Guilty as charged and great video. My saving grace was the heat gun and working slowly. I figured if I got the adhesive warm enough it would let go easily and working small sections at a time. But now, I would do it like in the video.
For the template, why not trace the old ones while still on the car? That way you can still remove them properly.
That's what I did. I don't know how people remove them intact. That tells me they aren't near warm enough which is very risky as far as removing paint or clear coat. When mine were coming off they were stretching almost like thin rubber. When I got them all the way off they looked like deflated balloons, all wrinkled up and much smaller than their actual size.
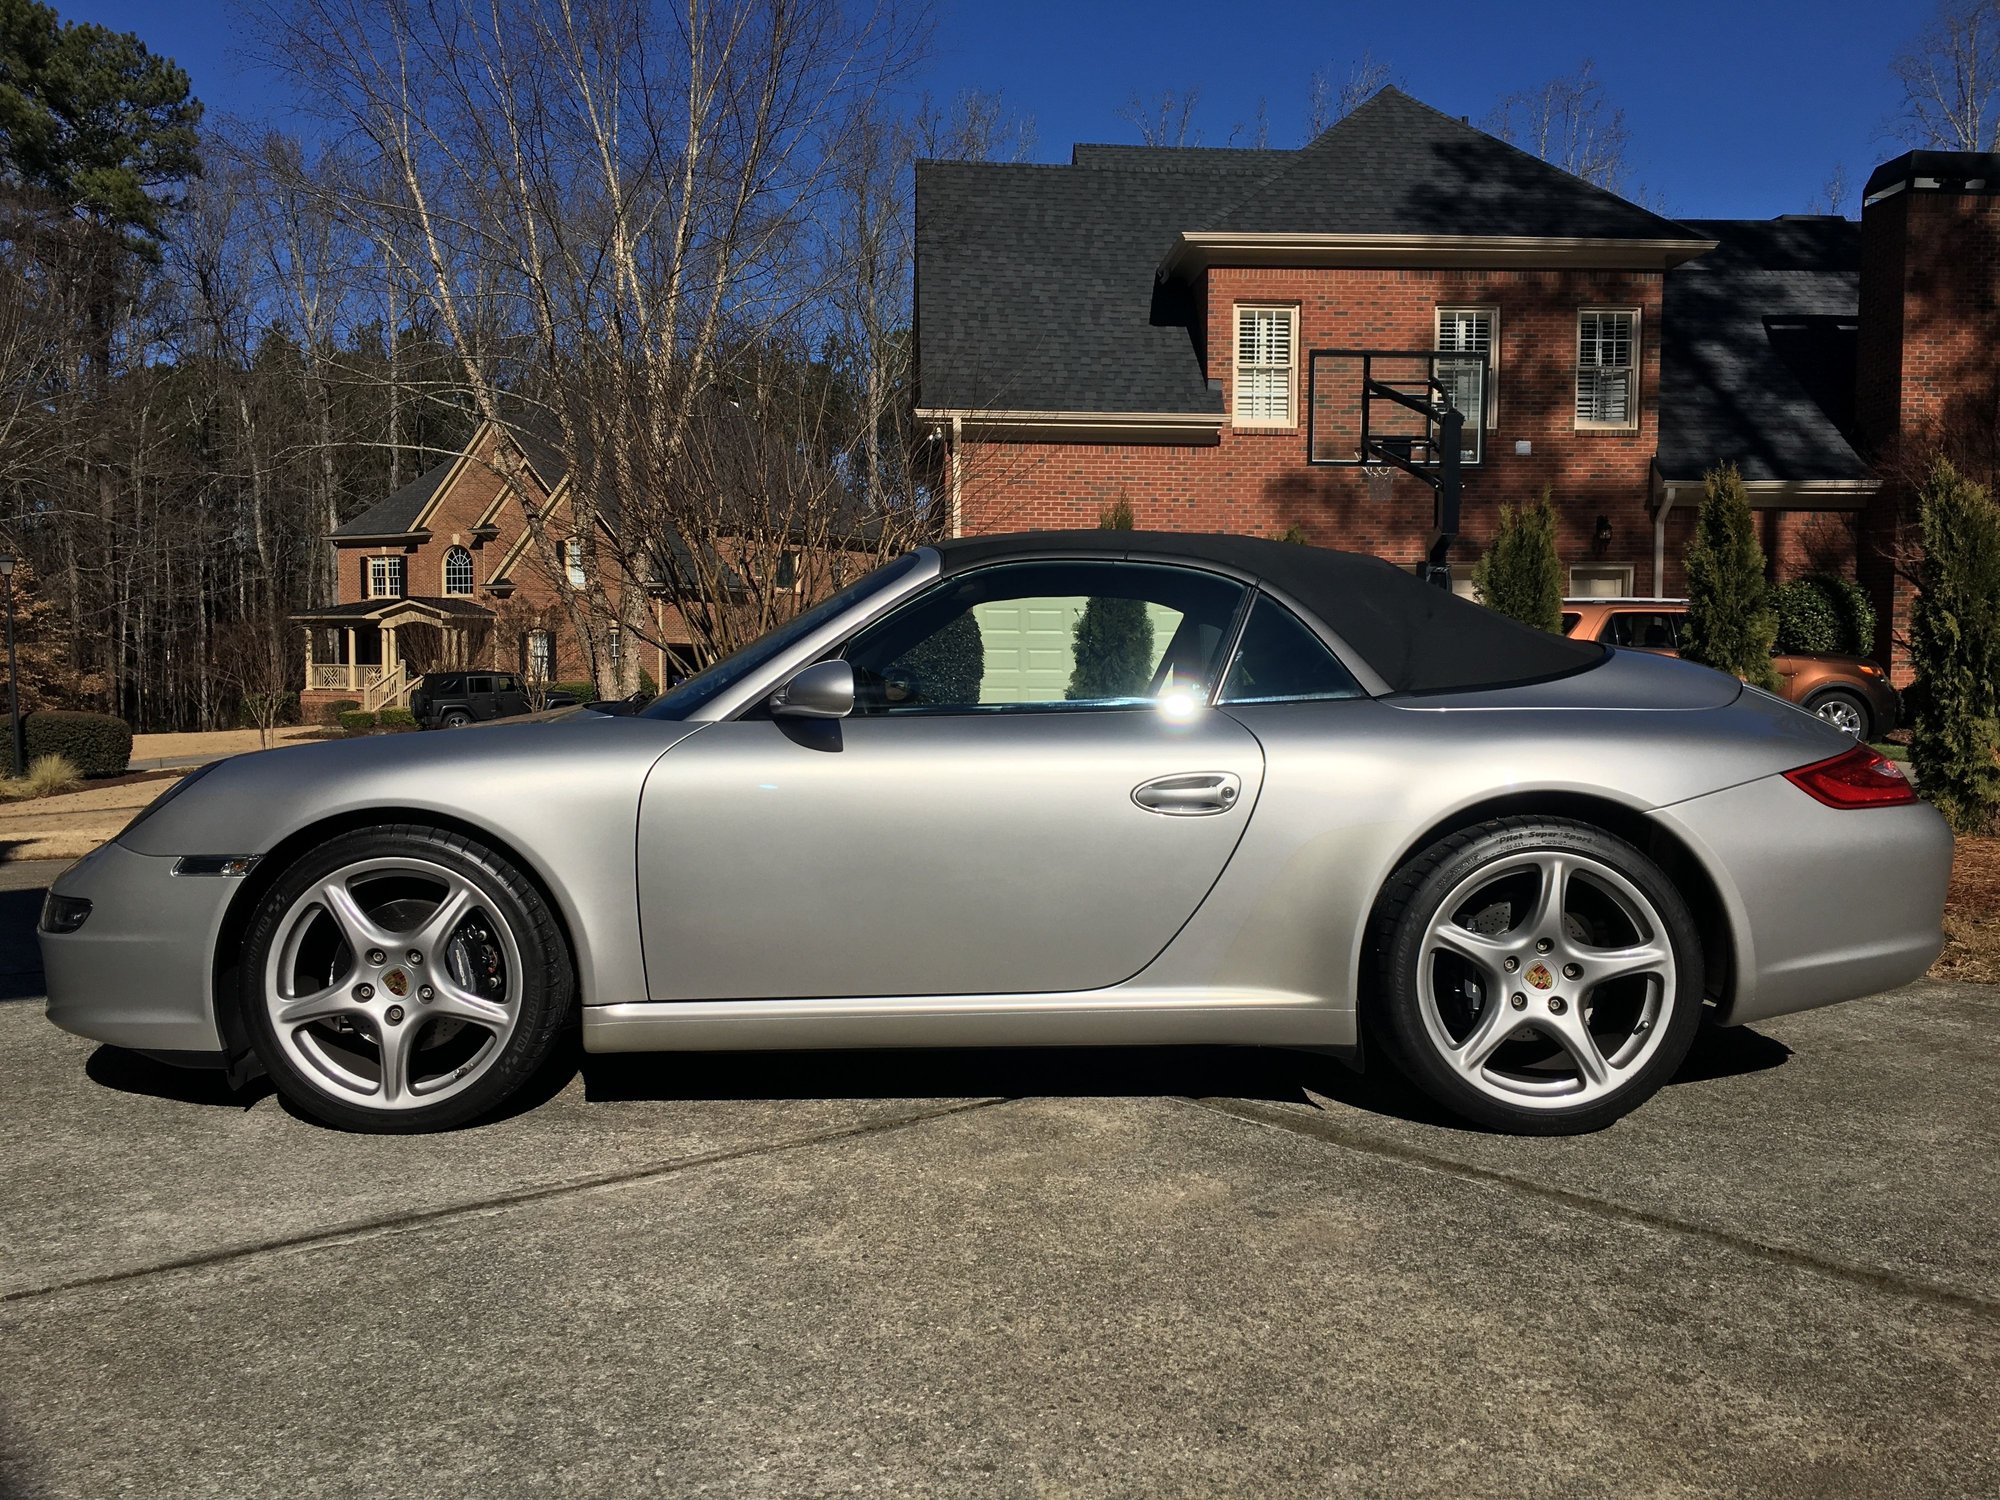
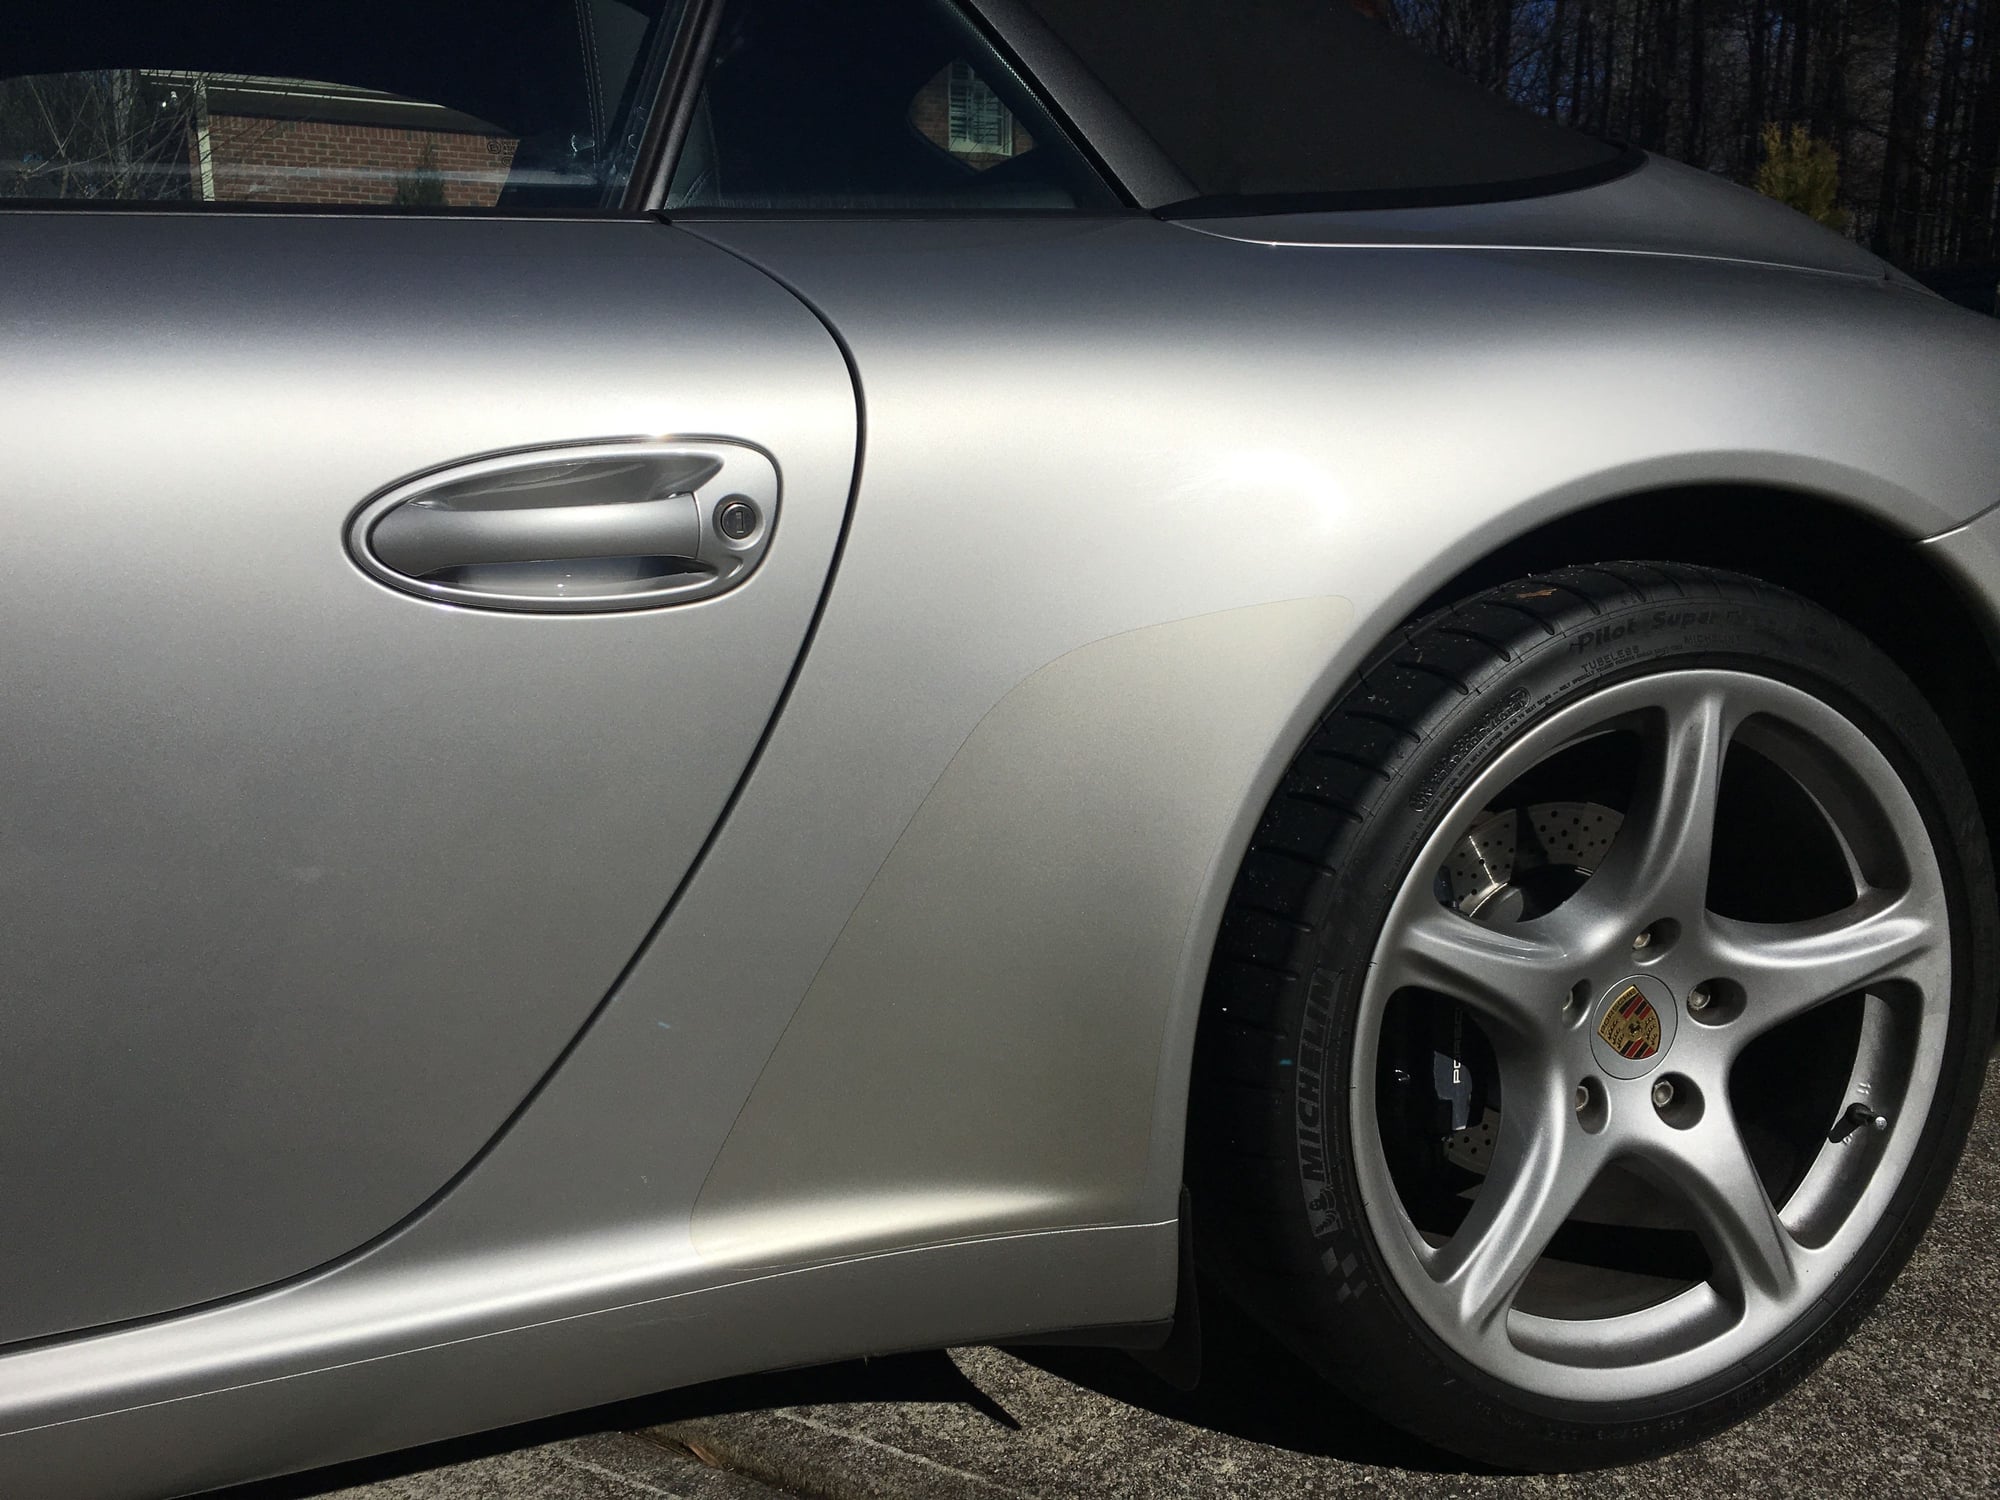
Folks, need some advice. I am new to the forum with recently acquired 2005 997. Wondering if i should replace the stone guards, which are original. Not worried about the money associated with it, more worried about having issues removing them as they are original. Attaching some photos of the car and stone guards in present condition. Note i have already replaced the orange side markers with clear and Dectane rear LED's!
Yes, the yellowing and age is a reasonable concern as the glue may have hardened significantly. You at least want to use a heat gun with the temp in the 130 degree range to make them and the glue more pliable, and make sure you fully understand the proper technique. Do NOT pull directly outwards or peel it like a banana, instead pull laterally to the paint in the direction of the loose edge as much as you can and stretch it as you pull outward at a very shallow angle. You can look at some videos of pros removing PPF to understand the technique [Edit: I forgot I had posted a video about this a long time ago earlier in the thread!]
I have a suggestion. Rather than replace them with factory ones, I'd consider finding your local XPel installer and pay them to professionally remove them and replace them with XPel instead of the OEM ones. I think you'll find the peace of mind and results well worth your money.
It looks like you grabbed a beauty that is in great shape! Congrats!
Last edited by StormRune; Jan 30, 2018 at 05:41 PM.