When you click on links to various merchants on this site and make a purchase, this can result in this site earning a commission. Affiliate programs and affiliations include, but are not limited to, the eBay Partner Network.
Brake Caliper Refinish DIY with VHT Paint & Caliper Upgrade on 997.2 C2 Base
I have a base 997.2 C2 which has the closed calipers, and had been wanting to change them to the open design of the C2S calipers. Particularly because of the ease of changing pads. I've also wanted some color to contrast against my black car and wheels.
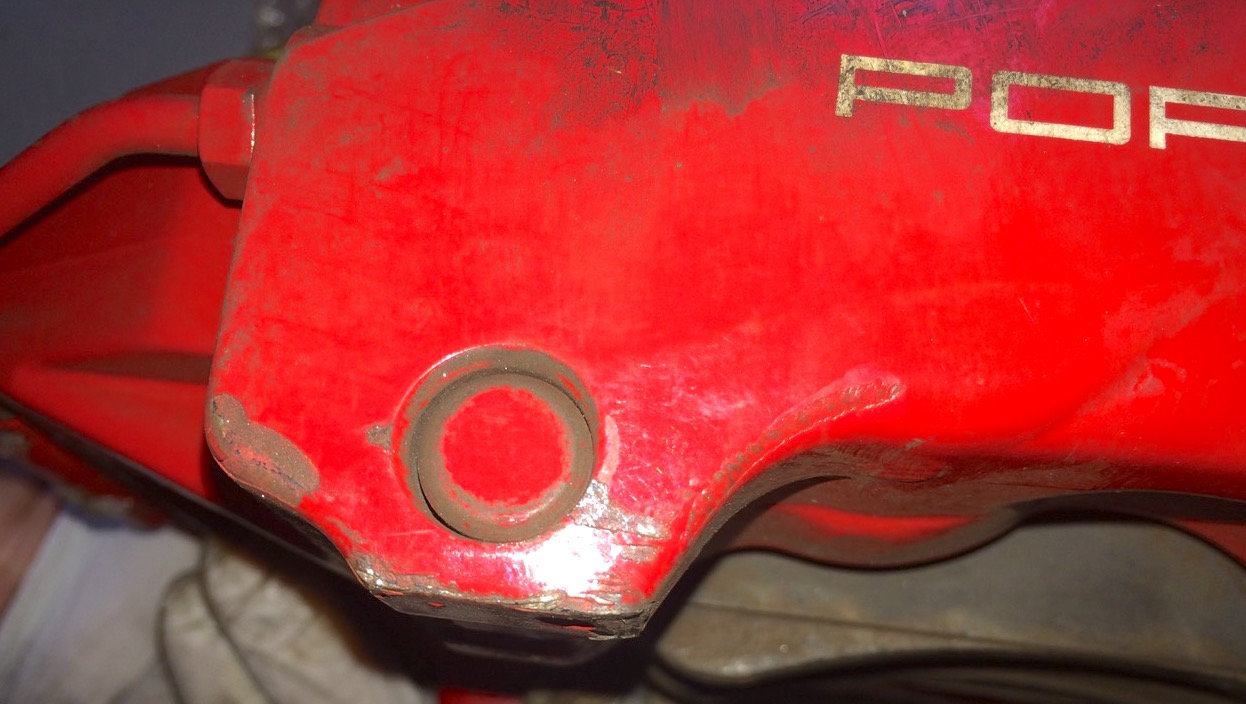
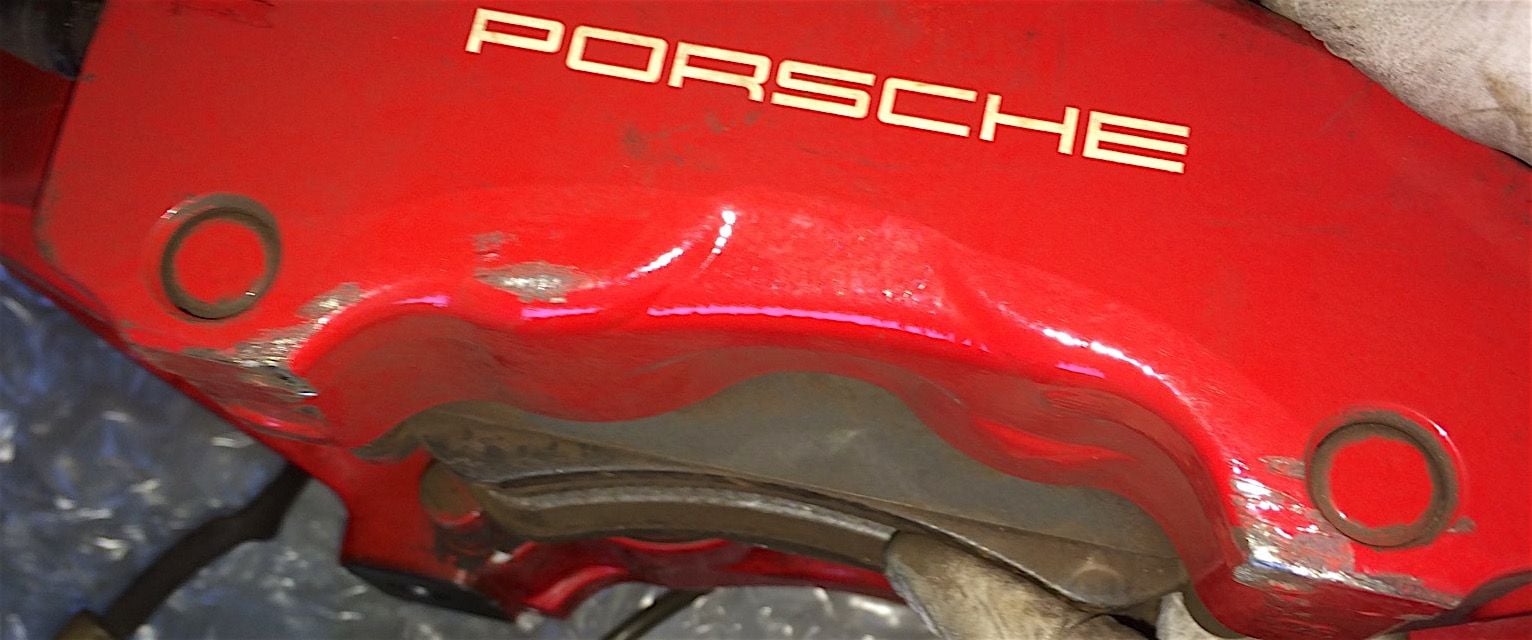
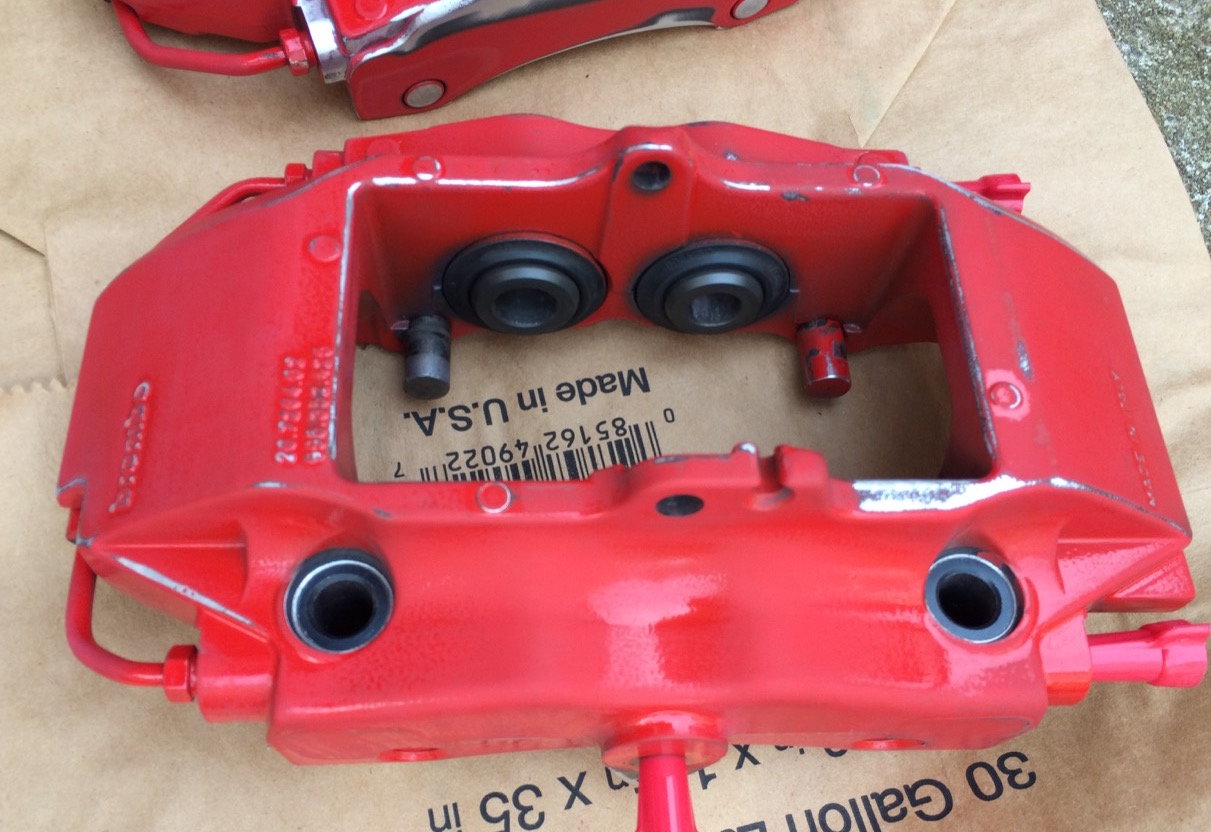
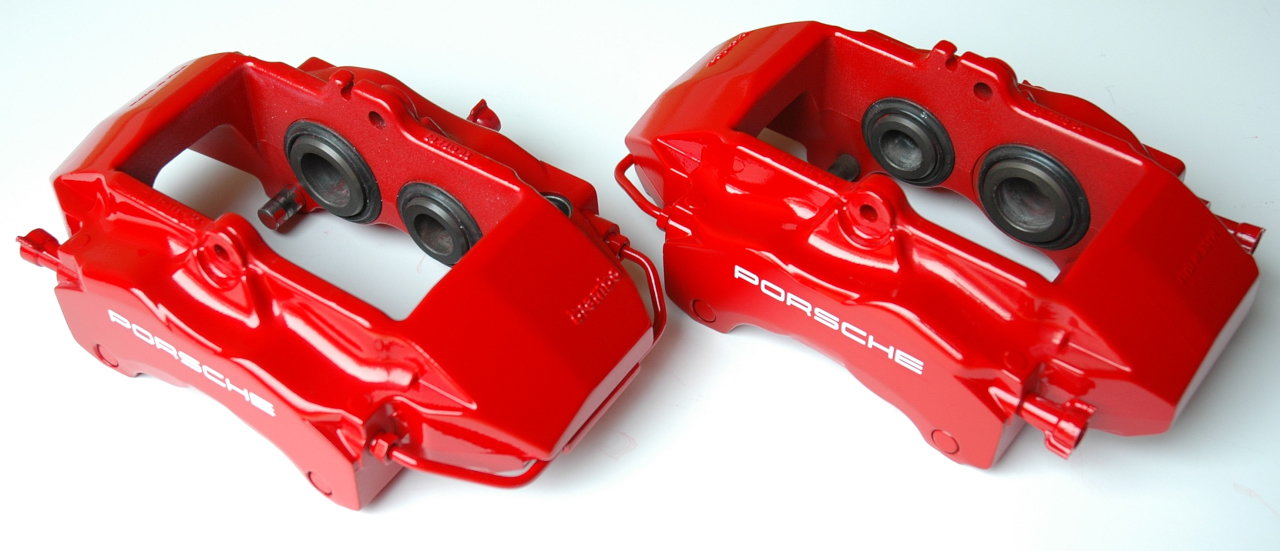
A while back I bought a set of low mileage but shipping damaged 997.1 C2S calipers. See pics below.
The 997.1 C2S calipers are a direct fit onto the 997.2 C2 and C2S. EDIT - FOR CLARIFICATION: I also added the "S" Rotors at the same time as they are a different from the NON-"S", and painted the top hats. See the parts list I assembled at the end of this thread.
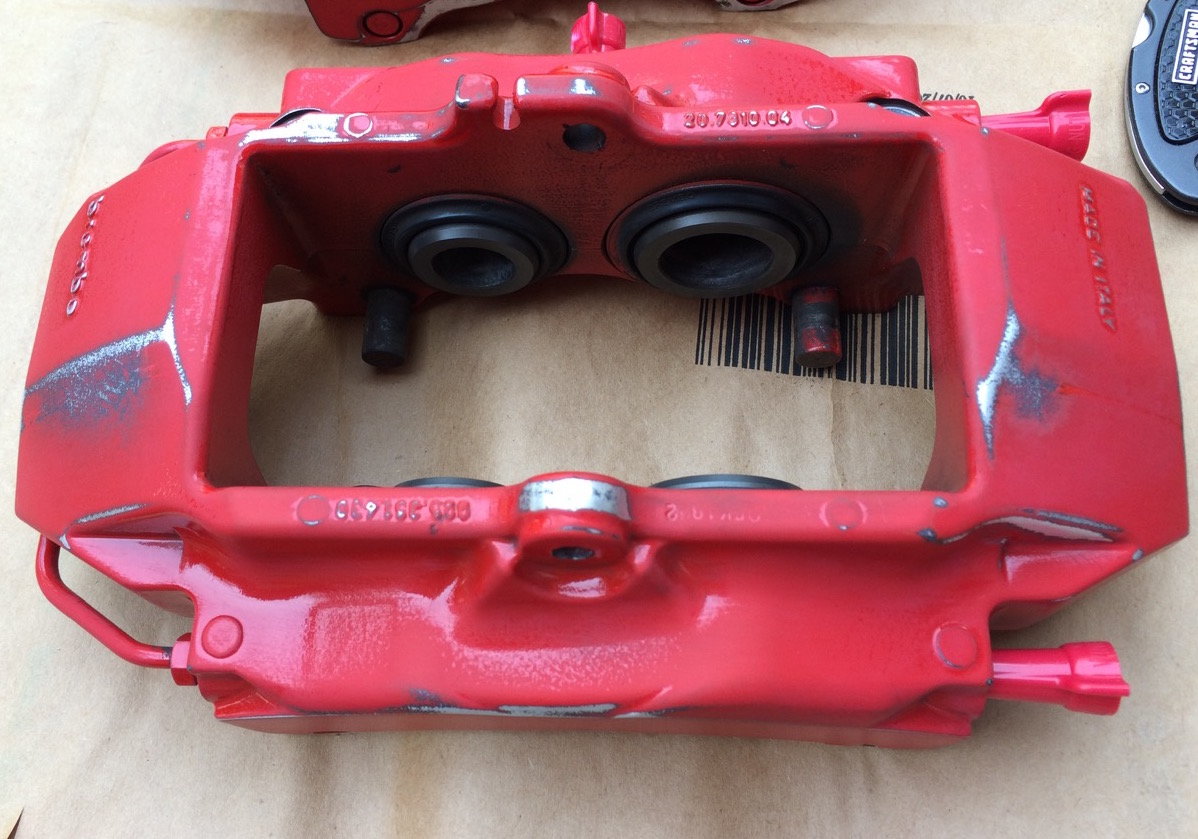
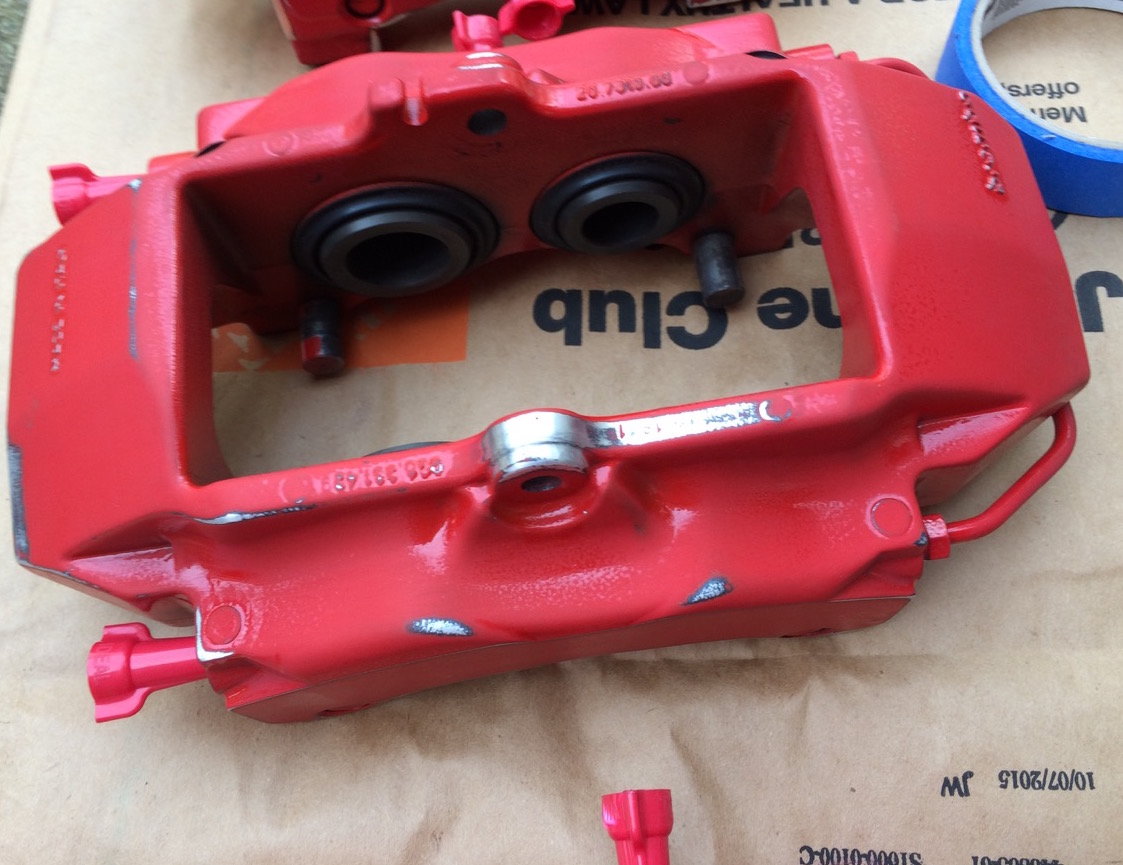
A couple of weeks back I cleaned up the calipers with a Dremel and sandpaper to sort out all the scratches and chips in the paint.
I used the following wing nut connectors to seal the caliper lines and bleed nipples.
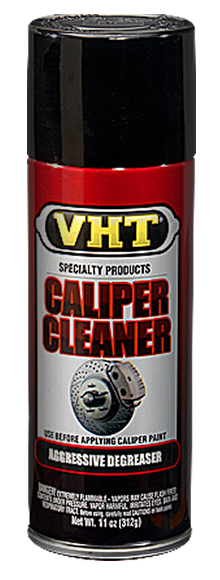
I then used the VHT Caliper Cleaner to thoroughly clean and degrease the parts.
I then masked the areas that I didn't want paint on.
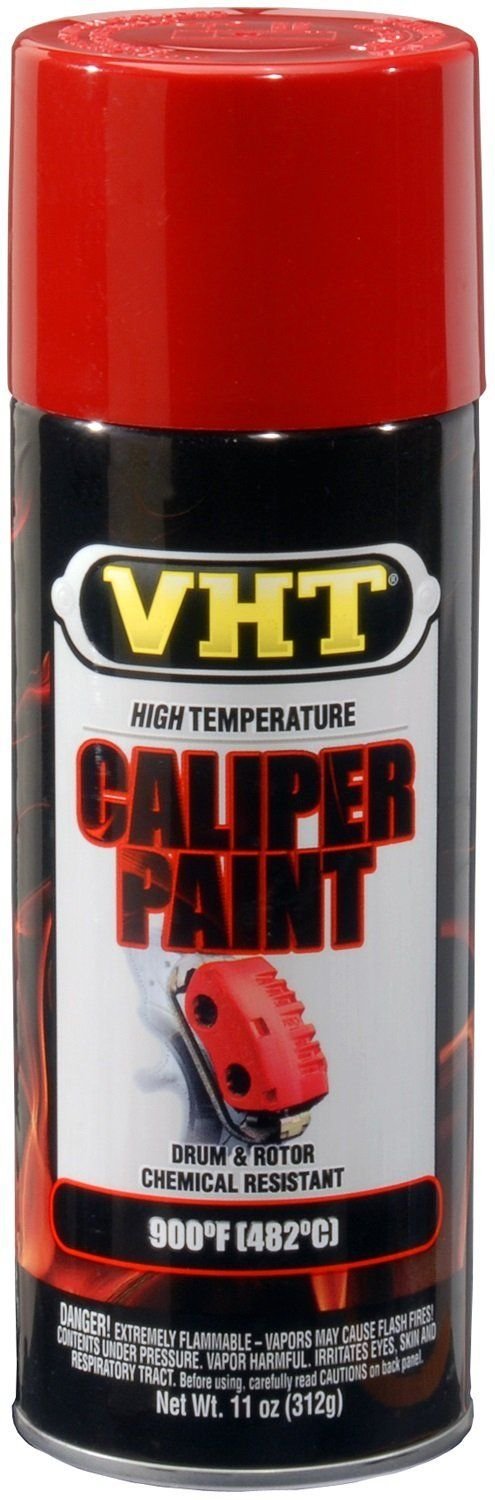
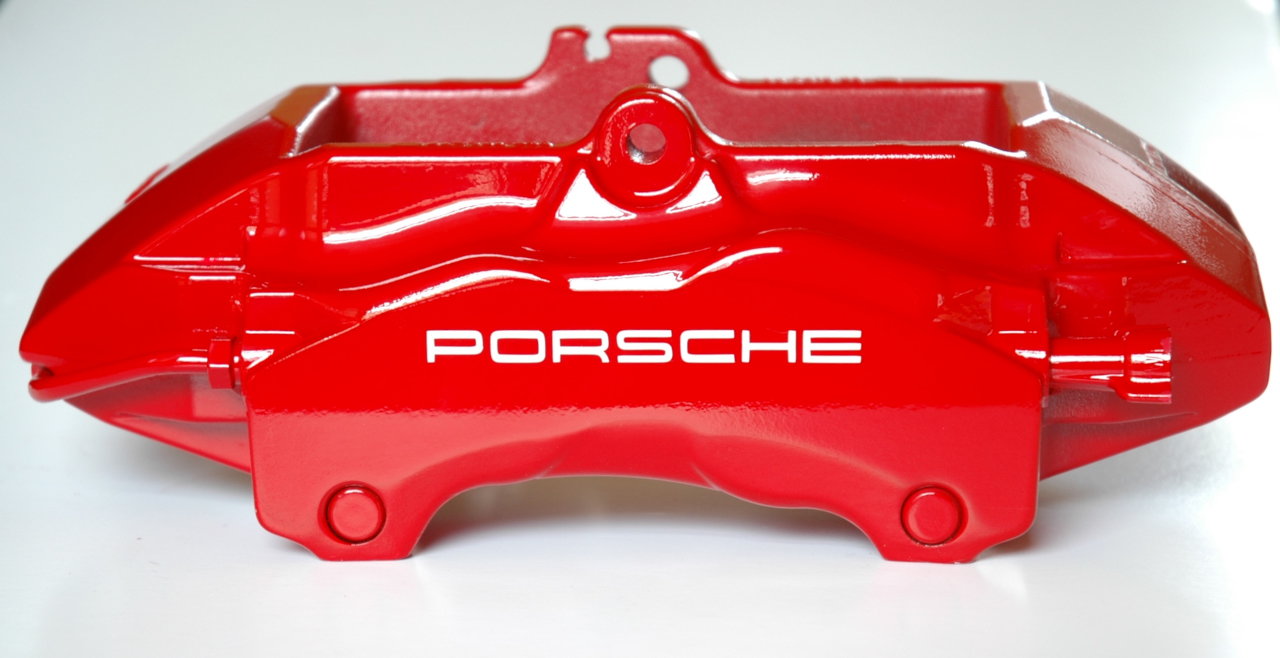
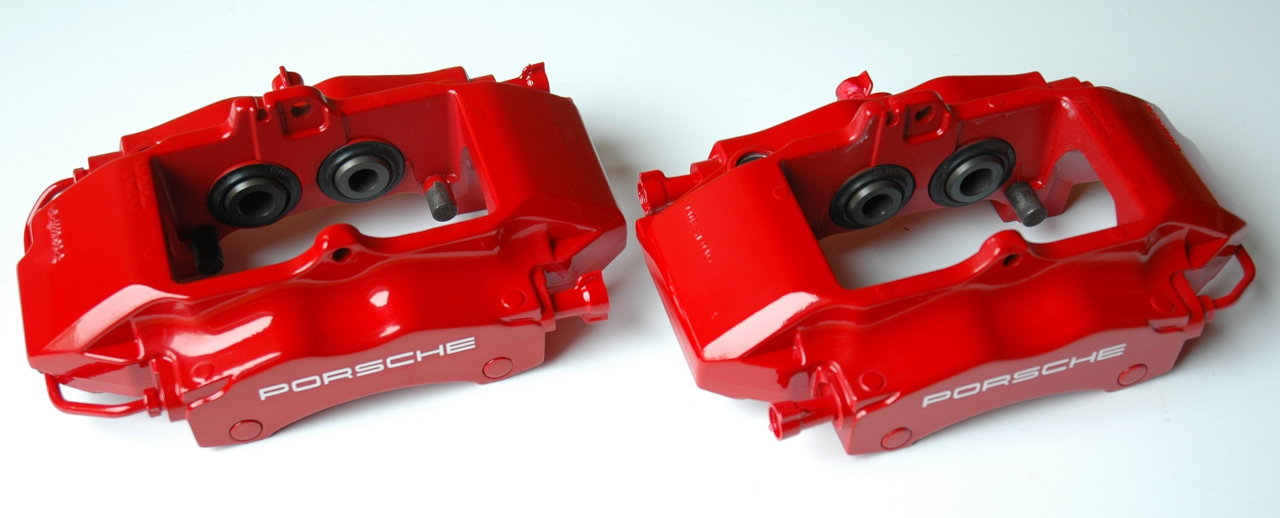
After a final wipe down with 70% isopropyl alcohol and allowing for thorough drying, I painted with VHT Red Caliper Paint.
Applied 2 light coats followed by 1 medium wet coat with 10 mins dry time between each coat.
The paint lays down really well from these cans. 2 Cans was perfect for covering all 4 calipers.
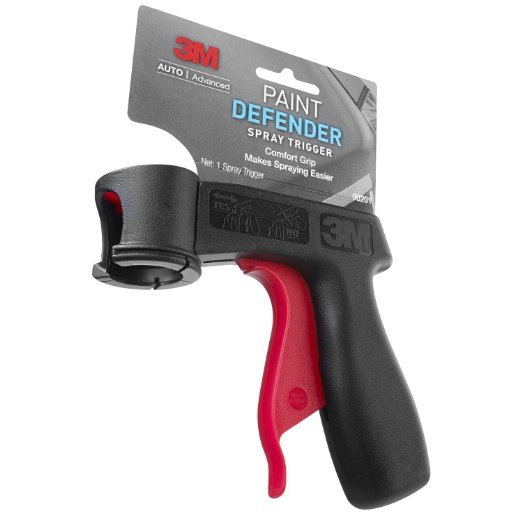
I highly recommend using the 3M spray grips:
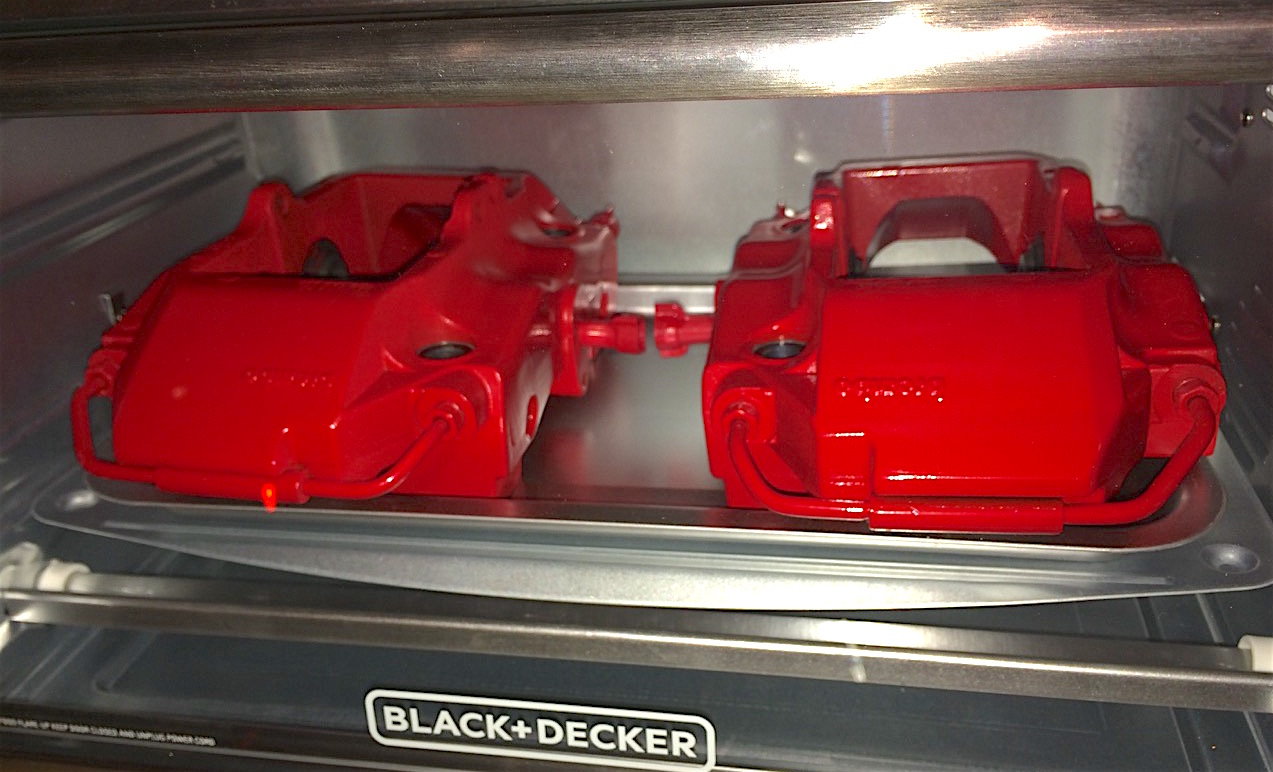
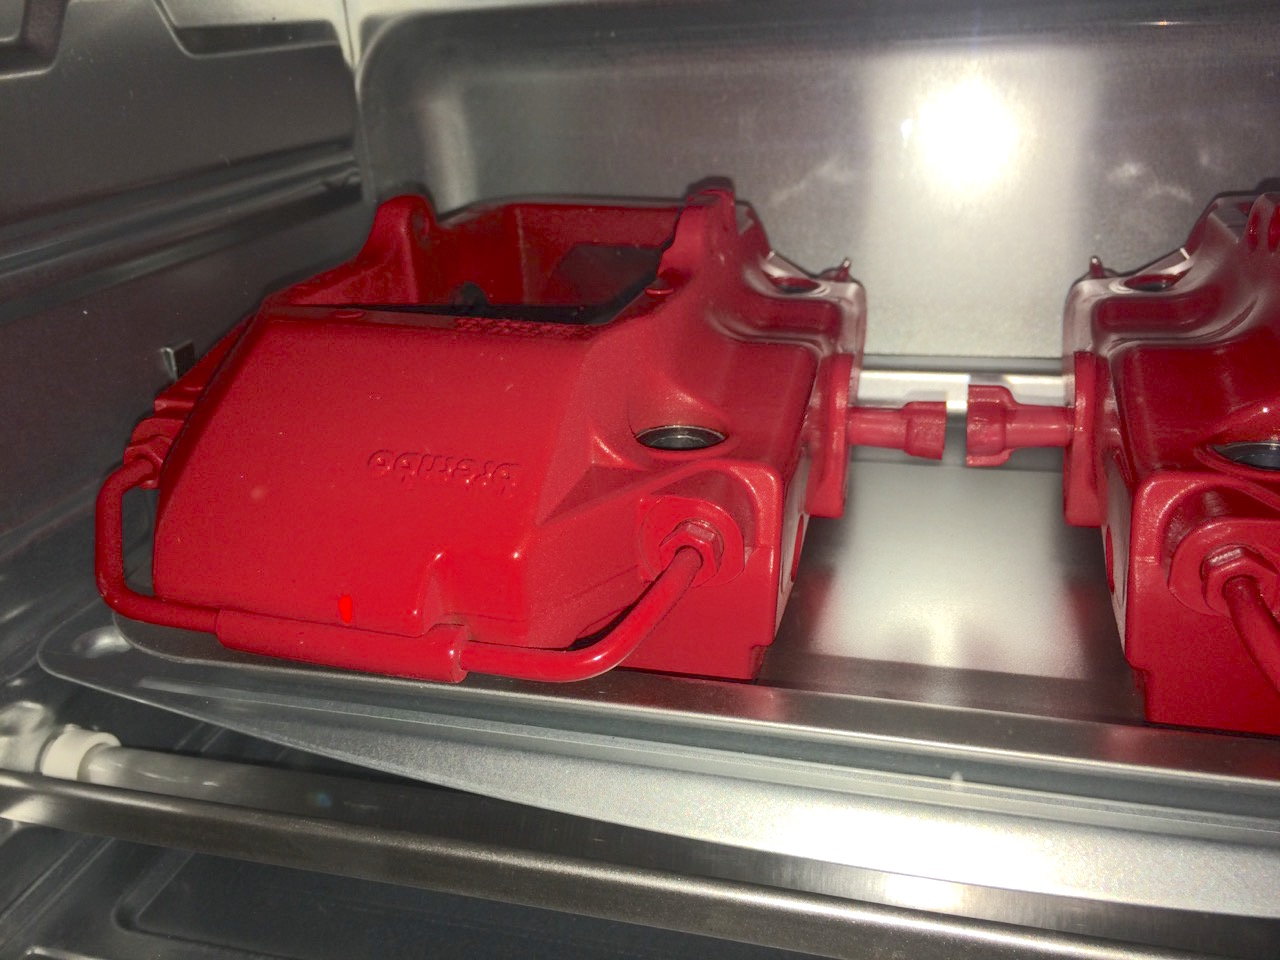
before this project I bought a cheap countertop oven and used this to bake the calipers for 1 hour at 200 deg F.
The paint finish really had excellent gloss and very good smooth finish after baking.
the following weekend a wet sanded a couple of minor areas that were not 100% and the gave the whole caliper a quick once over its BlackFire SRC compound.
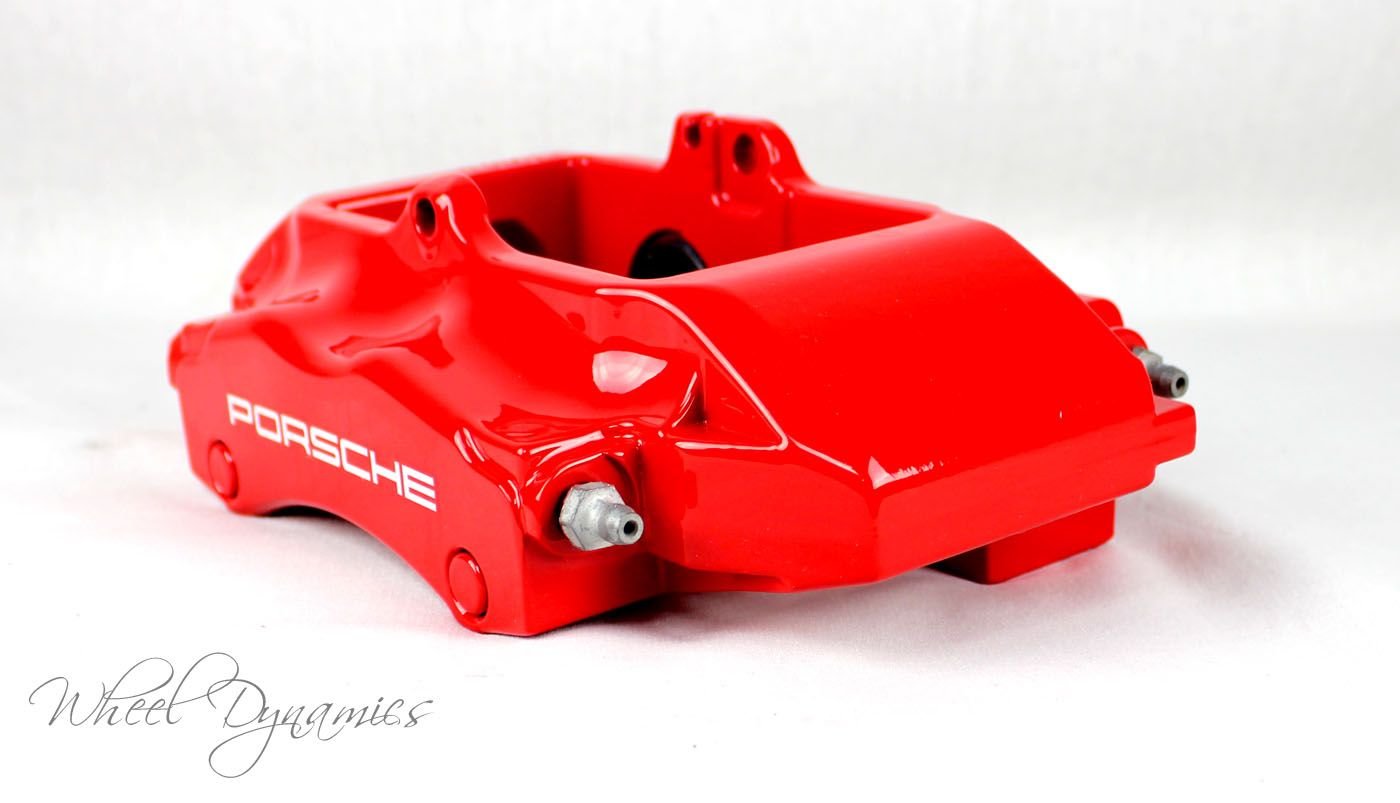
I then applied caliper decals sourced on eBay.
I decided not to clear coat because the finish was so good and glossy as is. Also I figured it would be easy to replace the decals if they ever deteriorated.
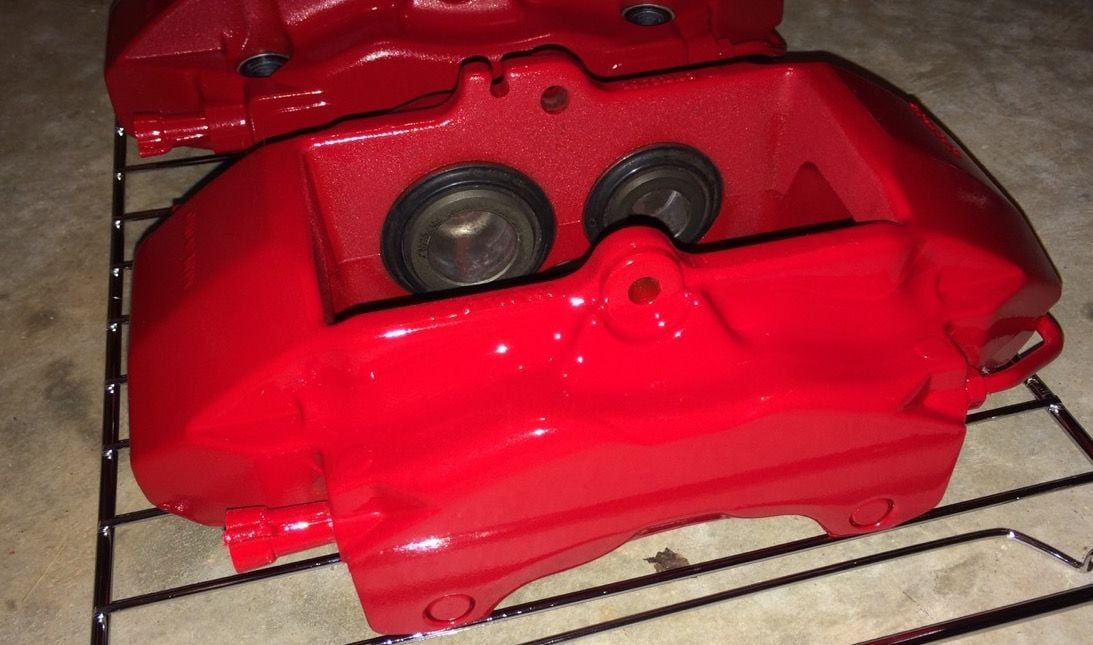
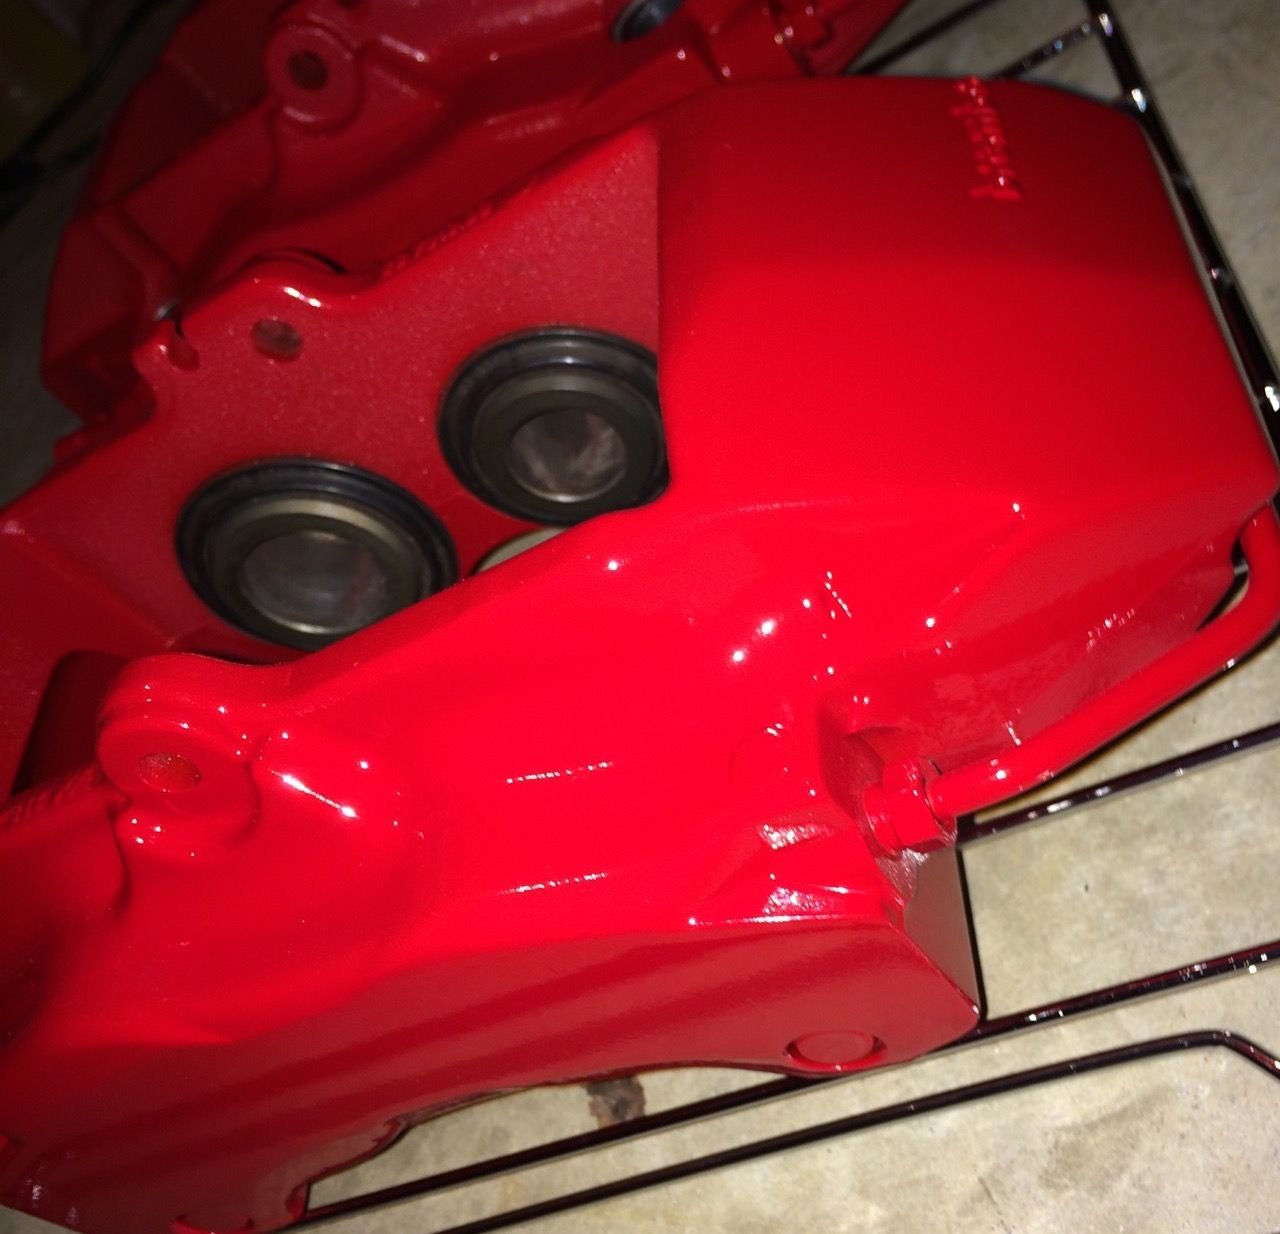
I am really happy wth the end result. The color match is perfect for Porsche red.
The only mistake I made was to not lay down a sufficiently wet 2nd and 3rd coat on the inside of the calipers. this resulted in a more matt / slightly rough finish on the insides of the calipers around the pistons, which is not really an issue as it is not visible, but as it s not super smooth it will collect more dirt. (lesson learnt)
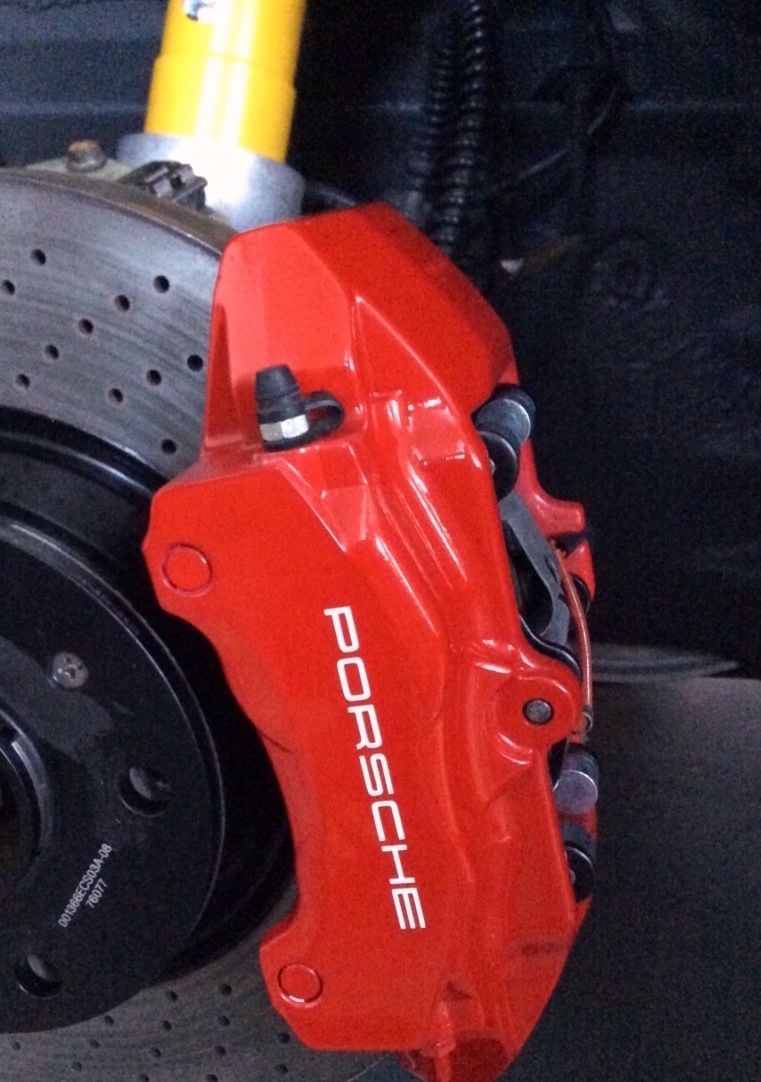
Ive installed the calipers and will take more pics on the vehicle once it stops raining. Overall I am extremely happy with the result. I'd caution not to undertake this task if you're not willing to put many hours into the prep, which is by far the hardest part. the painting is easy
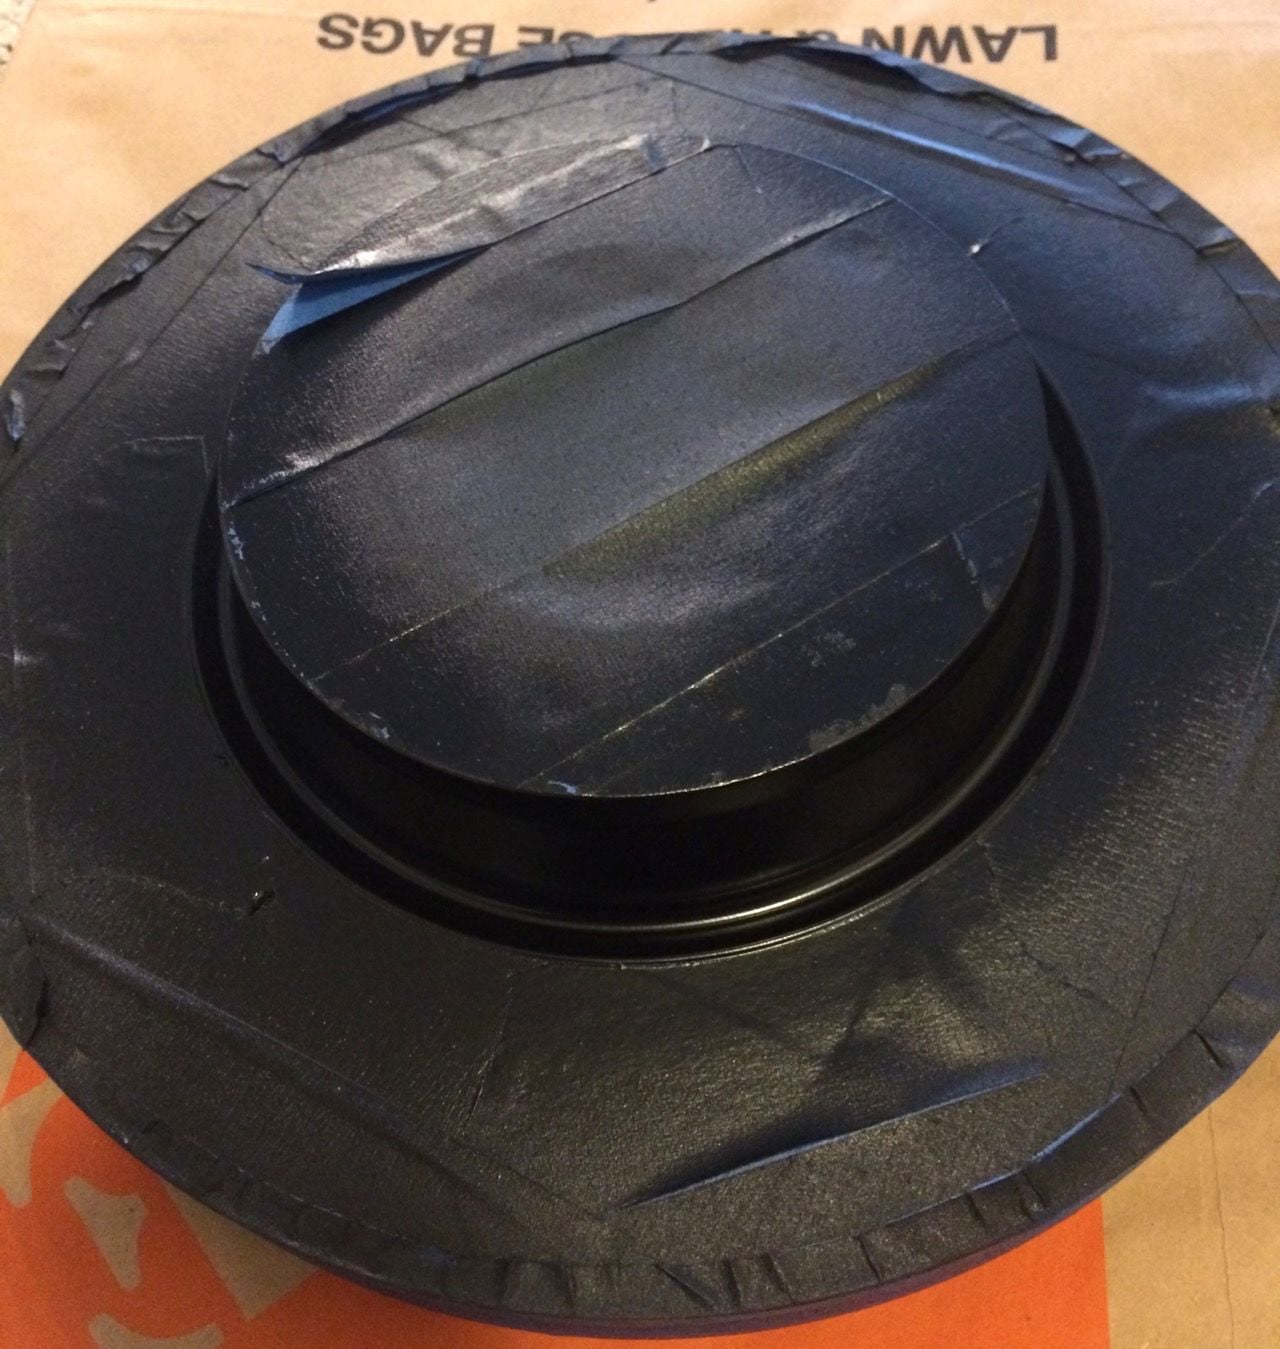
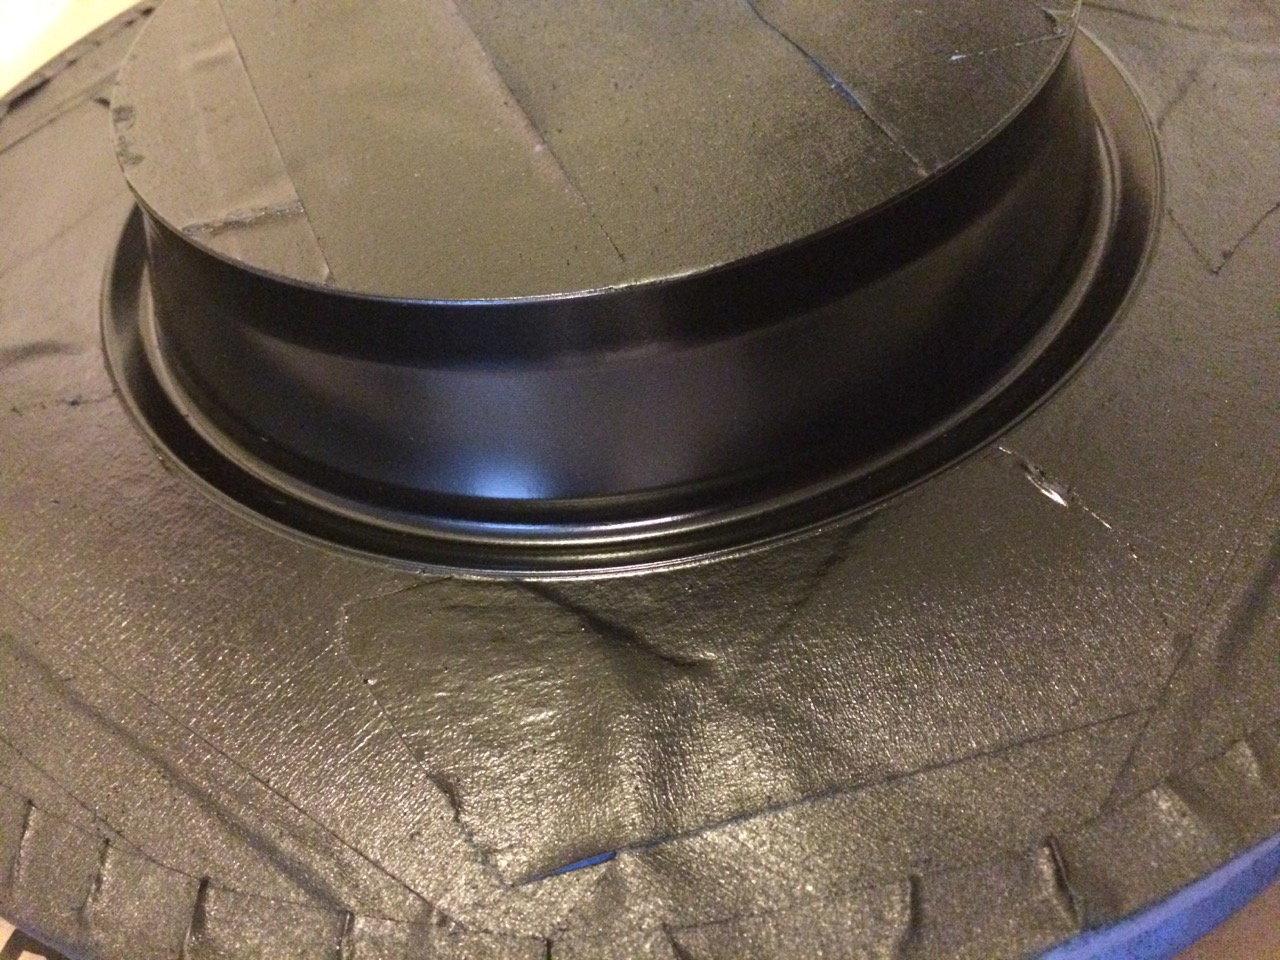
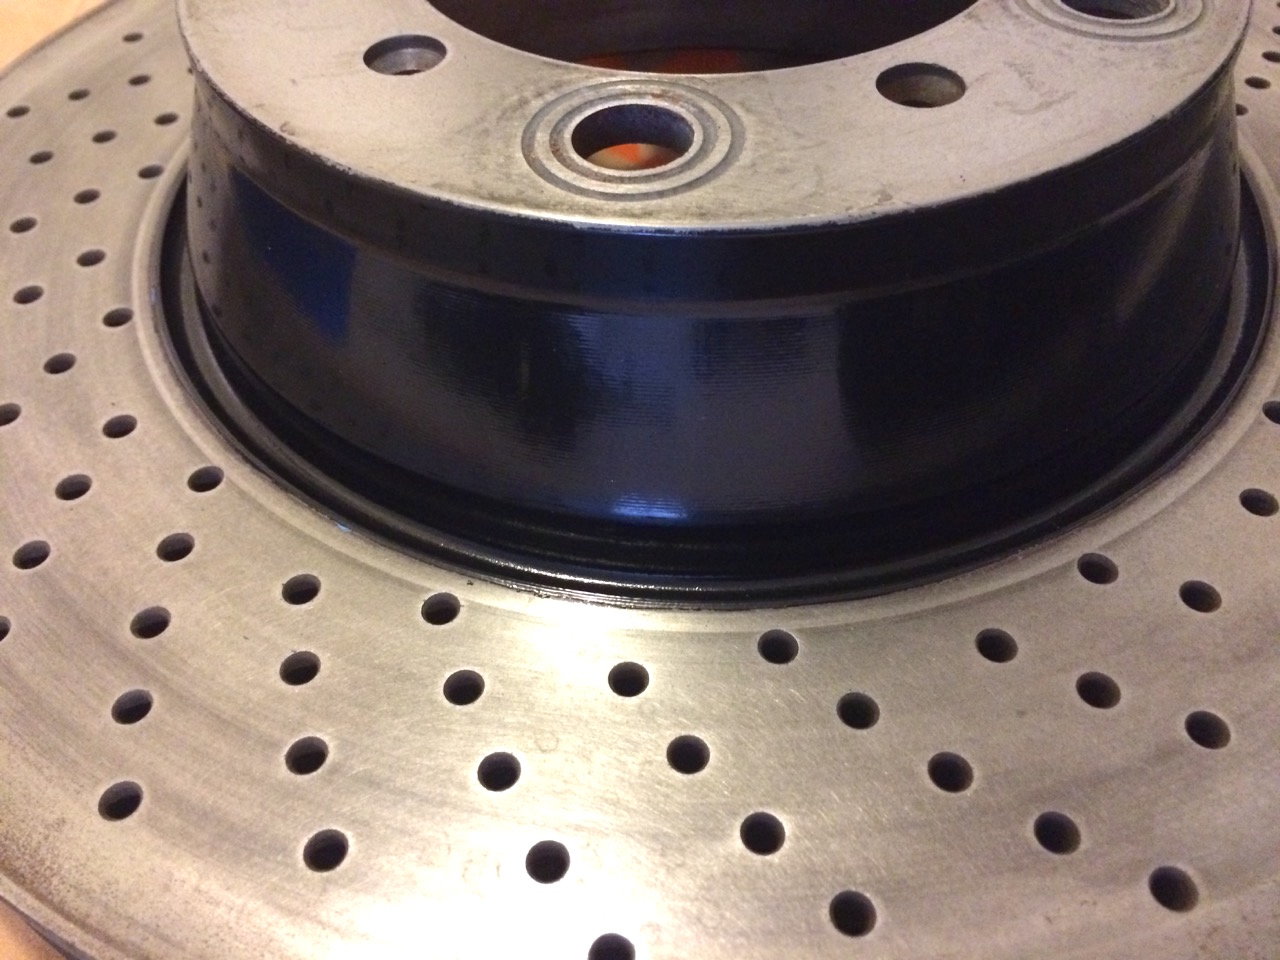
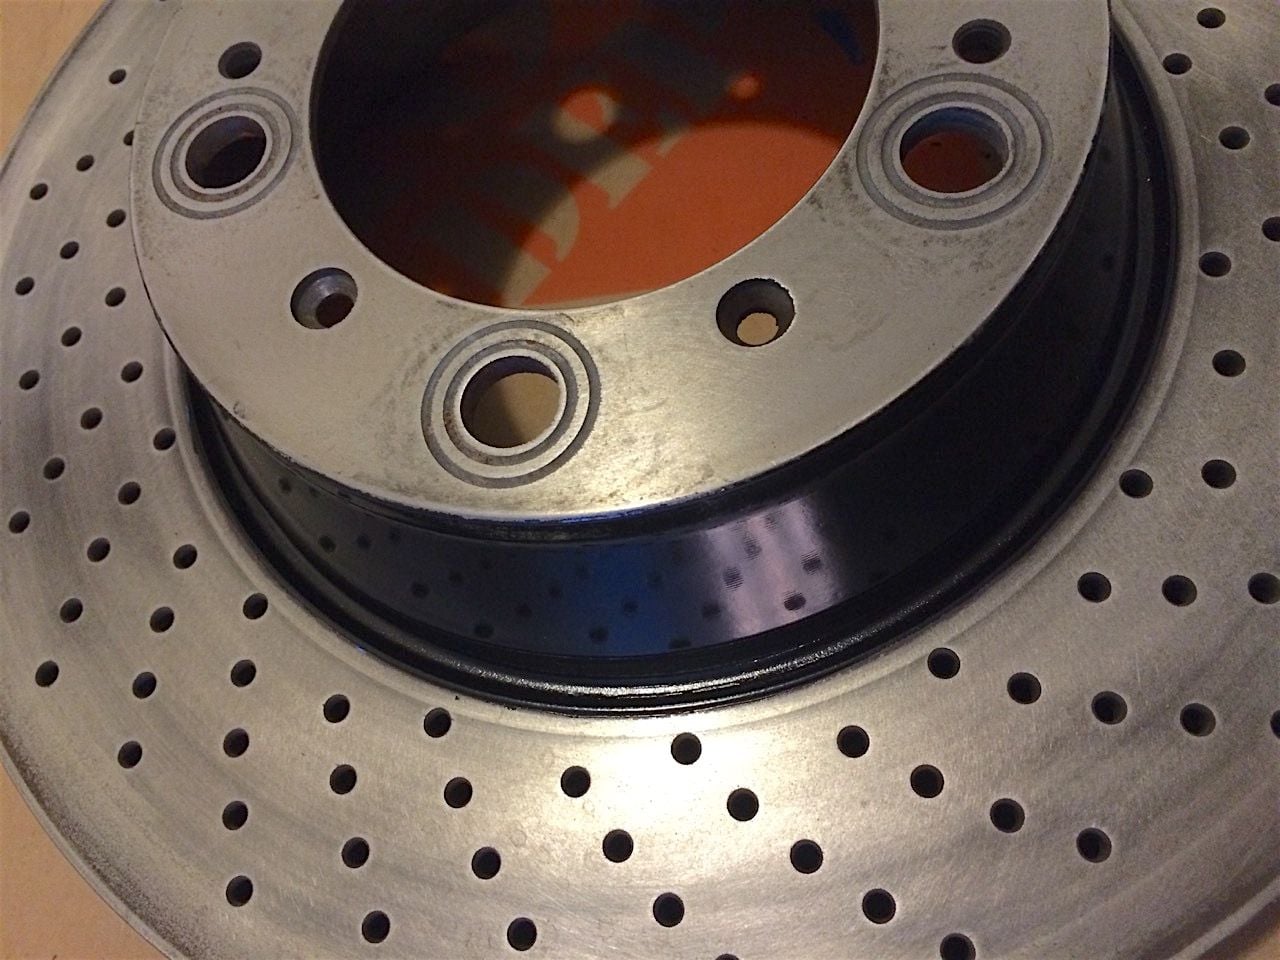
I also did the Rotor Top Hats at the same time.
Sanded down and cleaned off the factory coating and then sprayed with VHT Satin Black.
1 light coat followed by 2 medium wet coats, and then baked at 300 deg F.
_________PARTS LIST FOR REFERENCE___________
Note that I did not use either the front dampers or the rear spiders, and thus far I have no brake noise or squeal.
I installed Hawk Ceramic Pads
Part #'s HB667Z.622 and HB664Z.634
Porsche brake parts
Mounting Bolts (8 needed)
PLEASE NOTE 2 DIFFERENT POSCHE DEALERS SHIPPED ME THE WRONG BOLTS EVEN THOUGH I ORDERED THE CORRECT PART NUMBERS. FOR THIS UPGRADE YOU NEED THE 77mm BOLTS (not 85mm) FOR a C2
999-067-050-09-M100
Bleed valve (8 needed)
930-351-919-00-M100
Brake damper front
996-351-089-01-OEM
Brake damper rear 30mm
996-352-086-00-M100
Brake damper rear 28mm
996-352-086-02-M100
Sensor rear
997-612-676-01-OEM
Sensor Front Right
997-612-678-00-OEM
Sensor Front Left
997-612-757-00-OEM
Front Left Disc
996-351-409-04-OEM
Front Right Disc
996-351-410-04-OEM
Rear Left Disc
996-352-405-02-OEM
Rear Right Disc
996-352-406-02-OEM
900 067 117 09
bracket caliper bracket bolt (not needed if reusing existing brake line brackets)
wow, looks really good! I did this on on old 350Z in 2003, but I never baked them, where did you learn that trick? The gloss looks great and they look like the thick coat from the factory, which is very difficult to do, without powder coating.
I would recommend to anyone else who tackles this job to place the decals UNDER the clear coating, this will help protect them form the obvious. Otherwise the baking does help in the curing state, however we will typically allow the calipers to cure on their own BEFORE baking, I unfortunately cannot elaborate on the time and temperature we use during our hard-baking process as this information is considered proprietor.
The the decals in these photos were placed under the clear coating for reference.
I'd say after looking at these "professional" jobs, it confirms what a good job the OP did.
btw, don't worry about the decals not being UNDER any clear coat. I have done it over the paint in the past and even tracked that car and drove it very very hard and over 5 years and 60k miles the decals never changed color, cracked or were damaged in any way. As long as its a good quality/proper vinyl, you are fine. And heaven forbid, something did happen to them, its an extremely easy and cheap "fix".
Nice, nice write up and detail. They turned out really excellent. Those surfaces take some abuse for sure, and I'm guess the baking greatly increased the durability.
Wow... I never thought of baking paint job with a cheap counter top oven. Great idea!
Well done. They turn out great.
Thanks!
Originally Posted by rodH
wow, looks really good! I did this on on old 350Z in 2003, but I never baked them, where did you learn that trick? The gloss looks great and they look like the thick coat from the factory, which is very difficult to do, without powder coating.
Good job!
Thanks & yes I was really impressed by the level of gloss and the overall finish. I've done a fair bit of painting and VHT definitely is good for this application.
Originally Posted by Wheel Dynamics
I would recommend to anyone else who tackles this job to place the decals UNDER the clear coating, this will help protect them form the obvious. Otherwise the baking does help in the curing state, however we will typically allow the calipers to cure on their own BEFORE baking, I unfortunately cannot elaborate on the time and temperature we use during our hard-baking process as this information is considered proprietor.
The the decals in these photos were placed under the clear coating for reference.
Originally Posted by rodH
I'd say after looking at these "professional" jobs, it confirms what a good job the OP did.
btw, don't worry about the decals not being UNDER any clear coat. I have done it over the paint in the past and even tracked that car and drove it very very hard and over 5 years and 60k miles the decals never changed color, cracked or were damaged in any way. As long as its a good quality/proper vinyl, you are fine. And heaven forbid, something did happen to them, its an extremely easy and cheap "fix".
Thanks. I even bought the clear coat for the job, but after seeing a number of people on the forum had success without putting clear over the decals (over several years of use), I decided to do the same. It also makes touching up and re-coating easier in future if needed.
Originally Posted by Adams
Nice, nice write up and detail. They turned out really excellent. Those surfaces take some abuse for sure, and I'm guess the baking greatly increased the durability.
Thanks - the VHT instructions recommend the baking specifically to cure and ensure resistance to brake fluid, but I think it also gives the paint better overall strength.They do say that the paint will cure from use of the calipers (normal heat cycles), but that it won't be chemical resistant until properly cured.
Originally Posted by awrryan
Great job and, as usual, great write-up. Thanks for the contribution.
Here's a set I did with VHT red caliper paint, black Porsche decals & clear. Not bad for paint!
BUTZI - that looks really good also. Ironically I also bought black decals, but when I couldn't find any good pics of Red Porsche Calipers with Black decals, I decided to stick with the traditional white. Now I know that black also looks really good.

 04-01-2016, 10:31 PM