When you click on links to various merchants on this site and make a purchase, this can result in this site earning a commission. Affiliate programs and affiliations include, but are not limited to, the eBay Partner Network.
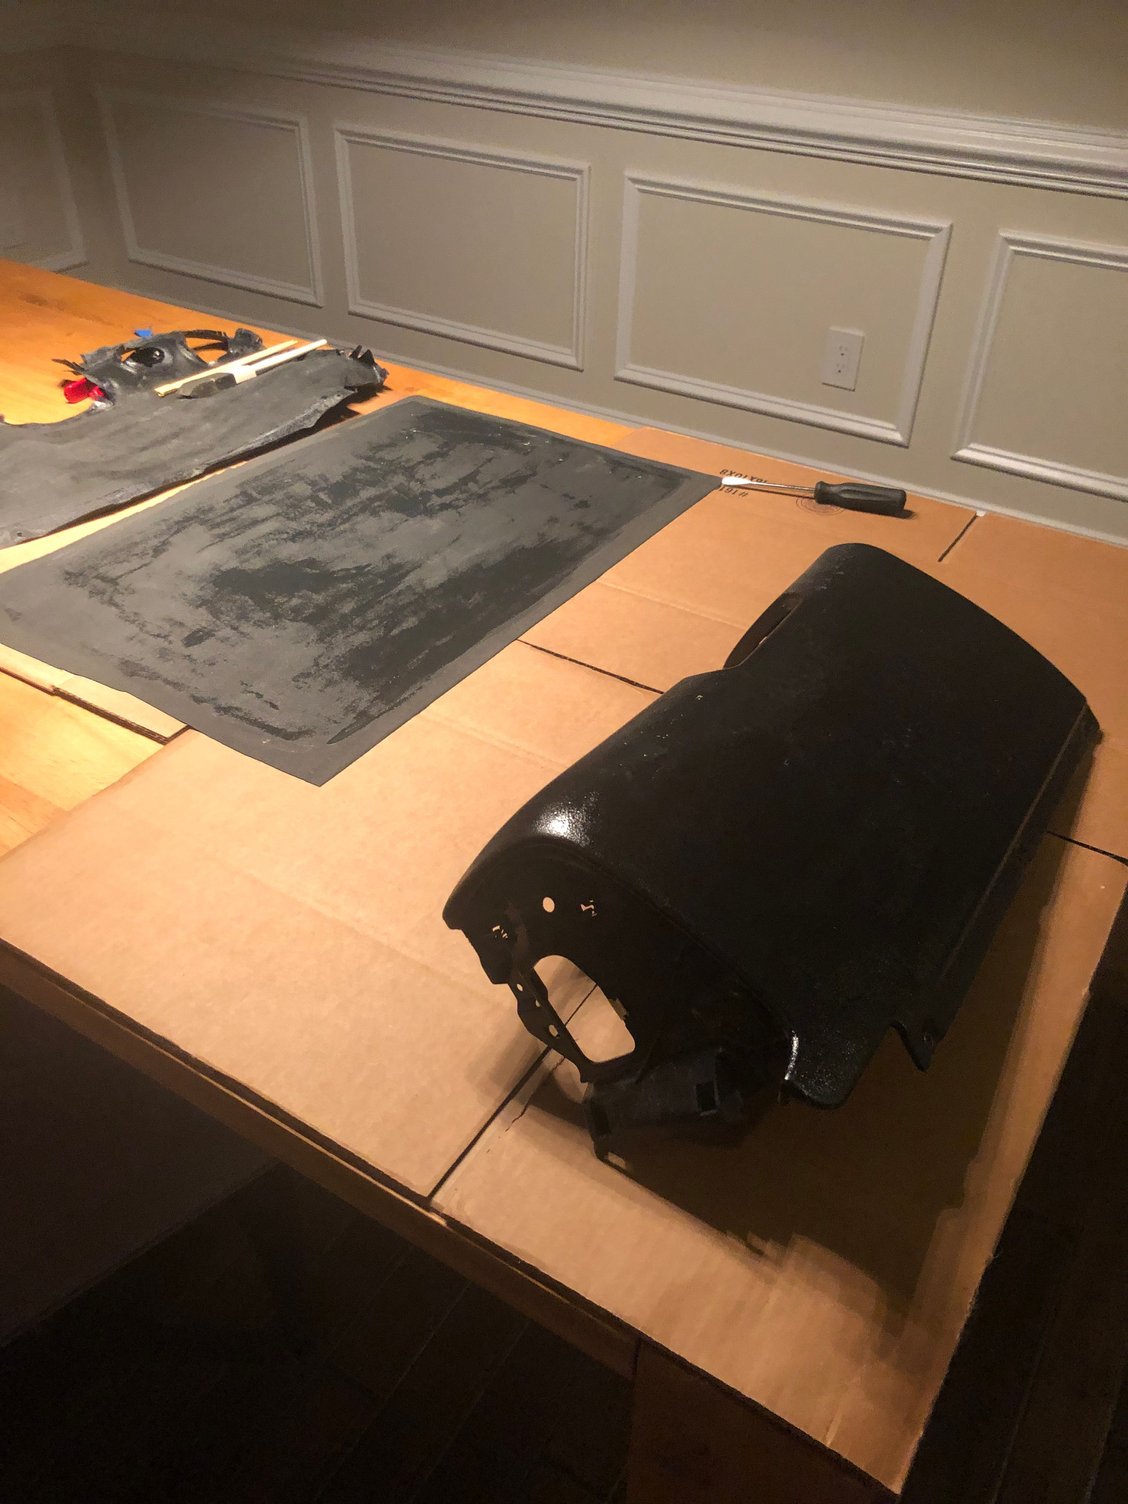
Preparing to do some damage Lights please Pull new switch to hole using twine tied to key New switch in place!
Update - Success!
2010 C2S 6MT Cab: Replaced the ignition switch today. I would not have even attempted this without fellow Reenlisters taking time to post and provide helpful DIY instructions. Special shout-out to "Bruce In Philly", "Linderpat", and "laphan", whose above post both motivated me and provided extremely helpful information, which enabled me to sucessfully pull this off in ~45min.
Some of my Notes:
1) Majority of this job I did from up top, not down from under the dash.
2) After I un-screwed plastic lock ring securing ignition, I let it drop in behind dash with wire still connected
3) Using vacant ignition hole in dash, I used a long screw driver to pry the wire fastener out of bottom of cubby (interior of dash), to allow slack for ignition to drop out of bottom of dash still connected
4) What gave me the most trouble, was getting the ignition switch our of bottom of dash. Not much room, but I finally got it via pushing it with paint stirrer through ignition dash hole, and pulling with hand from under dash.
5) disconnected connector from old ignition, connected it to new ignition with key in it, so I could tie a twine-line to it, and pull it back into place in dash (this part was a breeze.
Old ignition part number: 99761815904
New ignition part number: 99761815907
Some pics:
Last edited by evo9; 01-16-2020 at 06:49 PM.
Reason: typo
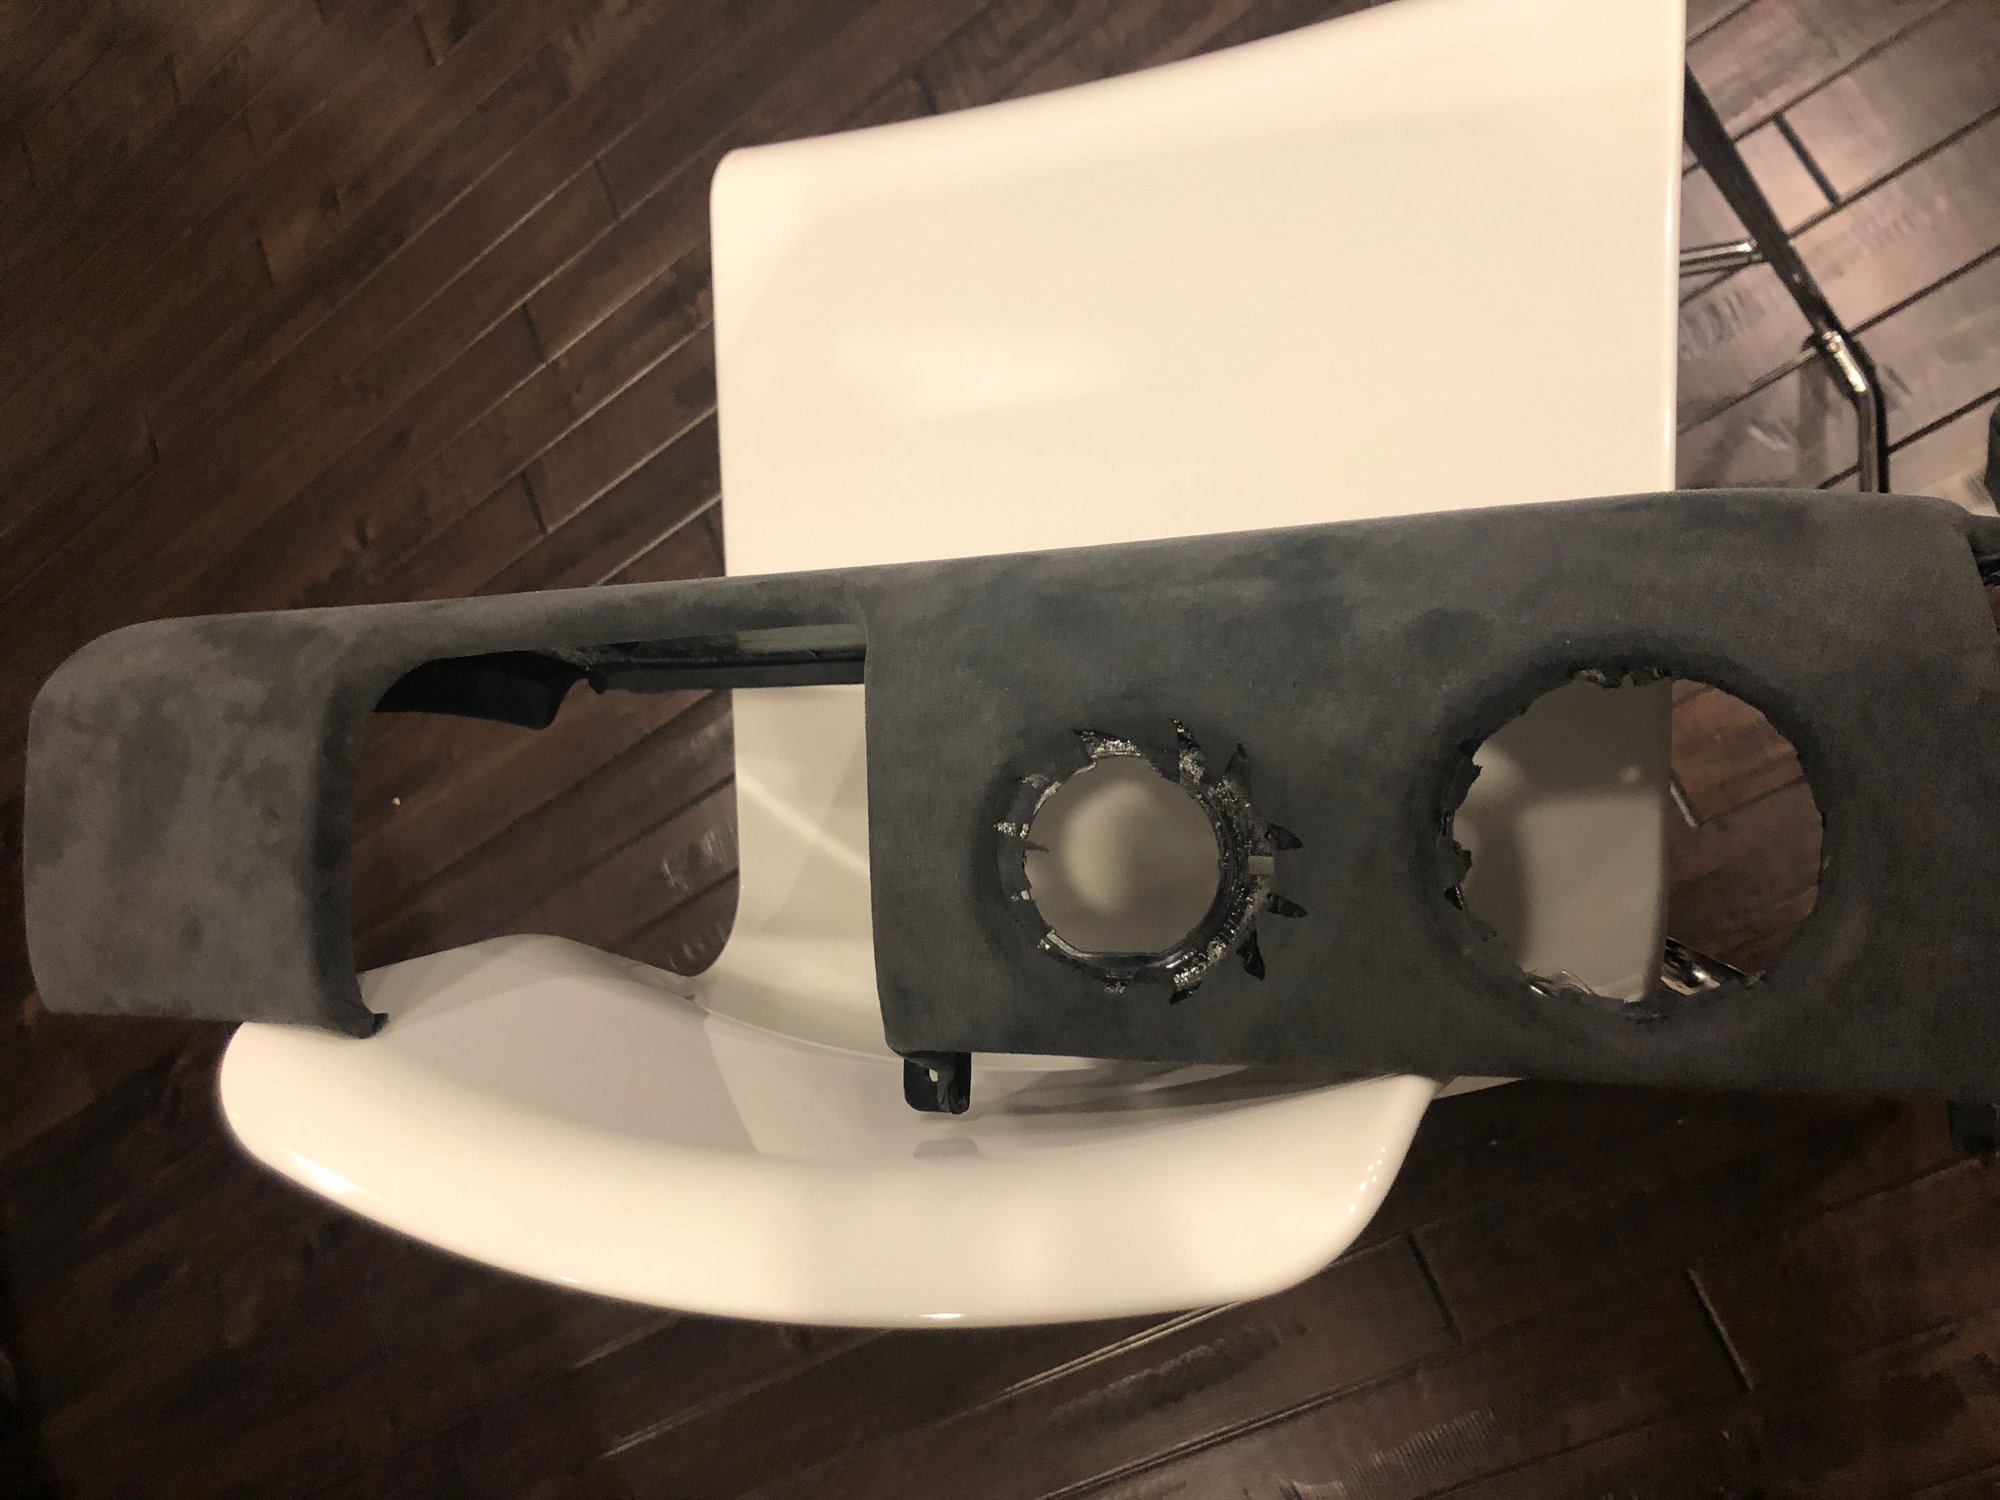
Btw. Taking that entire lower half trim piece isn�t the end of the world. The one annoying screw behind the wheel just requires a little work but you don�t have to put it back in when reinstalling.
Just took mine apart again as I wanted to redo the alcantara. Probably not more than an 45 min job to remove.
If you can do the switch without removing the panel great even better but removal isn�t the end of the world.
I had originally done the alcantara with some spray adhesive but this time I�m using contact cement. Some corners aren�t perfect but they�ll be hidden by either plastic or adjacent trim.
Debating either getting some CF switch and ignition trim or just painting them body color. Already have center console and cup holder in body color and am doing the sills over the weekend in body color since my stupid frunk and trunk switches are acting up.
I just did my ignition switch. Not bad.
I used a long screwdriver to pop the zip tie wire holder so the cable can extend long enough for me to disconnect and reconnect the wire connector behind the panel.
I connected the new module to the wire and put the key in (turned it to the right, in accessory mode so it locks the key). I ran an a twine connected to a long screw driver on one end and the key on the other end. Ran the screwdriver on the opening under the dash panel to the ignition hole and pull the ignition module. Works like a charm.
I bought the VW ignition switch tool. I am open if somebody wants to borrow it.
Many, many thanks to the sundry members who've taken the time to post their experiences!! With the excellent info provided by members (especially Bruce in Philly, Wayne Smith, linderpat, Westside997 and laphan), I was successful making the switch swap. I did manage to snap off one of the legs on that wire-tie holder that secures wiring harness when I popped it loose--oh well. At least once loose, that wiring harness could be pushed out the "back" of the dash so it dangled by brake pedal. This made disconnecting the harness from switch a piece of cake. I had a replacement wire-tie holder, by luck, so I snapped it back in using my long-reach needle nose.
I elected to remove NEG cable from battery during this entire project.
I'd purchased a pre-owned switch from a dismantler for $55 bucks. Works great and came with a couple keys to boot. So, I can have those in reserve if I ever need to work 'em over to replace a damaged/lost key down the road. Reflecting back on this project, you all provided AWESOME inputs,pics and video which allowed me to utter a minimum of salty outbursts and I only needed one small band-aid:-) Very satisfying to accomplish this task and even more so to have a switch that performs as expected. I think Bruce's claim of "Easy but very fiddly" summarizes the project perfectly.
Just as FYI, I did find that one of my long-reach needle nose pliers that has a slight bent nose worked extremely well to form a "pin spanner" that could be lodged in two 180-degree-opposing "notches" in that black plastic ignition switch nut. Both loosening and re-installing the nut proved quite easy. On my pliers, the tips were tiny enough to fit nicely in the notches of the nut. Sure, I'd rather have had the proper special tool, but with the low torque required, I found the needle nose worked fine. Note that the switch itself has details molded into the body that align with dash features such that you can only install it one way and the features keep the switch from rotating when you loosen/tighten the nut. Using the twine method really helped me out, too, for pulling the new switch/harness back up into position.
Once installed, I used the emergency long-pin method to remove the key to which I'd tied the twine. If I ever have to do this again, I've concluded the only tools I need are the little plastic pry tool to remove face-plate, my trusty angled long-reach needle nose pliers to remove/install the ign nut, a long thin screwdriver to pop that wire-tie holder out of the dash behind ign sw, and the twine to pull new ignition sw/harness back into position. Oh, and I did find it handy to place a few small flashlights on that "shelf" that's just behind the ign sw. I managed to sneak those flashlights up onto the "shelf" by reaching up to it behind the dash above the brake/gas pedals. The extra light really aided me in seeing WTF is going on up in that dark and cramped void.
I did find linderpat's suggestion to move steering wheel UP and OUT as far as possible helped me greatly. By doing that, there is a small, but very useful opening that is created in the lower left side of steering wheel dash opening. I placed a couple of my fingers into that hole and could gain control of harness and manage the "fiddly" a bit better.
As others have confirmed, definitely no PIWIS/programming required to do the switch swap. Only need to hassle with that if you are required to introduce a new key FOB into the mix.
Time for a beer!! And then I'll re-register my window's UP/DOWN....
Last edited by Fun987C; 05-08-2020 at 11:30 AM.
Reason: Provide some of my observations on the project.
It is also possible to completely disassemble the switch and fix it, but you've got to be a bit mechanically minded. I had the same slowing down of the key functions and removed the unit and fully stripped it down to the electronic board, rotary contacts and spring returns.. Cleaned the traces, put a bit more tension on the contacts and away we go. Working like a new one.
Getting the 2 springs back the right way took a bit of doing but I got it.
I saved my old switch thinking I might disassemble and take a look-see. Glad to know floatingkiwi did that very thing and was successful restoring it. I'm going to attempt same. Any tricks you could share on getting all those little plastic tangs compressed to split the two housing sections apart? I feel like I'd need about six hands and a lot of finesse just to do that part of the operation:-)
Thats the easy part!! some small jewellers flat blade screwdrivers to hold the tangs apart. The by far most difficult bit is pulling out the central key piece and then working out where the 2 large springs came from... I took no photos unfortunately
I have the same issue. I’ll replace the Ignition Switch & greatly appreciate the detailed explanation.
One Opinion Comment: Why would this be an item that has been ostensibly reported by multiple users/owners, for a quality car such as Porsche’s. Has Porsche QC actually regressed that much that a simple Ignition Switch fails after just a few years? To me, it fails Common Sense.
The above is just my opinion ........ No responses. Yet, it gives me ‘pause’ on what the hell is going on with QC for Porsche. Yikes! [BTW: The rest of the car is fabulous & this is my 3rd.]
- How much are you asking for the VW Ignition Switch Tool?
- The correct tools always make a job easier.
- Rent or Buy?
- And, what exactly is it's purpose?
- How much are you asking for the VW Ignition Switch Tool?
- The correct tools always make a job easier.
- Rent or Buy?
- And, what exactly is it's purpose?
Thanks very much!
the tool is a socket to rotate the ignition switch lock. It is not a must have, you can use a larger needle nose plier to loosen it. The tool would make that lock ring removal and install much easier though.
Here is how the tool looks like: https://www.ebay.com/itm/324249685086
I can lend you the tool if you pay for shipping and back.


 01-16-2020 | 06:47 PM