When you click on links to various merchants on this site and make a purchase, this can result in this site earning a commission. Affiliate programs and affiliations include, but are not limited to, the eBay Partner Network.
I ripped off my passenger side rear wheel arch trim during an autocross. I replaced it this weekend. While it was quite easy, chances are if you've ripped yours off in an autocross like I did, or hit road debris that ripped it off, you don't have the part on the car to see how it fits. So, here is how I did it that might save a couple of false starts. The part I'm talking about is:
I sourced my replacement at Suncoast. It was maybe $30-40. Apparently, the C2 part and the C4 part are different. So pick the right one....and for the correct side.
[2] Place Jack stand in appropriate place. I originally put mine on the rear jack point--the replacement part straddles it, so it seemed logical. But it made it difficult to move the trim around. I jacked the car up move and moved it to the front jack point such that the rear wheel was still off the ground. Not ideal, but it got it out of the way
[3] Remove the rear wheel. If you've got a Torx socket, this step might might not be necessary.
[4] If the part is still on the car, remove the 5 torx screws. There are 2 inside the wheel arch near the bottom.
There are three under the car:
Now there is a clip that holds the upper part of the trim firmly onto the wheel arch. You'll need to push the outer upper part of the wheel arch in toward the engine to disengage the clip.
[4] Now if your part was ripped off like mine, there are a couple of spring clips likely still attached to the old trim. Hopefully you still have the trim to recover them, shown here on the underside of the trim:
If they're still attached, remove the torx screws. Then insert the spring clips into the square holes on the underside of the car, as shown:
[5] Oddly, the new part included screw clips for the two mounts screws in the wheel well. However, the mount screw spring that attaches to the underside protective plastic wasn't included. I salvaged one off my old part and stuck it on:
[6] Now place the trim into place. Start first by mounting the upper wheel arch trim clip onto the wheel arch (see last photo in step 4). Once that's on, move the trim around to align the holes. Then screw in the 5 torx screws that hold the piece on.
hi i was going to replace mine, ordered the part from suncoast (https://www.suncoastparts.com/product/997C2FLAP.html) but it didn't come with those square'ish metal clip you mentioned in the DIY? any idea where can i source those clips?
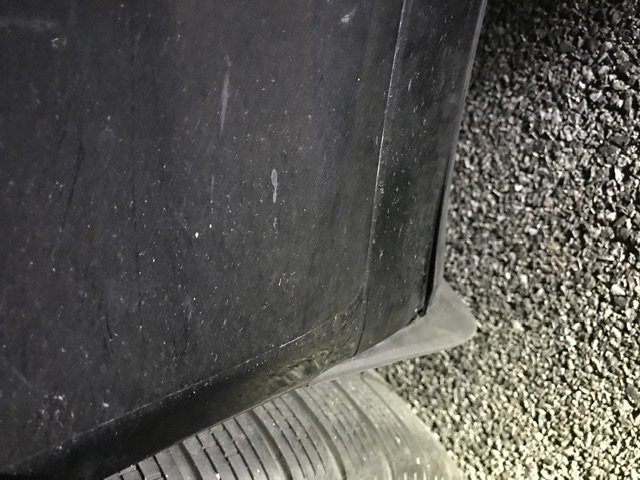
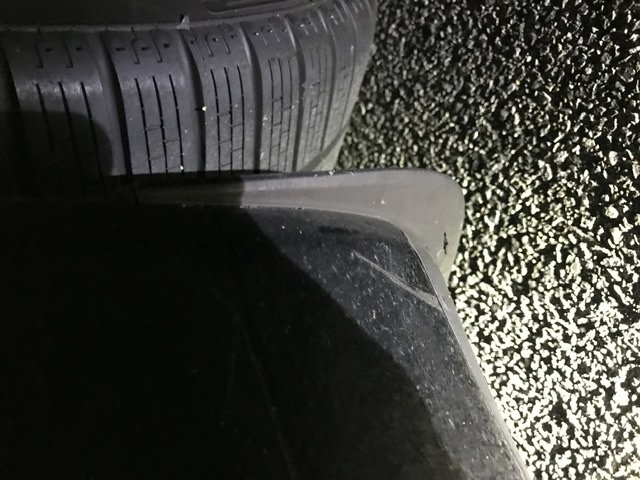
I replaced my torn one, but found the fitment isn�t quite good, there is a bit of gap between the trim and body. Interestingly there was a similar gap with the old torn piece as well (which I thought was because the old piece was torn). Any suggestion on how to improve the fitment? Kind annoying because the gap tends to collect lot of dirty and stones... attached pictures of the bad fitment side and the good side for comparison.
A HUGE thank you to Rotmilky! I used your post to replace my Rear Wheel arch trim. I got the parts from Suncoast... surprisingly for $200.00 less than my dealer quoted... :-). Your photos were tremendously helpful. I got both on without removing the wheels, thanks to a small fingertip ratchet I have for my bicycles. Thank you again for sharing your advice.
Jeff
I'd contact Suncoast. They're very helpful. Don't know if it will help but mine had a gap too....until I figured out that the flap has to go in (up the inside of the fender in an "L" shape; i.e. push the mudflap in (toward the front of the car) while simultaneously pushing up (toward the roof of the car). Once the mudflap slot gets lined up it fits tightly. Naturally, the first mudflap took me over an hour to get installed correctly. The second one took less than 10 minutes. :-)


 03-25-2014, 11:47 PM