When you click on links to various merchants on this site and make a purchase, this can result in this site earning a commission. Affiliate programs and affiliations include, but are not limited to, the eBay Partner Network.
They also say that the treated metal threads should be put in bare to avoid an unknown quantity of lubrication that will result in an uncontrolled actual torque and potential thread stretch or other damage.
Add one more successful attempt. I went with the bumper removal method on my 997.2, here are some details on R&R http://www.gettydesign.com/frp/997/Rear_Bumper.pdf for instructions. I found a youtube posting on bumper removal on a 997.1 and there are a few differences. Removal wasn't bad, it was useful to have a helper when pulling the bumper off the car as there is one wire to disconnect and there was not enough slack in the wire to put the bumper on the ground while the wire is attached.
A tip, the heat shields were the hardest thing for me to remove but I finally realized they are very flexible and they can be bent or flexed alot without any noticeable problem during reinstall.
Also I noticed the plugs I removed were heat range R5 but the new ones are R6, verified the are the ones shown as correct, hmm.
Also I noticed the plugs I removed were heat range R5 but the new ones are R6, verified the are the ones shown as correct, hmm.
My originals in my 2009 were R5, then at my 40K change they were R6 as they were a few weekends ago at 80K. The first new set at 40K were Porsche labeled, and the second a few weekends ago were Bosch labeled from Pelican (and way way cheaper). If you look on the metal ring/nut you will see the Bosch part number stamp and all three sets (I kept them), have the exact same stamp numbers... there is no difference. Only the green R5,6 is different and the Porsche labeled plugs had the R6.
Thanks Bruce. When you get a chance can you post the Bosch part number? I need to order a new set of plugs soon.
At autohausaz.com, they have the Bosch FRG5NQE04 for $8.82 each, with free shipping on orders over $70. Is this the same plug Bruce?
Thanks,
Rich
2009 C2S
Bosch FGR-5-NQE-04 This is the number for both Porsche label and OEM on Pelican website, as well as the numbers on the plugs themselves on all iterations (factory, 40K, and 80k replacements).
Peace
Bruce in Philly
PS: in the prior page to this thread, I posted a pic of the Pelican order page to show both as the link above may change.... I think Rennlist's picture system is buggy.
Thanks Bruce. Pelican has a good price. I think I'll go with the Bosch plugs and save $13.25 per plug and make due without the Porsche name on each spark plug box.
My 2012 997.2 has the exhaust PSE. Are there additional steps involved in removing the side mufflers or should I remove the exhaust manifolds and CATS instead? If I remove the exhaust manifolds and CATS, will I have sufficient room to R&R the coils and plugs?
My 2012 997.2 has the exhaust PSE. Are there additional steps involved in removing the side mufflers or should I remove the exhaust manifolds and CATS instead? If I remove the exhaust manifolds and CATS, will I have sufficient room to R&R the coils and plugs?
Thanks,
Phil
Hi Phil,
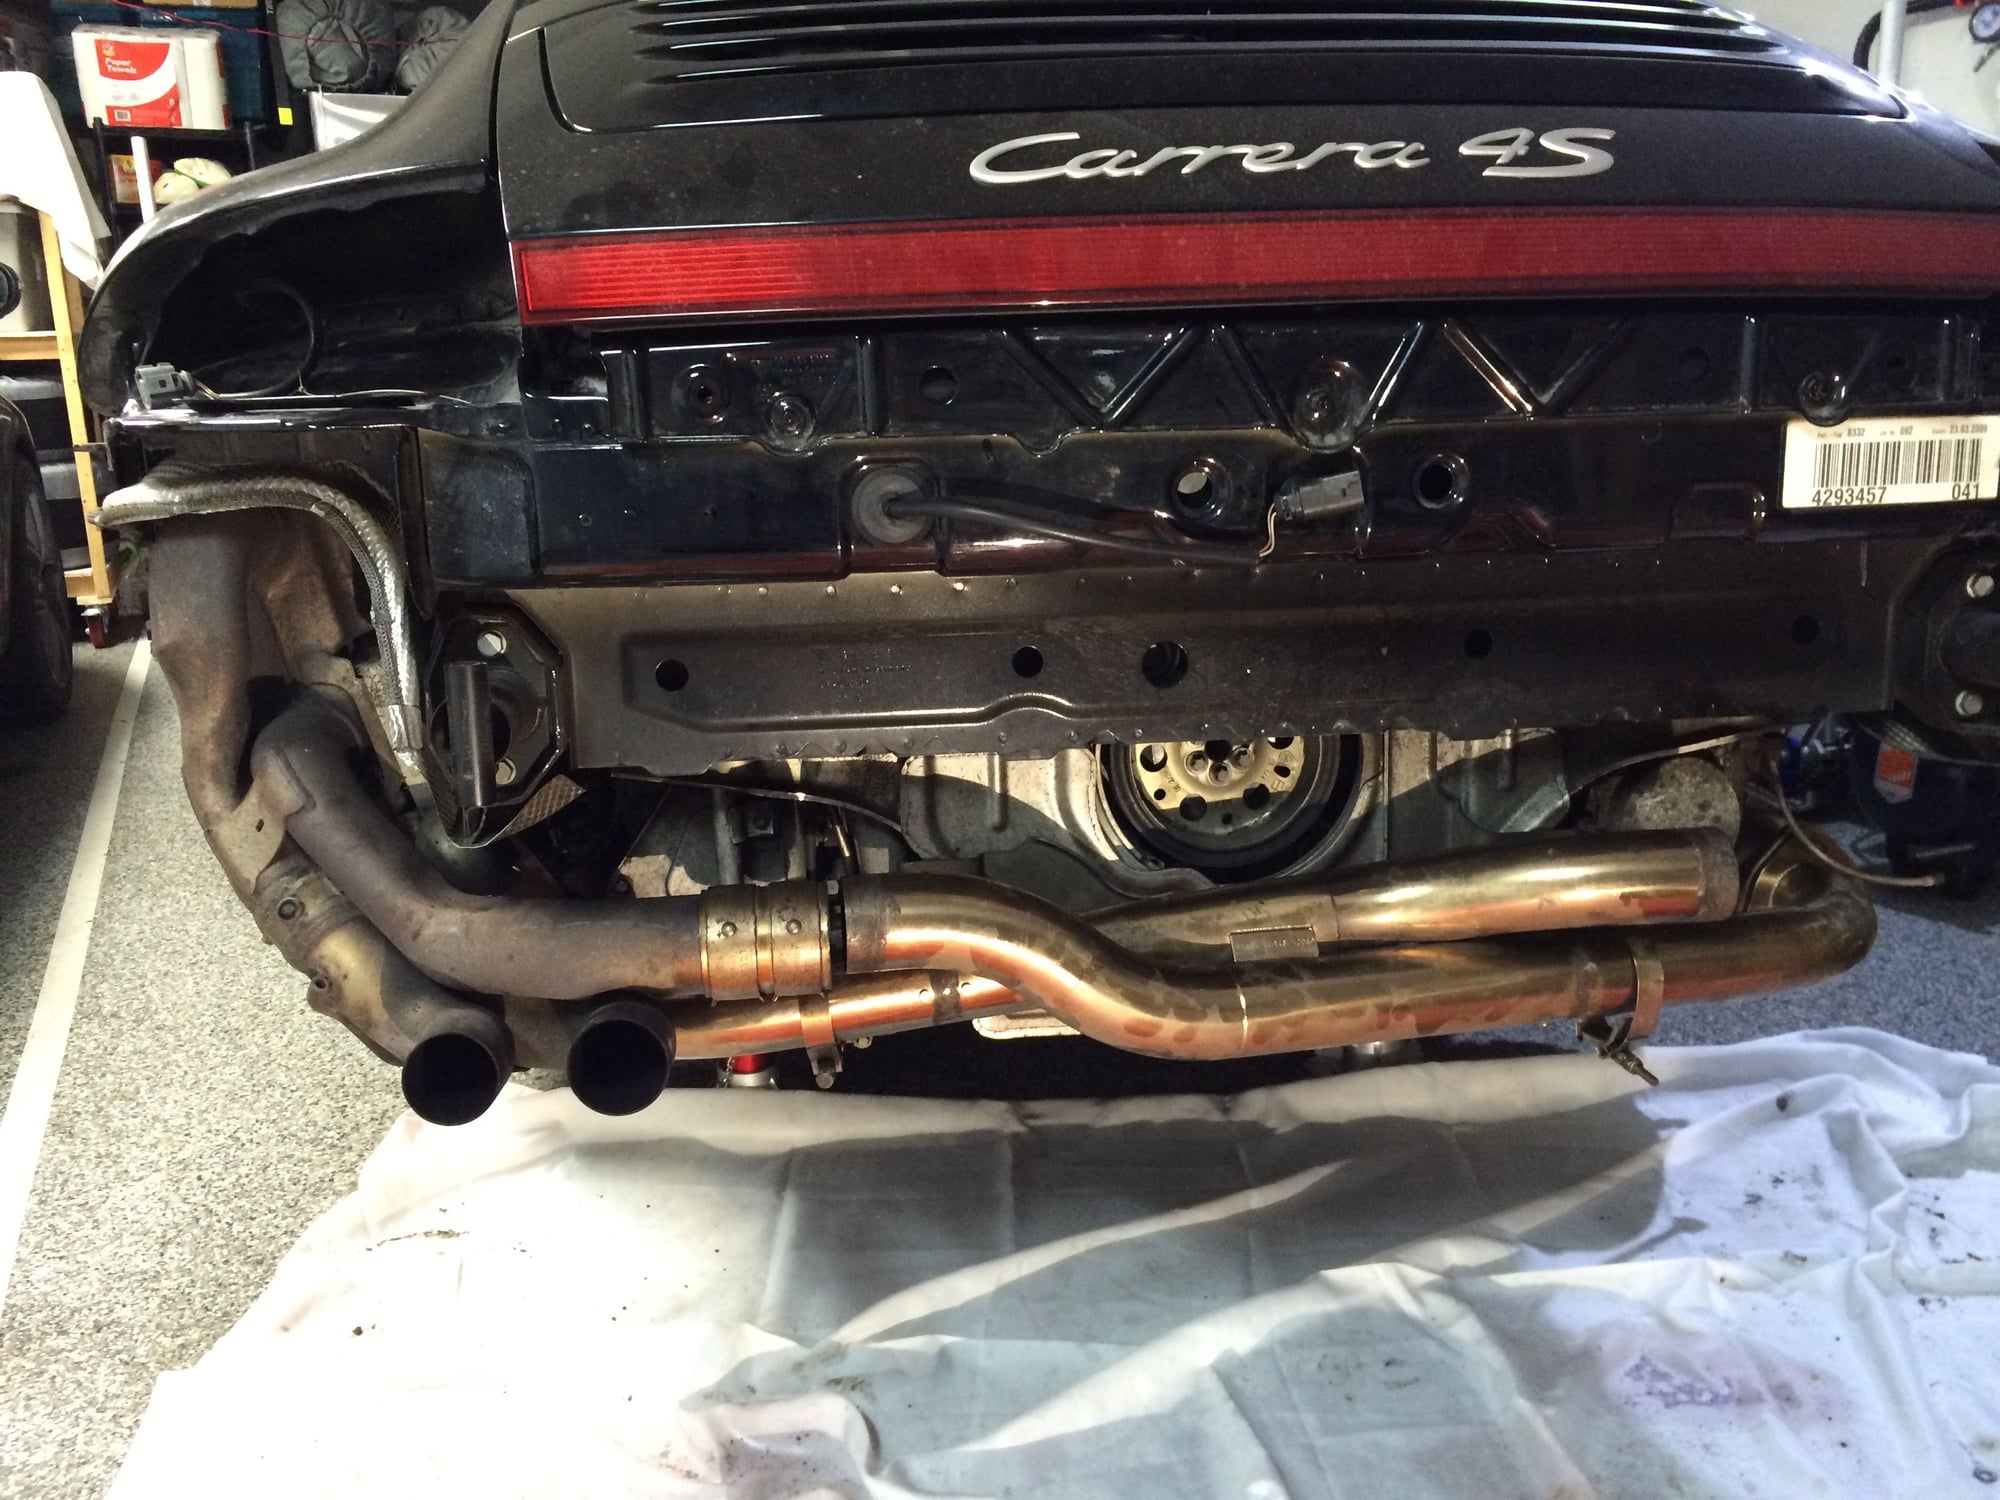
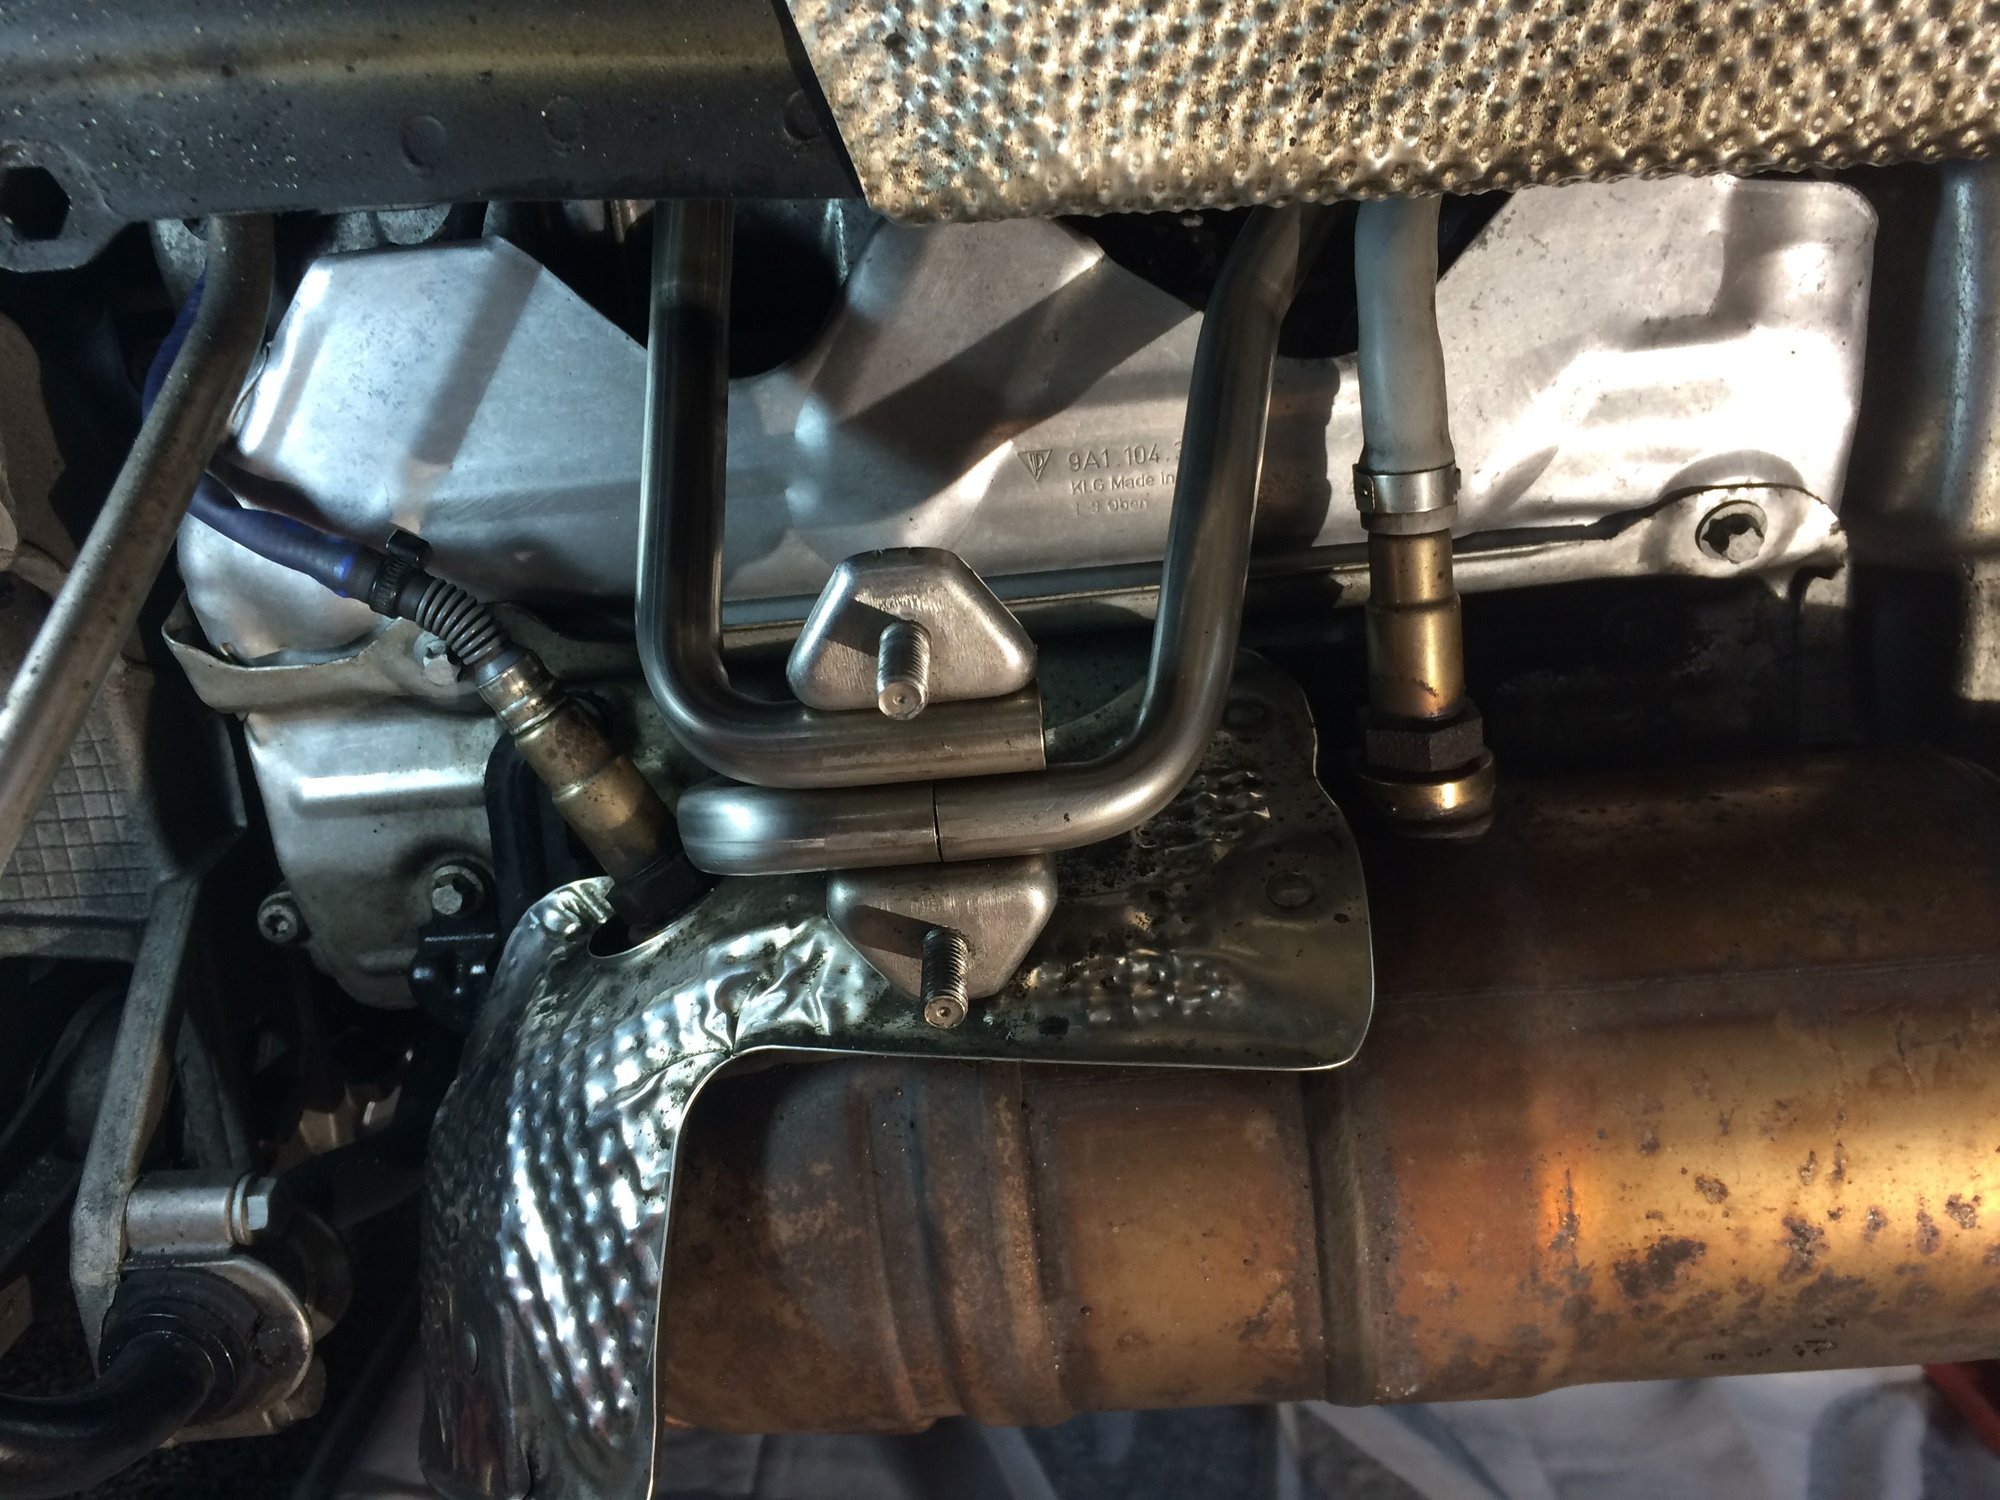
No additional steps required. Follow the same procedure as stated above to remove the two bolts on the center muffler (pictured) and the two nuts in the front (pictured) and two nuts in back of each can.
Just one other step as I discovered...be sure to remove the small flexible steel wrapped PSE lines. A small clamp needs to be loosened on the line that attaches to each PSE valve before the mufflers are dropped.
Just one other step as I discovered...be sure to remove the small flexible steel wrapped PSE lines. A small clamp needs to be loosened on the line that attaches to each PSE valve before the mufflers are dropped.
Correct, I should have added that. My PSE is 'ALWAYS OPEN', thus no connection to PSE Valve (they were cut by original owner), don't ask me why...
First for great information. I just did the coils+spark plugs change on my 2009 997.2 C4S.
I decided to go with bumper removal and shields removals and side mufflers removal and x-pipe removal. Once you start removing stuff in the back why not inspect and clean-up the whole area.
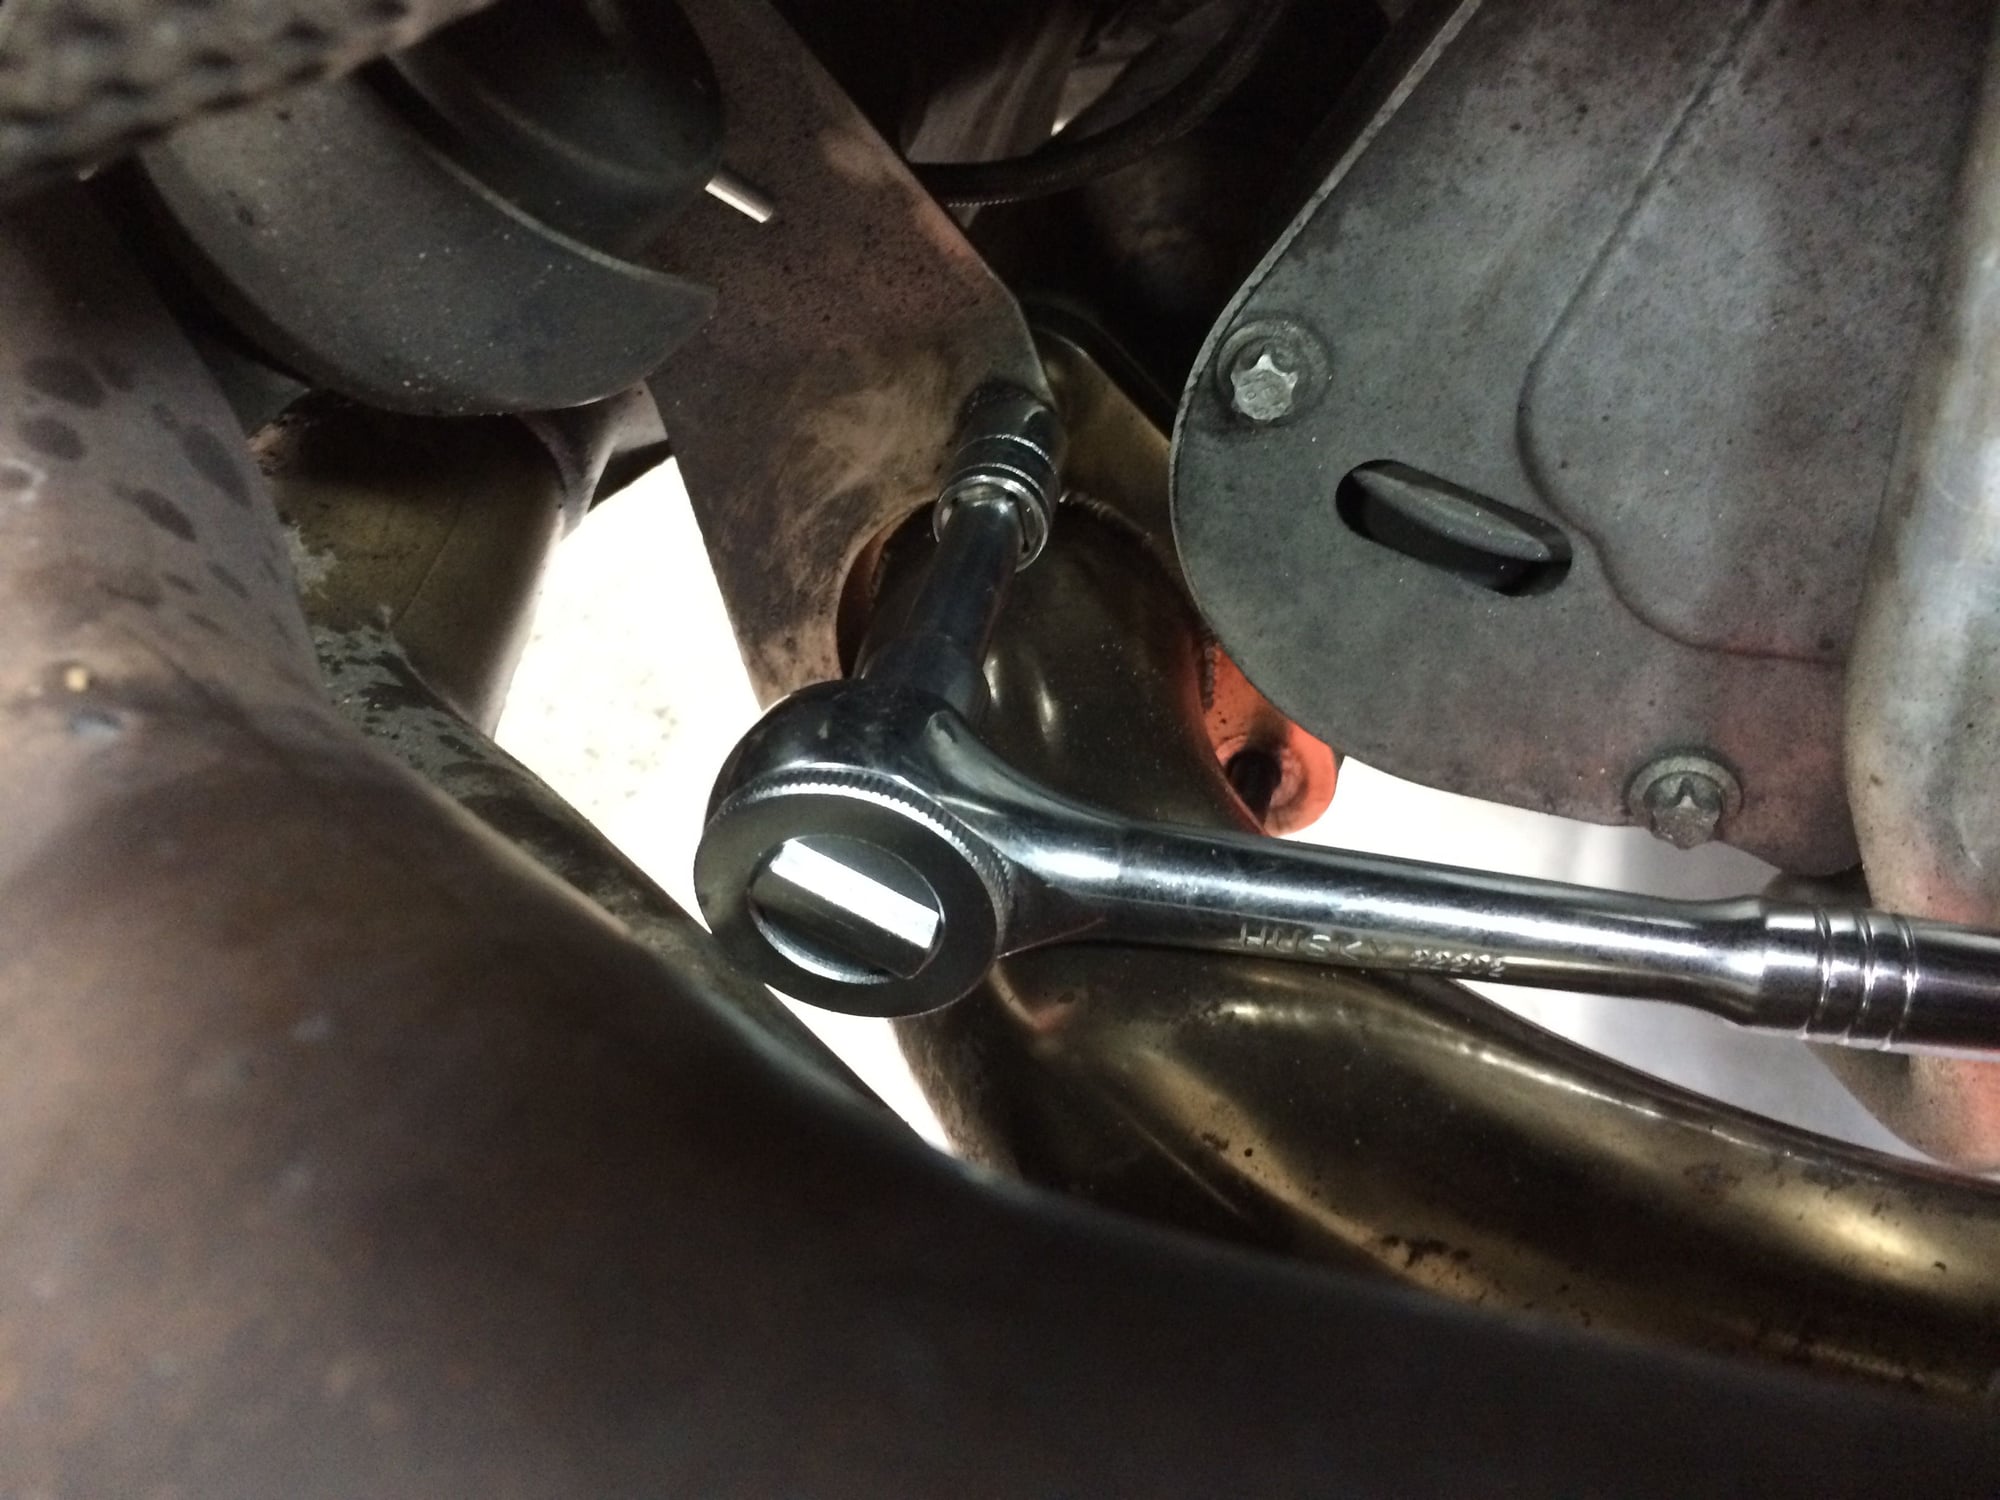
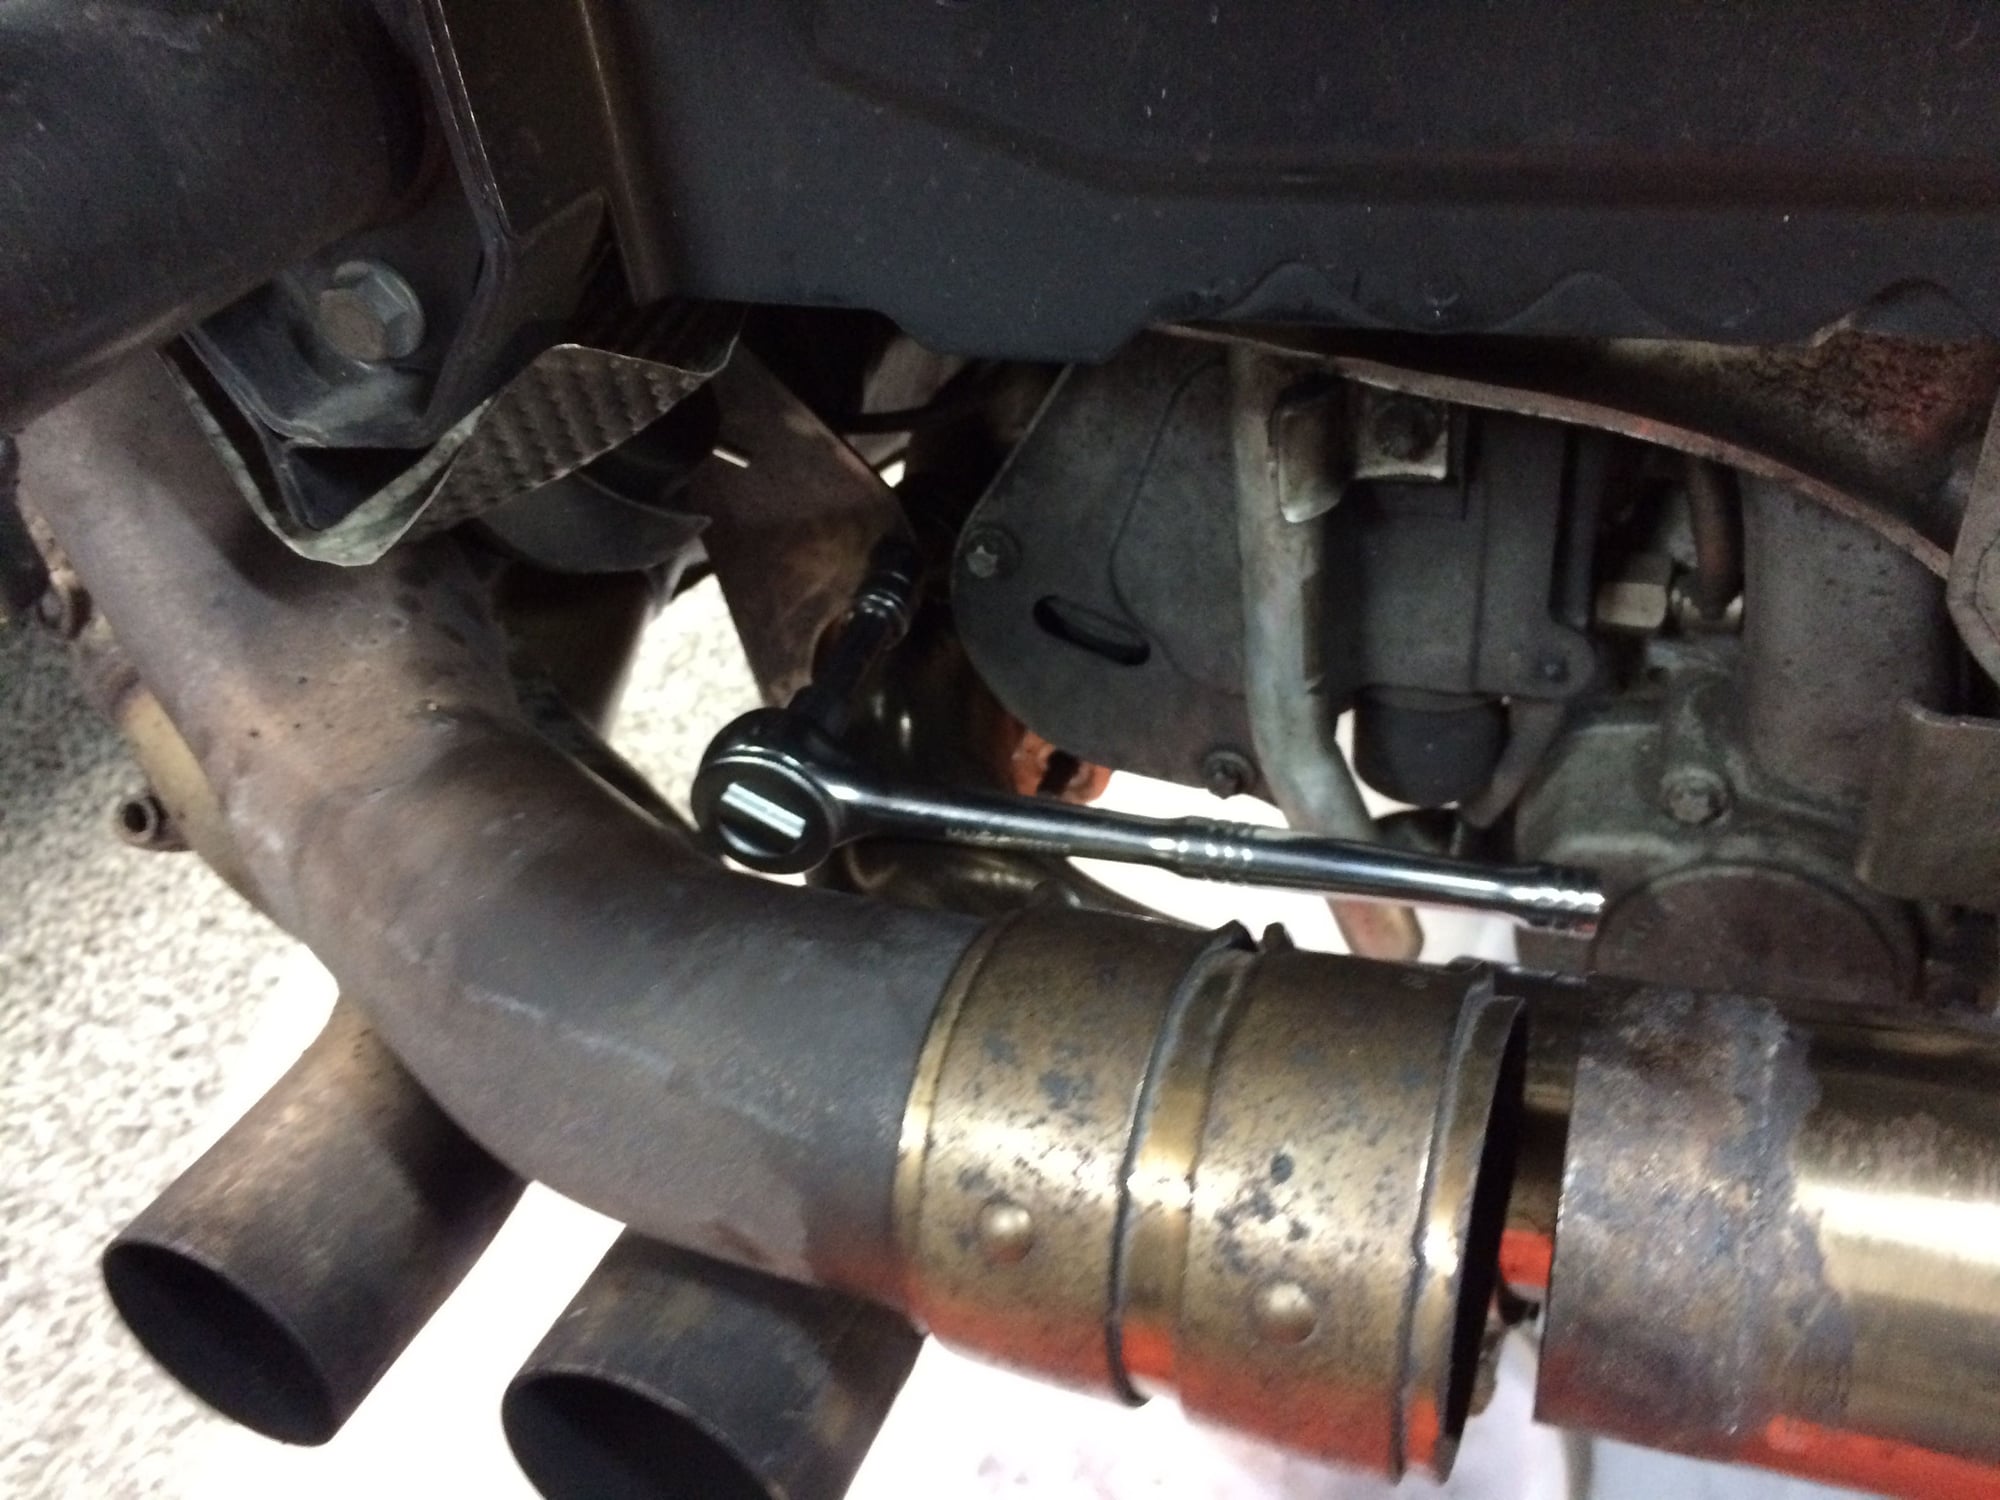
Hard point #1: for me it was the top third nut connecting the cat to the x-pipe. All nuts were heavily rusted. I used Aerokroil but the main issue is how to access the top nut. The key has been to remove the 2 other nuts first and the nuts fixing the muffler on the front side. That way the muffler can move to the outside and it gives more way to insert a tool. On the right side it's more tricky and I've been lucky Aerokroil did a nice job so I did have to apply to much force because I had no good hand grip on the wrench.
Hard point #2: one of the bolt/nut was so rusted that they were kind of welded together and the bolt broke. I had purchased 6 replacement spares anyway because I wanted to replace all nuts (with copper) anyway. So no big deal.
Hard point #3: as I decided to remove the x-pipe, I found the bolts of the clamps connecting the top of x-pipe pipes to the lateral mufflers totally rusted. Again lot of Aerokroil but I'm replacing with new also, nuts are damaged.
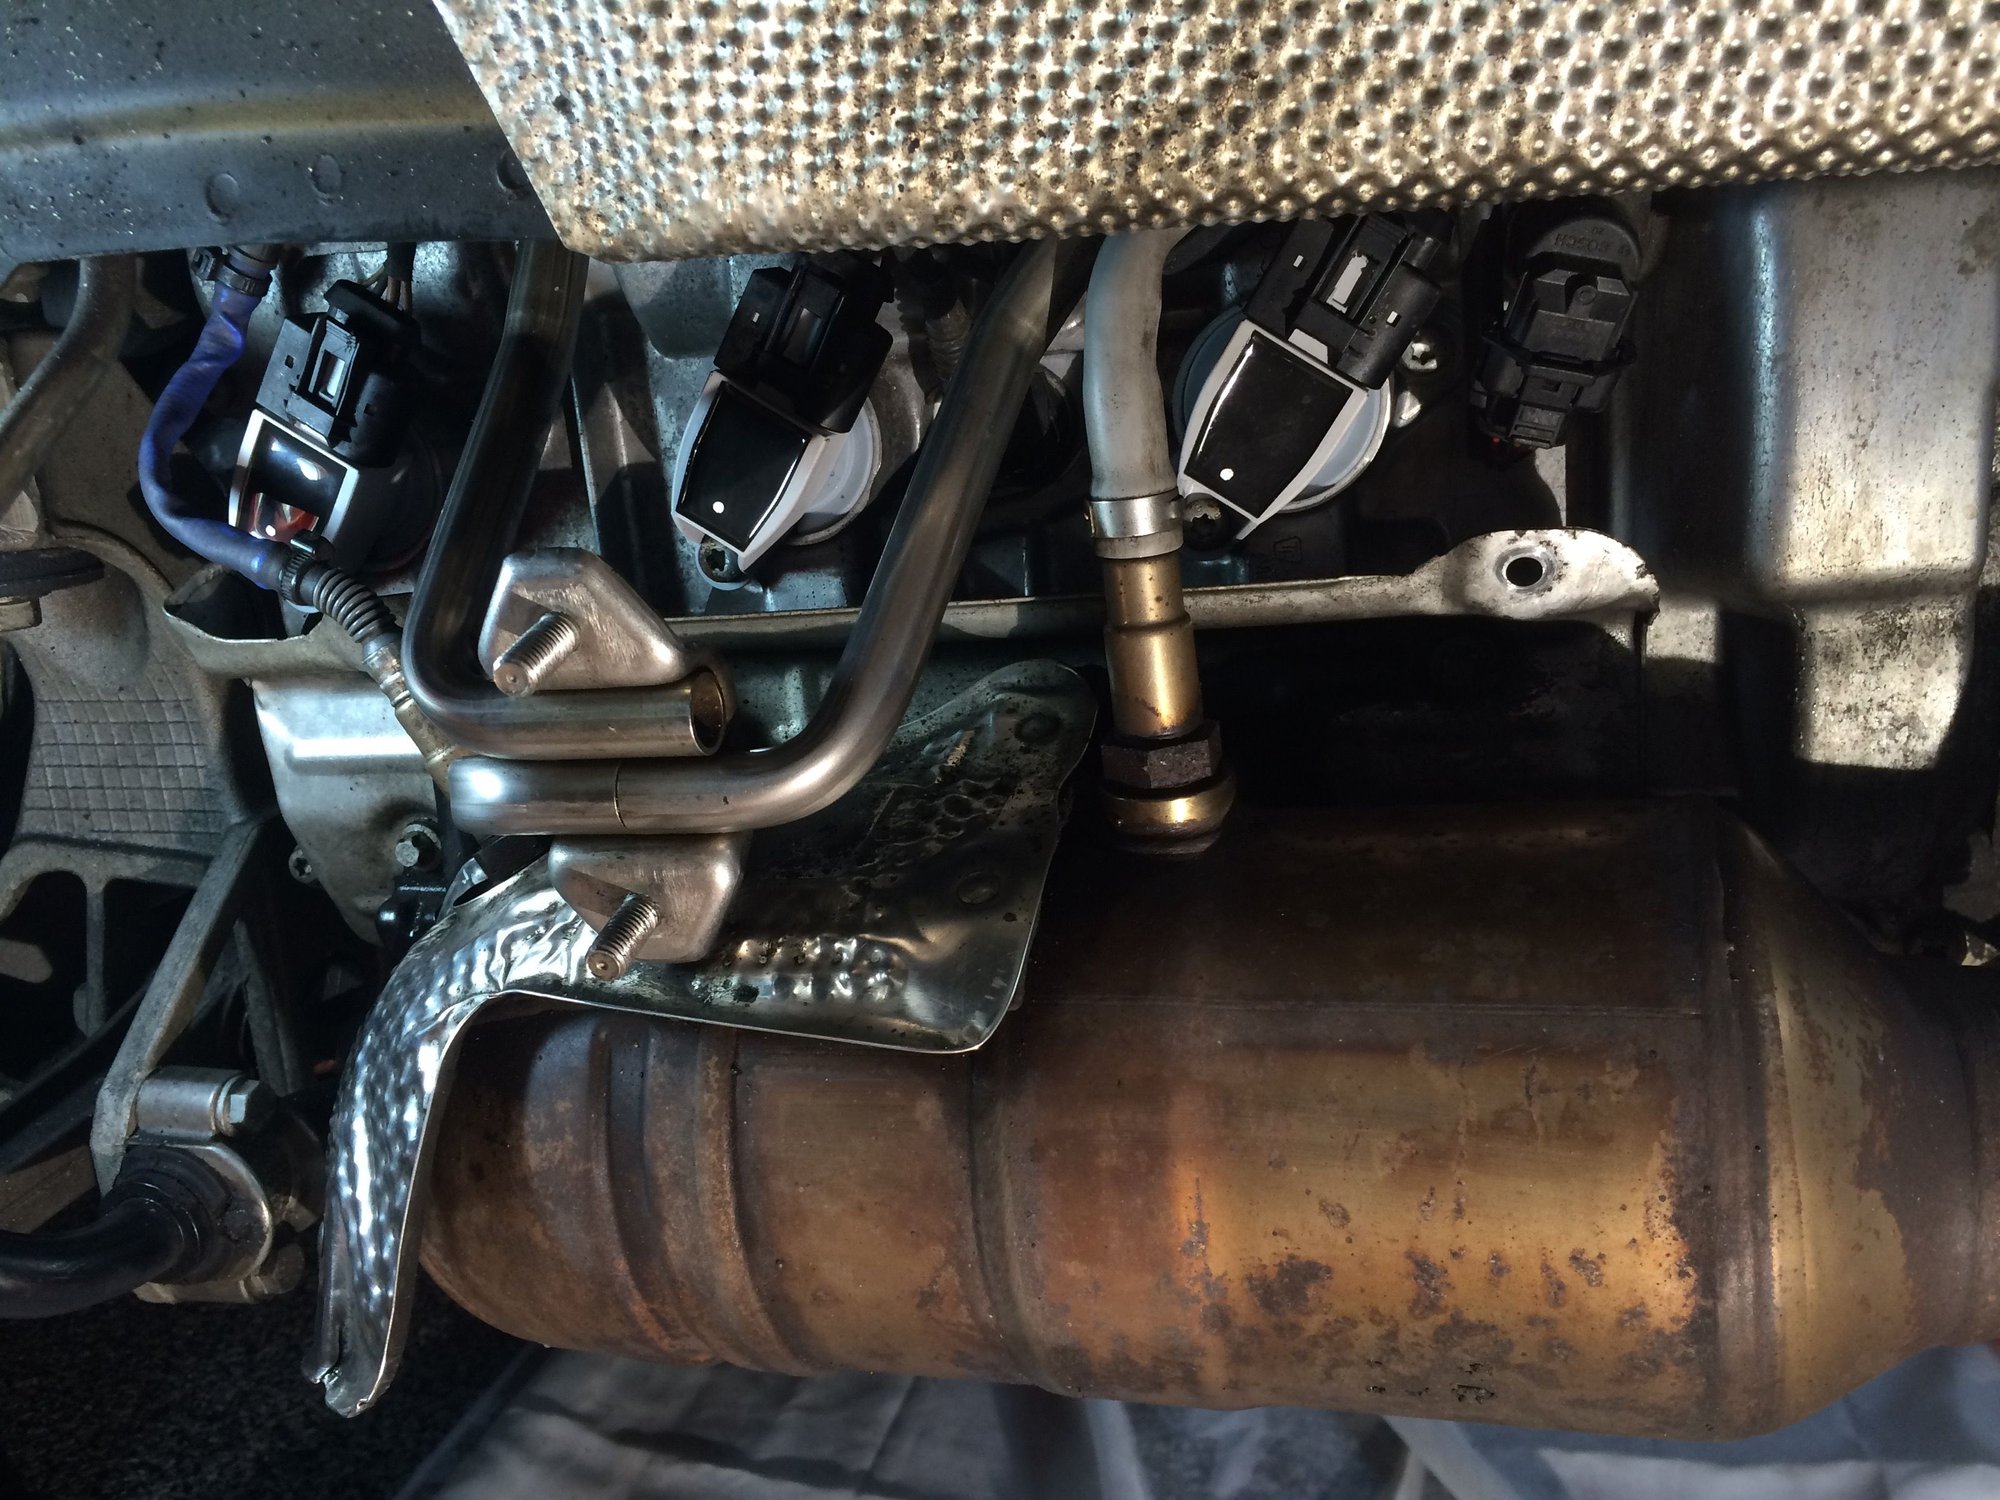
Hard point #4: removing the shields over the coils is tricky. I did not want to remove the cat sensors at all. As written in this thread, they can be bended a little and I removed them by sliding towards the wheel gently. Unclip the blue cable to the first cat sensor helps clear the way to the front.
First for great information. I just did the coils+spark plugs change on my 2009 997.2 C4S.
I decided to go with bumper removal and shields removals and side mufflers removal and x-pipe removal. Once you start removing stuff in the back why not inspect and clean-up the whole area.
Hard point #1: for me it was the top third nut connecting the cat to the x-pipe. All nuts were heavily rusted. I used Aerokroil but the main issue is how to access the top nut. The key has been to remove the 2 other nuts first and the nuts fixing the muffler on the front side. That way the muffler can move to the outside and it gives more way to insert a tool. On the right side it's more tricky and I've been lucky Aerokroil did a nice job so I did have to apply to much force because I had no good hand grip on the wrench.
Hard point #2: one of the bolt/nut was so rusted that they were kind of welded together and the bolt broke. I had purchased 6 replacement spares anyway because I wanted to replace all nuts (with copper) anyway. So no big deal.
Hard point #3: as I decided to remove the x-pipe, I found the bolts of the clamps connecting the top of x-pipe pipes to the lateral mufflers totally rusted. Again lot of Aerokroil but I'm replacing with new also, nuts are damaged.
Hard point #4: removing the shields over the coils is tricky. I did not want to remove the cat sensors at all. As written in this thread, they can be bended a little and I removed them by sliding towards the wheel gently. Unclip the blue cable to the first cat sensor helps clear the way to the front.
Did you replace the coils as a preventative maintenance measure or was there a genuine malfunction you were attempting to correct?


 07-03-2015, 09:44 PM