When you click on links to various merchants on this site and make a purchase, this can result in this site earning a commission. Affiliate programs and affiliations include, but are not limited to, the eBay Partner Network.
Hi all
I have being reading this forum for quite a while learning from everybody so I thought it was about time to give a little back.
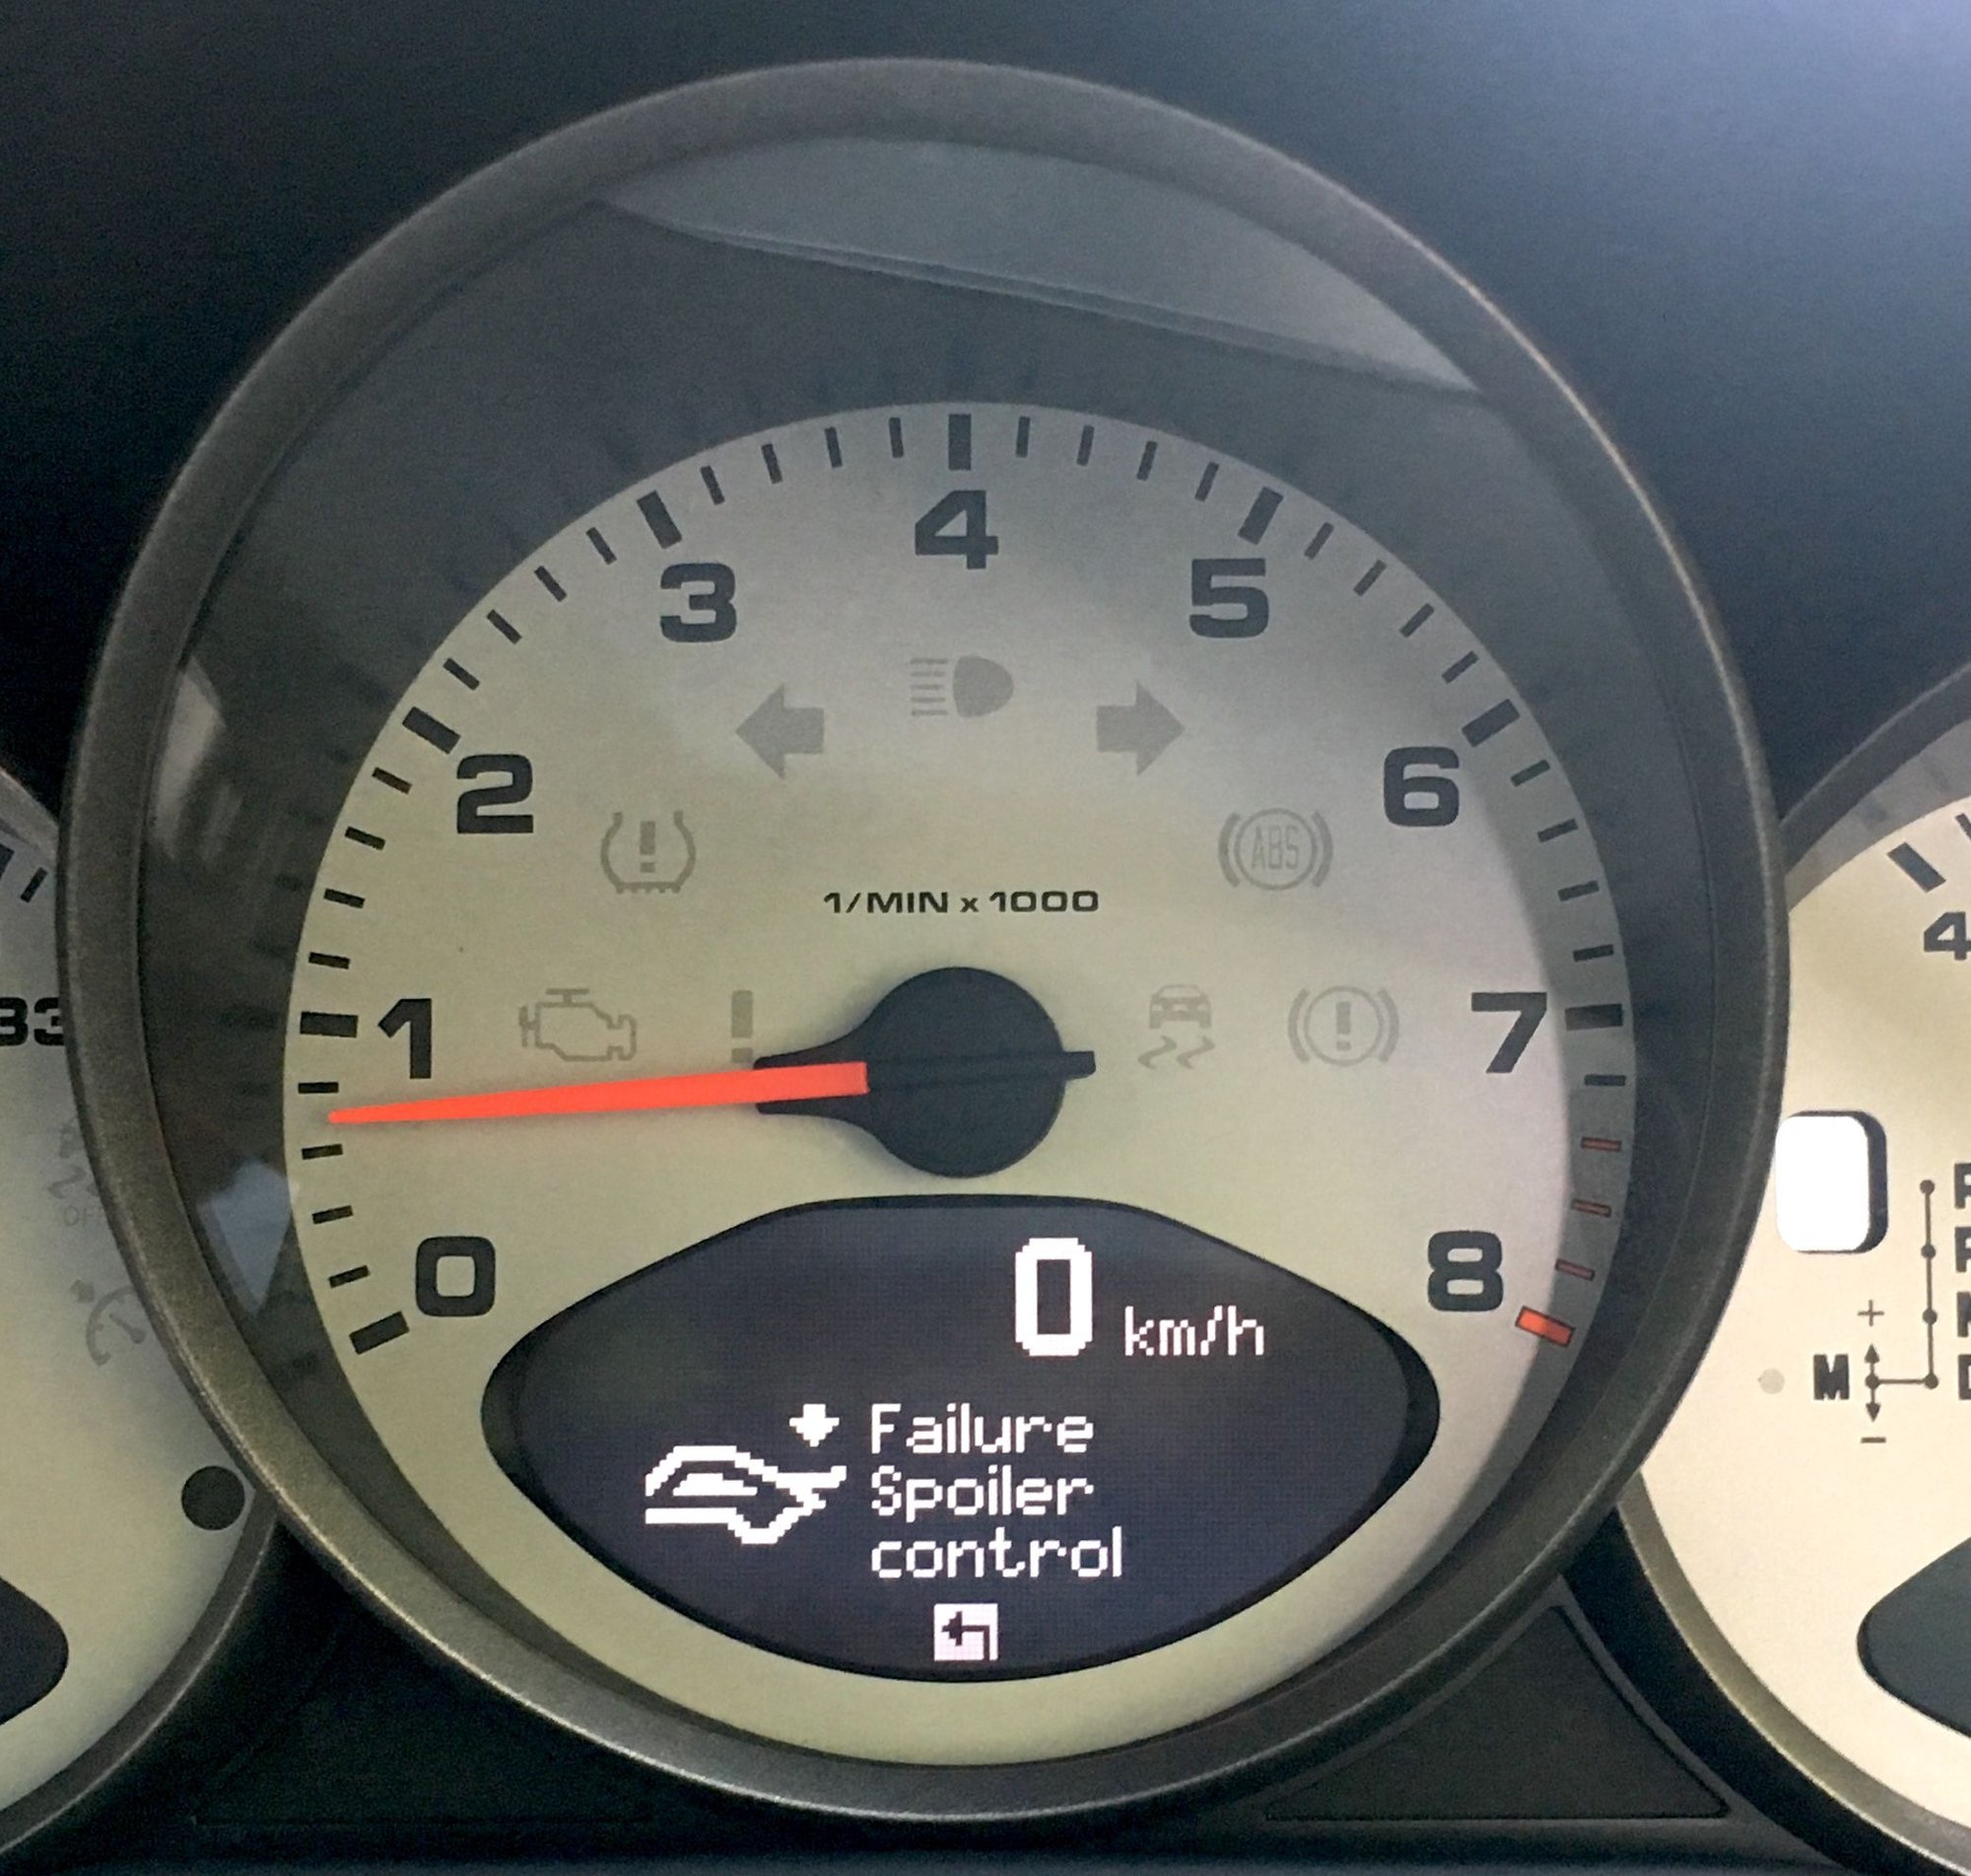
I also had a very noisy spoiler and put everything apart to lubricate the whole system. MY own experience has brought a few improvements to the method suggested
- The best way to disassemble and reassemble everything is taking apart one of the spoiler hinge. This way the flexible cable will be exposed and will give you room to play with the mechanism.
- Loosing one (or both) of the springs is pretty easy. I was lucky enough to get a contact to manufacture them to spec. It is way cheaper than finding salvage mechanism just for the springs. The minimum order was 4, so after the whole process I still have 2 if someone is interested. I can also provide the manufacturer's name and part number.
- The best obvious way to avoid loosing the springs is to cover the engine bay meticulously, but even if you feel the risk to loose them is high you can tie them with sewing thread to the power motor cables.
FYI, I don't believe you have to disassemble to get rid of the creak/groan. Those lube holes do the job. I sprayed some Winzer in there and worked the spoiler up and down it was gone. Best to shoot it in there when the spoiler is in the down position to get the grease up into the higher mechanism.
Winzer is a miracle lube that goes on as a liquid and has a solvent that penetrates then the grease sets up and stays. I use it on everything including my morning pancakes.
Also, IMHO I would not put grease on the external tube surface as that may just get gobbed with dirt. I did, however, spray some dry Teflon lube on it but it did not affect the creak/groan.
Peace
Bruce in Philly
Bruce, did you order direct from Winzer? I've only been able to find it on their website but to order it you first have to log in. I requested info to set up an account but haven't heard a thing from them.
Just did this procedure � mine wasn�t making that much noise, but once inside the grease was clearly pretty dry after 10 years since the factory.
The procedure is great, but I did struggle a bit in the beginning getting the shield off initially, and had the problem that once you drop the shield/motor, it puts a lot of stress on the point where the cables enter the black curved plastic �hinges�. Enough stress in my case that my right hinge may be damaged � will see over time if it holds up. I gave myself 2 opportunities to try the procedure again (elect cable routing wrong, and forgot the 2 small screws for the switches) so worked to improve upon the procedure so that the hinges don�t get damaged.
1) Start with the spoiler up. This sets up the procedure for dropping the assembly as more of a unit.
2) Disconnect the fan connector and loosen the cable from its clips. Also, this is a good time to press the 3 cable clips loose from the shield � one right above the fan, one on upper right, and one down near the right hinge.
3) Start removing the 6 main screws that hold the shield to the engine lid. Fully remove the lowest 4 screws: 2 at bottom of shield near hinges and the lower 2 directly above fan. Loosen the remaining 2 upper screws about halfway to give you a lot of play, but do not remove them at this time.
4) Remove the 6 through bolts that hold the shield to the plastic hinges (Note: you may have already had to remove the lowest of these on each hinge to get straight access to the lowest main screw). After removing all 6, wiggle the lower parts of the shield out of the way out of the way of the hinges, then replace and tighten the upper 2 through bolts � the ones closest to where the cables enter the hinges. Replace them such that they only go through the plastic parts of the hinge, and not through the sheet metal of the shield. (This will keep the hinges tight on the cables and hopefully prevent damage. Without these two bolts back in, the hinges have a tendency to want to �split� apart at the top.)
5) There is a rubber snap grommet in the shield just above the 1:00 position of the fan � this is a good time to put some gentle pull on the shield and get this grommet to pop free from the engine lid. The grommet will stay attached to the shield.
6) Loosen and remove the 2 screws on each hinge that hold the hinge assemblies to the engine lid. Support and gently lower the hinges while doing this, as the weight of the spoiler will cause the hinges to drop. This step is important to allow the drive mechanism to be able to drop as a whole, and therefore not put a lot of stress on the cables.
7) At this point you are ready to fully remove the final 2 screws that were left in step 3 holding the shield up, and thus allow the whole assembly to drop down. I would recommend having a cardboard box about 12 to 14 inches tall to support the assembly once it drops down.
From this point on, continue with the excellent instructions in the first post on how to begin disassembly of the motor and drive mechanism (step 4 of the original directions). At some point, you will want to remove the 2 through bolts that you put back into the hinges to hold the cables in. I fully disassembled the 2 hinge halves on each side and cleaned out the insides of them also � there are 2 small screws holding each one together, and two plastic snaps.
When I bought my car in July, this one of the items that came up in the PPI, as the spoiler was very creaky and slow to operate. I did this almost the first week after getting the car, and fixed the issue completely. Although it wasn't the hinges or gears that was the issue in my case, those were still well lubricated and even appeared to be recent, it was actually the cables that were really corroded. Spent a lot of effort cleaning them up and lubricating them and now it works like new!
Very nice DIY from OP but after looking at the mechanism I thought the problem was binding of the sections of the drive tubes (item #17 in OP's diagram). I treated mine with silicon lube spray, plus light oil on the other hinge points. Problem solved for now.
Working on 01 996 with problem one side not going up. Can't really start the work without the useful details you put together. Got a couple questions
:
- picture 20, the metal jacket/housing for the plastic drive line. Should the collar of the metal housing be inside the plastic hinge?
- after disconnected the drive line from the motor assembly the hinge can slide down very easily on the left side
and very tight on the right side.
better after some lubrication but still tight compared to the left.
Not sure which side is ok ,( alsoaforgot which side the spoiler not working ) any idea how it should feel?
-is there any concern if the open the hinge so I can check exactly how the plastic line attaching to the plastic tube sitting inside the hinge. Would there be anything bouncing out when I open up the hinge?
( Hope this is not duplicated)
Many thanks for sharing all the details . It helps a lot.
One side not going up on my 01 996 c2.
- in pic 20, should I push the collar of metal housing for plastic cable into the hinge?
- right side is definitely harder to push the plastic hinge up and down, helps after some lubrication but still tighter than left, what's your experience?
- any problem to open the hinge to seehowscable connecting inside, would any parts bounce out, or hard to resemble?
I took apart the spoiler assembly as per the OP instructions, but its quite easy. On a 997.2 you just need torx 15, 20, 25. Mine was just making a slight groaning noise, nothing too serious but I cleaned everything up, Added new grease, lubed up the hinges.
Right now in the process of assembling everything back. Hopefully it works lol
A little late but yes the collar goes into the hinge. If you look carefully inside the hinge there is a groove right into which the metal collar fits. You can open the hinge it's held by 2 clips and 2 torx screws.
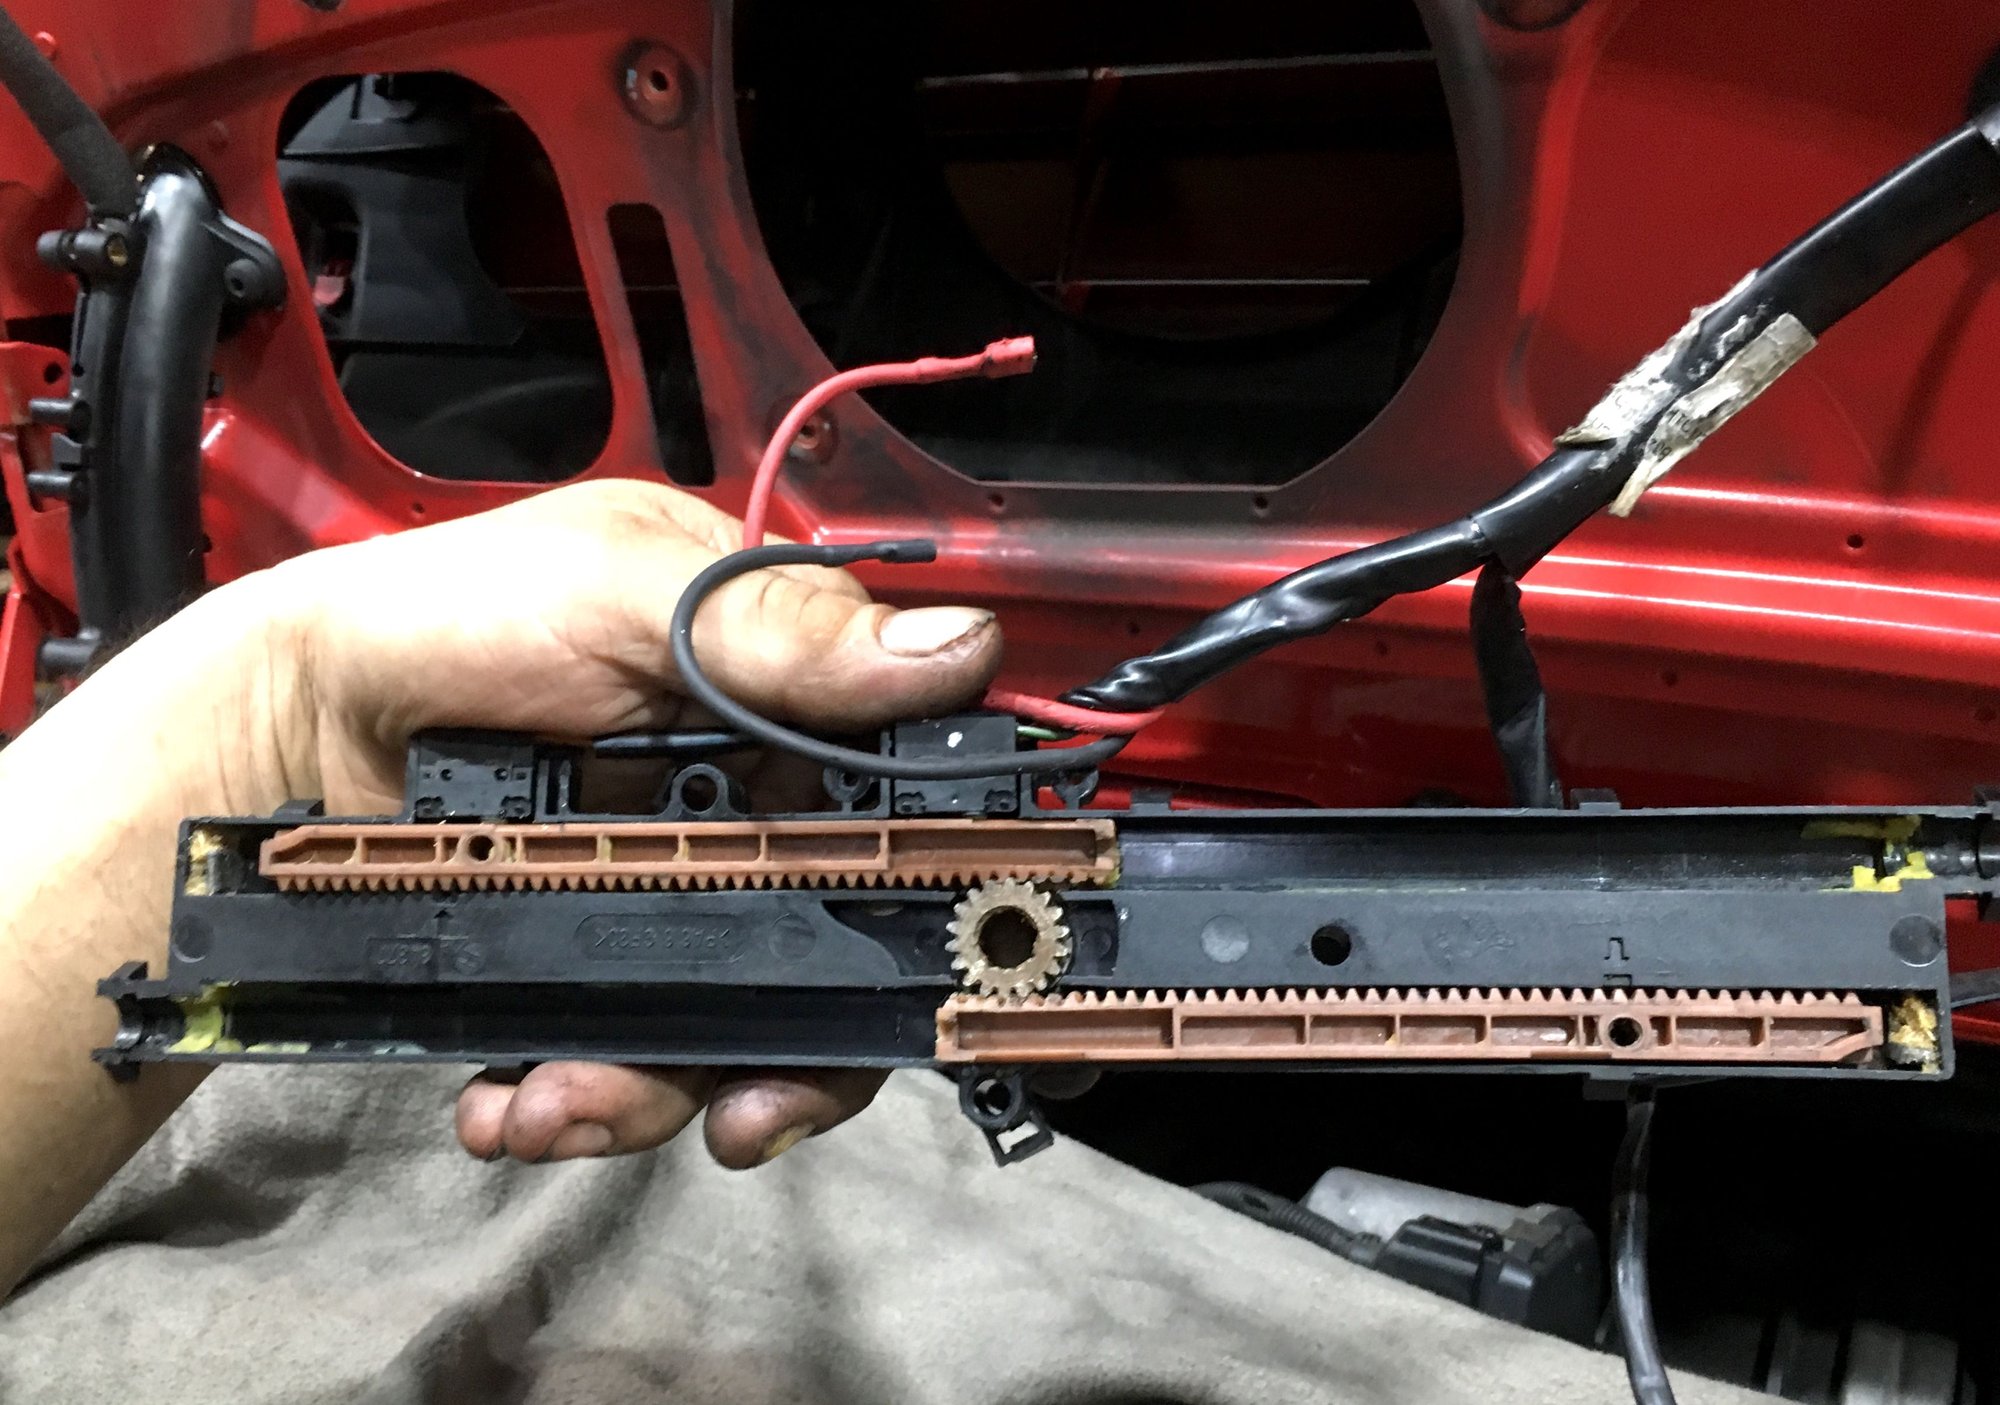
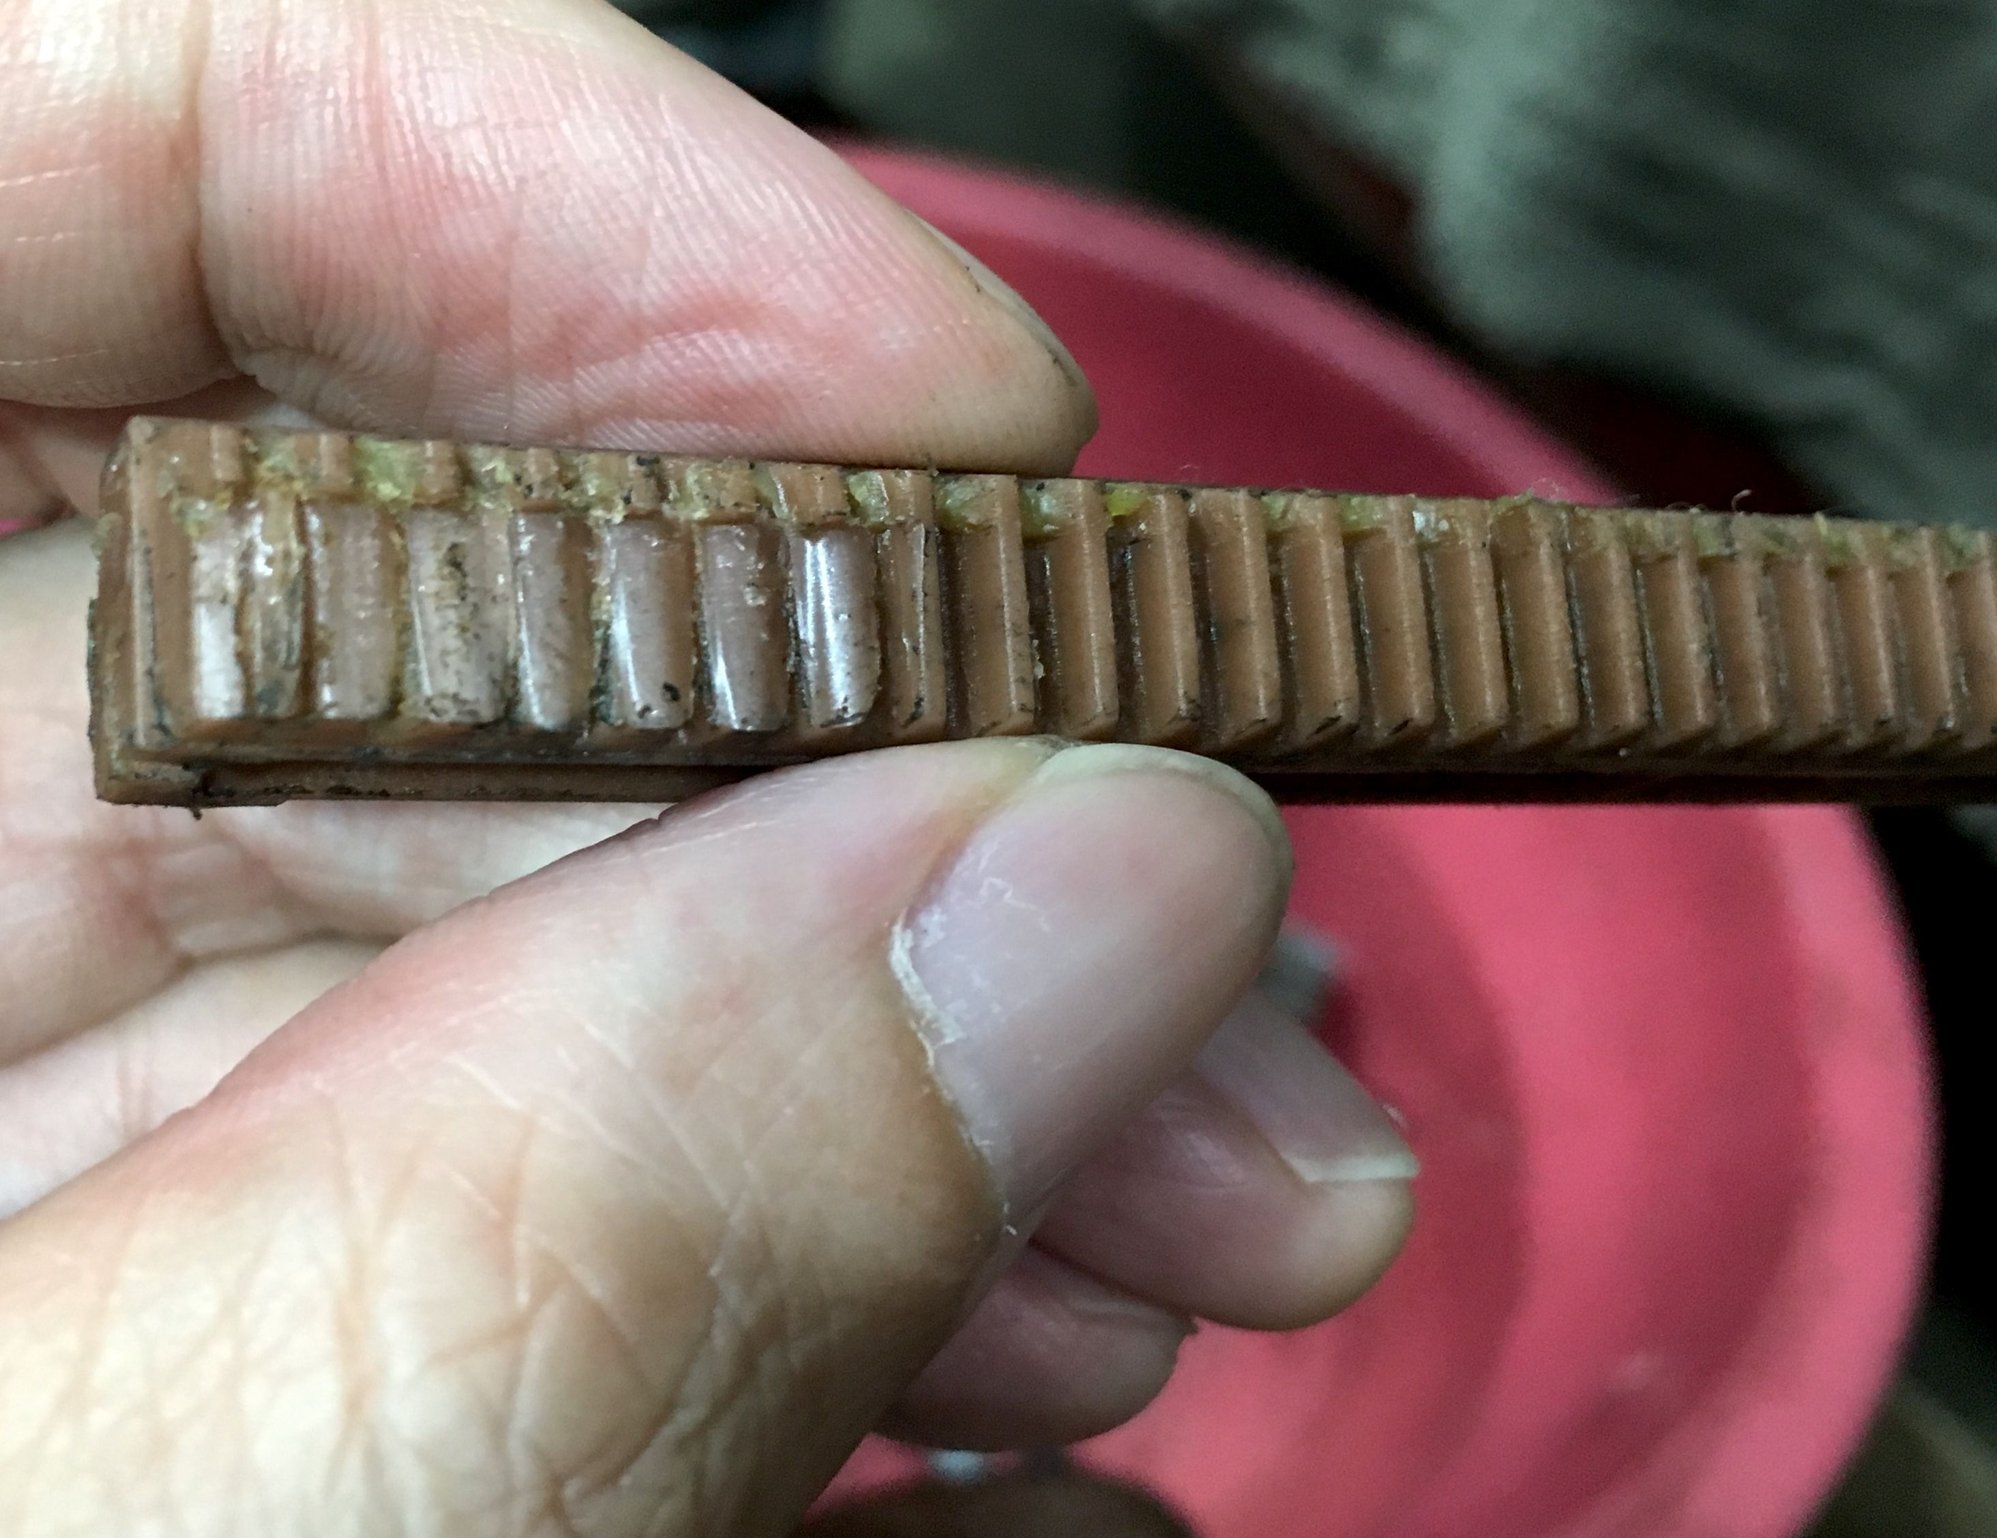
My rack gears have been ground flat causing the spoiler to be stuck in the up position. Trying to fabricate them instead of buying the entire drive system.


 04-21-2016, 09:50 PM