

DIY - Refurbishing Door sill/scuff plate

 03-09-2013, 01:37 PM
#47
AutoX
Join Date: Jan 2012
Posts: 13
Likes: 0
Received 0 Likes
on
0 Posts
11-17-2013, 04:06 PM
#49
Drifting
ok, now lets see some results, oh, by spring would be good...
Last edited by kkswow12; 11-17-2013 at 04:16 PM. Reason: editing
04-25-2014, 09:23 PM
#50
Are your allen wrenchs shorter than mine
 . But seriously how'd are you getting around this?
Okay, I got it. Scoot the chair all the way forward, then back an inch or two. Insert allen wrench and press downward on the wrench (which will push down the trim slightly) and this will engage the screw.
Last edited by magicjack; 04-25-2014 at 10:45 PM. Reason: spelling
 . I would not try it as you could end up with a big mess.
07-06-2014, 02:12 PM
. I would not try it as you could end up with a big mess.
07-06-2014, 02:12 PM
#54
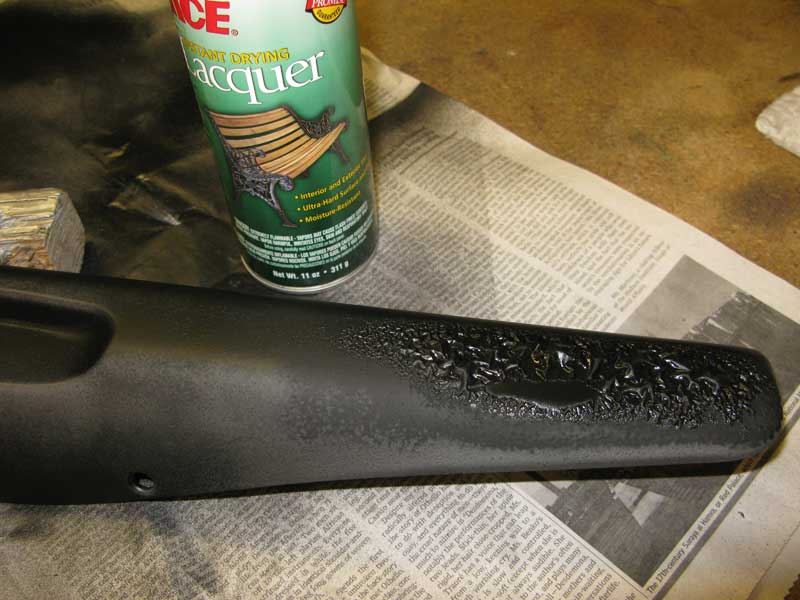
Just painted mine arctic silver to match the exterior. Time will tell how these hold up, but I really like the way they look with the color match. If my DIY paint job does not hold up, I will send them off for a professional paint job.
The following users liked this post:
chandanYOGI (12-22-2020)
The following users liked this post:
John Betz (11-27-2020)
The following users liked this post:
cbracerx (01-28-2022)
07-15-2014, 08:29 PM
#59
thx
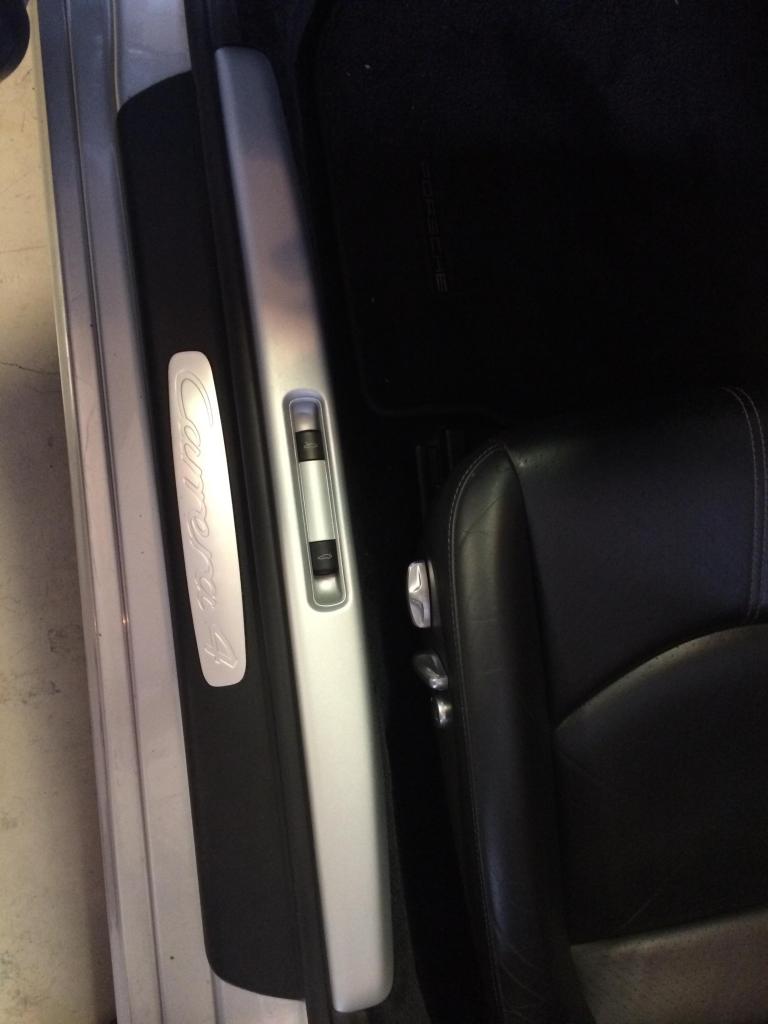
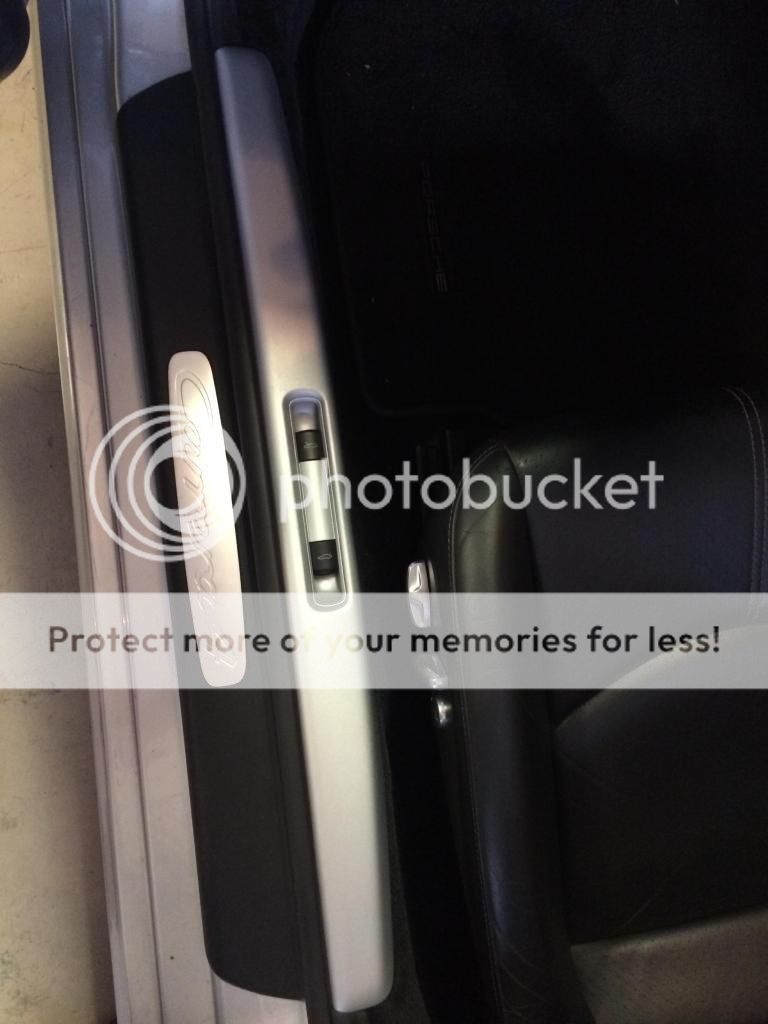
got the inner sills from DB Carbon when they had a group buy (30% off) and got the oem outer sills from Suncoast Porsche
I am hoping keep the scuffing to minimal this time around. The clear coat helps.
I also thought about getting the leather ones.. but no way in hell I can keep that one looking clean.
07-15-2014, 11:24 PM
#60
Instructor
I just picked up a passenger side sill from the dealer today after they mangled the existing one on the last visit to them for service. Honestly, nobody that ever gets in my car would do this out of respect and it was like new after 7 years but the dealer themselves beat it up so bad in one visit it needs replacing. I'm getting tired of chasing them for the drivers side every single time...
I'd love the leather but I know someone else would wreck them^^^ The carbon looks fantastic.
I just detailed my door jambs (after the mess above) and am laying down a layer of lamin-x over the painted areas to prevent careless foot draggers.
Next time I take it for service of any kind I'll additionally be laying down a temporary low adhesive wrap of some kind over everything else to minimize this type of damage, adding my own seat and steering wheel covers, maybe a sign with some instructions on how to close the door....I could go on an on.