When you click on links to various merchants on this site and make a purchase, this can result in this site earning a commission. Affiliate programs and affiliations include, but are not limited to, the eBay Partner Network.
notes:
- make sure to tape off or cover the door sill as well as the areas you are using your plastic removal tools
-the leather & trim can scrape very easily
- the round cap behind the door handle pops out by pushing at the bottom(6 o’clock)
- I used pieces of tape around the frame of the inner door before using my plastic trim removal tool
-helpful to have a second set of hands when the inner door comes off, while unplugging connectors
notes:
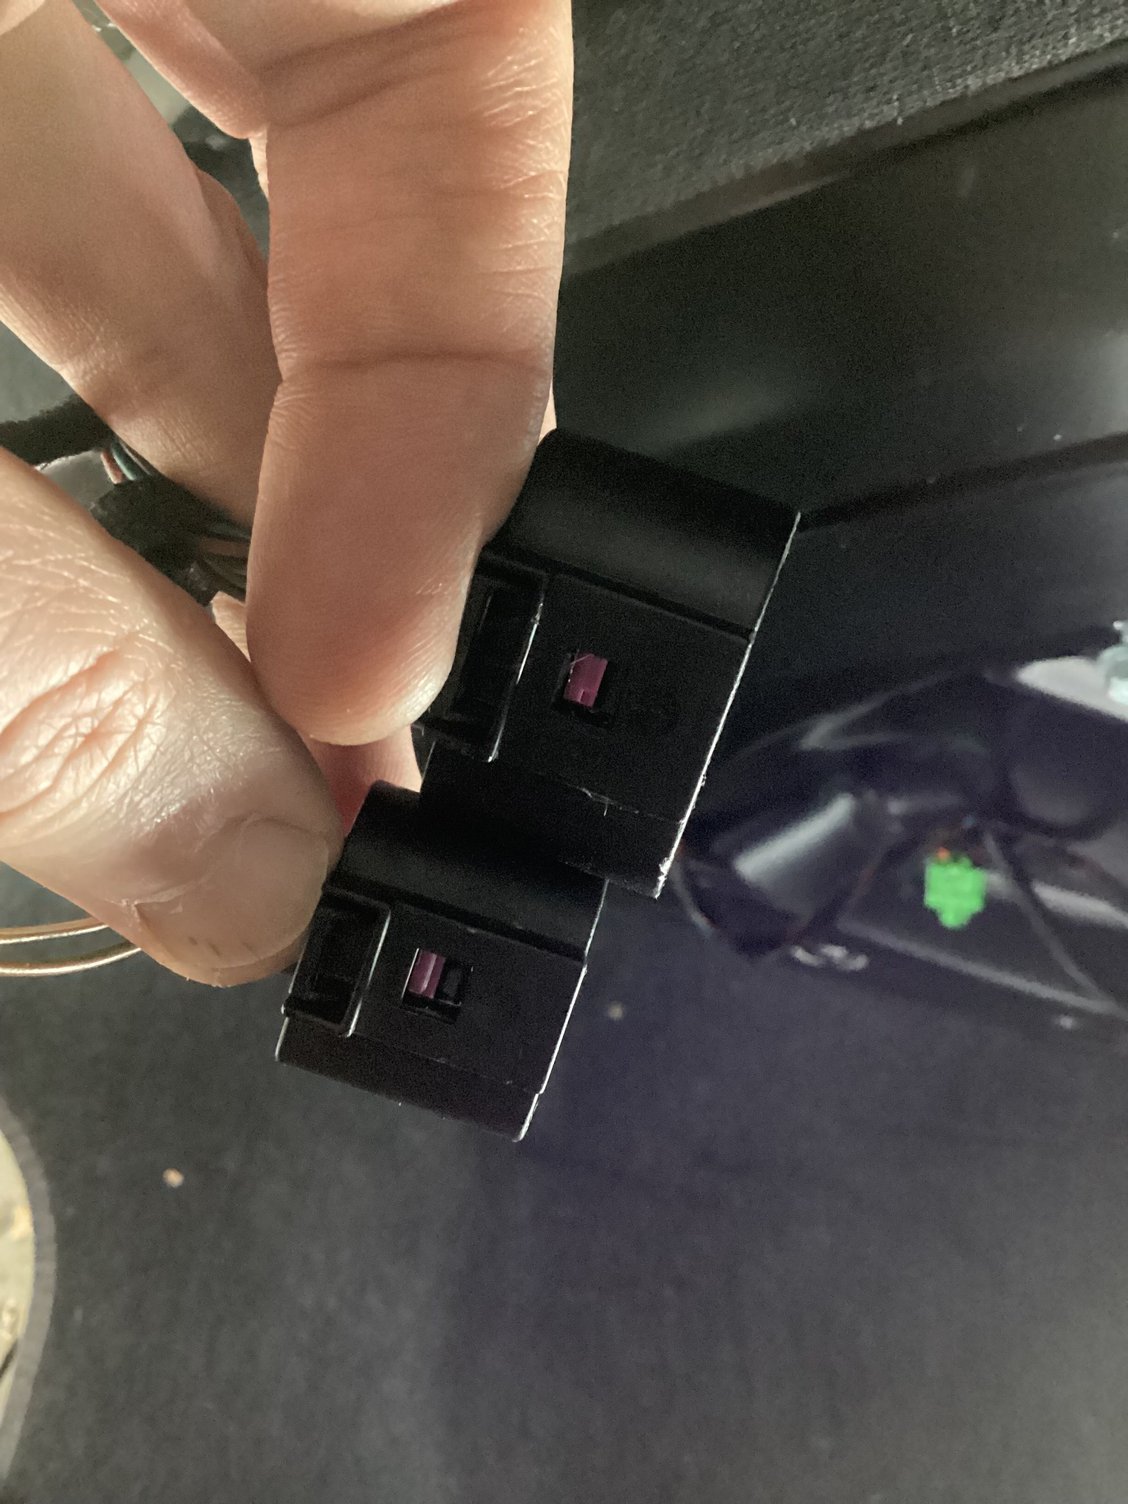
- some of the plugs are tricky, as most of them disconnect differently
-the ones inside the door push in to release, but not easy to remove(here is a pic of them)You push the black tab where my thumb is.
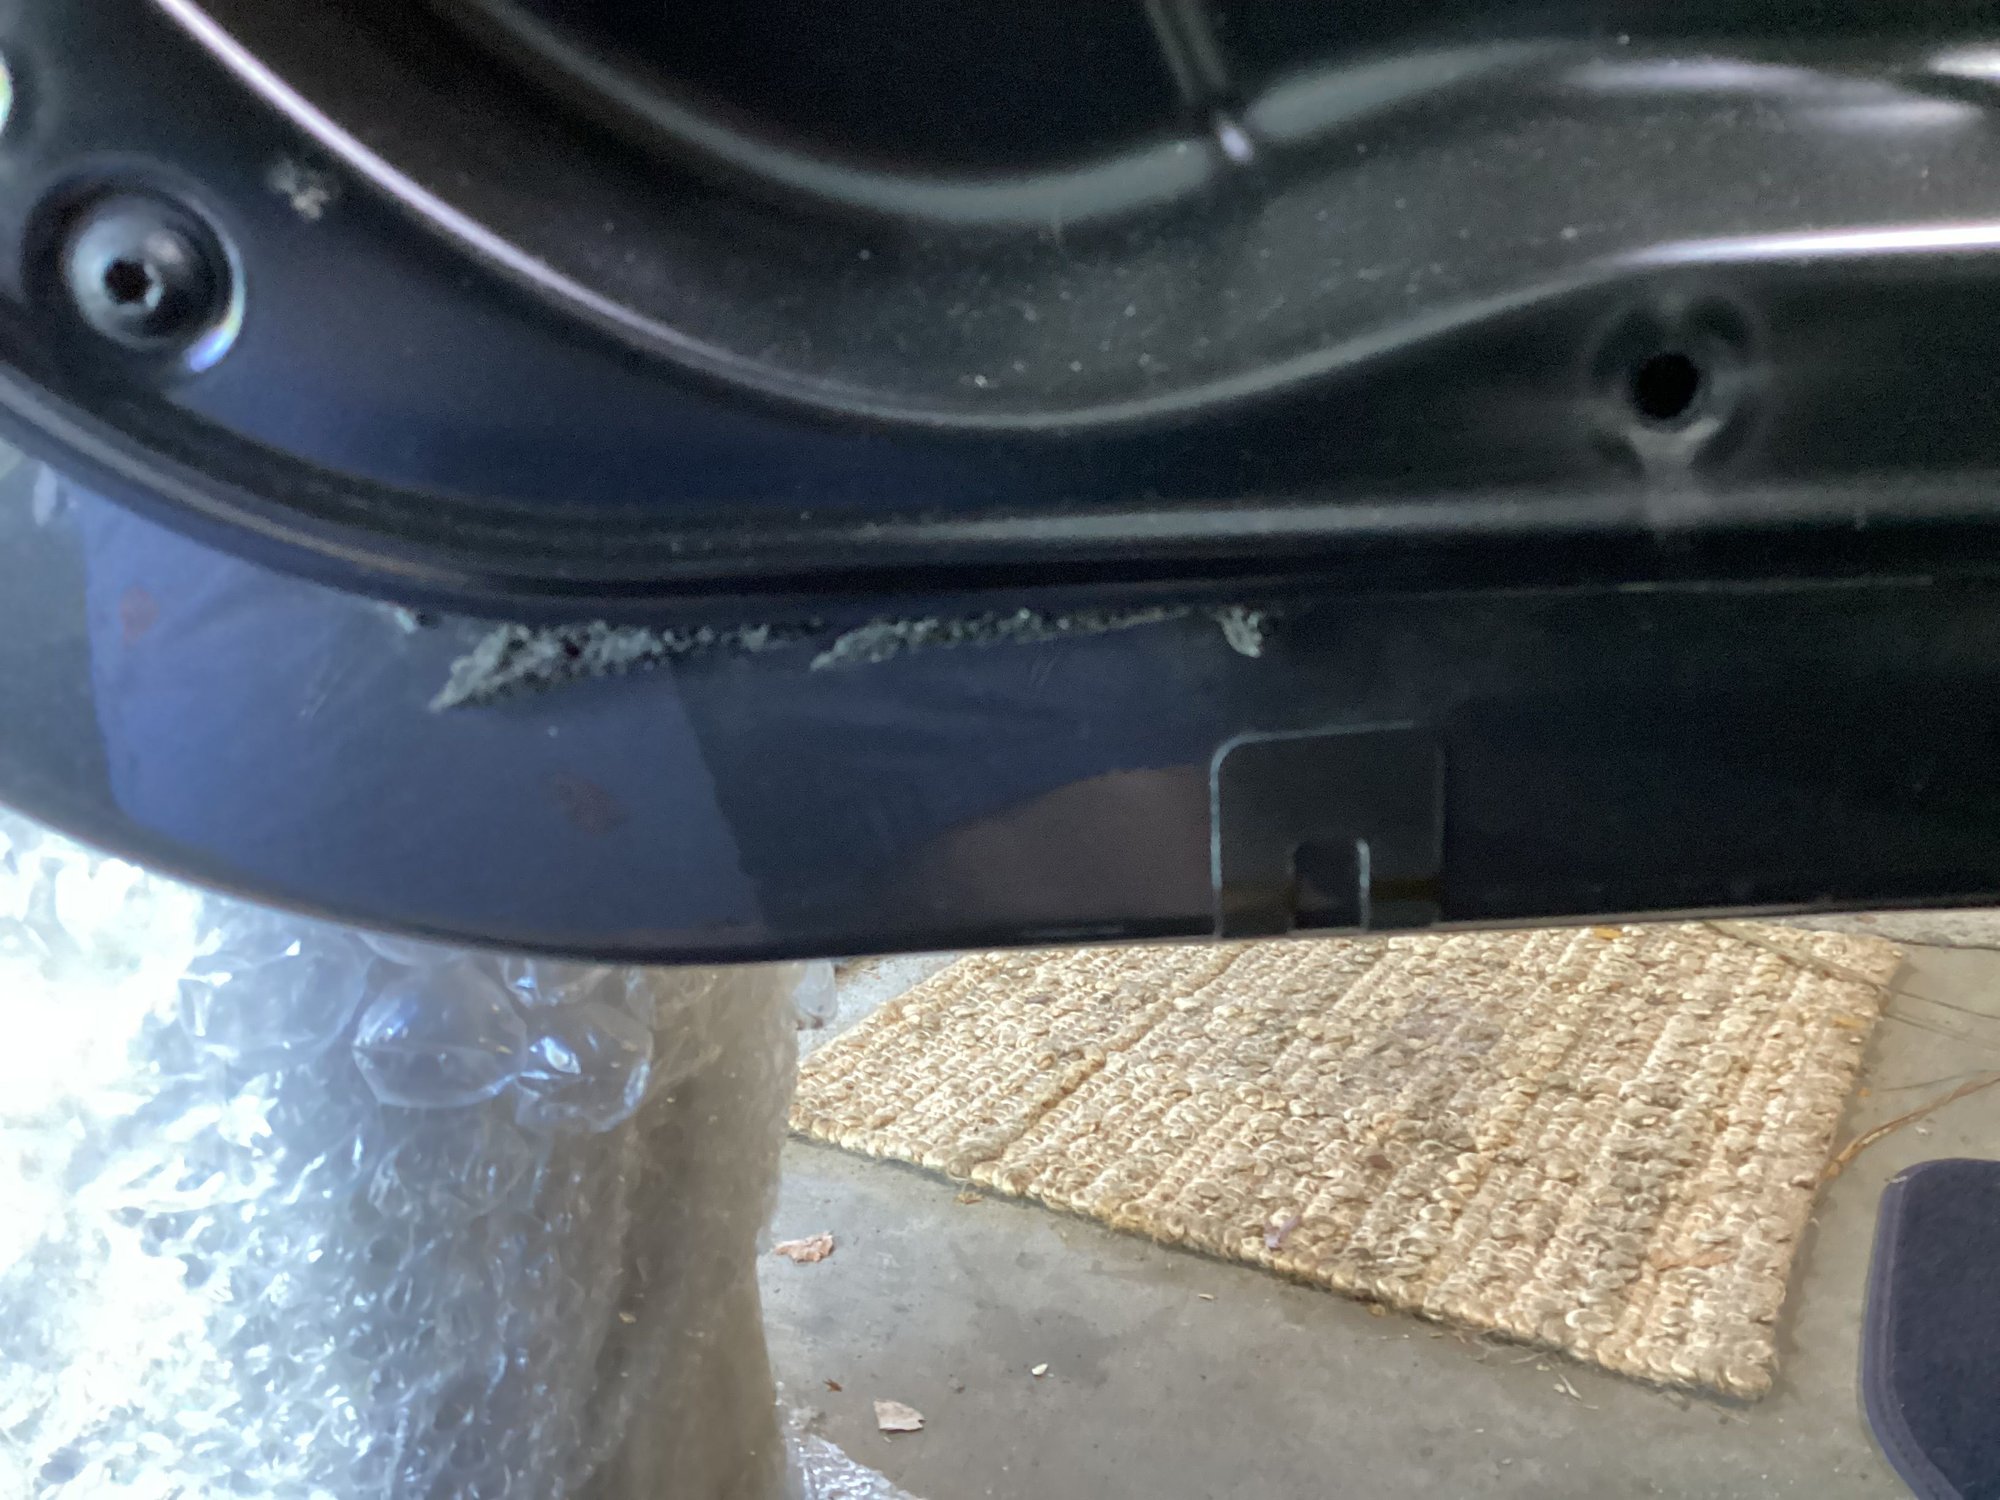
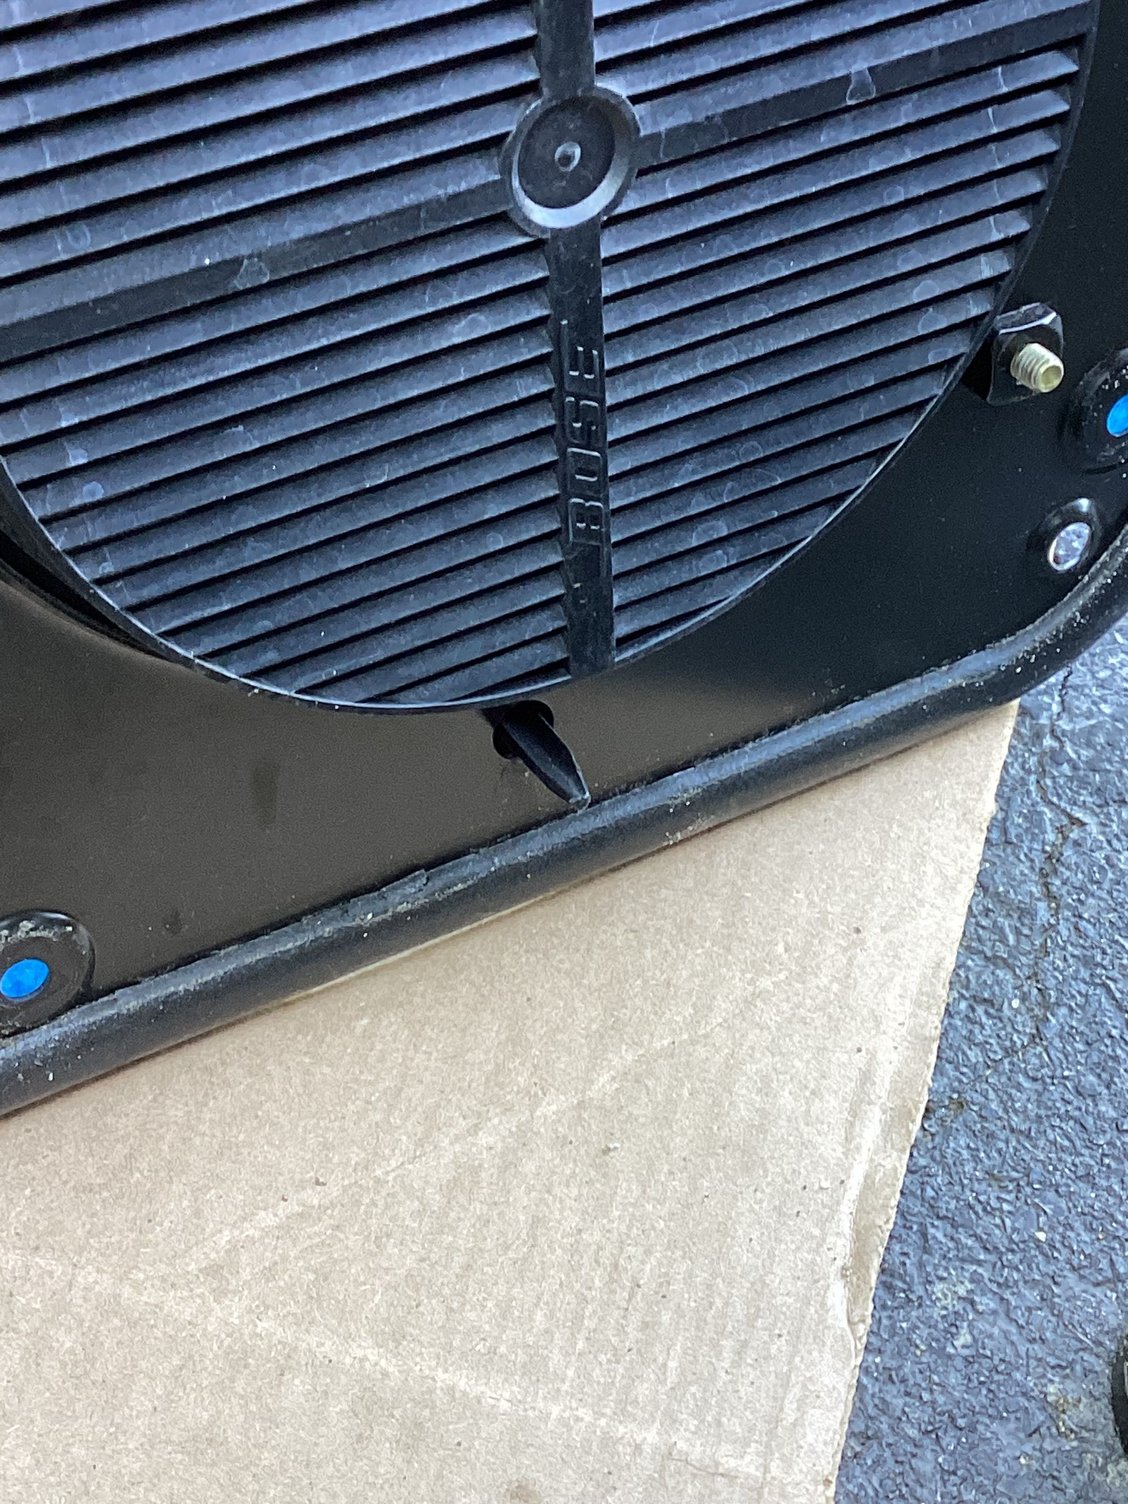
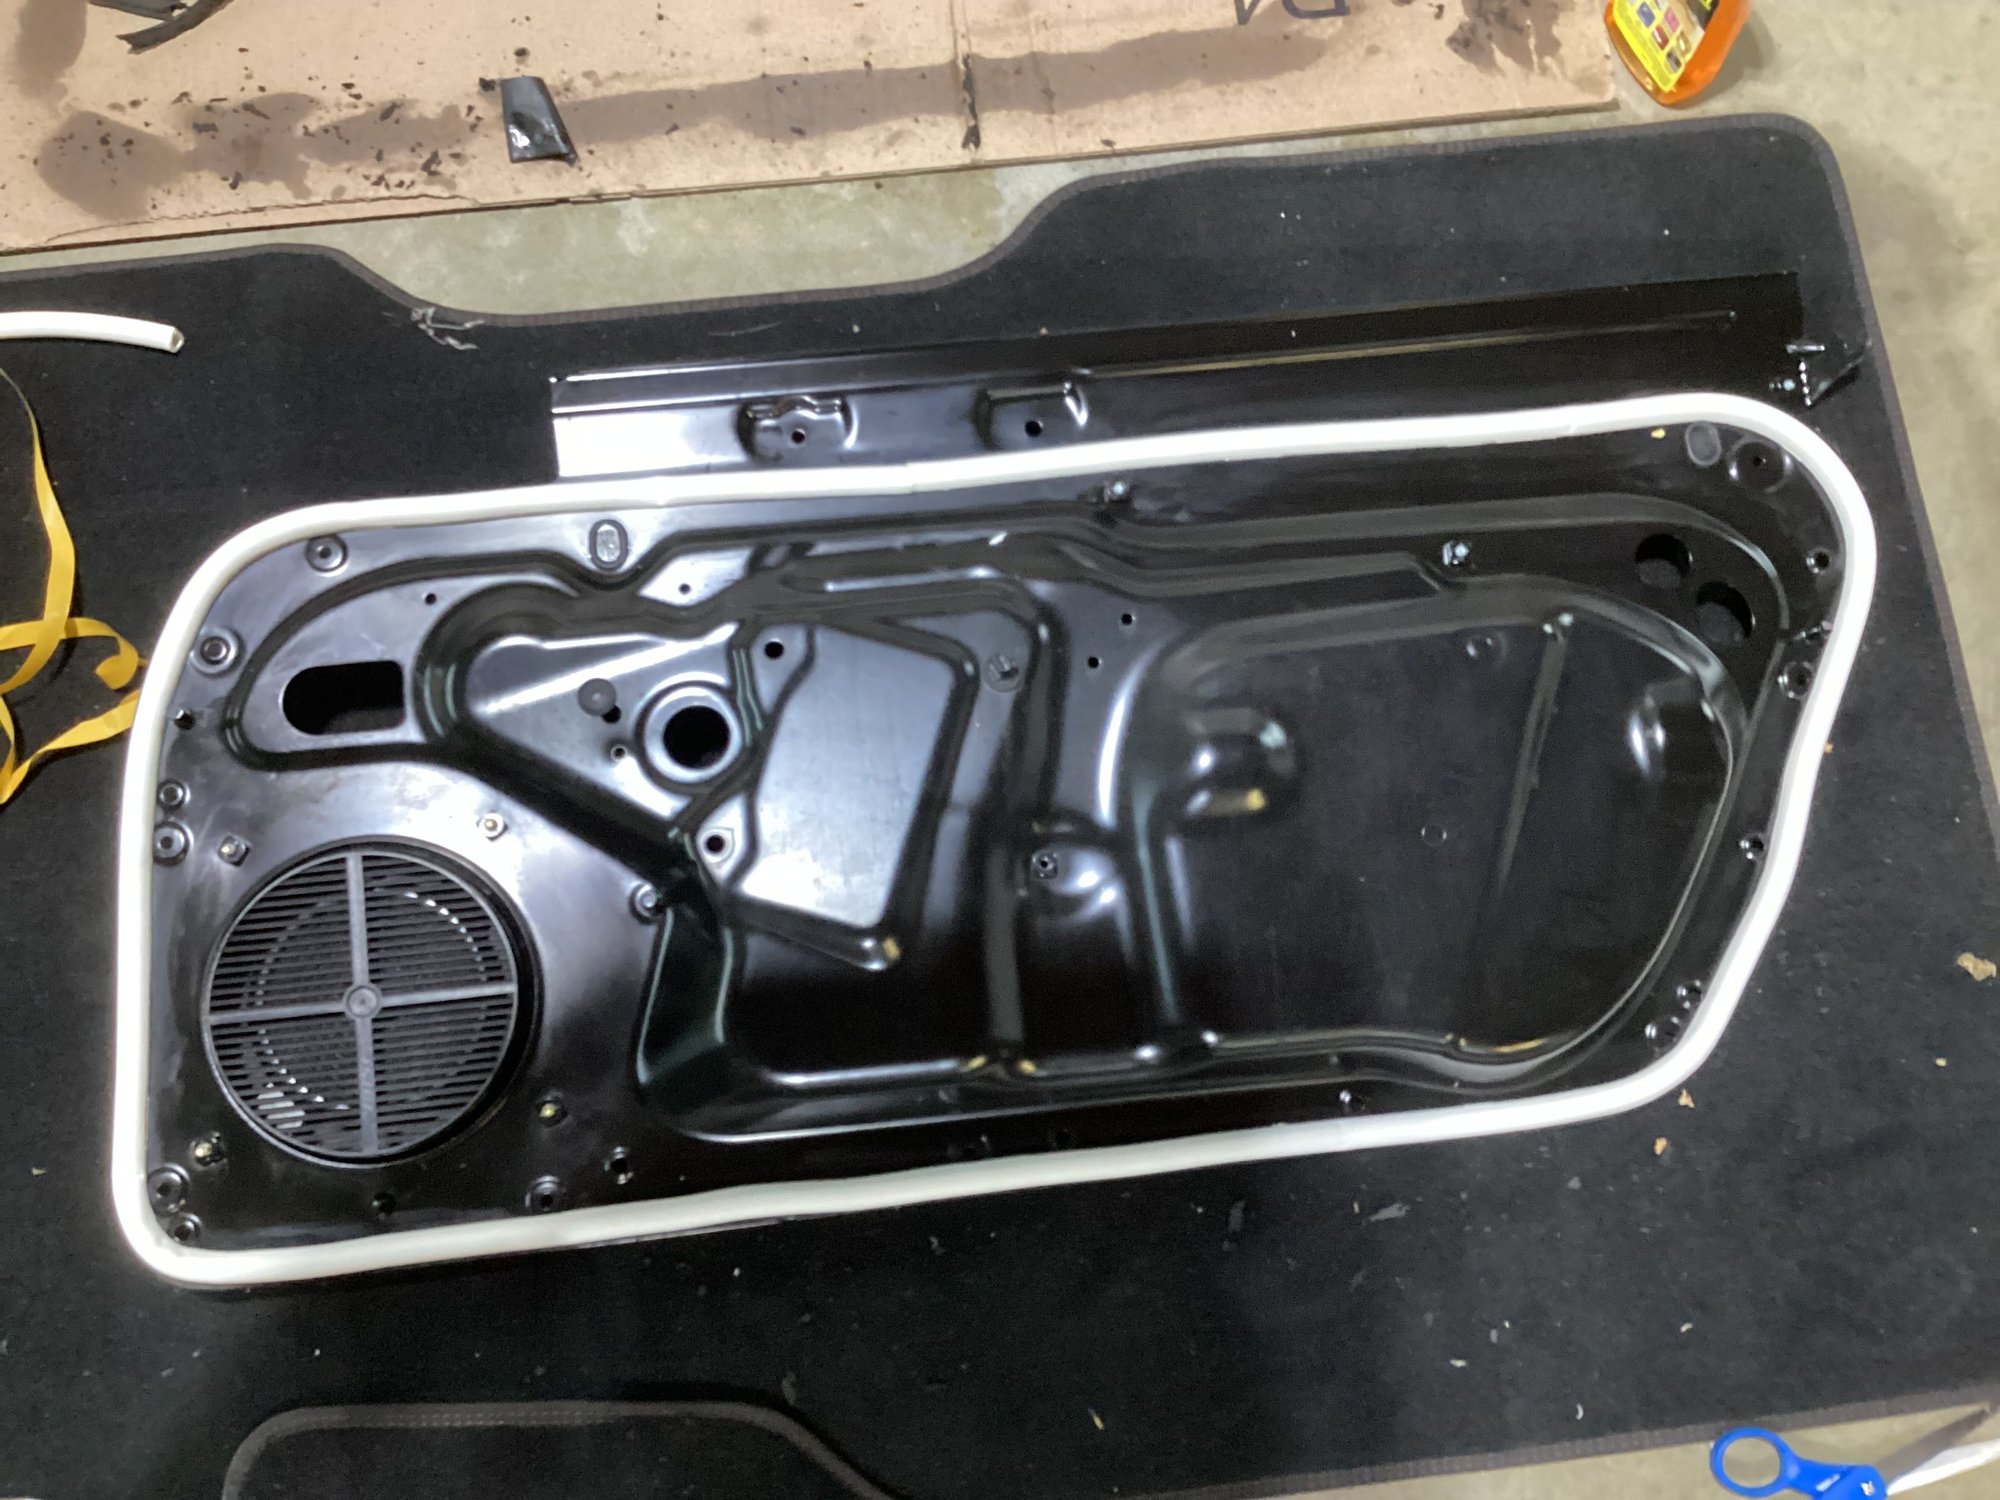
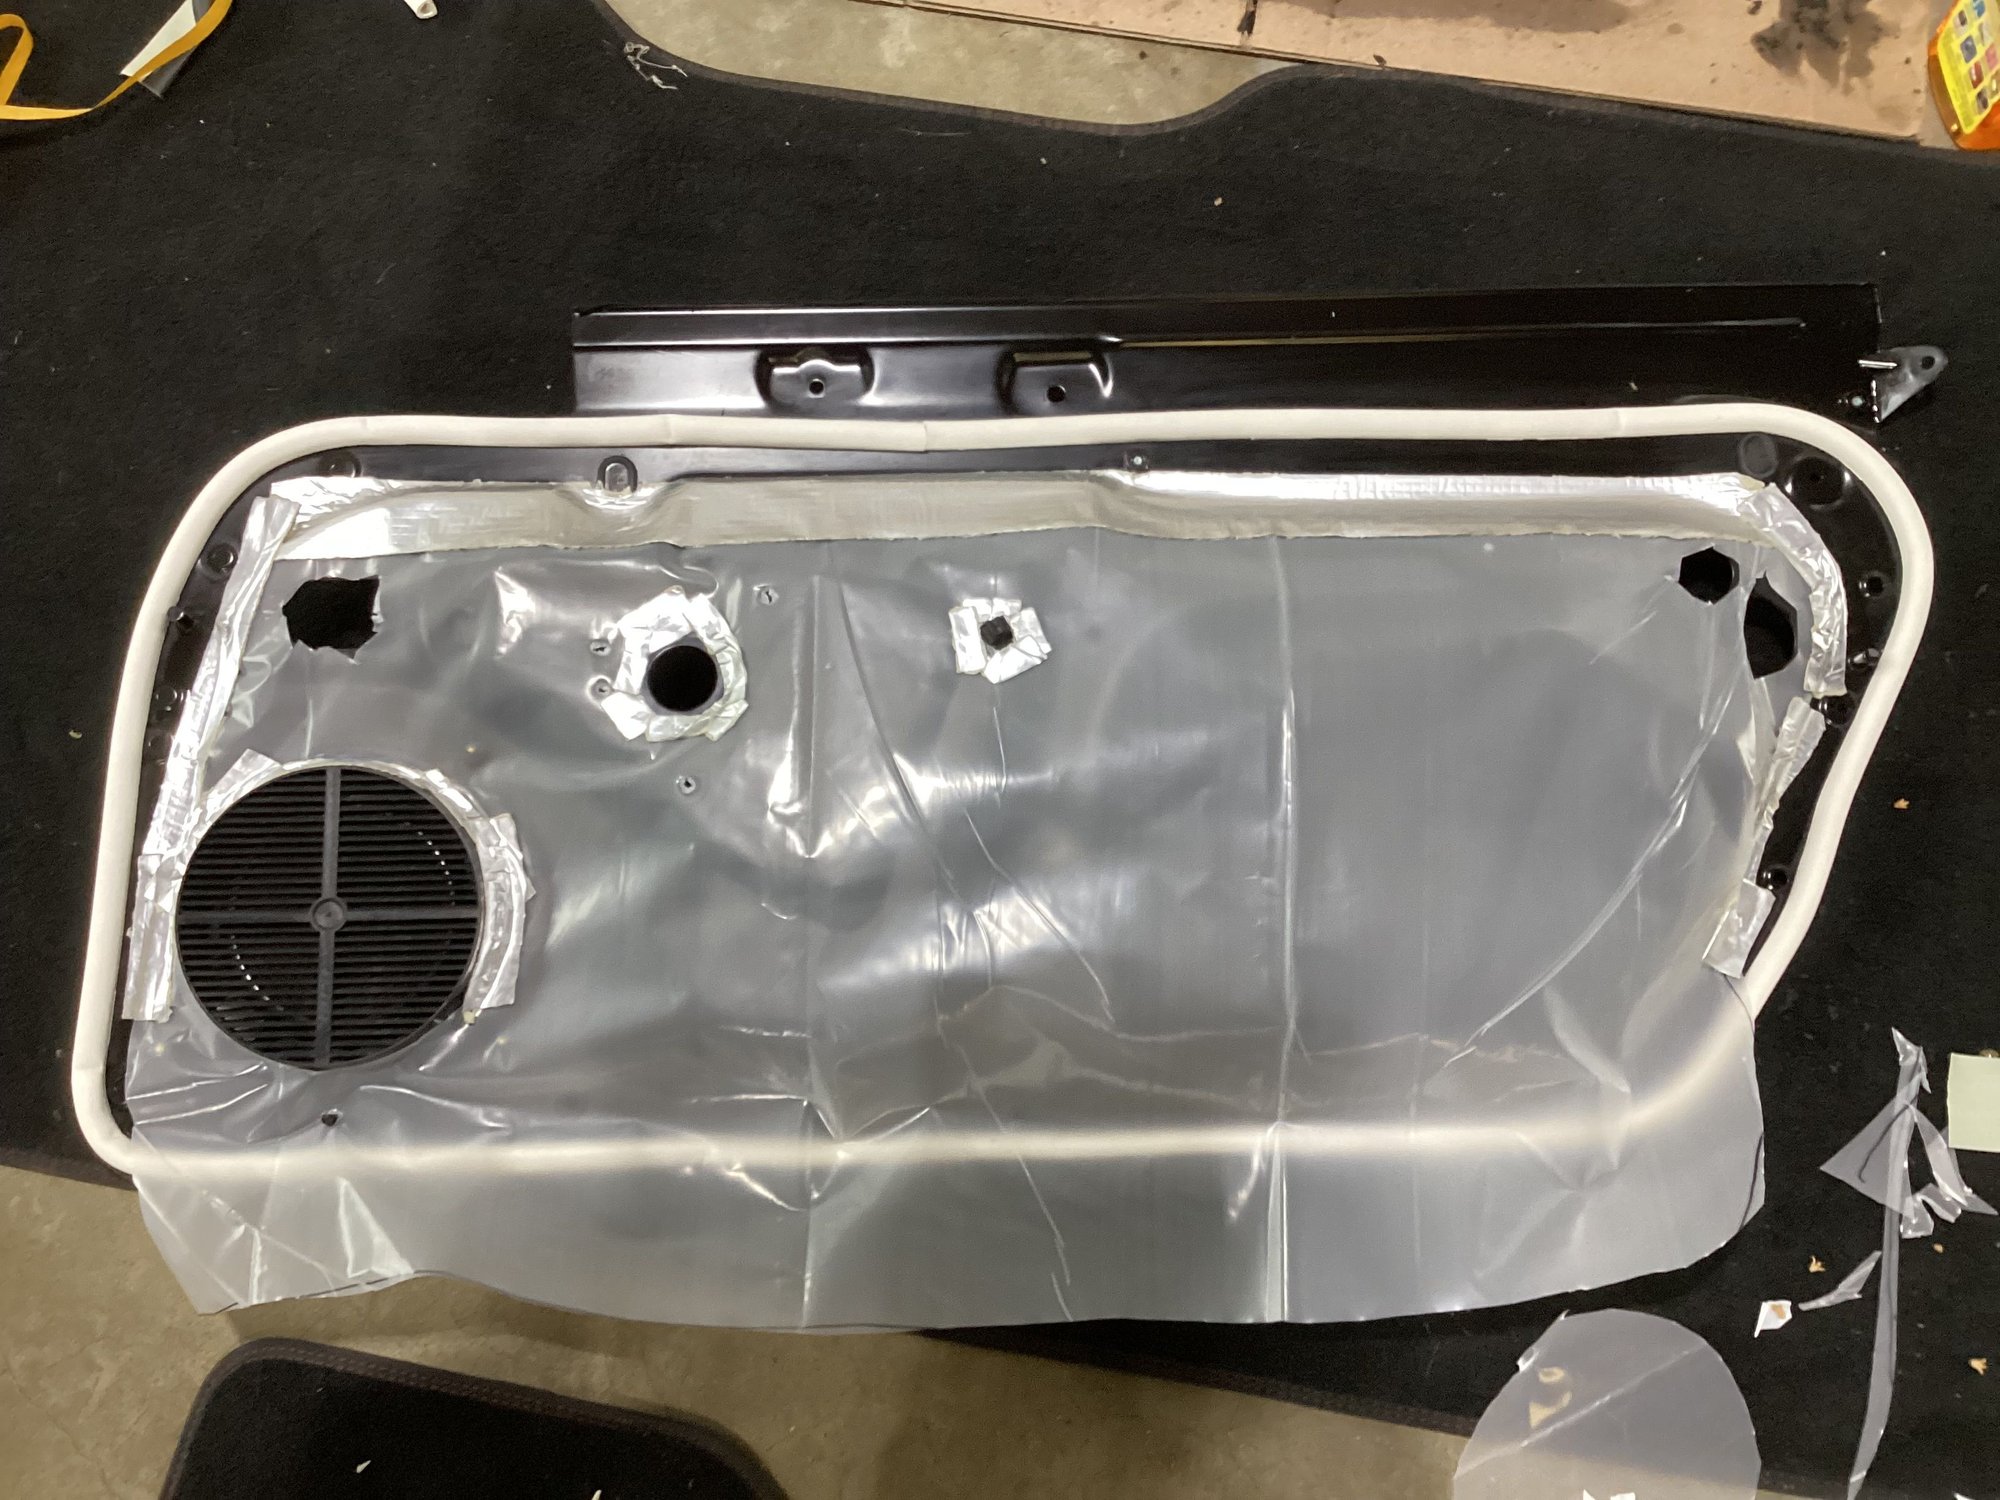
When re-installing, tuck the extra material into the door which directs the water past the seal to the bottom, inside the door, towards the door drains. If you remove the square rubber covers on the underside of the door, you can make sure the plastic is in position.
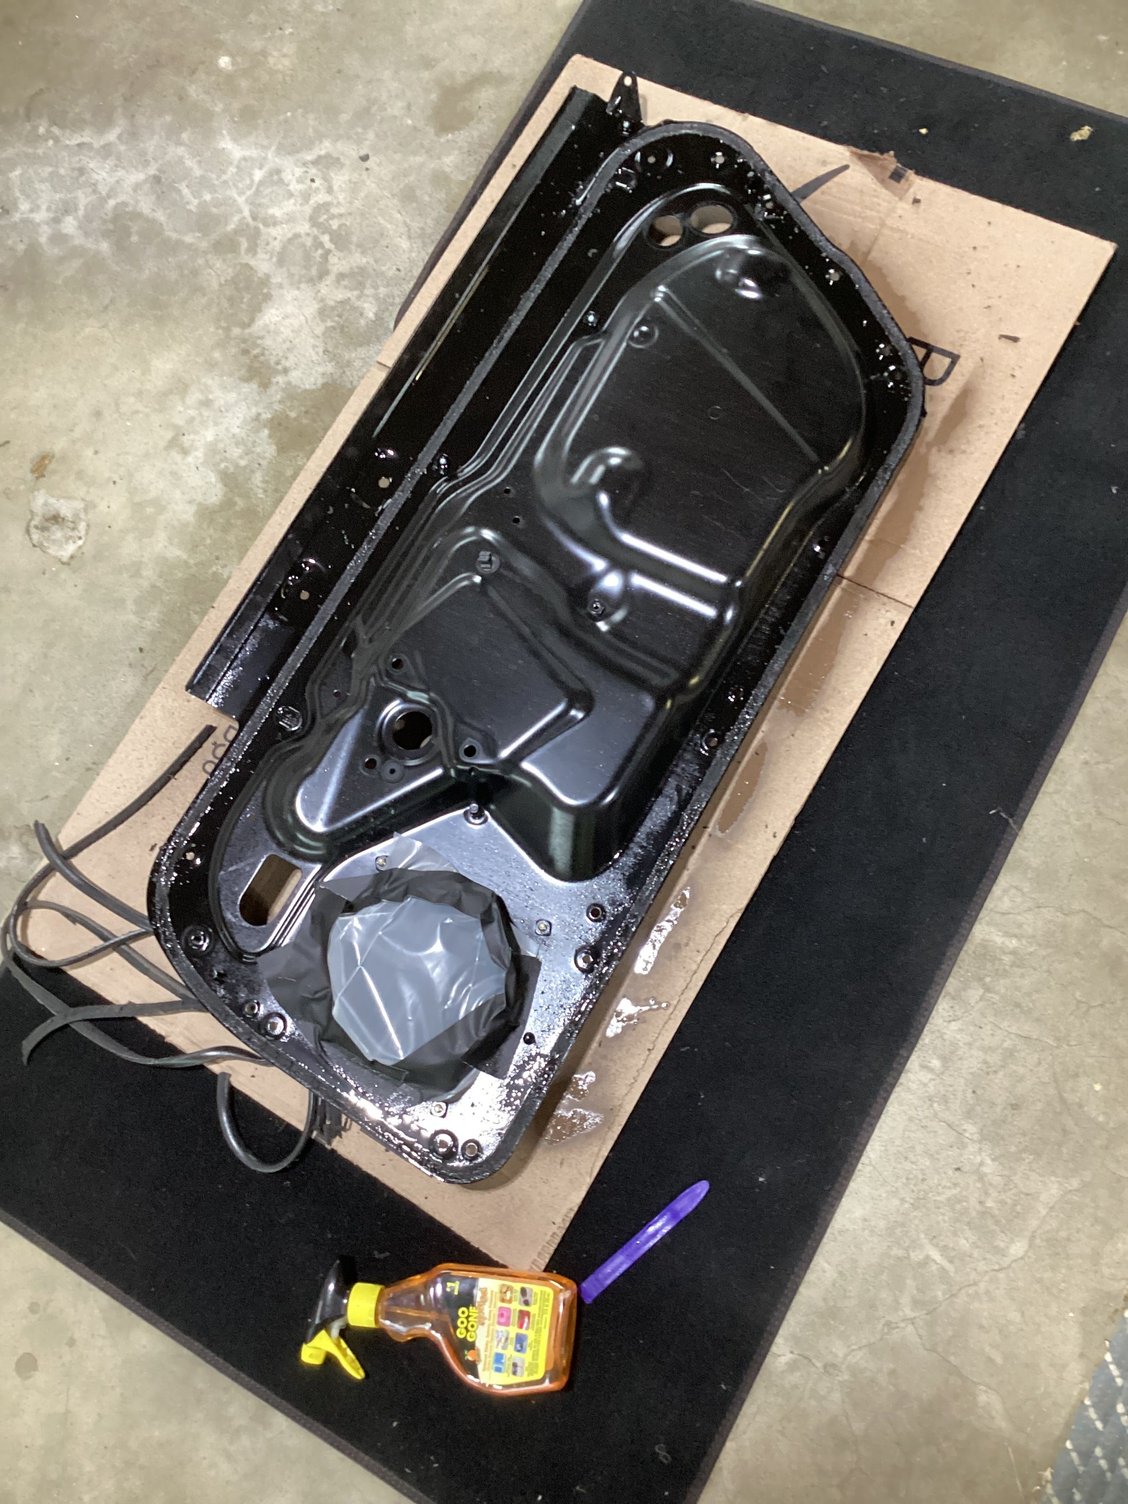
I think the new seal is likely enough, but figured it was worth adding the plastic curtain, since it was apart. Poured last night, no more wet carpet! Whole process took me 2.5 hrs.


 06-05-2024, 05:20 PM