When you click on links to various merchants on this site and make a purchase, this can result in this site earning a commission. Affiliate programs and affiliations include, but are not limited to, the eBay Partner Network.
LCA and Caster Control Arm / Tuning Fork - intall FYI post (Lower Control Arms)
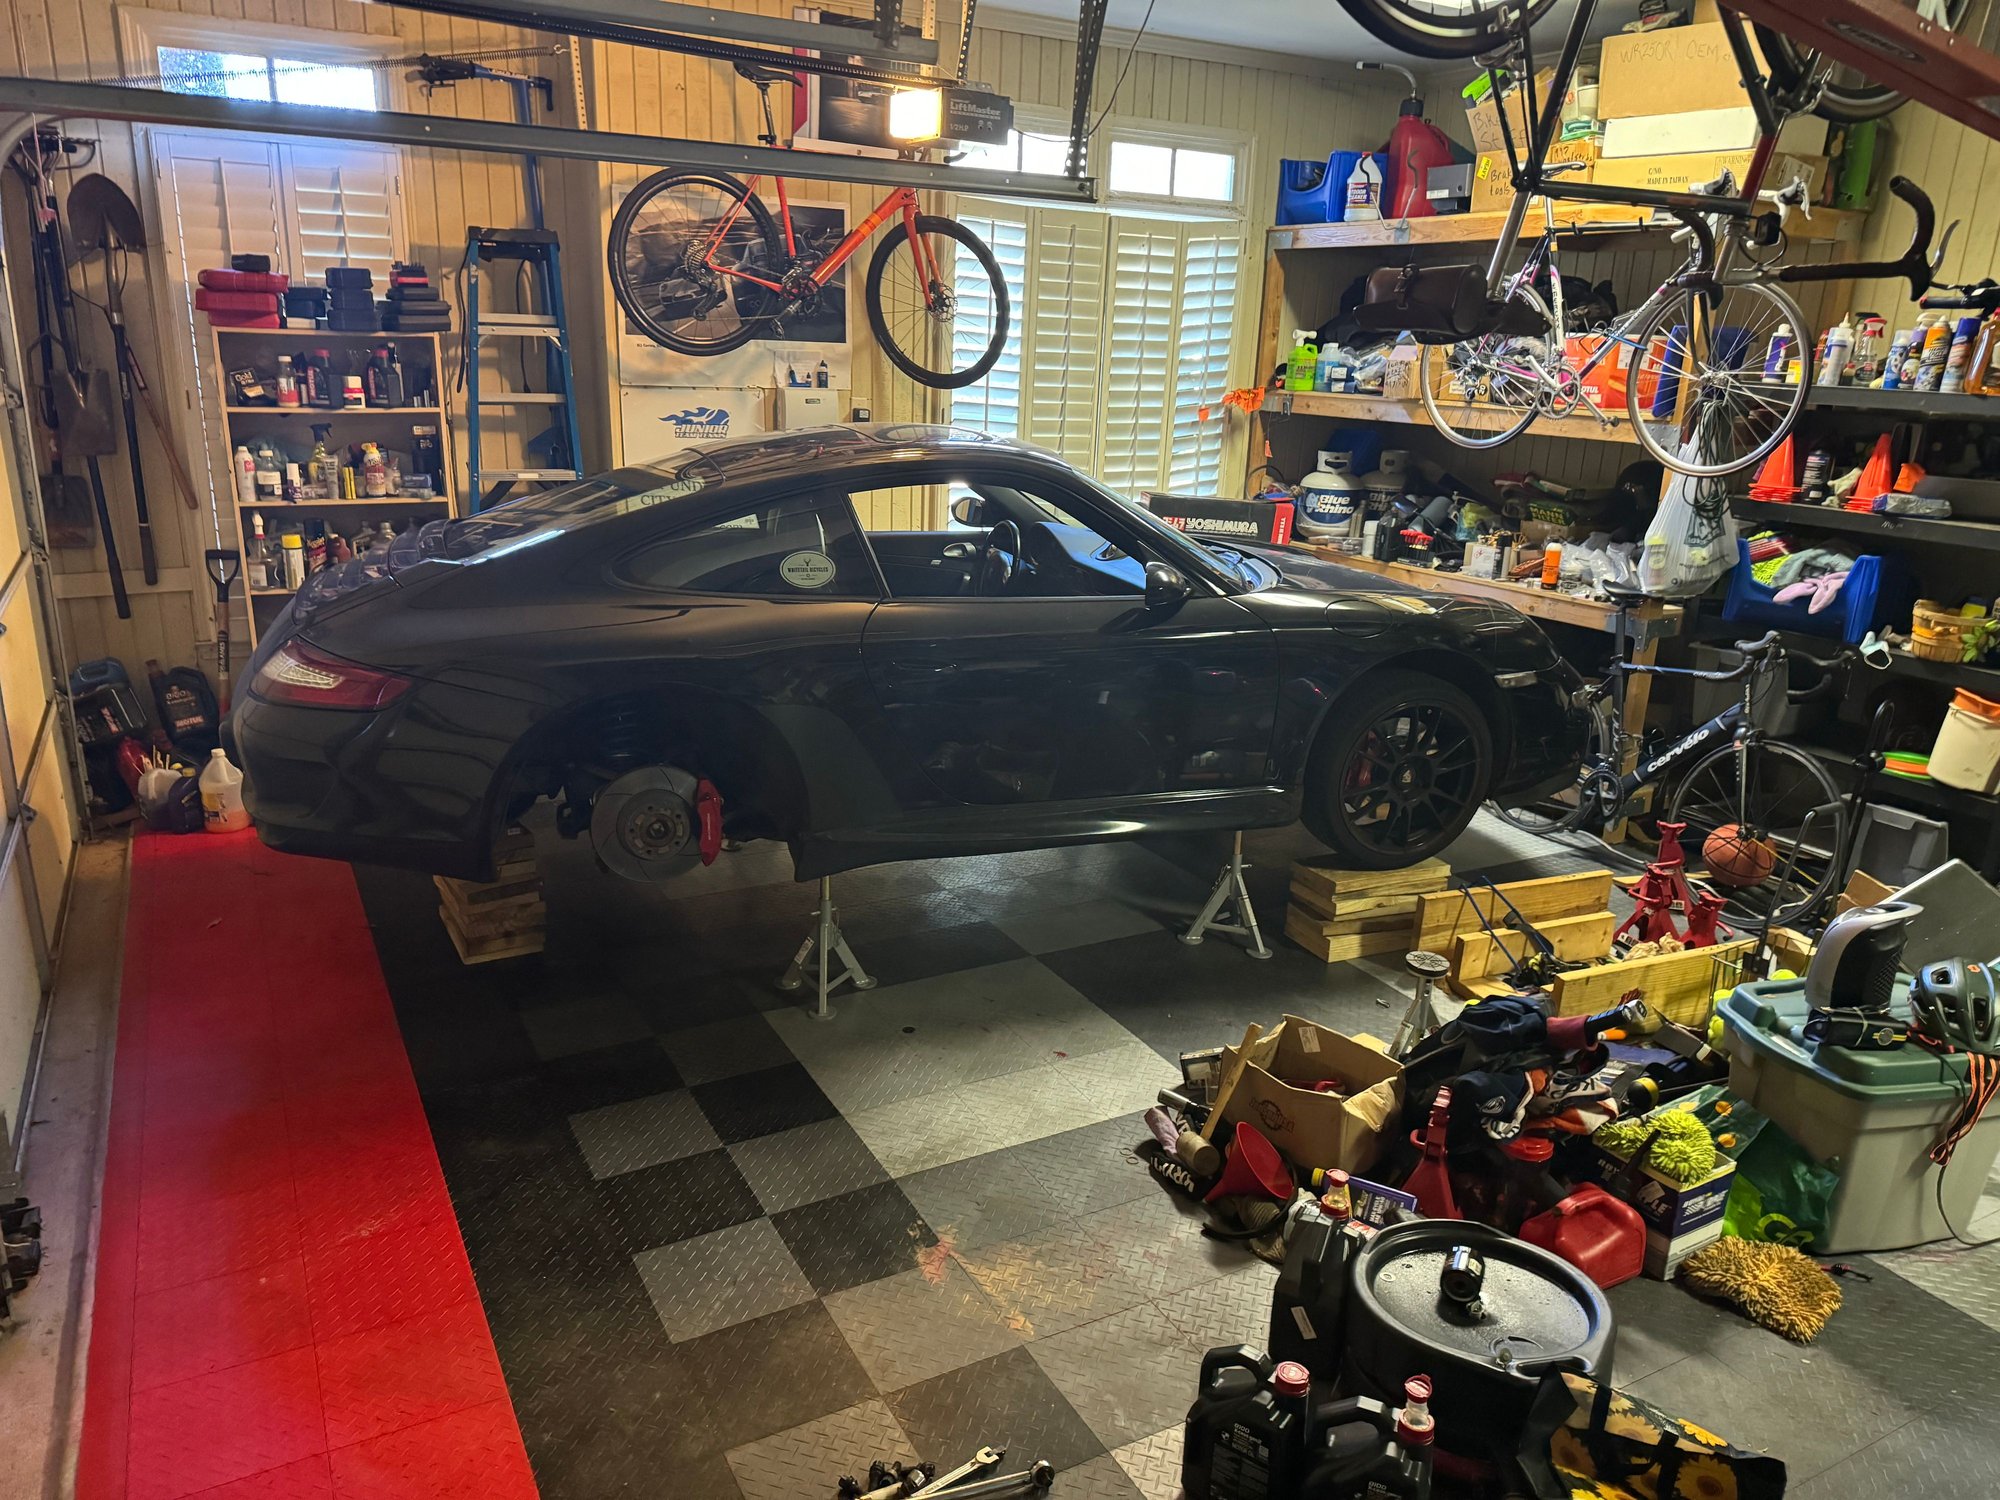
Hey folks - I just installed LCAs and Caster Control Arms on my 2006 C2S with 120k miles. There's a great DIY video from FCP Euro that I highly recommend, and there are other good ones out there as well. Here's a list of things that I didn't see on the videos or maybe they weren't stressed enough. This is a relatively easy job for someone with some skill, patience, and time. It cured some looseness in my suspension and I'm very happy with the upgrade. The FCP Euro video says these should be replaced between 60k and 100k, and I'm quite certain many here are in that range and beyond. My bushings - particularly on the caster arms - were super pliable, relative to the stiff new ones. Here's a list of 5 additional things to consider before and during your install, if you choose to take this on:
1. Tools - make sure to have various length wrenches and sockets - deep and regular, for 16mm, 18mm, 19mm, 21mm. Have a ball joint removal tool like the gear wrench one pictured -see below (LCA) for more info on this. I used a long ratcheting 18mm and a very short one as well - not really needed but nice to have. Have two 10mm open ended wrenches and some zip ties if you have litronic lights. But a paint pen if you don’t have one!
2. Measure wheels loaded before you do anything - as the car sits. Measure from the center of the wheel to the top of the fender. When you are getting ready to wrap up each side, use a floor jack to lift the brake rotor (that corner’s suspension) to match the center of that hub to that same distance to the top of the fender, while the wheel is off. This will allow you to torque the bushings and tighten all the nuts while the suspension is basically loaded at rest.
3. LCA removal - this was a bit of a pain. I bought a pickle fork and the gear wrench tool and started with the pickle fork on the first two corners. In each case, I needed that gear wrench tool to get it out. It makes a huge pop so be prepared. On the 3rd corner, I just used that gear wrench tool and figured I’d be all set for the 4th - easy peasy. So dumb. Always a new surprise to make things complicated! The shop that installed my coilers 10+ years ago may have messed up a bit. The front driver shock housing is so low that I couldn’t even fit in that tool - not enough room between the bottom of the shock and the top of the bolt for the ball joint!! Tried the pickel fork again to no avail - that thing sucks. I saw a couple of videos where people slam the side of the LCA with a hammer and I was so frustrated, I banged away with all my might and sure enough, it came out! 10 really serious bangs on each side and it fell out with some force. It almost cracked my phone!
Couple of other LCA notes - before doing anything, mark the rear washers with a paint pen, as this is an alignment setting! Mark both sides of the washers on driver and passenger side.
On those washers with the marks - make sure to remove the one with the nut, before removing the long bolt.
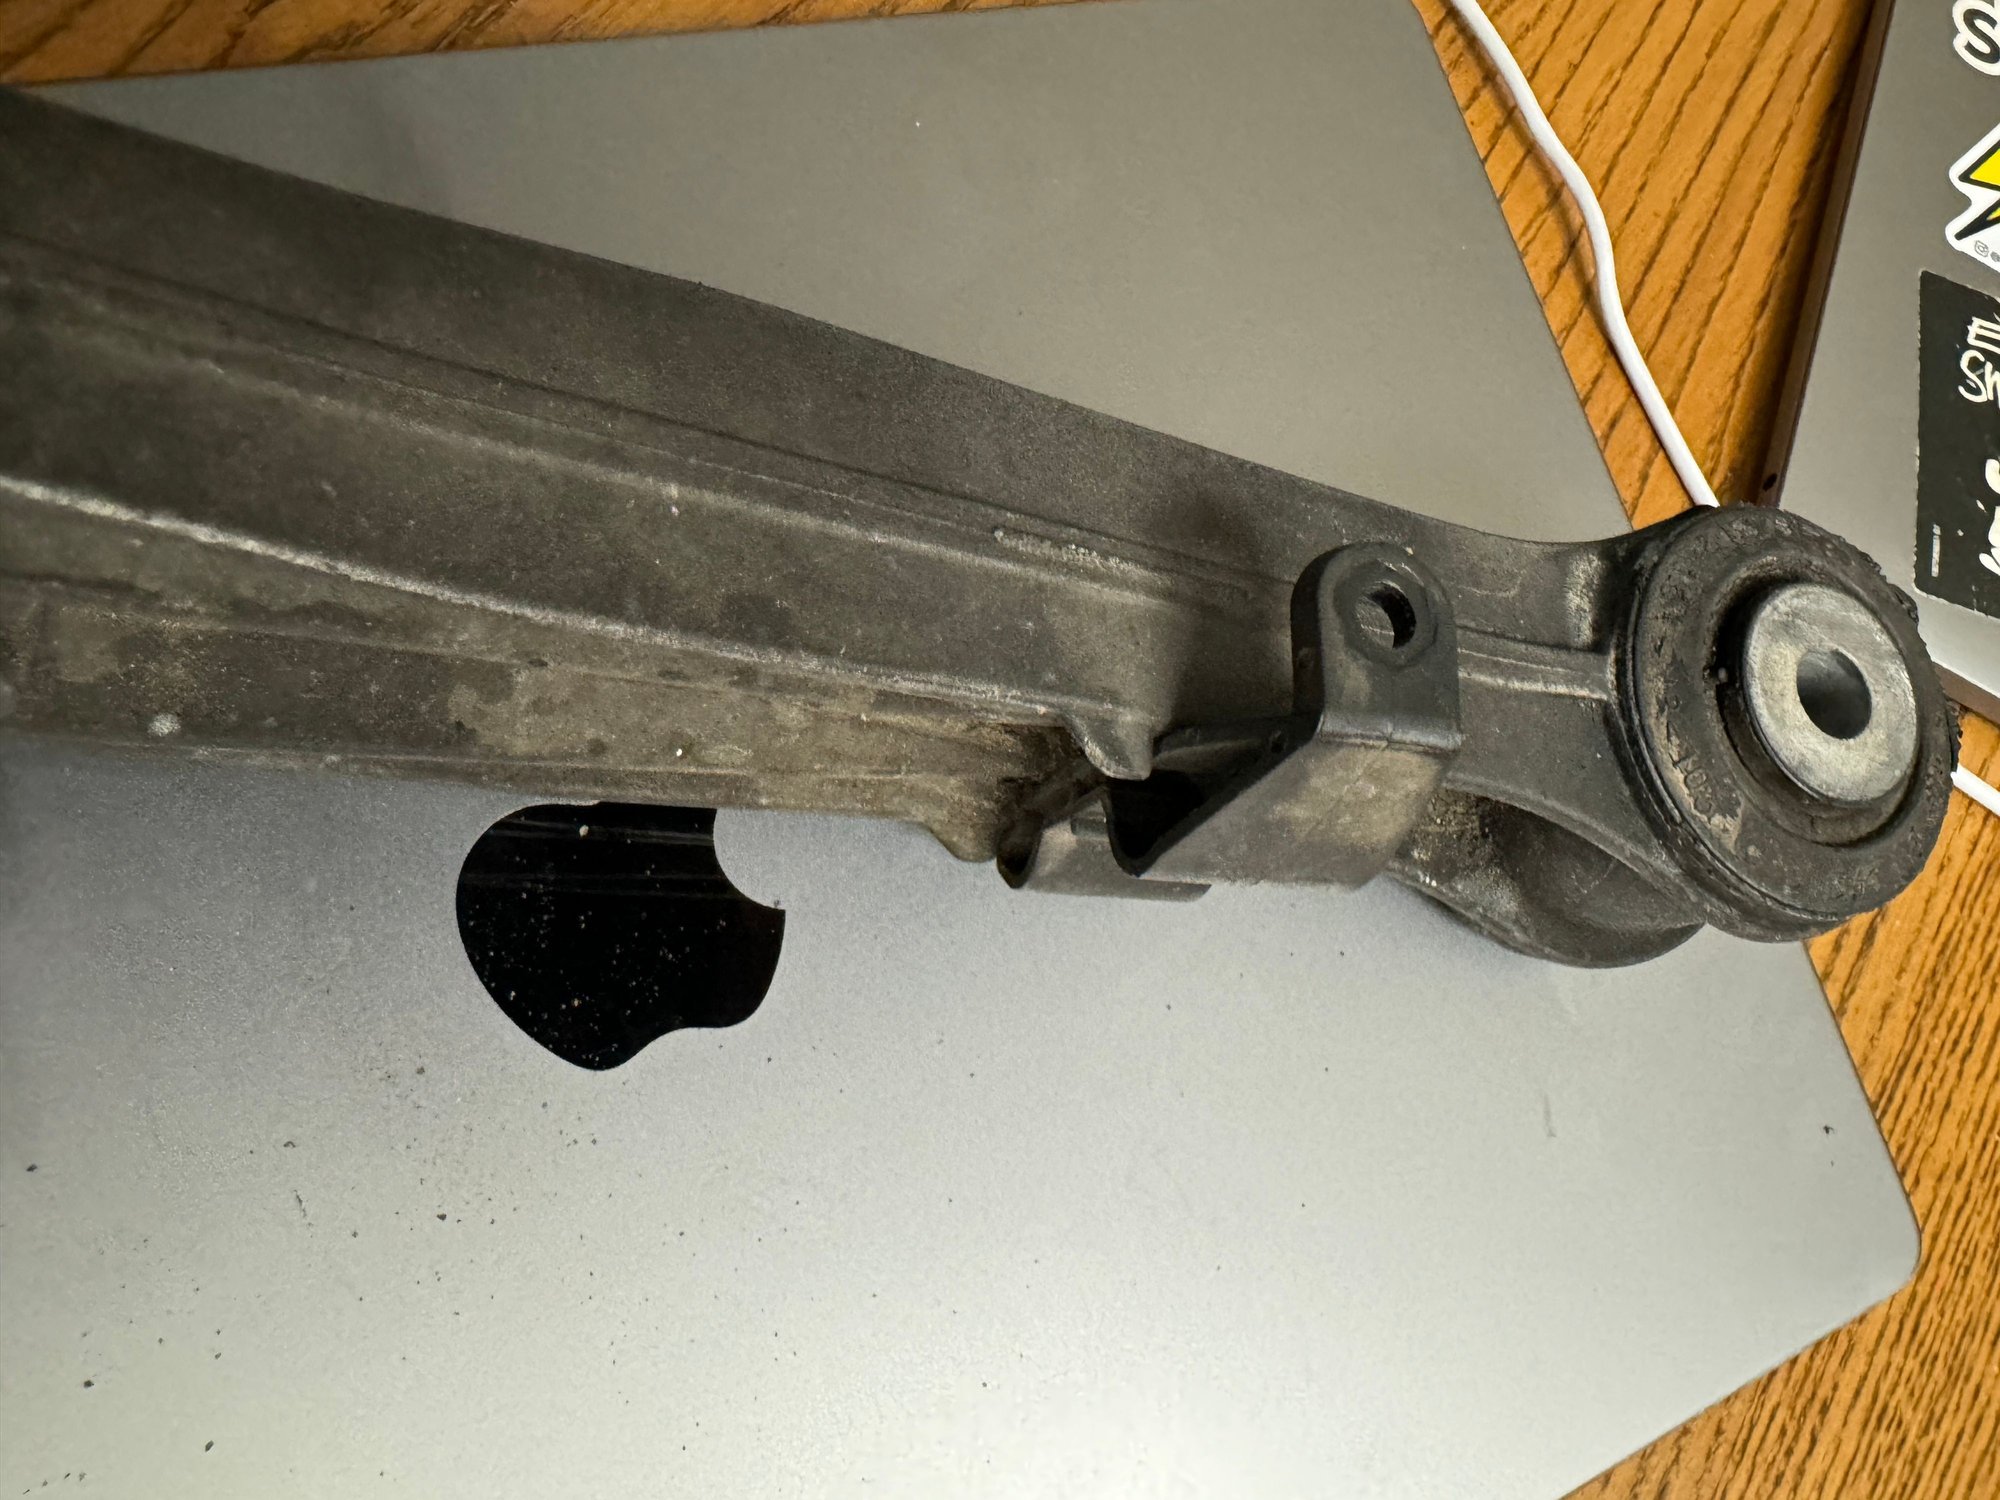
4. Be careful with caster arm bushings - lower subframe in front. I had more trouble in front than rear, to get the bushing end seated into the slot and I kind of messed up my new bushing on the driver side! Know that it’s a possibility and take care. I haven’t seen anyone say to remove the front forward fender liners but I think it’s a necessity, to get those new caster arms to fit into the slot.
5. Litronic brackets - ugh! Here’s where you need the dual 10mm open ended wrenches to remove these from the front and rear LCAs on the drive side. Search on part # 99634137103 to see the actual item. I couldn’t figure out how to get these removed and reconnected. I ended up buying one from the dealership for $5 but I still couldn’t get it on right - with the press fitting thing. So I zip tied it, and for the other one, I just reused the original and zip tied it as well, using a cross pattern. Maybe you can figure this out! I bought all this from Elephant Racing, but it's all just Myele / OE compatible
Here are a few photos of those litronic brackets
== Here's the ball joint separator - great tool - and the dumb pickel fork below This may have helpd to gash out the boots enough to get the separator tool to seat easier. Otherwise, pretty much a waste jacked up pretty high to get this job done with relative ease


 01-04-2024 | 11:15 PM