When you click on links to various merchants on this site and make a purchase, this can result in this site earning a commission. Affiliate programs and affiliations include, but are not limited to, the eBay Partner Network.
I had great success on the generic interior LED replacements. The license lights appeared to cause faults for the controller and never worked. It even disables the circuit so you need to reset( remove fuse) to even get the original bulbs to work. I have since ordered a set of replacement lamp units on eBay to see if that works. Under 20 bucks.
be careful on the map light unit. I actually took mine apart and pushed lenses out from inside rather than risk breaking the tabs. I went this route as I had a MB SL 500 where these are a notorious weak point and $500 to replace.
I had great success on the generic interior LED replacements. The license lights appeared to cause faults for the controller and never worked. It even disables the circuit so you need to reset( remove fuse) to even get the original bulbs to work. I have since ordered a set of replacement lamp units on eBay to see if that works. Under 20 bucks.
be careful on the map light unit. I actually took mine apart and pushed lenses out from inside rather than risk breaking the tabs. I went this route as I had a MB SL 500 where these are a notorious weak point and $500 to replace.
I had some issues initially when switching the bulbs out for the LED's. I was advised to disconnect the battery of the car for about 10 minutes or so; reconnect it, and then proceed with the bulb / LED switch out. That worked for me.
In reference to #16 above, the lens assembly for cabs may be different than coupes. At least for the coupes, the lens assembly Is held in with stainless spring tabs at the front edge ( front means front, like front of car or for this example, the edge nearest the windshield). You cannot break these. The rear edge of the assembly ( the one closest to you ) is held in by plastic hooks which are not flexible snap tabs. To remove the assembly, pry at the front edge (remember which way is front) with finger tips or plastic removal tool, L shape is best. The assembly will "rotate " down toward the rear on the hooks. It is now loose. pull the assembly down and pull off the wire connector and take the whole assembly to your work area of choice. The map lights unplug from the backside. The festoon center bulb lives inside the assembly. You will see the 3 infamous plastic tabs that have to be released to remove the lens. . Go easy and do one at a time. They are well designed and should not be a problem if you are careful. All of this is well documented in the video at USPMotorsports.com. (The only place that has the correct side facing bulbs for the glove box and footwell.) Enjoy !
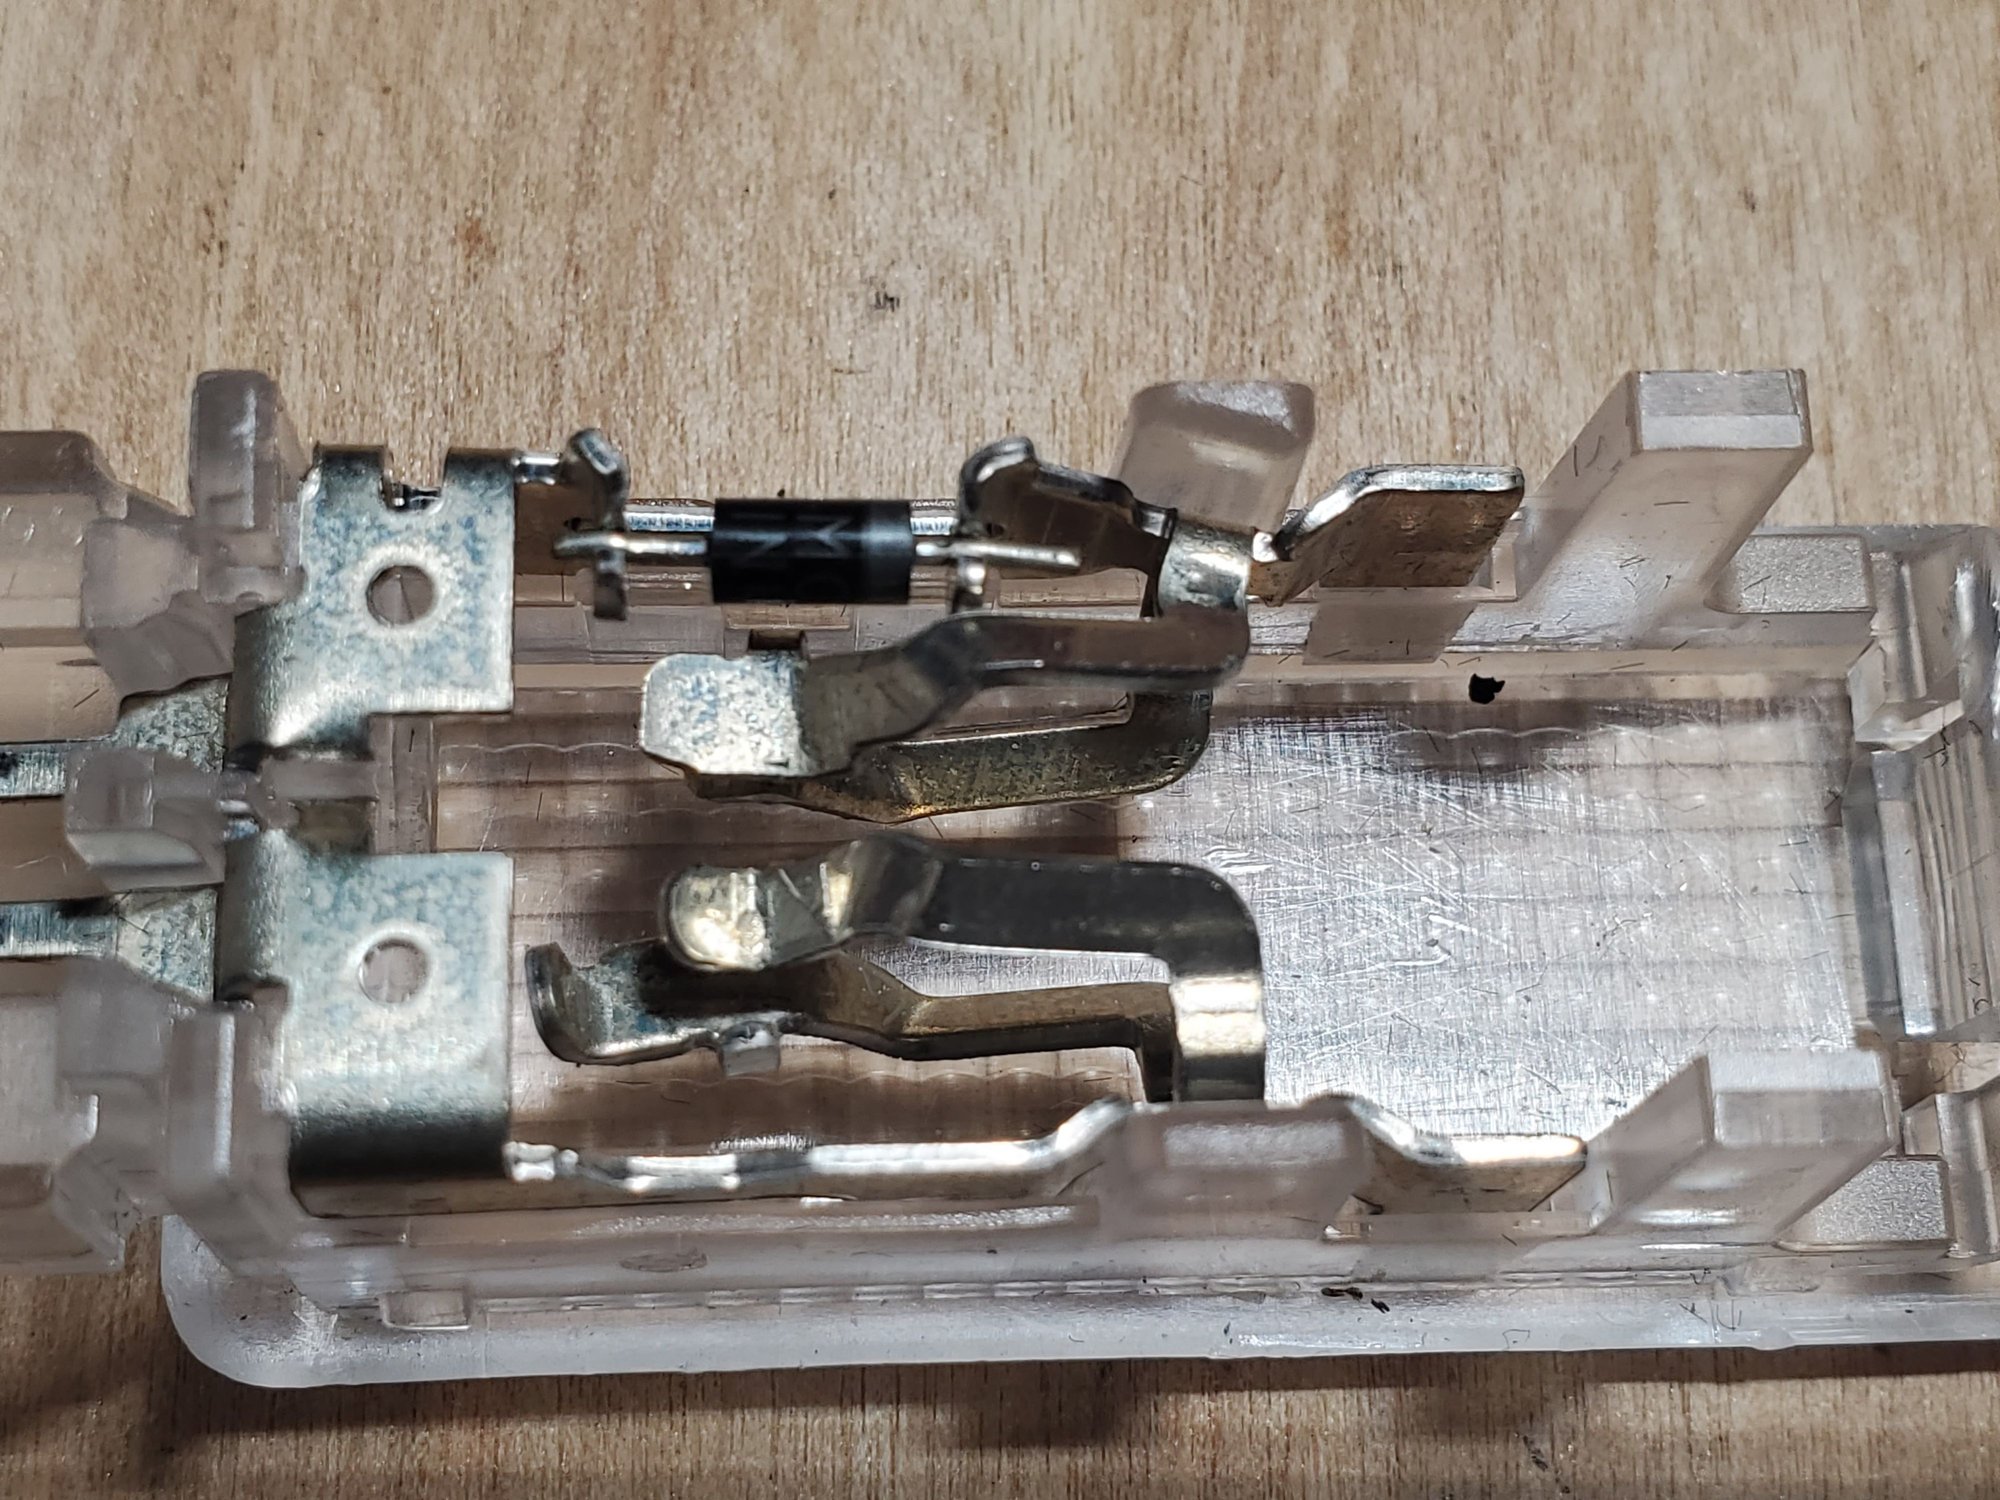
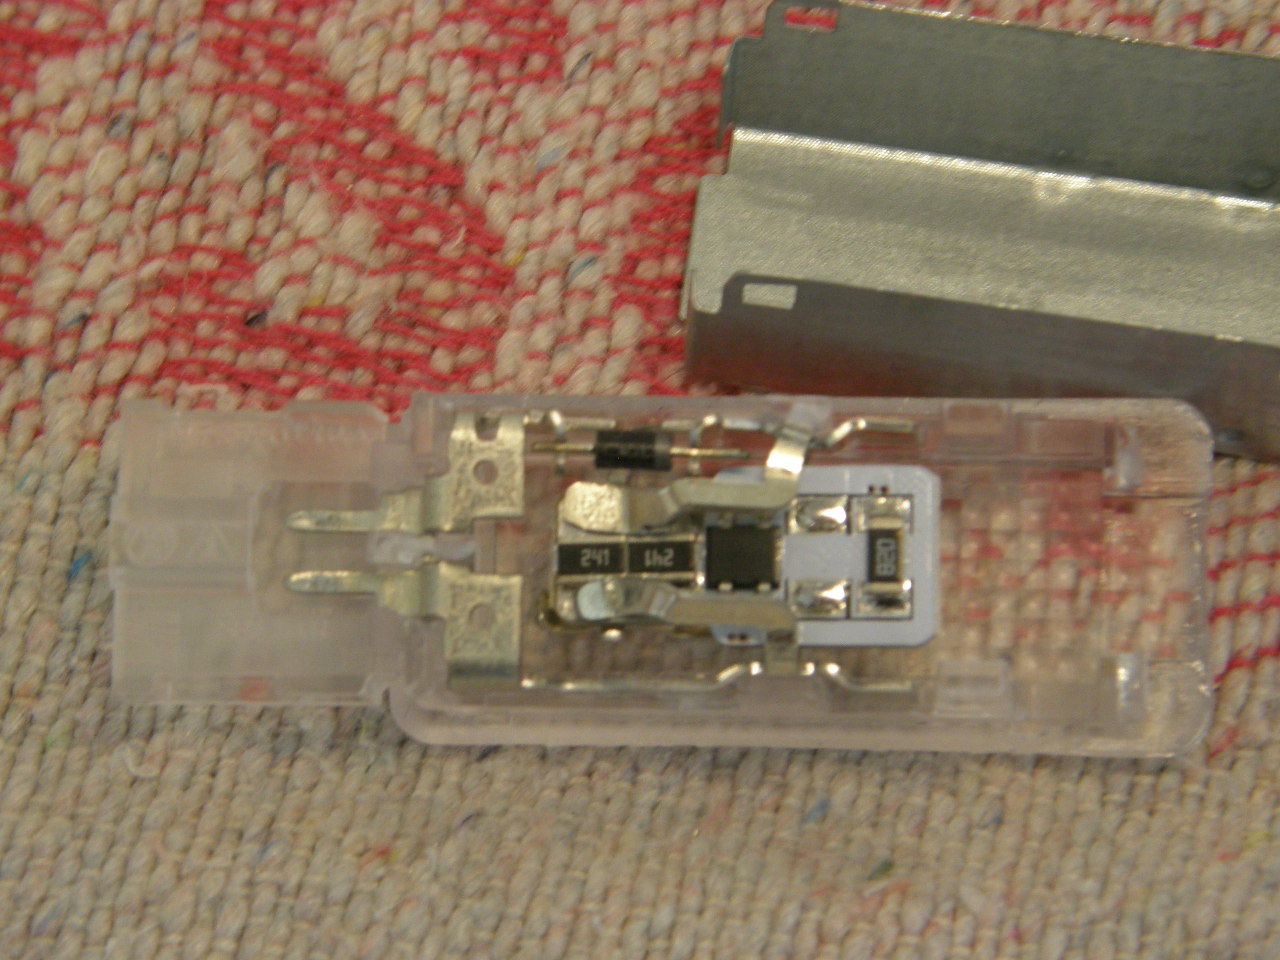
Put in all LEDs... except one.. the glove compartment... why? Well... the little light fixture has a small 845 kohm resistor. Wha?!!! yep. It won't trigger the LED. Any engineers can tell me what the effective difference on a 12V circuit with an 845 kohm resistor is? Less current? Volts? I forget.. So I had a choice... yank the resistor out, put in a jumper, and use the LED, or put the old bulb back in. What would you do? Well given that I love to dick with things... um.. fooled ya... I put the old bulb back in. I deferred to Porsche's judgement about the brightness.
So... whomever used the ECS or USP kits.... do you have a 997.1 or .2? I wonder if Porsche didn't do some consumer work and found the glove compartment light too bright and toned it down for the .2.... or maybe it was a heat issue starting a fire or something.
So... I am happy with the parts I chose and their brightness and color (white).. see my earlier post. If you know of an LED that can run on that glove compartment fixture, please post.
What happened: Hey, gotta tell a story... the two foot well fixtures and the glove compartment fixture are exactly the same.... so when I did the passenger side, I pulled out the glove compartment and foot well fixtures and took them to my bench... they are real fiddly to remove their heat shields. So I replaced the bulbs but did not see that little resistor in one. Put the fixtures back but one did not light... flipped the LED for another and did basic trouble shooting.. still did not see the resistor. I have a 12 volt power source from my camera hobby and could get the LEDs to light on the bench but I did not test them in the fixture. Tested the power at the wire and got 0 volts - this was because I am a dope and my leads were not tiny enough to get into the plug... but I was so sure the line was dead, I didn't try hard. Today, I took it apart and looked with a magnifier and sure enough, saw the resistor. I pulled another fixture out and it did not have the resistor.
Peace
Bruce in Philly
Last edited by Bruce In Philly; Mar 4, 2021 at 08:46 PM.
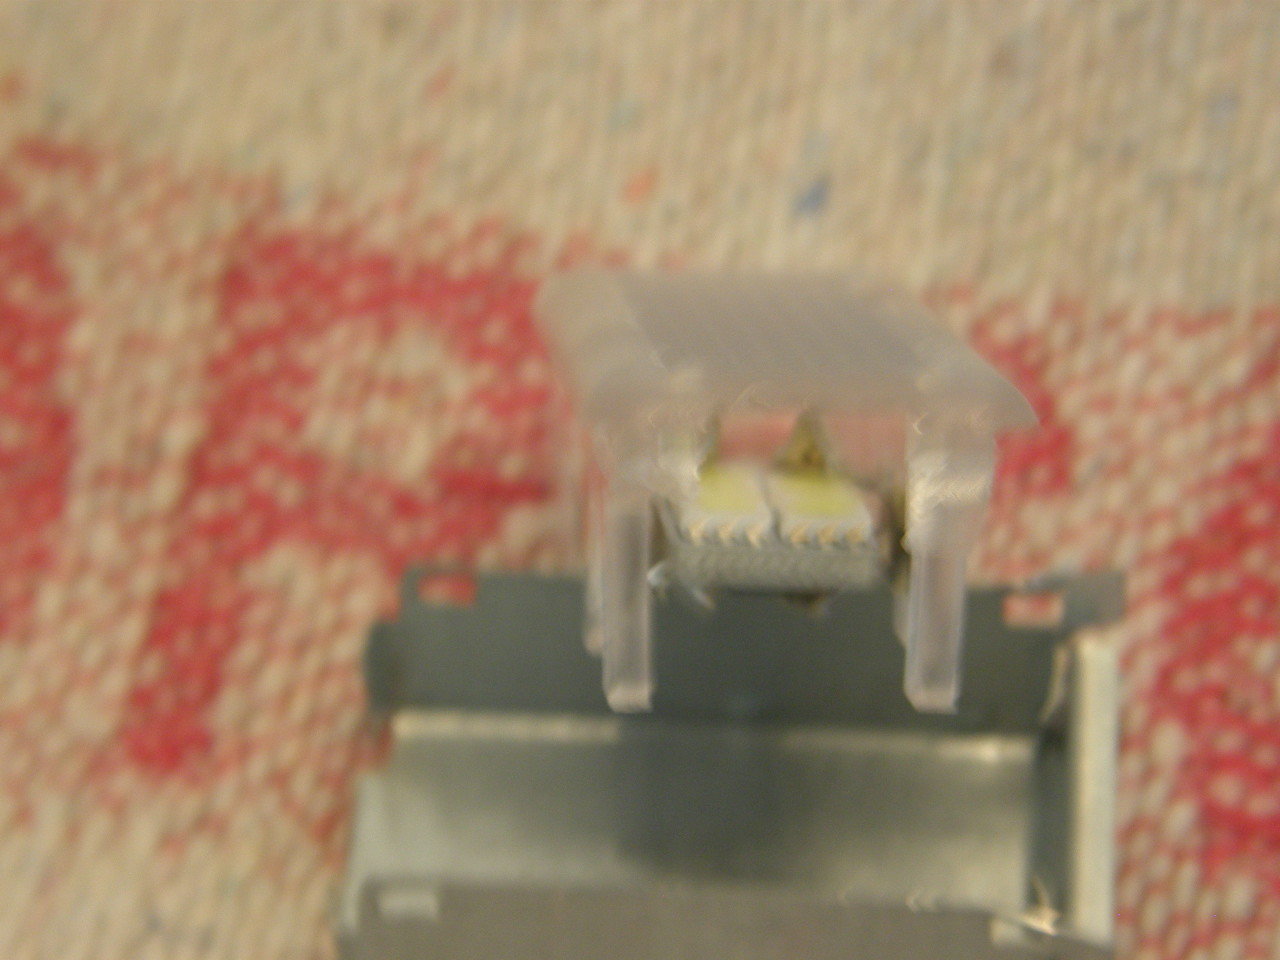
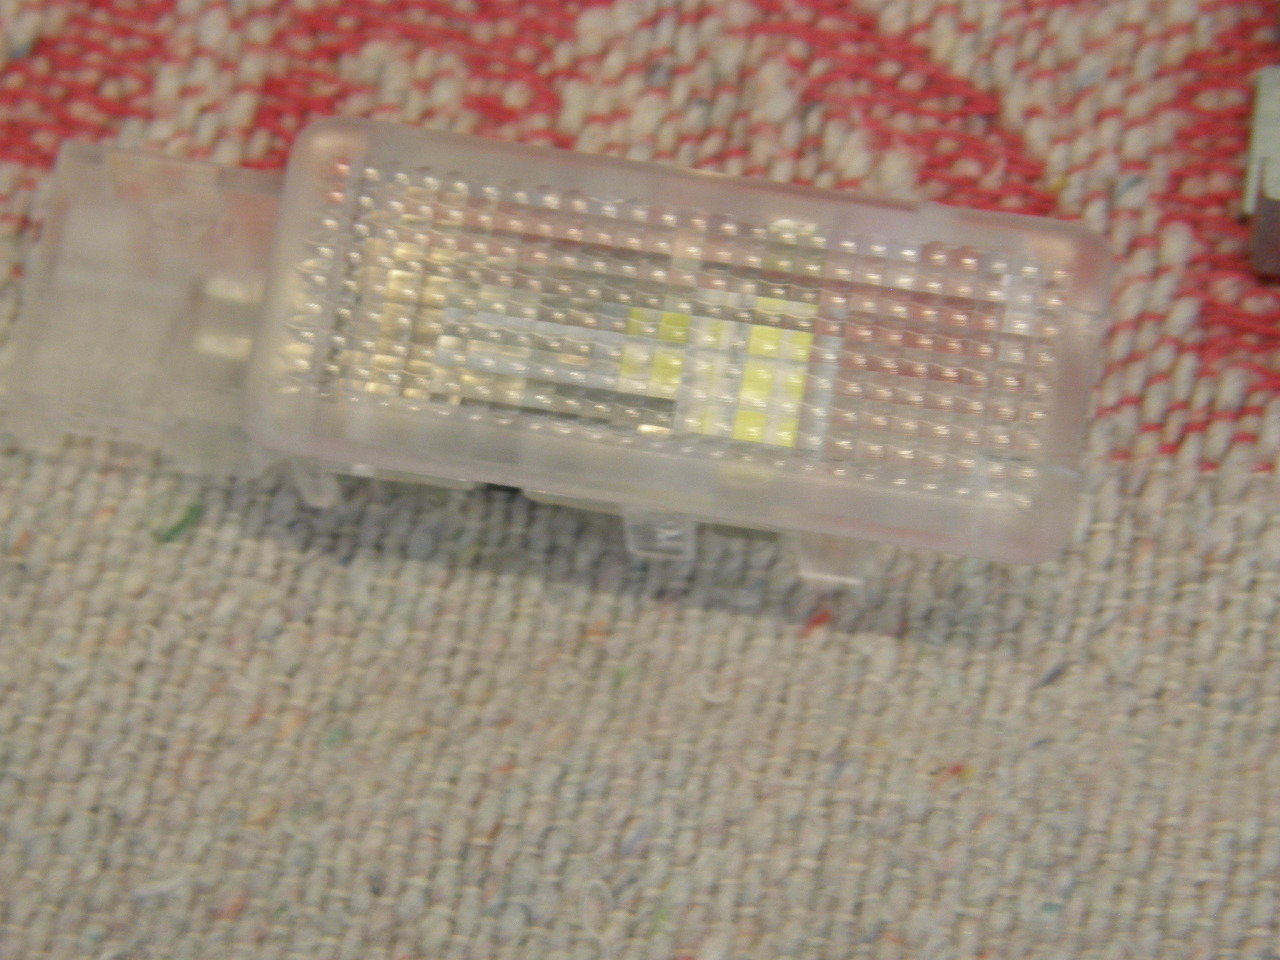
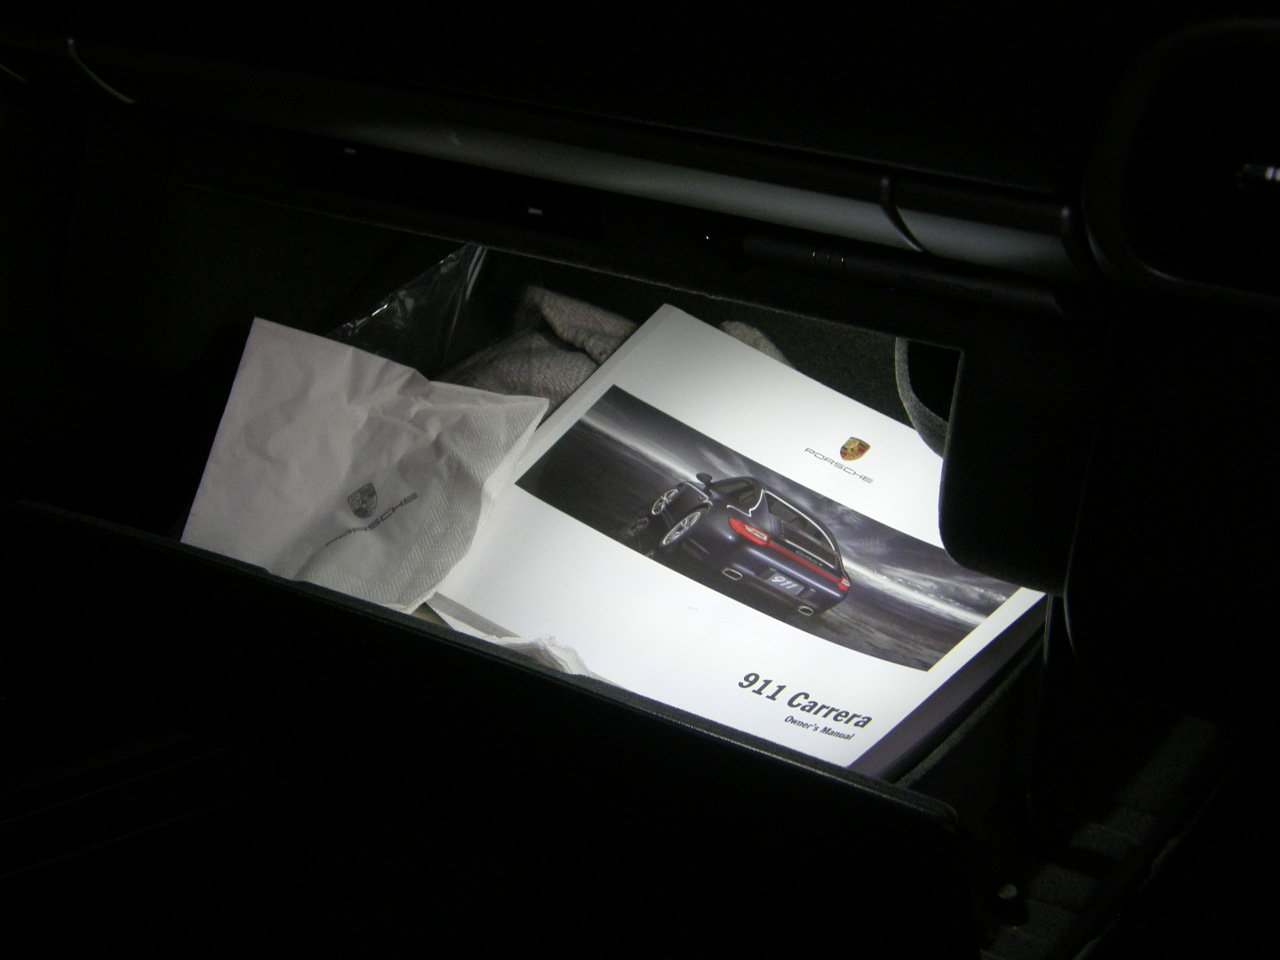
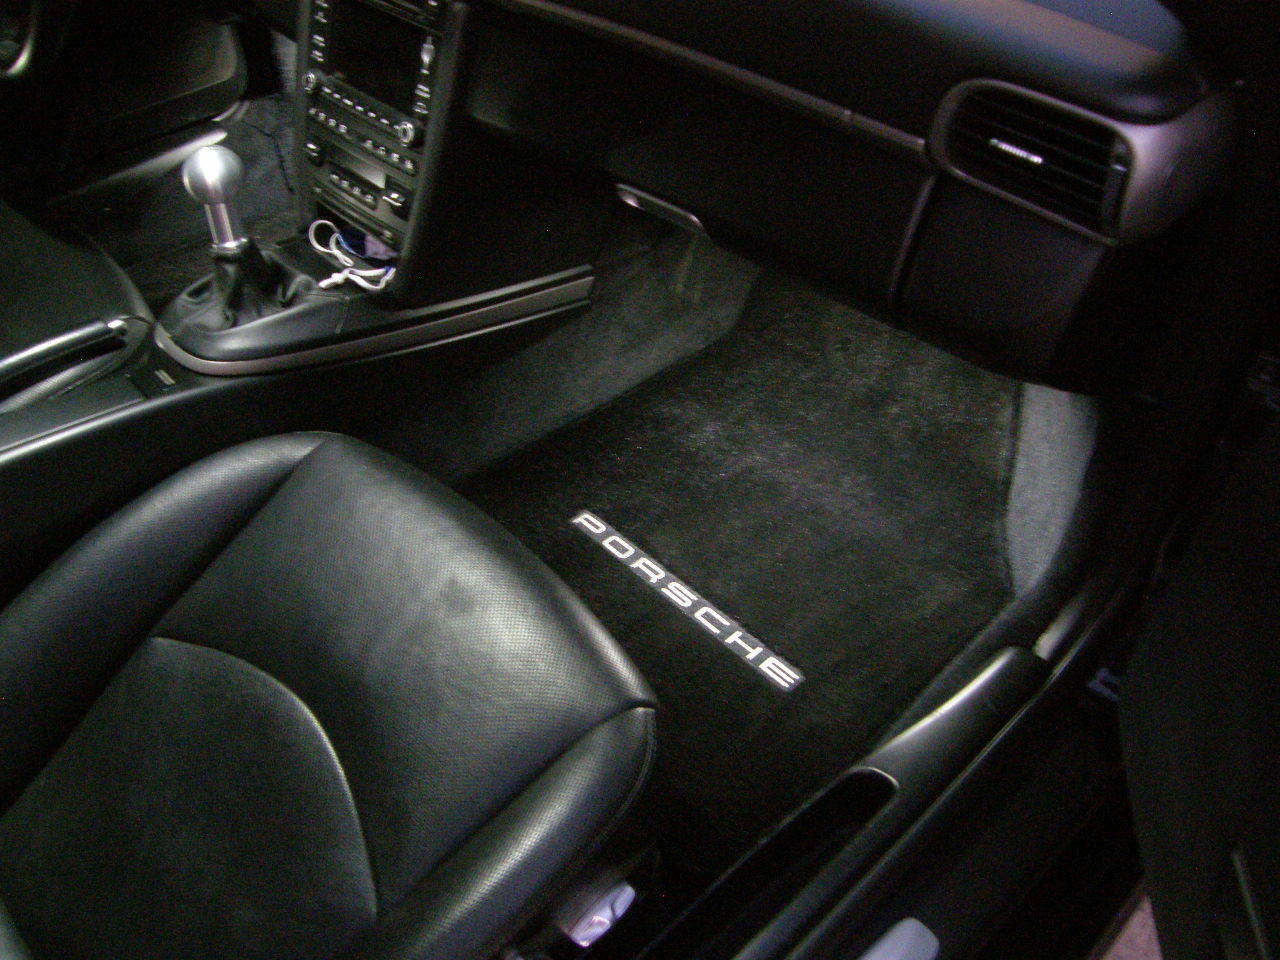
It is amazing the amount of worldwide technical resources it consumes to sort out a light bulb, even a little one. Oh well. I have the (previously stated USPMotorsports LED kit installed in my 2011 997.2 coupe. Below are pics that show the glove box light fixture has the resistor. Also the end view and lens side showing that the proper bulb can only be installed one way. (side facing bulb. ) Also you cannot get the polarity wrong. Plugs in a works. Unplugs for pictures and plugged back in and works as shown. Also shows how the footwell bulb fully lights up the floor area and makes the silver stitching on the Lloyd mats look as if they are backlit. Now for the pics; resistor is there on the glove box fixture End view of side facing LED bulb installed glove box fixture with side facing bulb installed Glove box LED installed. footwell light LED. USPMotorsports 997 kit
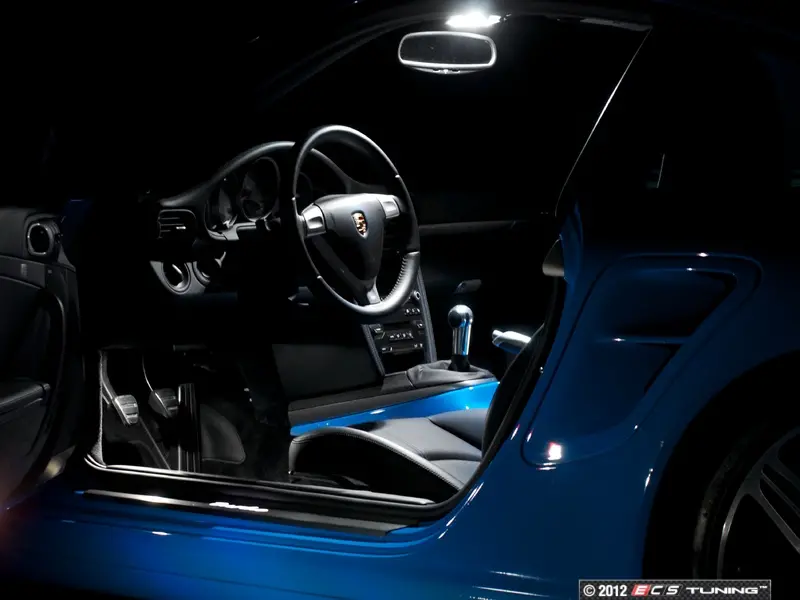
Perhaps one has greater low-light camera skills but the ECS LED kit looks brighter then the USP kit and is even cheaper.
ECS
Front dome: 2x ES2580814
Overhead light: 1x ES2515360
Front trunk: 1x ES2515360
Engine compartment: 1x ES2515360
Door-mounted Puddle Lights 2x ES2580814
Glove Box Light 1x ES2580814
Footwell lights 2x ES2580814
USP
(2) Dome light LEDs
(1) Map light LED
(2) Foot well light LEDs
(2) Courtesy door light LEDs
(1) Glove box LED
(1) Bonnet LED
(1) Engine compartment LED
That part is probably a diode, not a resistor. If so, it allows the current to flow in only one direction with a voltage drop dependent on the diode, maybe around .4v. Why it's there I don't know, possibly just for the voltage drop, to decrease the heat from the incandescent bulb. Maybe an EE will have more info?
That part is probably a diode, not a resistor. If so, it allows the current to flow in only one direction with a voltage drop dependent on the diode, maybe around .4v. Why it's there I don't know, possibly just for the voltage drop, to decrease the heat from the incandescent bulb. Maybe an EE will have more info?
You're correct this is a diode (alas grandfather of LED as stands for "Light Emitting Diode". Ussually in DC applications (as car 12VDC batteries), the diode is used to isolate a branch of a particular circuit from a power source (battery) that supplies voltage to different circuits or connects to different modules. I guess is a protective component and should work with any bulb or LED. For sure the replacement LED bulb should work. If not, try it again reversing its contacts in the socket. I suggest to leave this diode as is.
If the glovebox light doesn’t work after the swap by the led light almost surely, the culprit can be the micro switch located behind the glovebox compartment. (Don’t ask how I knew…). After some research in other websites and posts, I found that the glovebox light doesn’t have an “assigned” fuse to look at, instead this micro switch could easily get damaged if the swap is done without disconnecting the battery terminals… The solution? Take about 70$ of your money and buy a new microswitch harness (part# 997-612-651-00), then you need to remove the whole glovebox to reach the culprit and replace it. This time do first to disconnect the battery. An yes I know, all this effort just to get the glovebox light working again…
Last edited by FlatsixS; Sep 15, 2021 at 08:55 AM.
Reason: Message duplicated - update the fix
I think the lights are too bright.... I am happy I did this, but I should have purchased lower brightness.... or whiteness. Not bad, but these LEDs sure do produce light.
Make sure the leds bulbs are “can bus” compatible. That can be the difference. The Porsche system monitors the resistance in the loop (actually “impedance”) as a one way to verify any burn bulb, and led bulbs has different internal resistance so maybe that is the cause for the low luminance.
As for the glovebox,bulb replacement, I strongly suggest to disconnect the battery before to replace it.
Last edited by FlatsixS; Nov 27, 2022 at 02:00 AM.
Did you have any issues with your MarsAuto 42mm festoon for the engine bay?
Mine lights very dimly, i tried to flip it and even the cable. Original bulb works fine.
Even tried the Trunk housing with same LED(that works) and still only the dim fade light.
Also what was the verdict on the glove and footwell lighting? Take apart gently as to not fry the micro switch?
Thanks
Edib
Nope... engine bay is as bright as ever. For the glovebox, I left the original light in there... I don't remember why... I always try and solve for these problems but must have gave up... or, I realized the lights were too bright and the existing light in there is OK. I just don't remember.
Regarding "frying" a microswitch... well I did not as the thing is working and I don't remember caring about it.
I will say, I chose too bright or too white lamps. For the engine and front bays, bright is good, but it is a bit blinding. For the interior, I would go with a dimmer light. If you must buy a pack, a dimmer light in either the front or rear bays would not be bad at all.
Peace
Bruce in Philly (now Atlanta)
Last edited by Bruce In Philly; Nov 27, 2022 at 07:02 PM.
I have the USPmotorsports LED kit and am happy with the results. I've now noticed the lights inside the sun visors look so yellow and dated. Has anyone replaced them with something more modern and better looking?
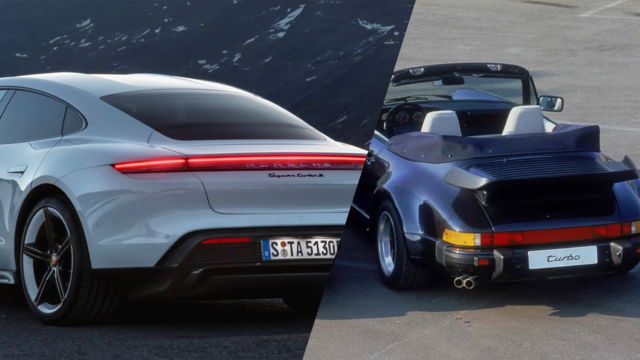
Porsche's Top 5 Most Questionable Naming Decisions
Slideshow: For a company obsessed with engineering precision, Porsche has occasionally named its cars in ways that left even loyal enthusiasts scratching their heads.
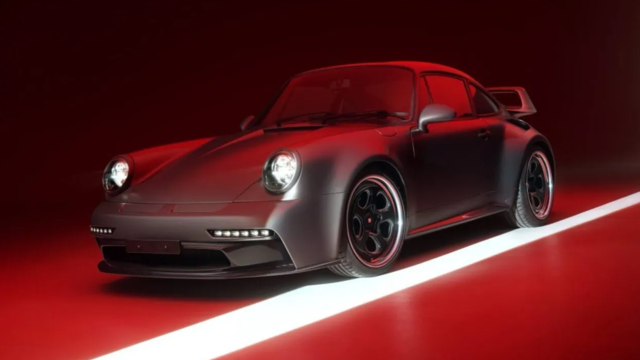
Pogea Racing's 964 Porsche 911 Reimagination Stands Out in a Crowded Field
Slideshow: Pogea Racing's latest Porsche 964 project blends carbon-fiber construction, modern chassis upgrades, and up to 500 horsepower while keeping the air-cooled 911 experience firmly analog.
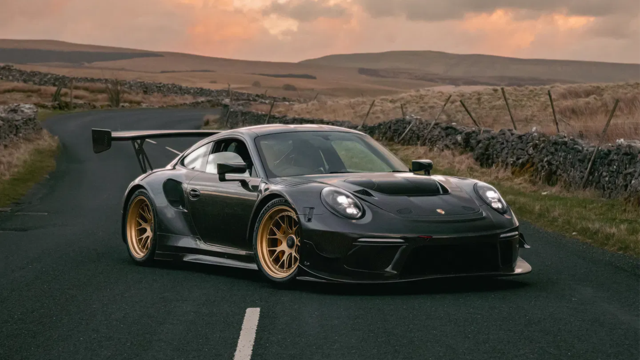
Talos Takes Your 991 Porsche 911 GT3 to the Next Level for a Cool $1.13 Million
Slideshow: Talos Vehicles has transformed the Porsche 911 GT3 RS into a carbon-bodied, race-inspired machine that costs well over $1 million before the donor car is even included.
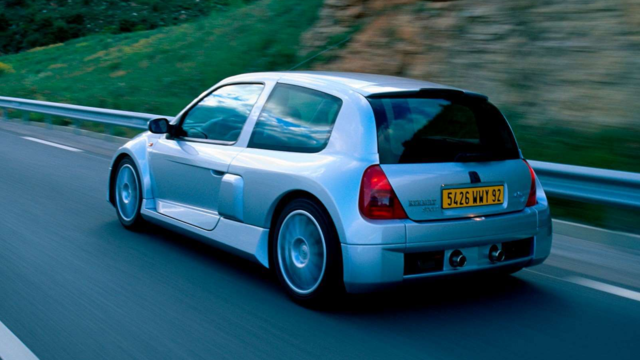
9 Vehicles Porsche Helped Engineer that Aren't Porsches
Slideshow: Long before engineering consulting became trendy, Porsche was quietly helping other automakers build everything from supercars to economy hatchbacks.
9 Features and Characteristics That Only Porsche People Understand
Slideshow: Some brands build cars. Porsche builds traditions, obsessions, and a few habits that stopped making sense decades ago but somehow became part of the charm.