When you click on links to various merchants on this site and make a purchase, this can result in this site earning a commission. Affiliate programs and affiliations include, but are not limited to, the eBay Partner Network.
This is a very small but satisfying DIY to repair broken or missing underbody plastic splash guard studs. My car had one missing when I bought it, and I managed to break an additional one off. So 2 were missing from the center underbody cover. The studs are spot welded into the underbody, and once you break one off, you are left with a jagged hole. I found a suggestion on the 964 forum to use riv-nuts or rivet nuts, but I couldn't find anyone showing how they did it.
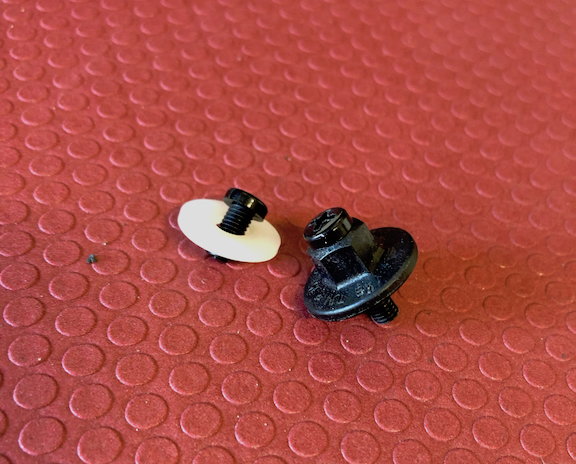
So that's what I did. I drilled out the hole, used an aluminum rivet nut and rivet nut tool to install an M5 rivet nut. I bought some M5x20mm nylon bolts and screwed them into spare plastic "hat" nuts I bought at Pelican Parts (50 cents each).
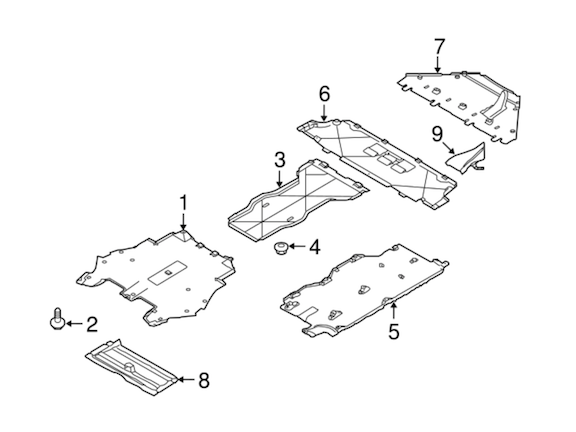
Diagram of the plastic underbody covers/trays. Part #4 is the plastic nuts that attach to the body studs:
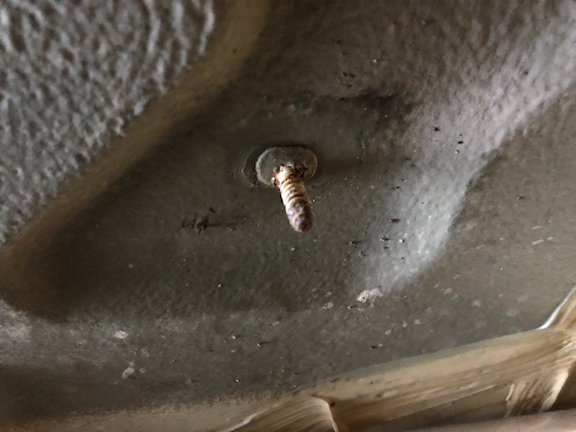
Here is the problem. The studs or captive bolts that the nuts connect to tend to break off:
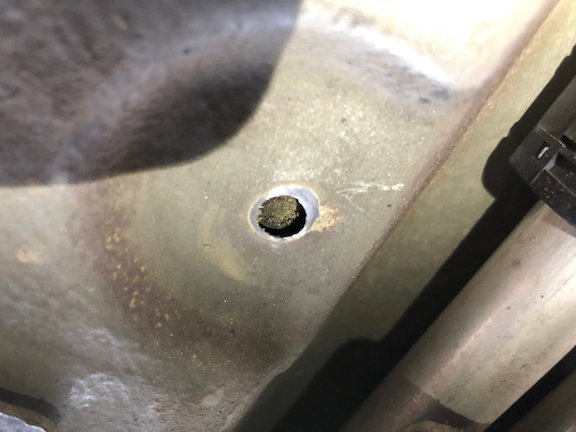
Once broken off, there is a jagged hole. I drilled the hole out with a bit slightly larger than than the M5 rivet nuts, and ground the area smooth with a dremel stone. If you find you remove the underbody coating, per 93Jaffe, it's a good idea to seal or paint the underbody which is steel to prevent reaction between the steel and the aluminum rivet. Definitely want to make sure using a flashlight and a probe of some kind that you have enough room to drill through and above the pan. Would be bad to drill into something above. My 2 holes had nothing above them.
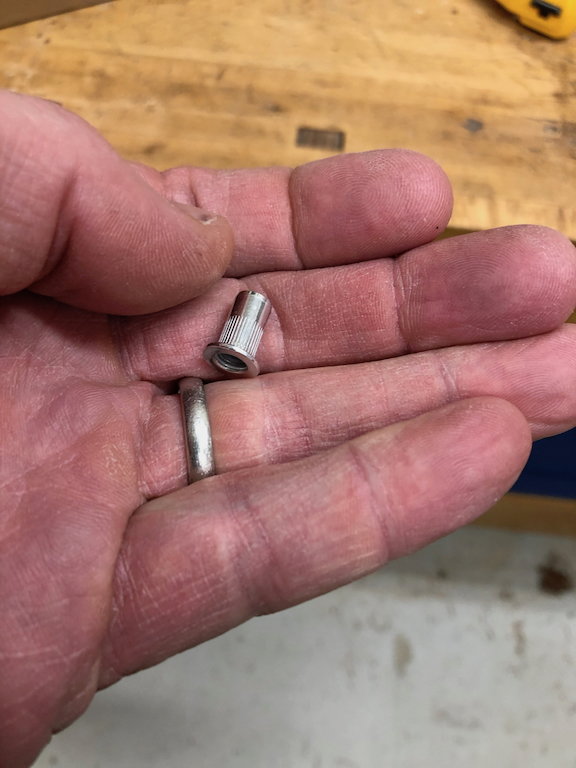
Here is an aluminum M5 rivet nut before it is compressed:
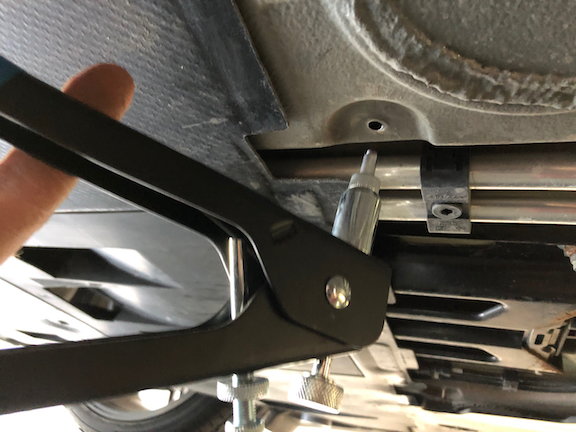
Next I used a rivet nut tool to put the rivet in, and compress it. You can do this without the tool with an M5 bolt and nut, but the tool is like 20 bucks.
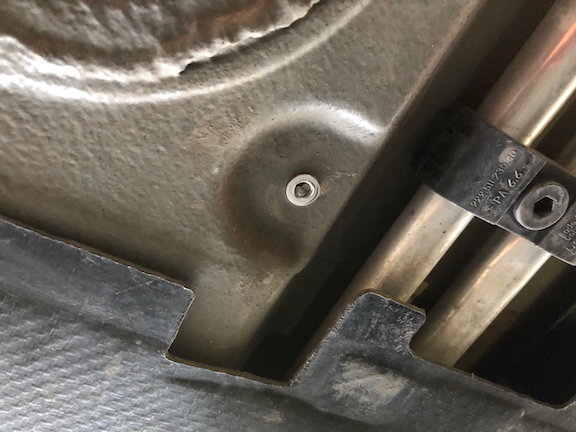
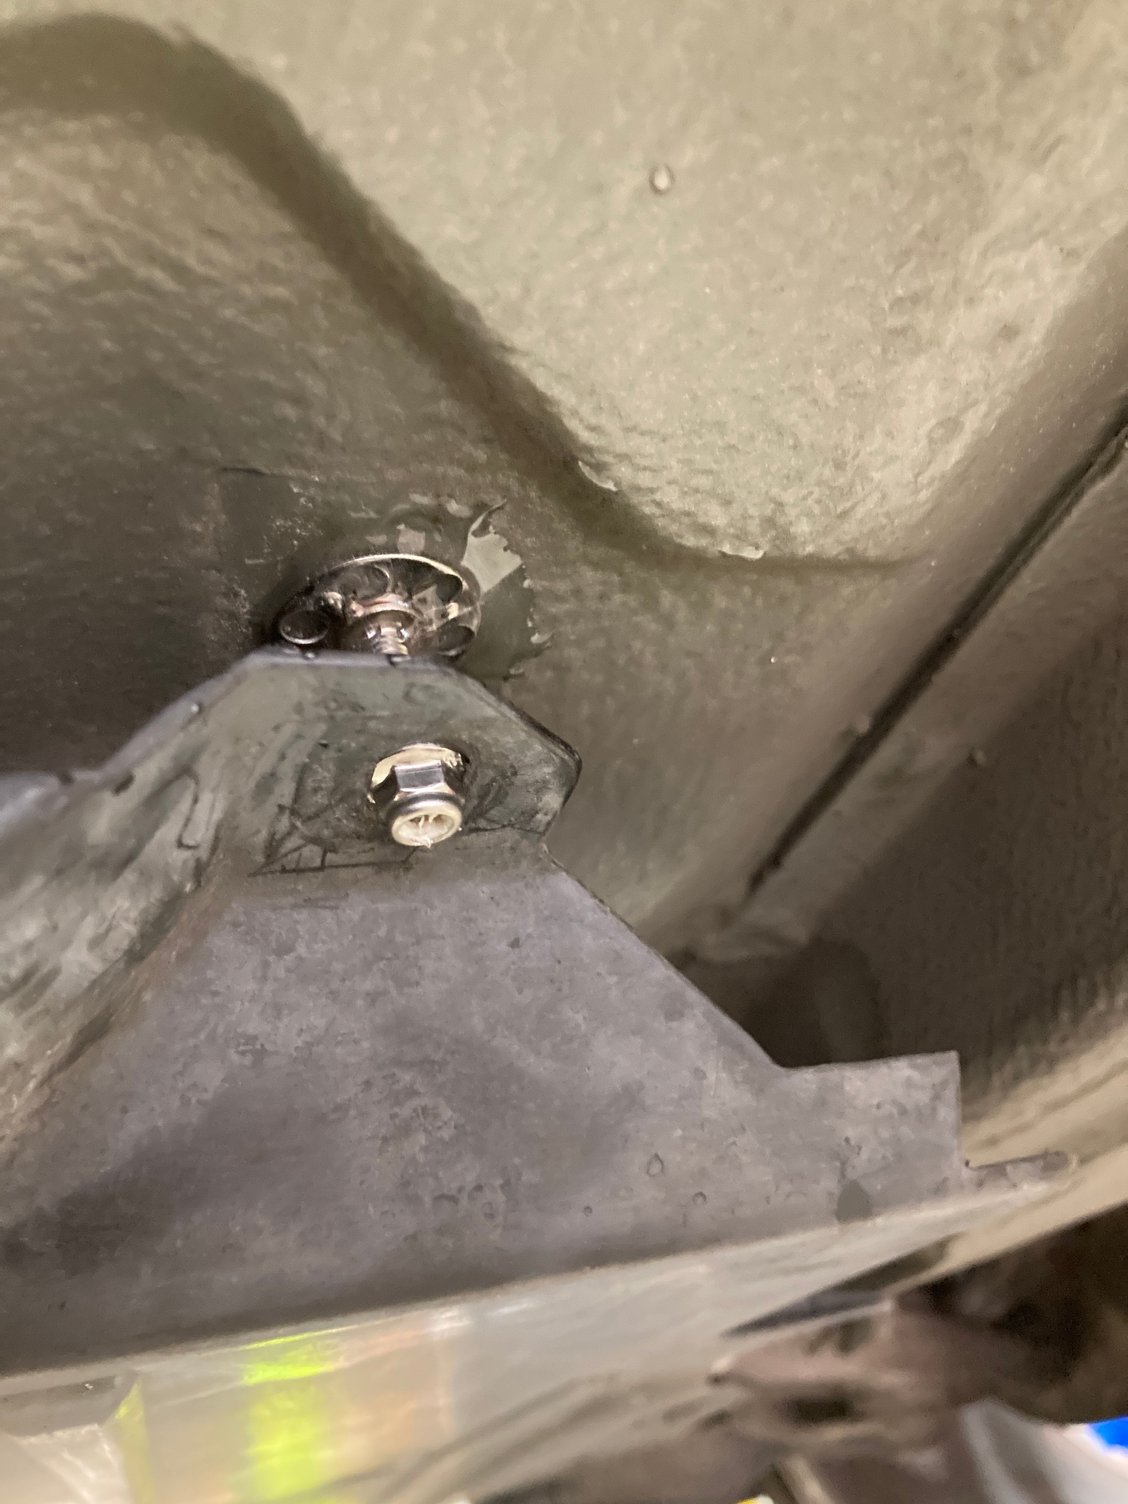
Here is the nut seated:
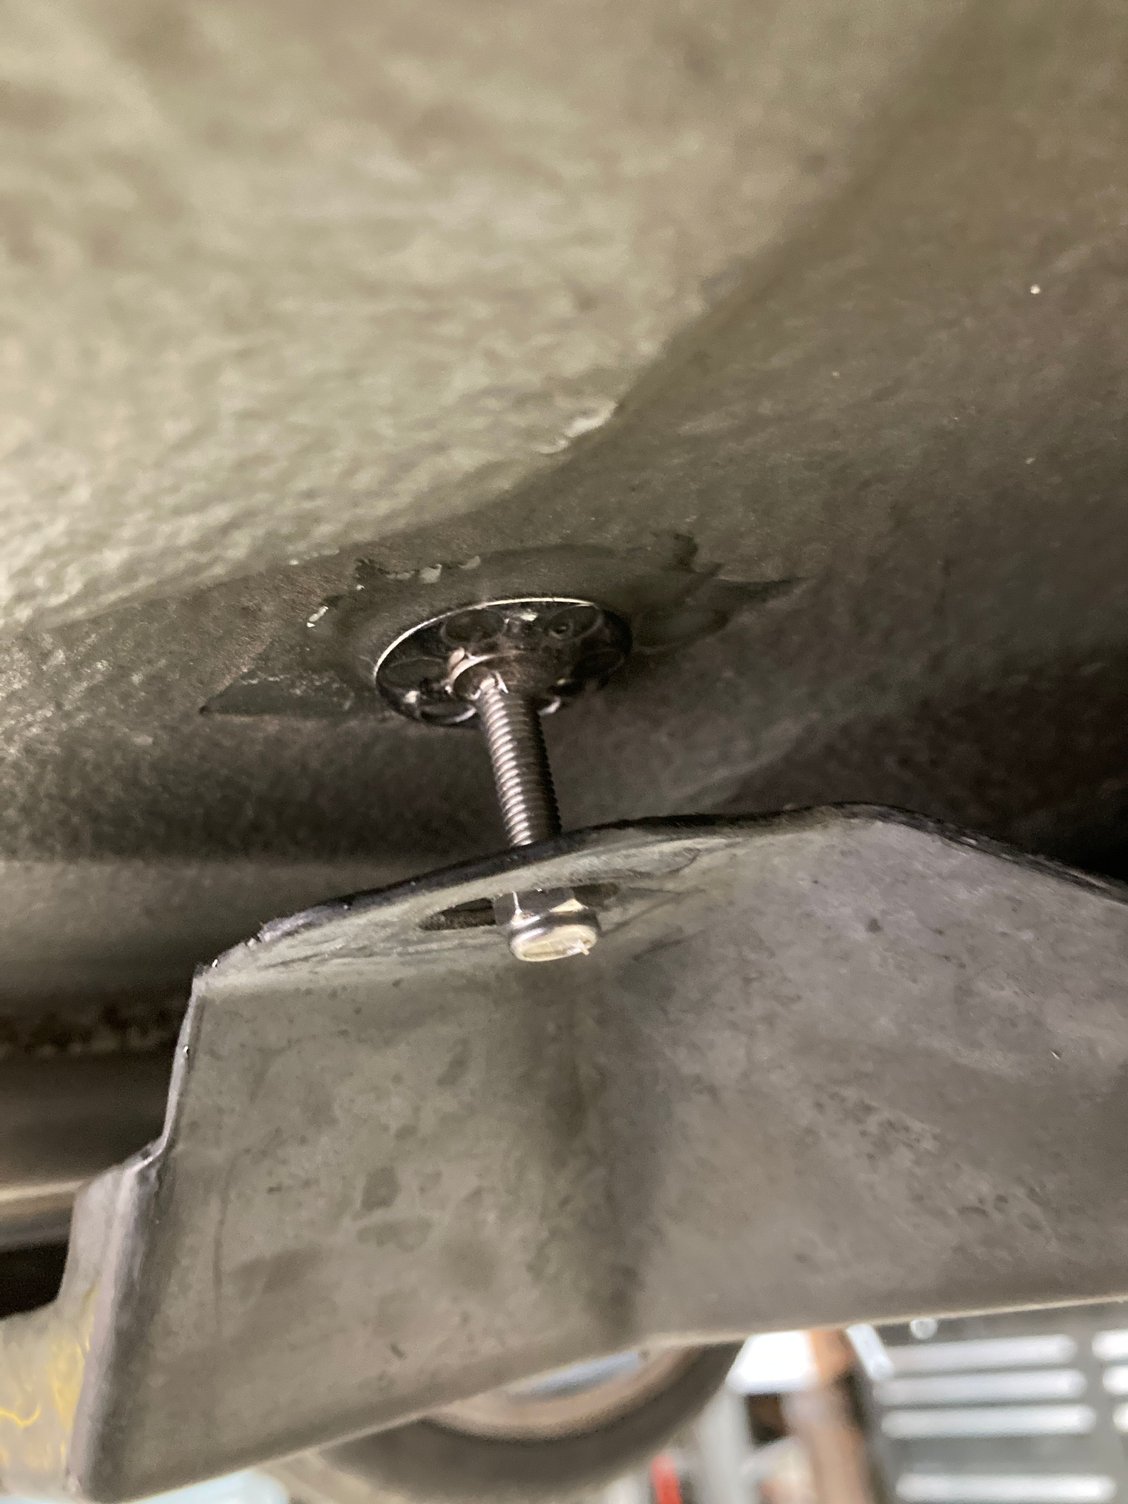
At this point, you could just use a 10mm long nylon M5 and a nylon washer to attach the splash guard at this spot. I used M5x20mm nylon bolts, drilled a tight fitting hole in the plastic nut (999-049-007-40), and threaded it through the "hat" nut to act as a washer. You need about 1/2 inch protruding from the bottom of the nut:
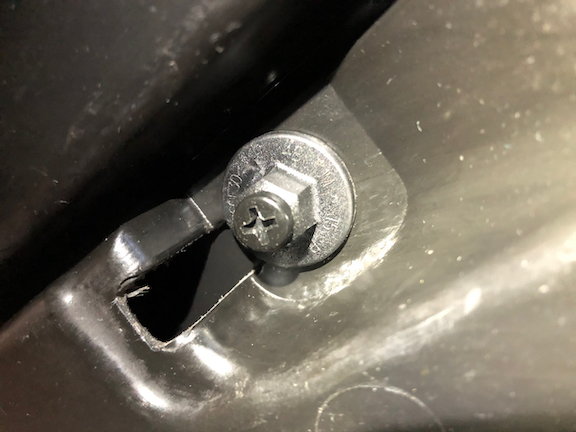
Finished product:
Last edited by TheTorch; 02-05-2020 at 02:43 PM.
Reason: changed the recommended screw/nut work, add note about corrosion
Great solution. Are the 997 chassis's aluminum? If not it would probably be wise to spray some sealant on the opening before riveting in the nut.
Good idea. As I understand it, it is steel...but not a big deal since the aluminum rivet will preferentially rust, it requires water (hardly rains here in NorCal, we have no salt on roads). I'll update the post.
A friend had the same problem. He got some studs with flat ends (McMaster Carr I believe) and JB Welded them to the car. That solution has been working fine but the different thread pitch requires you pay attention in choosing the right nuts as you put things back together.
A friend had the same problem. He got some studs with flat ends (McMaster Carr I believe) and JB Welded them to the car. That solution has been working fine but the different thread pitch requires you pay attention in choosing the right nuts as you put things back together.
that's a pretty good idea too. Argh, I wonder if the right pitch exists anywhere. I'd really love to make it back to like OEM if possible
Yes Wayne Smith and i tackled this problem. I actually stripped out the stud while replacing a panel and this is easy to do. No the threads are not standard at all either metric or standard. The pitch is not standard either. These seem designed to have a wide pitch to "tap" the nylon nut for secure fit. I chose rather than to drill [into the unknown] to research my favorite DIY resource (McMaster Carr) for an adhesive stainless steel stud with a wide perforated base (97590A814) as this allows plenty JB Weld penetration for secure fit. We used a grinder to level the body panel. I matched the stud to a stainless steel nylon insert flanged locknut (94710A102). It is an easy task to glue in place with the panel holding it up as it dries. It is an easy task to match the now metric secure nut to stud. It is much more secure and able to tighten than original. I bought a bag of these and now Wayne stores them in his garage to distribute to others. Be careful what you become known for Wayne...


 02-05-2020, 01:17 AM