When you click on links to various merchants on this site and make a purchase, this can result in this site earning a commission. Affiliate programs and affiliations include, but are not limited to, the eBay Partner Network.
I compiled it from write-ups by @yvesvidal and @Rotmilky and cross referenced the workshop manual.
More importantly, here are the notes and lessons I put together after the job:
Yves and Rotmilky's writeups were spot on (except Rotmilky's original post quoted different bolt sizes than Yves for the transmission and a couple other areas. I found Yves's to be correct for my car). I compiled both of these writeups into a 15pg checklist and we followed it pretty closely. Its actually a pretty easy job if you have a lift, impact wrench and expert mechanic alongside you :-) We cruised through most steps and had the transmission out in 1.5hrs. The only areas we got hung up where sliding the transmission back in and putting the slave cylinder back on.
Steps and lessons learned below:
1. You dont need to remove all 5 underbody panels. You just need to remove the 2 in the rear and the 1 in the center. You can leave the 2 on the sides installed and save yourself 20 minutes.
2. All the prep steps looked daunting when reading the instructions but it was really fast. It took 20 minutes to bungie the coolant hoses, remove clutch cables, remove the slave cylinder, and unbolt the electrical cable from the transmission.
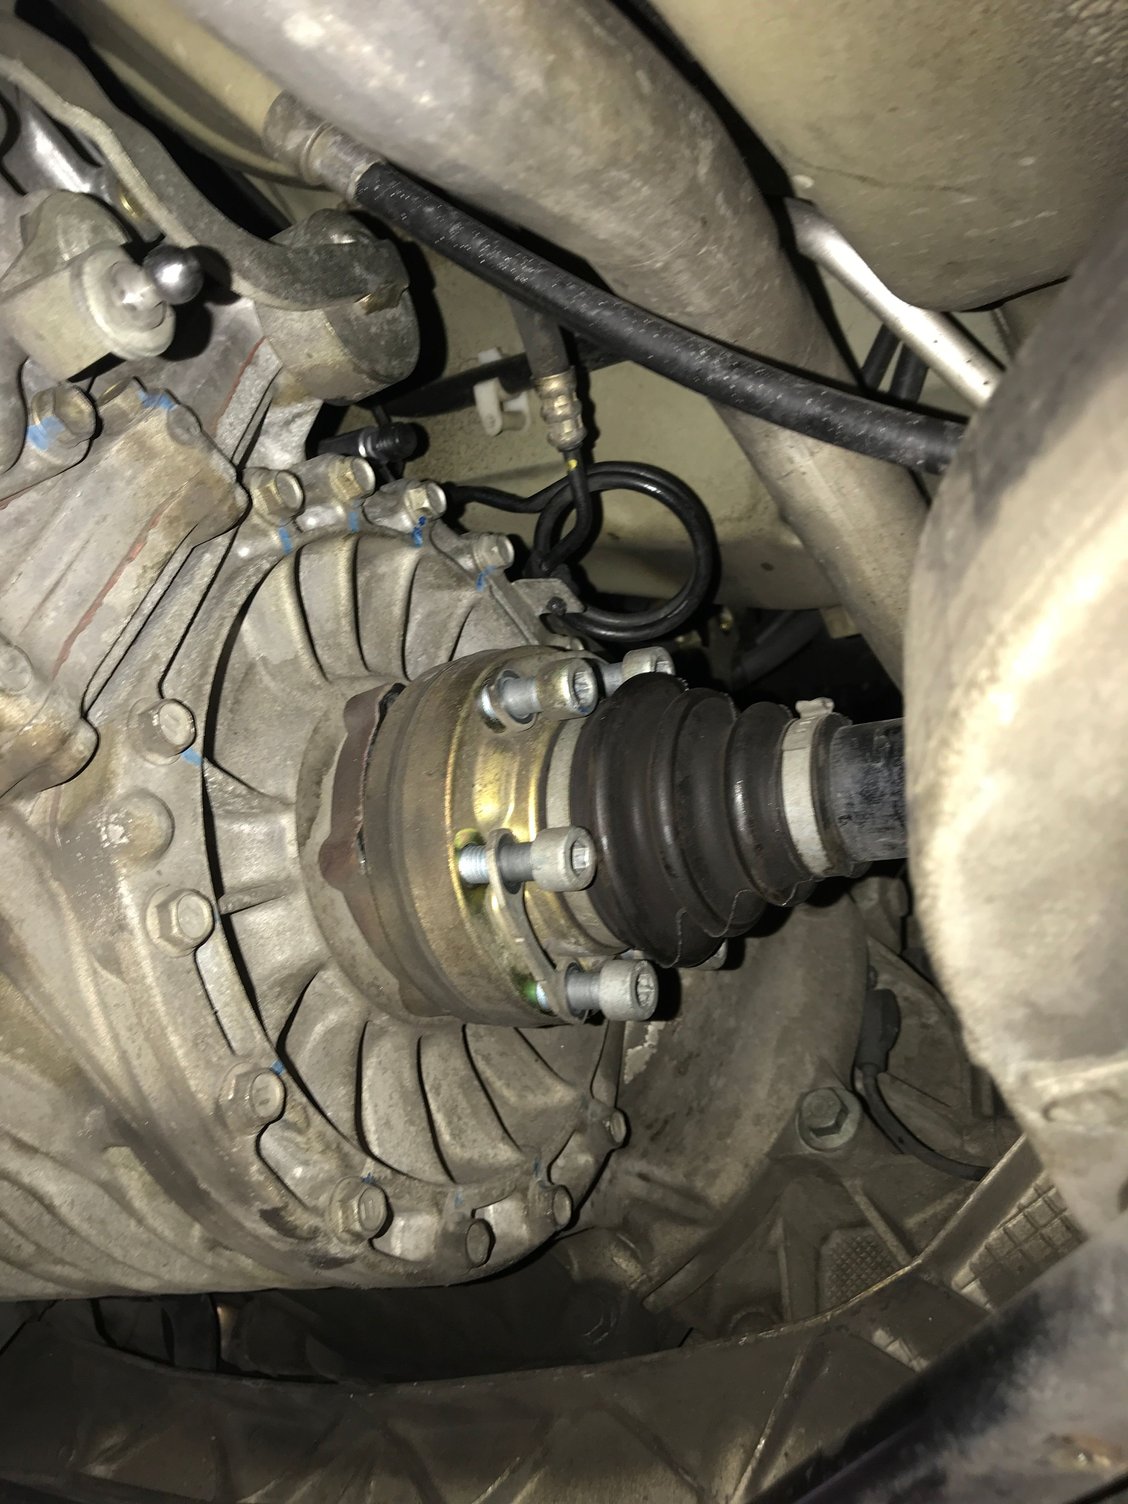
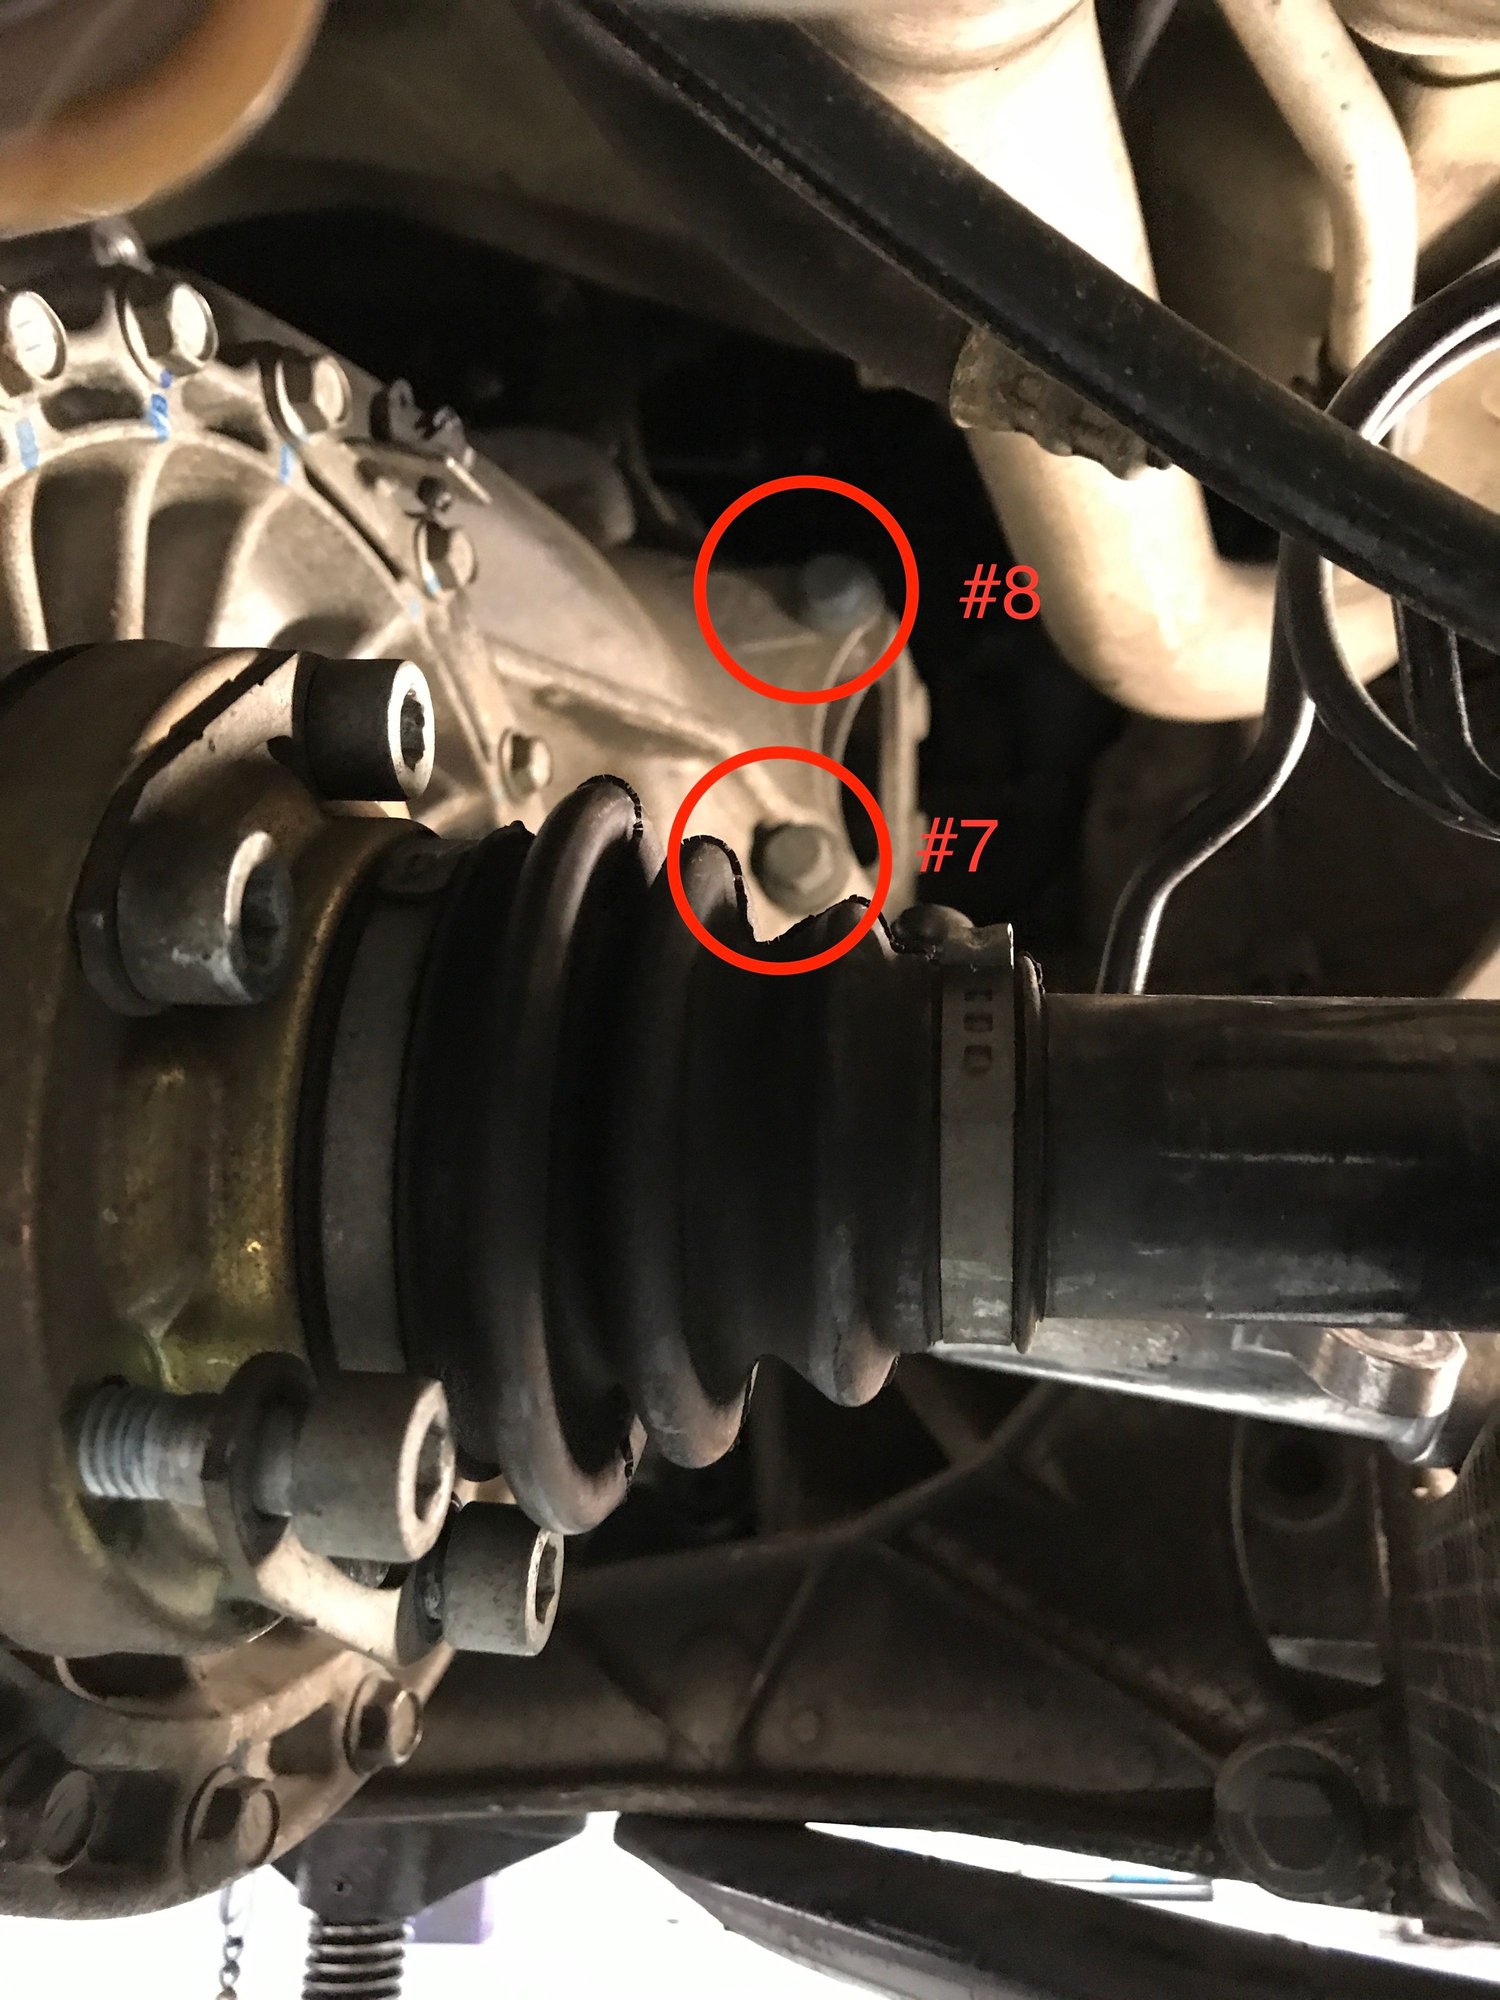
3. The trick for the drive shaft bolts is to leave the rear wheels on. This enables you to hold the back wheel in one hand while breaking the bolts free on the shaft in the other. You then can spin the wheel to get to the next bolt. With an impact wrench you fly through this job. Pull the shaft a couple inches forward so they dont catch on the transmission when dropping it.
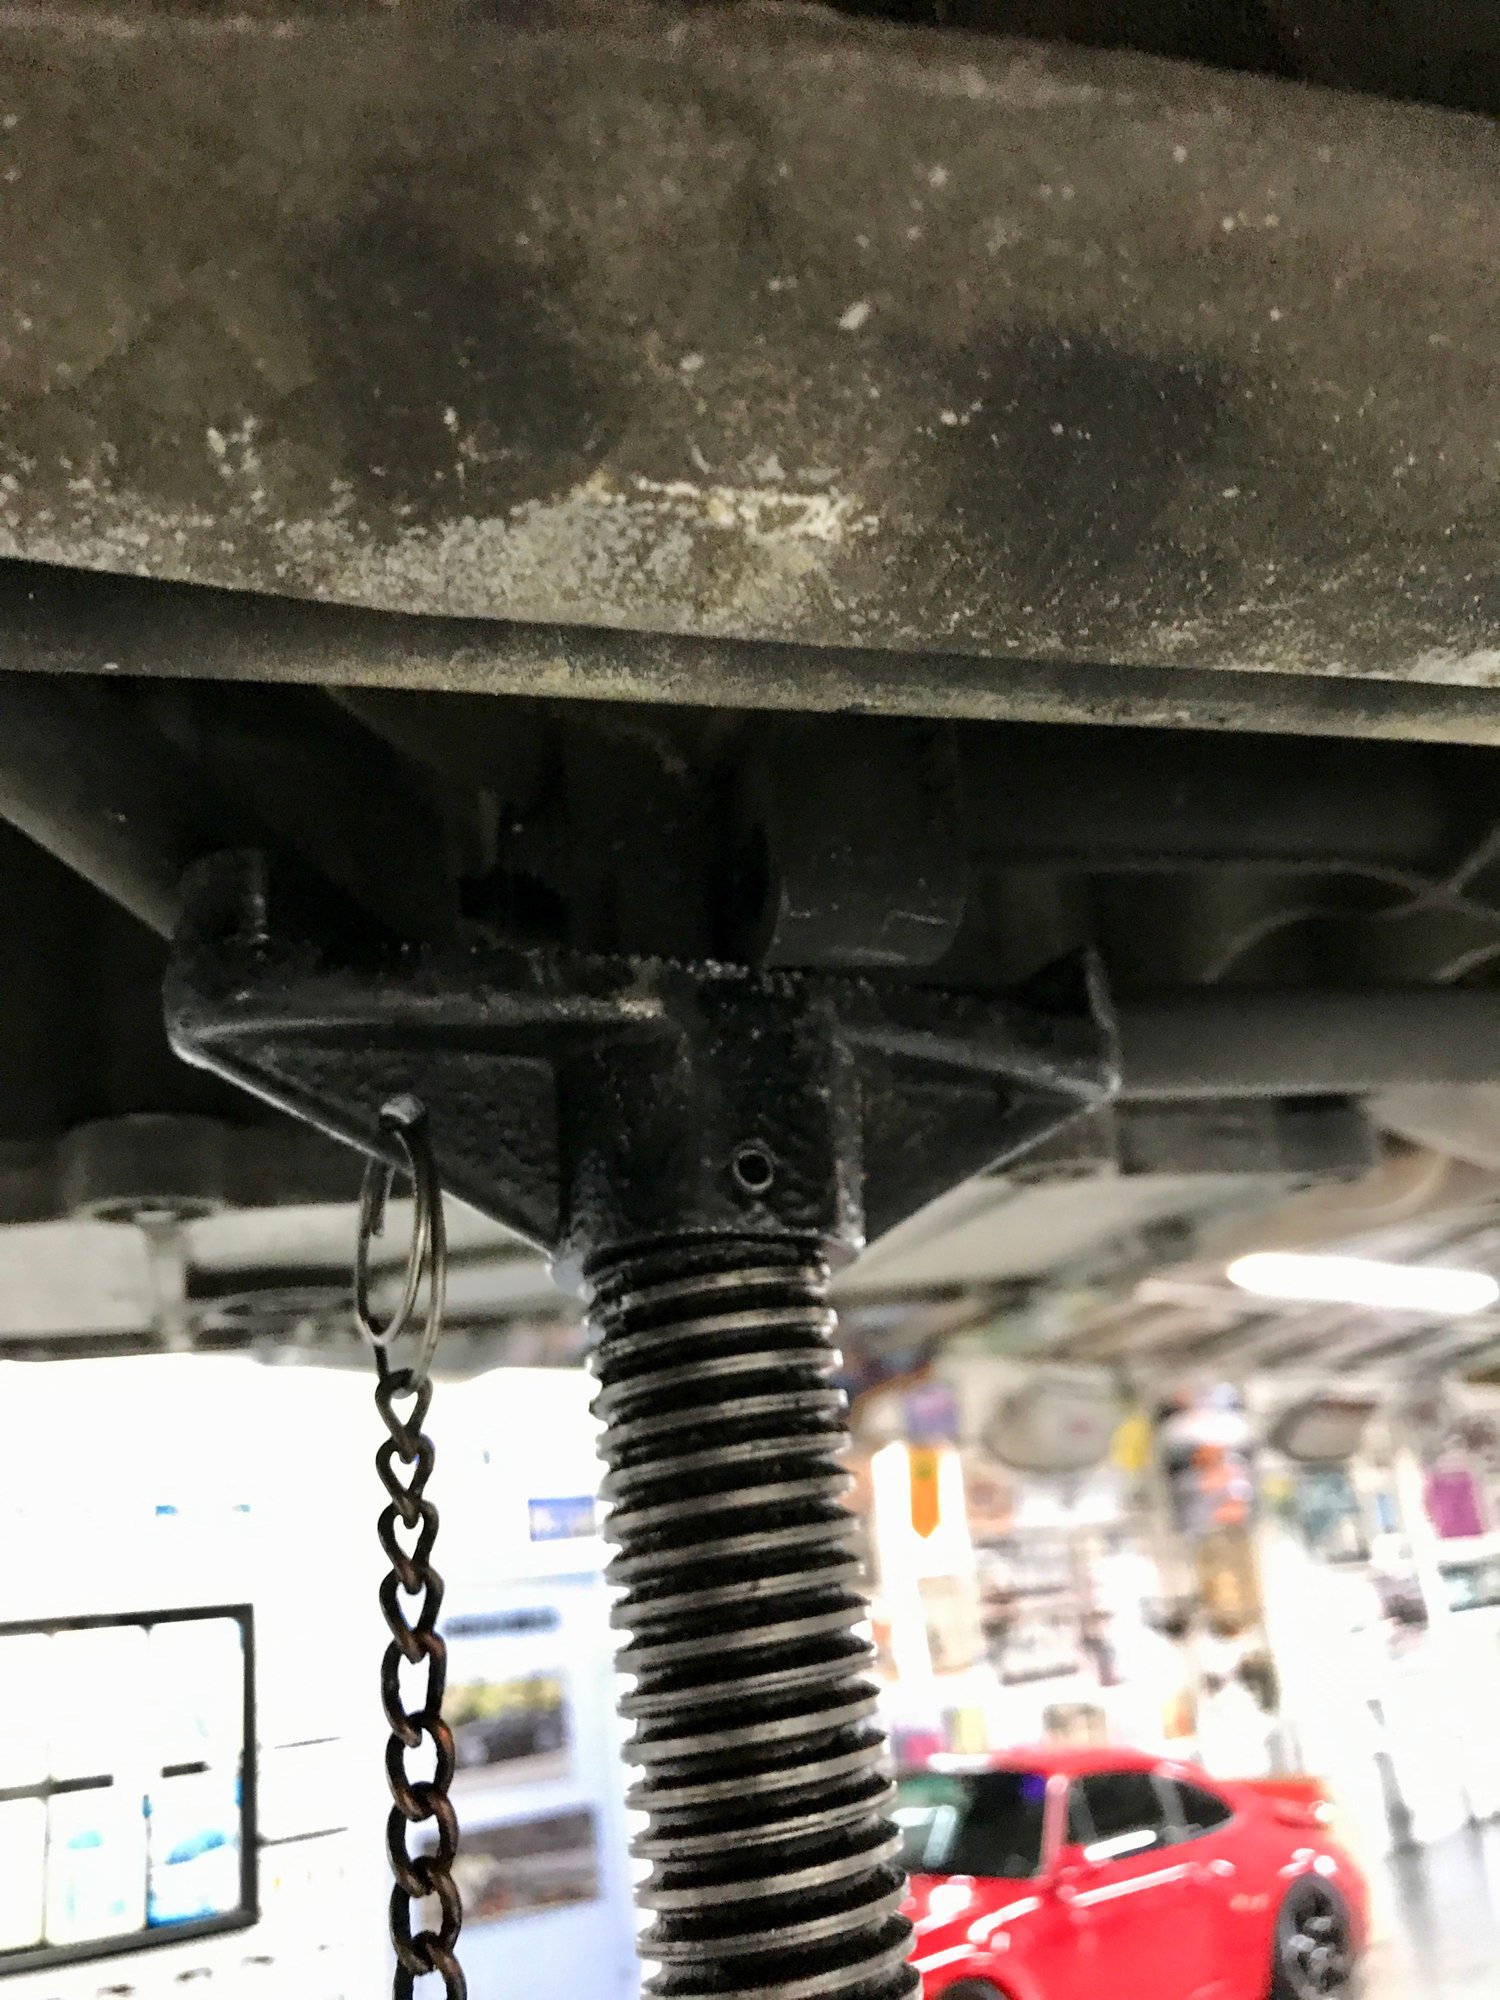
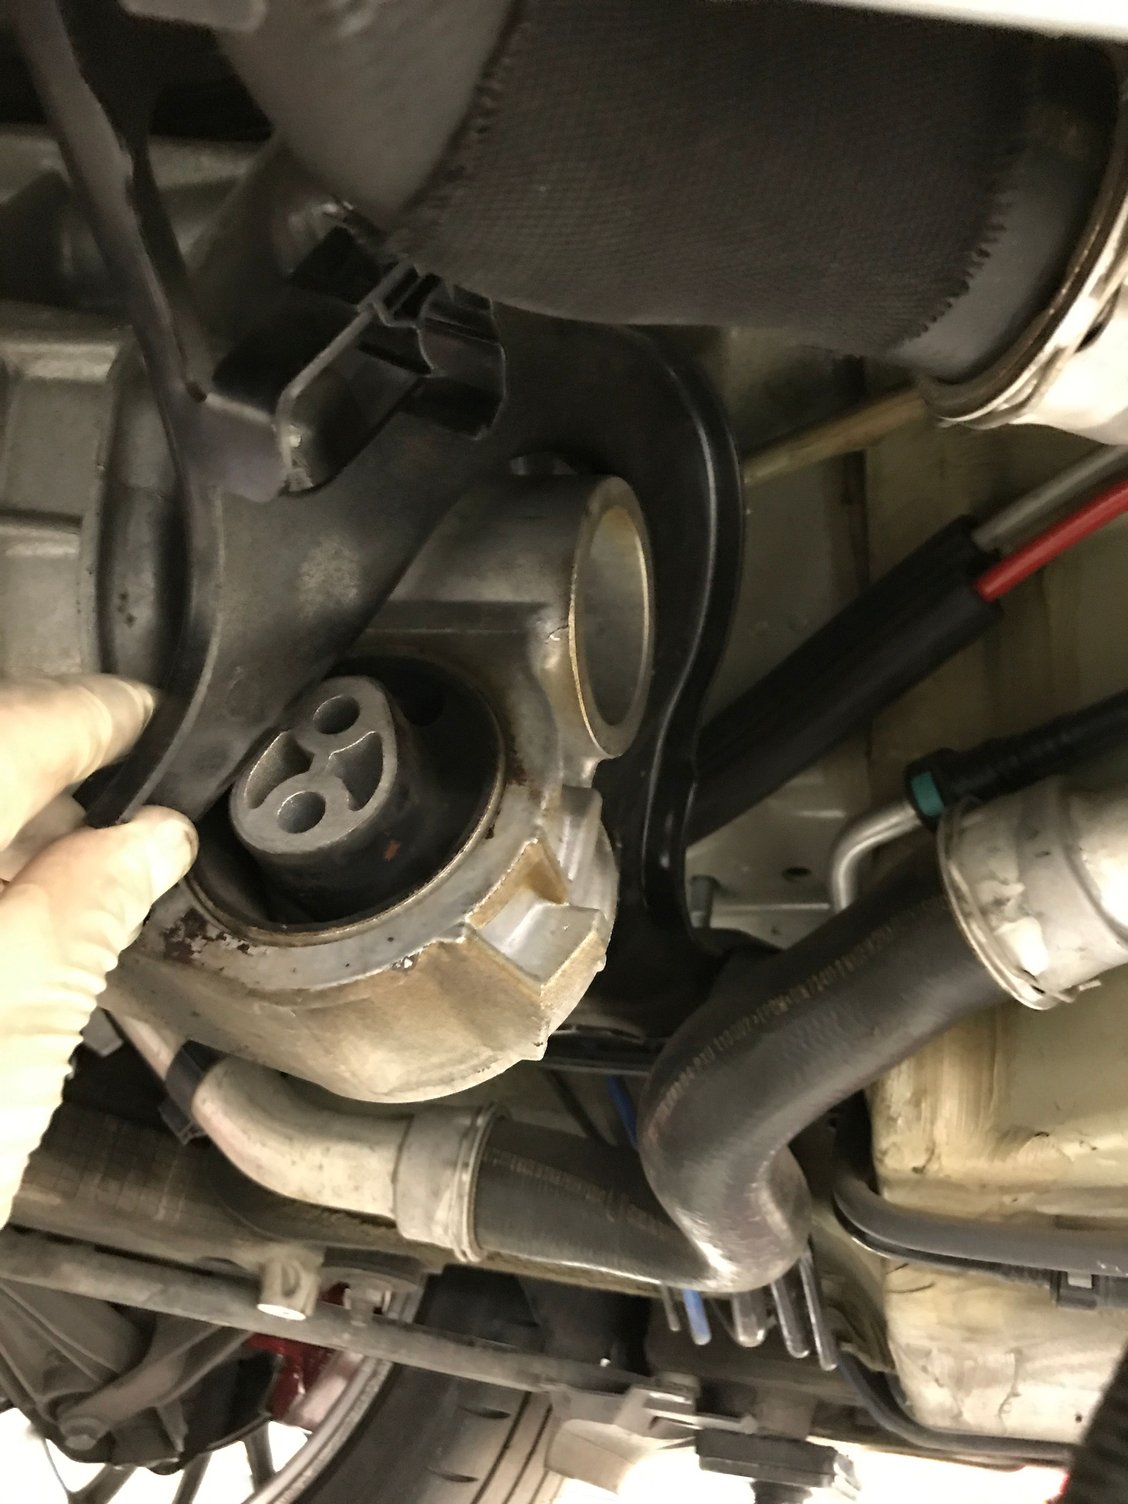
4. We next put the engine jack on. There is a little jack pad right in front of the oil pan you should use for this. There is a 12mm bolt next to the pad that protrudes down so remove it to ensure the jack has a flat surface and wont wobble. 5. We removed the transmission container (horizontal) and transmission support (vertical) next. Some of the posts said the transmission support was difficult to remove. The trick is just to rotate it towards the front of the car, gently slide it around the coolant pipes, and then pull it out. It took 2 minutes.
Note the direction of the transmission support for reinstall. I first installed it backwards but you can easily tell because the clip for the power cable is on the passenger side.
Once these were out of the way the transmission was hanging free and we slide the transmission jack in place.
6. Next we tackled the 8 transmission bolts. Experience is critical hear. It only took 20-25 minutes to get all of them out.
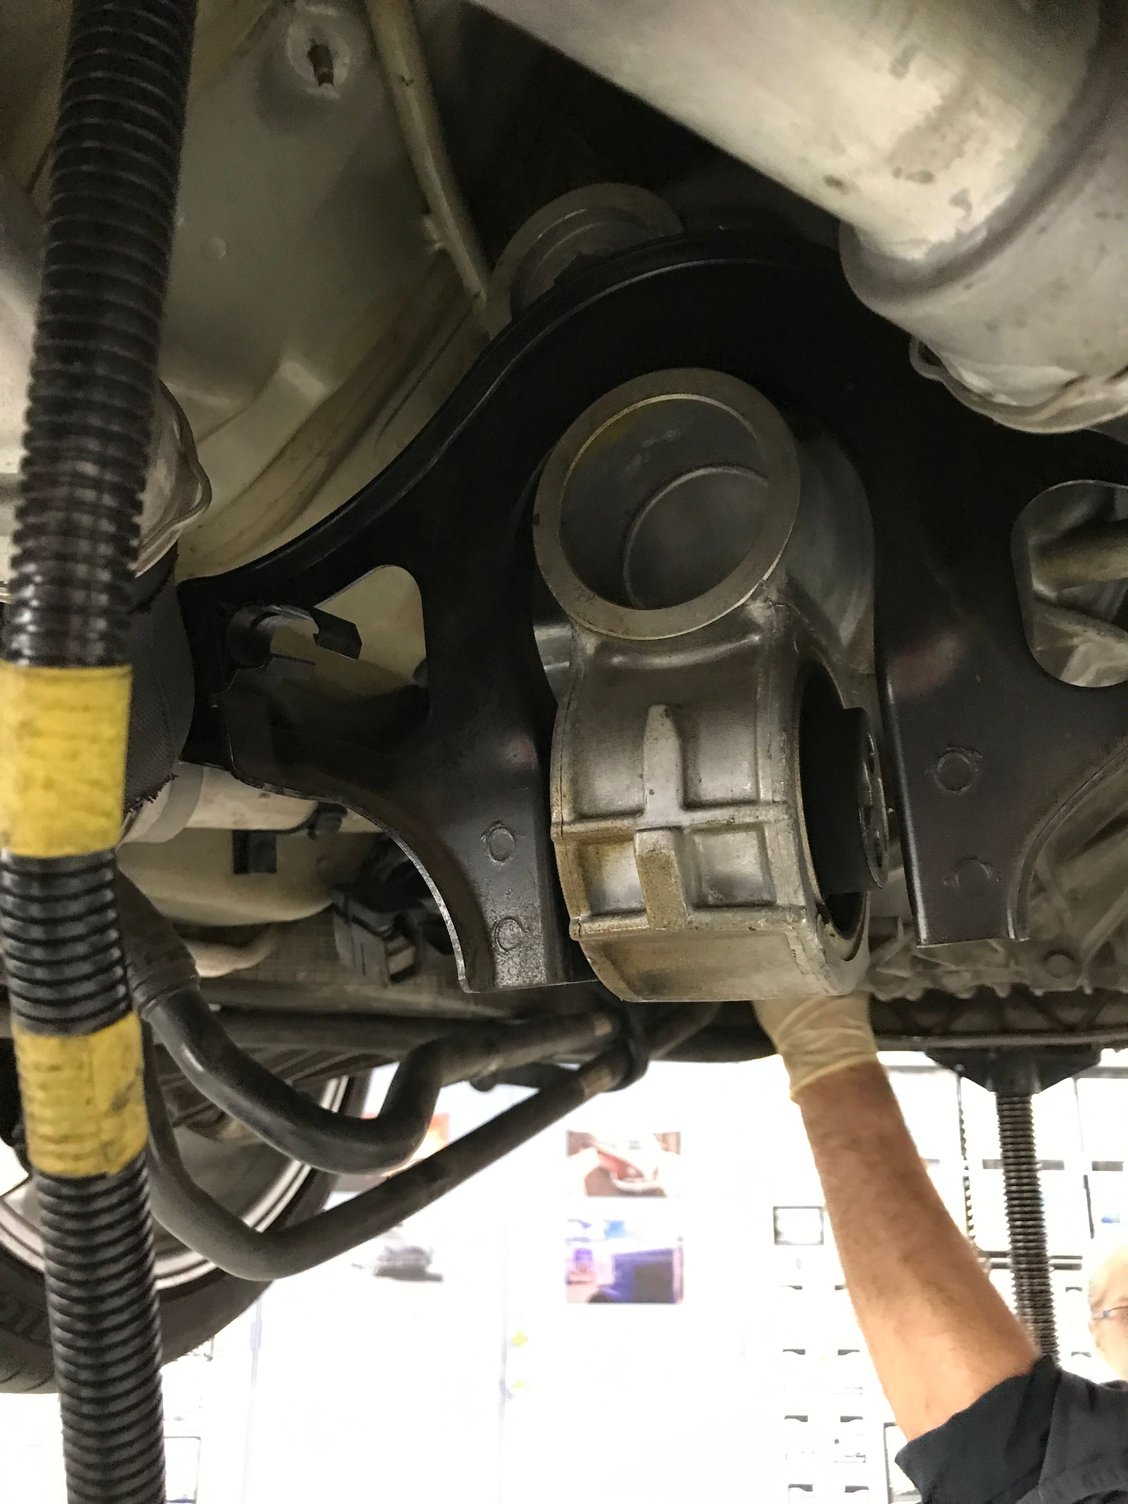
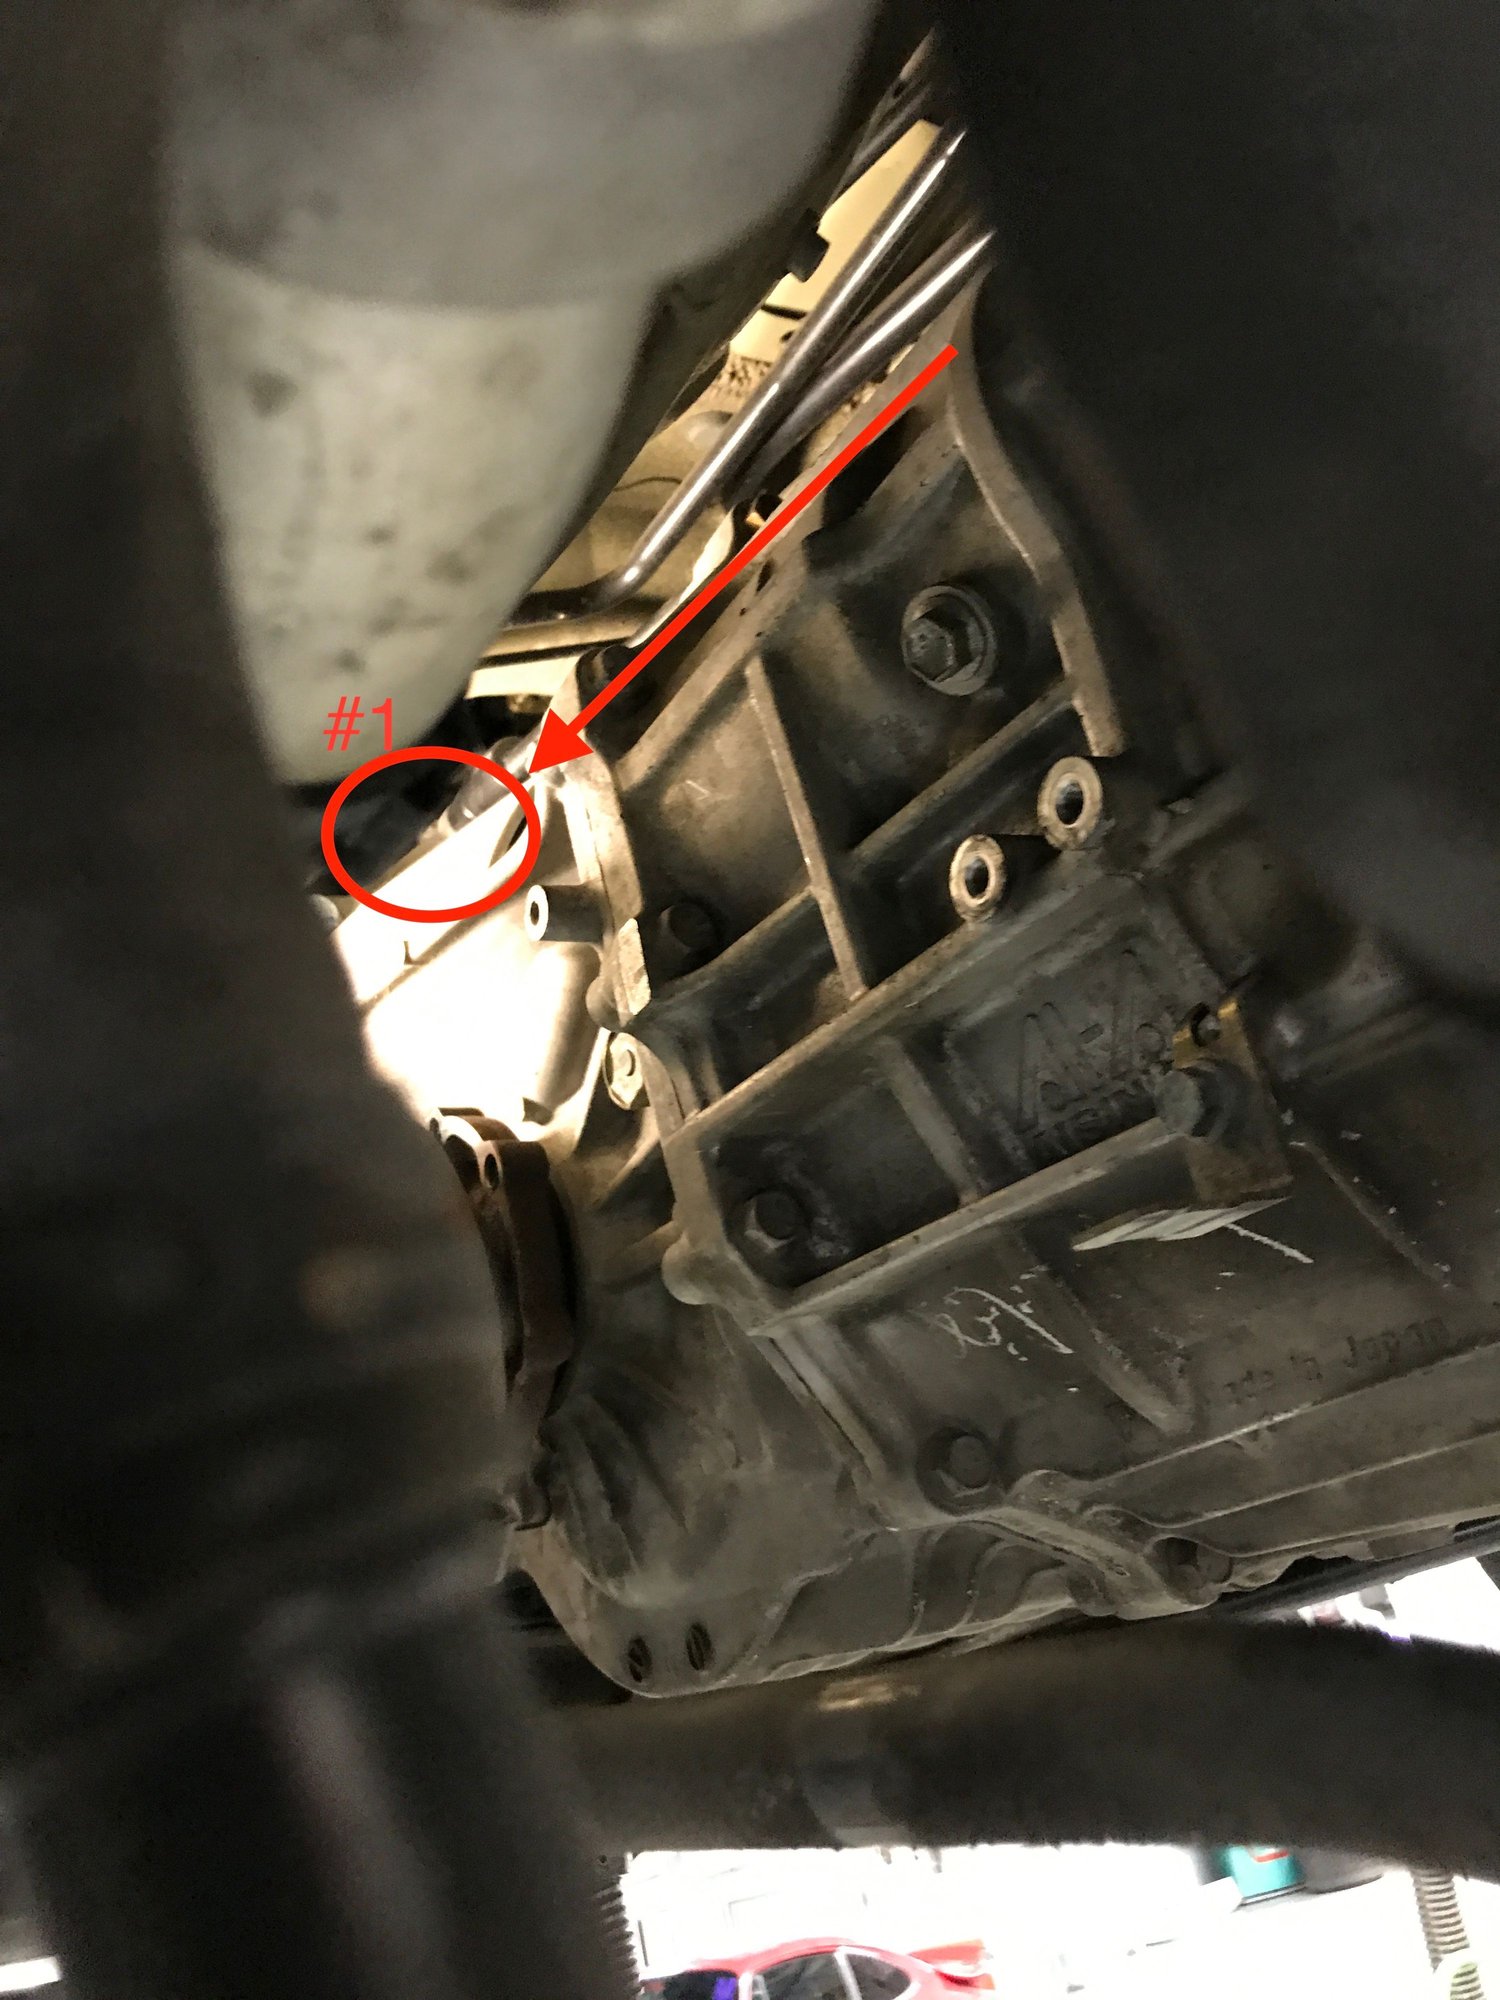
We used a ~30" extension and wobble socket for all bolts. Your extension needs to be longer than your transmission. This is critical to get your #1 bolt out. You will see why below.
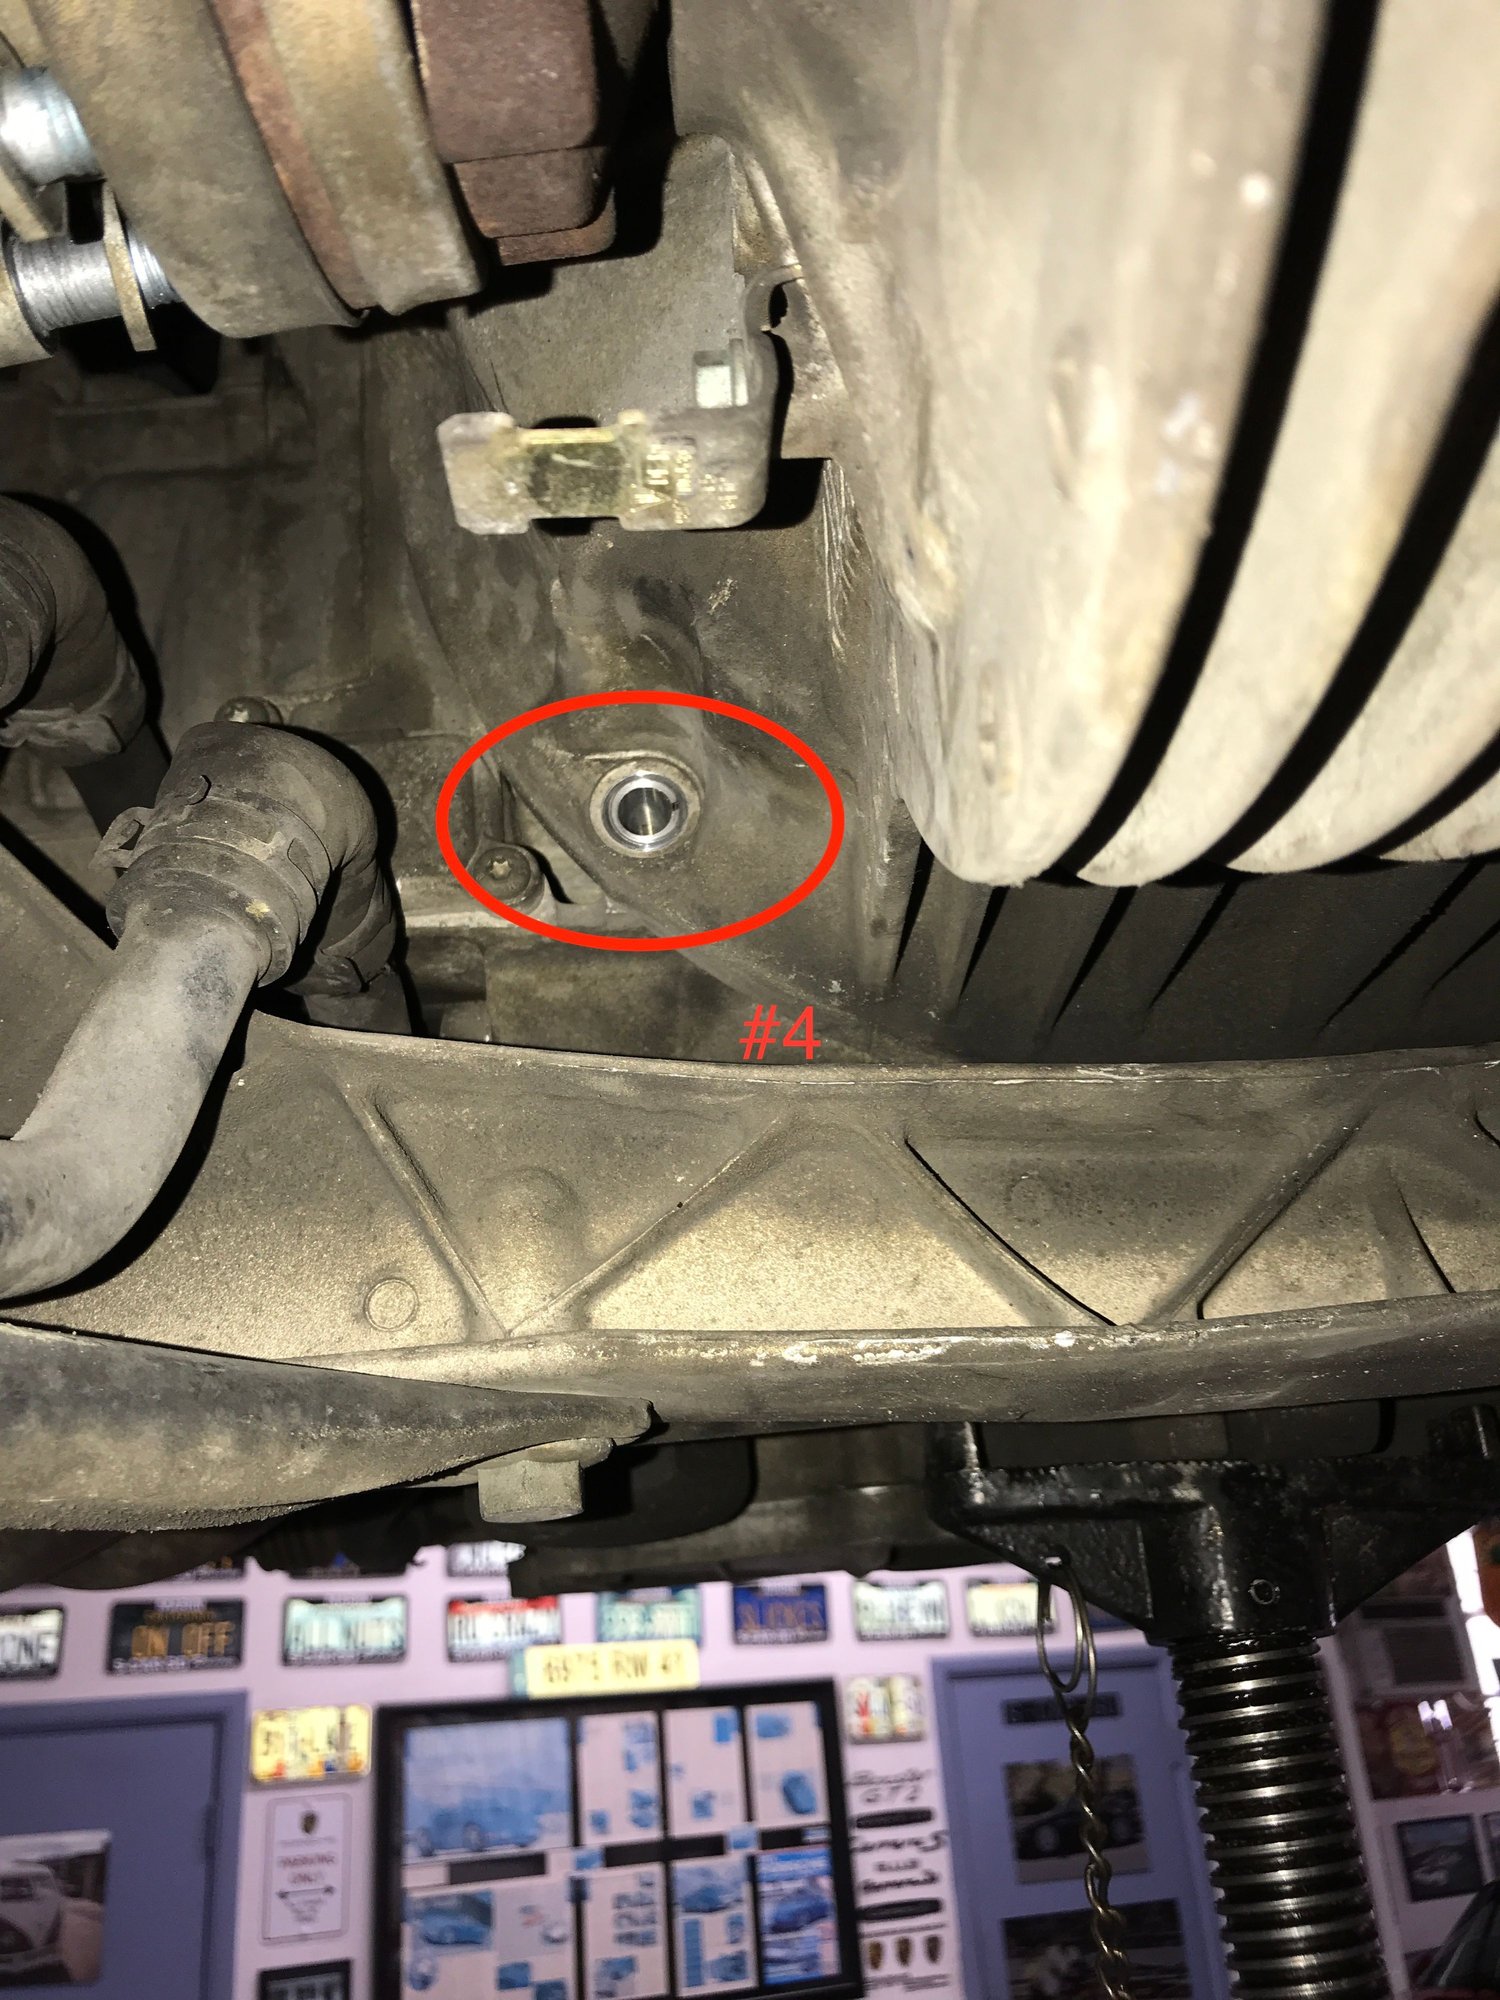
The trick is to first jack up the engine a bit to give yourself access to the bottom two bolts (#4 and #5) and remove those first. Then drop the engine back down to give yourself access to the top bolts (#1 and #2) but at that point the #4 and #5 bolts will be blocked by the cross member, which is why you want to get them first.
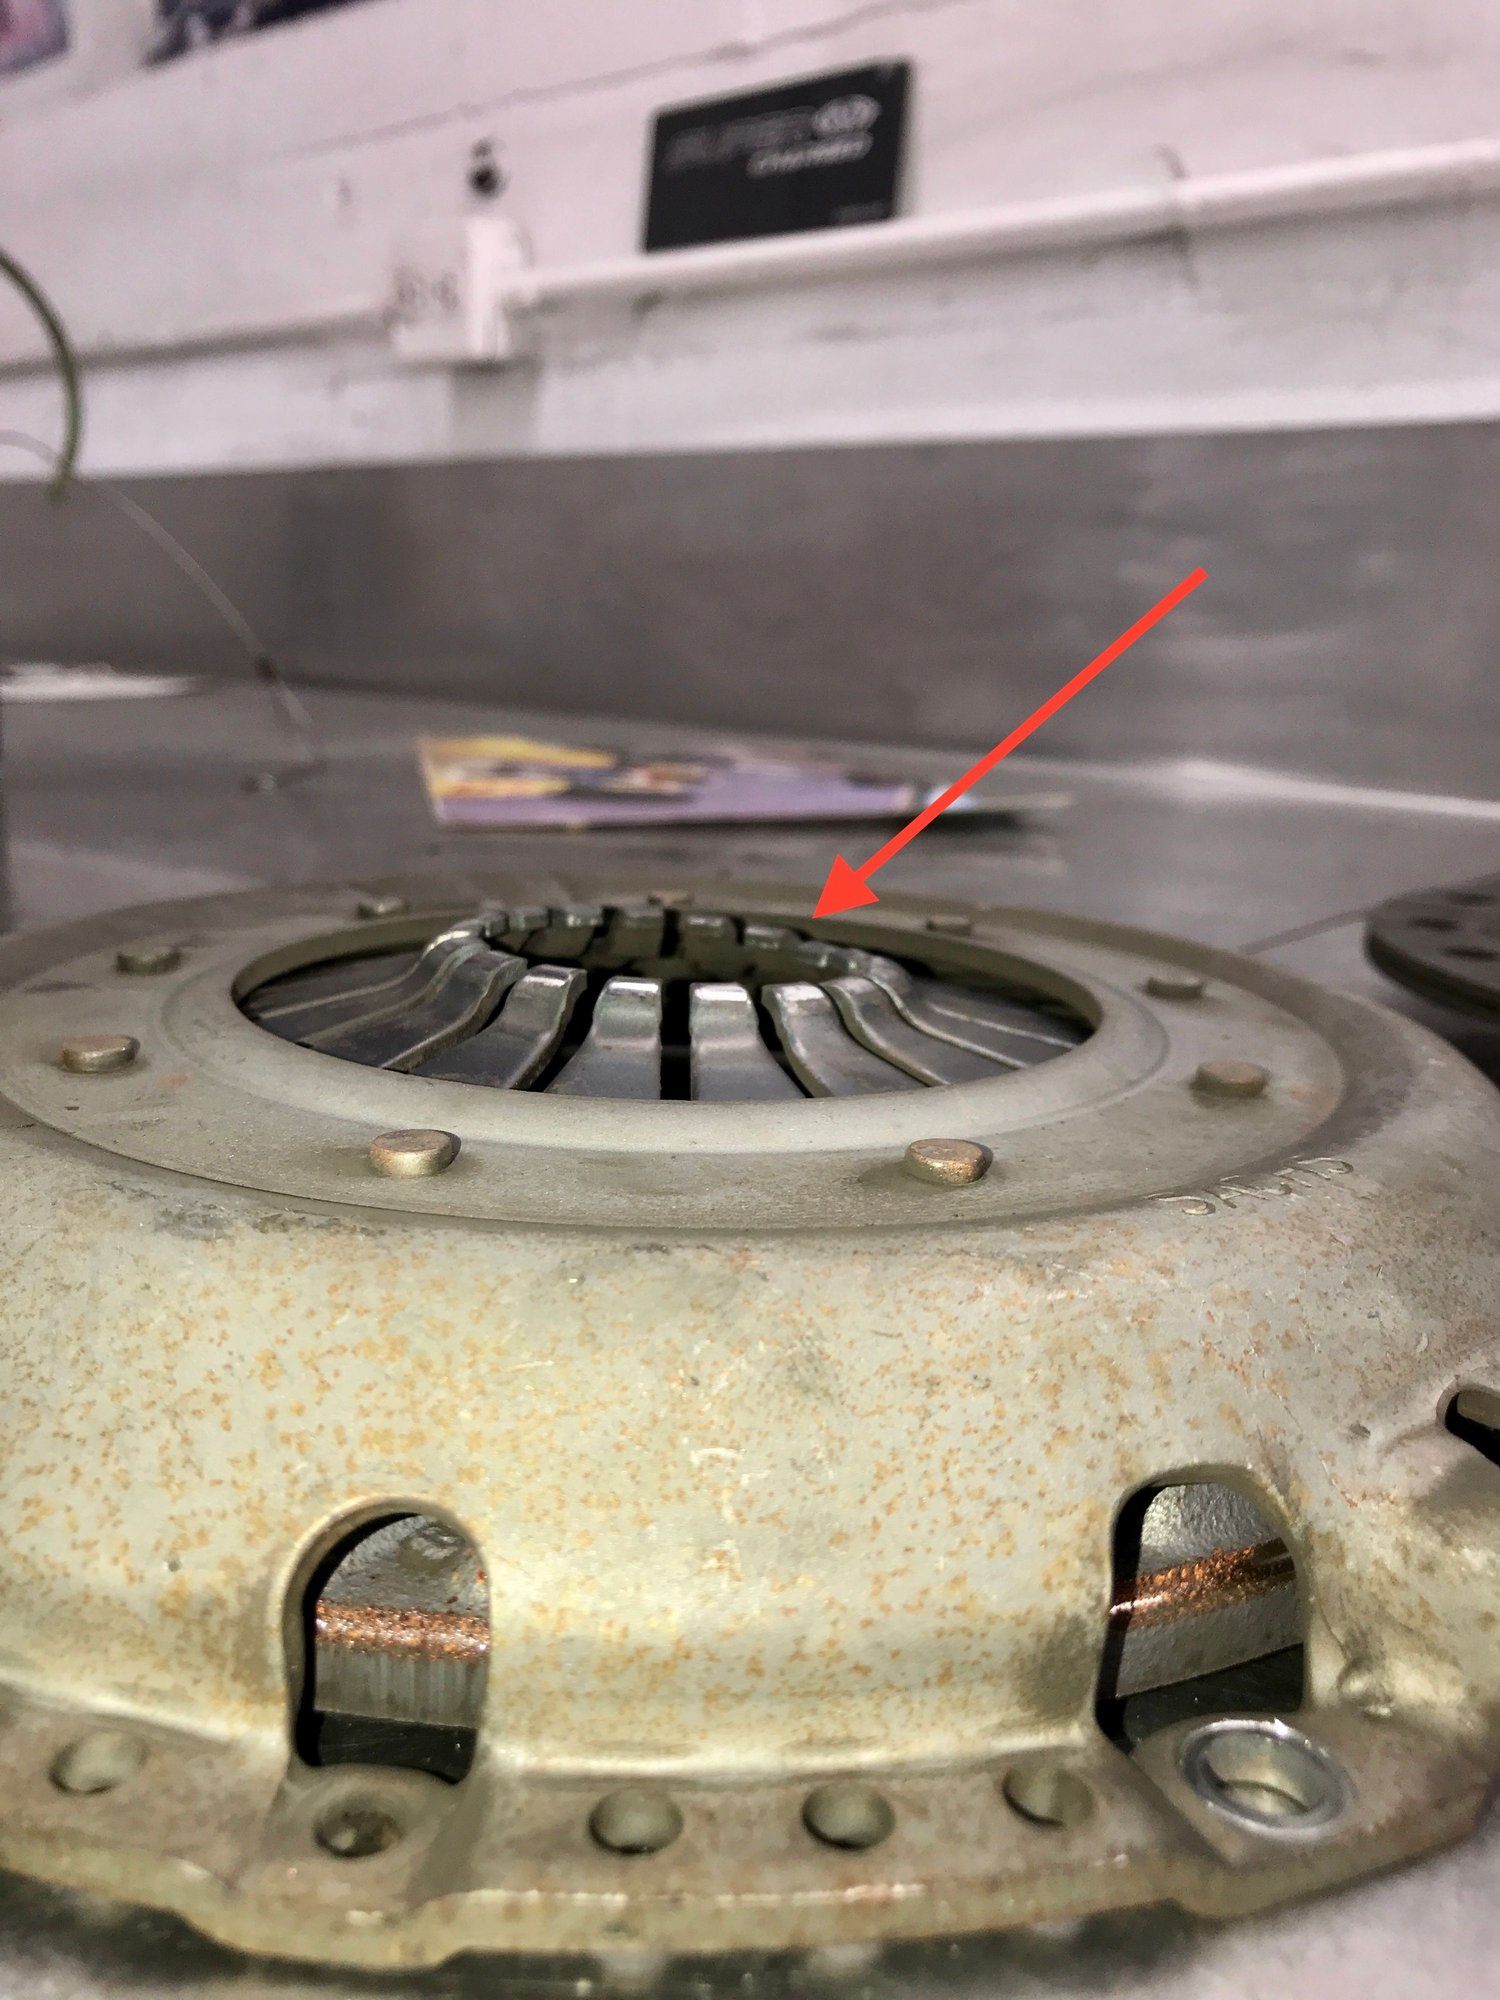
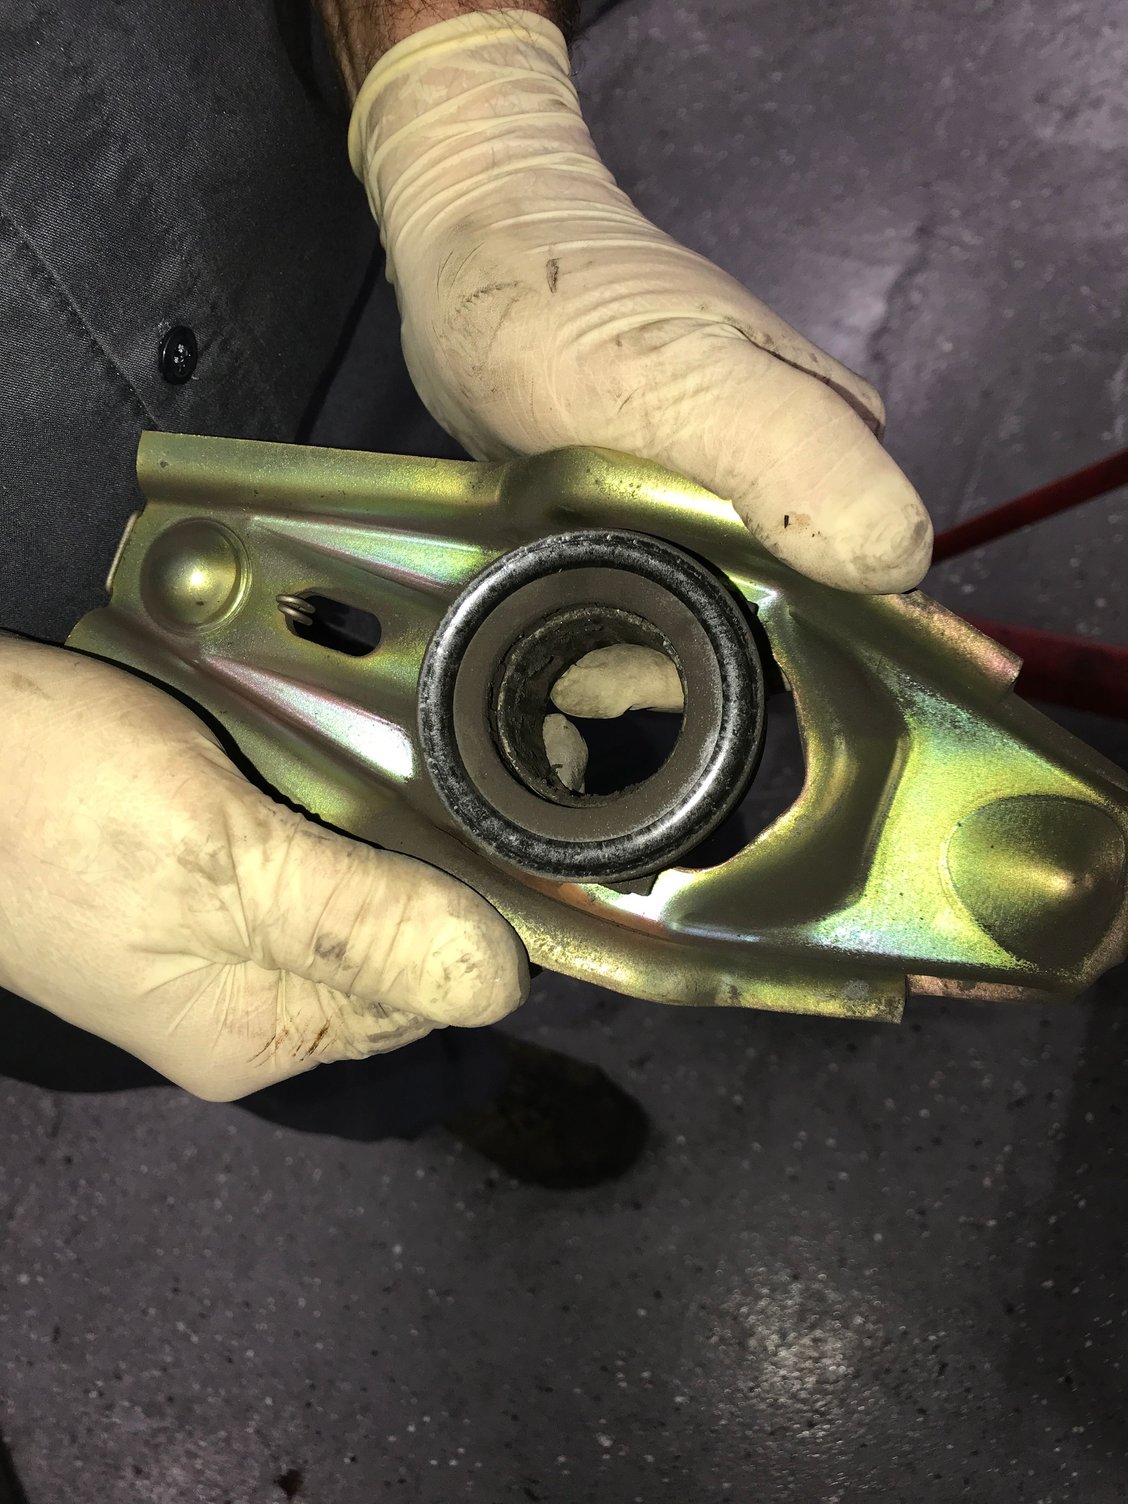
The #1 bolt at the top is almost impossible to even see. To get it you need the engine lowered and then snake the extension up over the top the transmission and then have your breaker bar in the gap in front of the transmission. In the picture below you can just barely see the breaker bar running parallel to the red arrow.
These bolts usually can be a bitch to break free but I think since my transmission had come off a couple years ago to replace the RMS they were pretty easy.
7. We now had the transmission free and ready to drop. We pulled it forward a little and then double checked to make sure everything was free and make sure the drive shaft bolts weren't catching on the transmission. Then we slowly lowered it.
We had it dropped in 1.5hrs. On jack stands this would have likely taken 6+hrs to get to this same point.
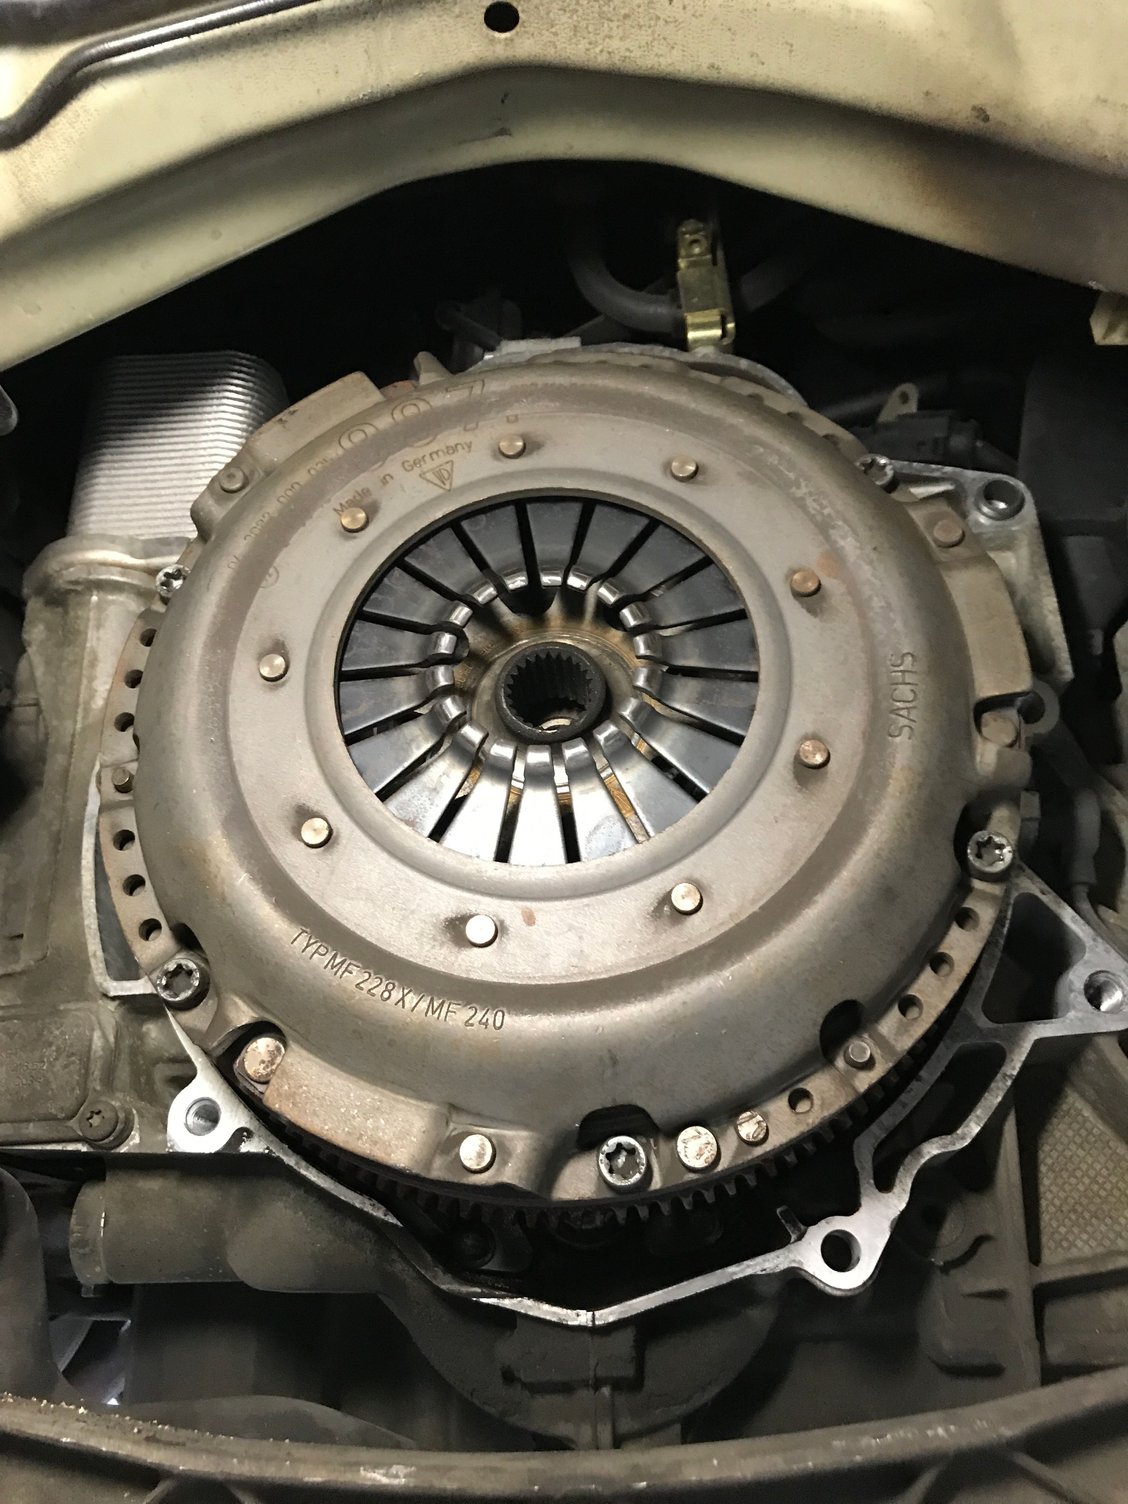
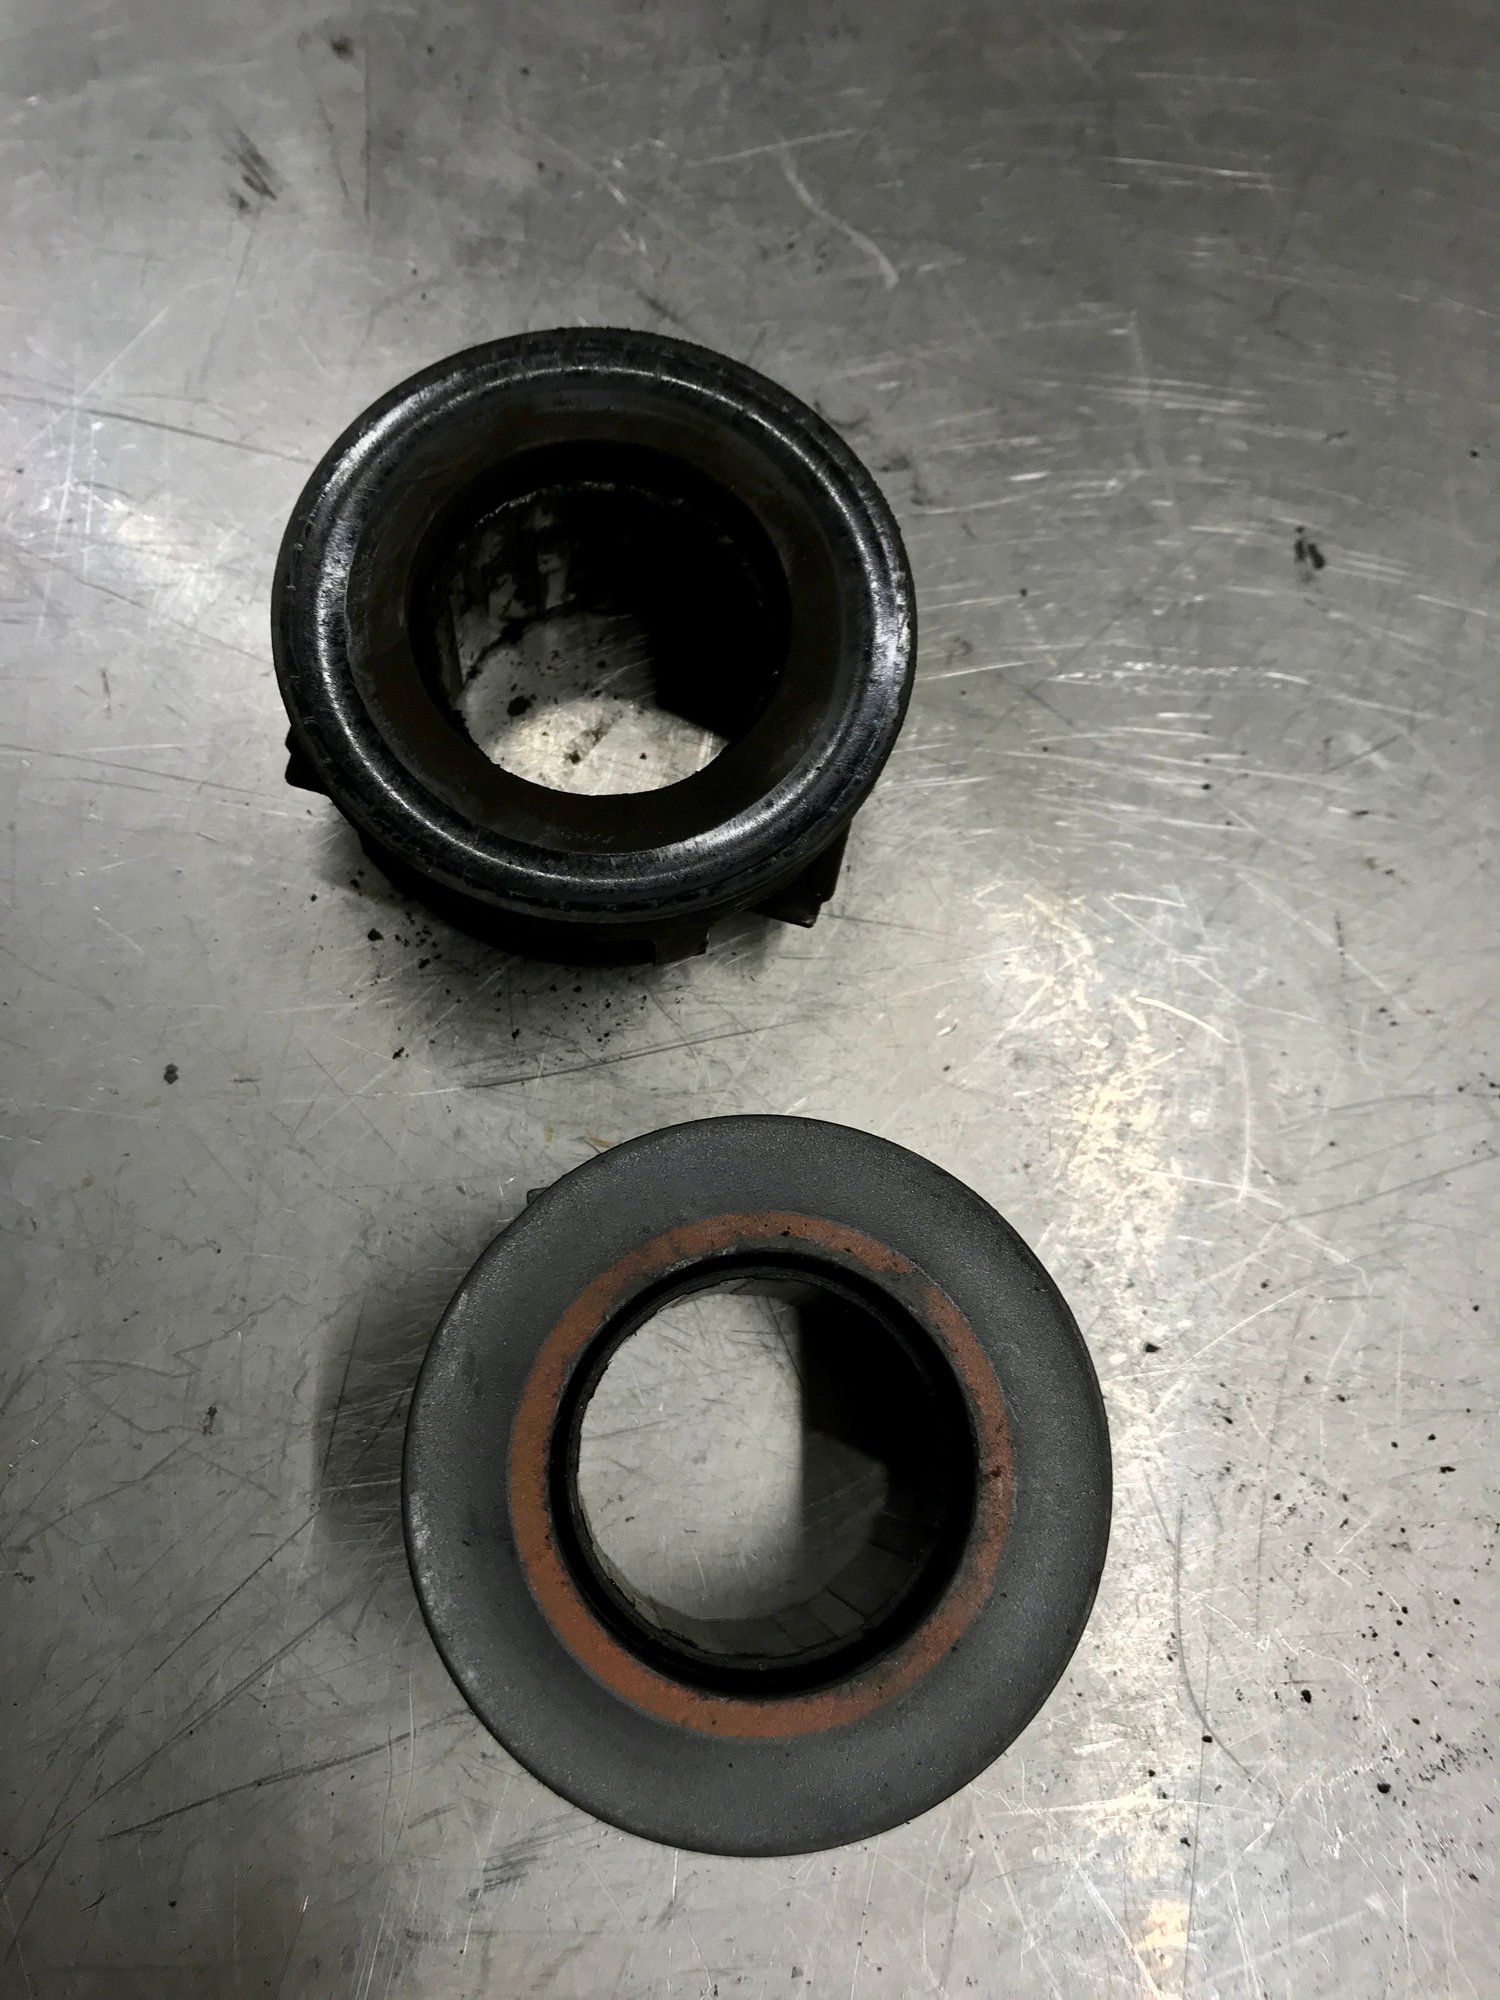
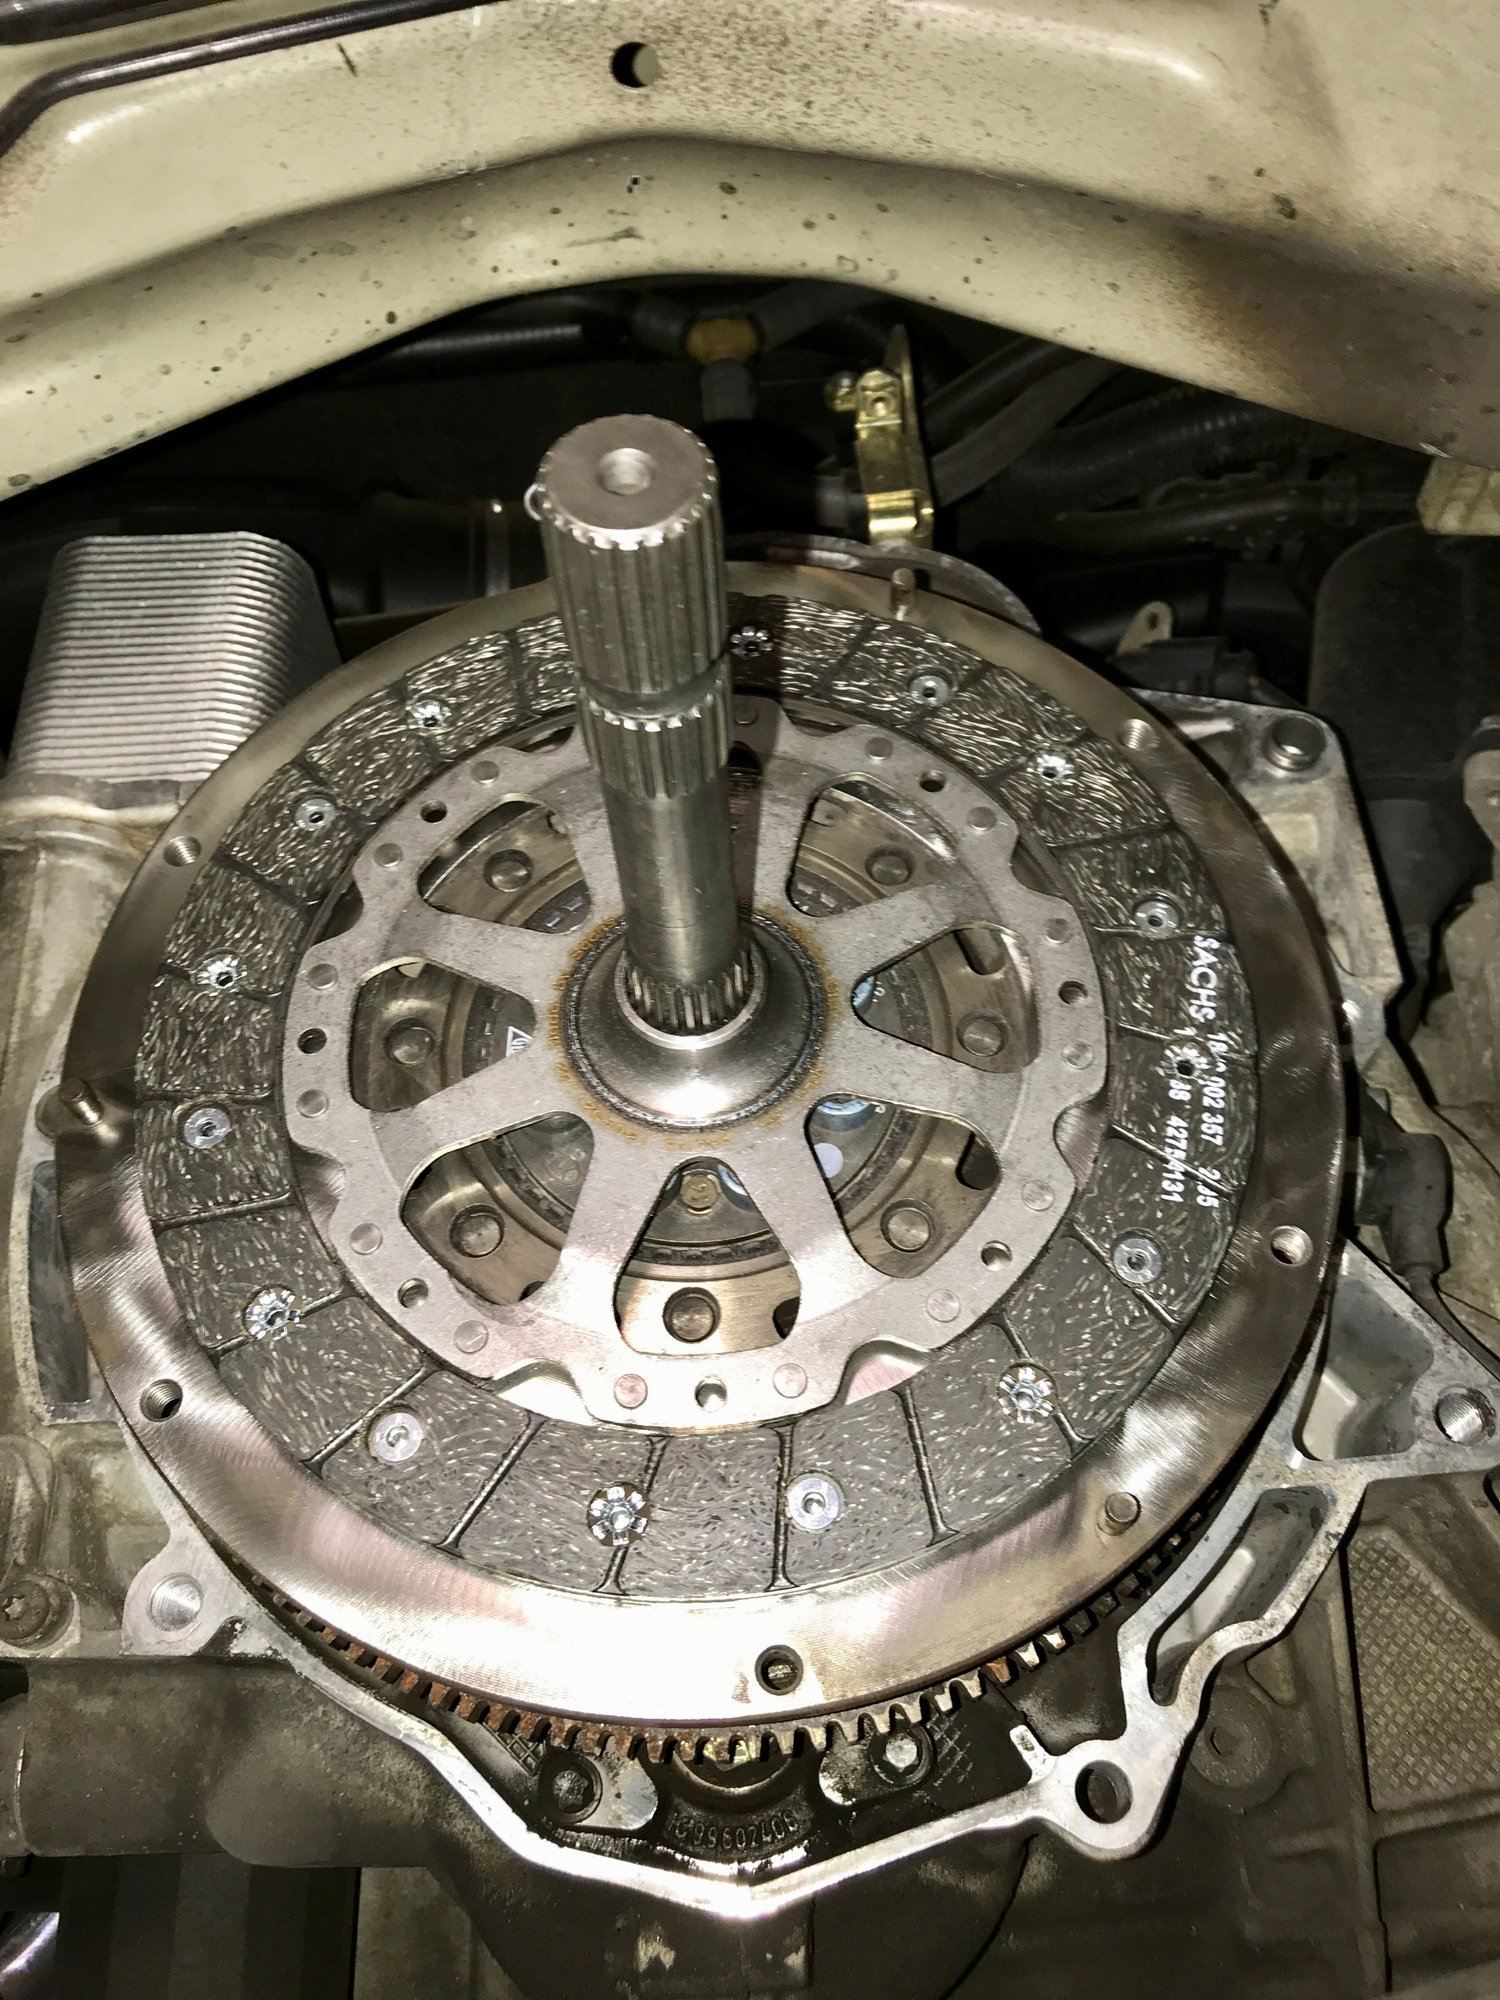
8. Next remove the pressure plate. Pretty easy here. Just use a flat head at the pry points to pop it free and then pull it off, making sure you catch the clutch disk. 9. With the clutch off we then inspected the flywheel, clutch disk, pressure plate, release arm, sleeve, throwout bearing, and looked for any oil leaks from the RMS.
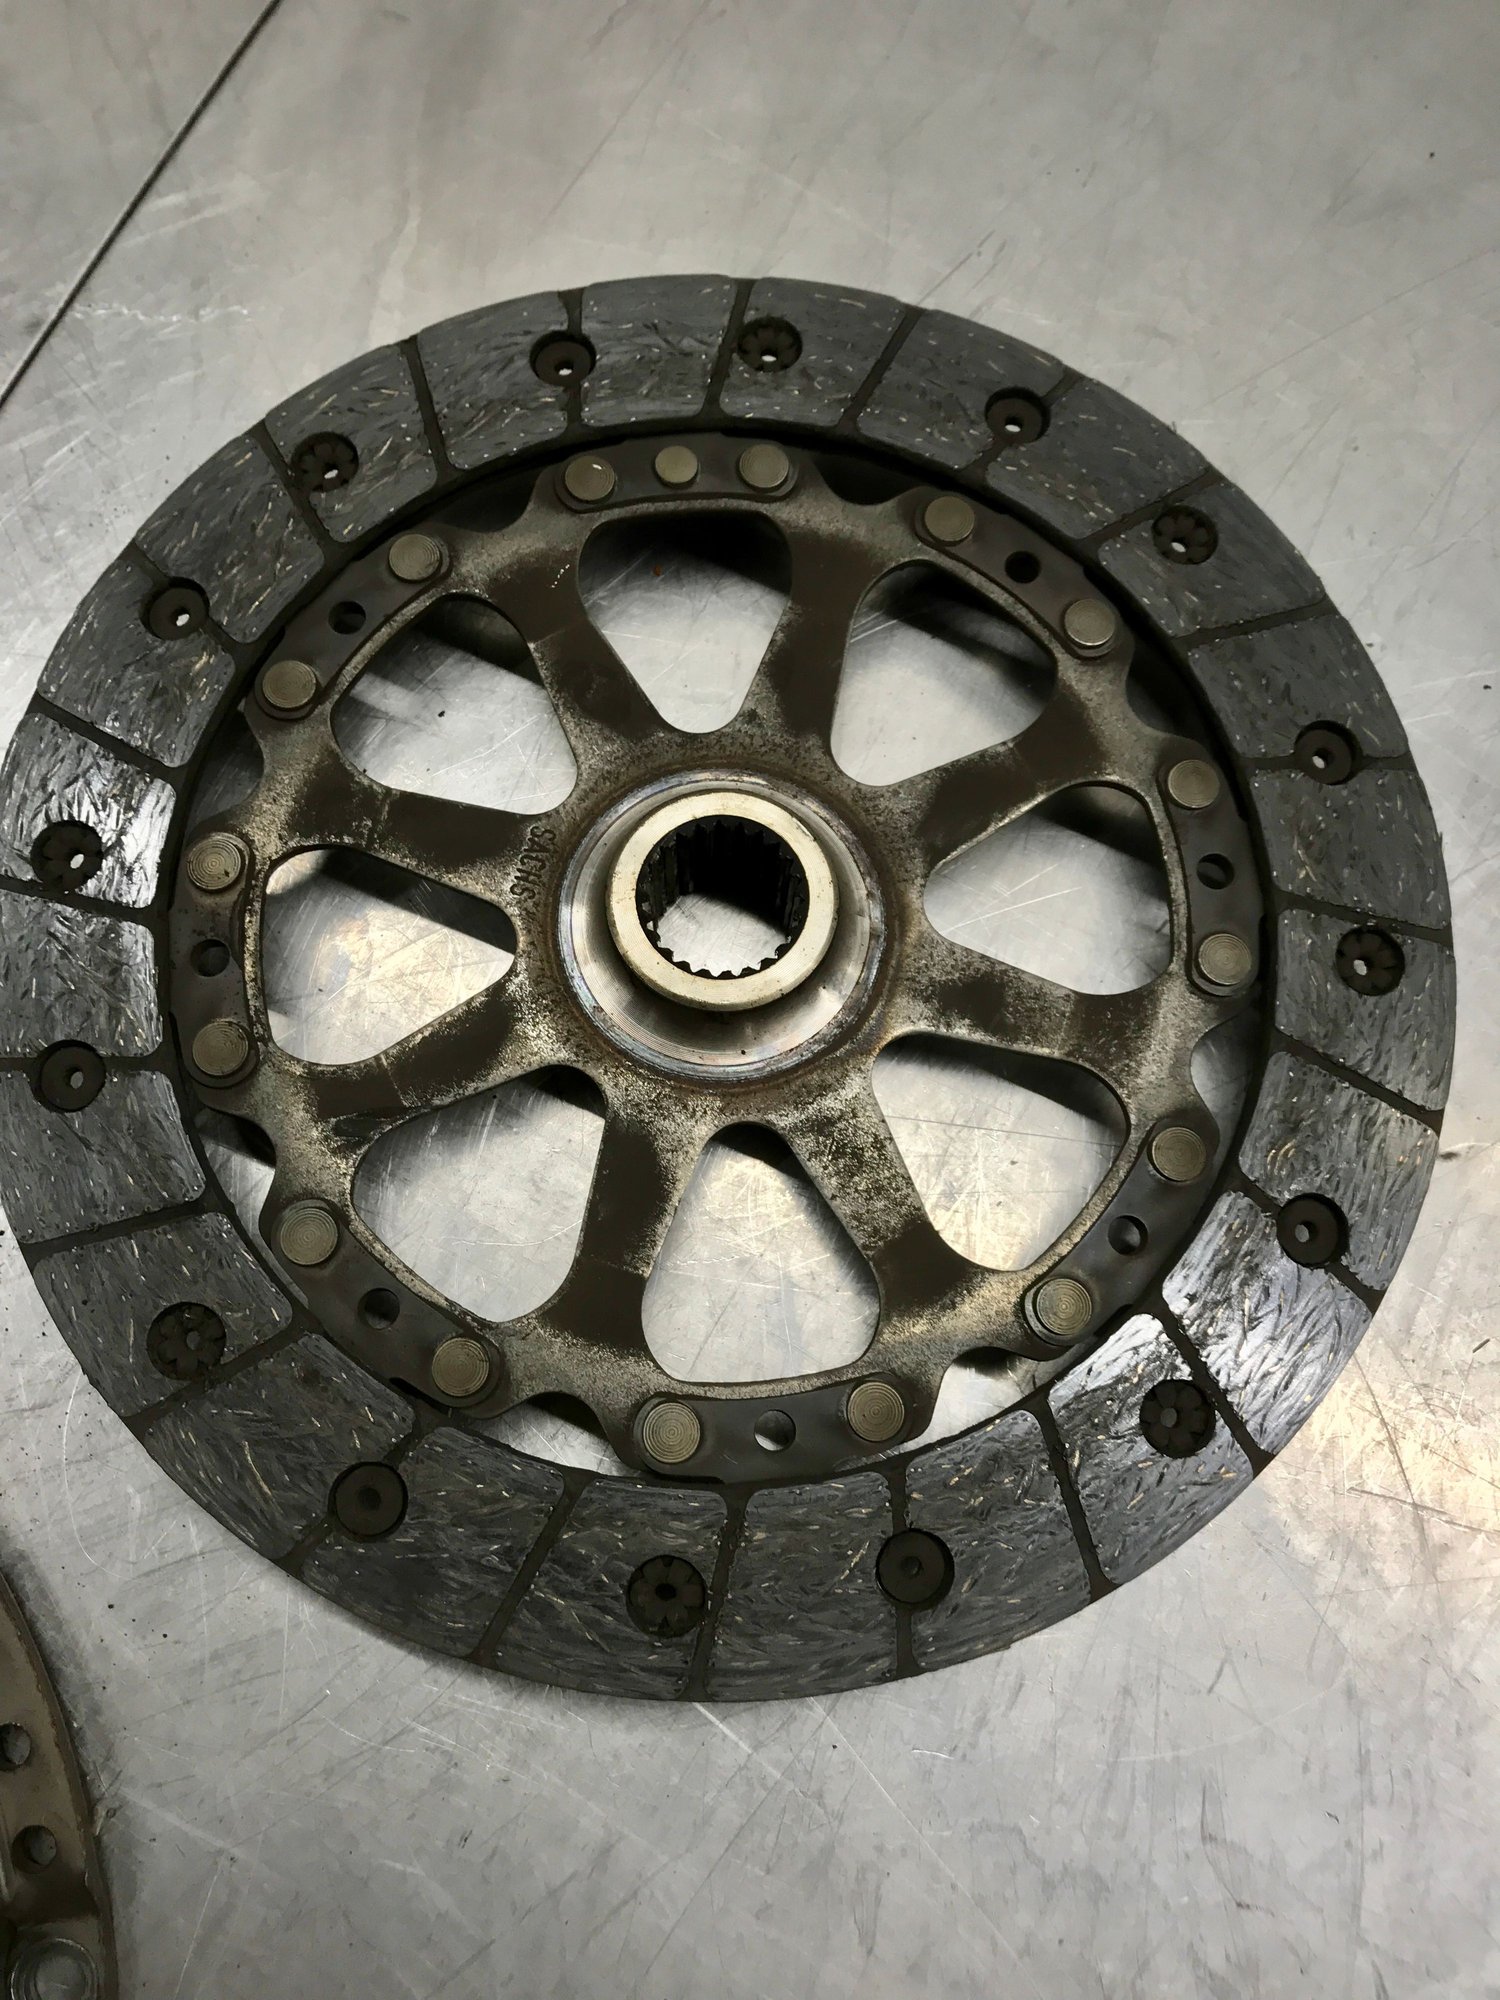
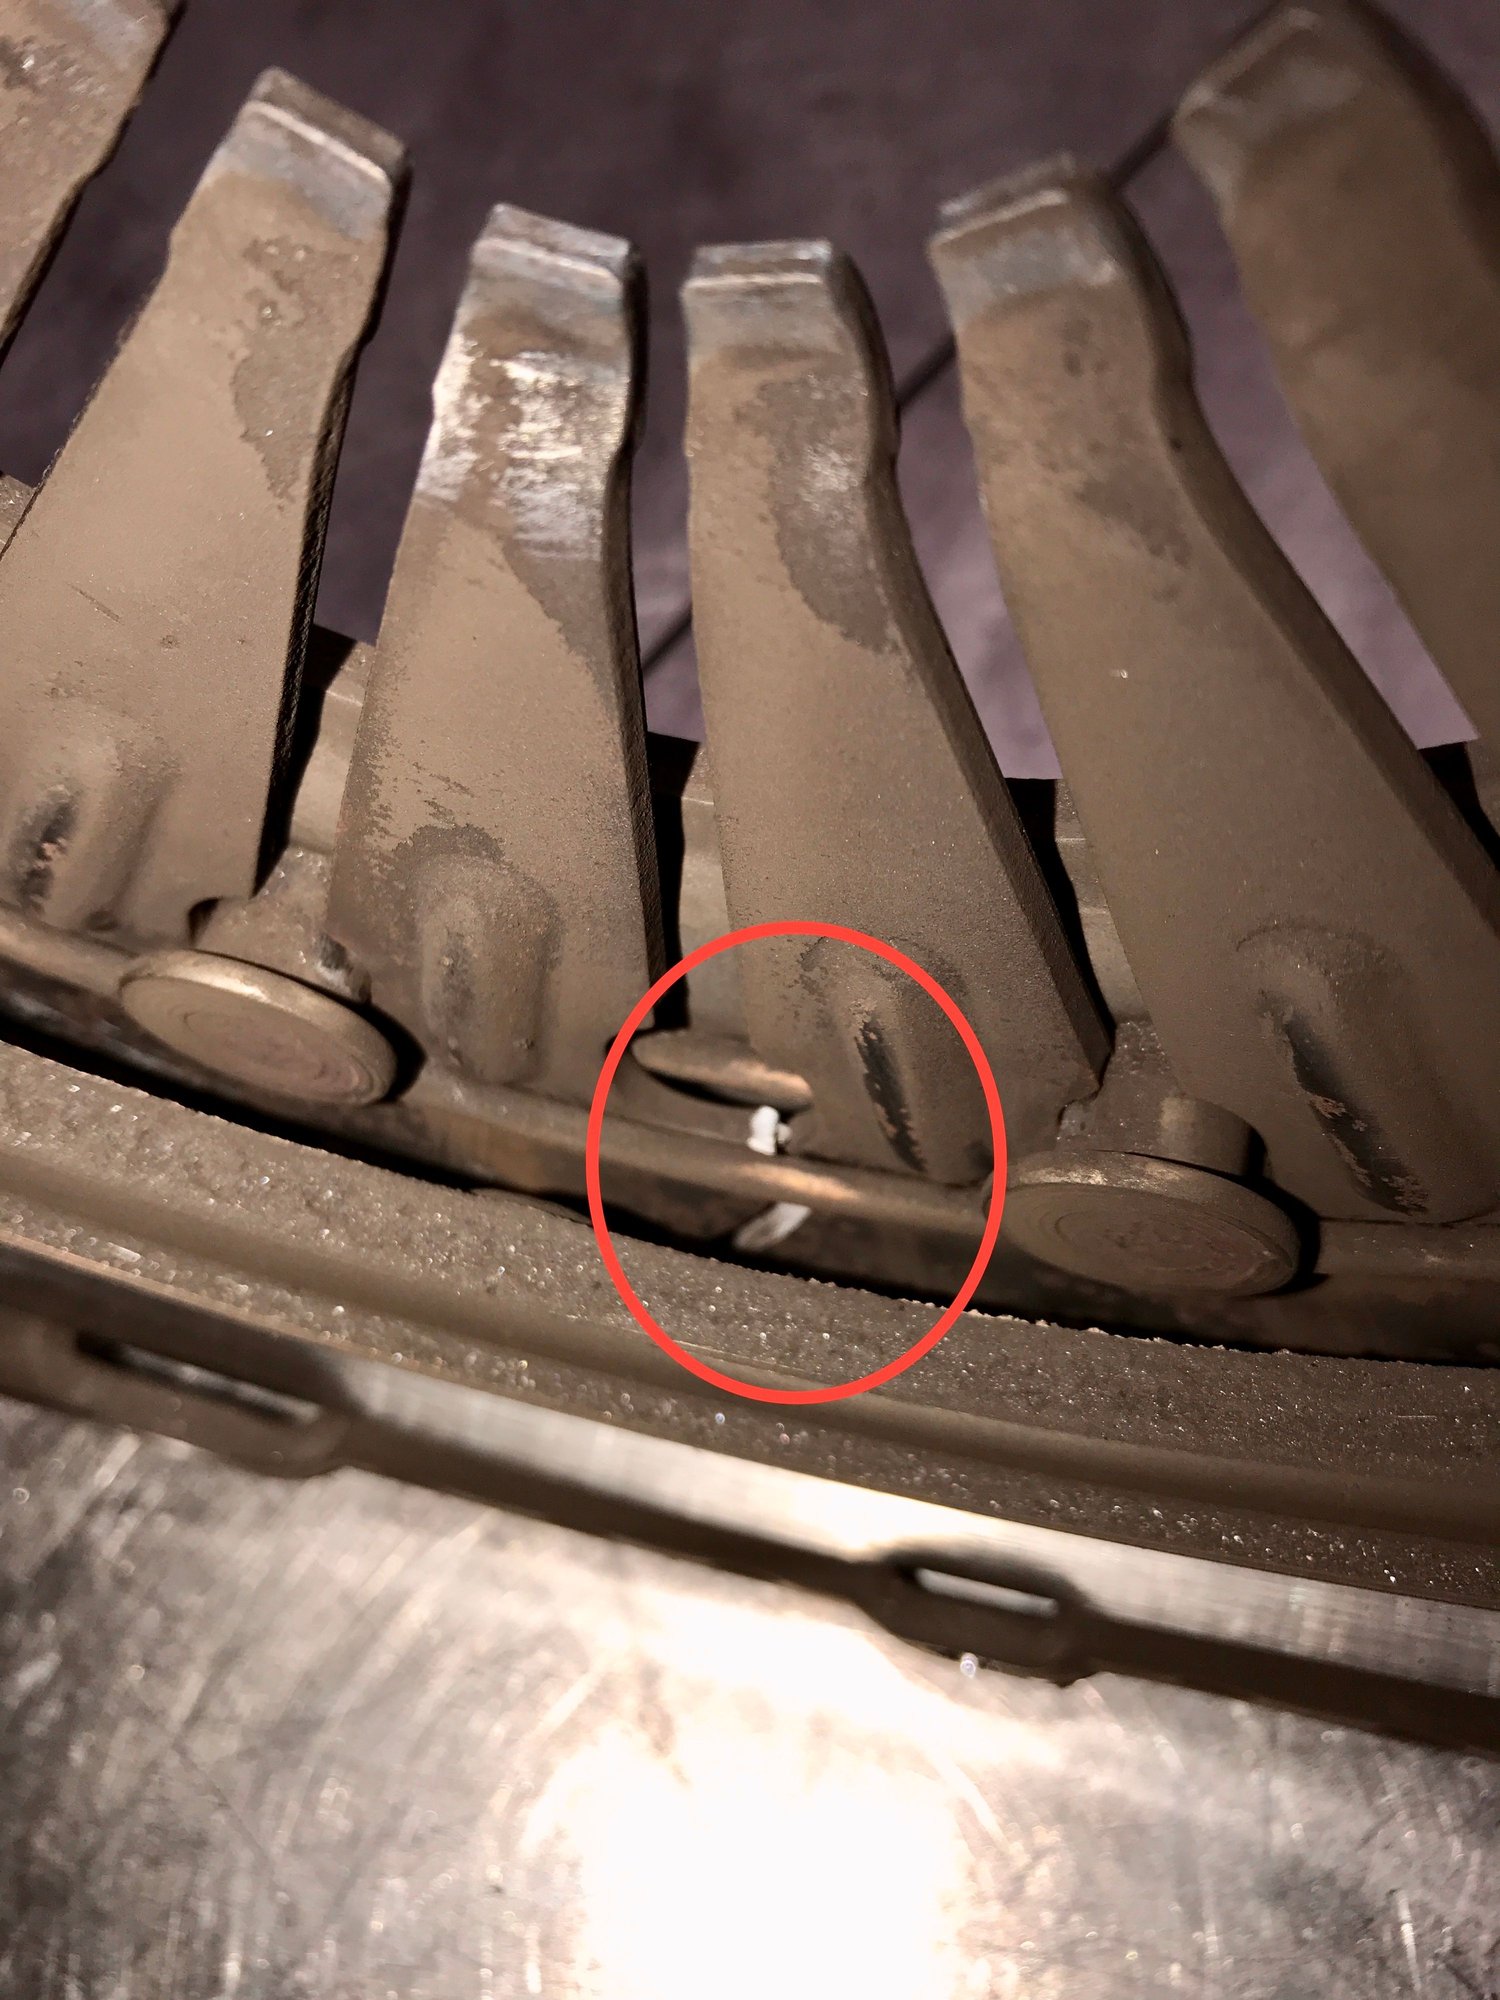
We quickly spotted the cracked pressure plate finger. The clutch disk looked fine as did the release arm. We were worried the broken slave cylinder sleeve might have scored up the release arm but it looked good so the sleeve must have broken recently.
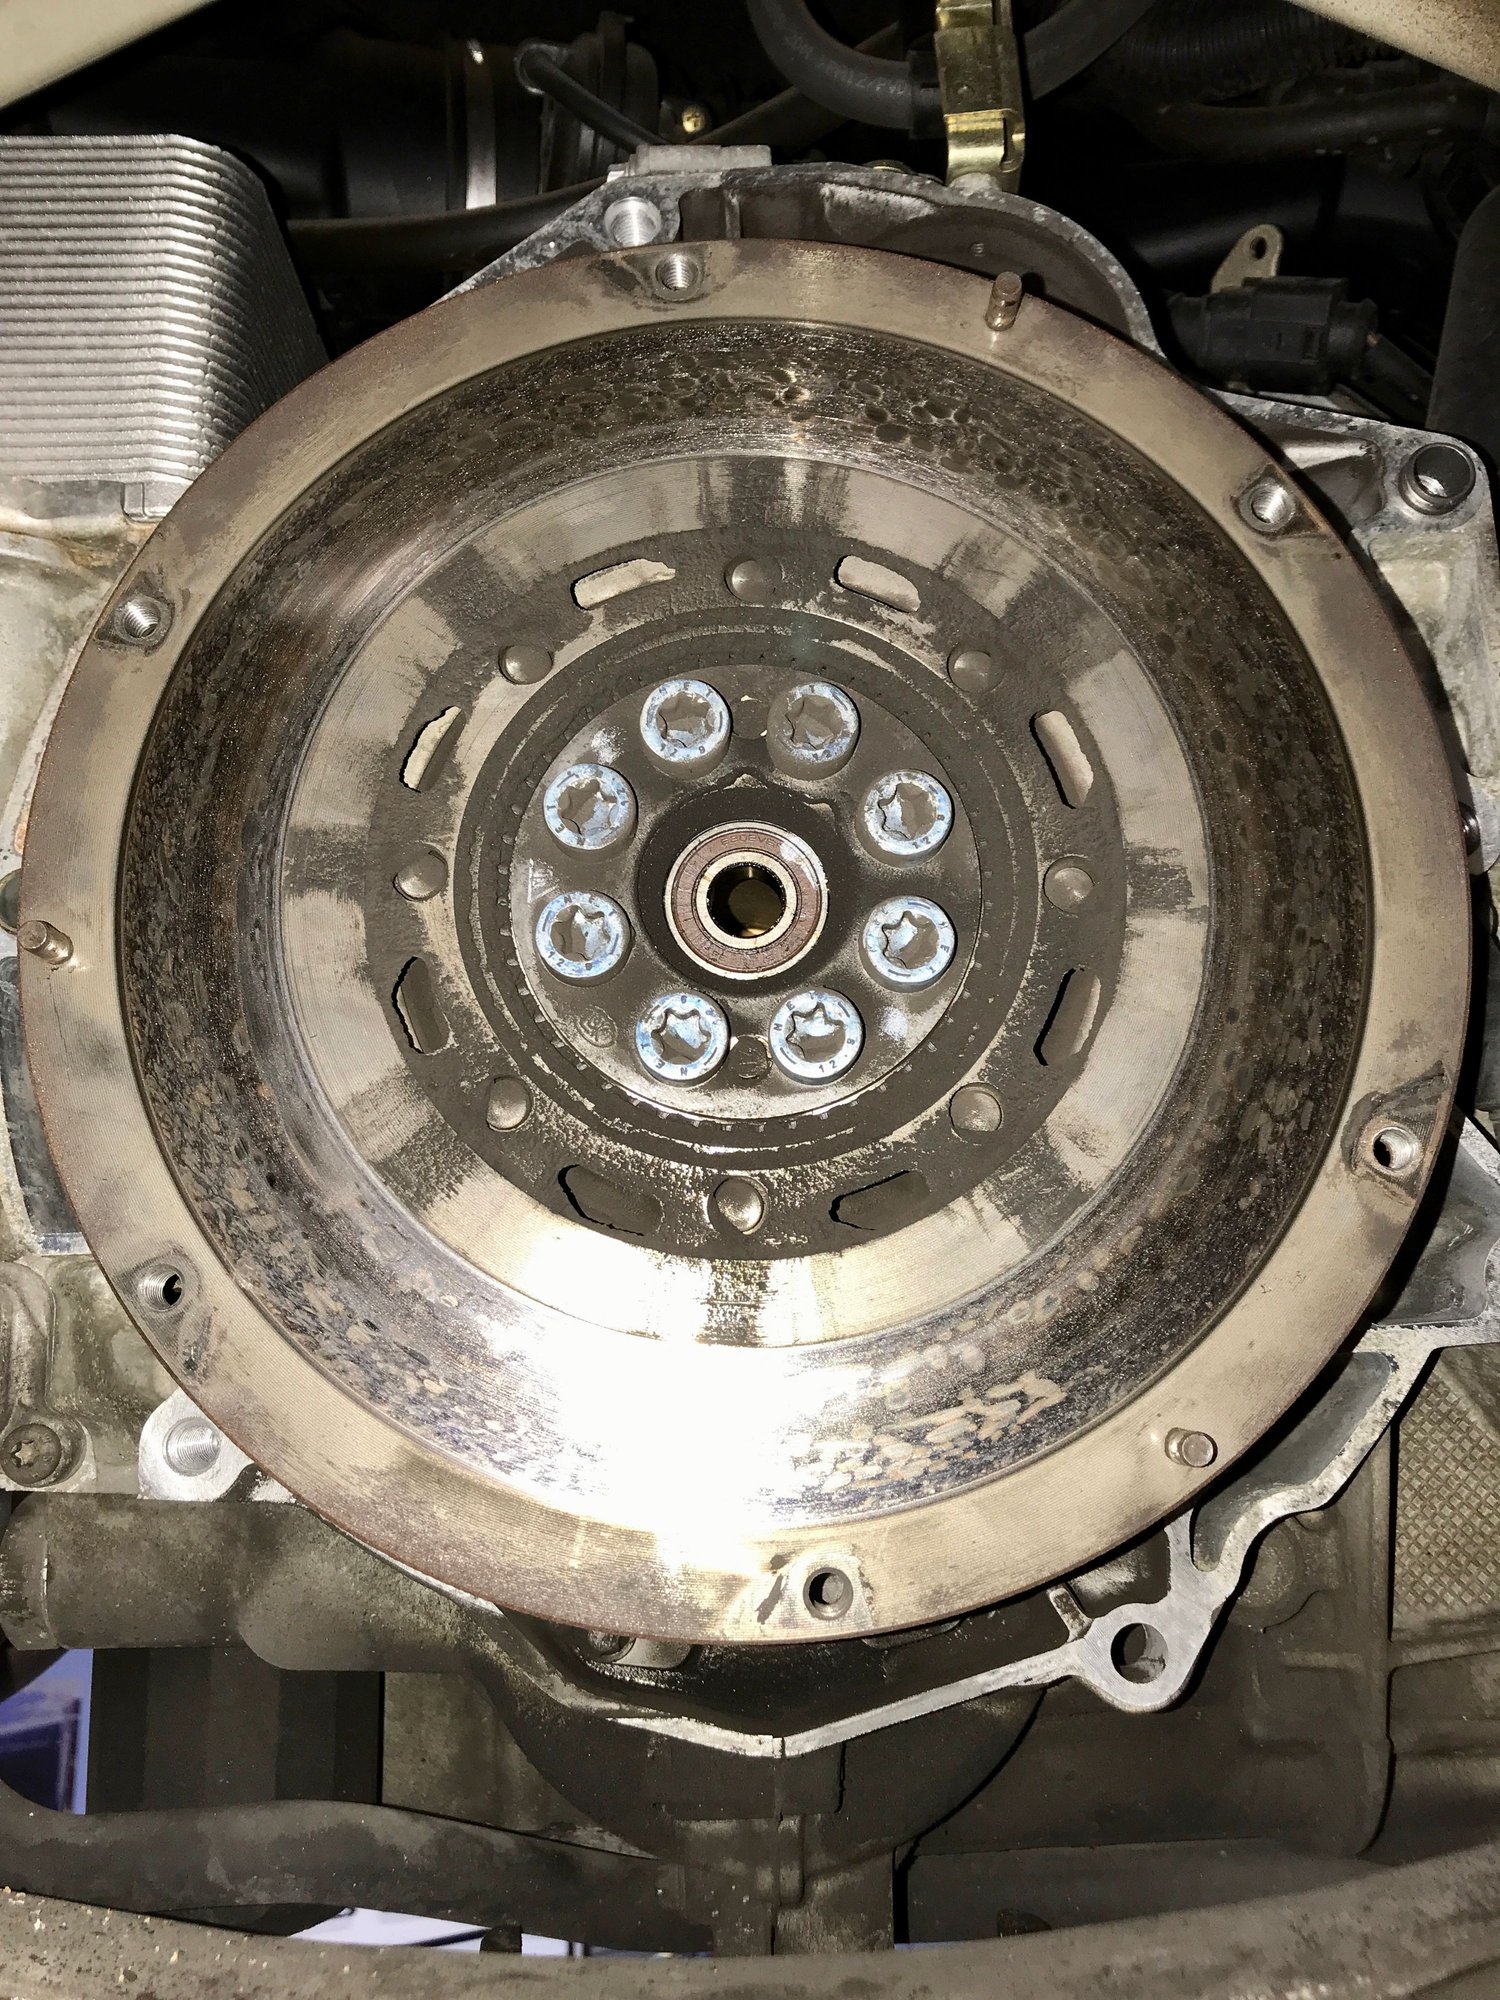
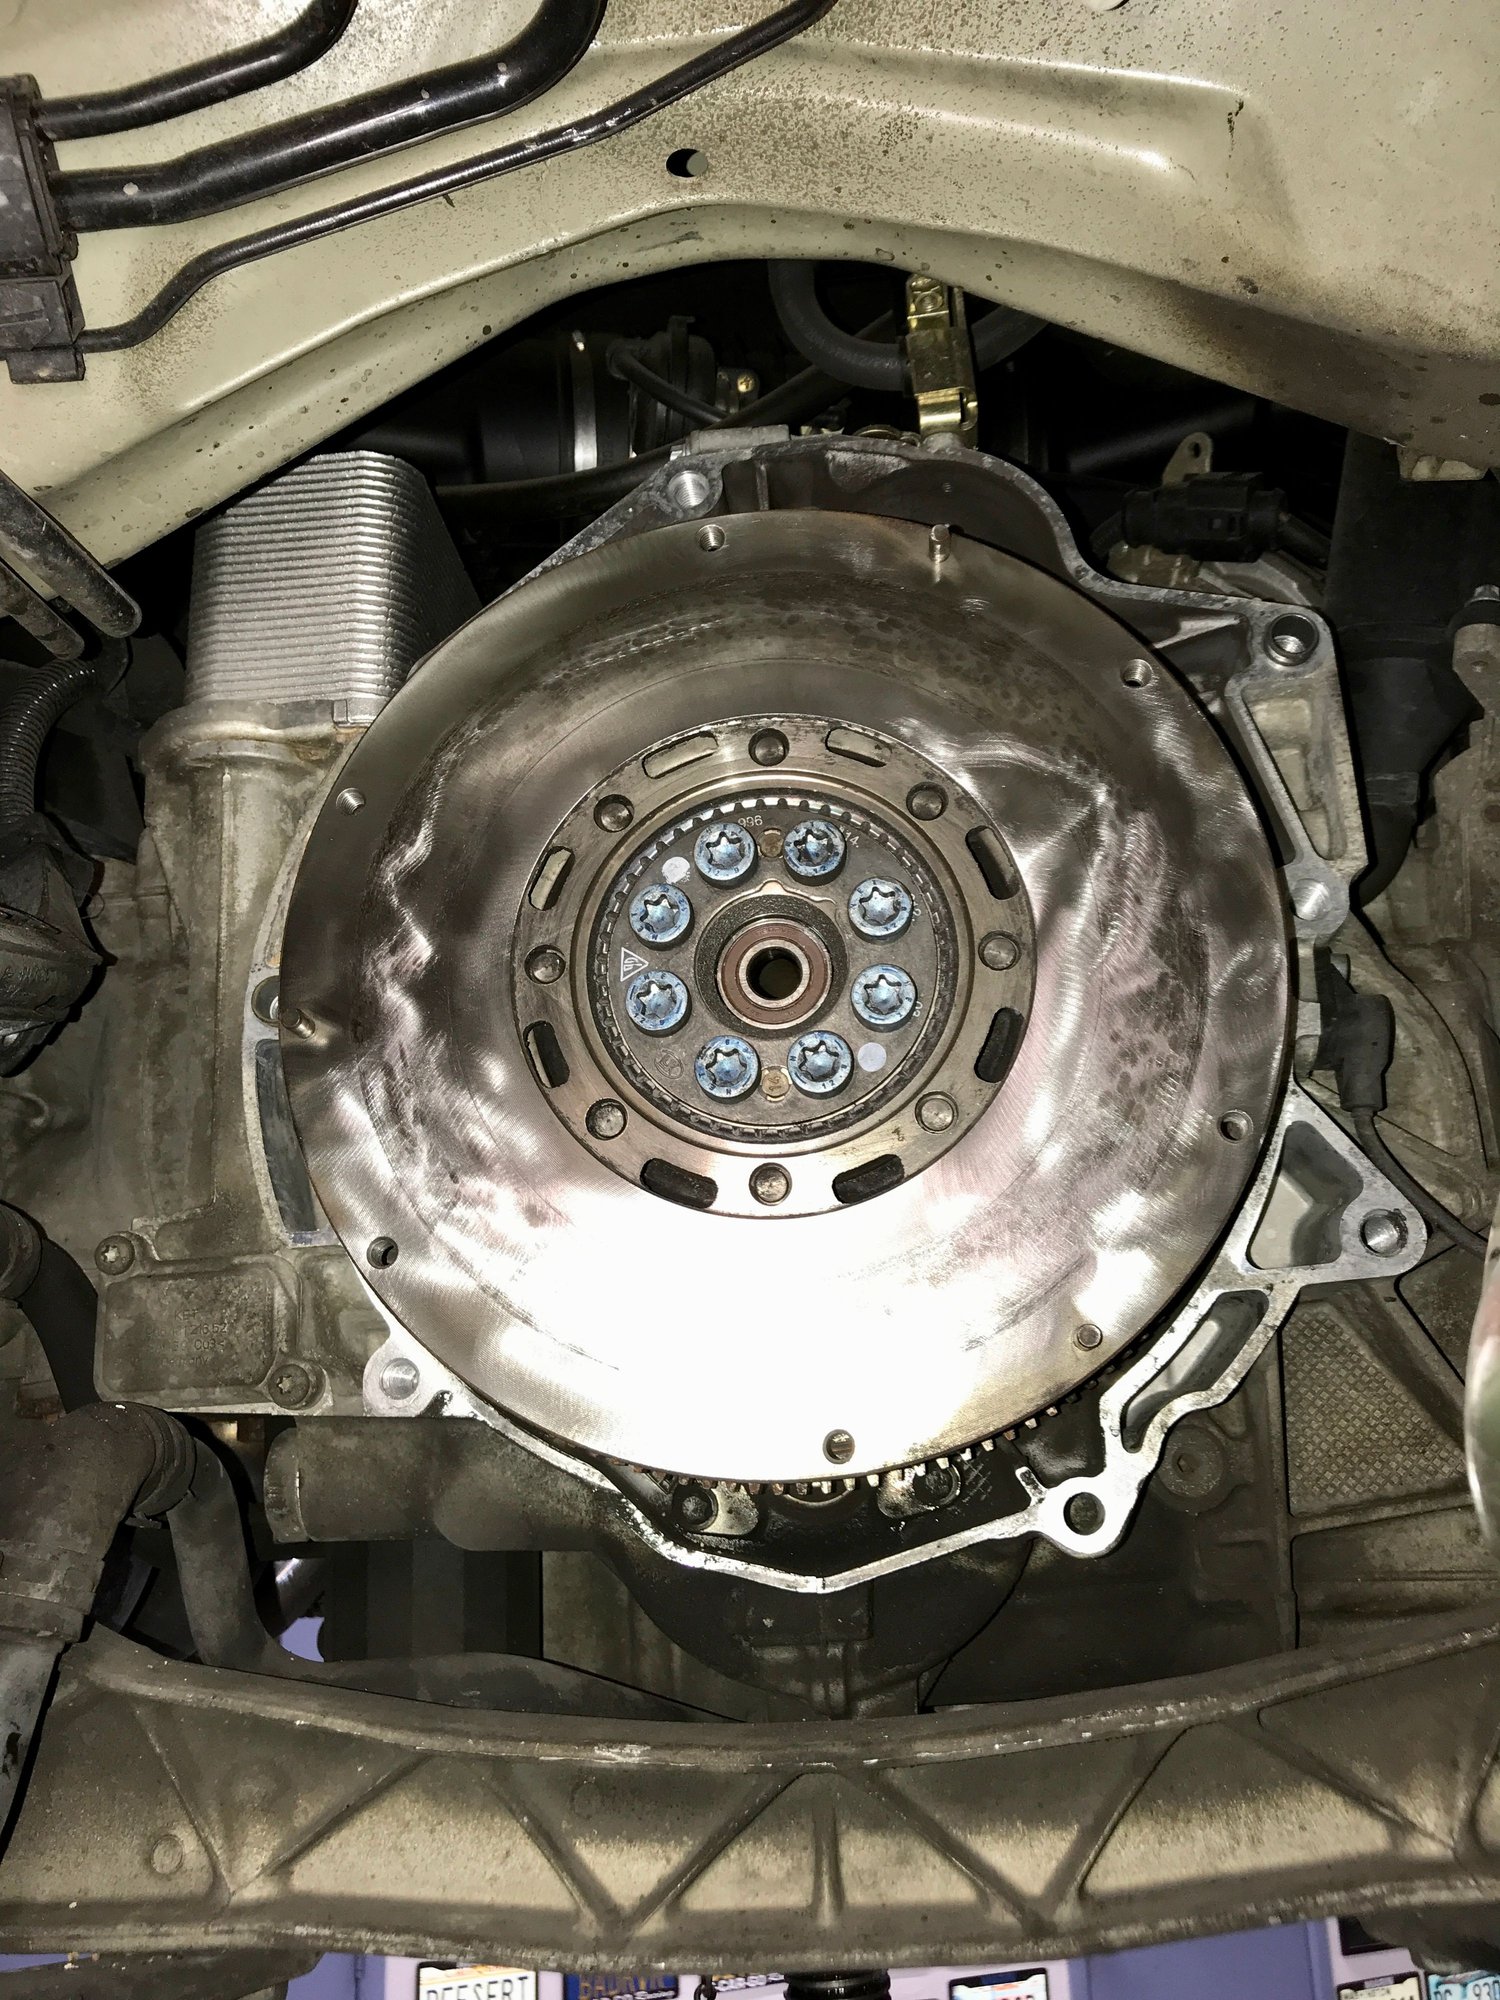
The flywheel looked good and sprung back into position so left it on. We hit it with brake cleaner and then polished it with a disk sander.
We also inspected for any new oil leaks from the RMS. We didn't see any. The oil stains you see below the flywheel are from when the RMS was replaced in 2014. We then replaced the throwout bearing, cleaned the release arm, cleaned the bell housing (surprisingly little clutch dust), and cleaned and greased the spines.
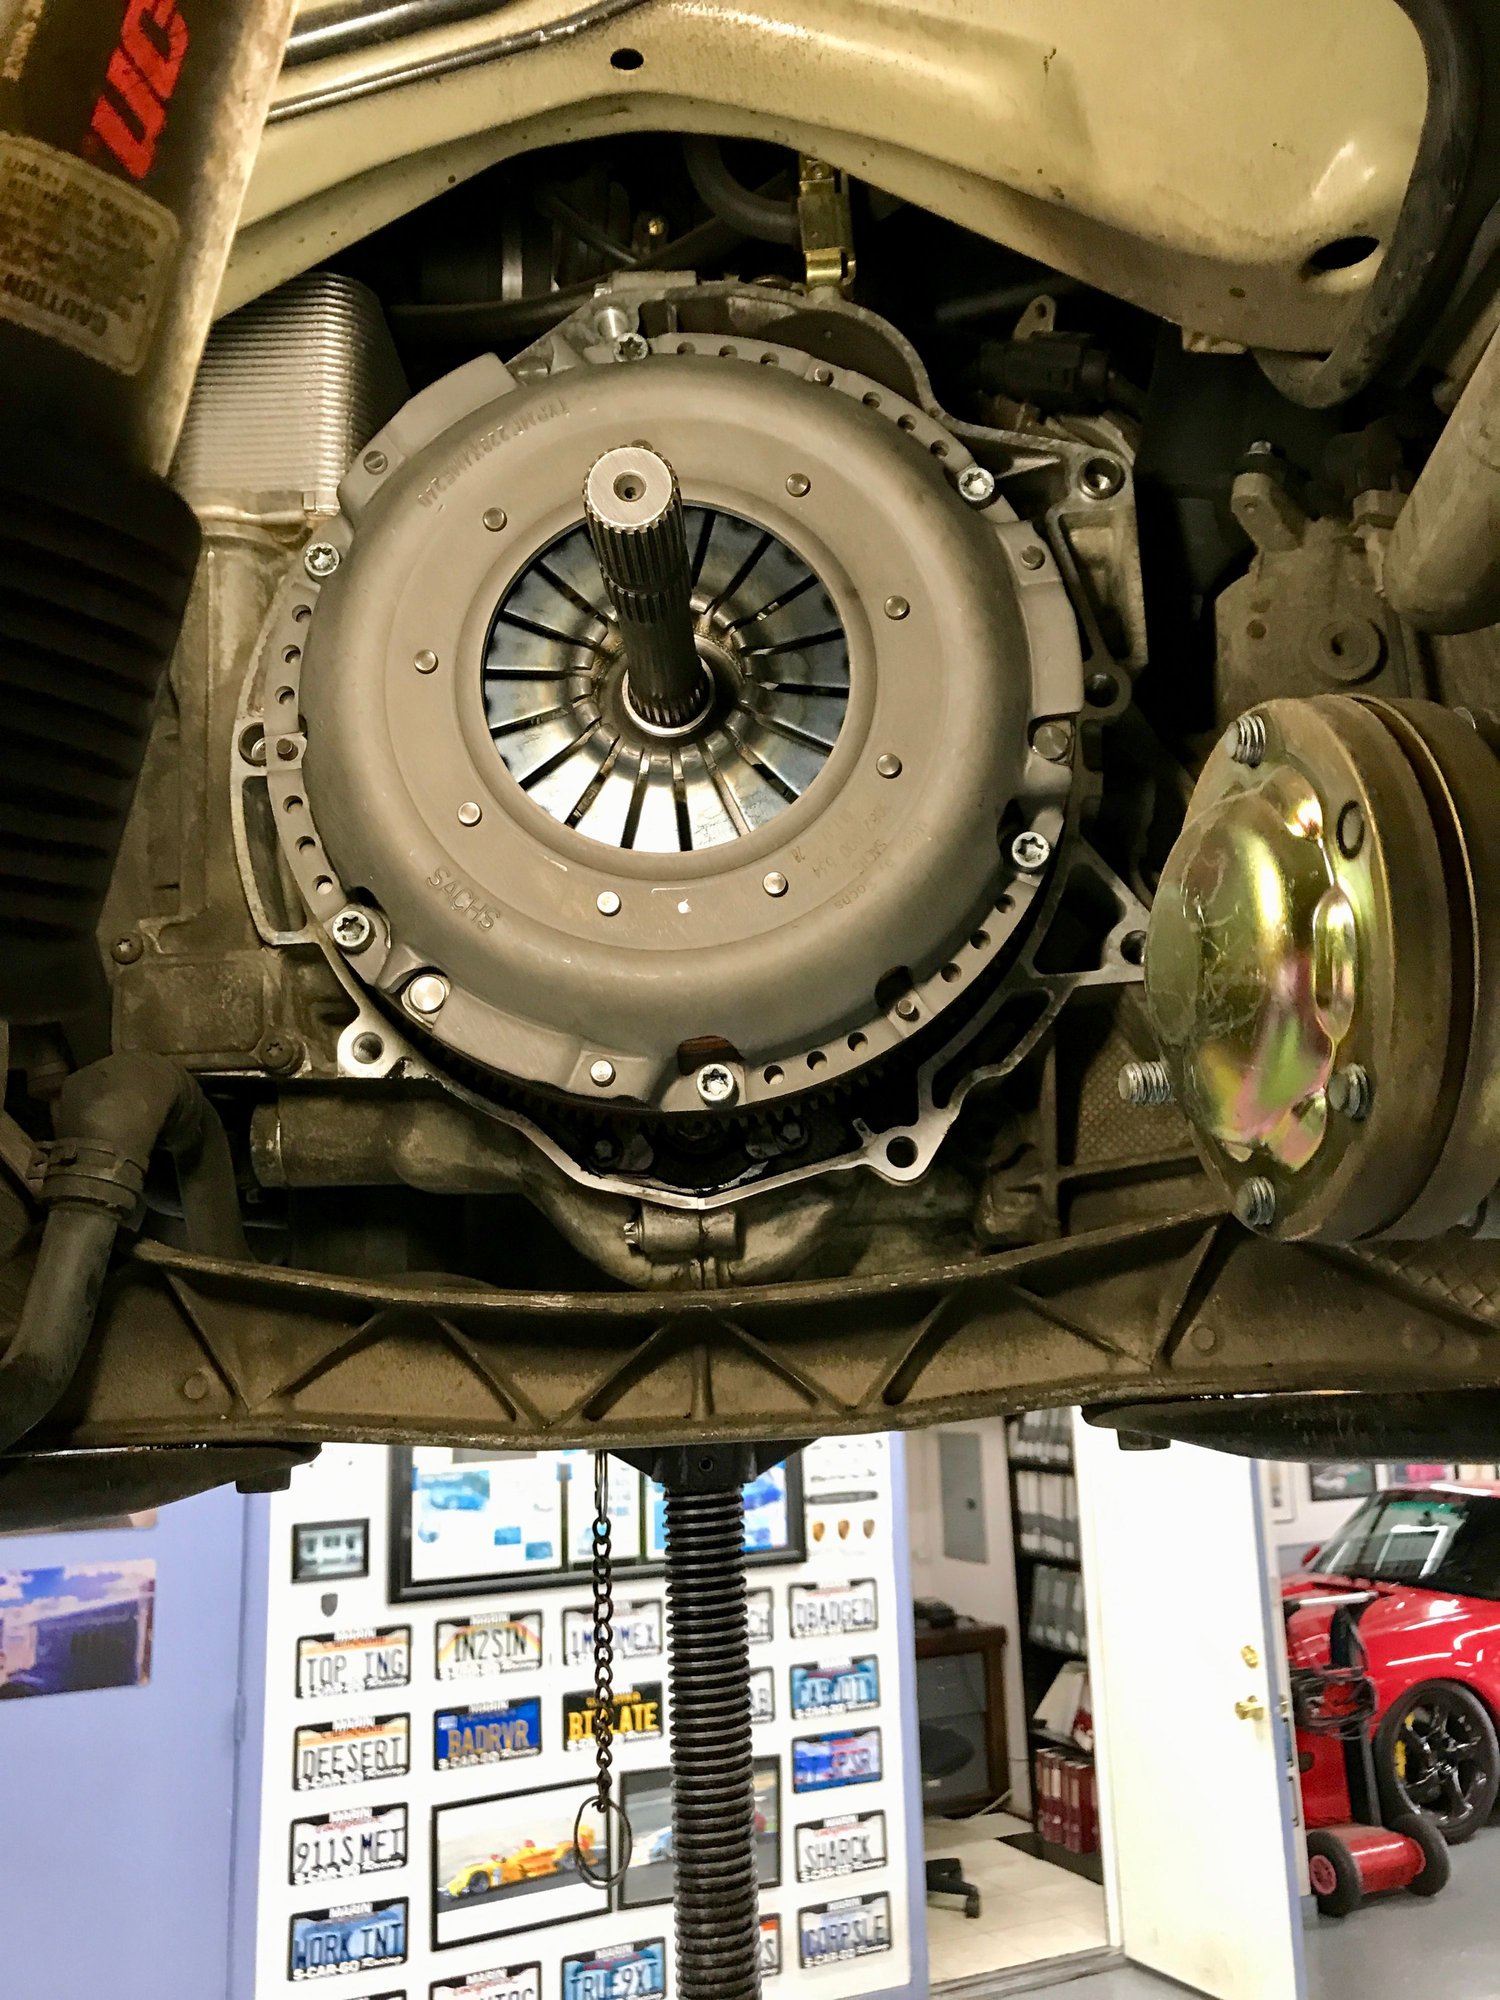
10. Next was putting the new clutch and pressure plate back on. This is easy.
11. Now you're ready to to jack the transmission back up and slide it in. This was the only part we got caught up. It took 10 minutes of wiggling and cursing to get it to slide back in. It should slide all the way in. We had about an inch gap.
The trick is getting the engine and transmission aligned on the same plane. The engine can be angled too far down or the transmission can be angled too far up. The best way to know your angle is looking at the 1" gap between the transmission and engine. If the gap on the bottom is bigger than the gap on the top, you need to jack up the engine up and vice versa.
I really couldn't imagine what a pain this would be on your back using jack stands.
12. With this done we started buttoning everything back up. Torque the transmission bolts to spec, put the driveshafts back on, put the slave cylinder back in, reattach the electrical cable, clip the coolant pipes back in, put the clutch cables back on, etc. We only got hung up with the slave cylinder. One bolt refused to go back in and you need to feel for it with your arm over your head. That was likely the most frustrating part of the job.
Buttoning things up goes very fast with 2 people. You can each work on different sides of the transmission.
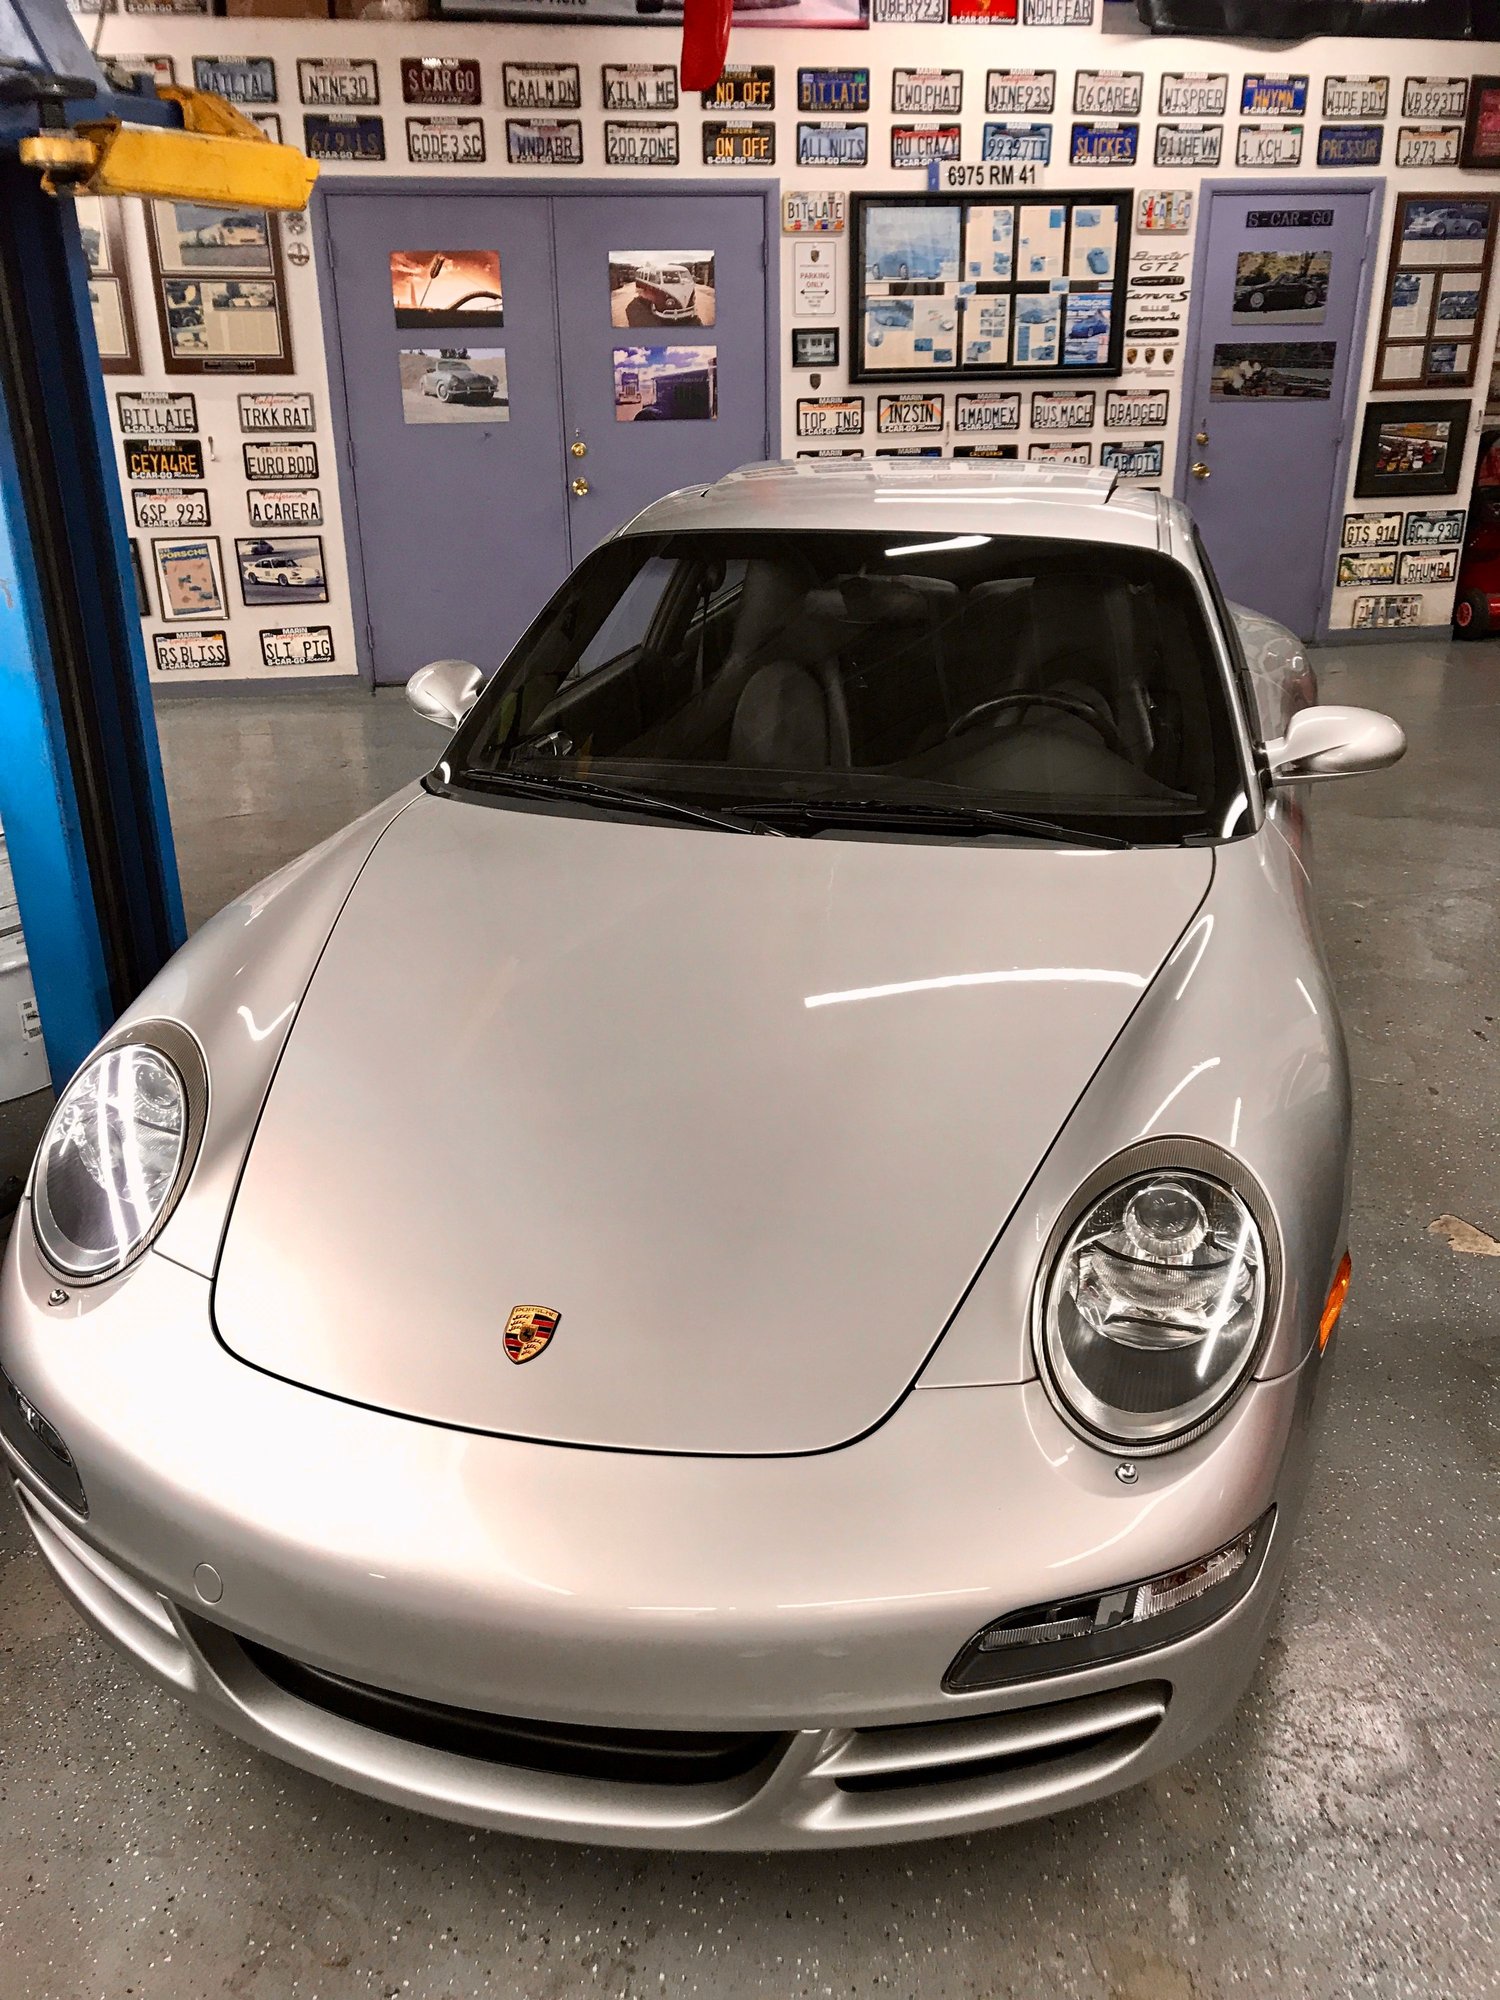
We started working at 915 and we were done by 130pm, including 30 minutes for lunch. I learned a ton, saved a bunch of money and didn't suffer on jack stands for 2 days. All-in-all this was a great project.
My clutch made it all the way until December when I changed it out on jack stands. I just must say it was the easiest clutch job I have ever done on any car. I followed tons of threads on this site and it made it quite easy.

 06-15-2019, 12:23 AM