When you click on links to various merchants on this site and make a purchase, this can result in this site earning a commission. Affiliate programs and affiliations include, but are not limited to, the eBay Partner Network.
After reading how easy this is to do, and doing a bit of research on the various options, I thought I would take a giant leap of faith and replace my motor mounts. I am not a good mechanic. Brake pads and rotors are the extent of my ability, and even that is marginal. So doing something to my engine was downright scary. But, like everything I have discovered with my 08 C2S, it�s really easy to work on. So, I took the plunge and ordered a set of Function First v2 mounts. The car has 105,000 km on it.
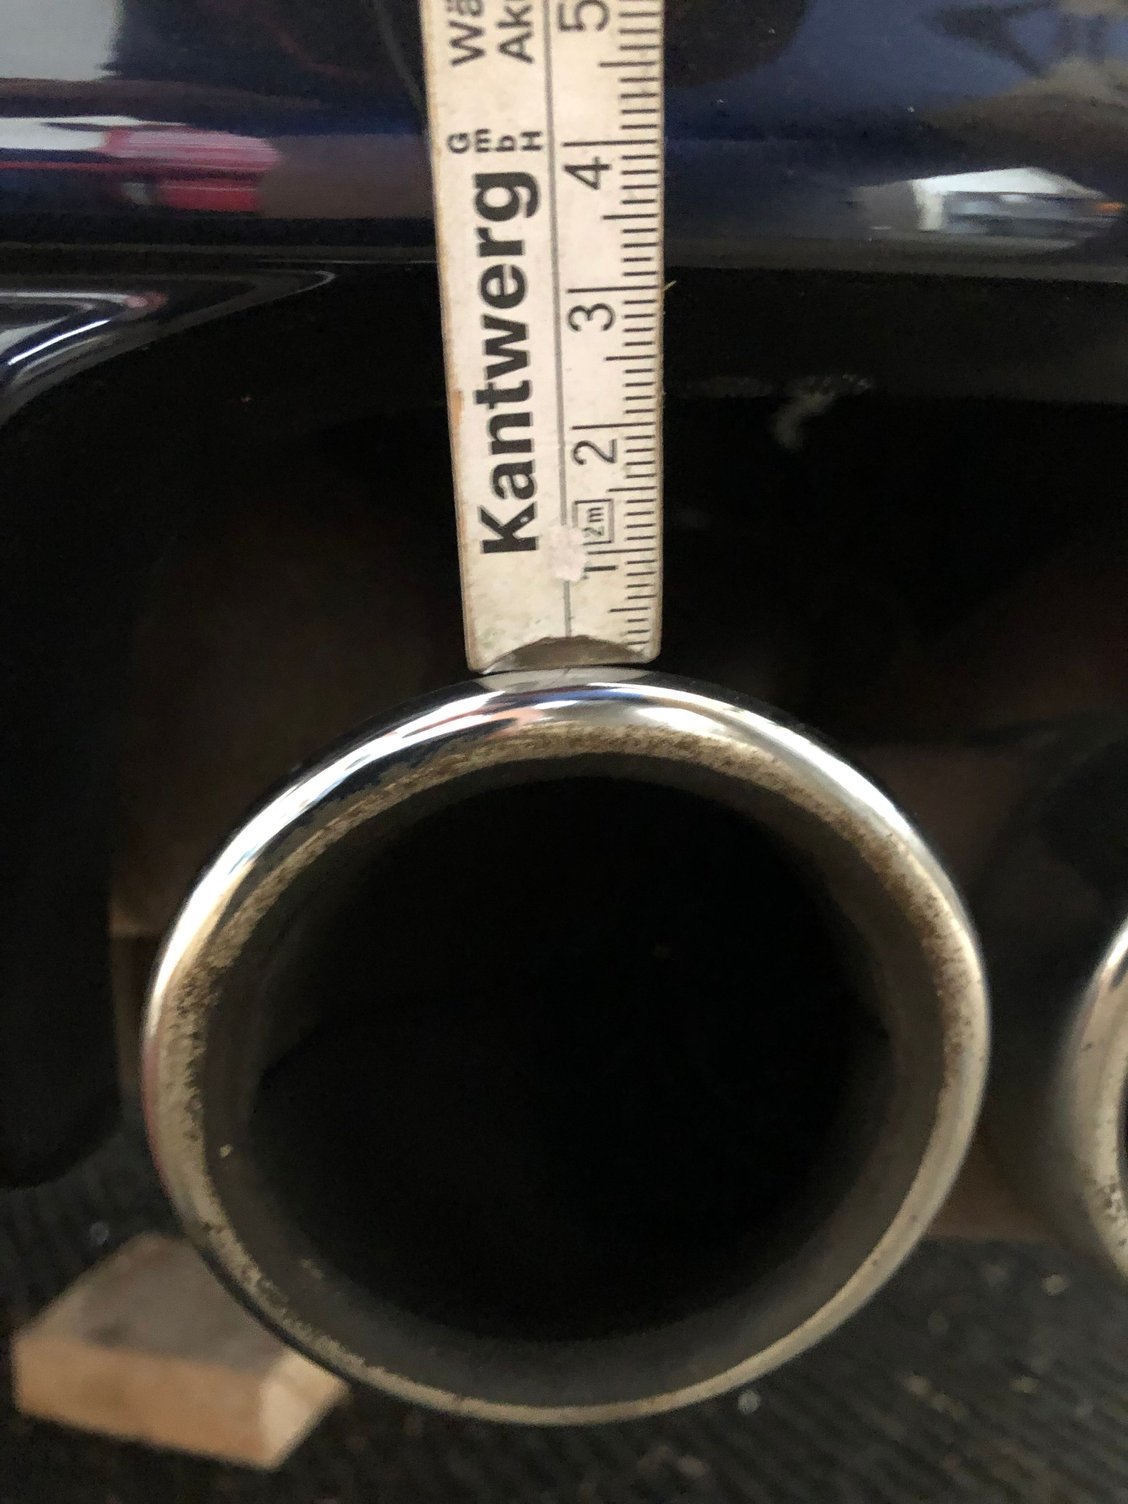
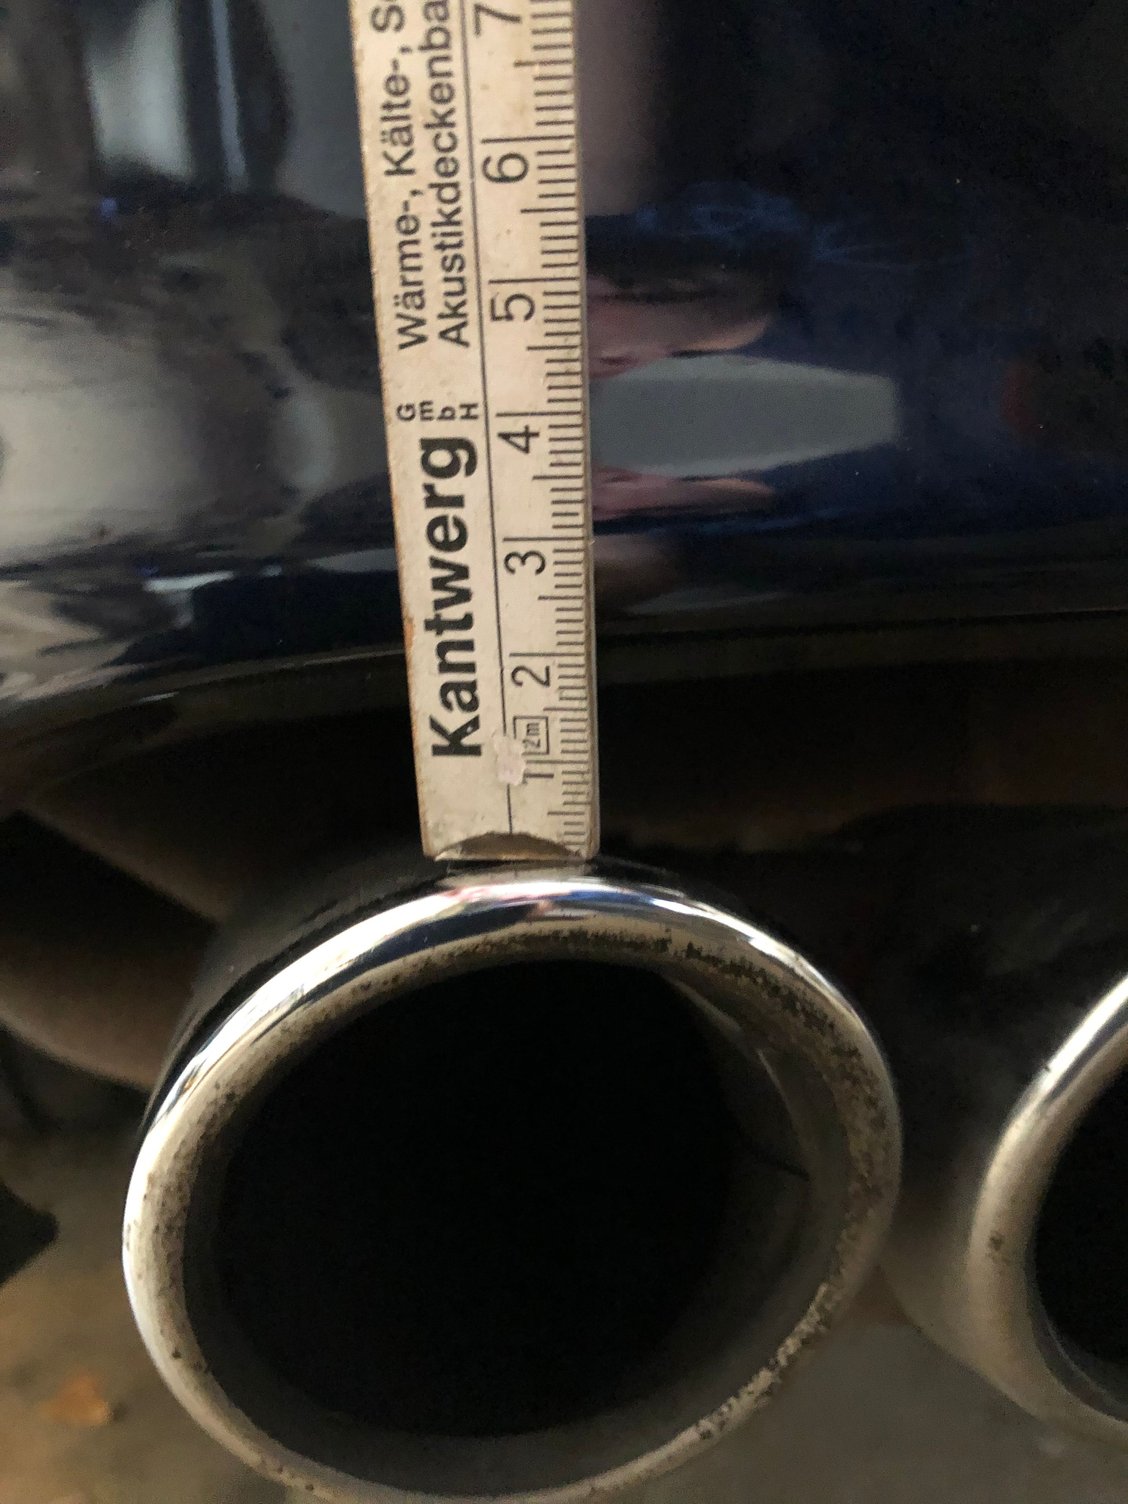
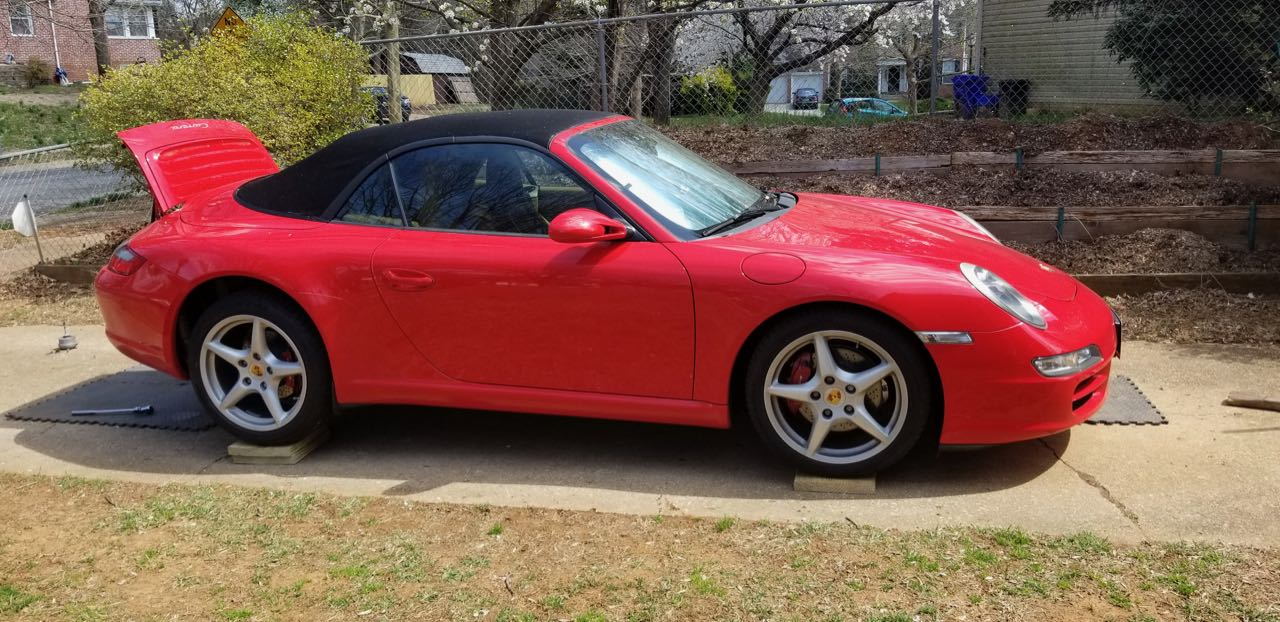
First of all, before I did anything, I measured the distance from the bottom of the bumper to the top of the tailpipes. I didn�t think they were sagging, but I really didn�t know. I had no frame of reference. As you can see below, they are between 3-4 cm below the bumper.
I didn�t bother to put the car up on jack stands, as I figured regardless of whether the car is on its wheels or on jack stands, neither matters, as I�m lifting the engine. I put my trolley jack directly on the engine harness aft of the oil pan. By doing that, I avoided the need to put a piece of wood on the jack. I lifted the engine about three inches, just enough to take the weight off.
After taking the air filter out, I loosened the top two bolts on the mount - 15mm socket if memory serves. Then it was time to go underneath and loosen the 18mm bolt holding the pin.
TIP: If you take one of those little led flashlights (like from costco), turn it on, and just sit it on top of the two tailpipes, it will perfectly illuminate the 18mm nut.
I did need a full size breaker bar to loosen the nut, but once it came loose, it spun off reasonably. Back to the top two bolts, they came out, and the entire mount just lifted off in my hand. Zero effort to remove. Because the Function first mounts are OEM++, the fit was perfect. Literally in and out in under 10 minutes.
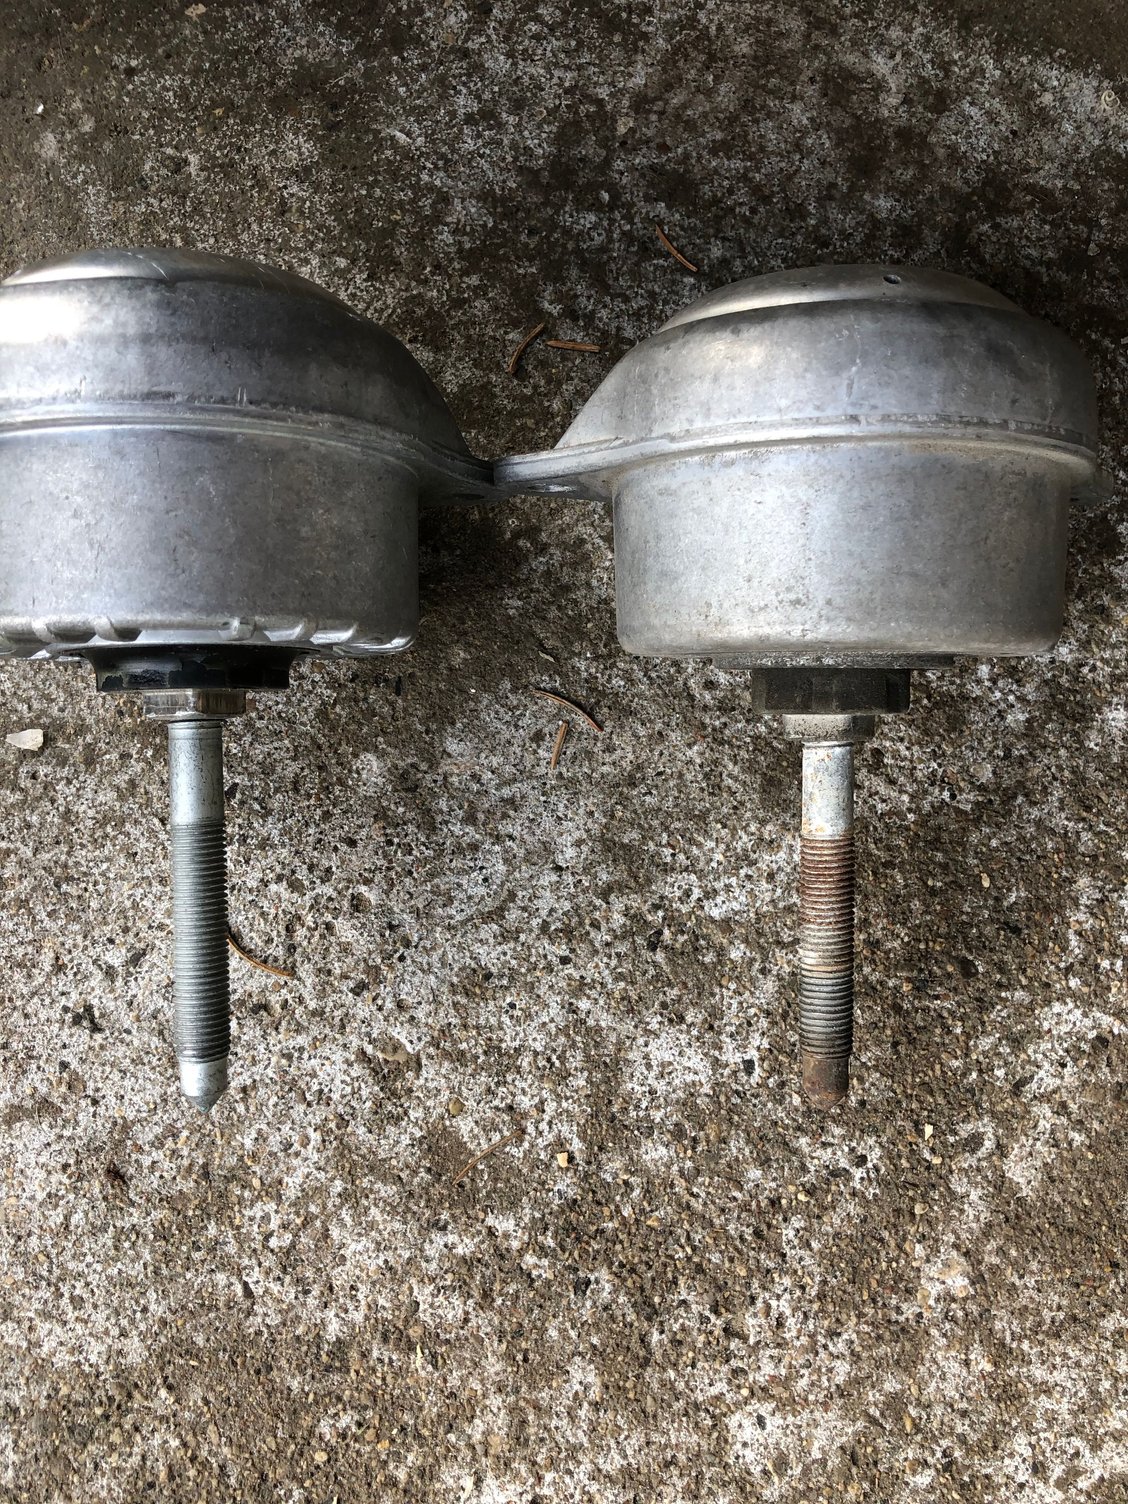
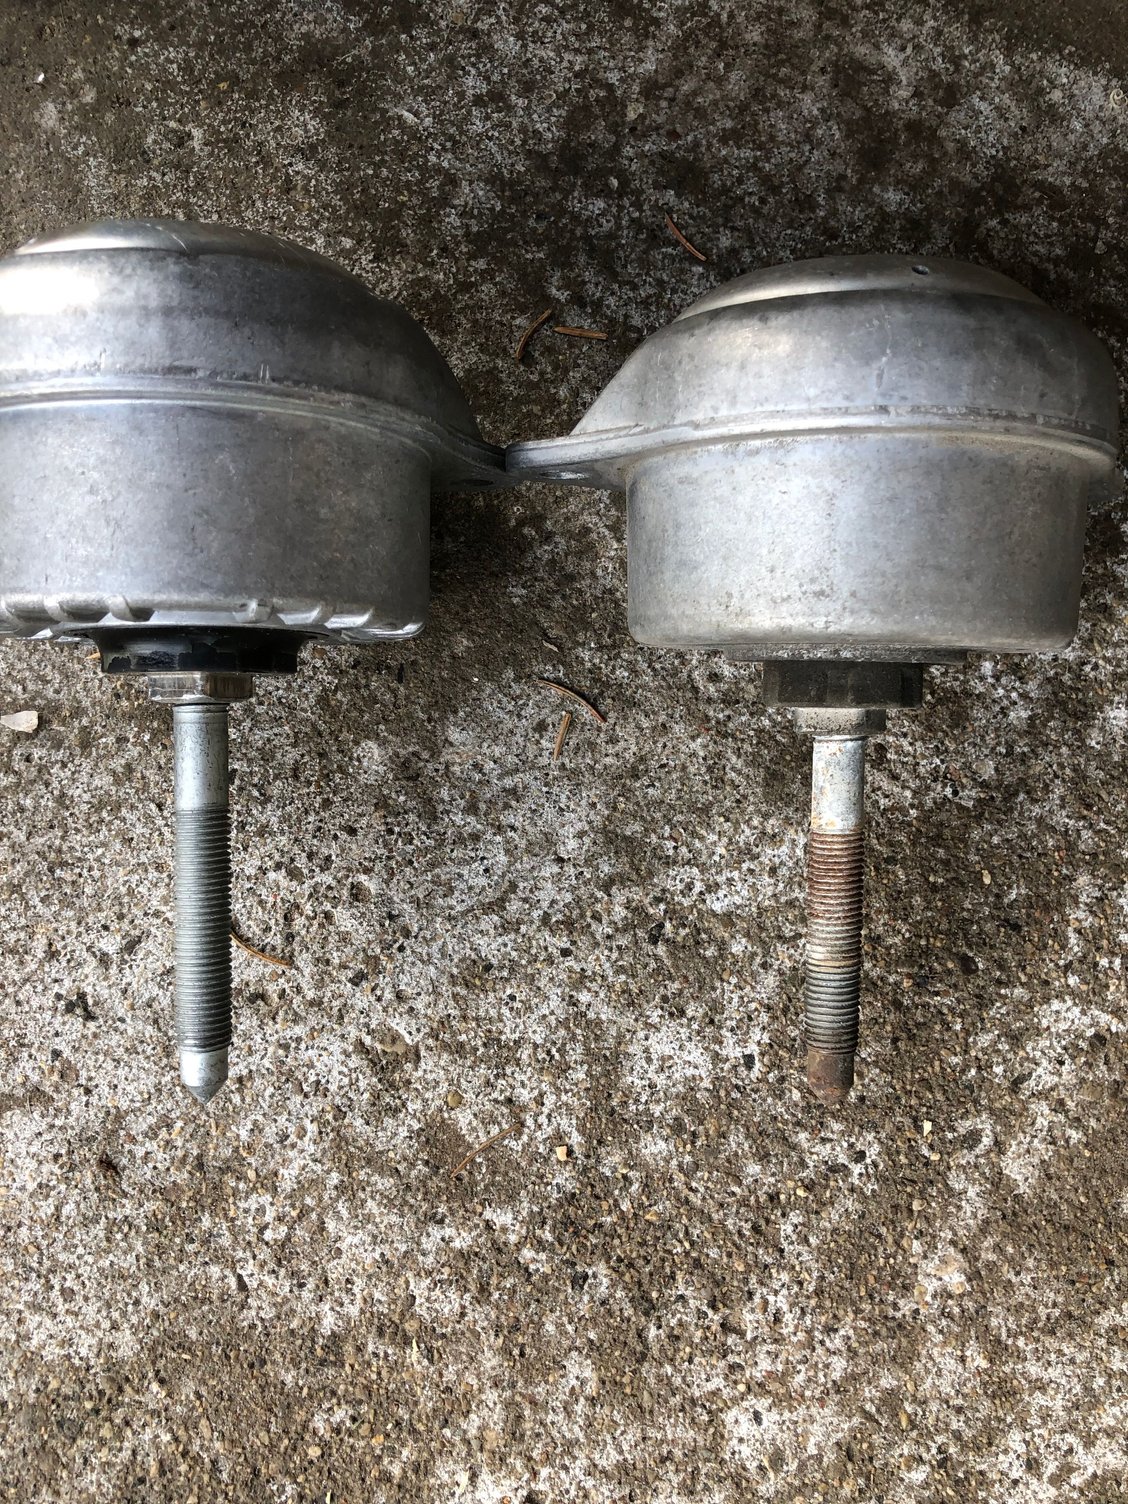
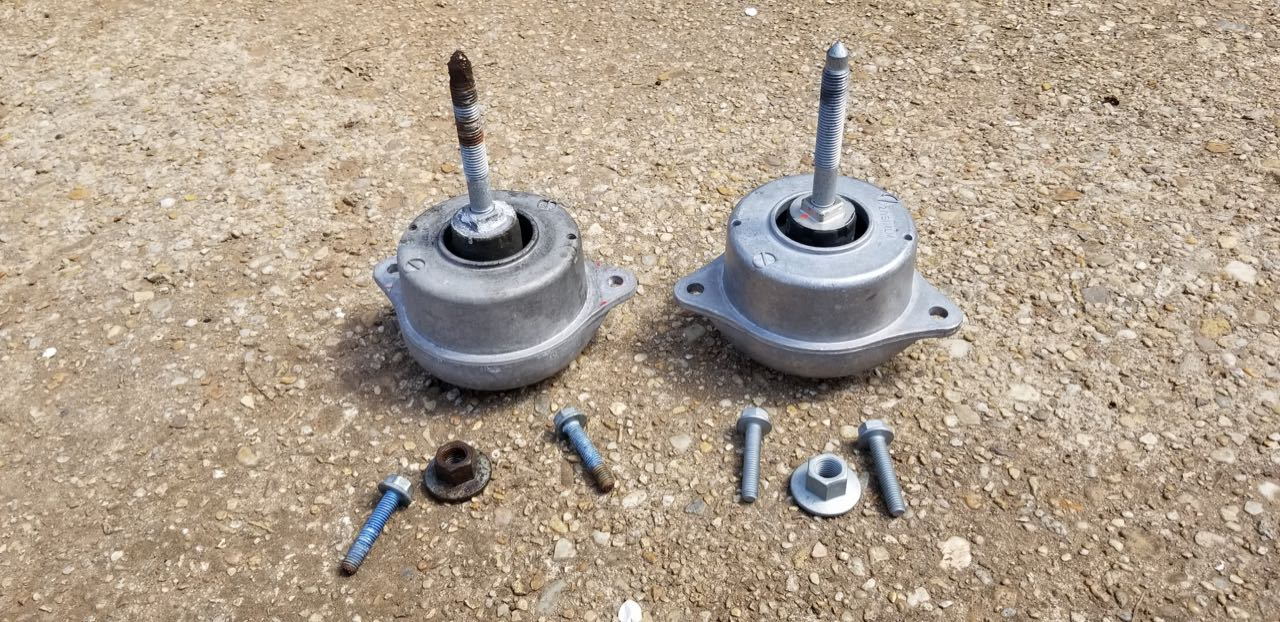
Here�s what I noticed about the old vs new. The pin on the old mounts was about 1cm longer than the new ones. I�m guessing that was due to the weight of the engine pulling on it for 11 years. I also noticed that on the old mounts, I could actually move the pin, while holding the mount body firm. It wasn�t a lot, but I could definitely wiggle it. Not so the new mounts. The urethane that they put in place in the voids keeps it very firm. Here are pics of the old vs new.
One thing I did find, is that the top bolt at the rear of the left hand mounts was tricky to get to. I had to use a universal joint to get at it properly, and when I was tightening, I couldn�t get my torque wrench on it - I only have a huge 24� dewalt 1/2� drive wrench, and it�s head was just too big to get in that space.
The right mount was just as quick and easy to replace. All in all, I was completely surprised at how quick and easy it was. I kept looking for leftover screws/nuts (like I usually have), but that was it. Didn�t even lose any sockets!
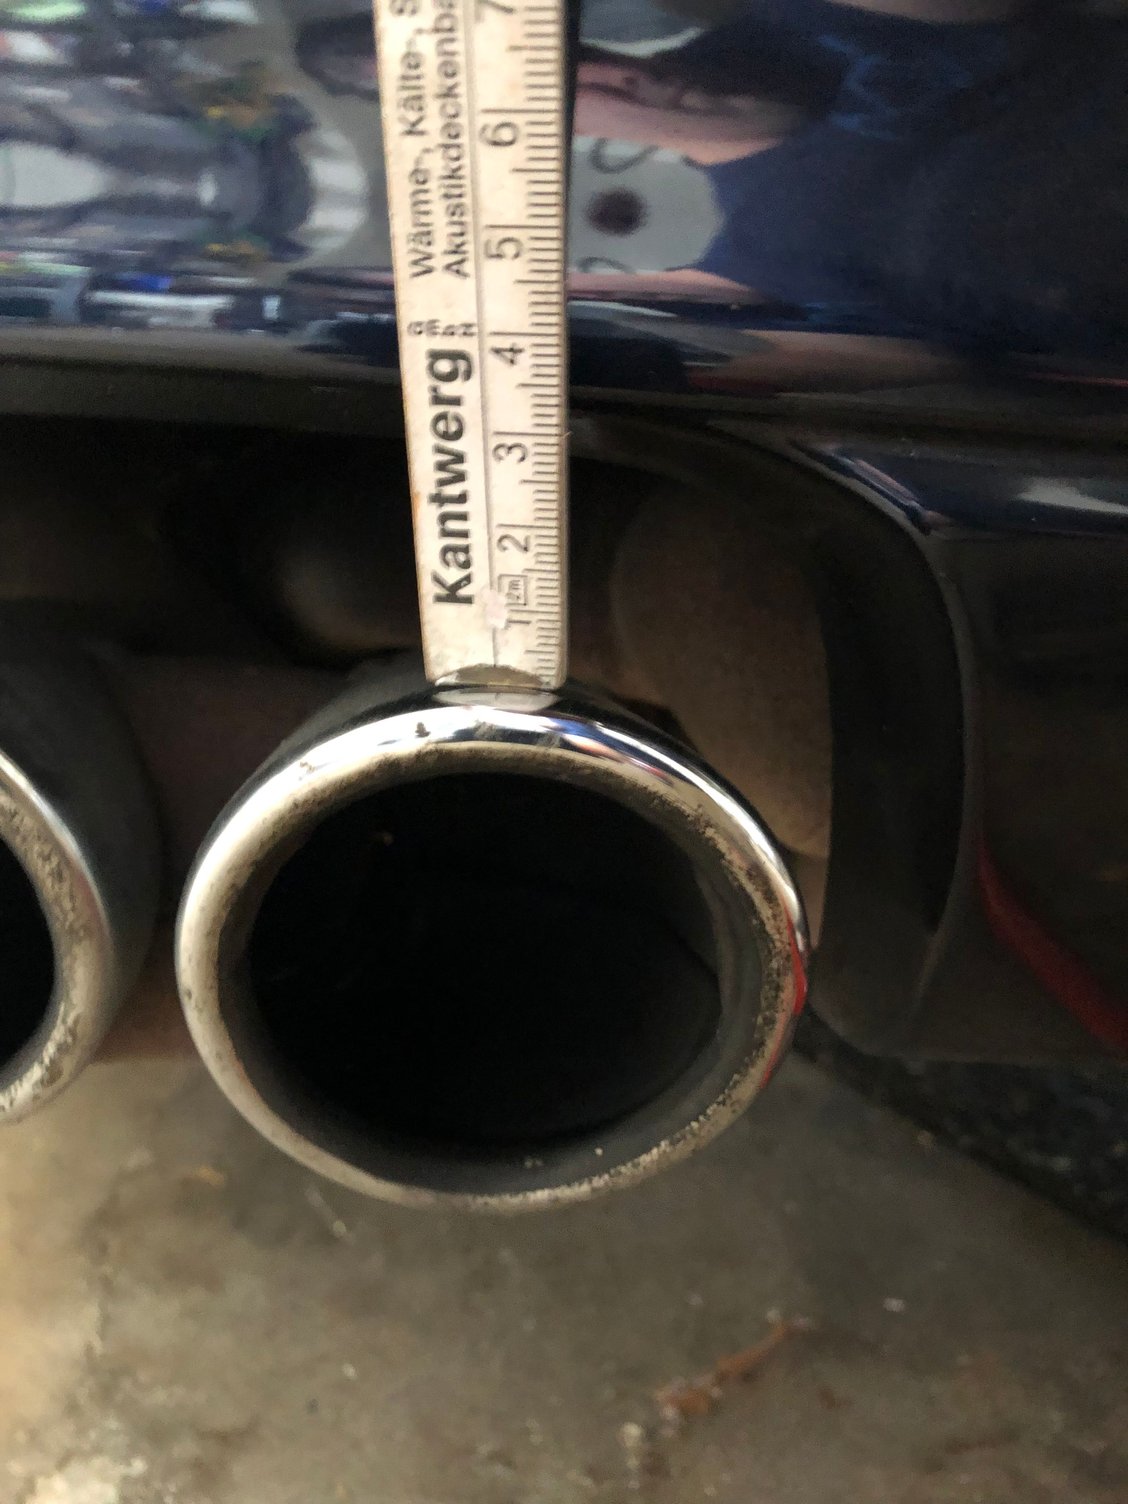
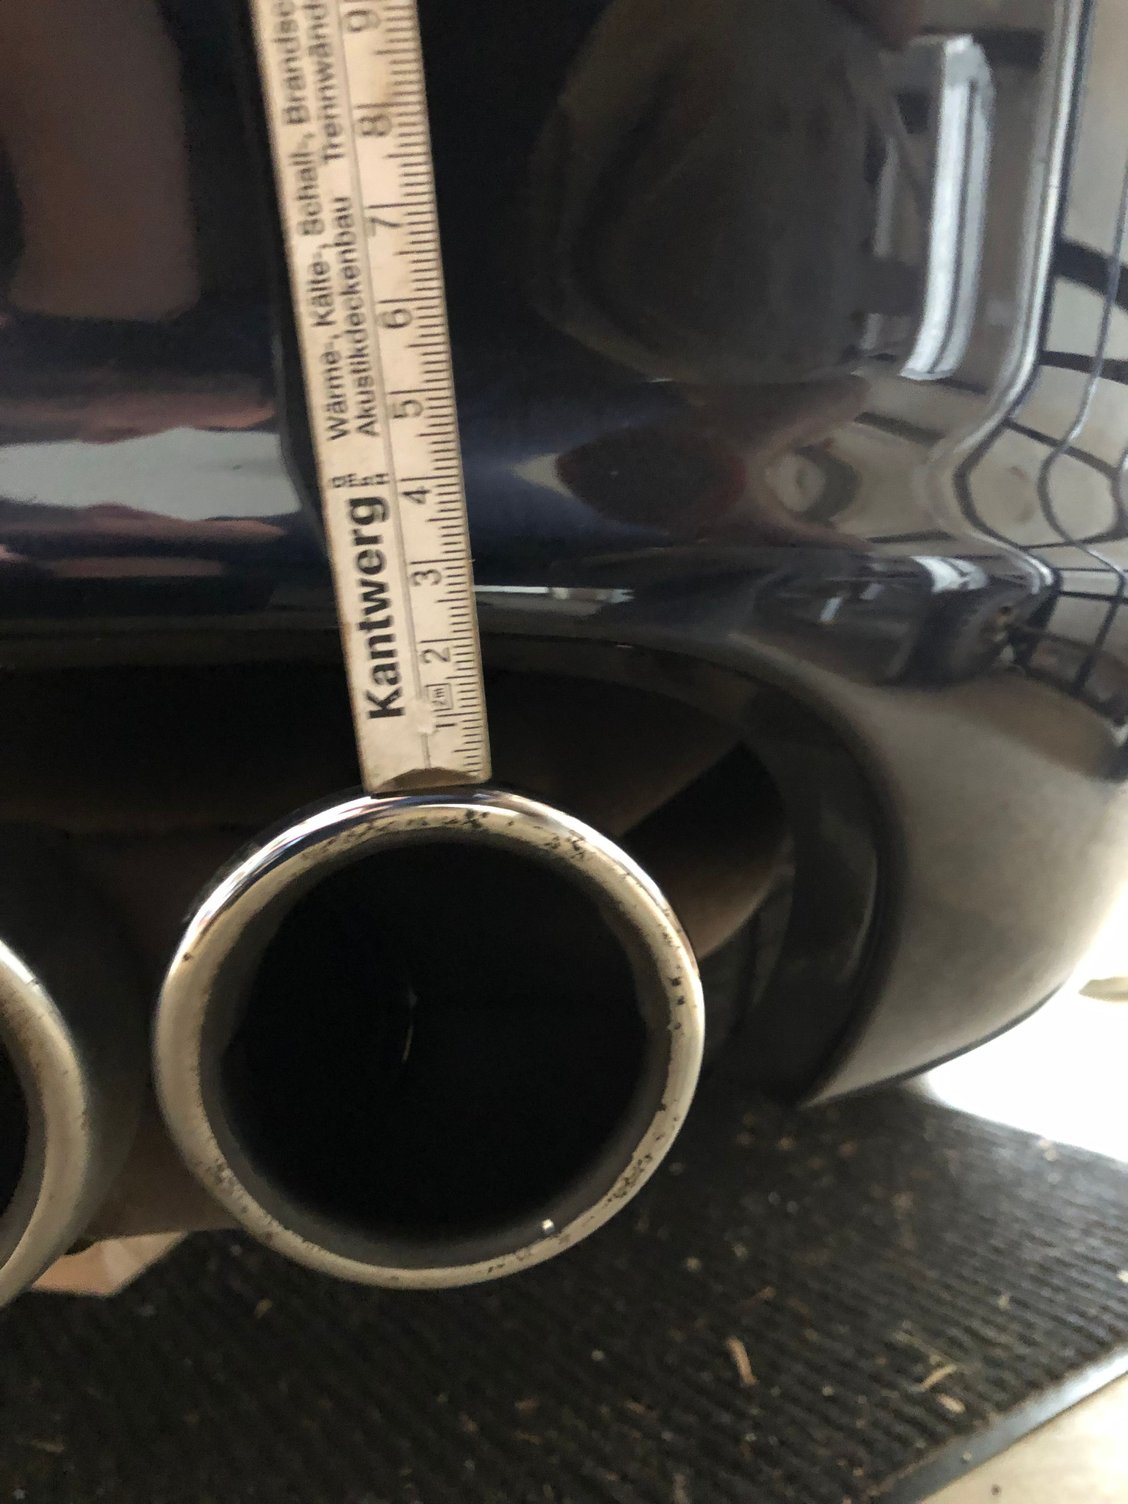
Here are the final results. You can see that the tailpipes sit about 1 - 1.5 cm higher. I can feel a slight difference in the shifter, but it�s not monumental. In fact, if I hadn�t read that other people noticed a difference in the shifter, I might not have noticed either. The shifter in this car is the most precise and accurate I have ever felt, so there�s not much room for improvement, in my opinion, but if I were to describe it, I would say that the movement between gears (through neutral) feels tighter.
Lastly, the most noticeable difference is in the growl at idle and the feel while driving. The growl at idle is significantly deeper and throatier, and sounds amazing. And the car feels a bit stiffer, a bit tighter, but not in the suspension. It just feels like the engine is more a part of the chassis then it did before.
All in all, a great DIY project. Thanks to all who came here before me, whose posts convinced me that it was manageable for a mechanically inept newbie like myself.
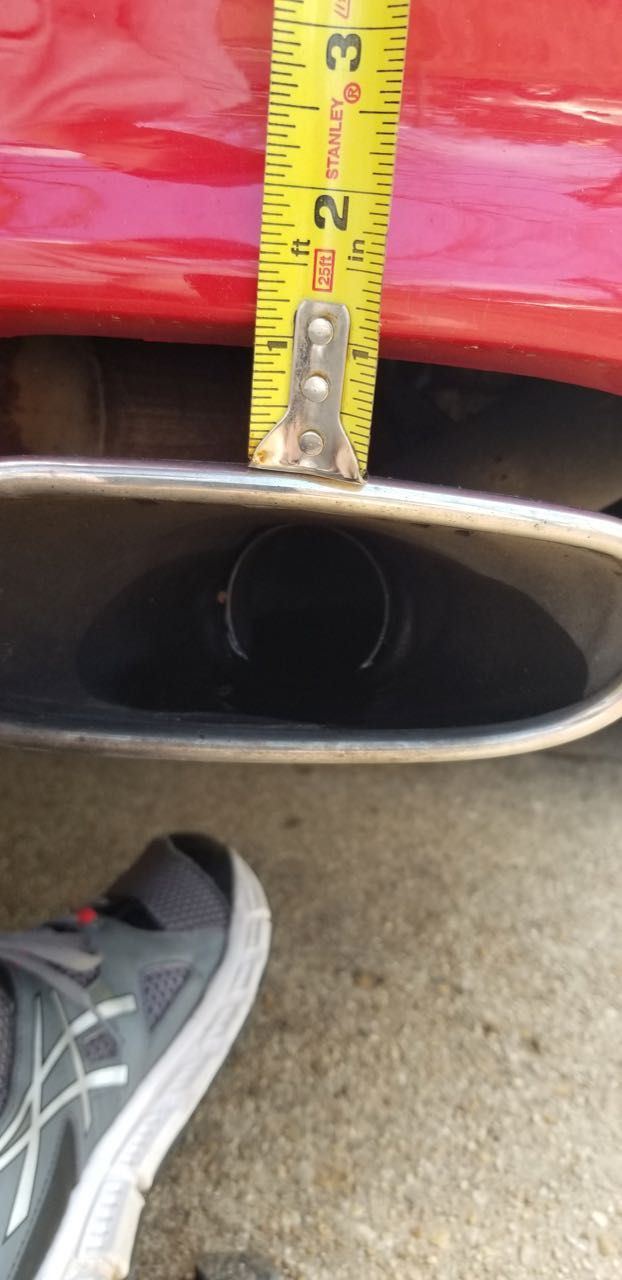
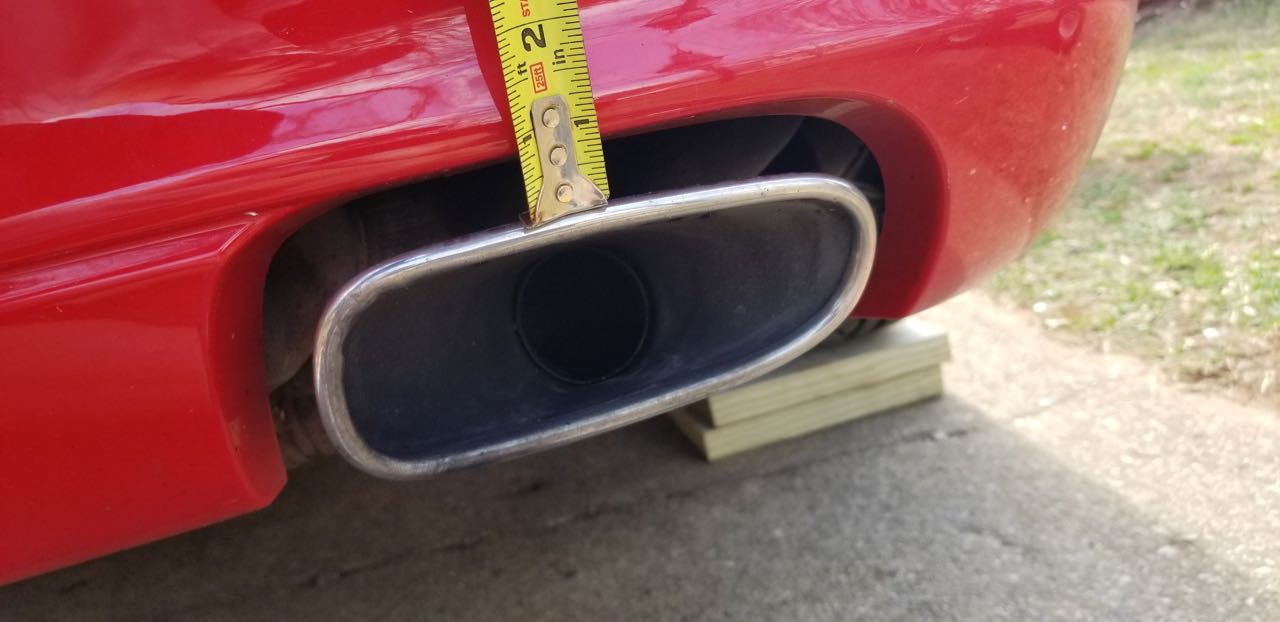
I changed my motor mounts out today. Here are the before and after measurements on my tail pipes. Looks like the tail pipes were raised about 1/4 inch after the new mounts from Porsche were installed with the old mounts with the new mounts old vs new mounts raised the car a few inches, made working under it much easier.
. I also replaced the bolts and nuts since they were a bit rusty. The top bolts came out fine, but the bottom nut was a pain. I let in soak over night with WD-40. Thanks to all the tips of this forum the job went off without a hitch. As you can see from my photos I raised my car of the ground a few inches which made working under it much easier.


 04-07-2019, 12:11 PM