When you click on links to various merchants on this site and make a purchase, this can result in this site earning a commission. Affiliate programs and affiliations include, but are not limited to, the eBay Partner Network.
For some of us this is a time of waiting. Waiting for spring so we can start driving again.
What projects do you have for the Porsche?
For me it’s several things:
-Clean and comb the radiators. Bought this “comb tool”. Pic below Also check and maybe re-spray the grille mesh I have. Might even take the bumper completely off.
-Test to install a foam lip at the front. Bought it cheap and will test it as roads here and speed bumps in my neighbourhood don’t allow for a solid one. Pic below
-Stone chip fixing via toothpick method. Ordered paint.
-Would like to do Eibach or Ohlin’s R&T but probably not this winter.
-thinking about ordering smart-top for the convertible top and windows functions.
Hah! I suspect Swedes (even Swedish expats in Poland!) have a lot in common with Canadians when it comes to winter, cars and hockey. My car has been parked since the end of October, and probably won’t drive it again until April.
A friend gave me some wheel dollies, and I just got the car up on those. Very pleased to see the 305 rears fit the dollies! I was afraid they’d be too narrow.
This is winter I am planning to rebuild my brake calipers, as I want to powder coat them. Still deciding on colour though. Acid green seems cool but is played out. Some sort of red-ish pink maybe? Need to look at colour patches.
Also want to ceramic coat the exhaust tips. I have PSE on my 997.1 so I’m really limited to options on aftermarket tips.
Looking a bit further ahead to my 40th birthday next summer, I’m hoping to get the PSE specific M&M headers and 200 cell u-bend cat pipes.
Get ready for some bloody knuckle when cleaning those rads, Wear some medium duty gloves is my reco.
I've got a few fun projects:
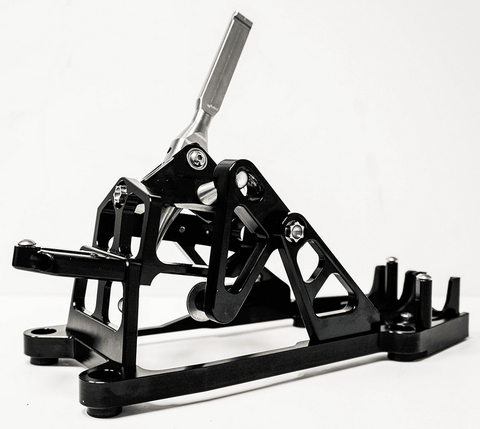
1) Numeric shifter
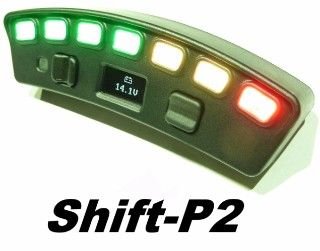
2) Run wiring for Shift light since the rear center console will be off from #1
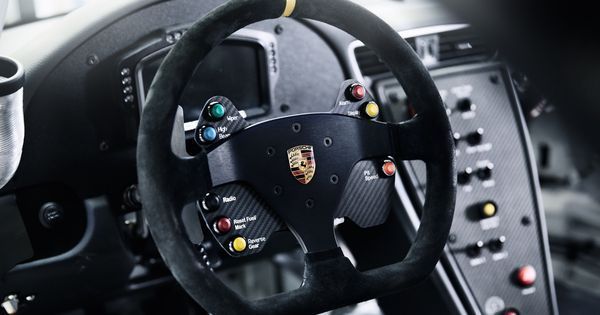
3) Build and wire new 991 Cup Car wheel
Hate to break it to you, but those radiator combs don't work worth a **** on folded fins (like the one it's shown sitting on). They're meant for fins on a household AC unit which are long and continuous. I used pair of tweezers and a box of toothpicks. Use the tweezers to pull each fin up when they're folded over each other, then the toothpick to reform the radius of each fold. In my case I worked from the outside in as most bent fins were in the same direction and needed to be straightened in order.
Hah! I suspect Swedes (even Swedish expats in Poland!) have a lot in common with Canadians when it comes to winter, cars and hockey. My car has been parked since the end of October, and probably won’t drive it again until April.
A friend gave me some wheel dollies, and I just got the car up on those. Very pleased to see the 305 rears fit the dollies! I was afraid they’d be too narrow.
This is winter I am planning to rebuild my brake calipers, as I want to powder coat them. Still deciding on colour though. Acid green seems cool but is played out. Some sort of red-ish pink maybe? Need to look at colour patches.
Also want to ceramic coat the exhaust tips. I have PSE on my 997.1 so I’m really limited to options on aftermarket tips.
Looking a bit further ahead to my 40th birthday next summer, I’m hoping to get the PSE specific M&M headers and 200 cell u-bend cat pipes.
Hate to break it to you, but those radiator combs don't work worth a **** on folded fins (like the one it's shown sitting on).
Darn. Looks like some more patience is needed. Then the bumper need to come off for sure. Christmas holiday project. Maybe a 3:rd radiator while I’m at it?
Fitted the foam front lip today. I can’t have a solid one due to speed bumps in my neighbourhood but this was an easy job.
1. Clean with alcohol.
2. Heat with a hair dryer and roll it on.
3. Fitted a few small screws with washers in the most critical places. Edges etc
I let it rest stretched for a few days before to avoid misalignment. 30 minutes job. Good result I must say.
Fitted the foam front lip today. I can ��t have a solid one due to speed bumps in my neighbourhood but this was an easy job.
1. Clean with alcohol.
2. Heat with a hair dryer and roll it on.
3. Fitted a few small screws with washers in the most critical places. Edges etc
I let it rest stretched for a few days before to avoid misalignment. 30 minutes job. Good result I must say.
That foam lip looks fantastic! Mind sharing where you got it from, and how much? My C4S is lowered so this fits the bill perfectly.
Sweet! I assumed you installed it bumper-out for the screws to attach?
You see in the video. There is only one way to mount it. The red tape and the 3M adhesive is “up” towards the bumper.
The only difference you can make is in terms of fitting is how you install it the last 10 inches at the end. I didn’t want mine to stick out to the sides so I put it a bit lower so it meets the mudguard in a good way. Then the edge is a bit “protected”
You see in the video. There is only one way to mount it. The red tape and the 3M adhesive is ��up �� towards the bumper.
The only difference you can make is in terms of fitting is how you install it the last 10 inches at the end. I didn ��t want mine to stick out to the sides so I put it a bit lower so it meets the mudguard in a good way. Then the edge is a bit ��protected ��
Yeah that's a nice transition on the edges. Glad I caught your post - for some reason 997.1 non-GT3/aero lips are even more expensive than gt3/aero lips.
Did you take the bumper off to mount the screws? Given possible "scraping" I think I'll need screws to hold things in place as well. Reason for asking is for my own time management, if I need to remove the bumper overall.


 12-01-2017 | 08:13 AM