When you click on links to various merchants on this site and make a purchase, this can result in this site earning a commission. Affiliate programs and affiliations include, but are not limited to, the eBay Partner Network.
How to fix your leaky 996TT spoiler with the eBay kit
Hey everyone,
Figured I'd get a quick write up going here since I struggled to find the installation documented anywhere. I know it's a pretty straightforward job, but it gets a little harder at 1am when you're not fully awake
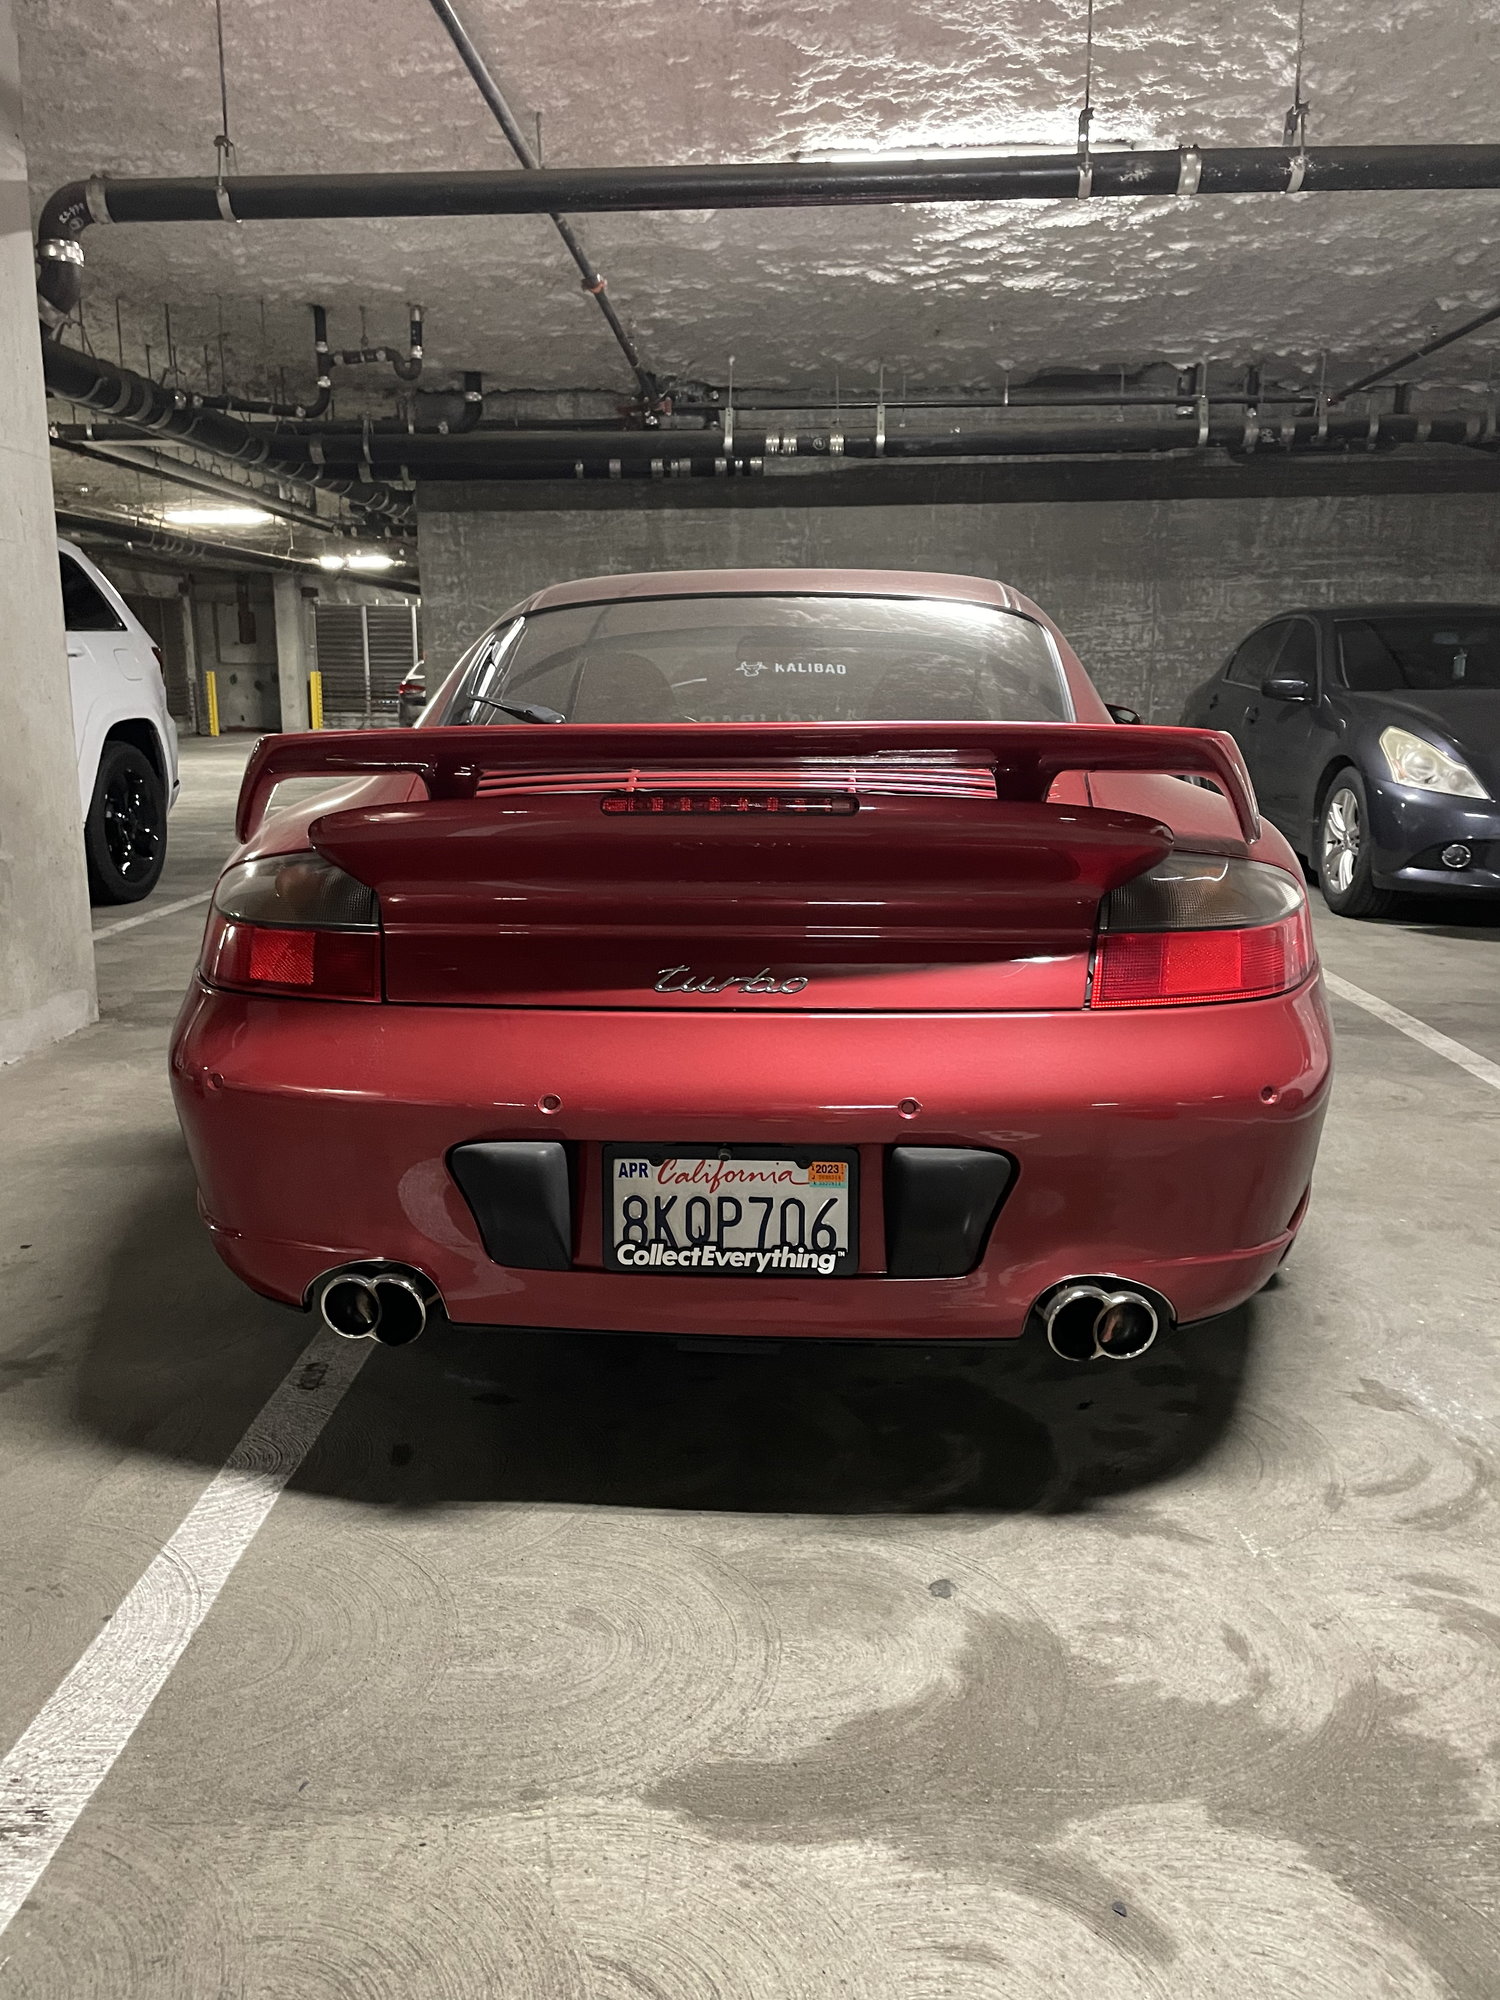
I went out to a C&C one weekend and noticed that something leaked all over my rear bumper. Thought I missed something while washing the car, so I just wiped it down. I came back to the car after walking around for a bit, and noticed even more had dripped down the bumper! Popped the deck lid and sure enough, I was leaking fluid from the spoiler.
When I drove the car around the next day, I got the dreaded "Failure spoiler control" message. Went straight to Rennlist and saw people talking about the eBay fix, so I ordered it the second it was available again. I bought the extra tall kit because an extra 1.5" never hurts
Anyways - I took some pics to document the process. Tools are pretty standard: 10mm socket or wrench, snap ring tool, 12mm wrench (1 included in the kit), 13mm wrench, 3/4" wrench (used a 19mm because it comes out to 3/4").
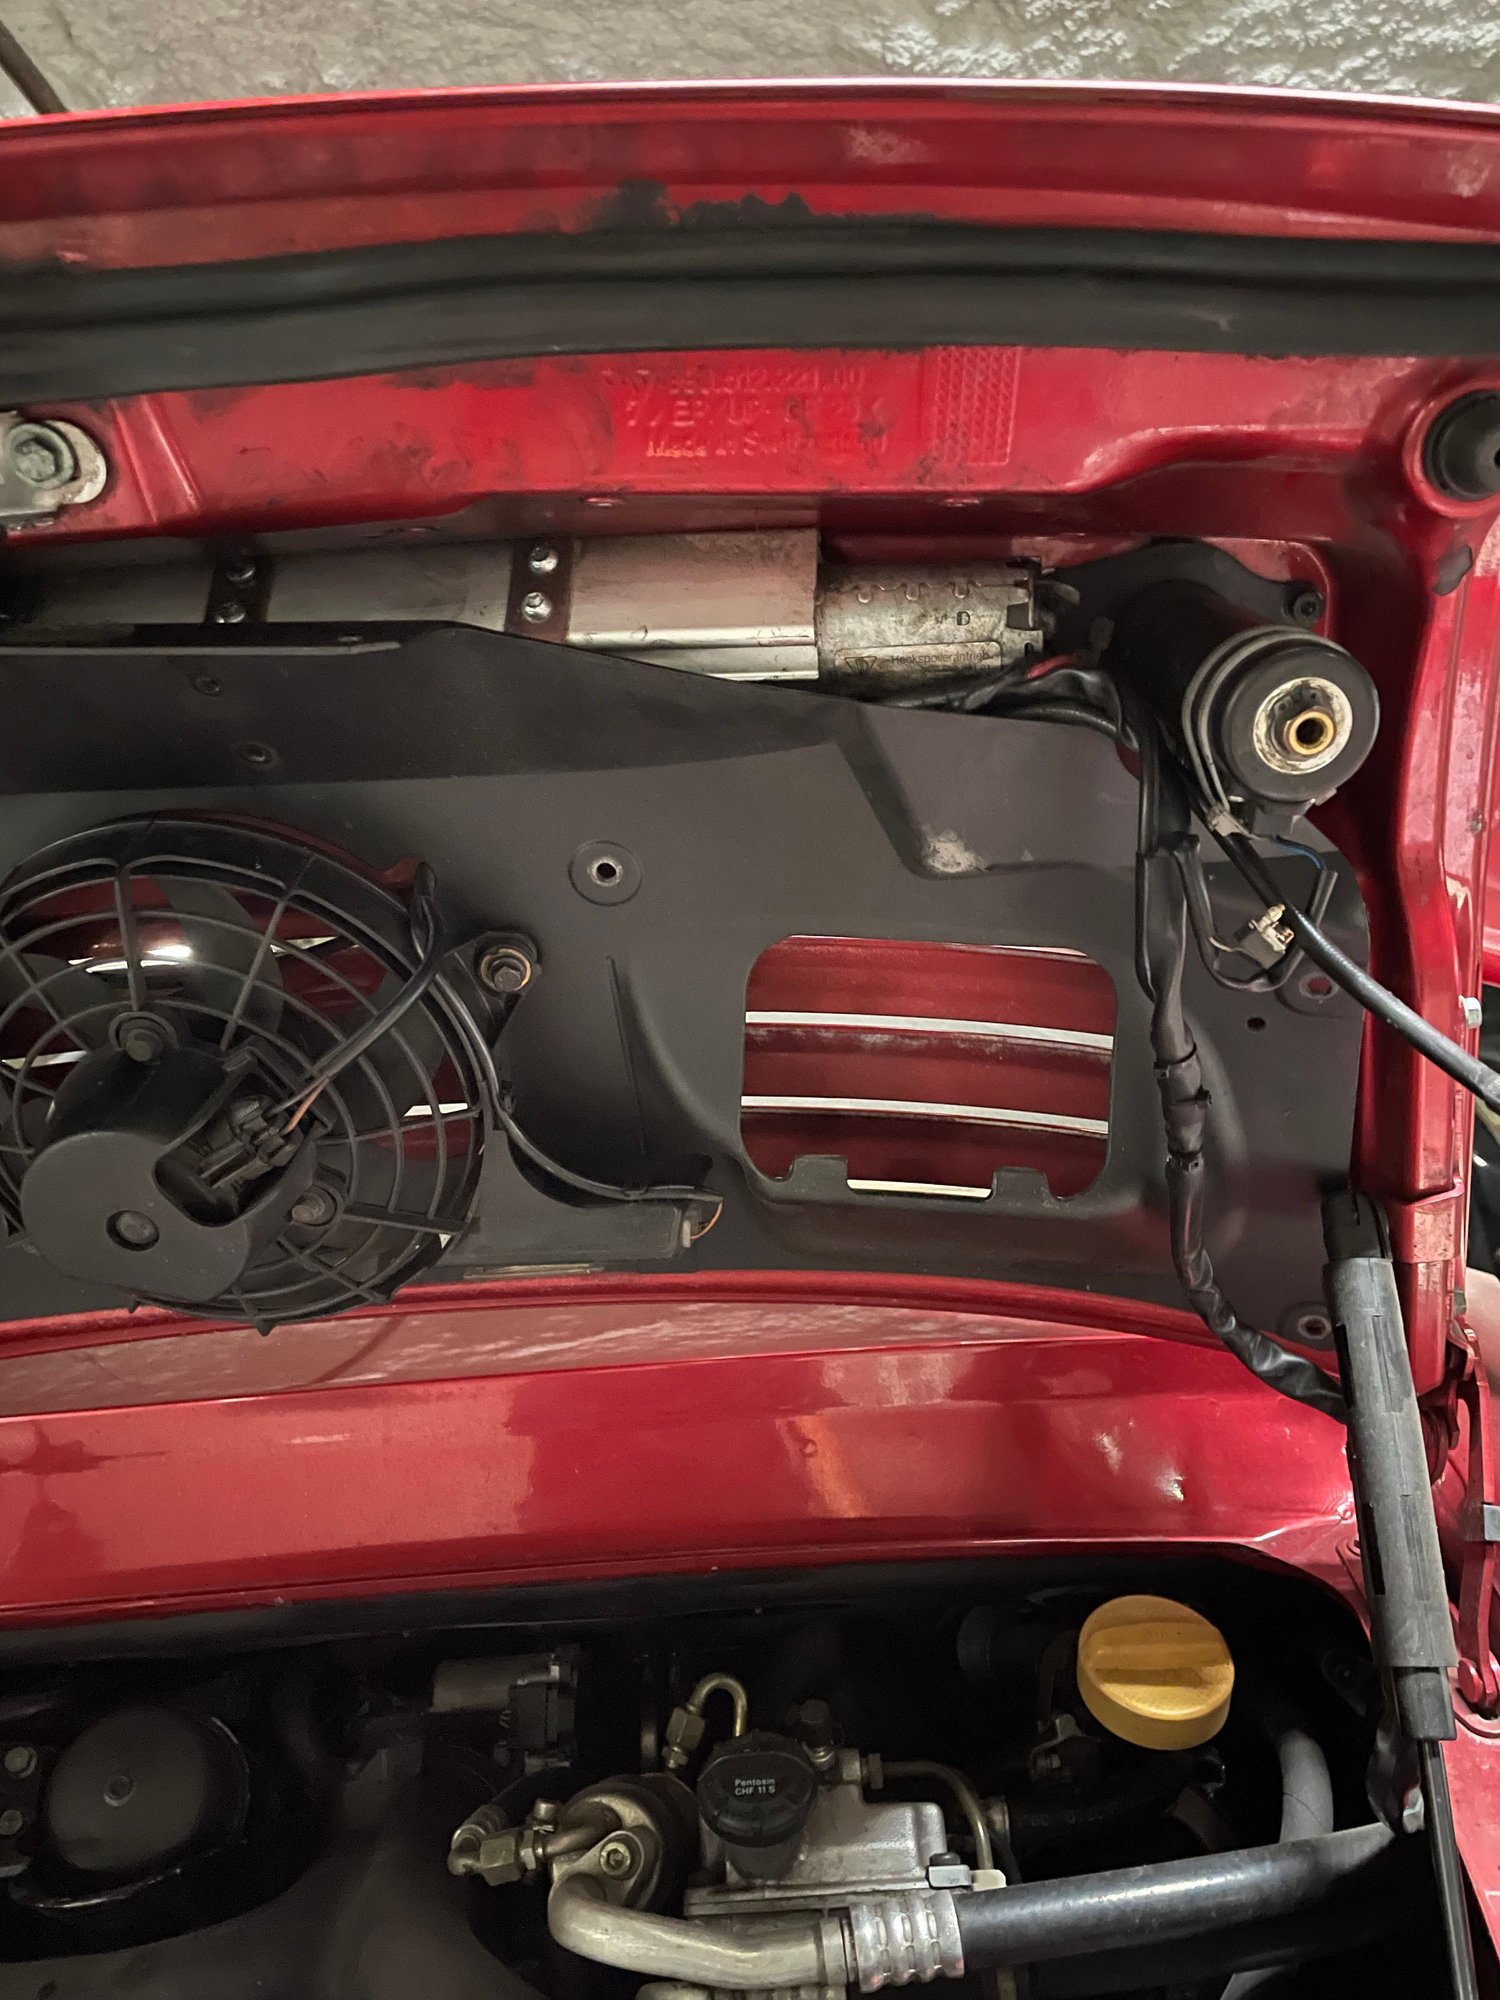
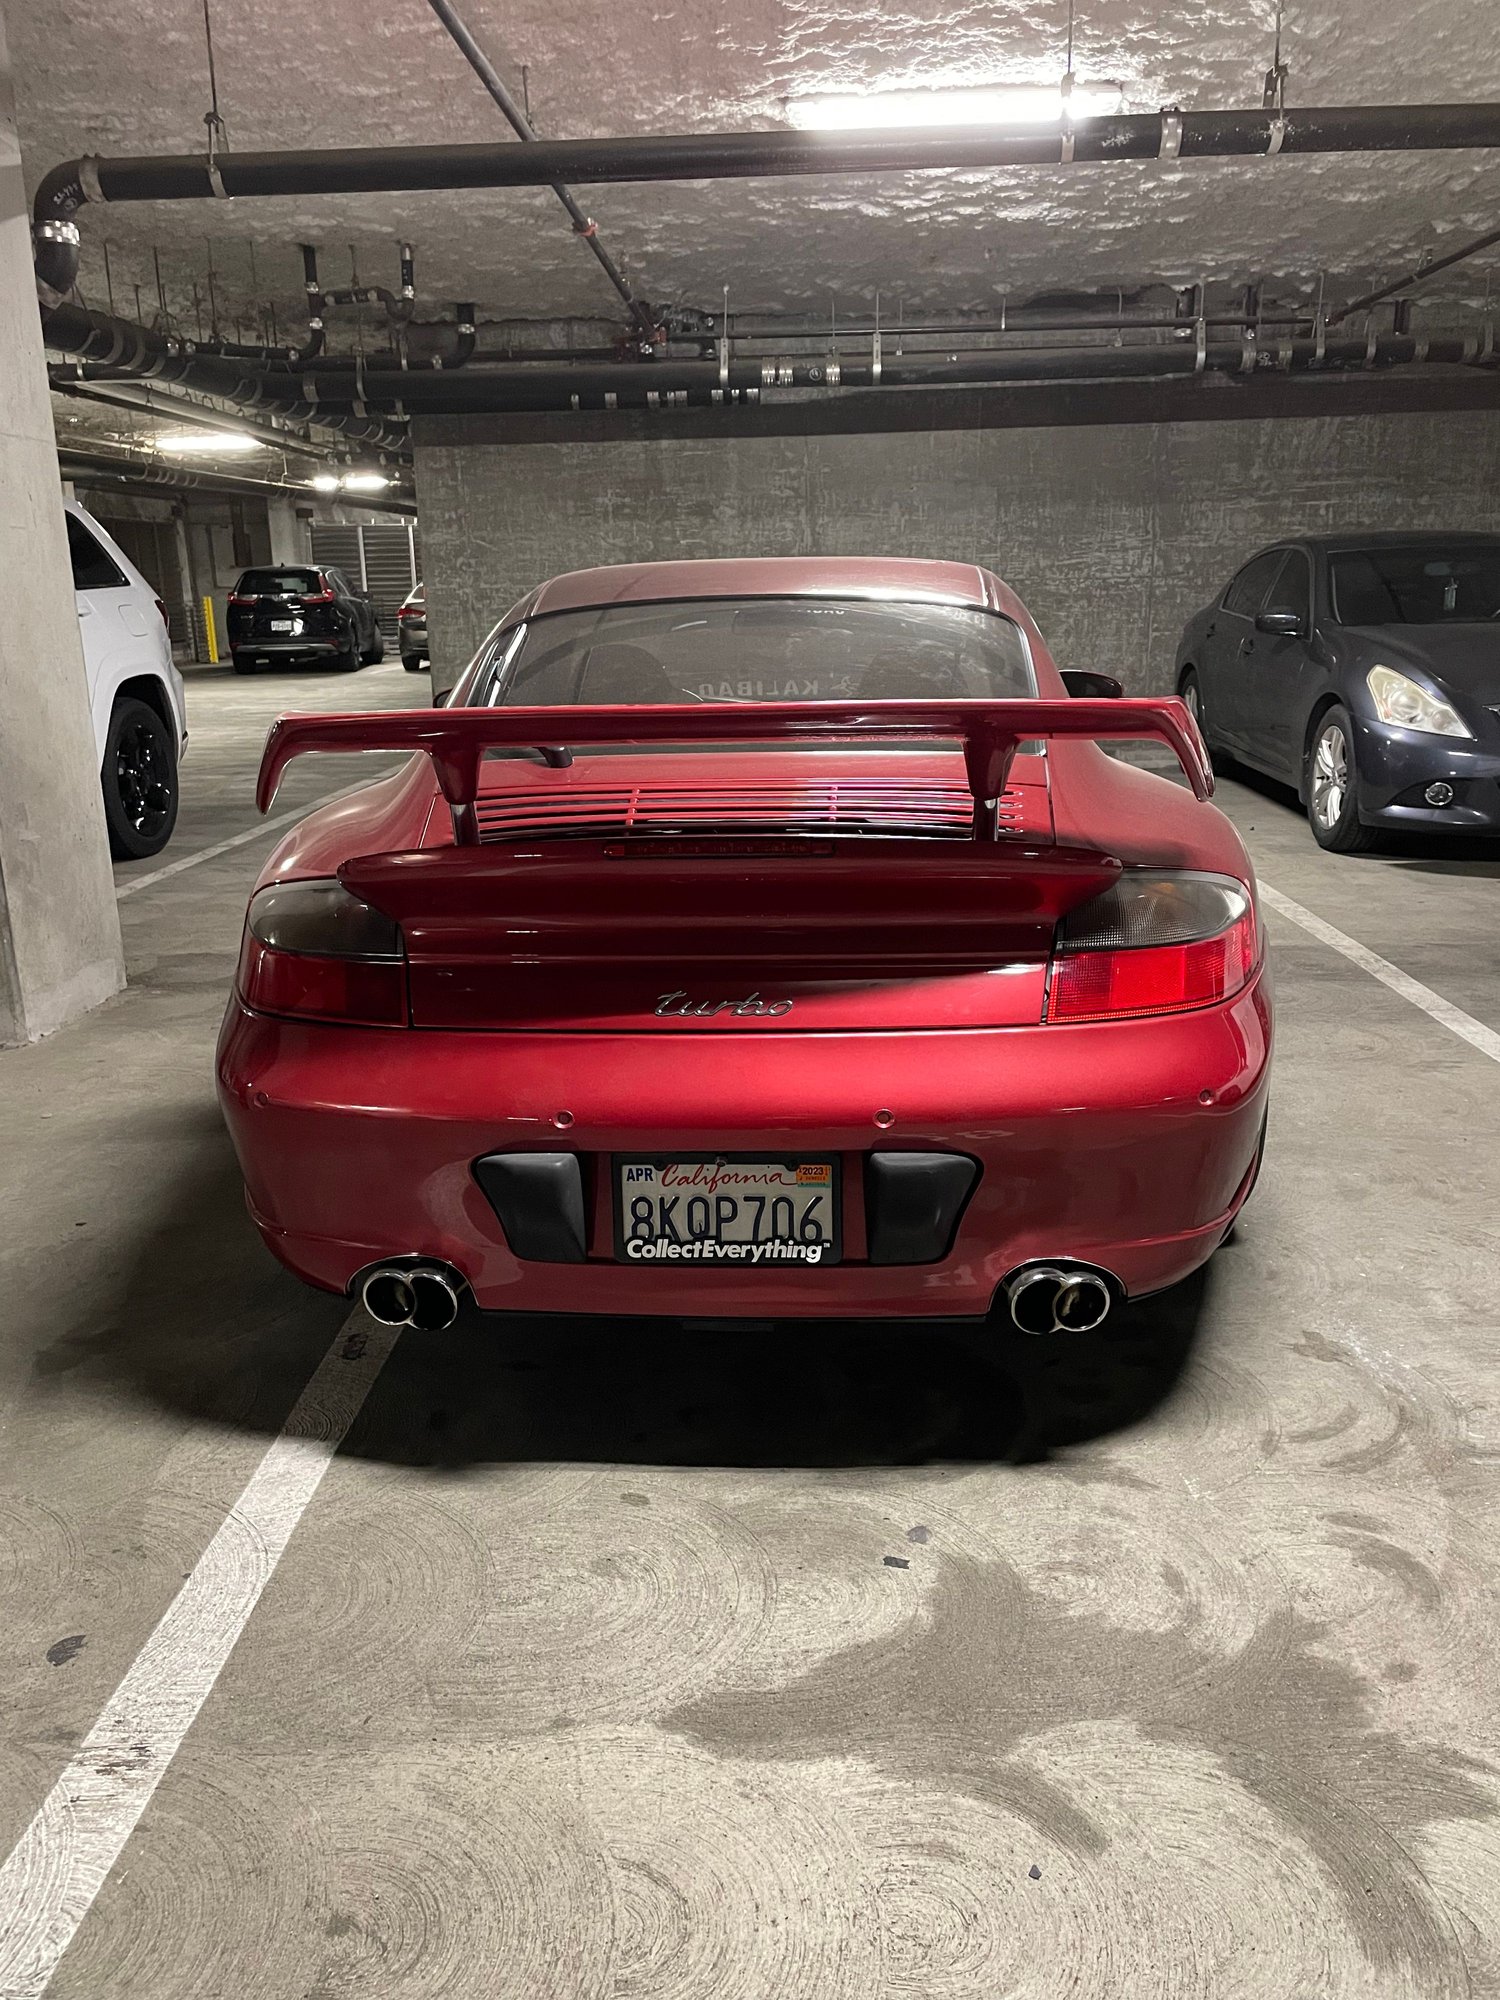
Step 1: look at your leaky, broken setup
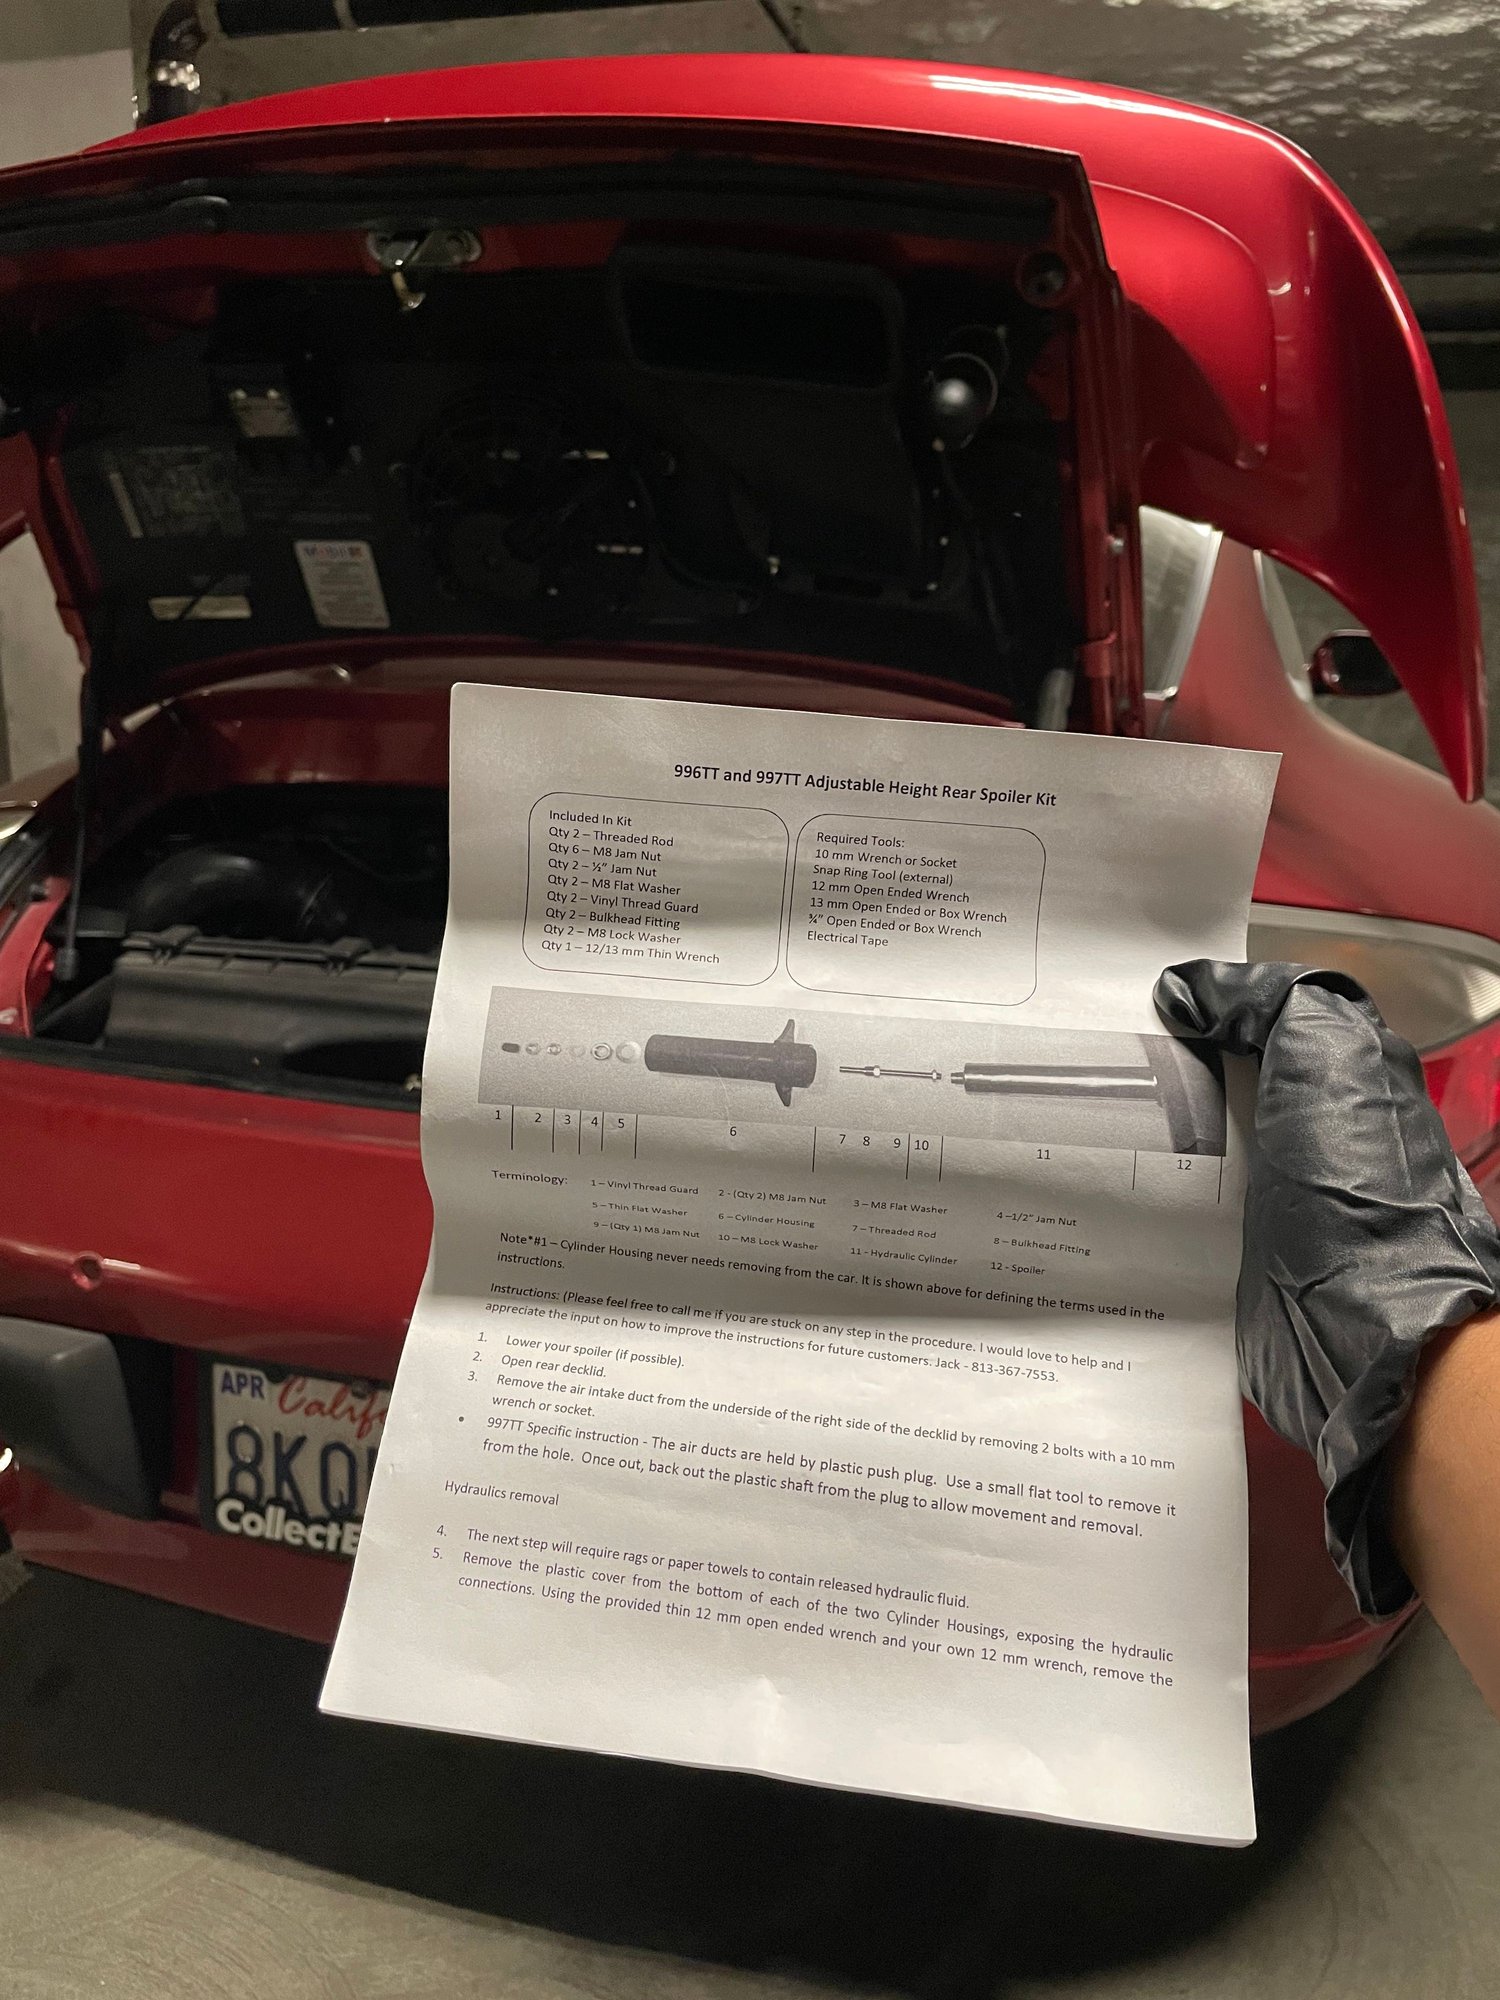
Step 2: Read the instructions Jack included in the kit to familiarize yourself with the steps and gather tools
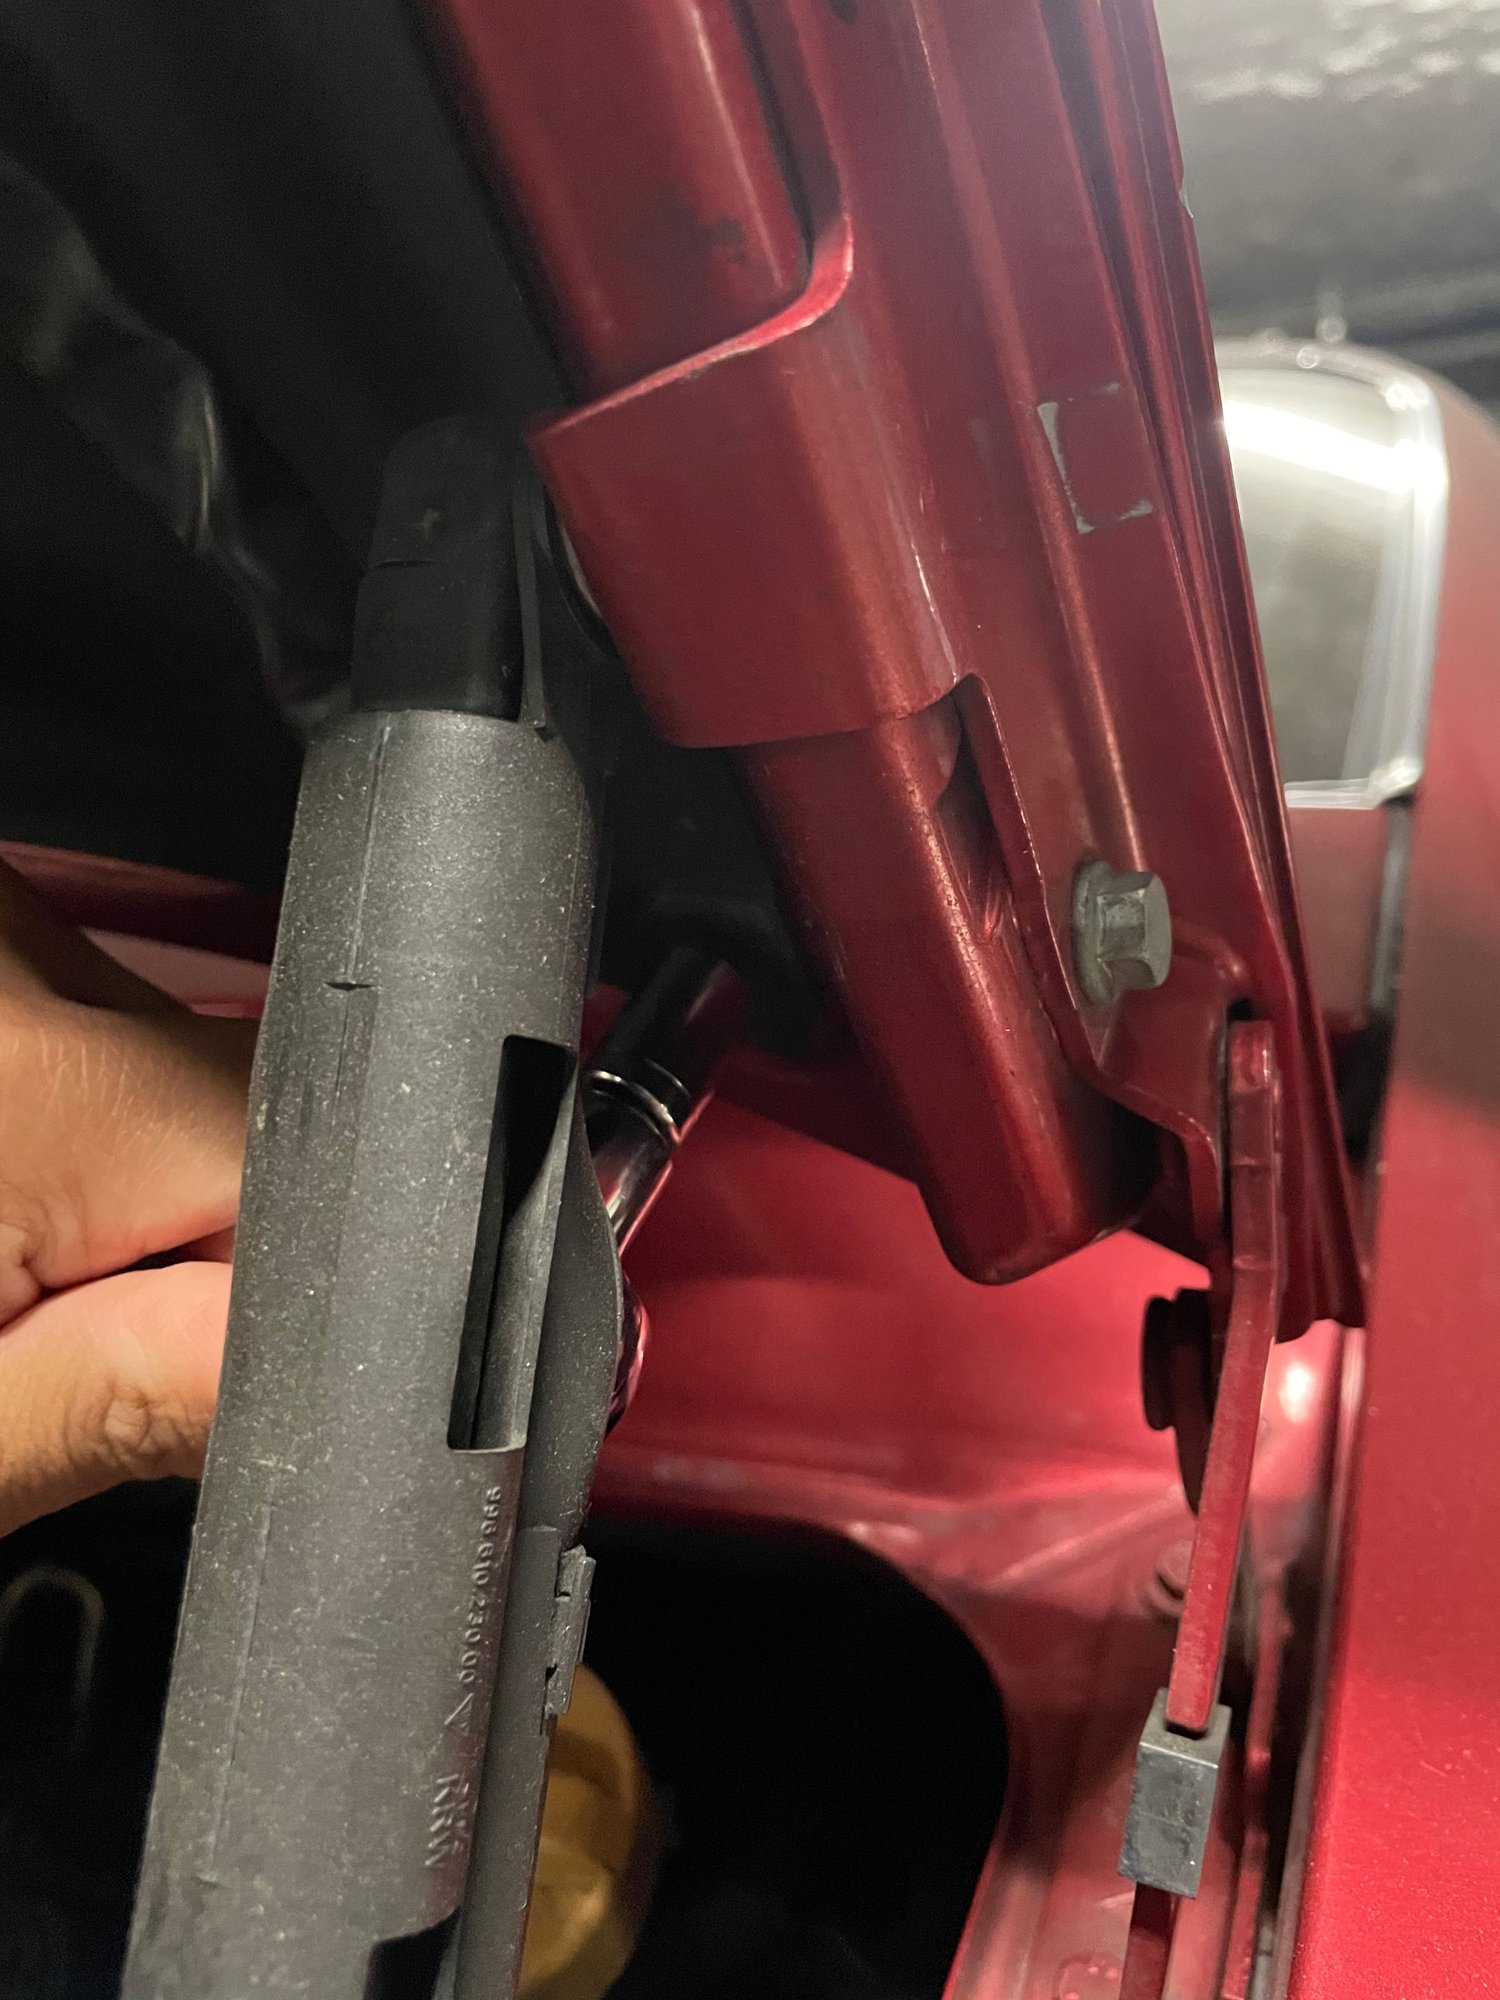
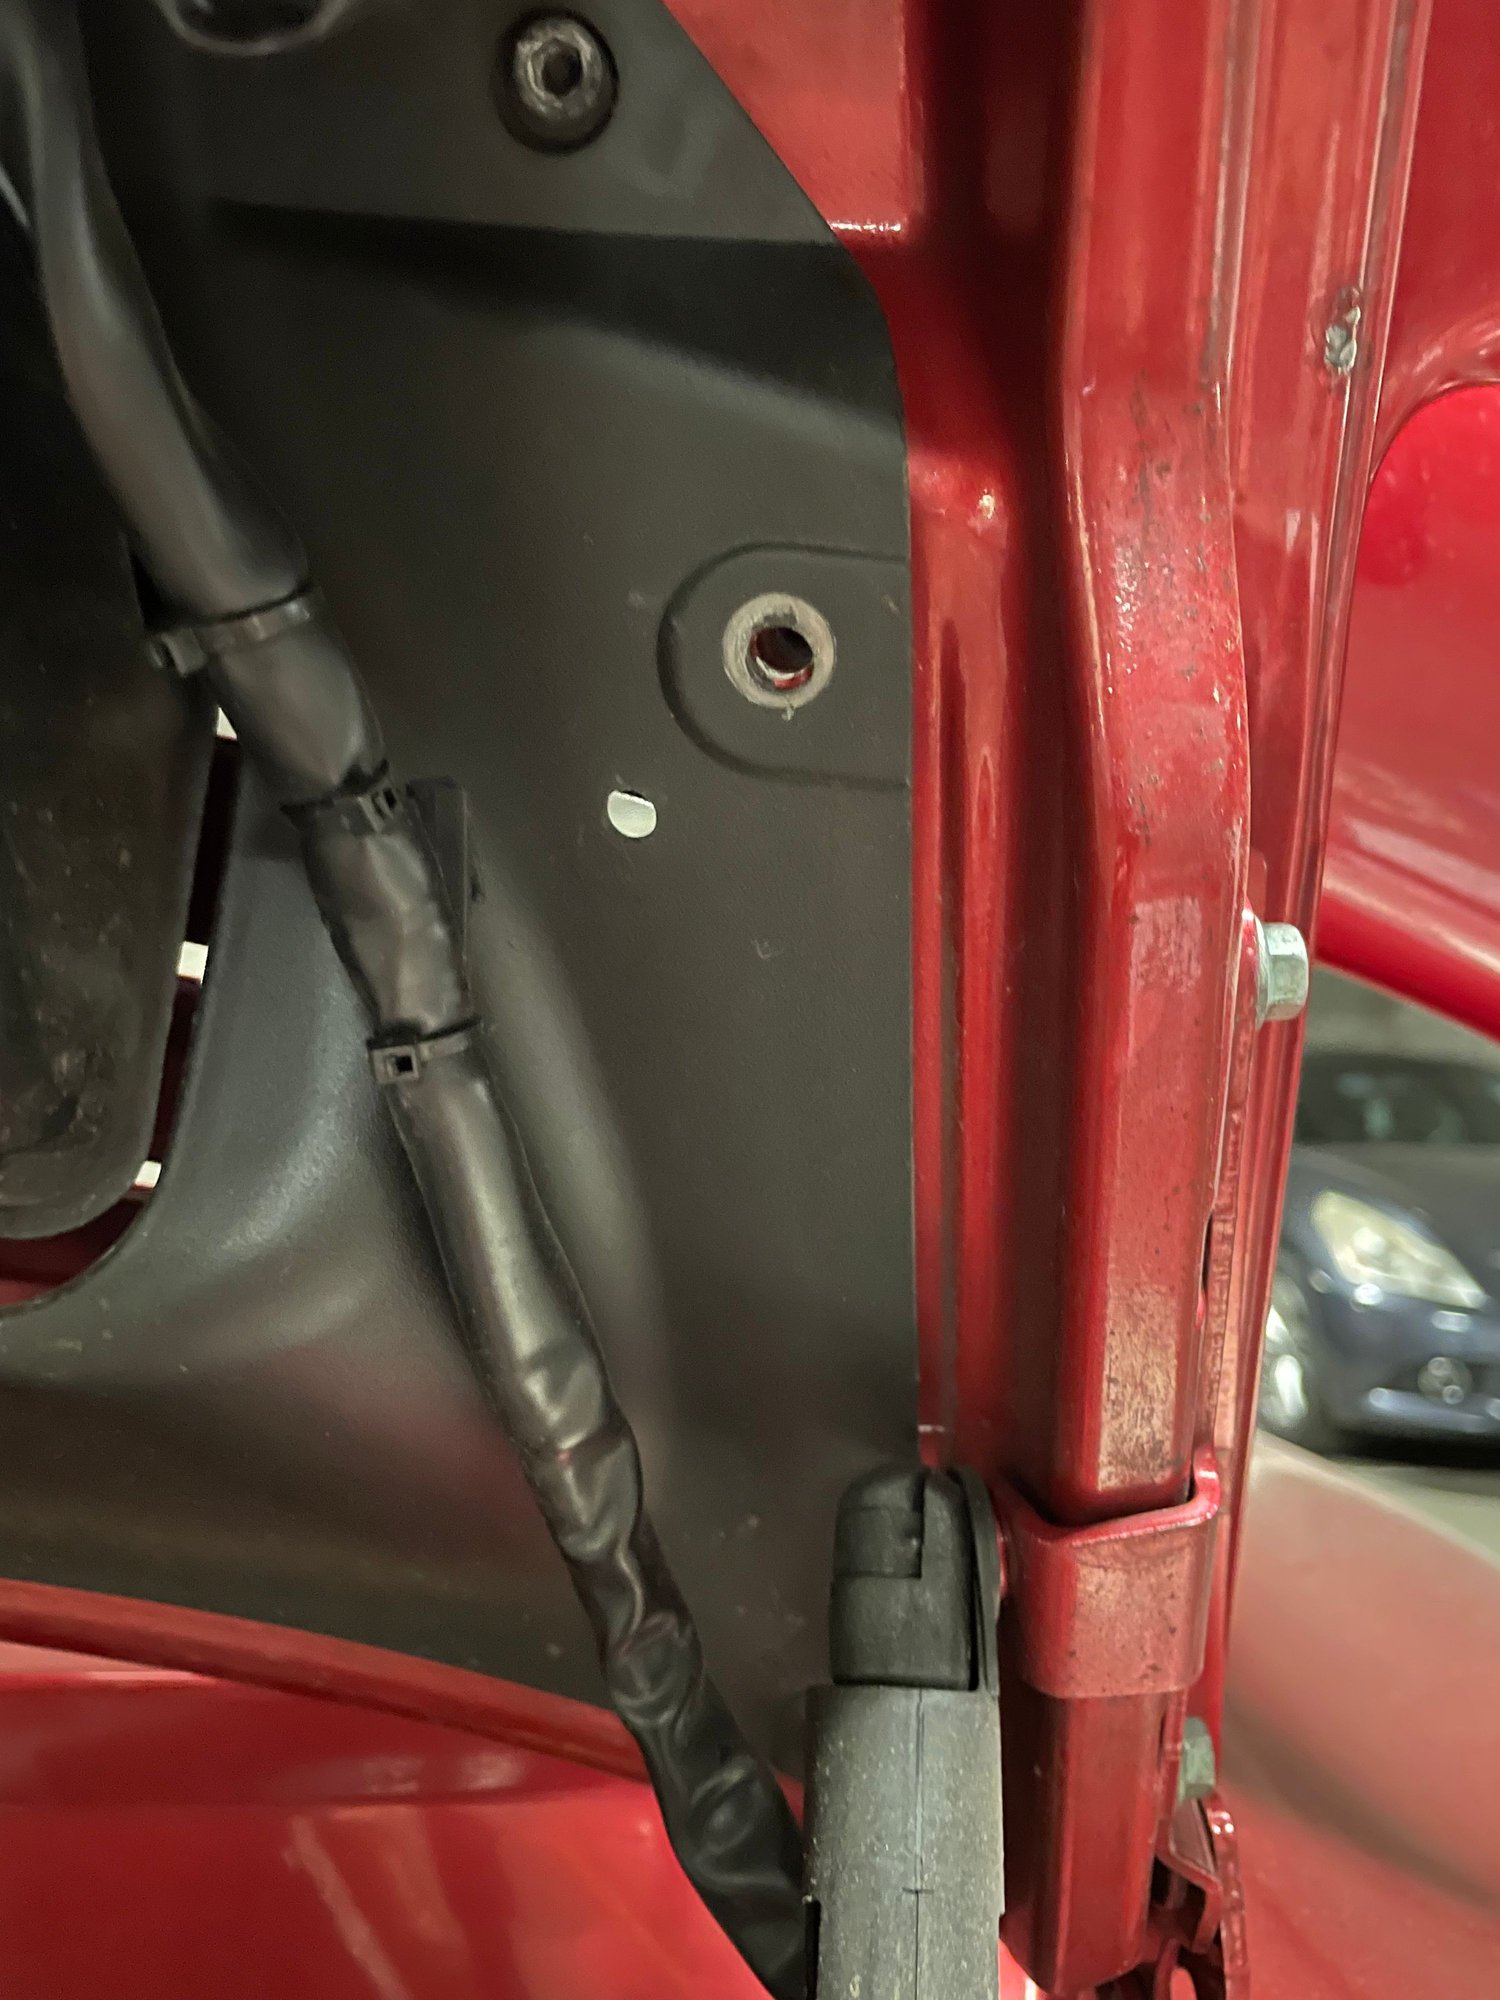
Step 3: Remove 10mm bolts along the passenger side (also remove your air intake duct by removing the 2 10mm bolts; forgot to take a pic)
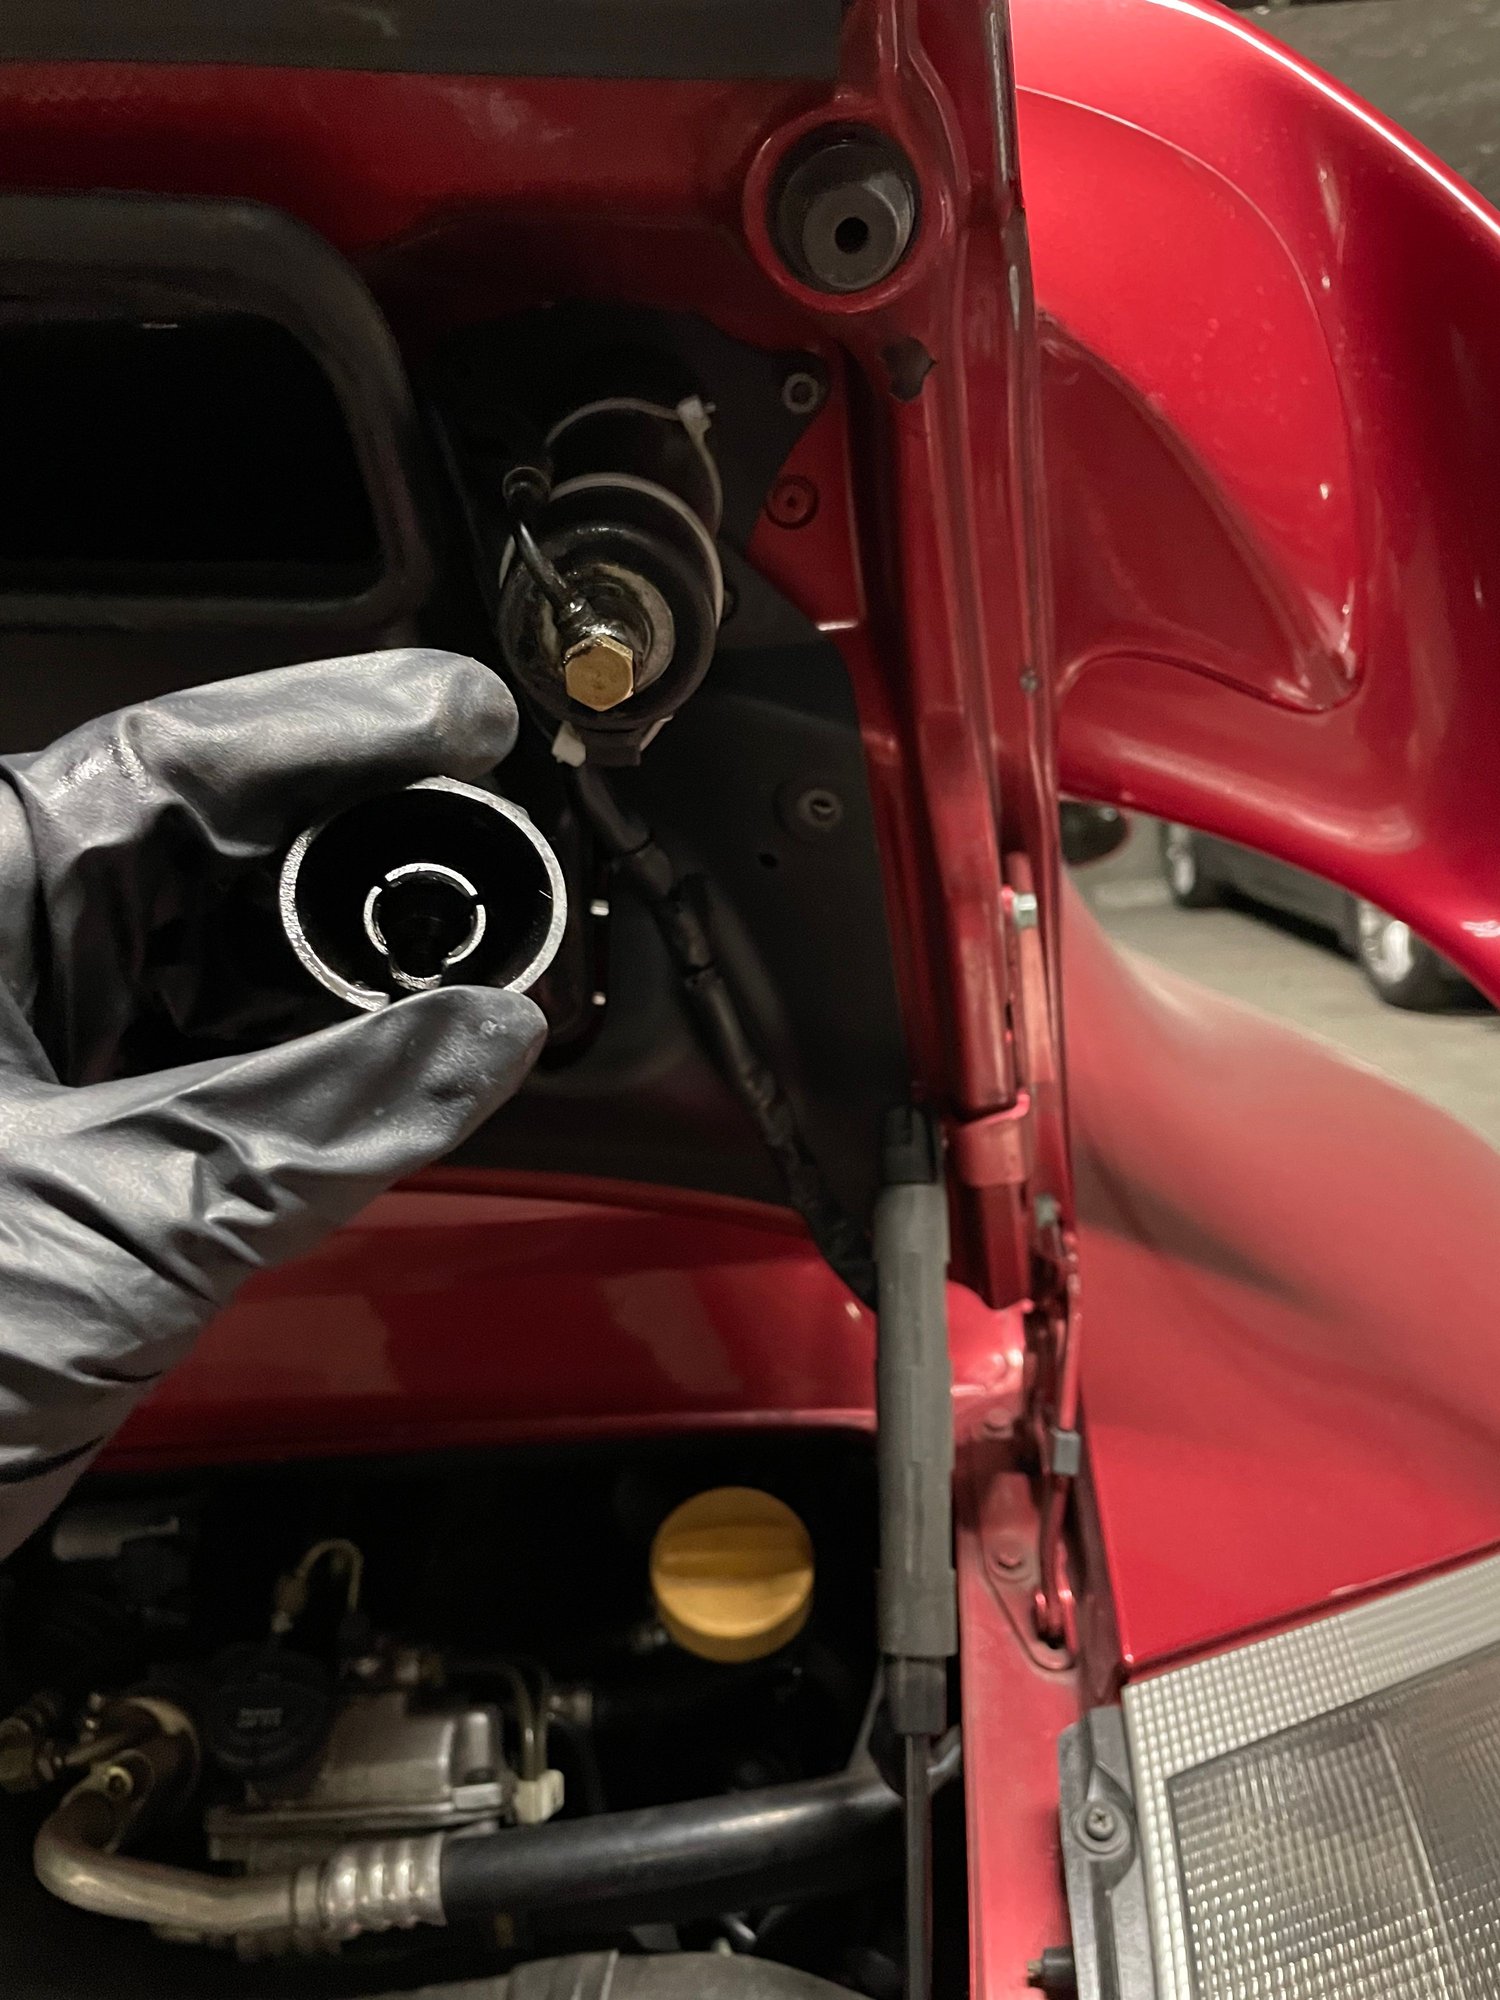
Step 4: Remove plastic cap
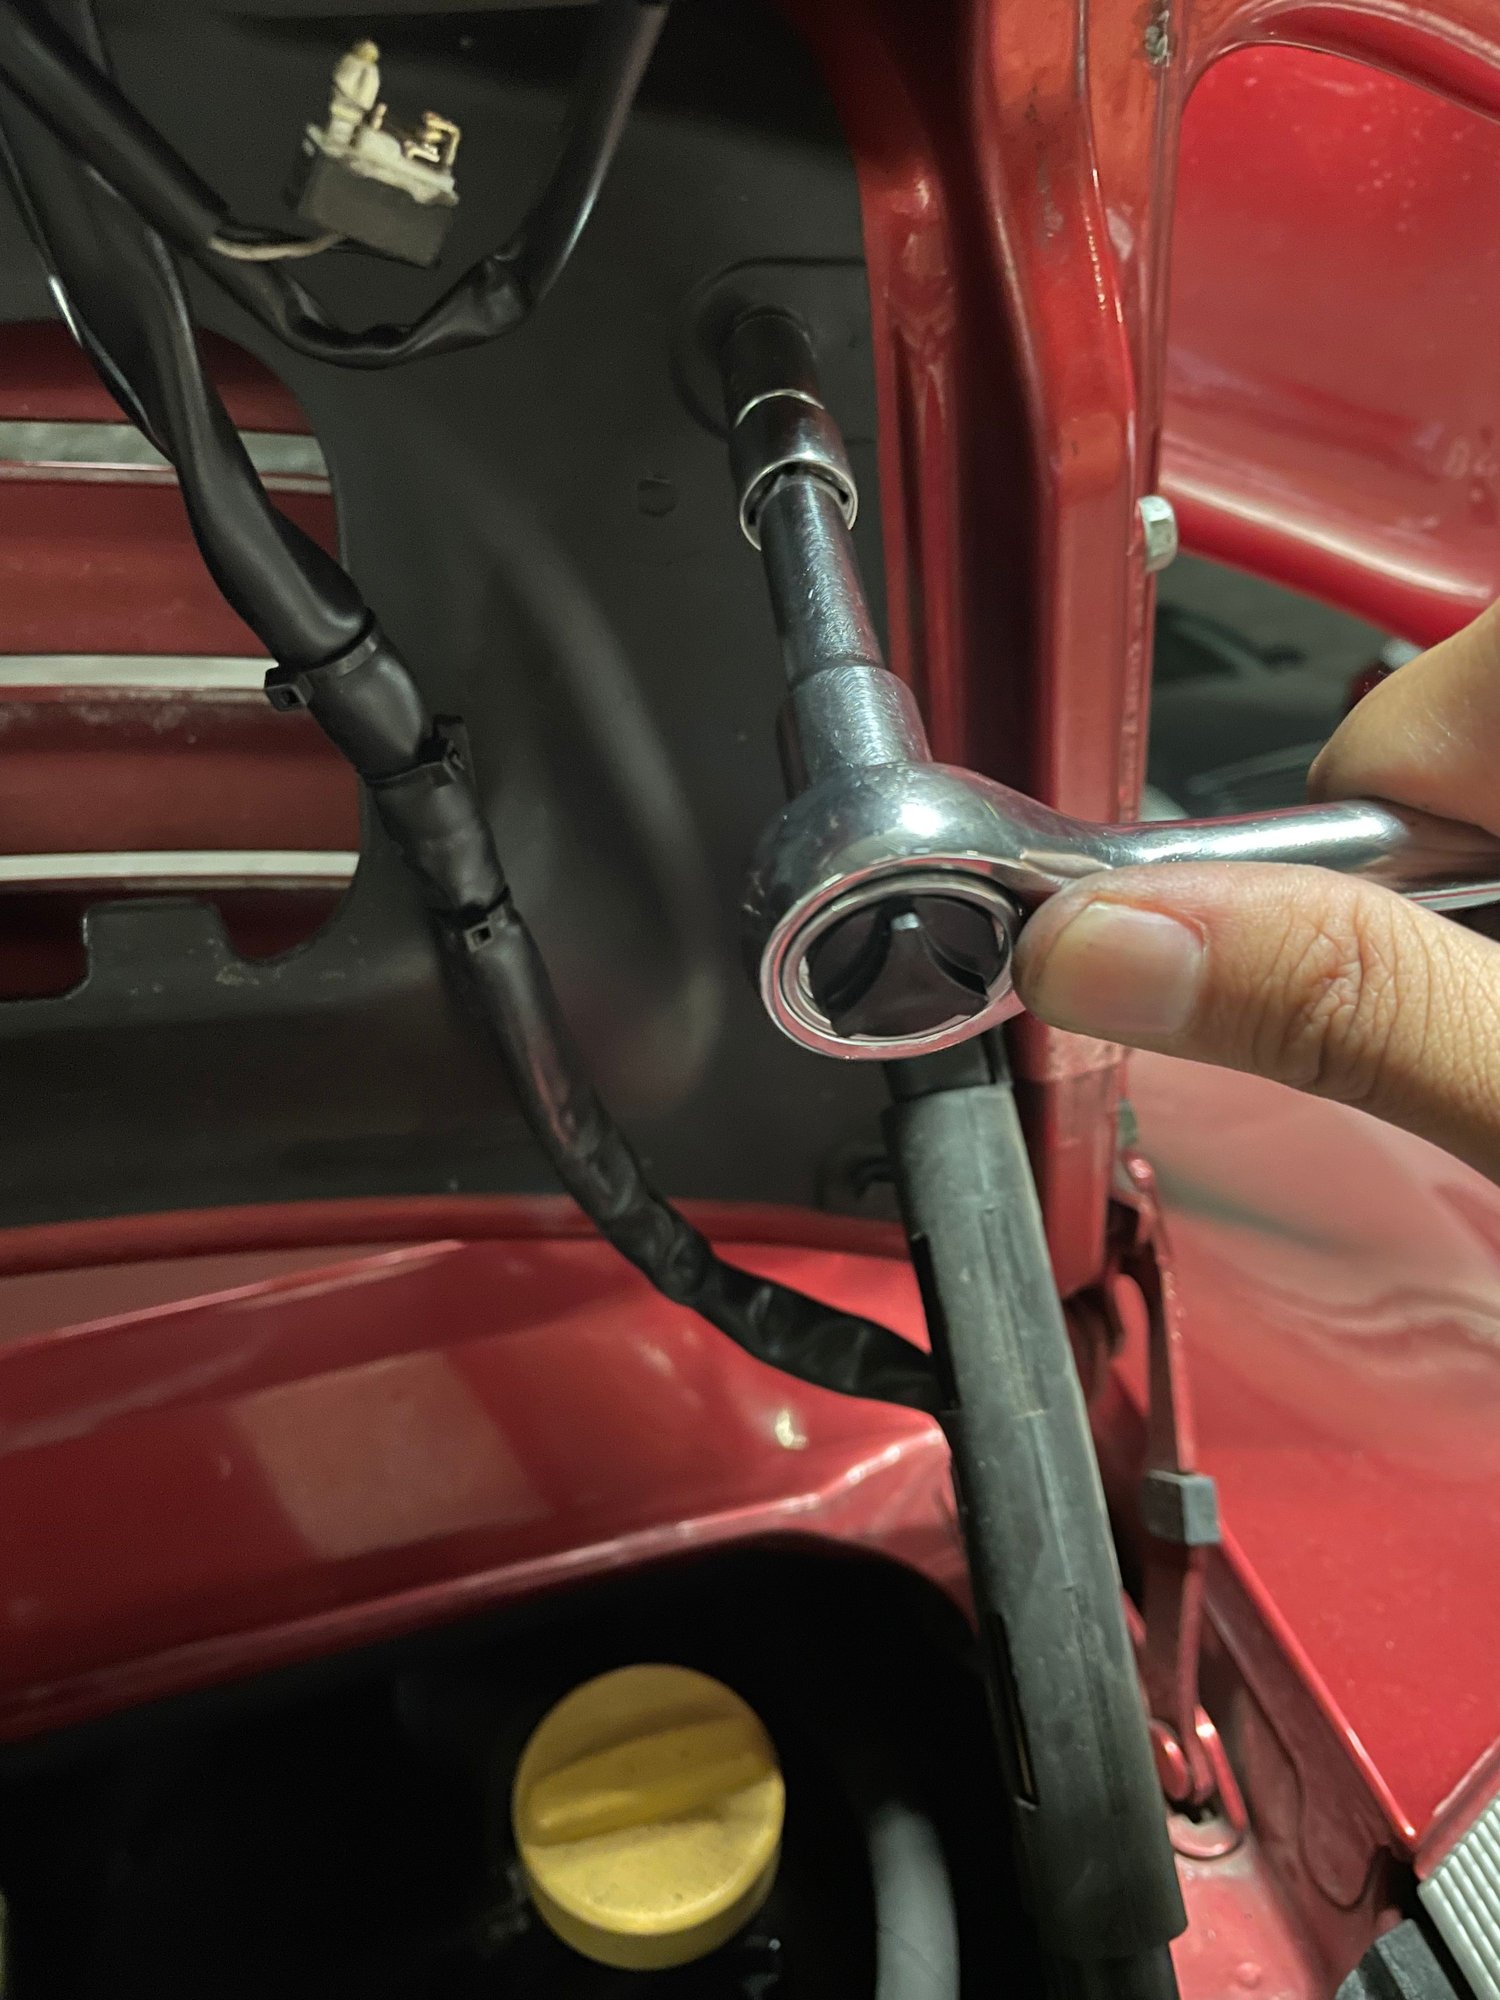
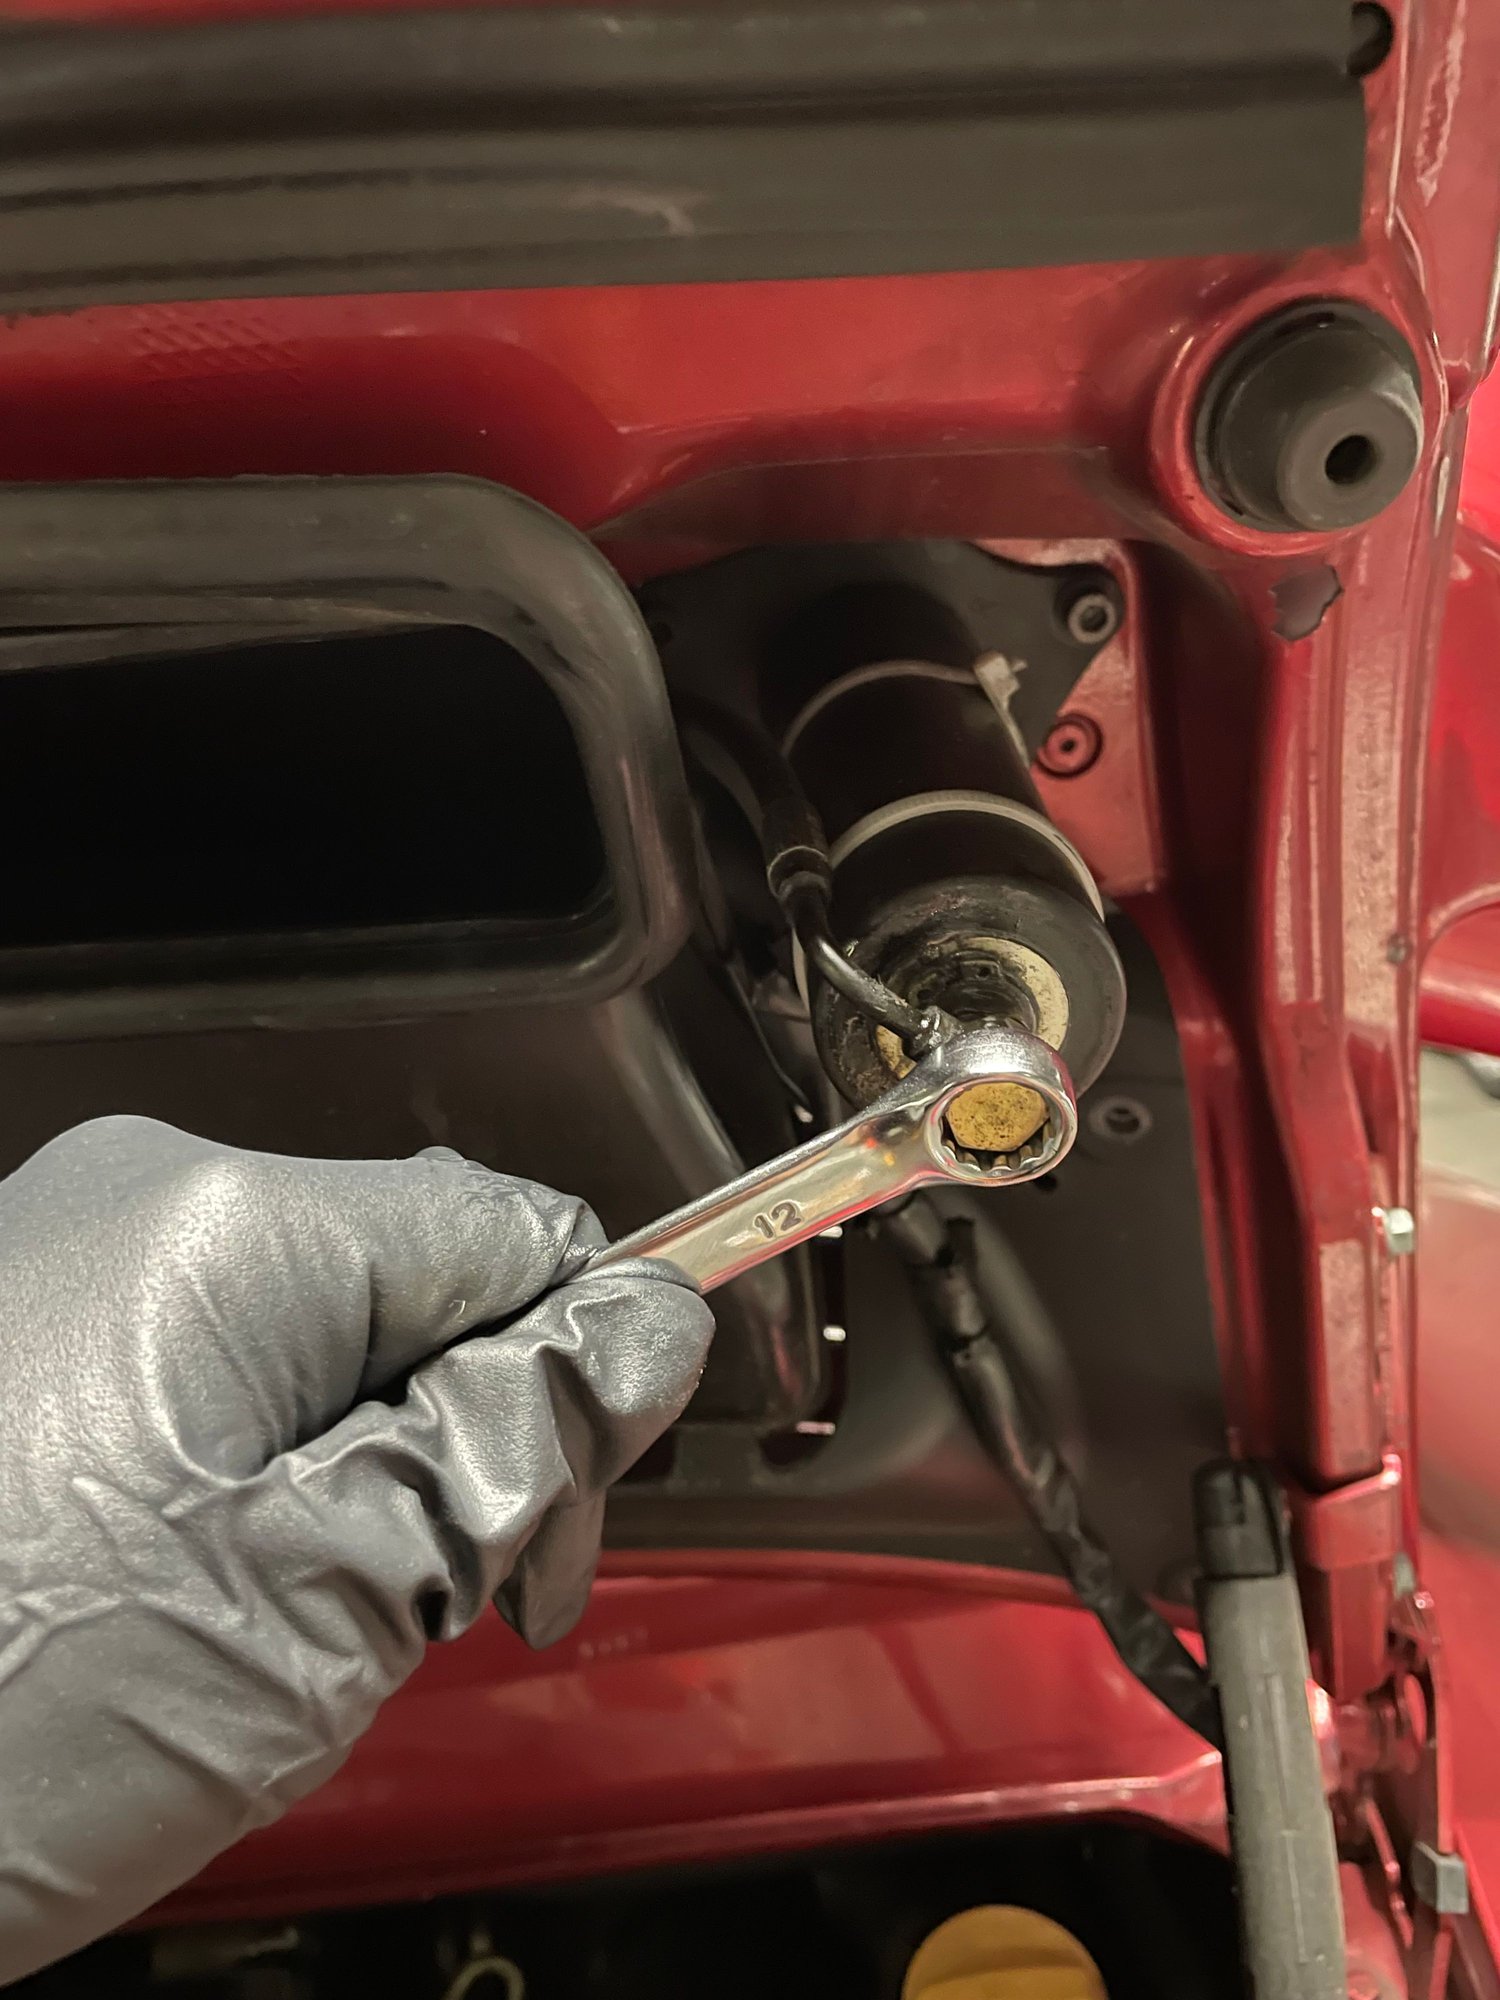
Step 5: Remove brass bolt with a 12mm wrench
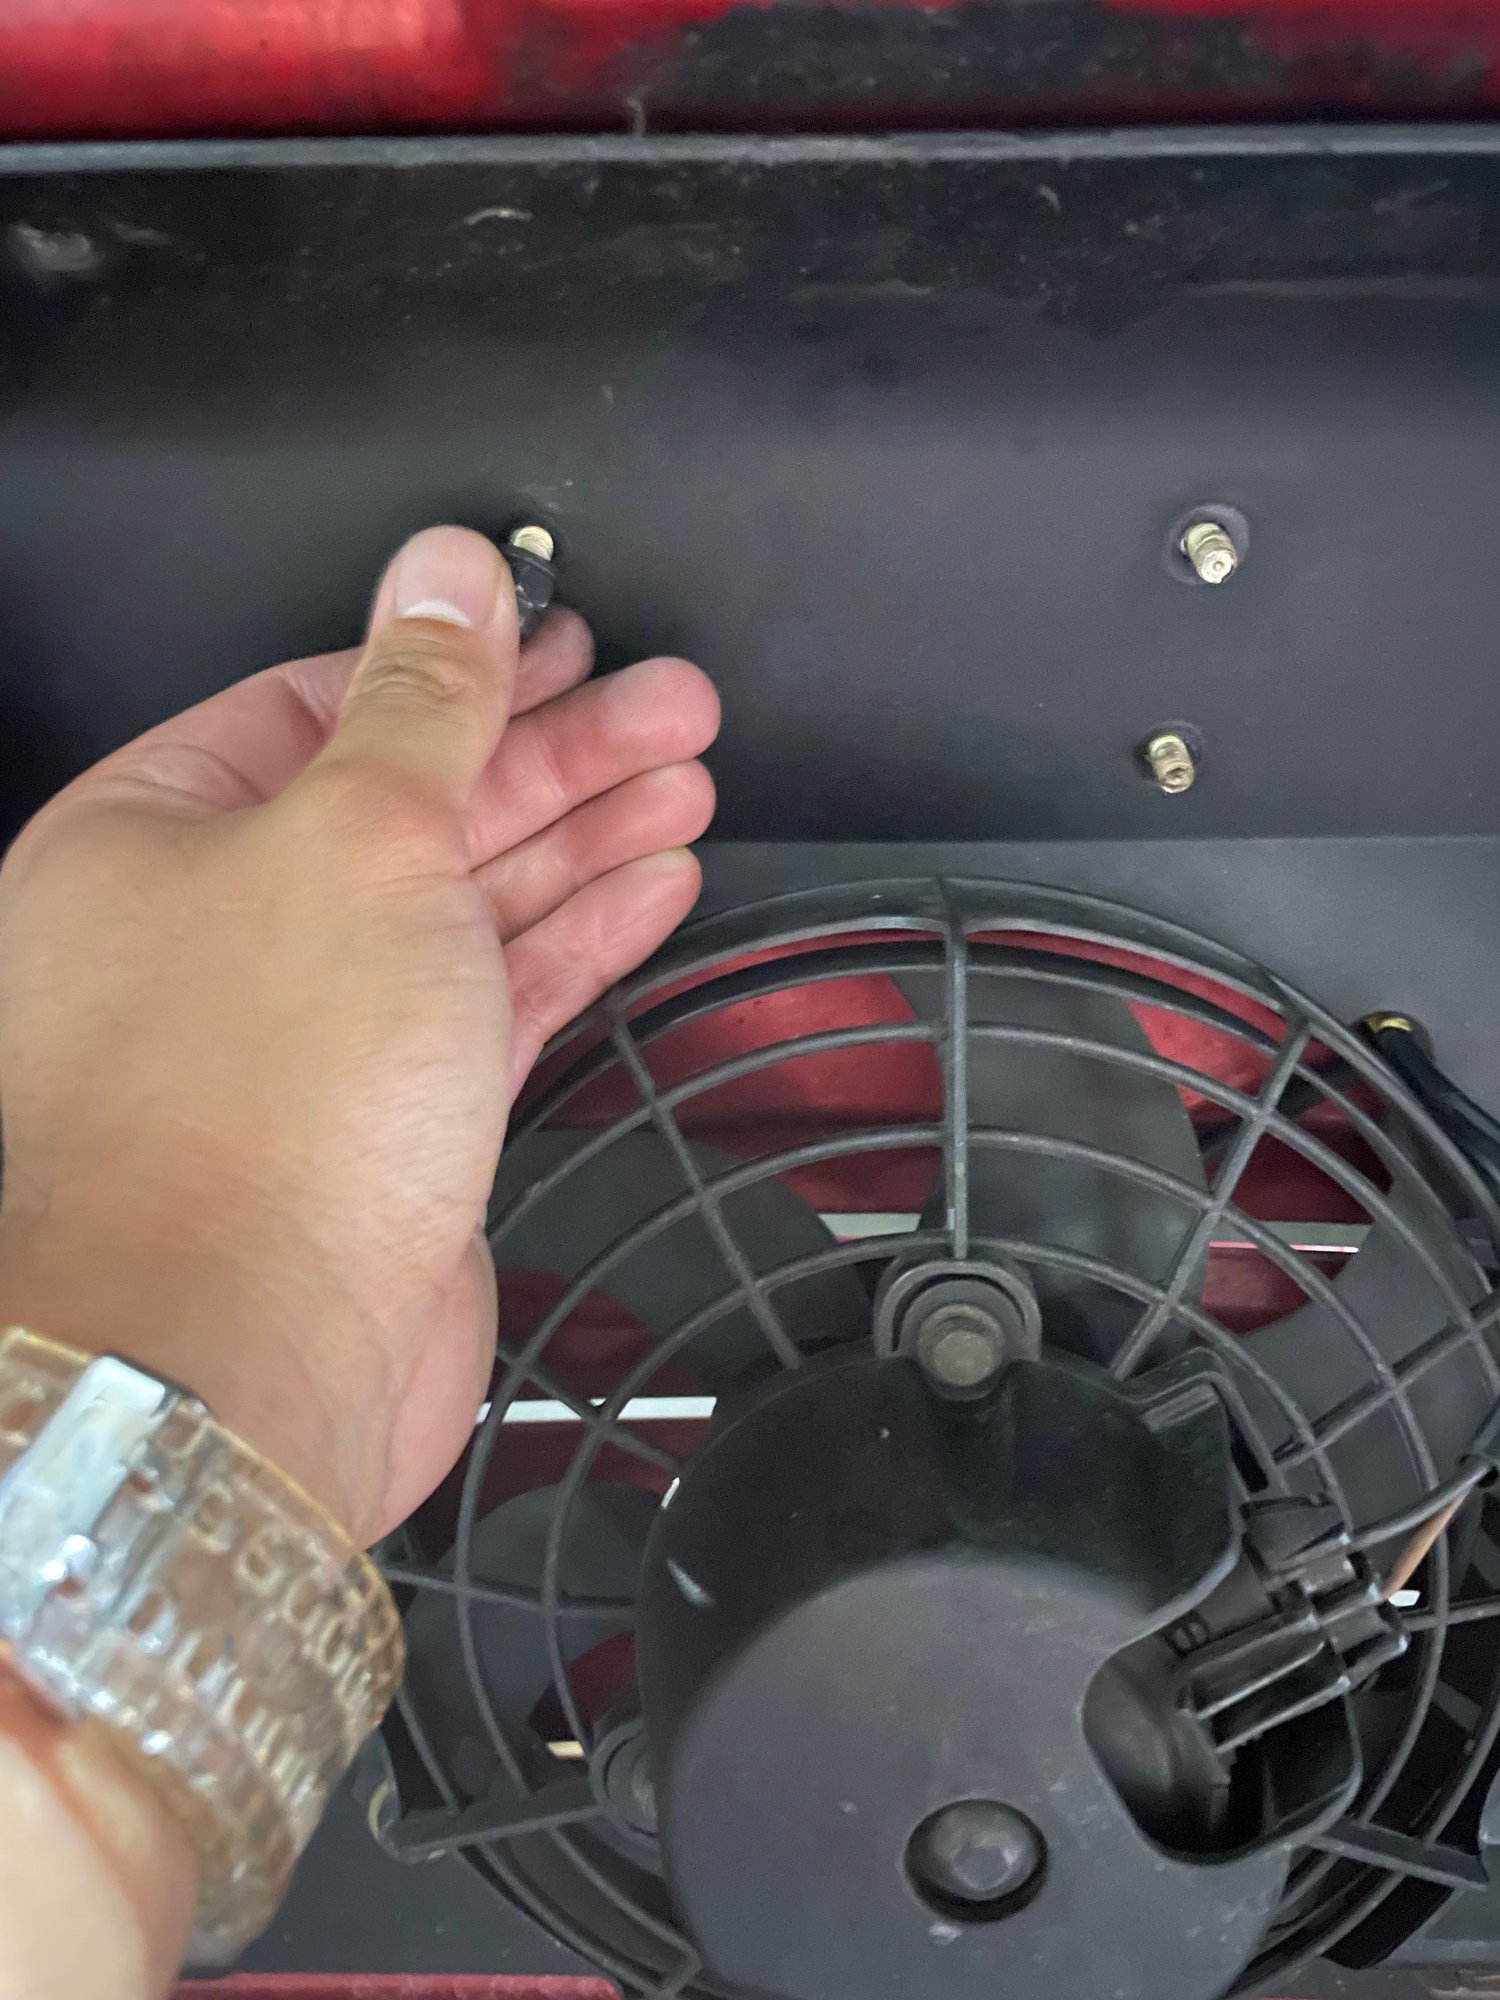
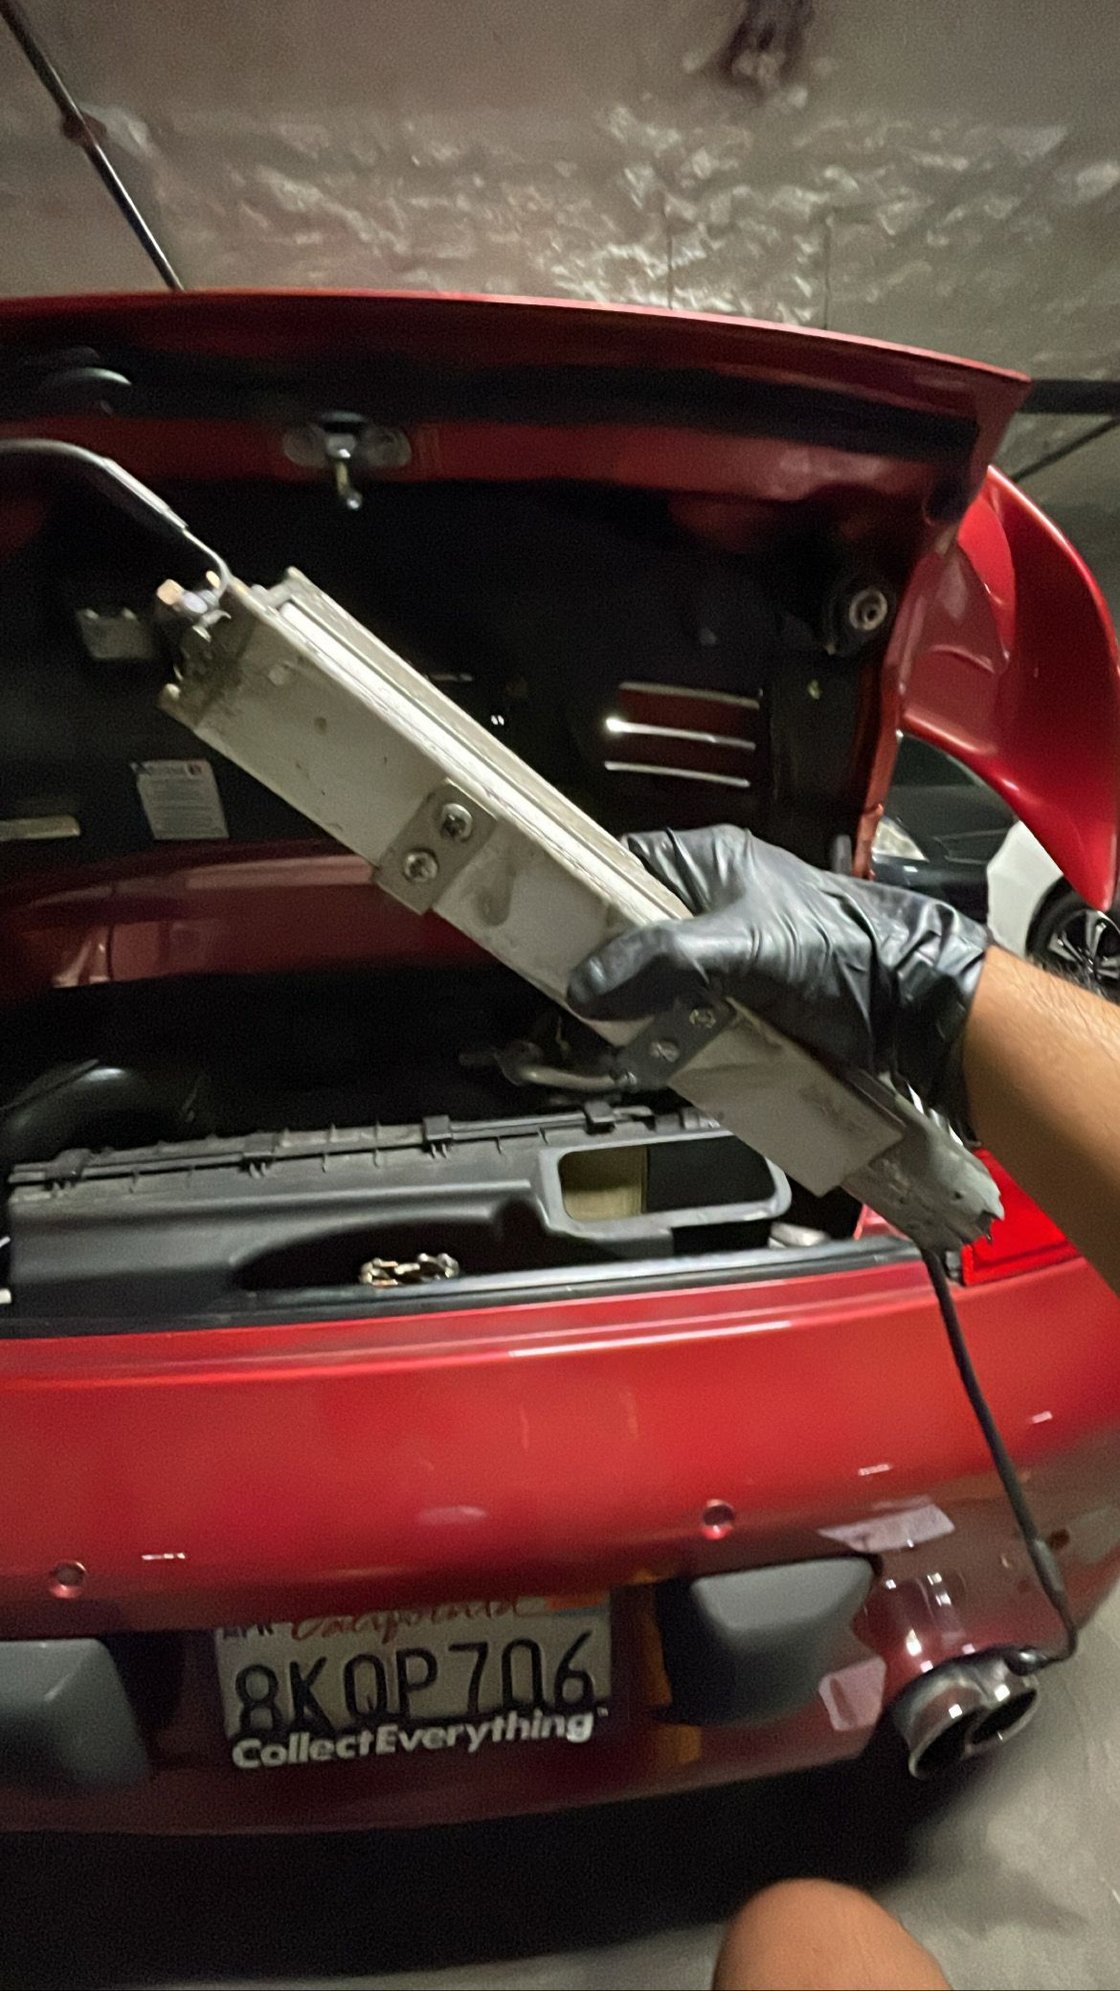
Step 6: Remove 4 nuts holding the hydraulic pump in place (above the fan)
Step 7: Remove the pump and lines
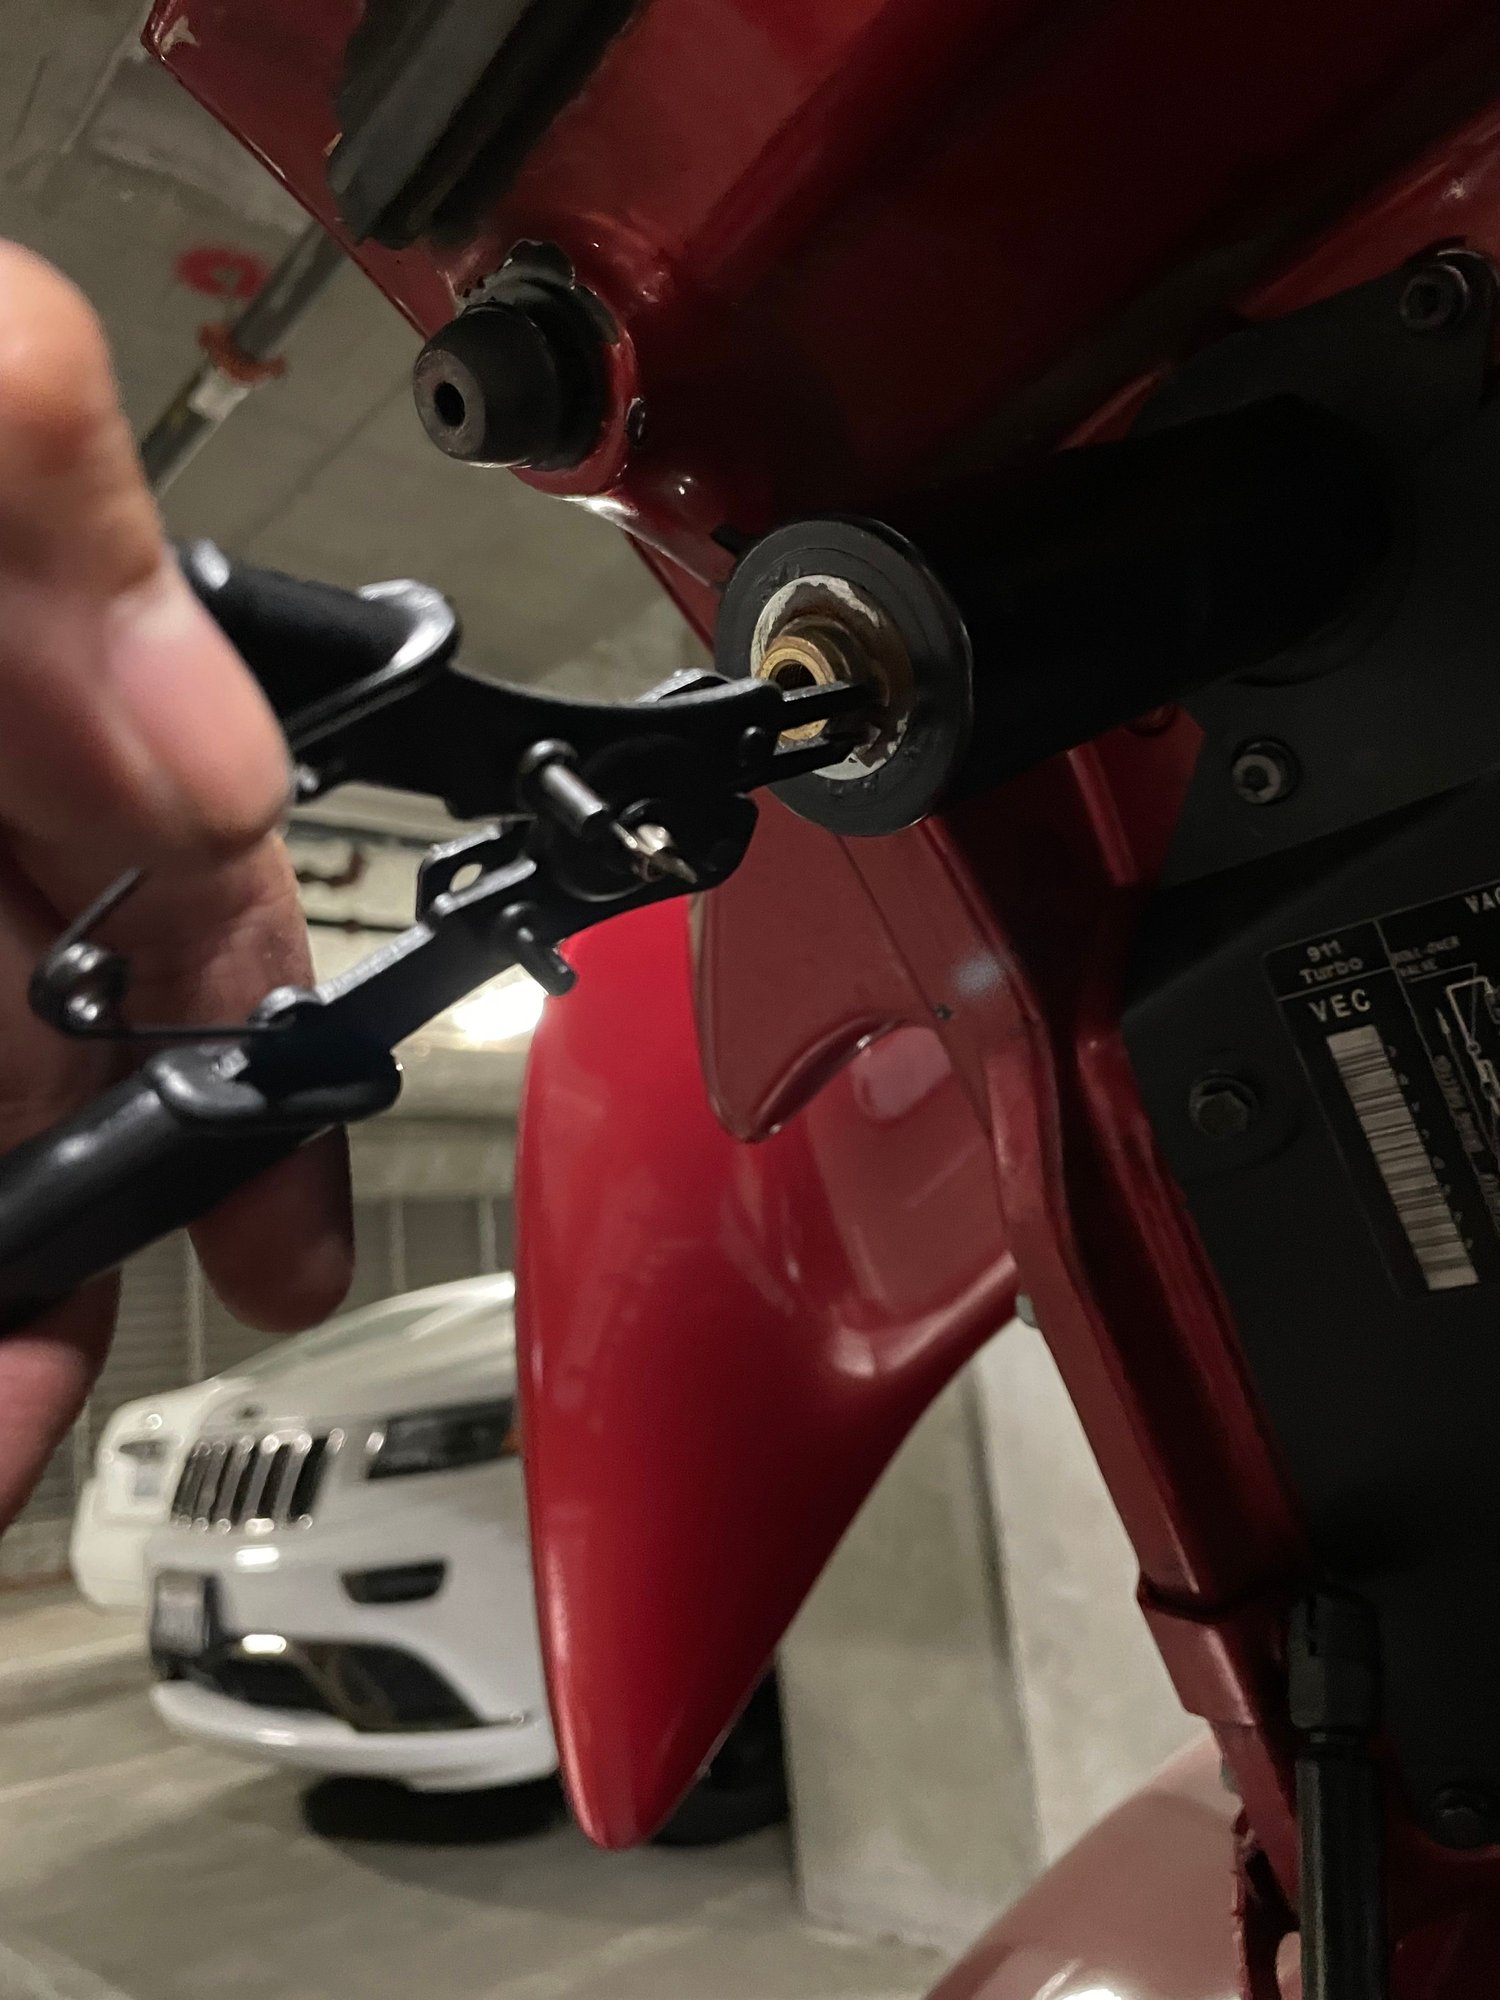
Step 8: Use your snap ring tool (picked up a $3 one from Harbor Freight) to remove snap rings
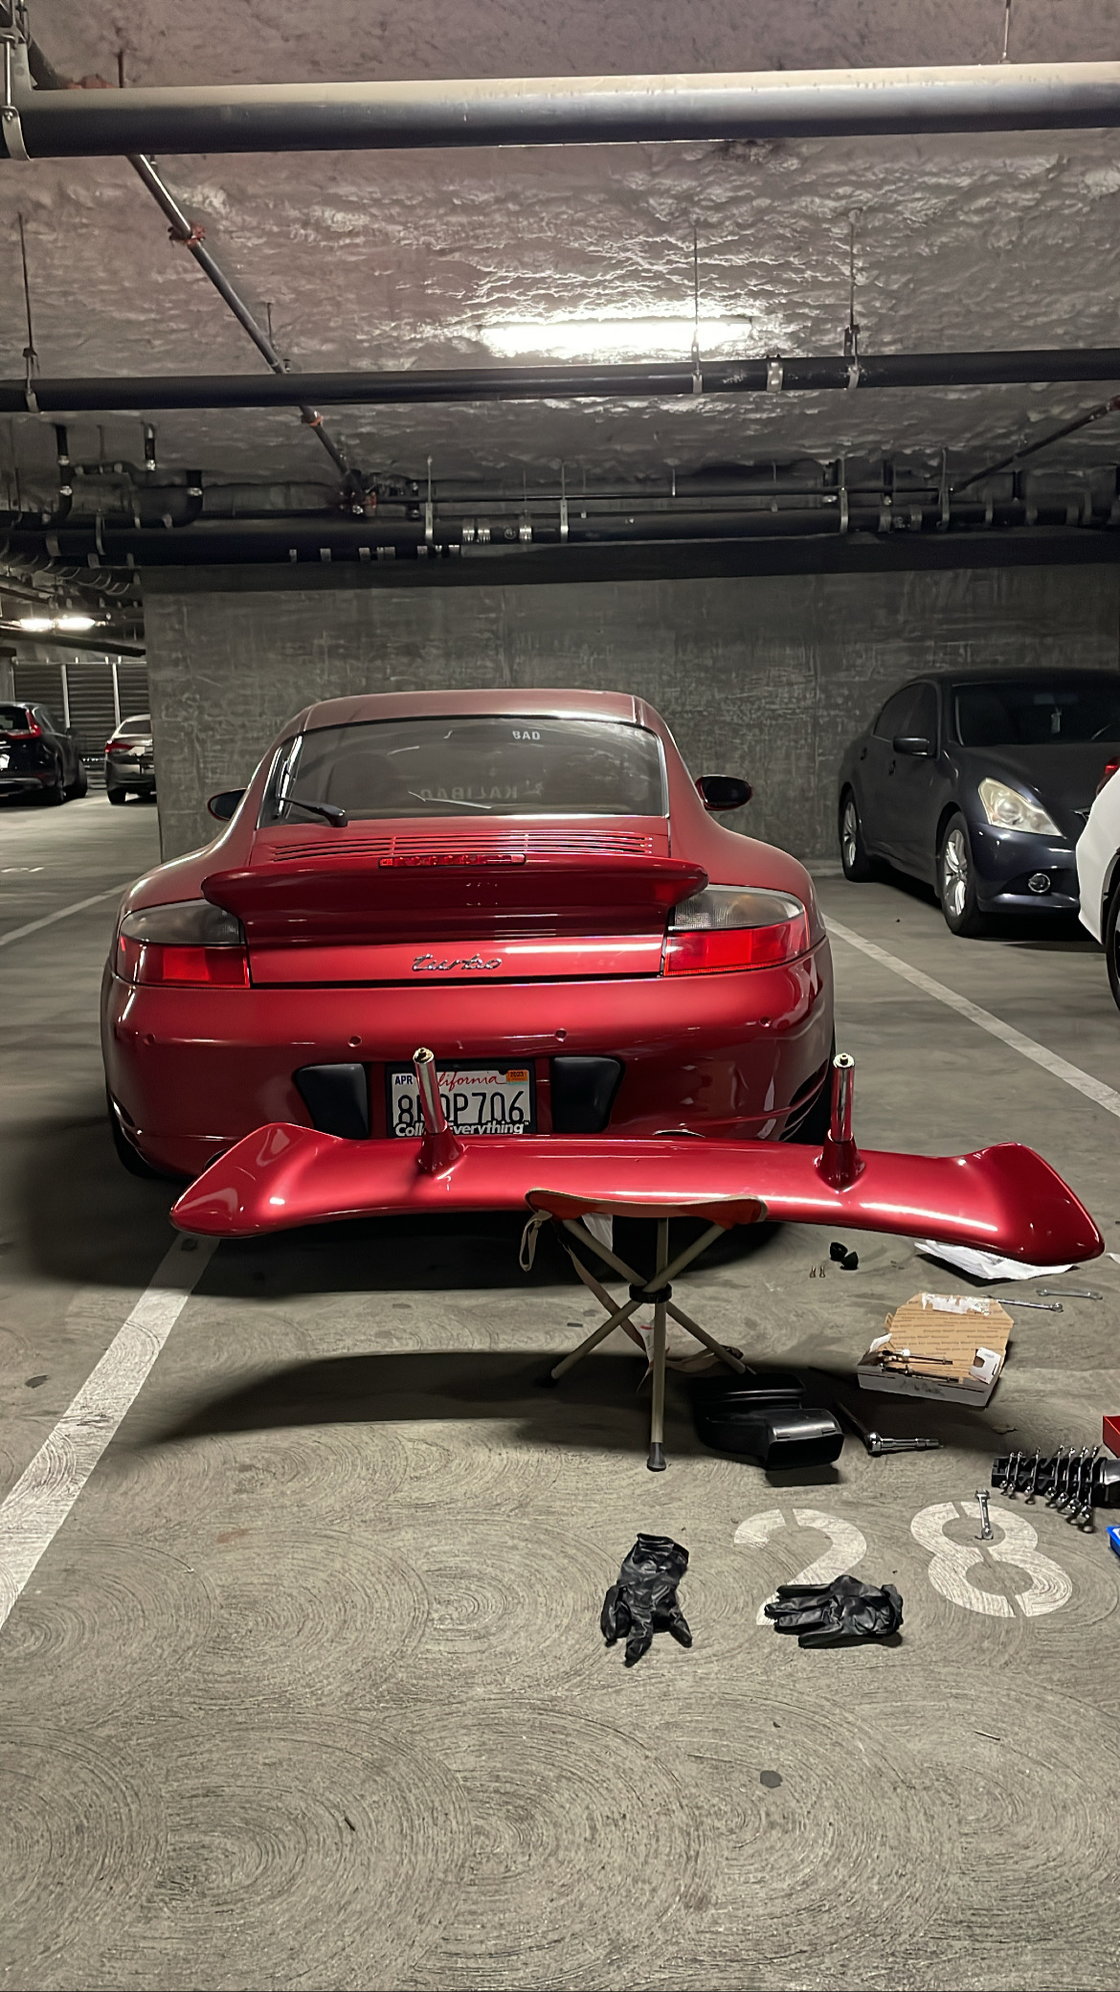
Step 9: Remove your spoiler by lifting evenly on both sides
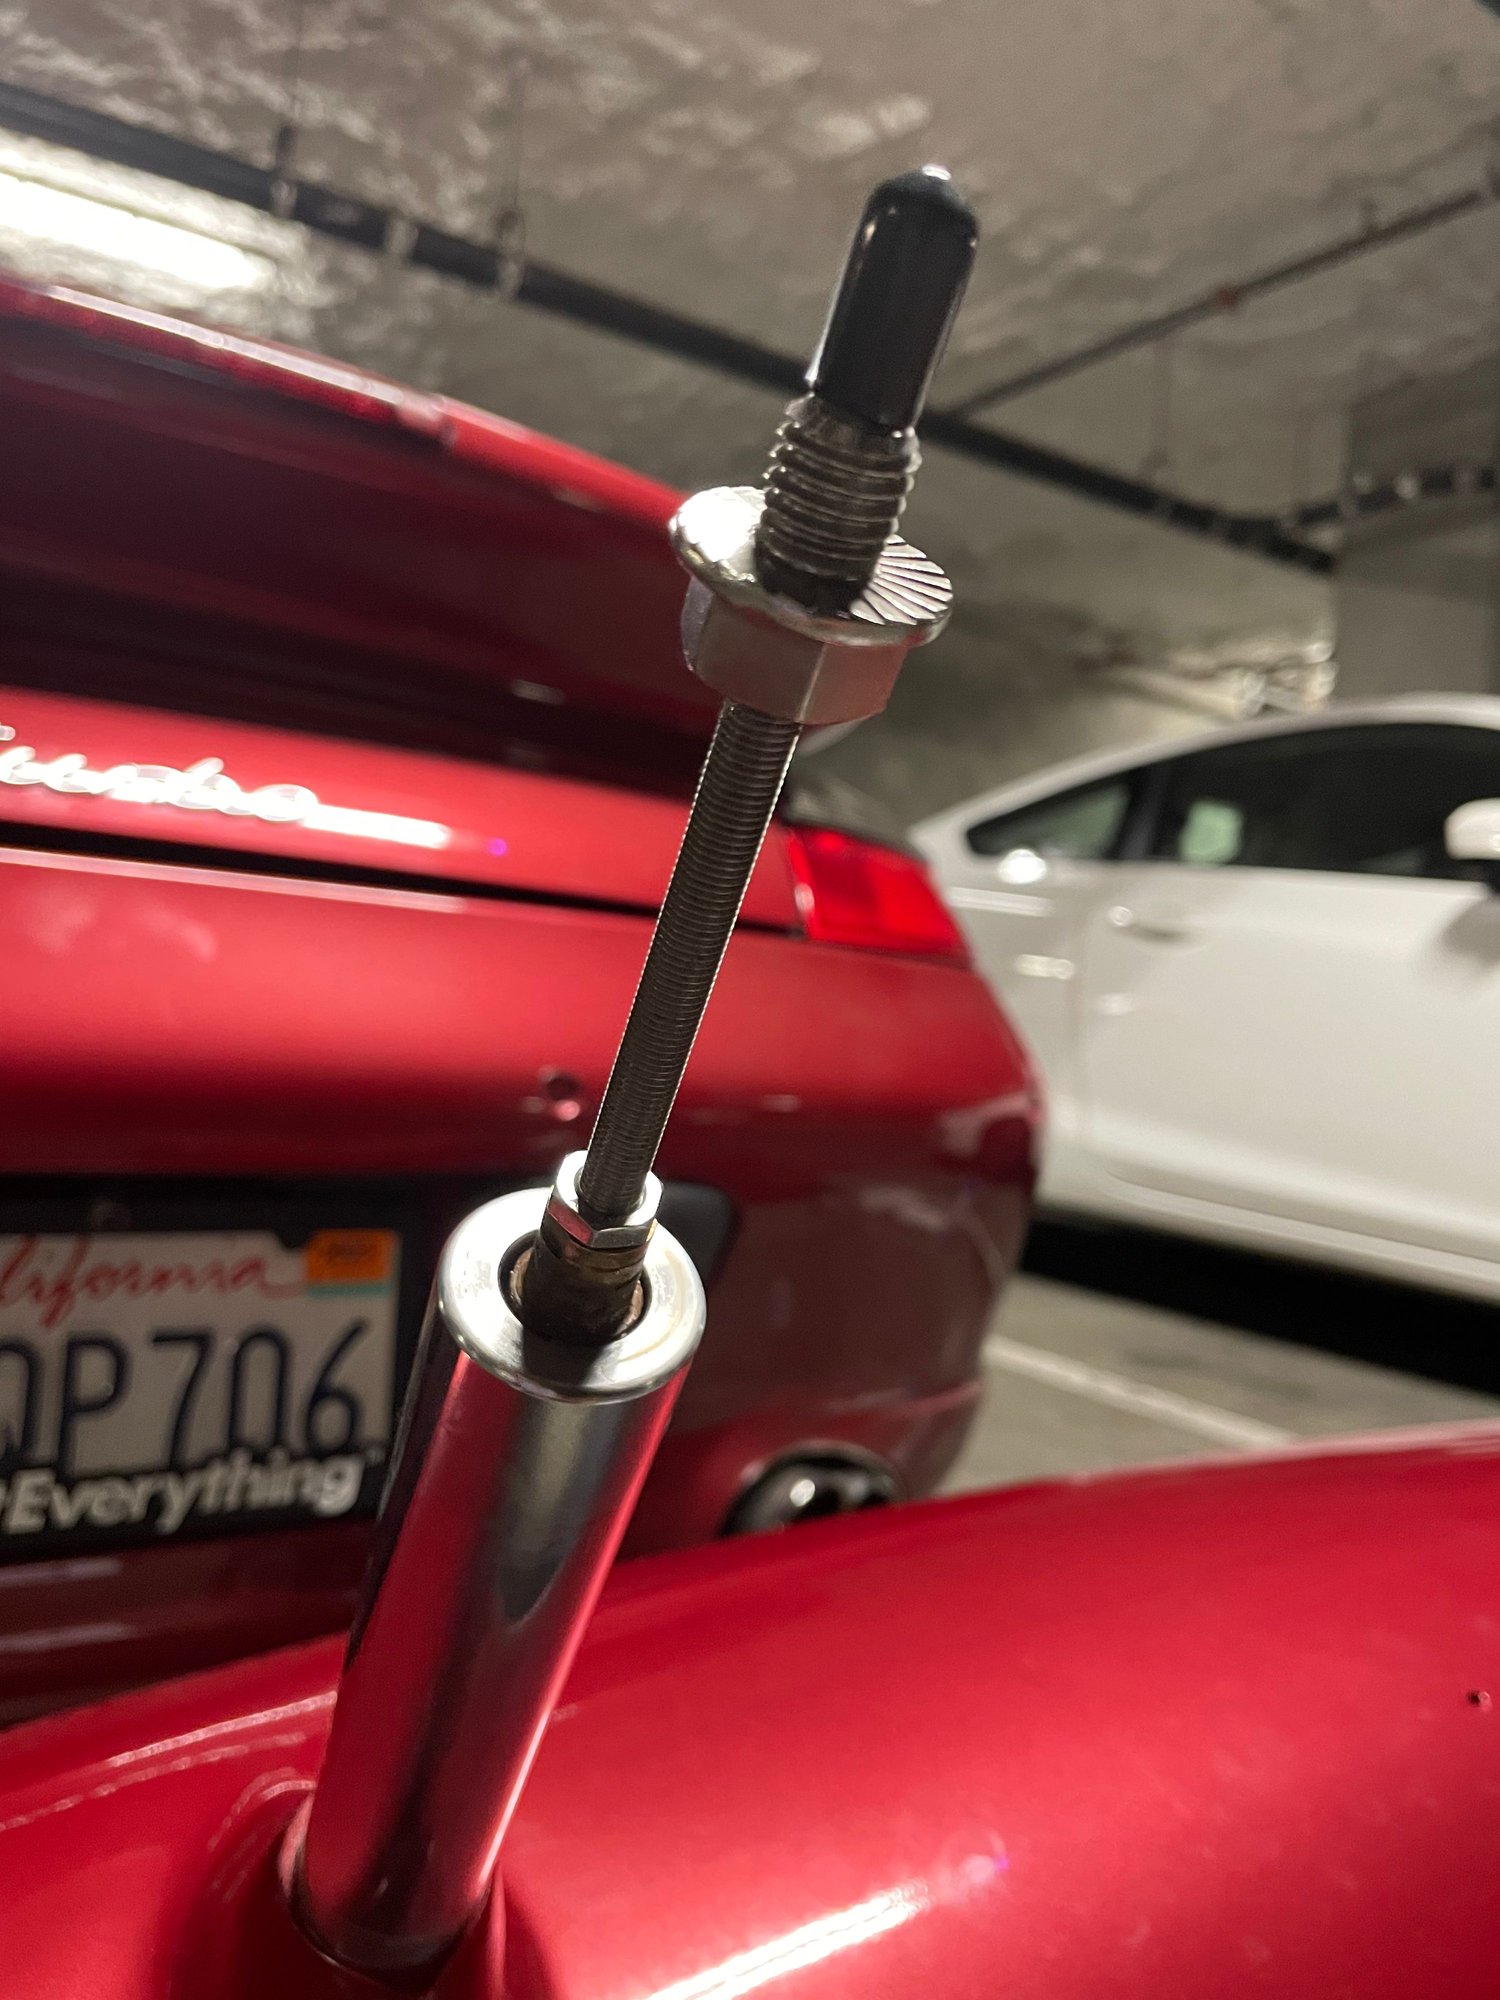
Step 10: Thread long rod into cylinder
Step 11: Slide the spoiler and cylinder back in with the long bolt threaded in; reopen the deck lid, remove the black vinyl thread cover, tighten the big nut, washers, and 2 small nuts against each other to lock everything in place
Note that you can get rid of the spoiler error message by just unplugging the connectors on the passenger side housing (if you're lucky), or buying the GT2 wiring harness
Is it though? It's 6 inches of threaded rod and some nuts and washers.
Definitely! It has a pretty cool nut (pictured) that has thread on the other end so that it fits snugly on the inside of the cylinder and gives you enough thread to add the large nut on the bottom end. The seller�s a mechanical engineer, so it sure beats anything I can put together at a hardware store. Lol
Is it though? It's 6 inches of threaded rod and some nuts and washers.
If we were to design and build this solution in our shop, I would think the NRE (non recoverable engineering) would probably eclipse $25k (standard shop rates) for design, drawings, prototype and testing, then I would have to set up producing it, @ x dollars, so if a mechanical figures this out on his own and can produce a reliable solution for less than a couple hundred USD, that is not only impressive, it is a fairly good value as I know I could not replicate it at that price point; our overhead is considerably higher than that of a single mechanical guy.
nah, I'll just leave mine down.
Are people really driving around at vmax all the time where the extra down force is needed? I mean I had mine up to 162mph (closed course in Mexico) and it felt pretty planted to me.
Thanks for the write up - well done! Whether or not you choose to go with this option aside, good DIY write ups like this one are very valuable, and I appreciate the time you took to put it together.
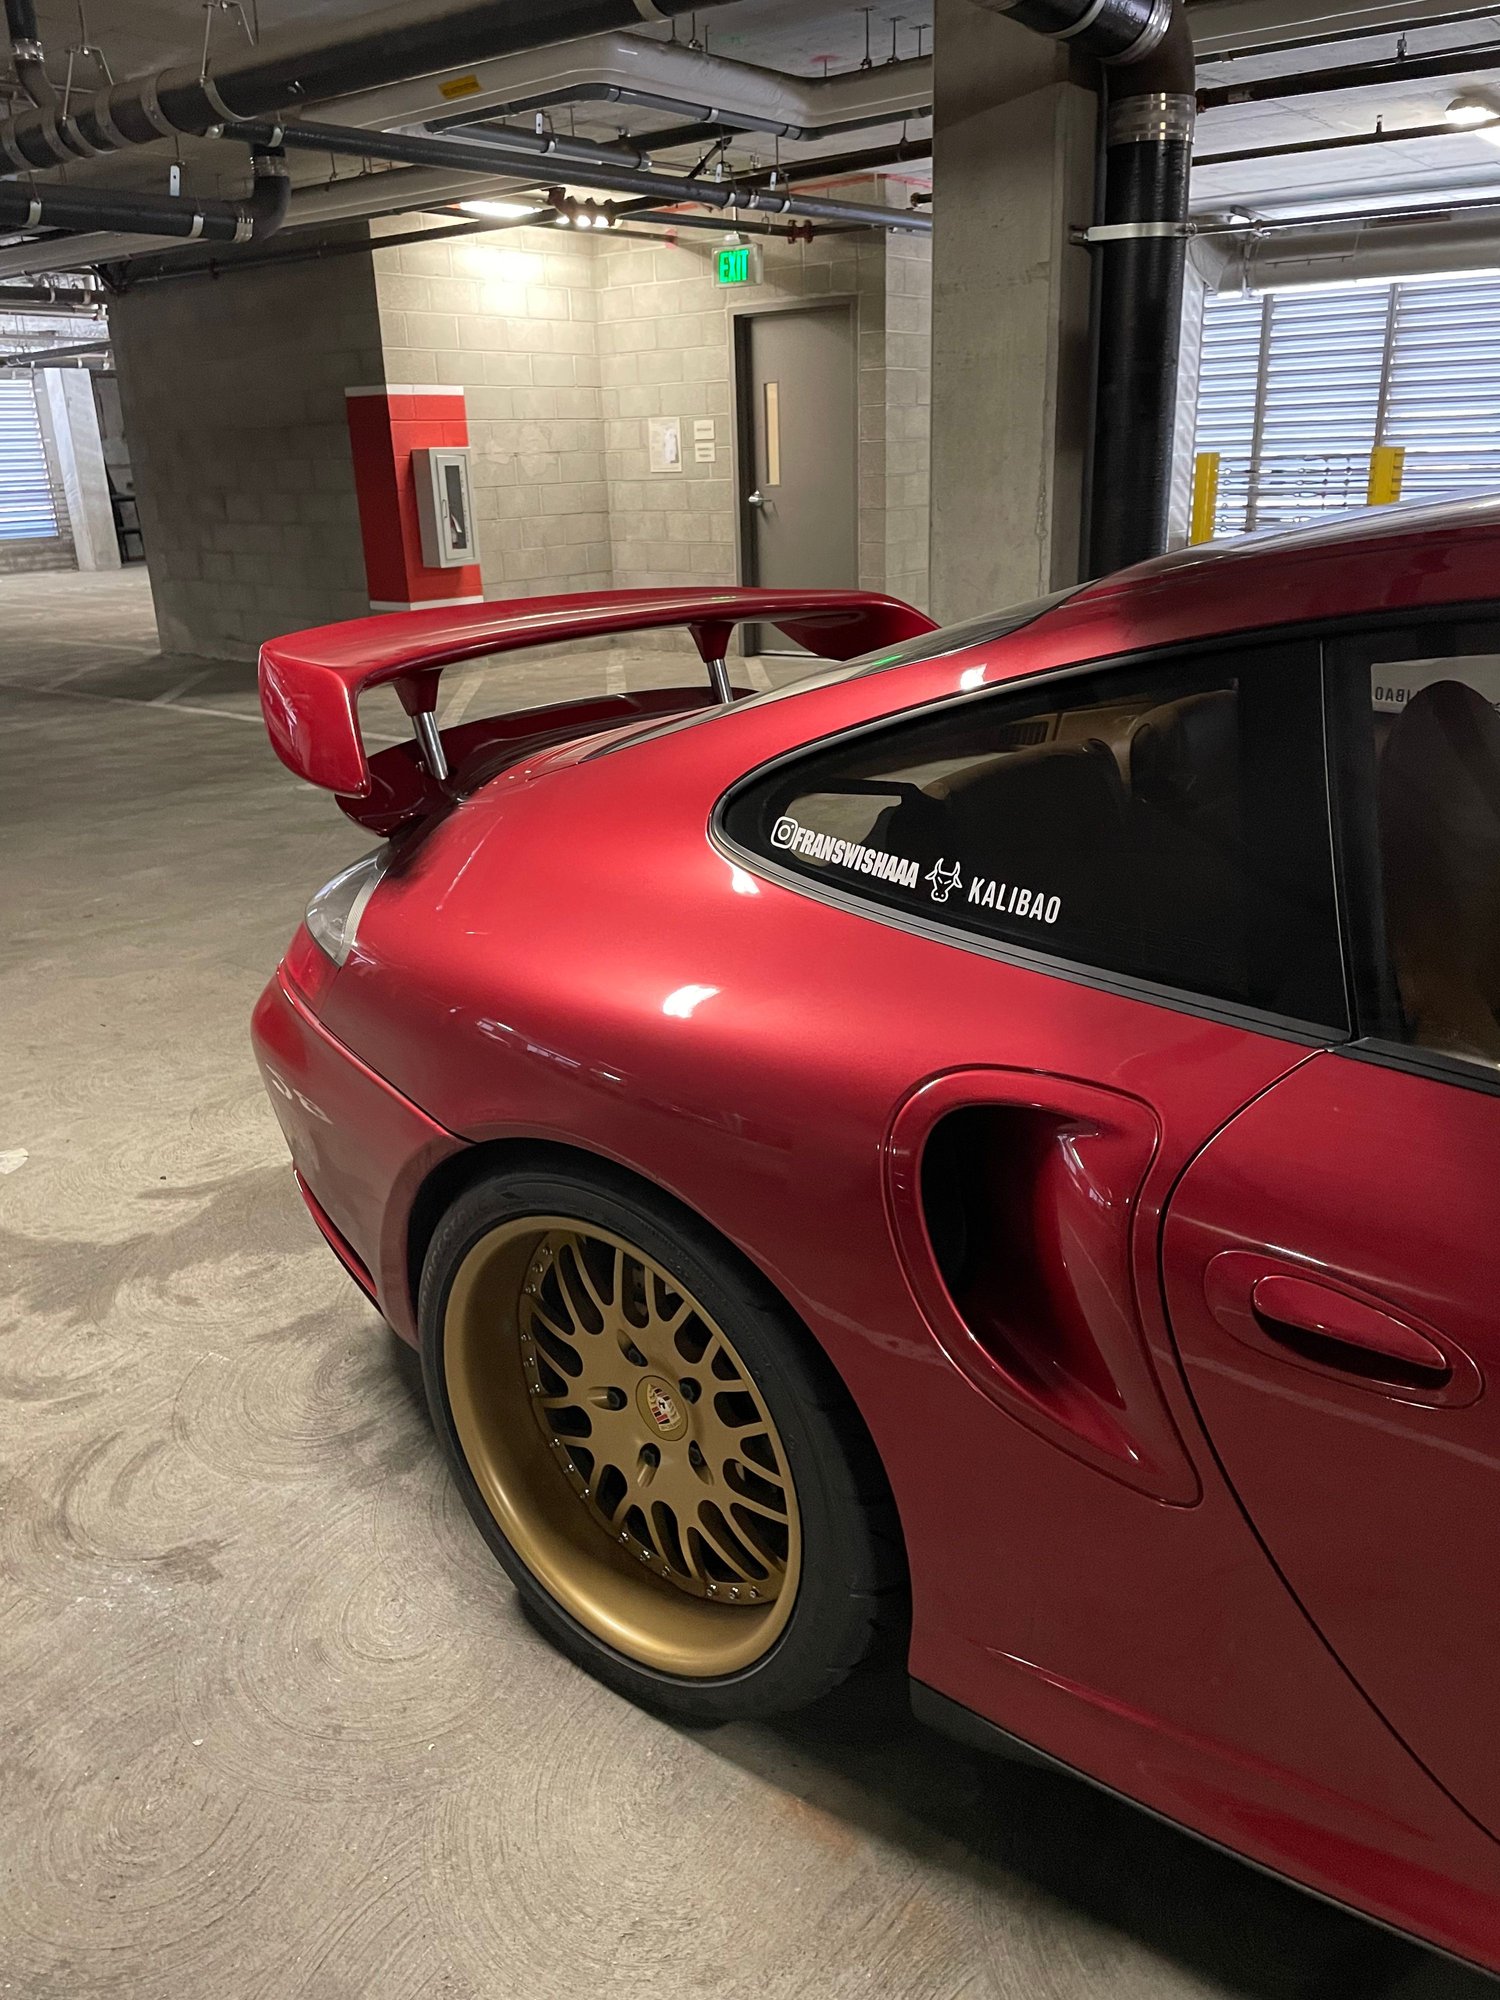
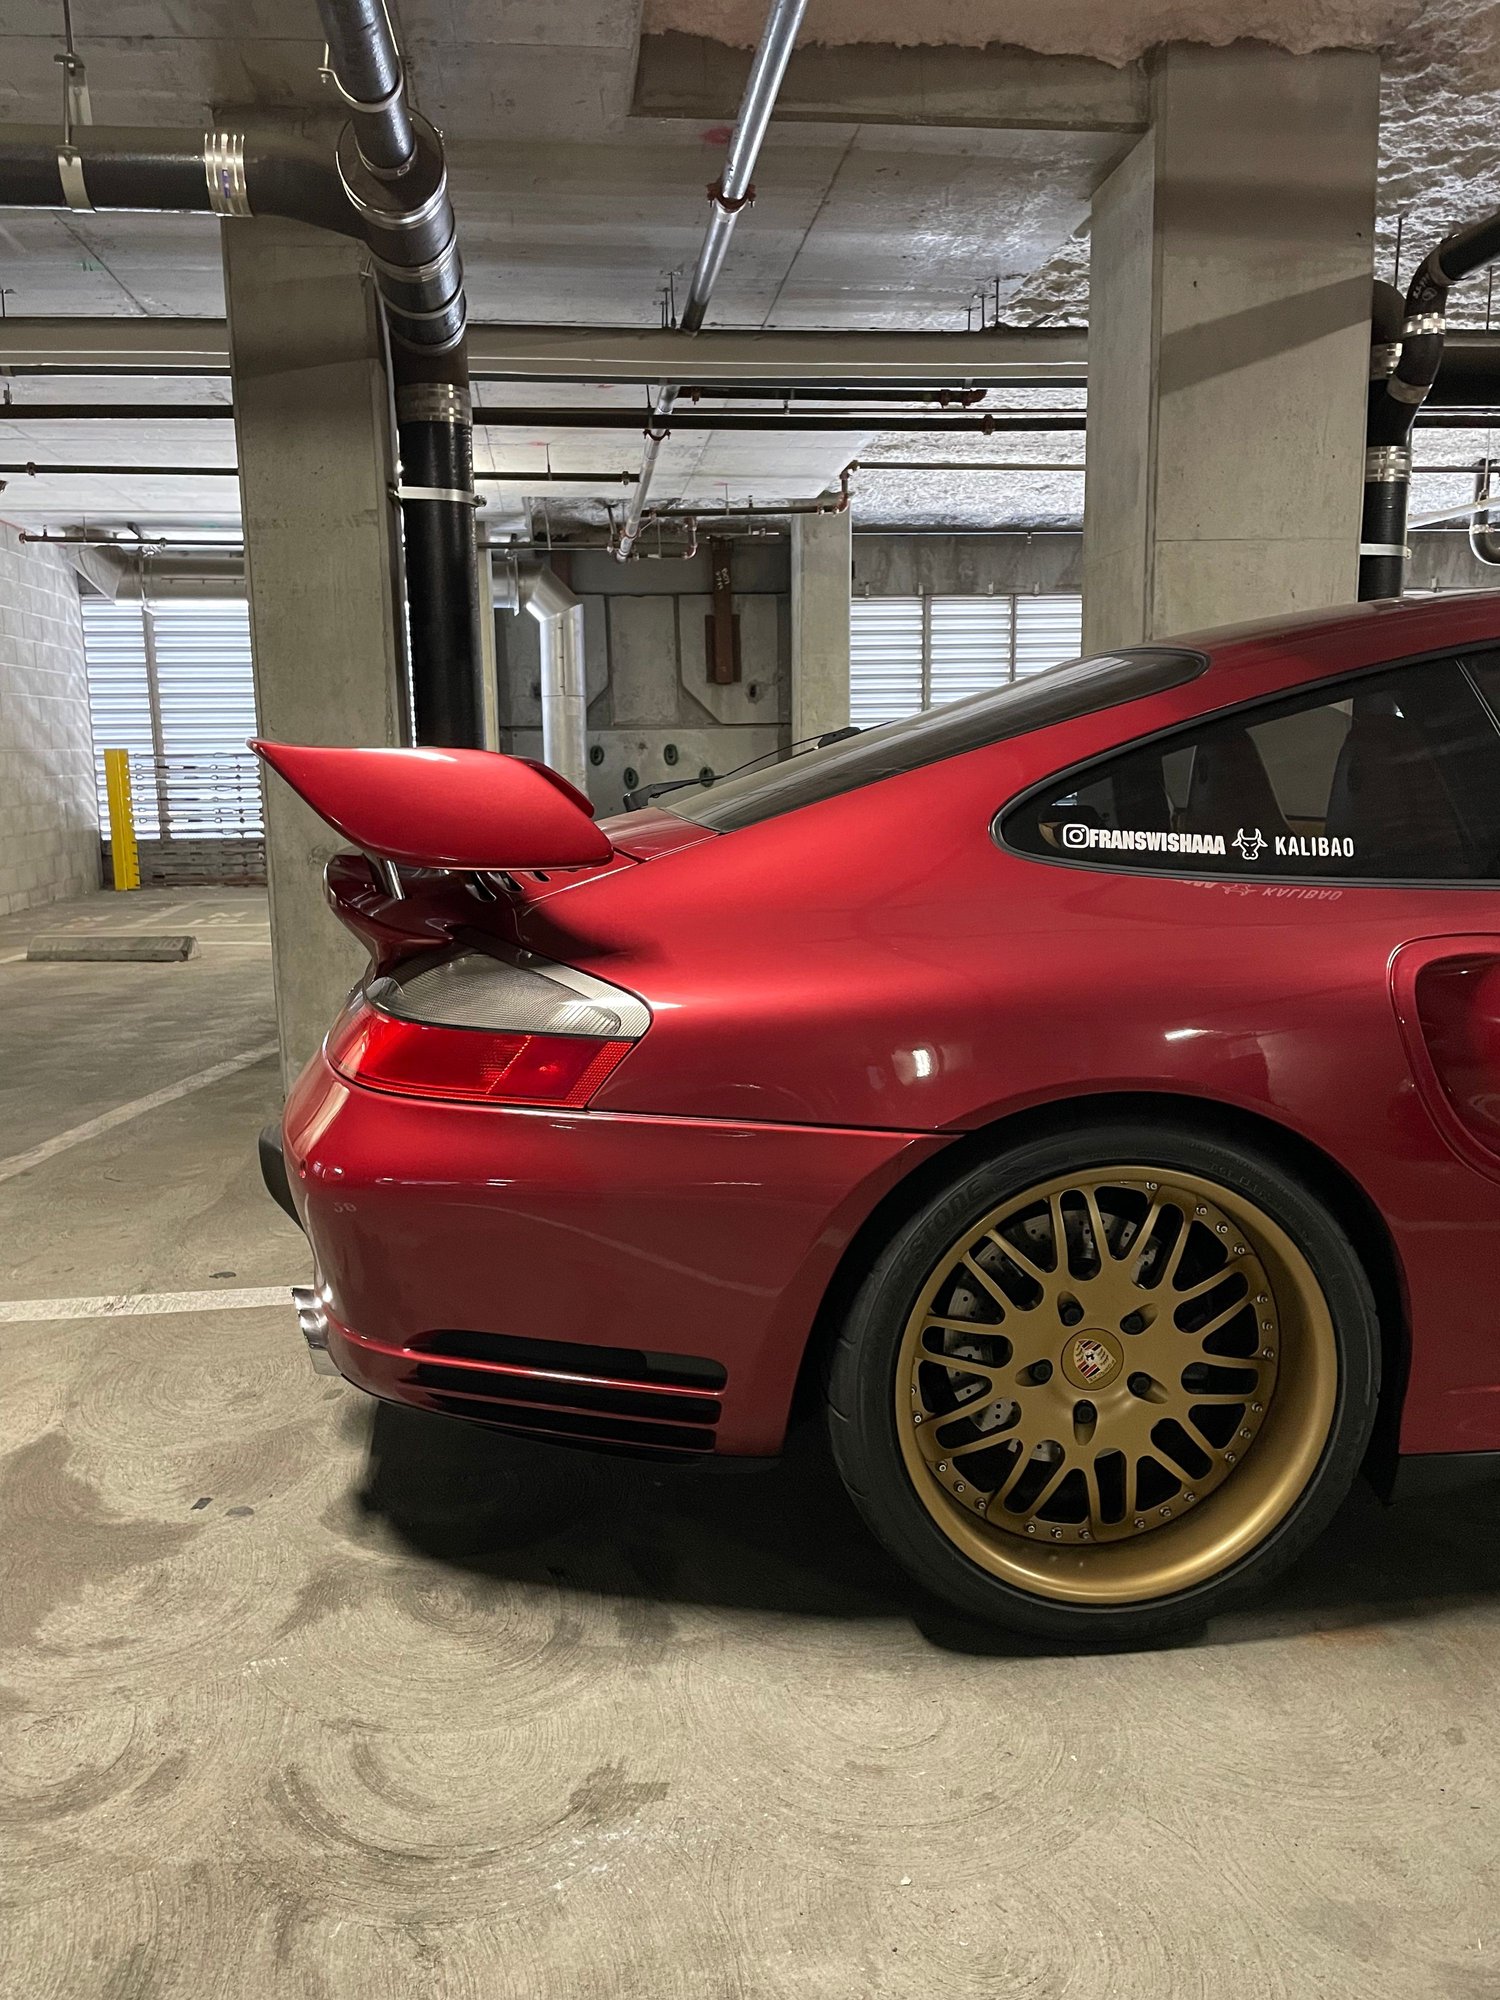
I have the exact same GT2 add-on wing. That's my favorite wing for the 996tt. Looks great, and when in the down position, it isn't as aggressive as the fixed height real GT2 spoiler.
As for the question of whether this is a good option or not, that's very debatable. This ebay kit option leaves your wing at a fixed height. It's benefit is that it is the least expensive repair option. It's downside is that you still have a broken spoiler.
Another option is to repair the stock system so that it functions as intended. Its benefit is that you keep the car stock. The cost depends on whether you DIY that fix or have the dealer do it - it can be very pricey to have the dealer fix it. The downside is that you'll probably be dealing with the same problem again in a few years, and in the back of your mind, you'll always be wondering when the spoiler failure warning will return.
The last option is the Rennkit eRam. The downside is the cost - figure between $1,500 and $2,000 depending on the options you choose, plus you still need to install. The positive is that it is an upgrade, not a repair. Fix it once and forget it. It has more functionality than the stock system, with the ability to go all the way to a 4 3/4" rise at a higher rise rate.
When I bought my car back in 2015, the stock spoiler system was broken. I went with what was then the top-of-the-line Rennkit eRam (4" superfast rise, optional rubber protective boots on the rams plus the spanner wrench for wing removal). With a discount code, the cost was $1,672 in October 2016. That may be the best $$ I have spent on any of my Porsches, if for no other reason, I haven't worried about that stupid spoiler failure warning light for going on 6 years now.
Last edited by FRUNKenstein; 06-09-2022 at 12:21 PM.
Another option is to repair the stock system so that it functions as intended. Its benefit is that you keep the car stock. The cost depends on whether you DIY that fix or have the dealer do it - it can be very pricey to have the dealer fix it. The downside is that you'll probably be dealing with the same problem again in a few years, and in the back of your mind, you'll always be wondering when the spoiler failure warning will return.
The last option is the Rennkit eRam. The downside is the cost - figure between $1,500 and $2,000 depending on the options you choose, plus you still need to install. The positive is that it is an upgrade, not a repair. Fix it once and forget it. It has more functionality than the stock system, with the ability to go all the way to a 4 3/4" rise at a higher rise rate.
When I bought my car back in 2015, the stock spoiler system was broken. I went with what was then the top-of-the-line Rennkit eRam (4" superfast rise, optional rubber protective boots on the rams plus the spanner wrench for wing removal). With a discount code, the cost was $1,672 in October 2016. That may be the best $$ I have spent on any of my Porsches, if for no other reason, I haven't worried about that stupid spoiler failure warning light for going on 6 years now.
Thanks for posting. Of note... Rennkit has never raised the price of the eRam Kit in nearly 8 years of business. In comparison to a new factory hydraulic system (that will fail again as mentioned - we found 14 weak links), much less expensive. That's why even dealers buy them...
[QUOTE=FRUNKenstein;18188537]Thanks for the write up - well done! Whether or not you choose to go with this option aside, good DIY write ups like this one are very valuable, and I appreciate the time you took to put it together.
I have the exact same GT2 add-on wing. That's my favorite wing for the 996tt. Looks great, and when in the down position, it isn't as aggressive as the fixed height real GT2 spoiler.
Thanks for the write up - well done! Whether or not you choose to go with this option aside, good DIY write ups like this one are very valuable, and I appreciate the time you took to put it together.
I have the exact same GT2 add-on wing. That's my favorite wing for the 996tt. Looks great, and when in the down position, it isn't as aggressive as the fixed height real GT2 spoiler.
May I ask where you get the GT2 spoiler?
Mine was installed by a previous owner, so not much help. I think you can buy them through aftermarket parts dealers.

 06-08-2022 | 03:25 AM