When you click on links to various merchants on this site and make a purchase, this can result in this site earning a commission. Affiliate programs and affiliations include, but are not limited to, the eBay Partner Network.
900whp! Car must fly in the straights. Can’t even imagine how much fun that would be!
edit: would love to see the wing and how you like the stability with wing on the chassis.
I will post up pics soon. The guys at the shop are finalizing the mounting of the wing and installation of the front splitter as we speak. I stopped by yesterday and we made a few tweaks to the CAD program prior to milling the final version. Getting the uprights done correctly is tricky due to the bends involved. It's a lot more involved than one would think but it's gonna turn out great. The mounting will be very solid, basically identical to the way it's mounted on the RSR. We still have to engineer the front attachment of the deckled as the whole decklid will be removable.
That looks very solid - is there another mount point out of frame?
No. It’s bolted in 6 locations that you see in the pic. The 3 main locations being the ones that the decklid hinge normally bolts to. The hinge is not used in this application.
Last edited by powdrhound; 03-24-2023 at 07:37 PM.
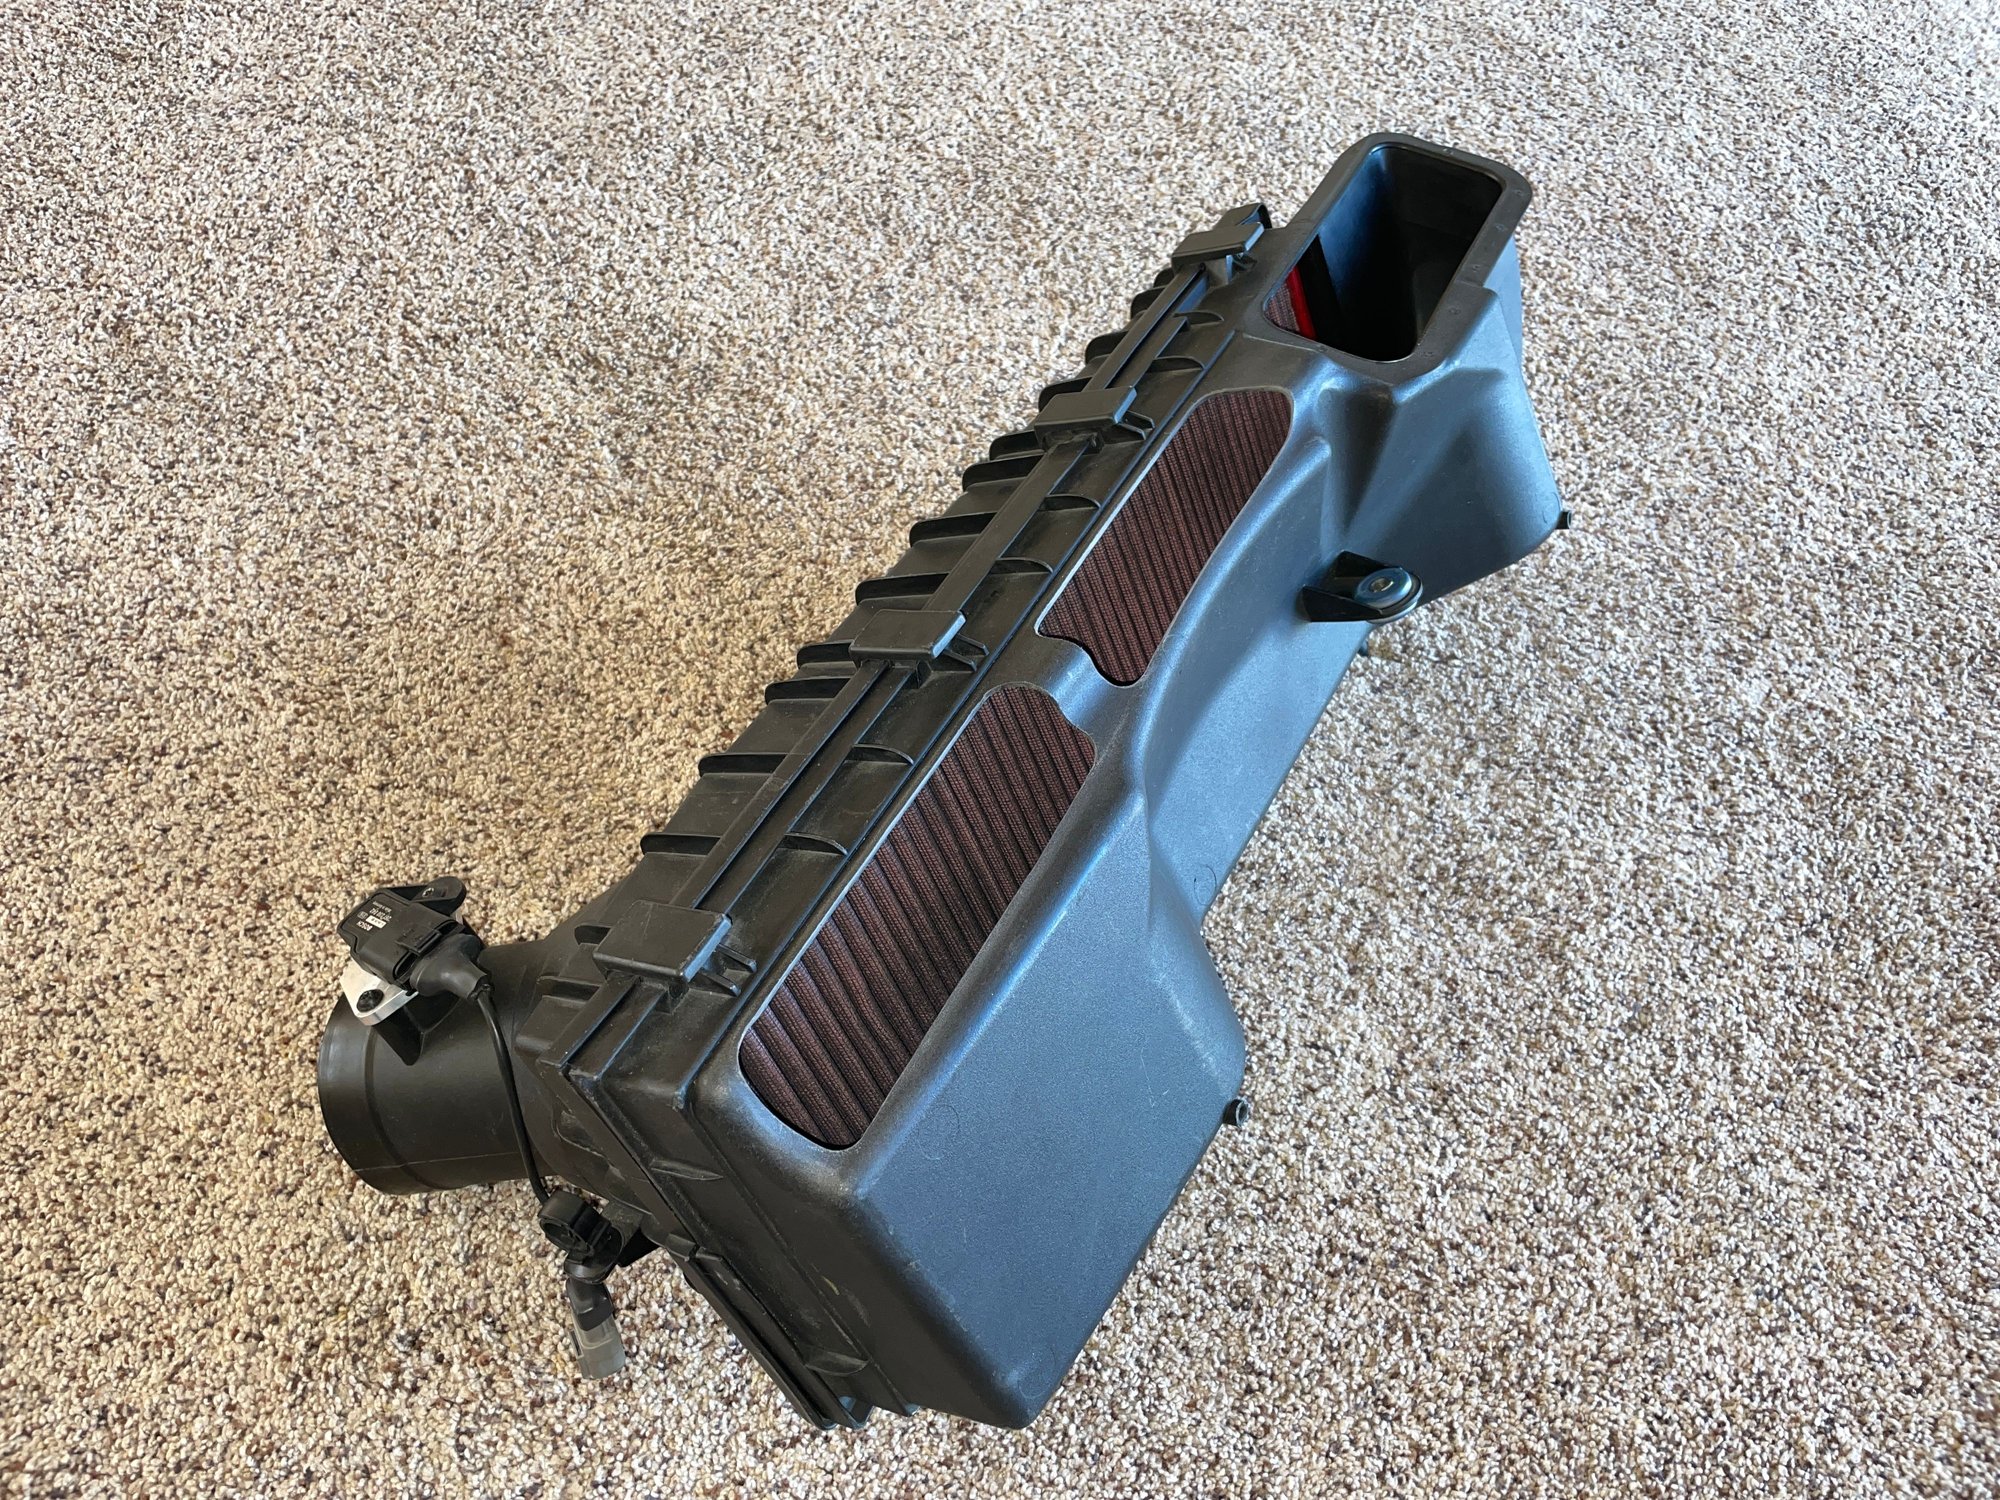
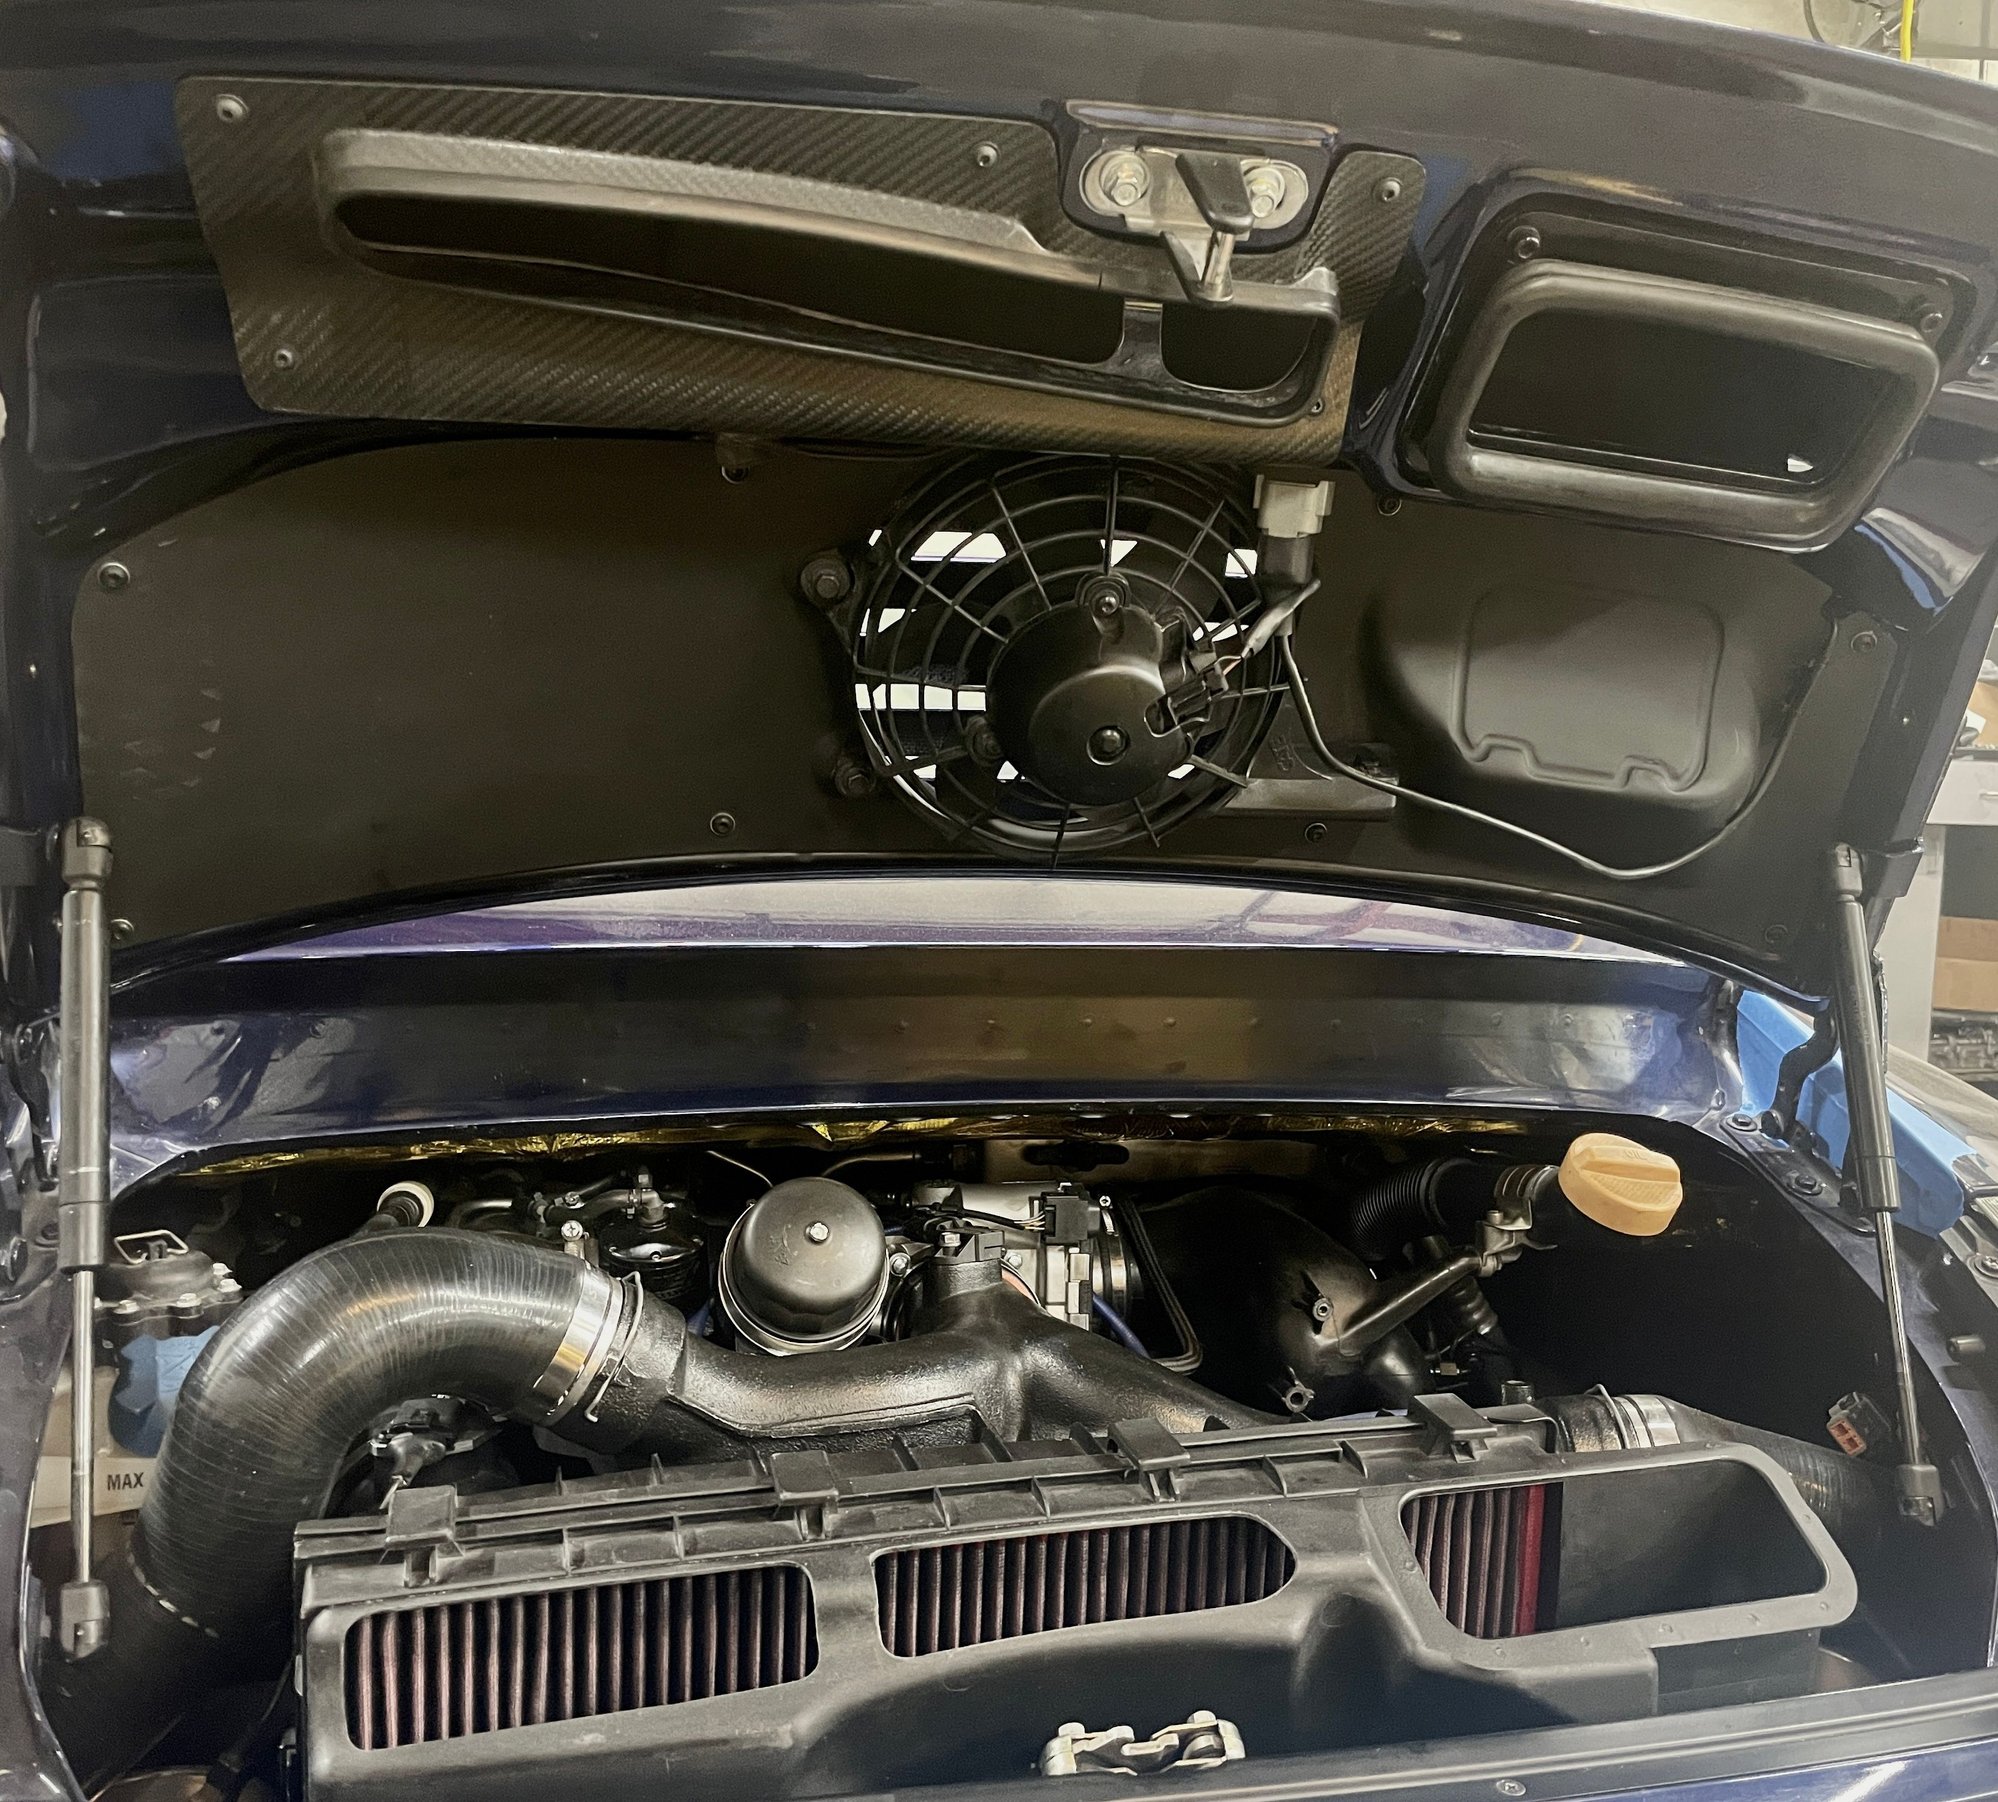
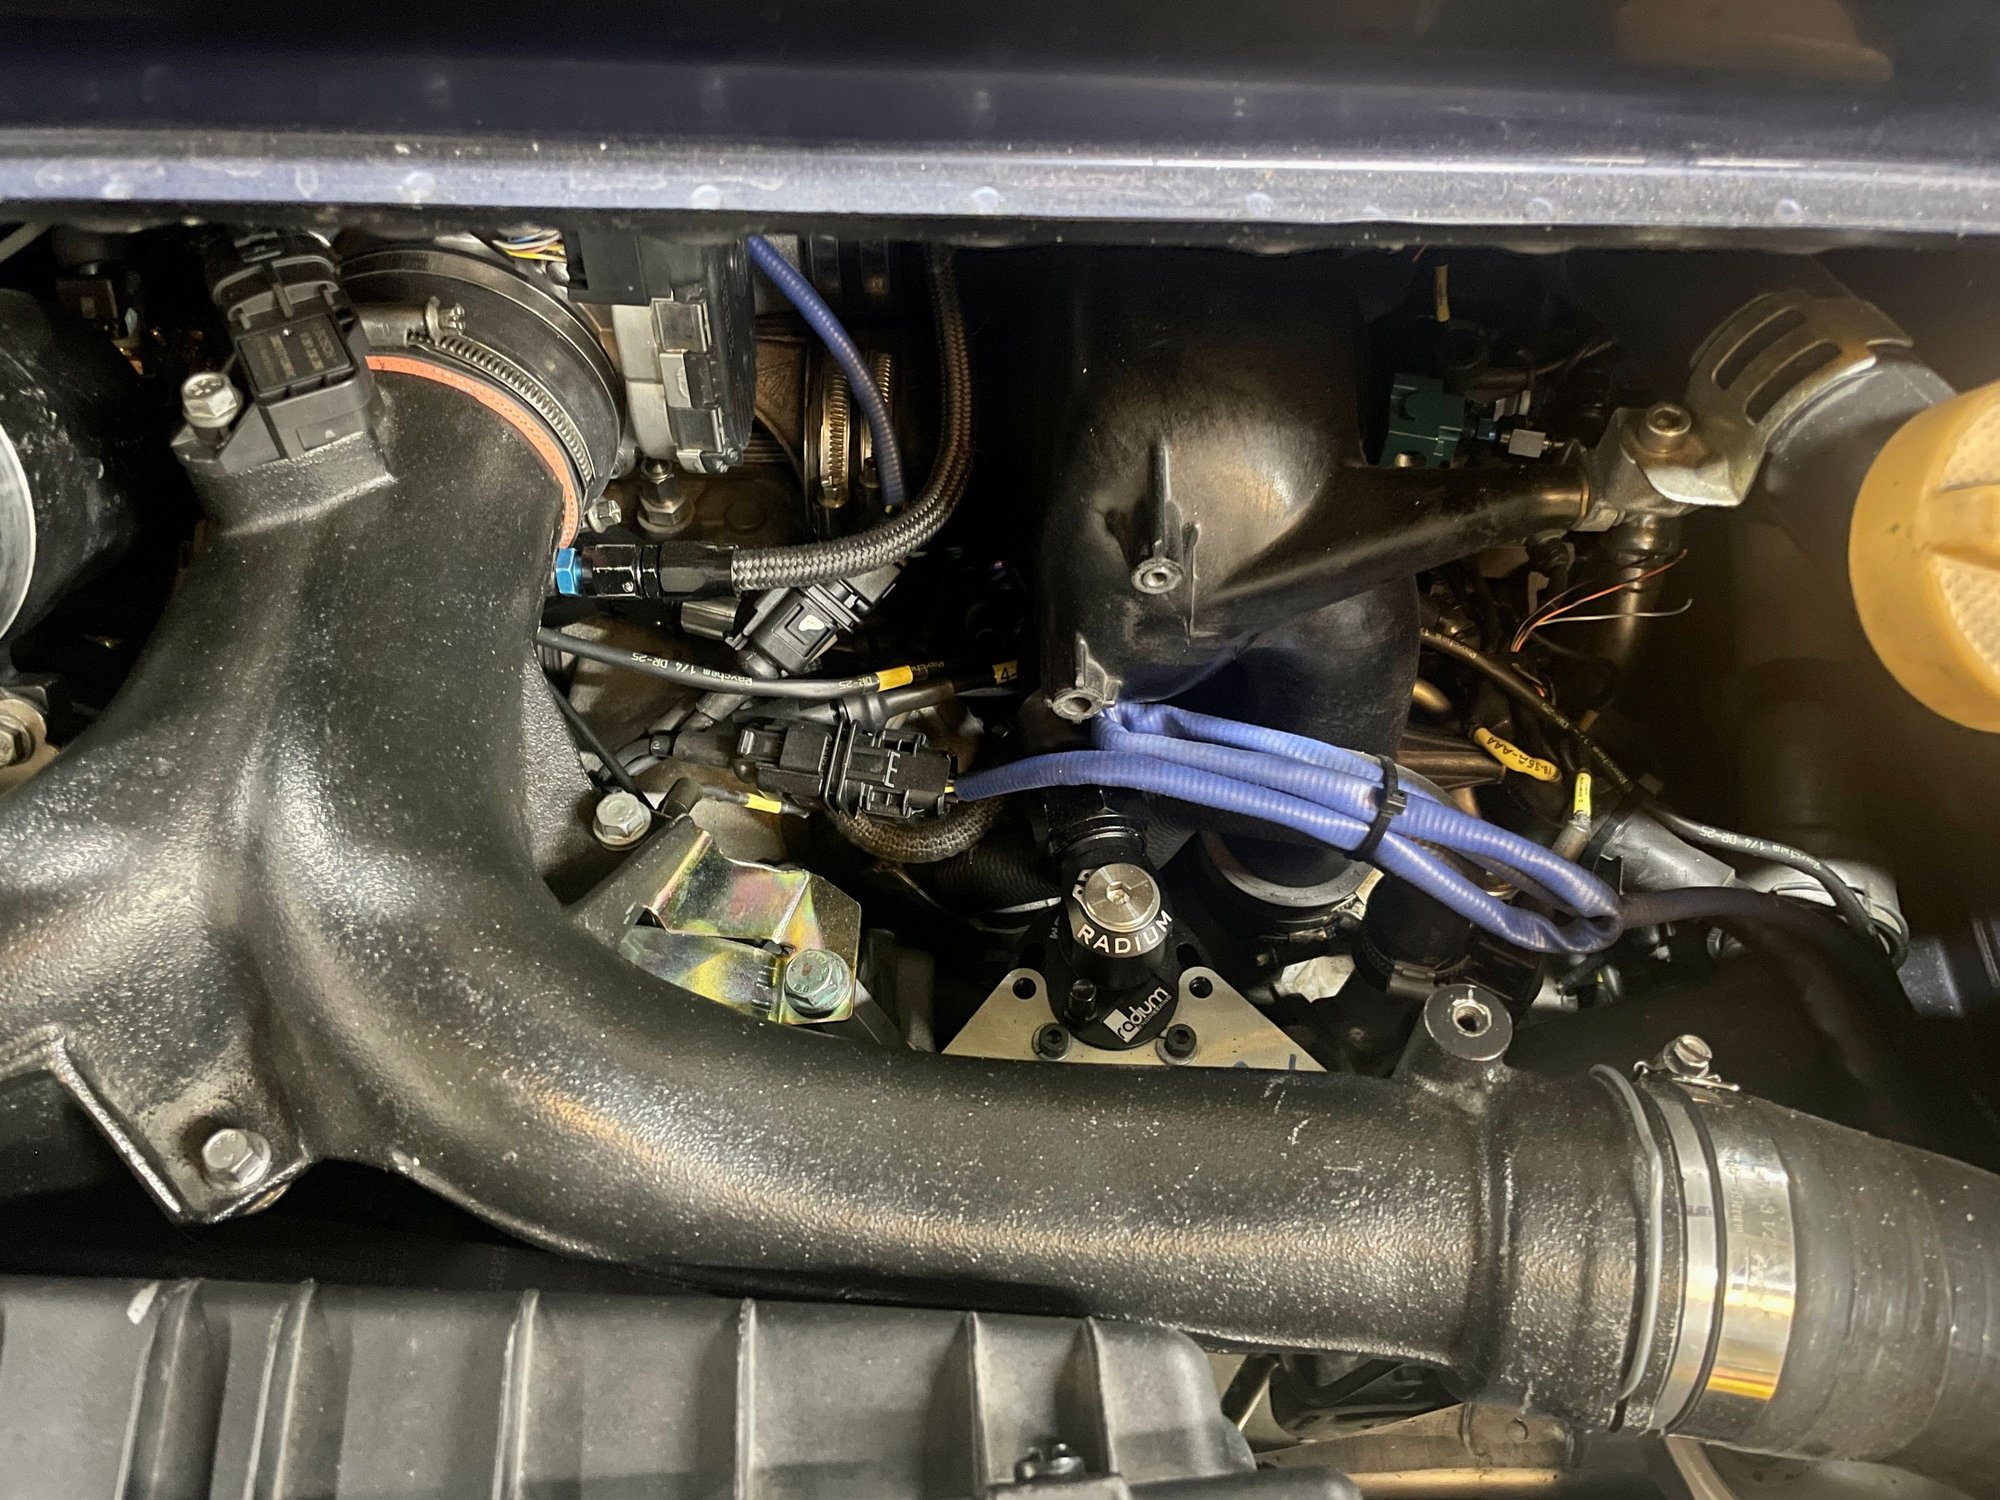
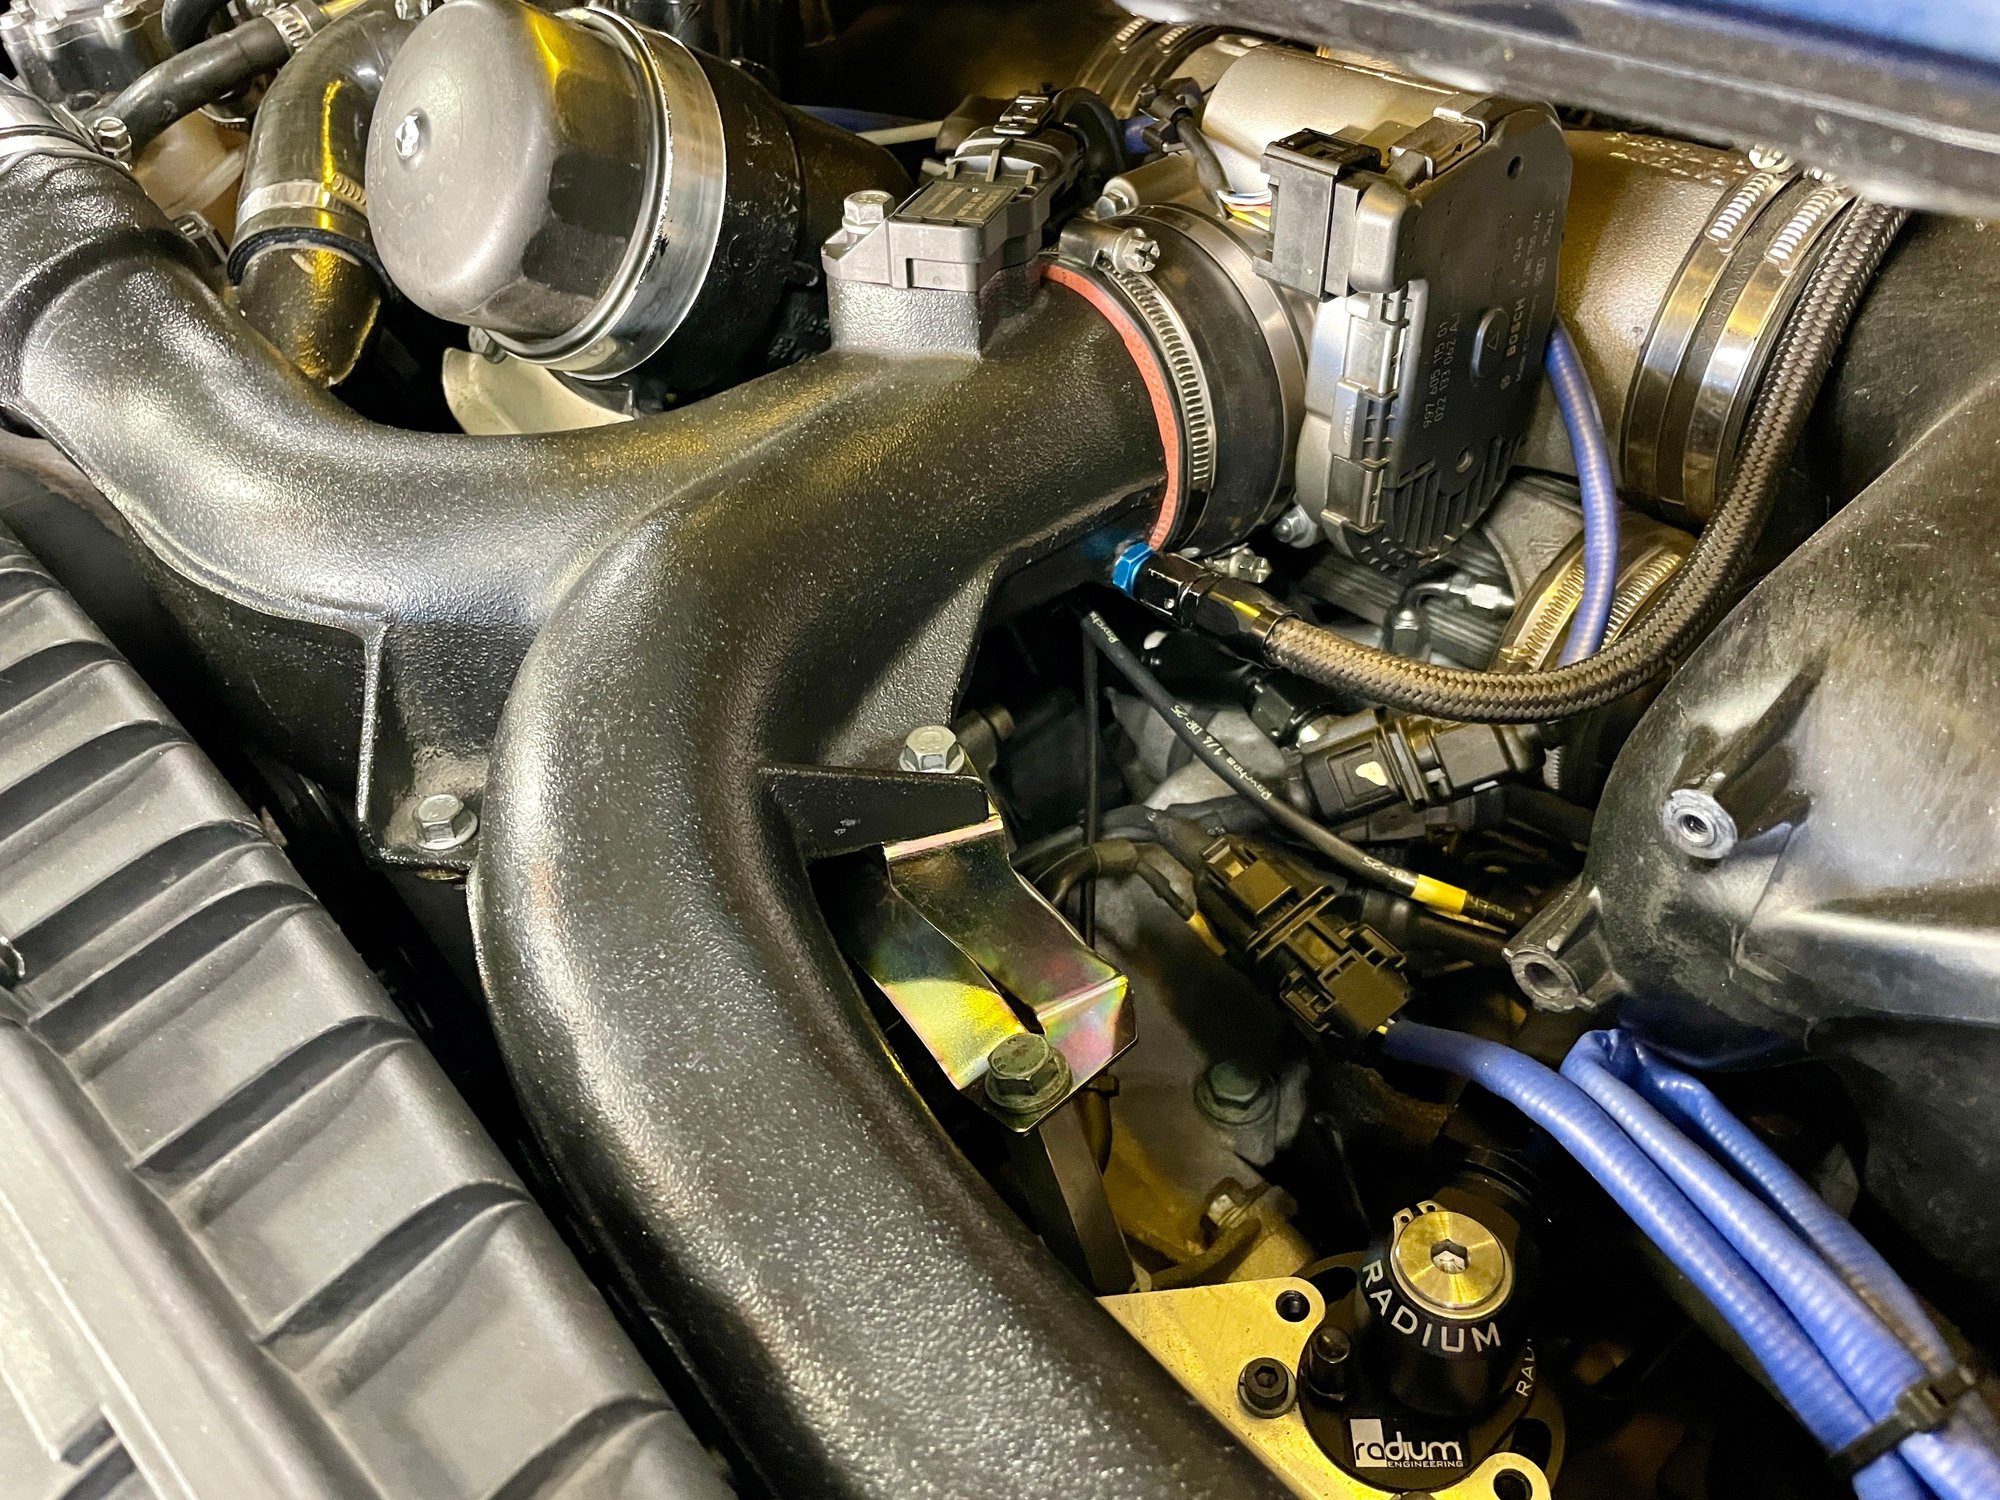
Finally got around to doing the airbox mod to free up the air inlet restriction. This mod was used by Manthey Racing back in the 996 era days. Installation was a bit tedious with a full days worth of work but it turned out great with perfect fitment and seal between the decklid and the airbox. This is important to ensure you do not have any gaps which would allow hot engine bay air to be sucked in. Measure 12 times and cut once is the name of the game here. This mod essentially doubles the amount of air going to the filter panel. Shown in the bottom pic is the slick oil catch can set up that the guys installed on the engine last month. The Radium catch can used is very slick with its own dipstick and a provision for a simple drain tube with a petcock. The catch can in this application resides in the spot where the A/C compressor and PS pump would normally reside. Also note the Oil filter housing mod with the deletion of the duck bill...
Last edited by powdrhound; 04-06-2023 at 09:43 PM.
How is the intake piping fabrication coming alone @powdrhound? I remember seeing some pics of that in the works.
Chris made a large diameter Y-pipe to test. We did a back to back dyno comparing it to the OEM Y-pipe and surprisingly there was virtually no difference in power, maybe a very tiny increase. As such, for the time being we shelved that because we will need to make on when we switch to the 997Cup intake / TB. As such, it did not make sense to devote any time to it for this application.
What we are going to be doing however, is to swap out my existing hard plastic turbo intake pipes for larger 3.0" ID units. This will roughly double the cross section area and should drop the intake restriction in half which will bring sizable gains. I have already received the piping and we will install it at the next engine drop. Chris feels this will bring huge gains on the order of 40-50whp, or conversely a reduction of roughly 0.1 bar boost per given output.
Shown in the bottom pic is the slick oil catch can set up that the guys installed on the engine last month. The Radium catch can used is very slick with its own dipstick and a provision for a simple drain tube with a petcock. The catch can in this application resides in the spot where the A/C compressor and PS pump would normally reside. Also note the Oil filter housing mod with the deletion of the duck bill...
Where are you feeding the catch can from? I did look at the Radium and Nuke, and thought about running to the large port at the top of the oil tank (that normally runs to the intake on the driver's side).
Where are you feeding the catch can from? I did look at the Radium and Nuke, and thought about running to the large port at the top of the oil tank (that normally runs to the intake on the driver's side).
There is a hose that runs from the top of the oil tank port to the catch can. Same port that is normally connected to the intake. This is the AOS can:
Yep I ran the breather like many tuners and people tell you to do. It makes an ungodly mess all over the back of the engine- maybe it would be fine for cars and coffee cruising or cars that see minimal mileage, but in my car that sees basically only track use, and another local car that is a daily driver, we have noticed it made a cooked on oily mess all over the area around and below the filter. I switched to the Radium catch can running off the top hose of the reservoir a while back and that stopped the mess from getting worse, but I couldn't get it clean no matter how much I scrubbed at it. Don't do the little filter Paolo, you've spent so much time making your engine look brand new from your thread. I am having Chris make a bracket for me that matches John's since we both have PS relocated, but before this I had the catch can mounted using hose clamps on the driver side of the engine bay near where the airbox goes. I never test fit it with the airbox, I was also running the misguided filters on turbos setup, but I think you could probably squeeze it in beside the airbox on driver side.
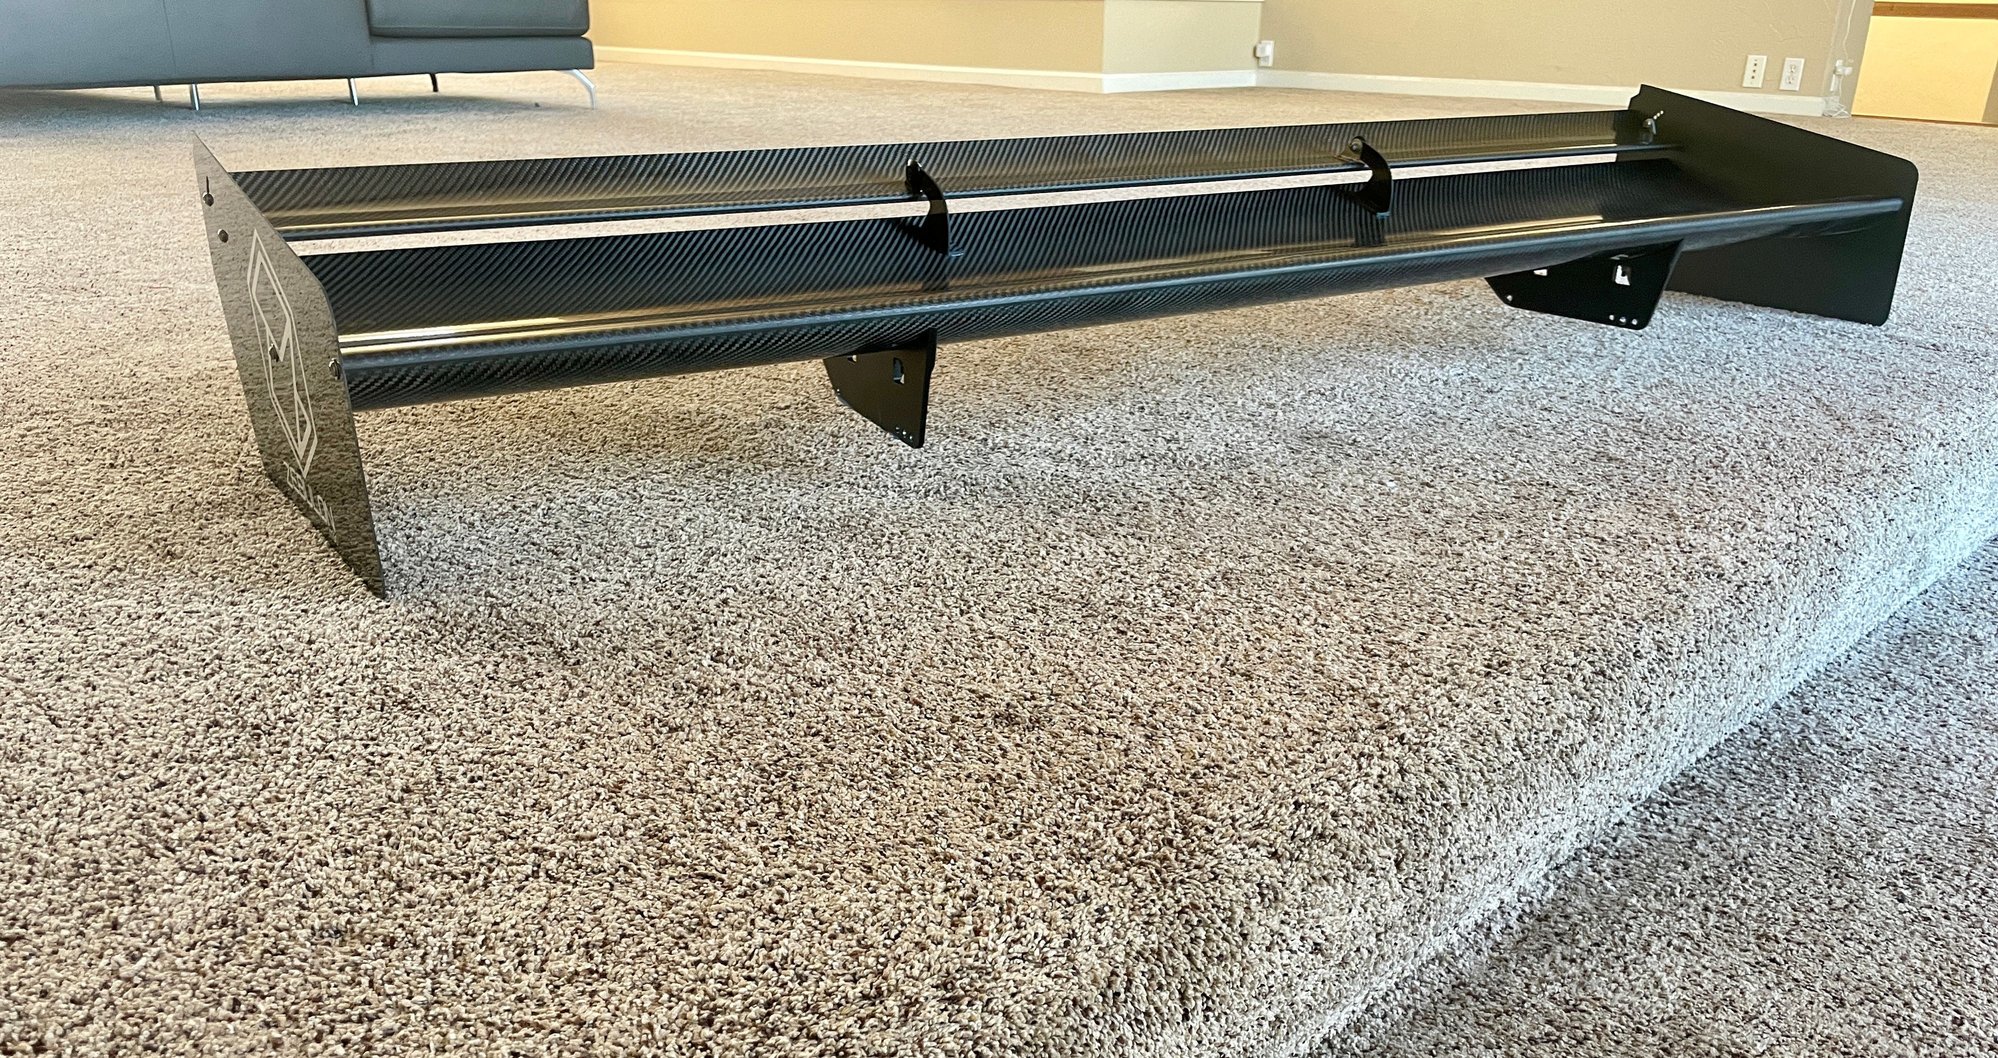
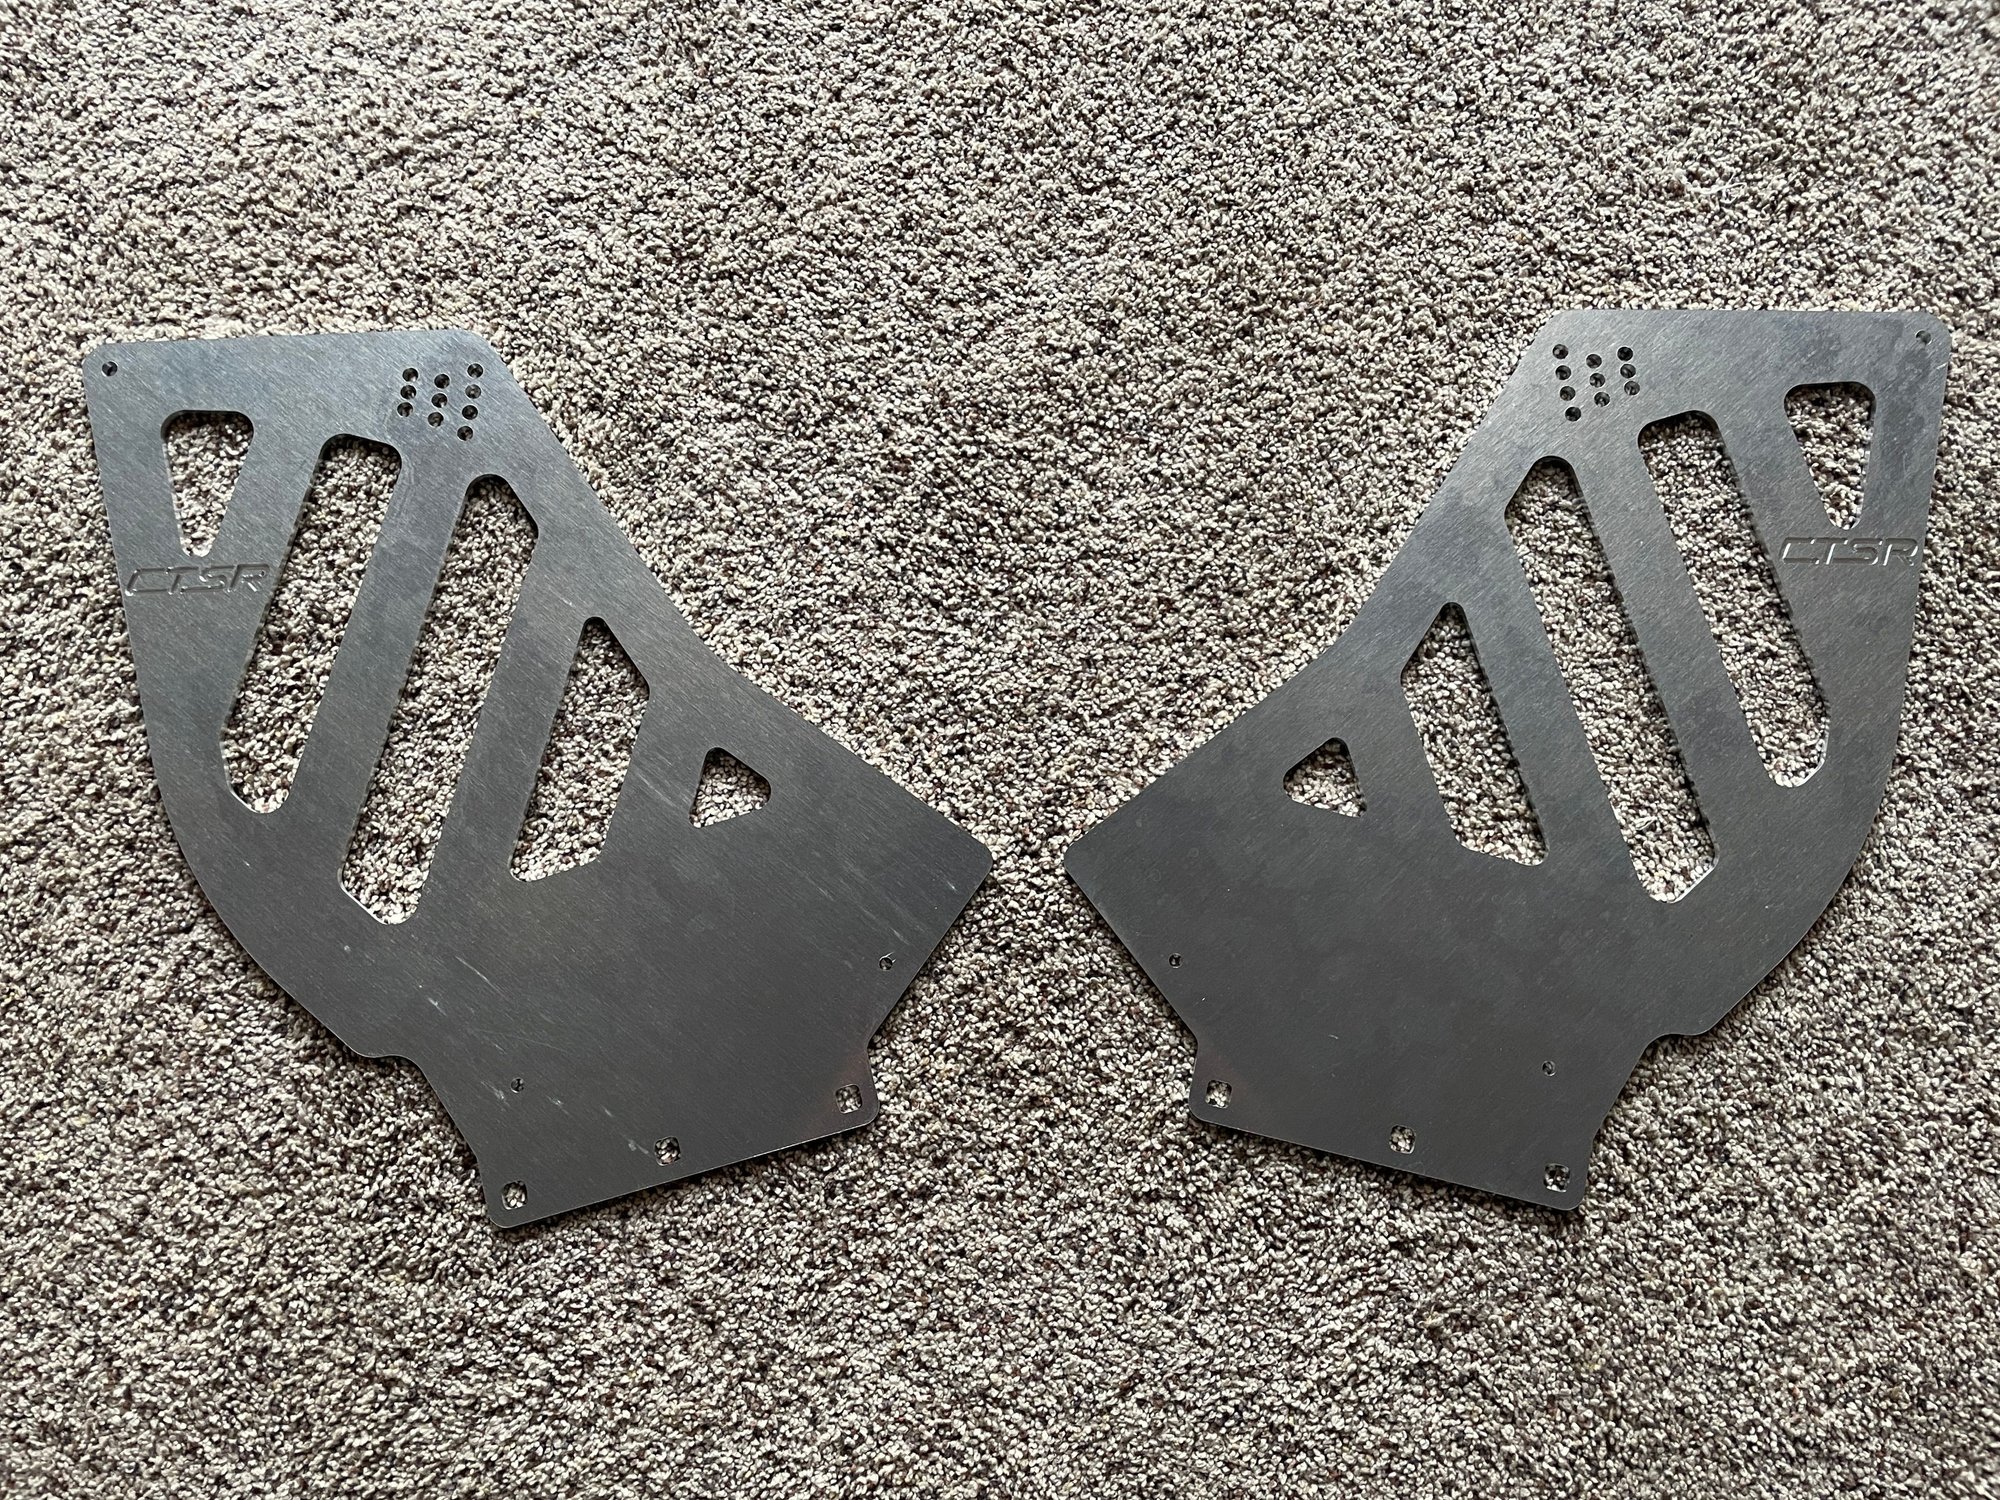
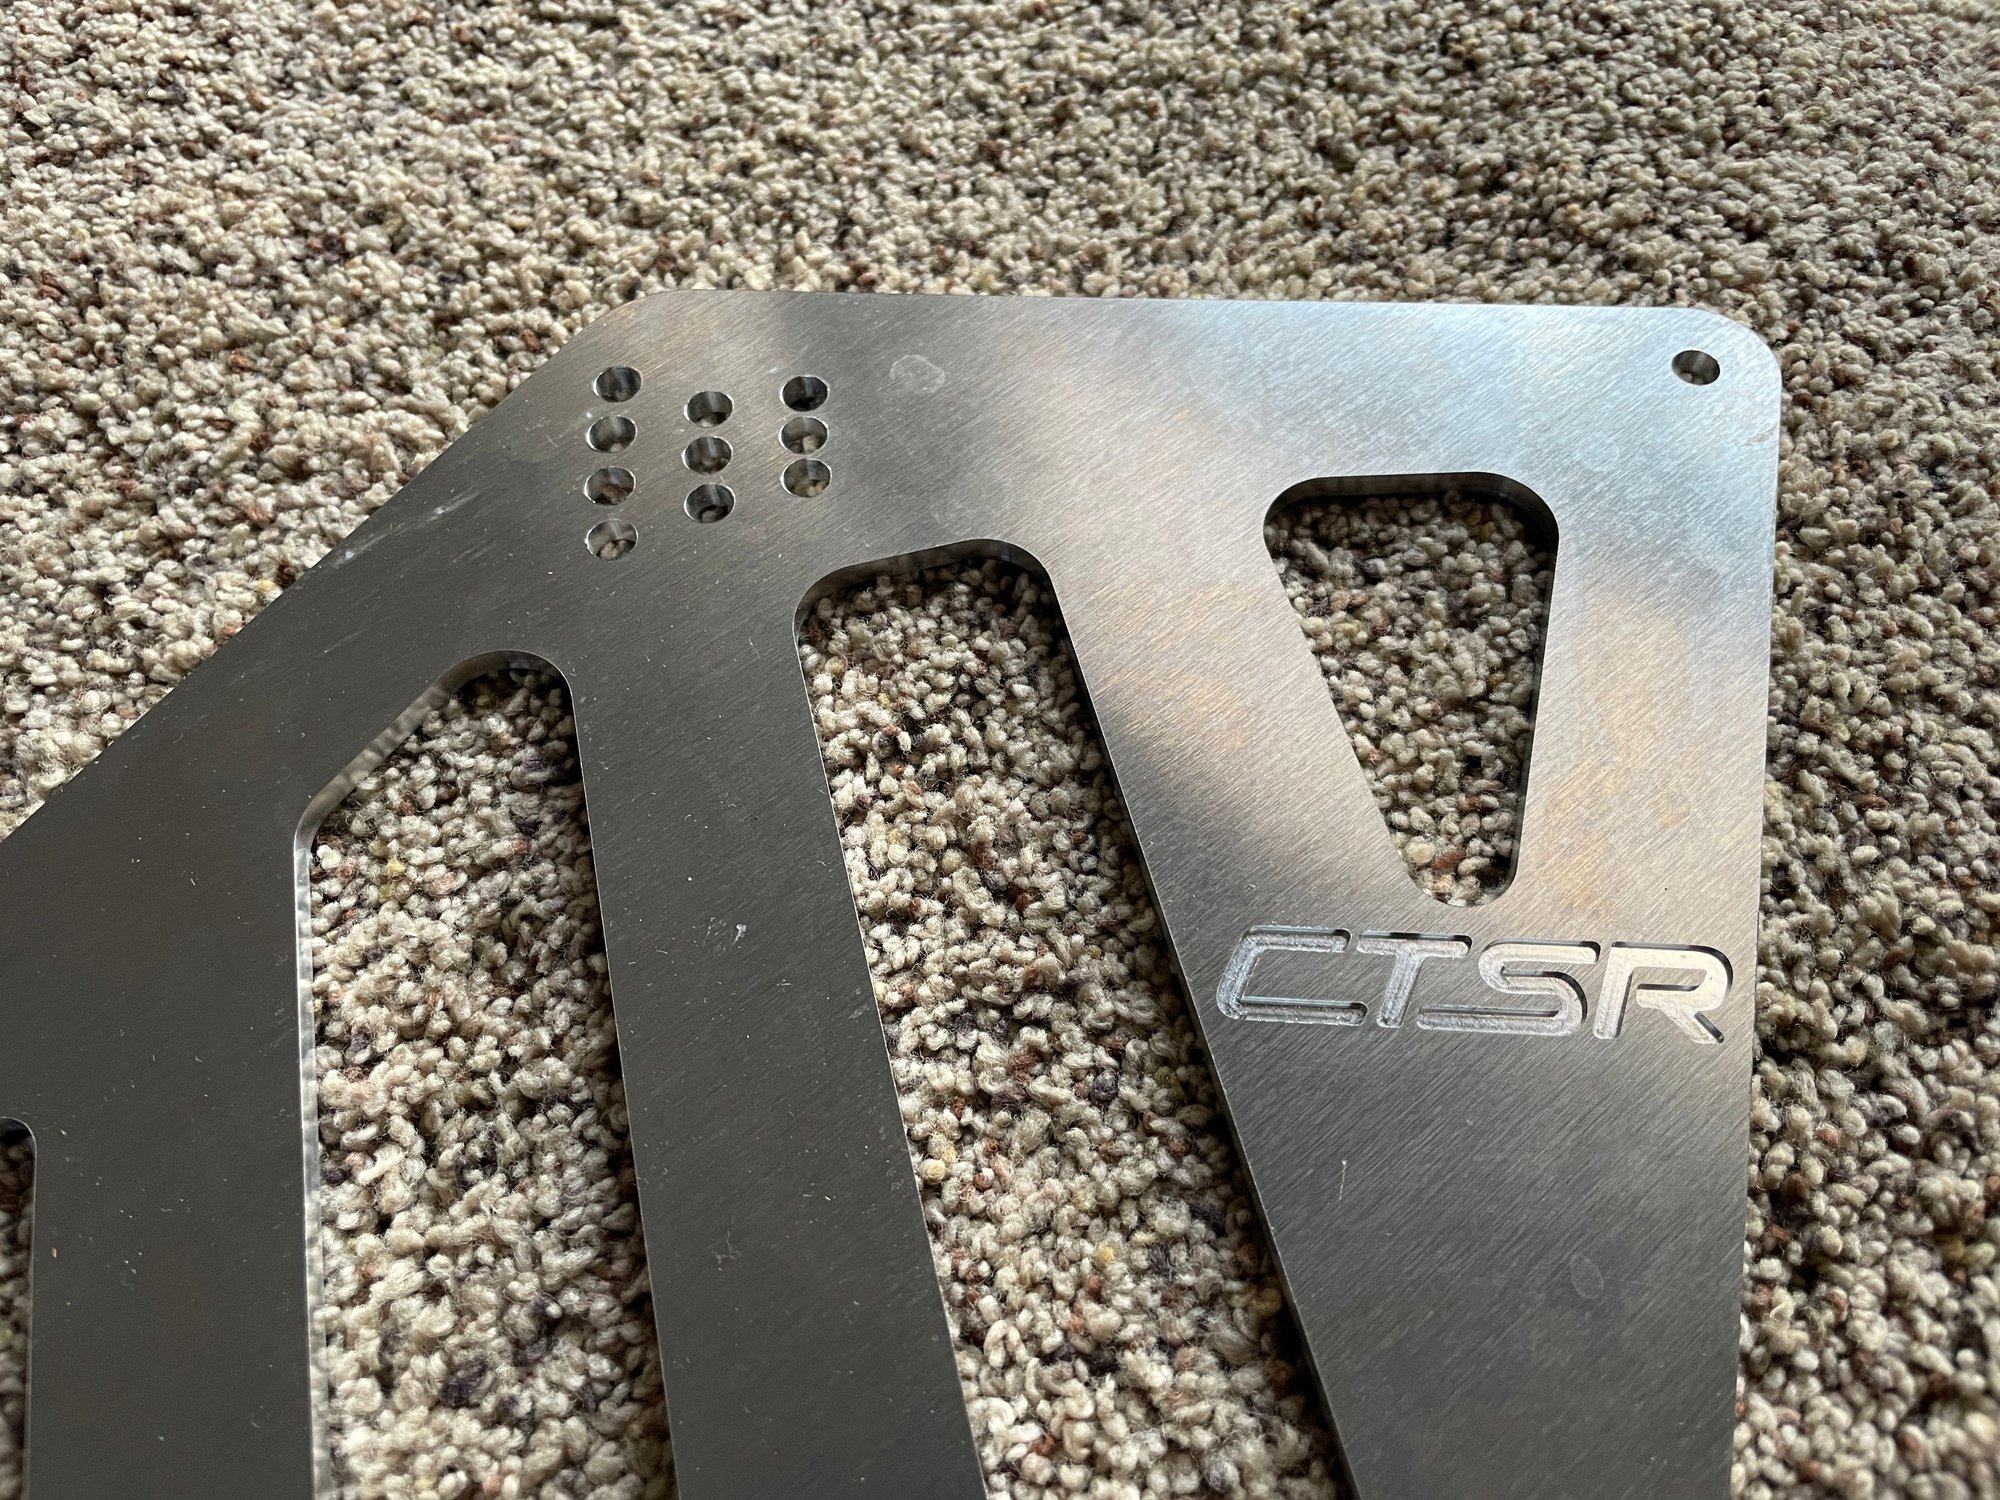
Wing is ready to be mounted up and the wing uprights are fresh off the CNC machine. The wing profile was CAD designed and came out perfect, dead true and light. Both the wing and TE flap are independently adjustable. We made a few changes to the exact position of the wing with respect to the body and the 3rd version of the wing uprights are fresh off the CNC mill and now have to go into the bending machine to get the two critical bends put on. After that, they will get Ceracoated flat black. Details, details...
Last edited by powdrhound; 04-07-2023 at 10:13 PM.
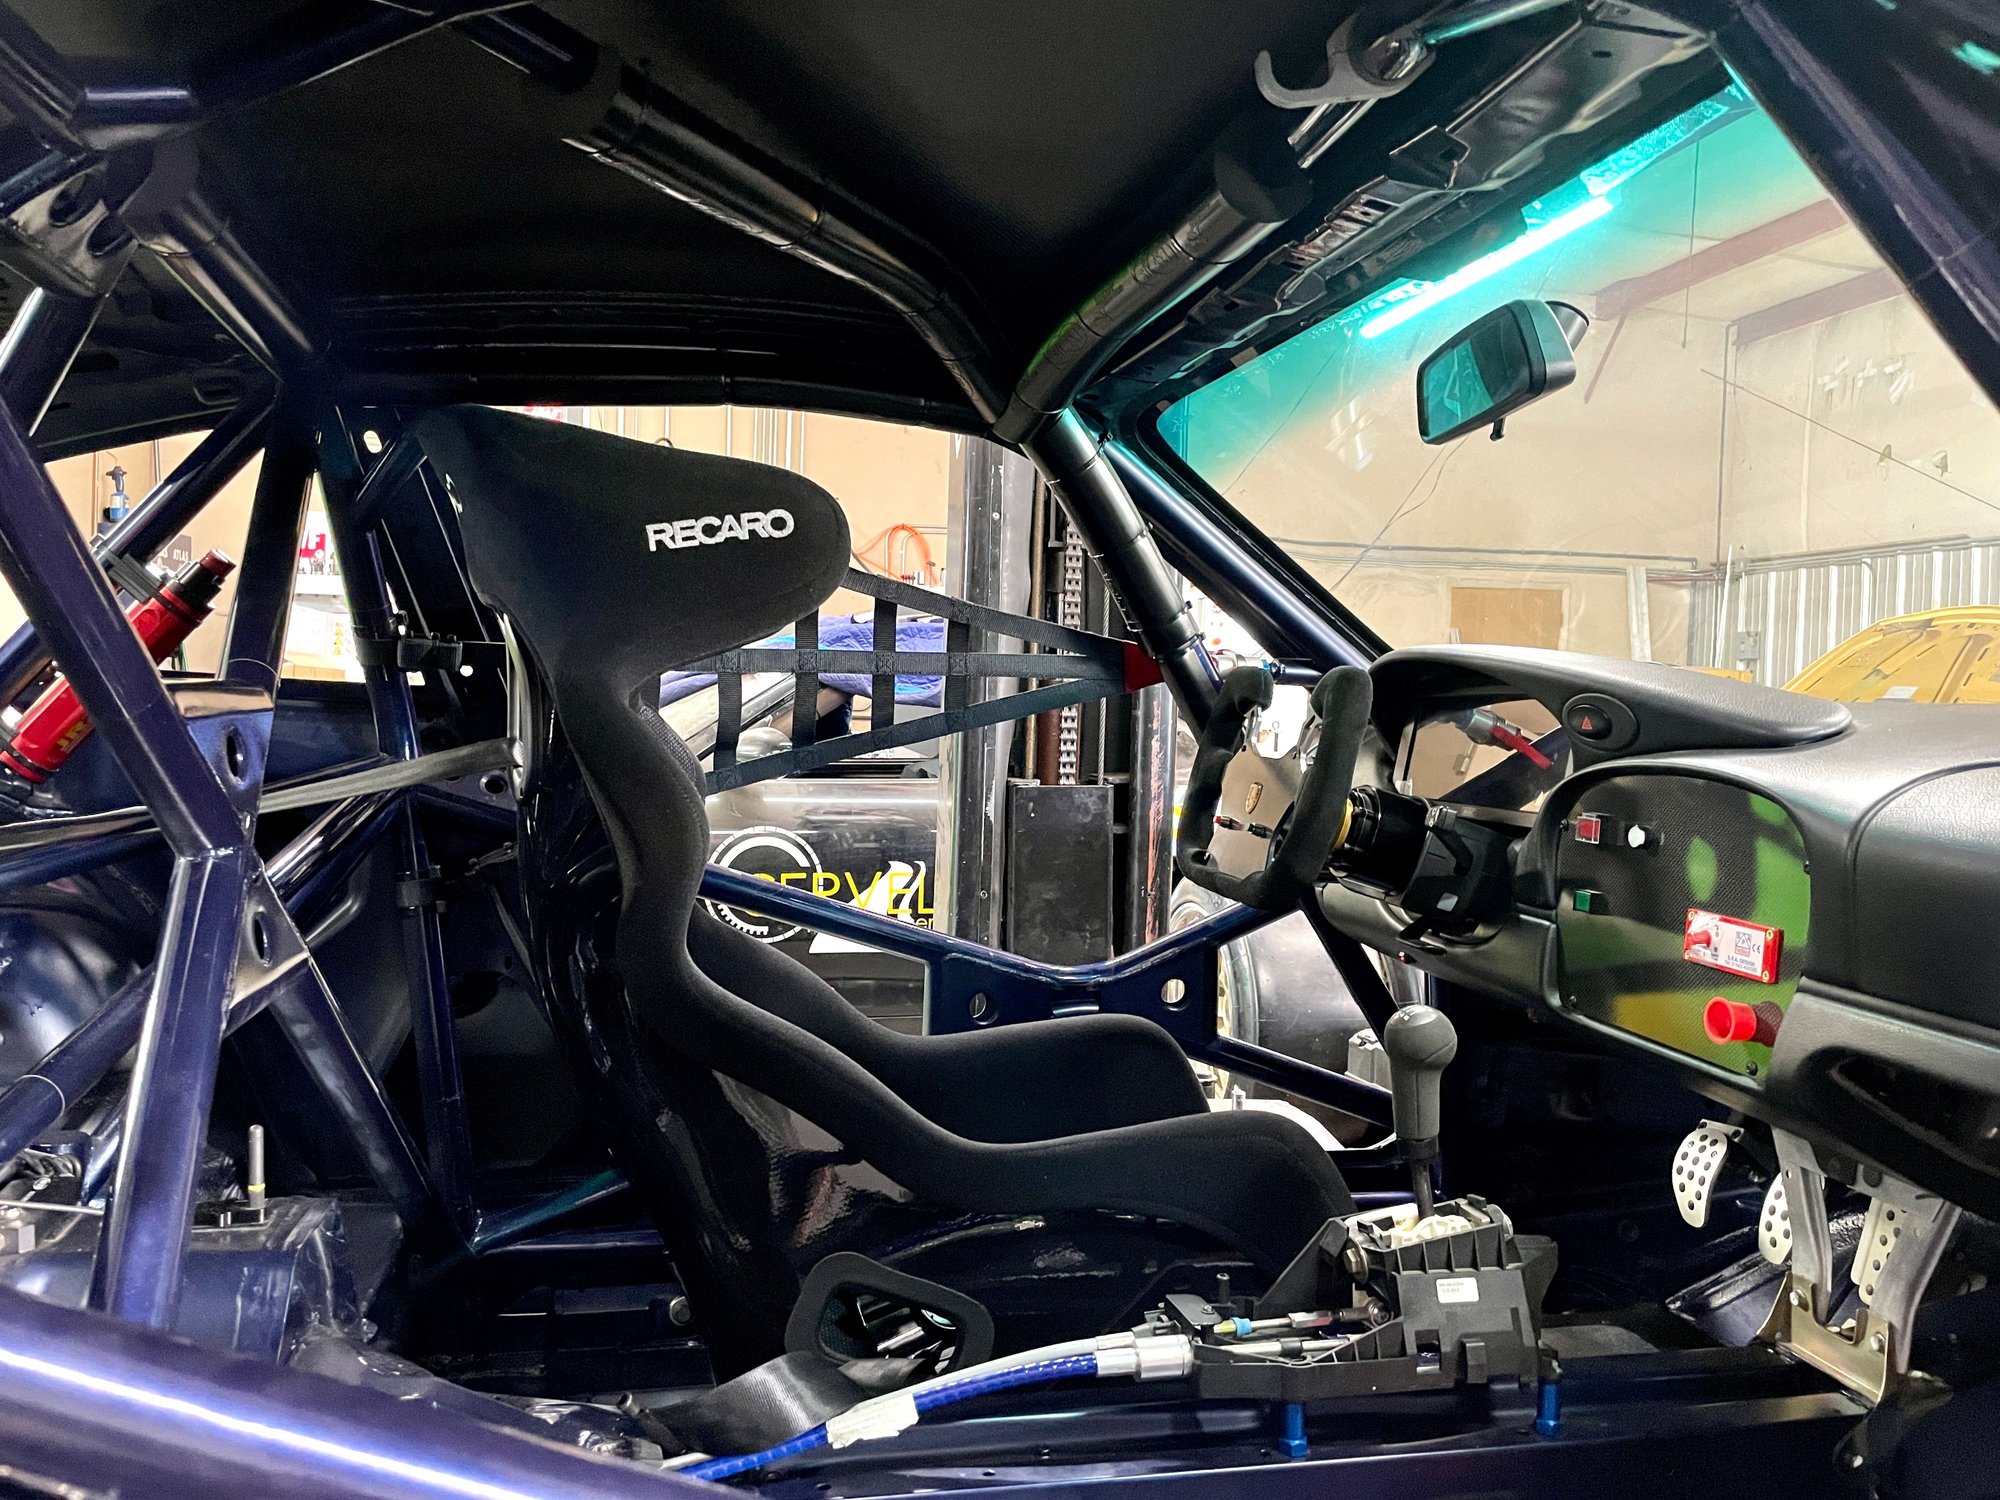
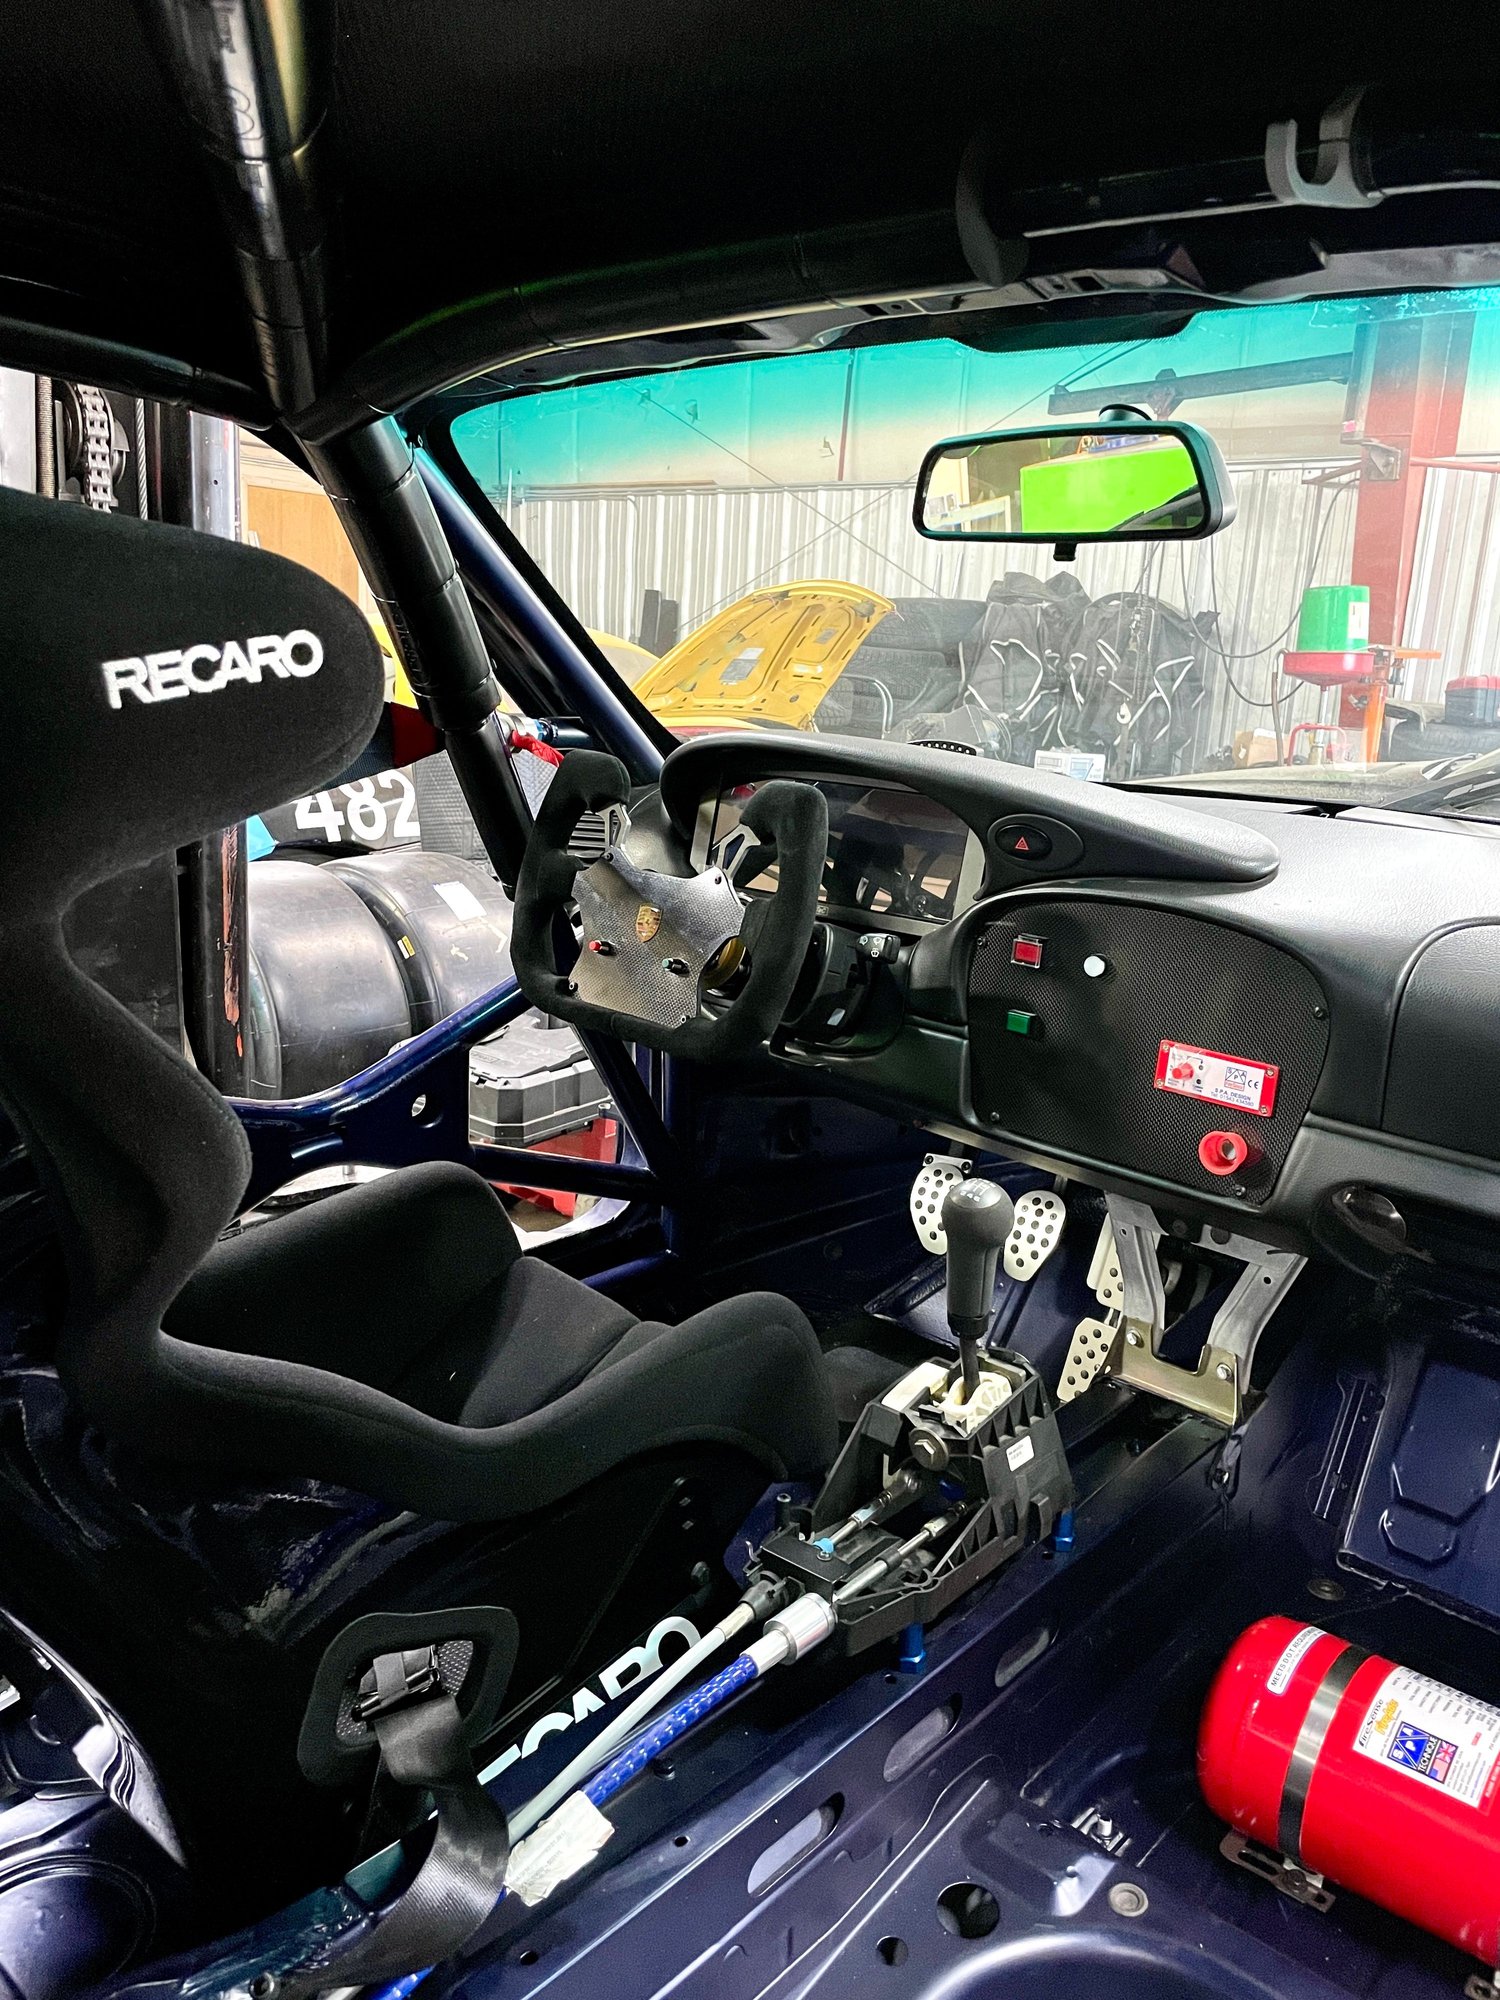
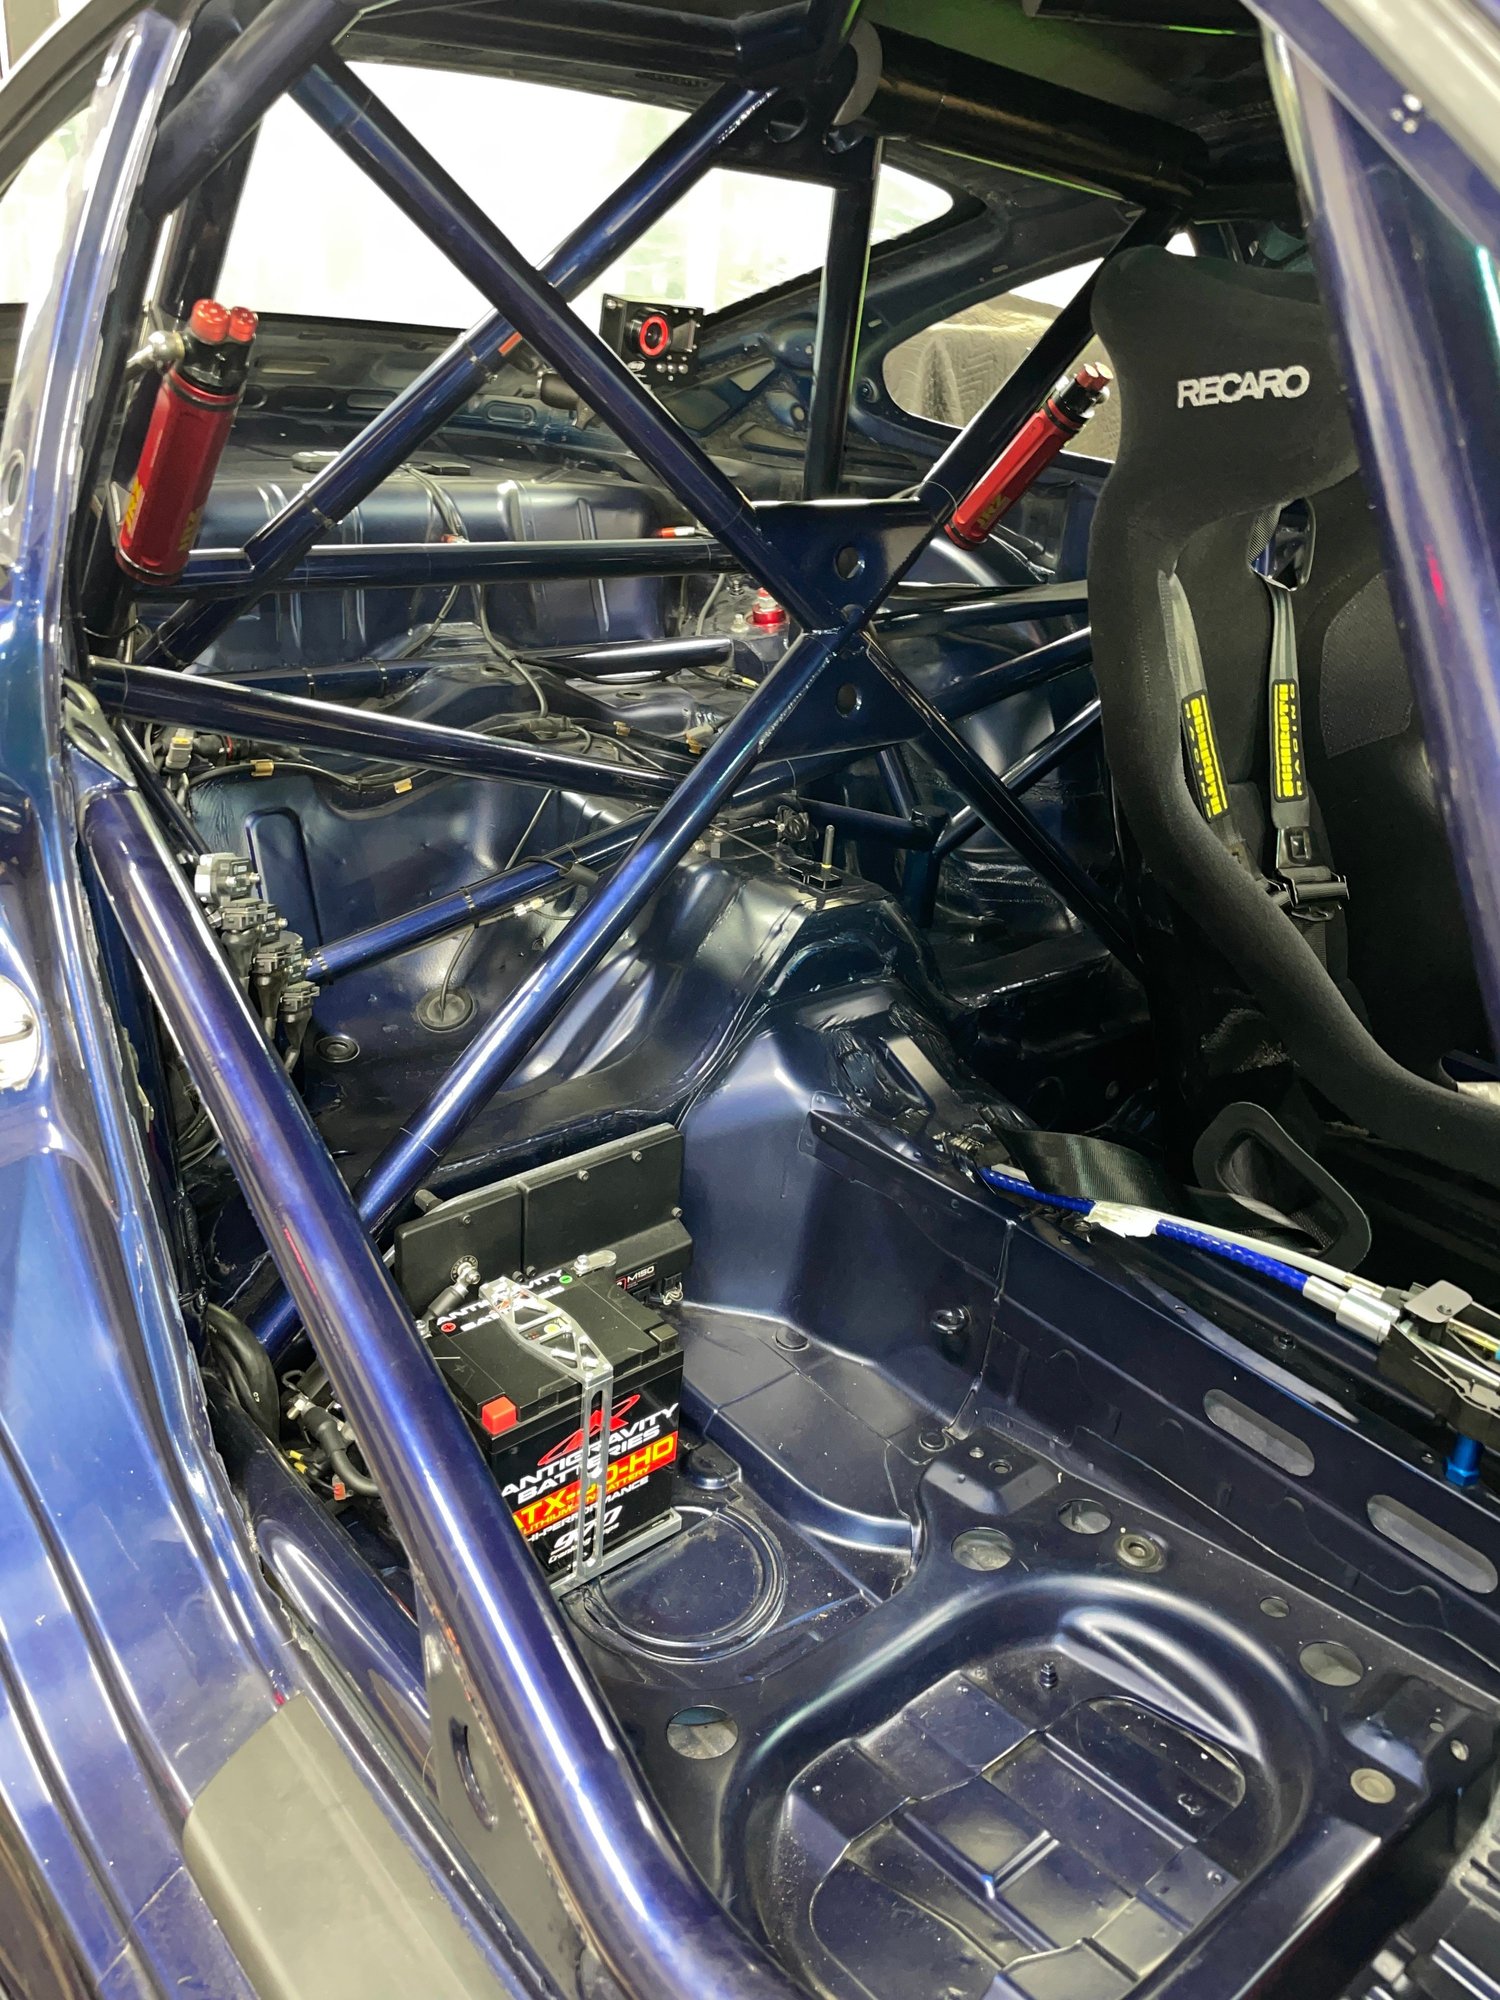
After a long hiatus with summer vacation and a million other things keeping me busy, I finally made it up to the shop to finish installing the interior now that the rest of the final bits and pieces had come in from Recaro. All I need do is to pop in the rear side windows which is a 10 min job and call it done. Hopefully we can make it out to the track in the next week or so to validate and tweak the engine mapping under on track conditions and then start suspension tuning and set up. Cheers...
Last edited by powdrhound; 07-24-2023 at 01:02 AM.
 03-24-2023, 02:16 PM