When you click on links to various merchants on this site and make a purchase, this can result in this site earning a commission. Affiliate programs and affiliations include, but are not limited to, the eBay Partner Network.
Greetings fellow purveyors of all go-fast items from Germany-
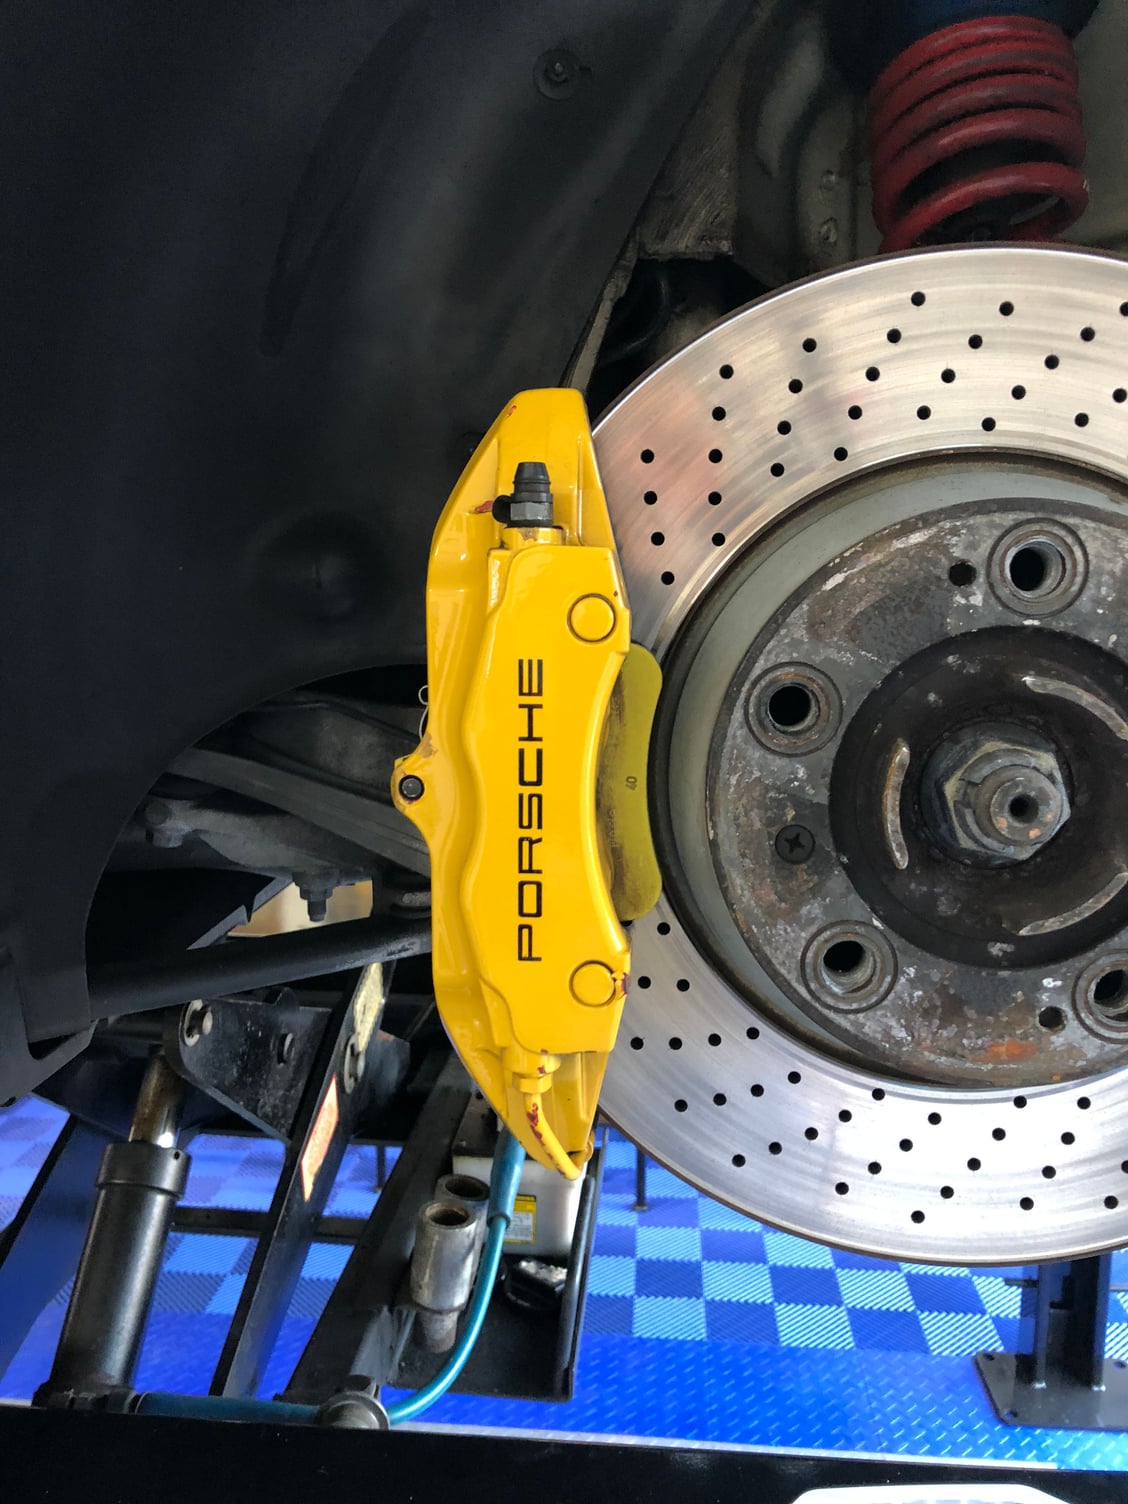
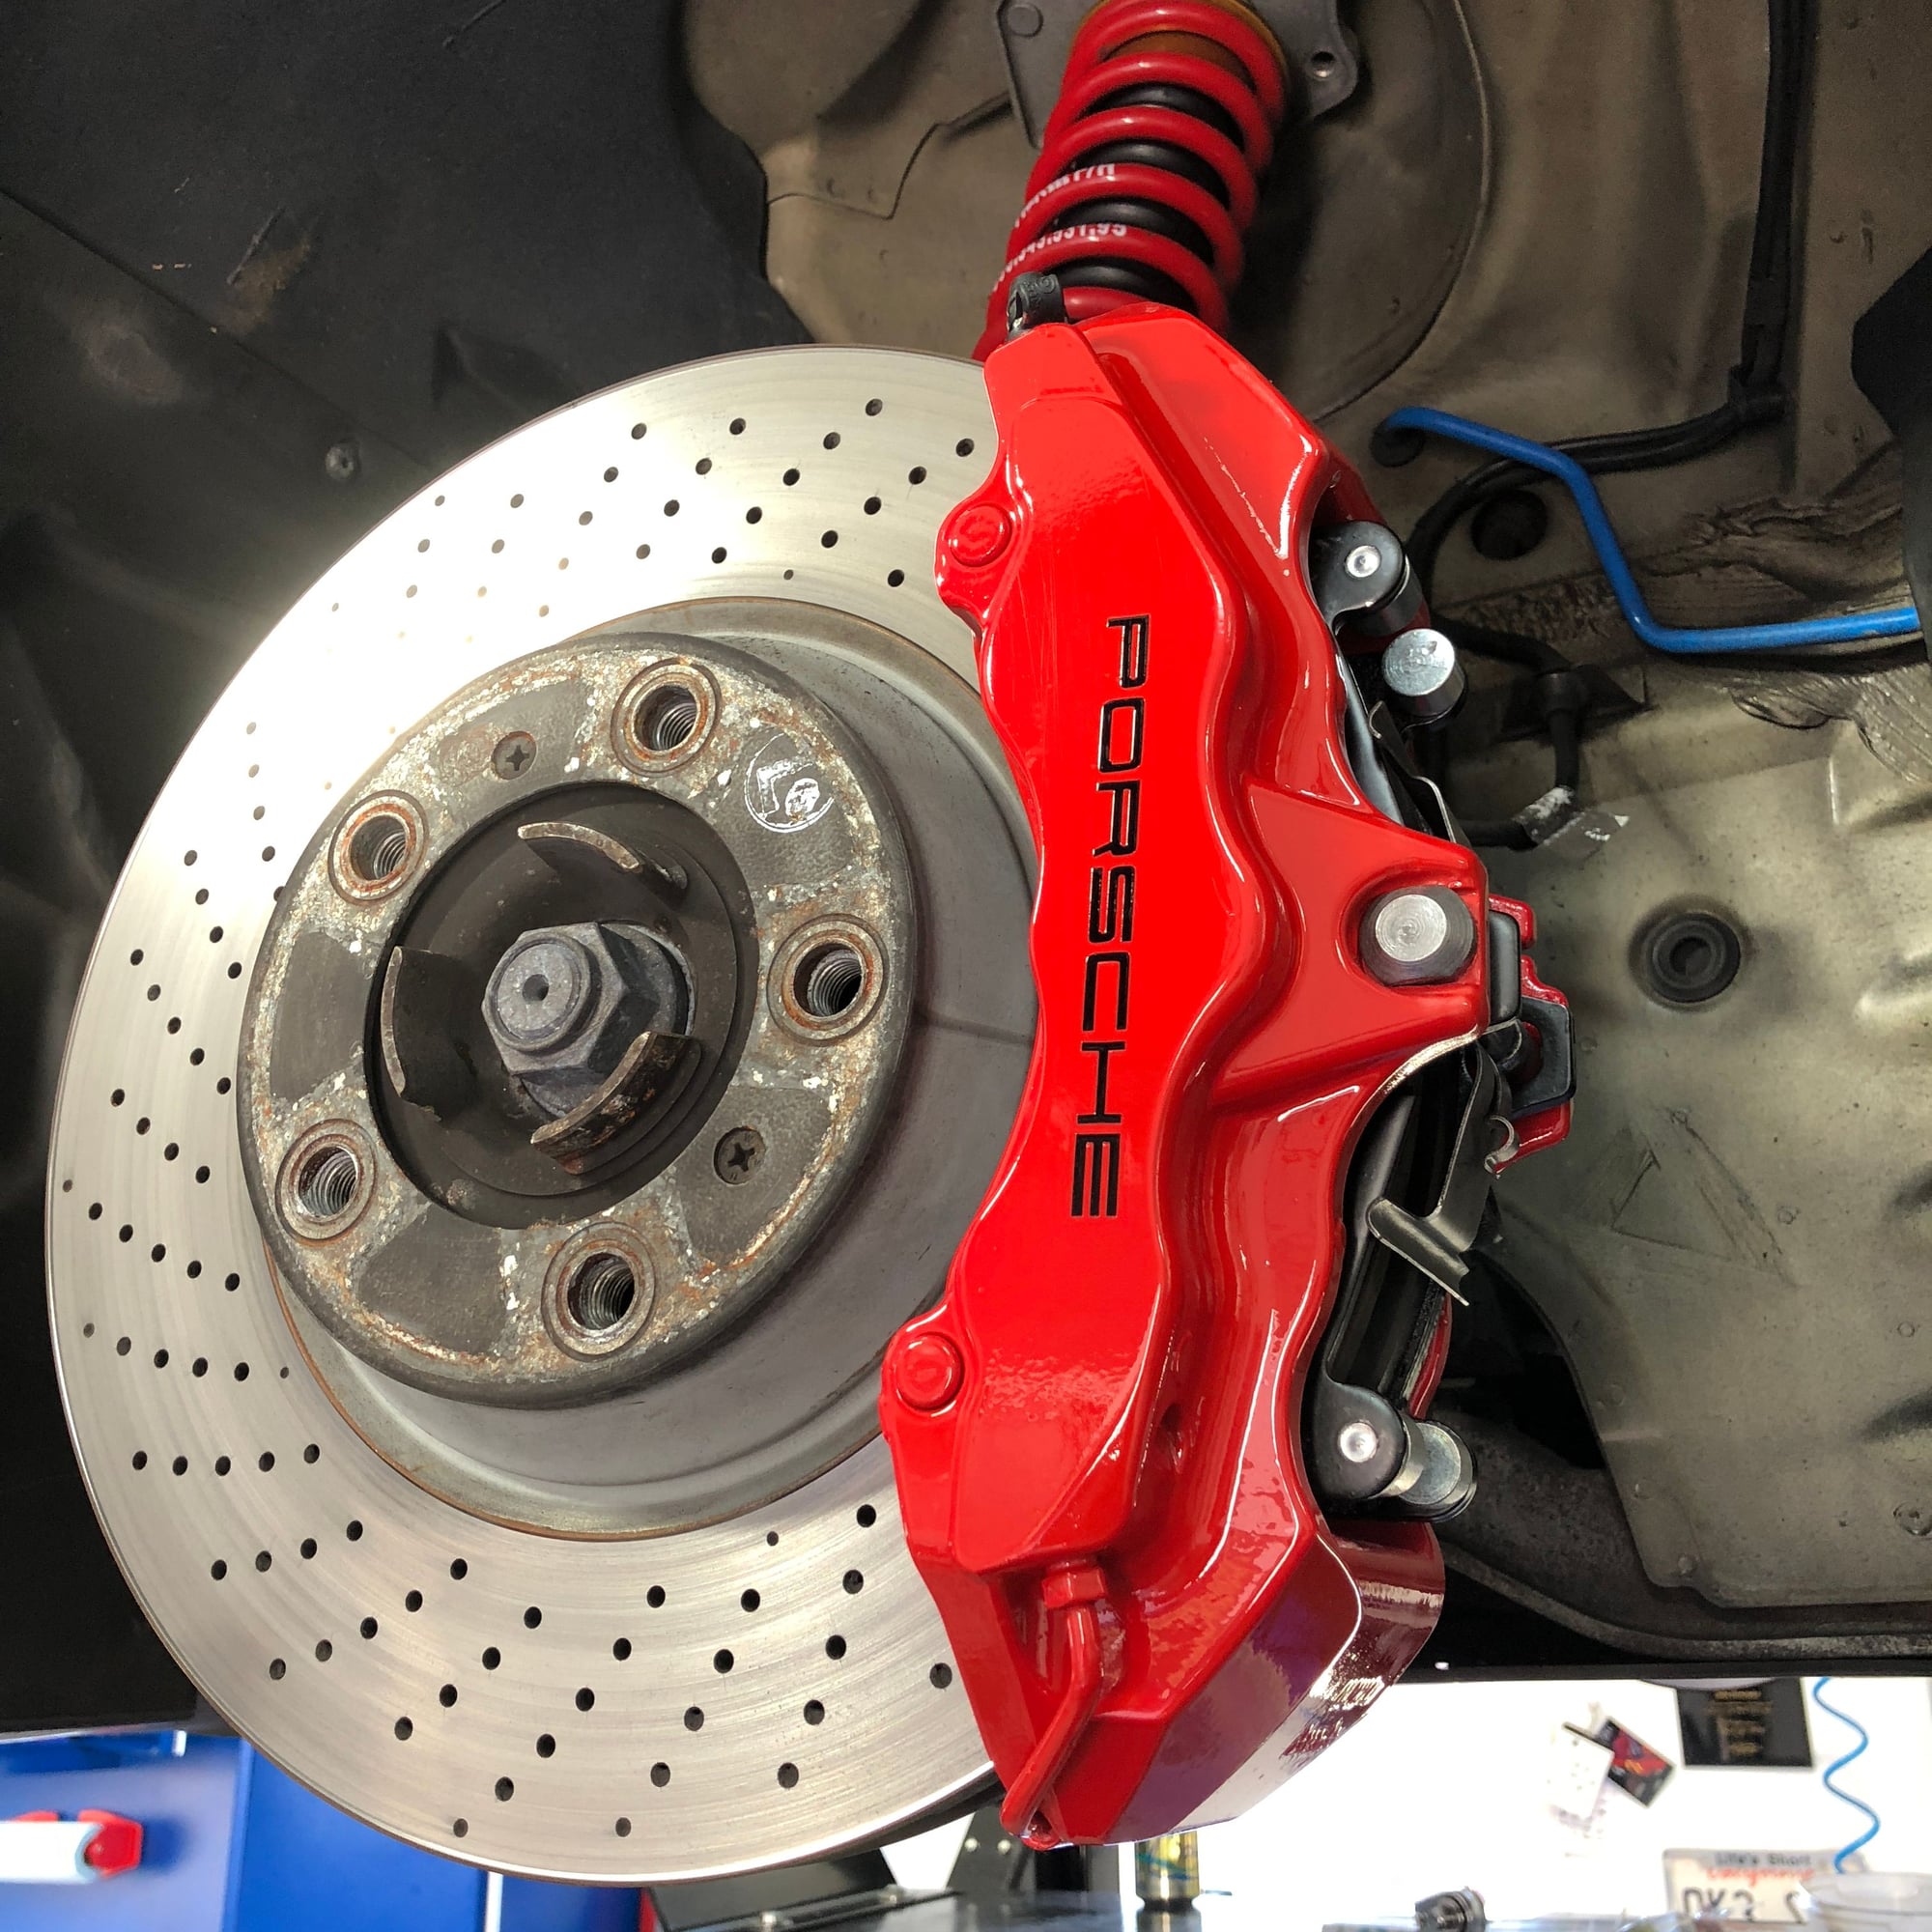
My new (old) 996 GT3 was in need of a 'personality correction' as I wasn't a fan of the yellow calipers that were once repainted from OEM red (and the repaint was only on the outboard surfaces....drives the OCD minded kind of guy a bit batty when looking up from underneath when the car gets parked on top). So I thought I'd tackle the job and pass along a few lessons learned from my foray into the world of isocyanates and respirators.
Timeline: Remove, prep, prime, paint (let sit overnight), apply Porsche letters, clear coat then install 5 hrs later.
Gotchya: front caliper bolts are Torx-55...necessitated a run to the auto store for that tool...
Pad springs. Took me a minute to figure out how to compress the spring with a lever inserted into the other side and never did figure out why one half of the spring has the raised 'hook'...feel free to roll in on me for probably putting them in upside down or something LOL.
Two part paint/epoxy primer/clear pre-mixed at an auto body paint store is the way to go for durability. You get it in a spray can that has a puncture pin in the bottom that releases the catalyst and the can will last for about 4 days. This comes with a few pointers.
Isocyanates. They can really screw you up so get at $17 3M respirator and save yourself from the grief.
I avoided 'getting the $hit all over the place' by spraying outdoors. While some may poo-poo this one, know that my neighbor sprayed 2 show winning cars outdoors so it is clearly in the 'art of the possible'.
The primer is thick and absorbed more paint than I thought it would. 4oz of paint came just short of doing the job.
The 2 part clear dried in about 1 hour in the sun. Surprised the daylights out of this paint newbie.
Did not go with 'high temp' paint since I don't plan on running these rotors to red-hot.
Prep. Total PITA. Took me probably 6 mhrs to clean, clean again, then clean some more to get the calipers 'paint ready'. I used a wax remover from
that has become my go-to for all small parts. I use 1/3 eco green cleaner, 1/3 Oil Eater, and 1/3 deionized water.
Scuff sanded with a scotchbrite pad and 400 grit paper.
Then cleaned some more.
Masking. I wish somebody made pre-cutout circles out of blue tape to cover the pistons but they don't. So I layered 12 pieces of tape over one another and cut once to get enough 'pasties' to cover the piston aerolas. I also taped off the caliper/car mating points and bolt holes as to not screw with the proper torque settings and subsequent bolt loosening. Decided to mask off the entire piston section on the rears.
Caliper draining. I thought I emptied the calipers, but alas, the damned fluid would find its way out of the holes regardless of how long I left them upside down. I stuffed a 1.5"x1.5" piece of shop towel in each bleed port/brake line fitting. There must be some secret as to how to drain the fluid out and it escaped my grasp.
Logo. I went with the high-temp vinyl (at least that's what they called it) that comes in two sizes (4" for front and I think 3.25" for rear). I like the way the vinyl provides some depth to the visual vice painting a stencil.
Did not go white with the lettering...black car...needs black lettering
Centering or aligning lettering- something that needs thought b/c the fronts have 3 diff piston sizes....
Back to the 4oz not being enough paint for the job.
The primer absorbed a lot of paint and wouldn't let me lay down a smooth finish
Decided to grab the can of red 500 deg ceramic engine enamel and finish the job. Time will tell if this was a wise choice...but it did lay down a smooth paint finish!
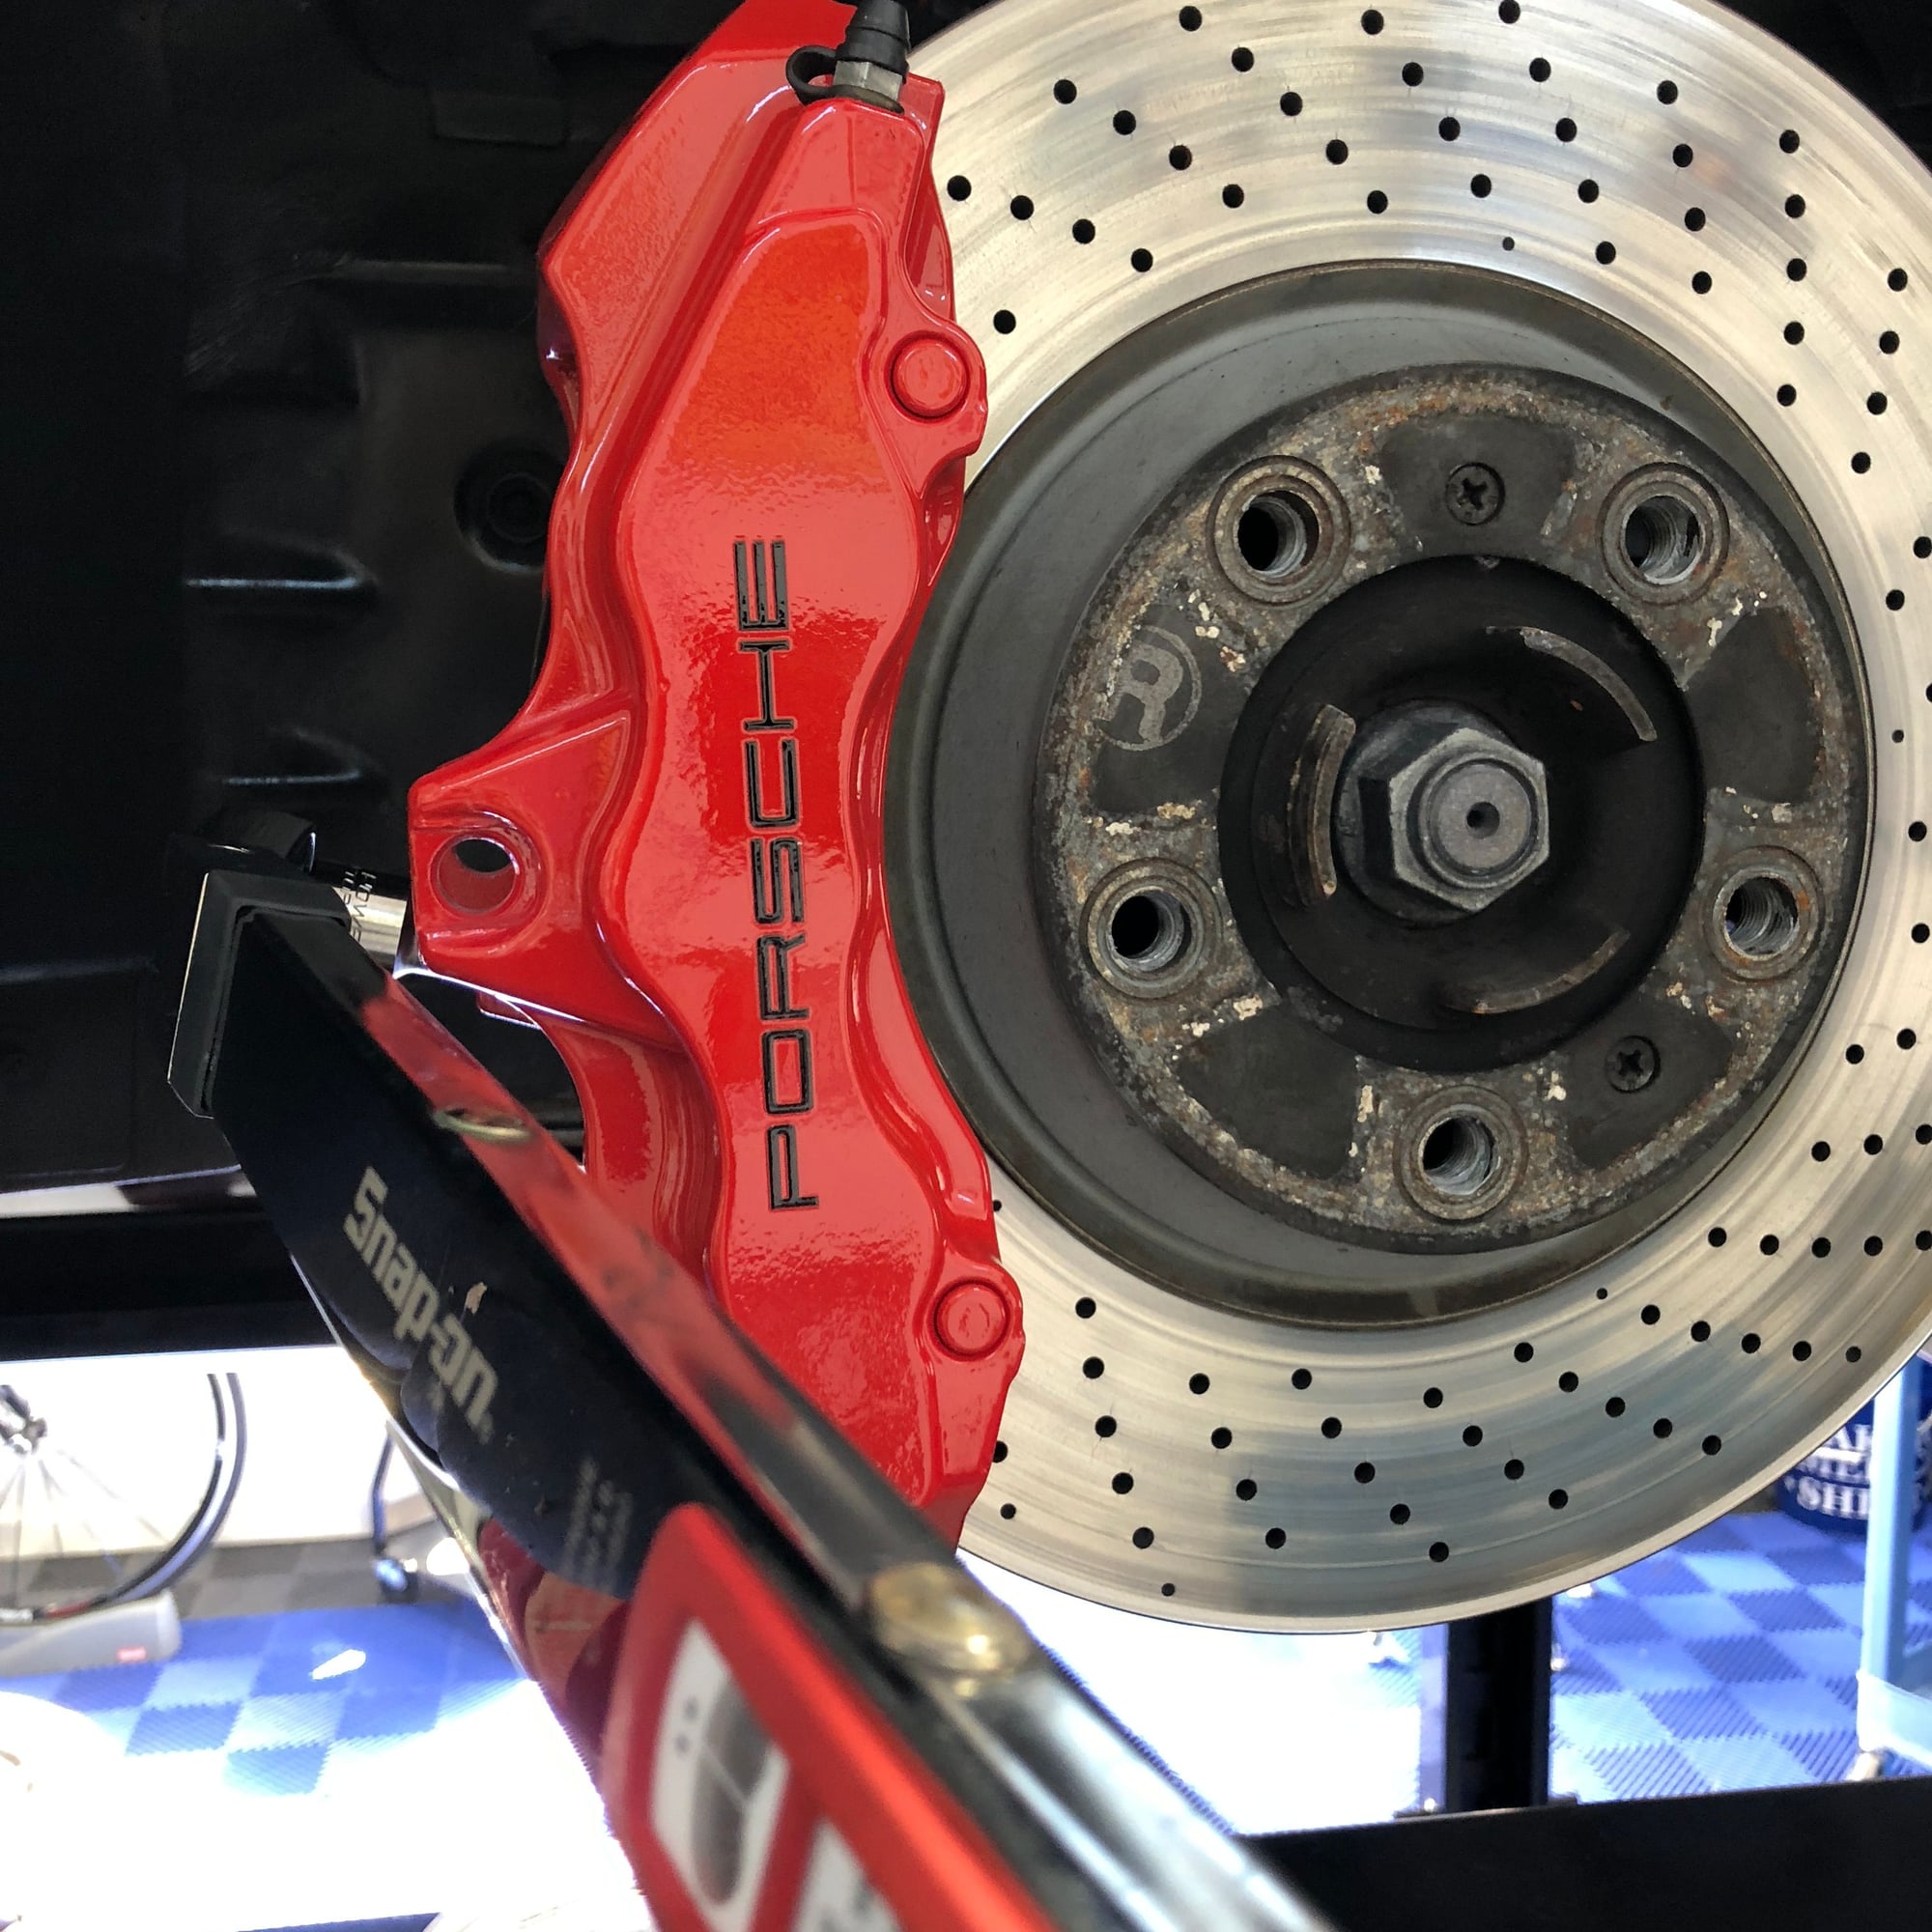
I replaced the yellow pads that squealed like Ned Beatty in Deliverance (yes...the visual is as bad as the squeal). They also dusted like a cattle stampede in an Oklahoma draught. Put new rotors on the back and some Hawk Perf Street pads, bled the brakes, and got the MZGR MSL (inbound plate BTW) rolling again on a fresh compliment of Porsche (Brembo) calipers.
Next item on the to-do list are some new MPSC2 shoes. Now if I could just get that Hunter tire machine shoehorned in the mancave I'd be good to go!
This yellow just has to go...
And on the 7th day, God made a car lift with a cross-ramp jack.
No...that's not black paint...that's pad grunge. The red is the 'other side of the caliper' that wasn't painted yellow
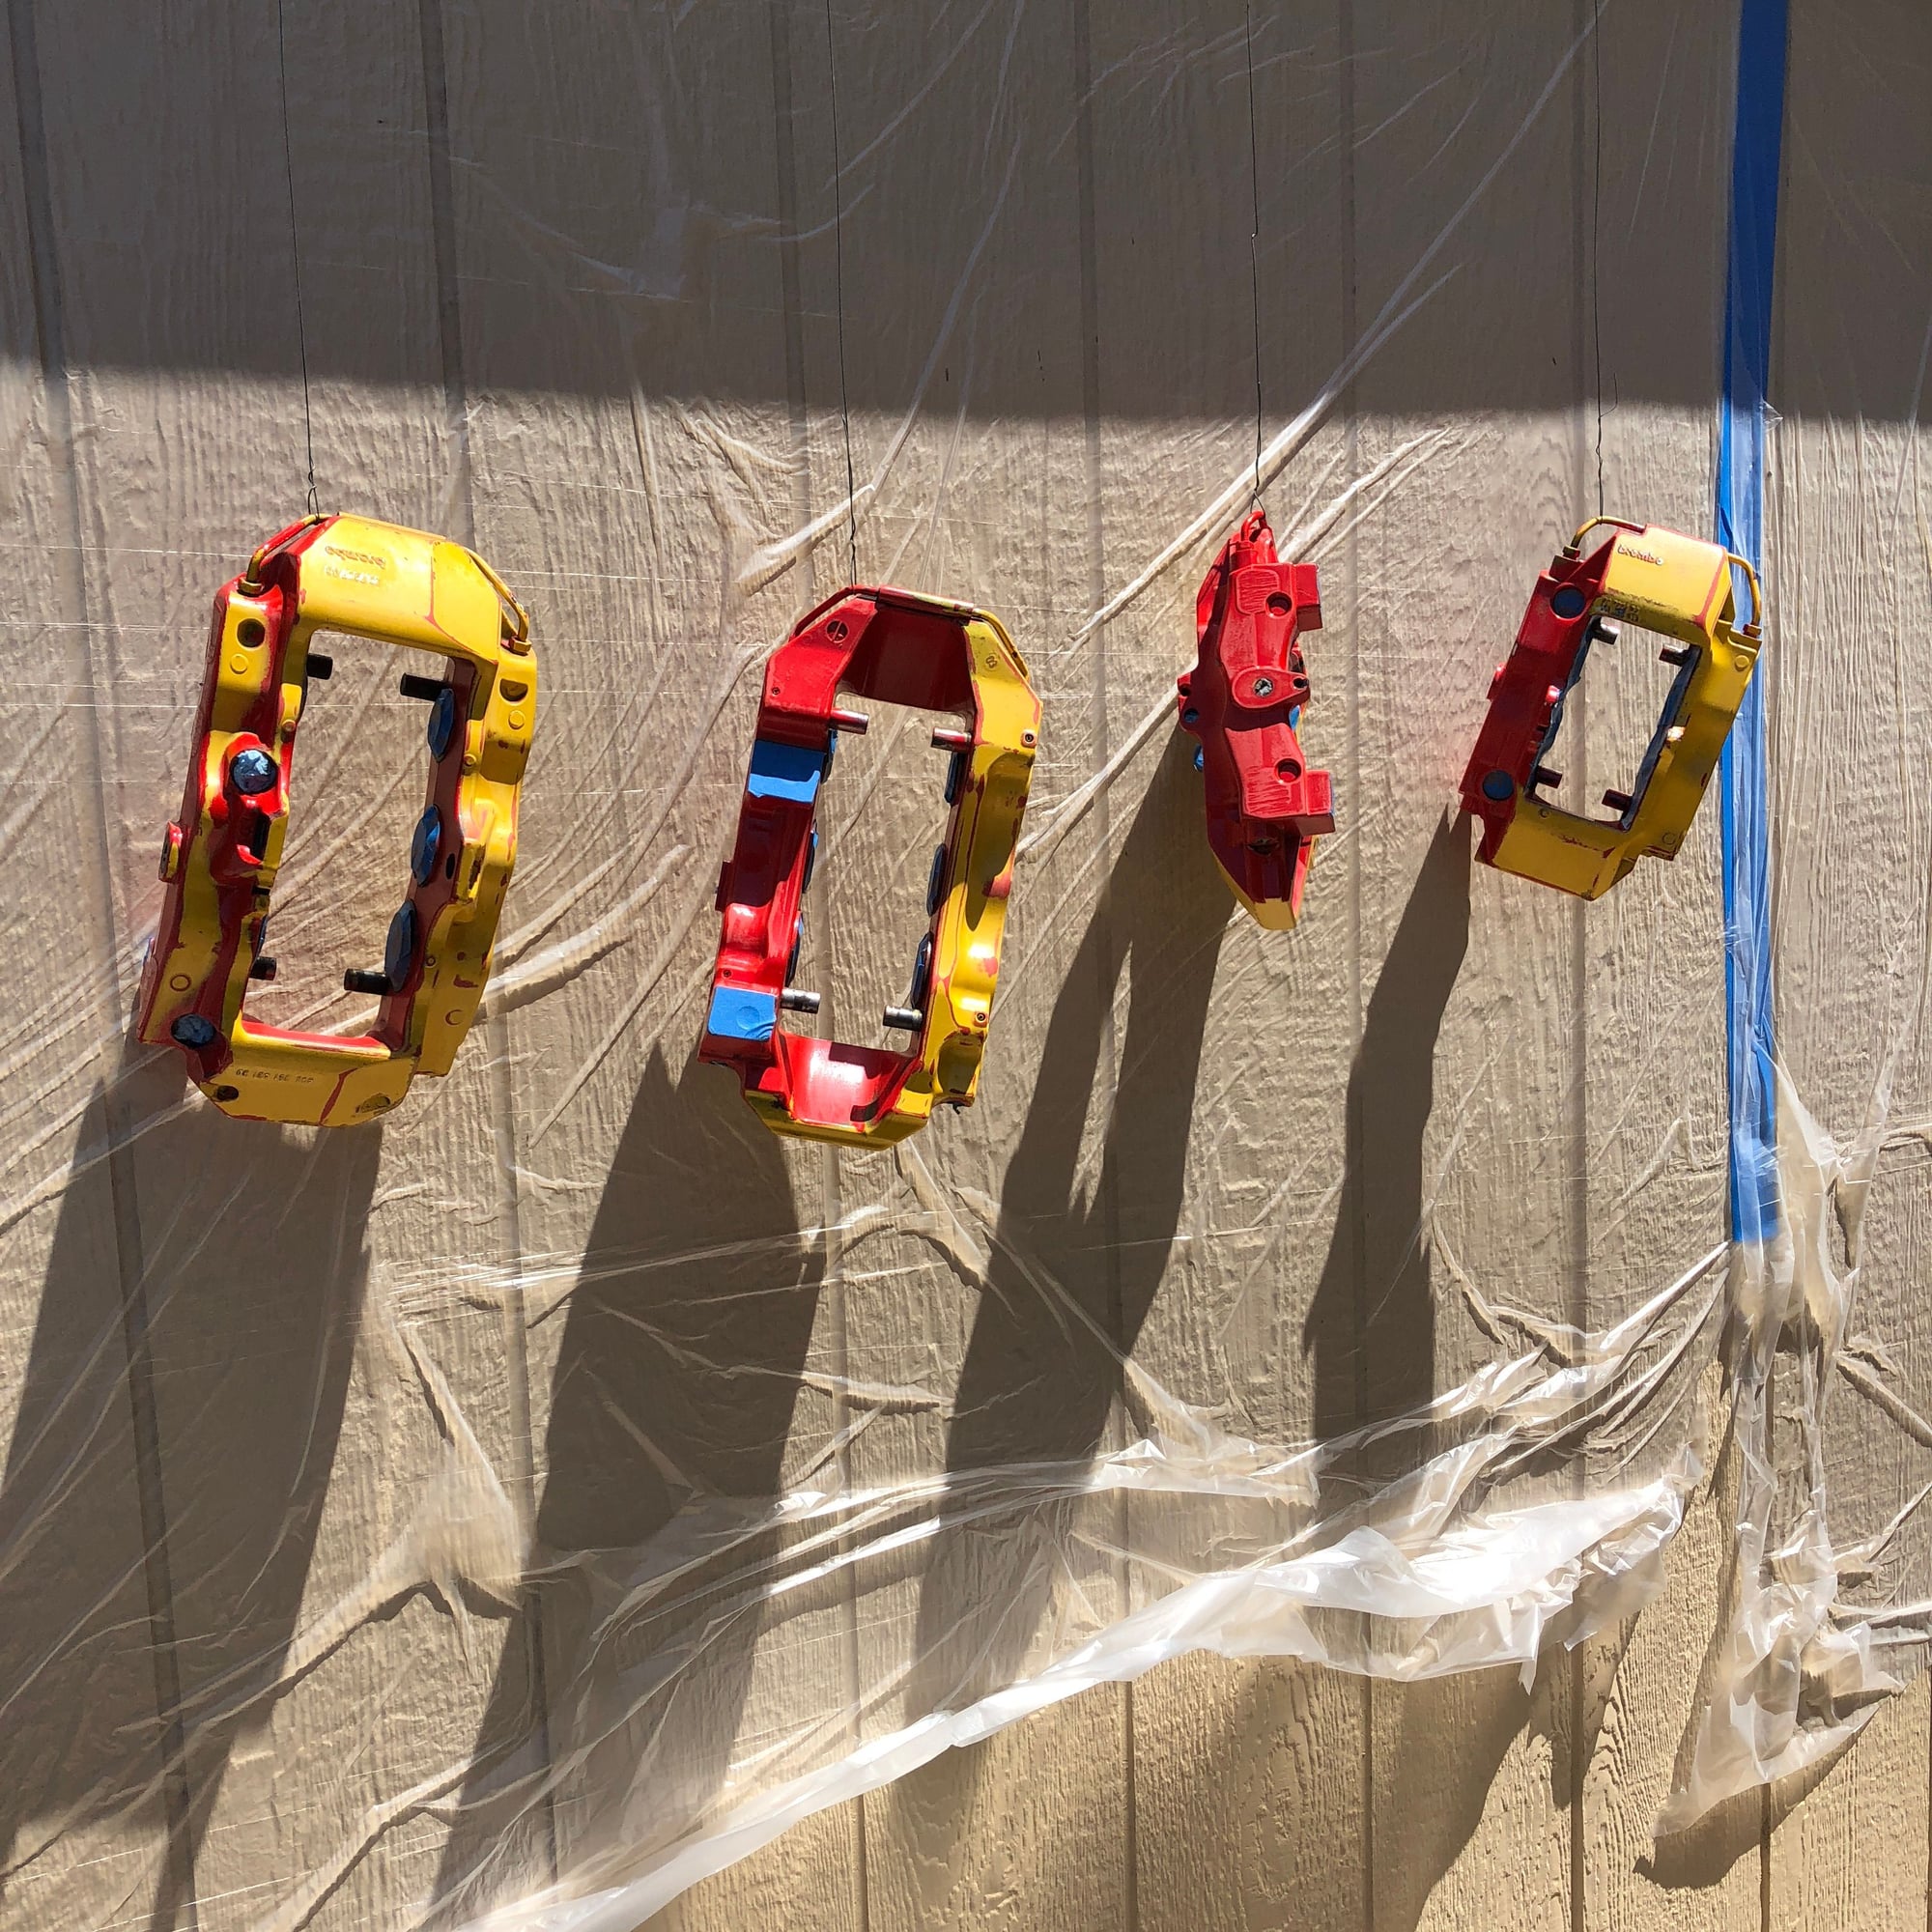
Hung and taped, ready for primer
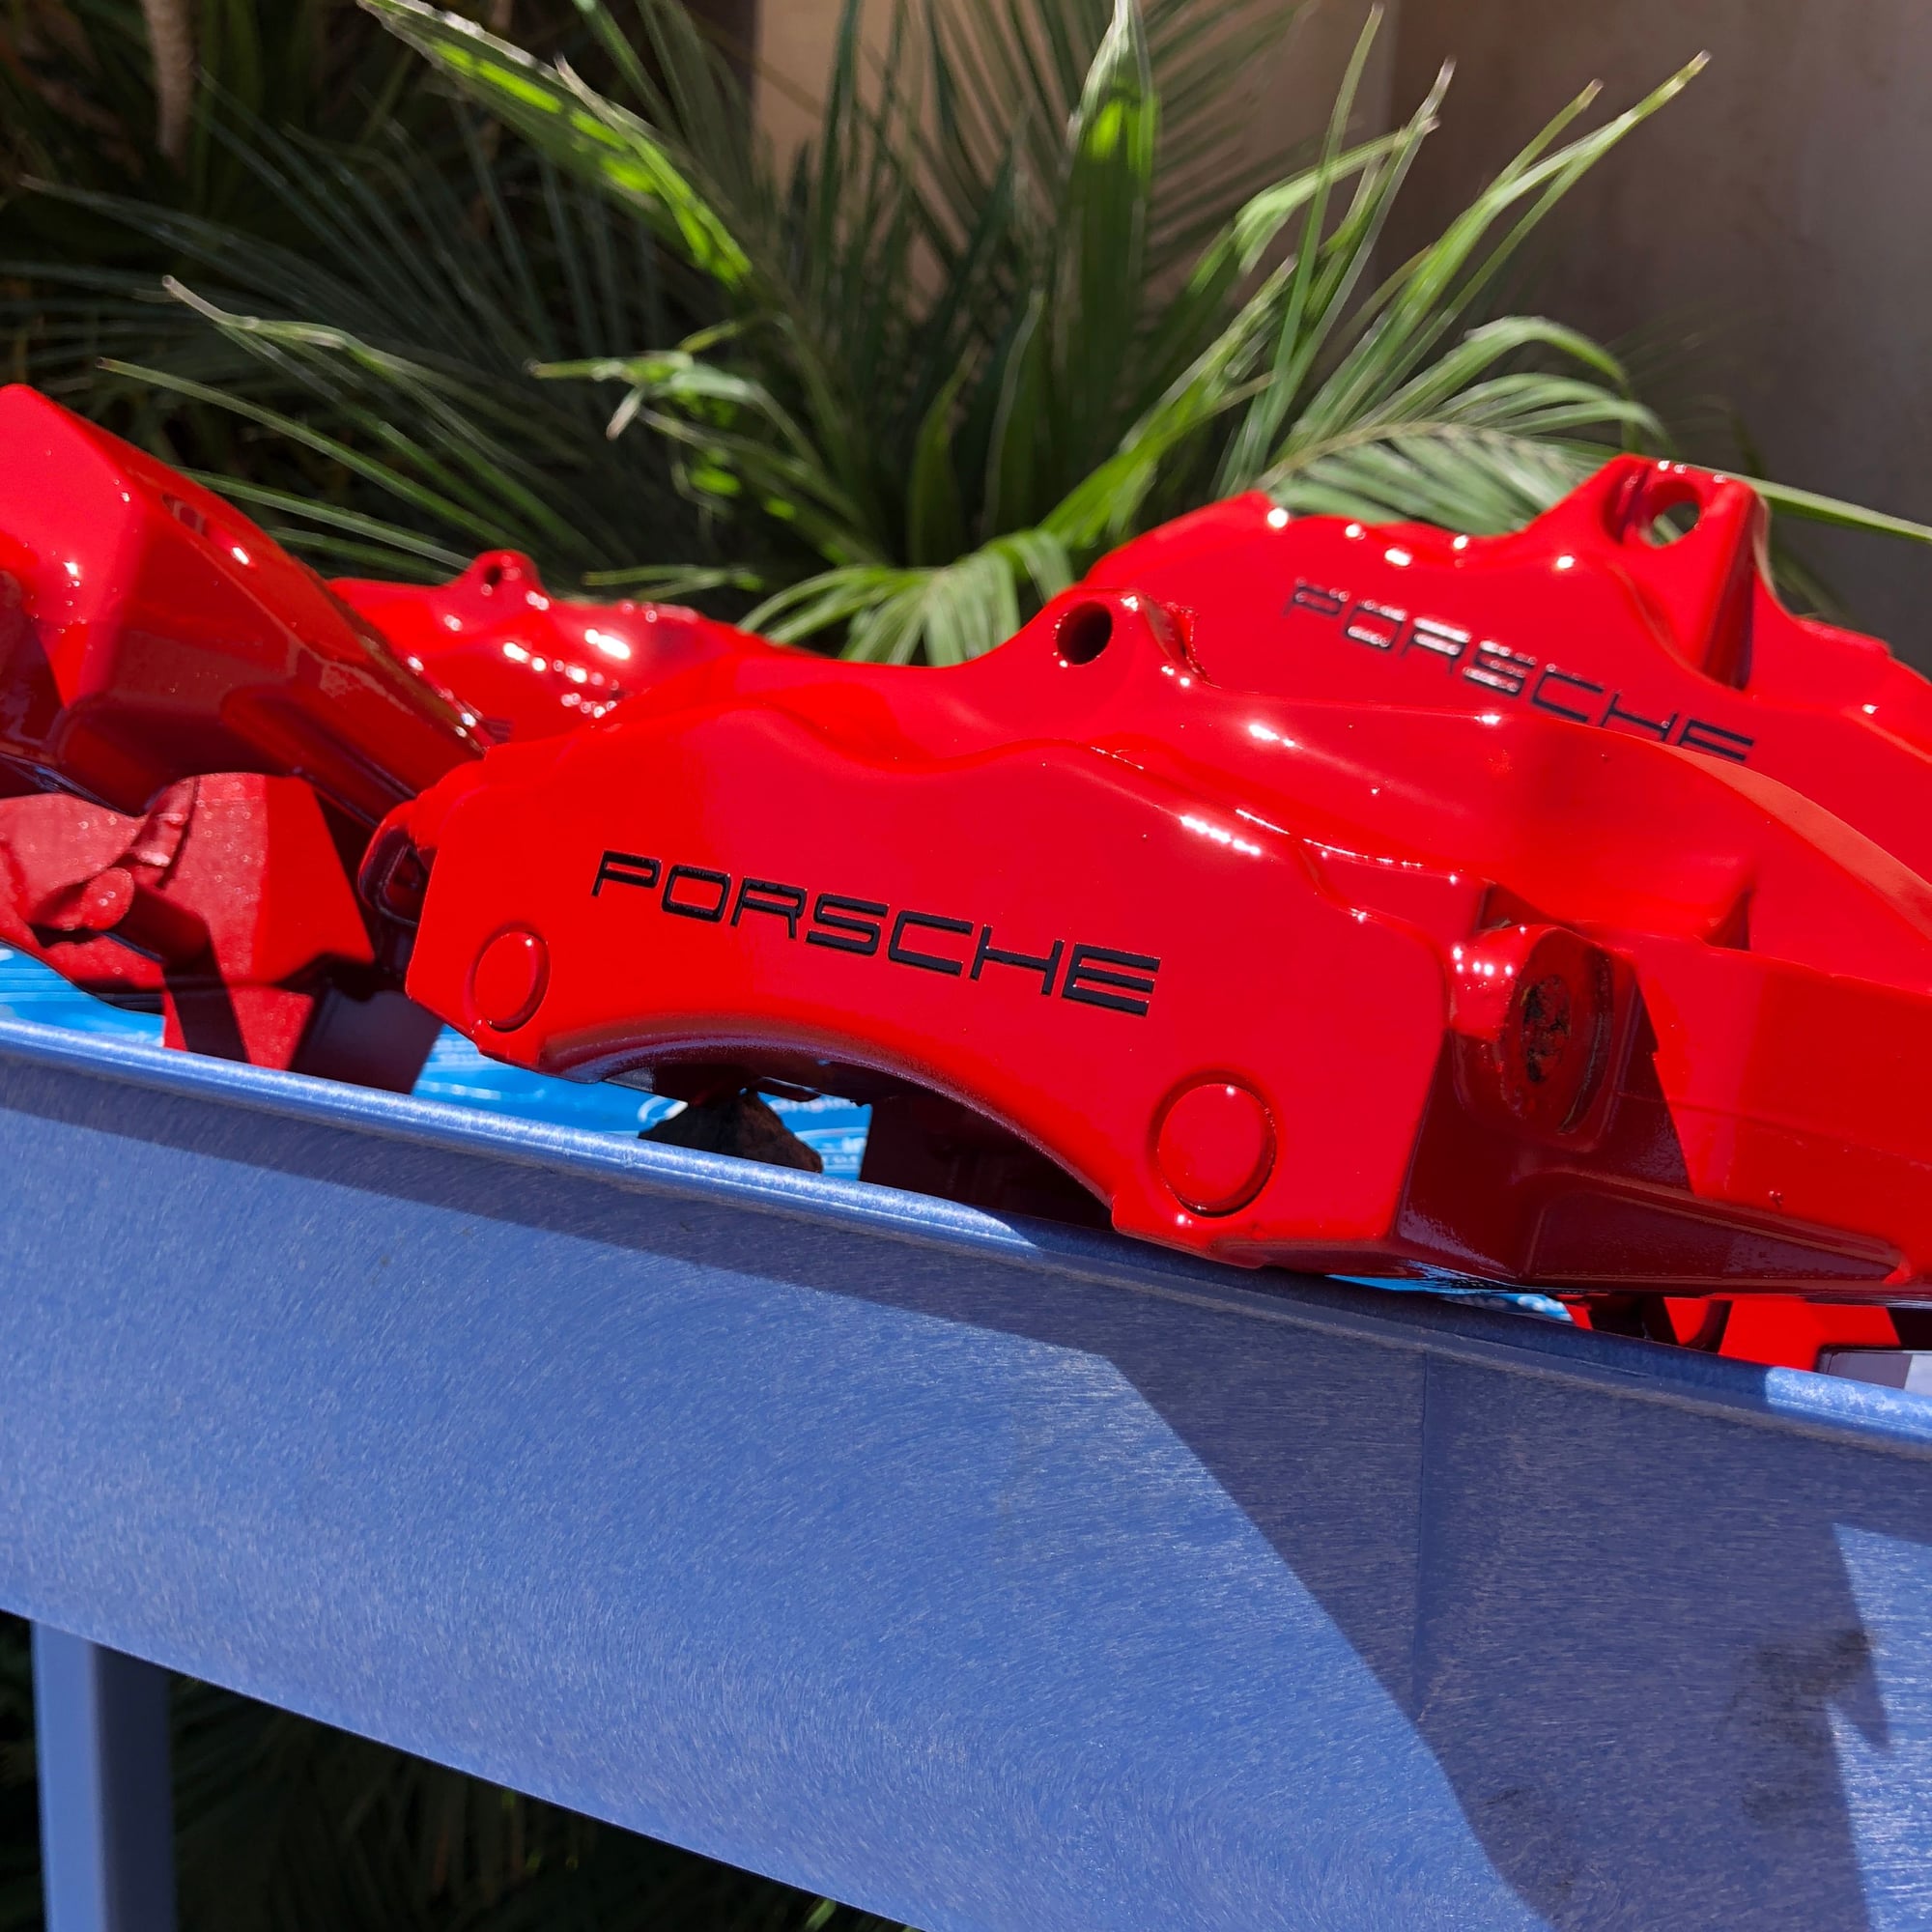
Paint/clear complete.
Almost didn't want to put 'em back on the car. Would make great paperweights or mancave accouterments!
67 ftlbs of torque if memory serves but don't quote me on that one.
Front rotors were good to go.
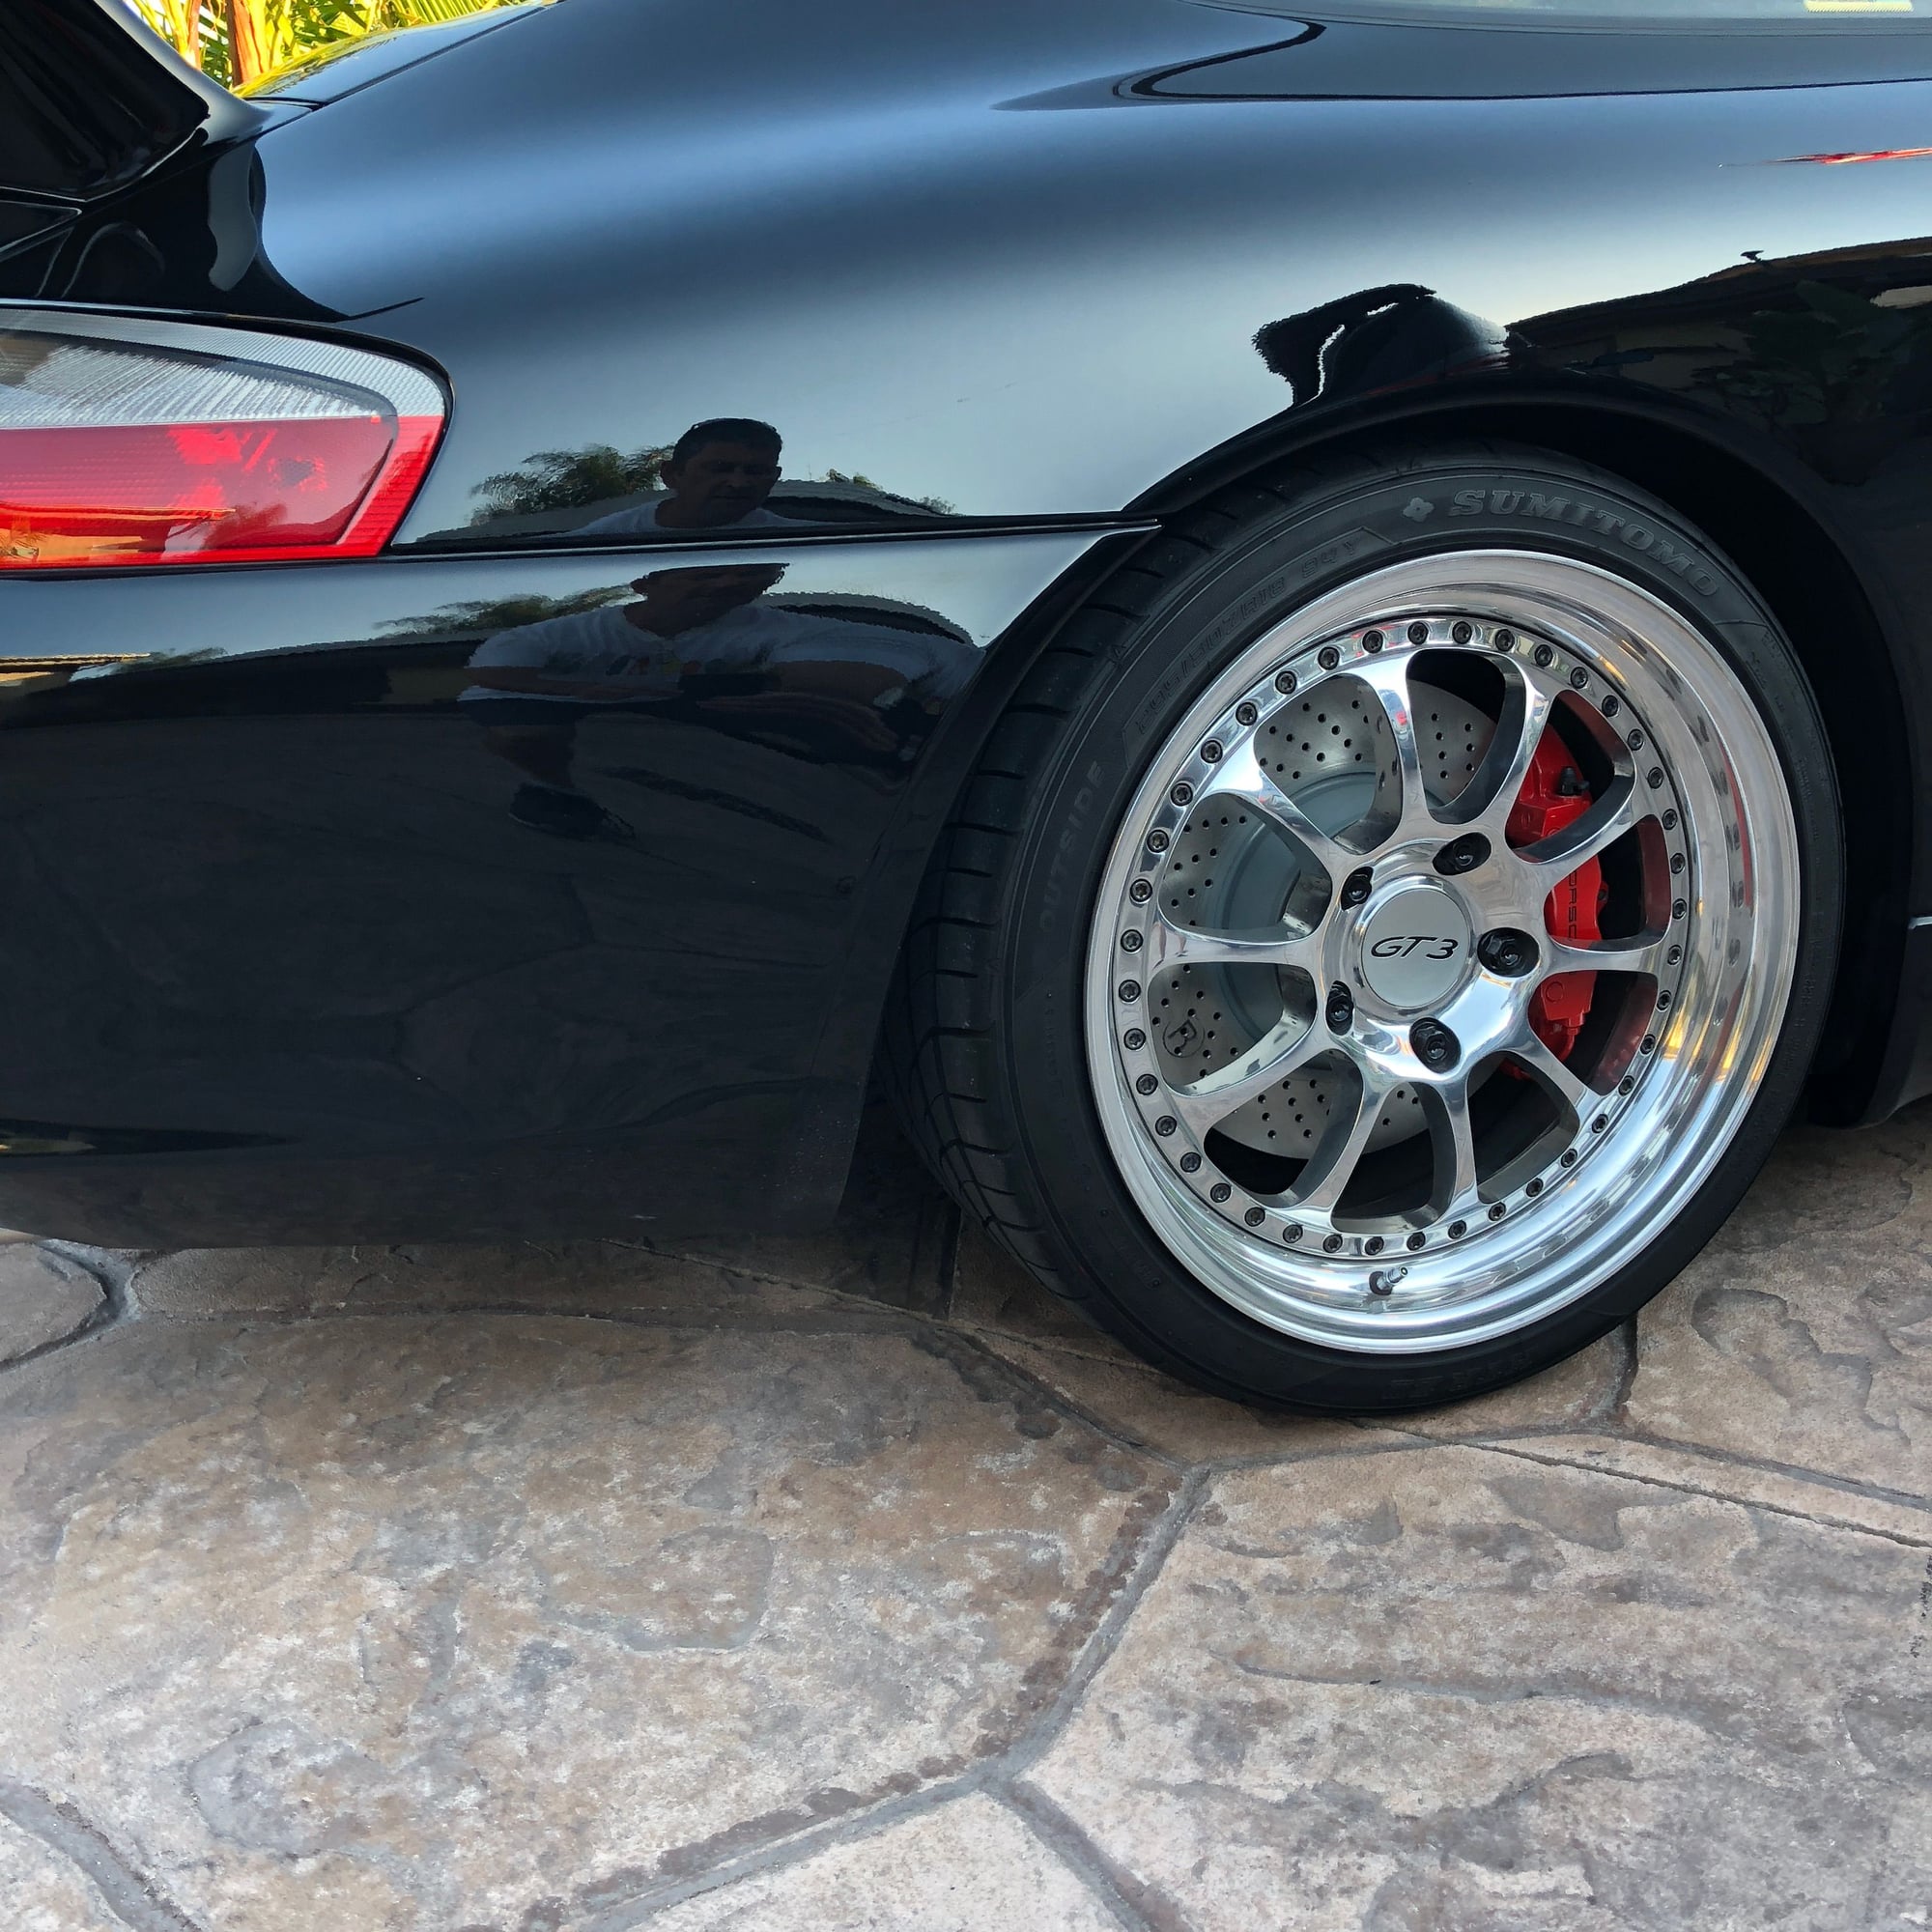
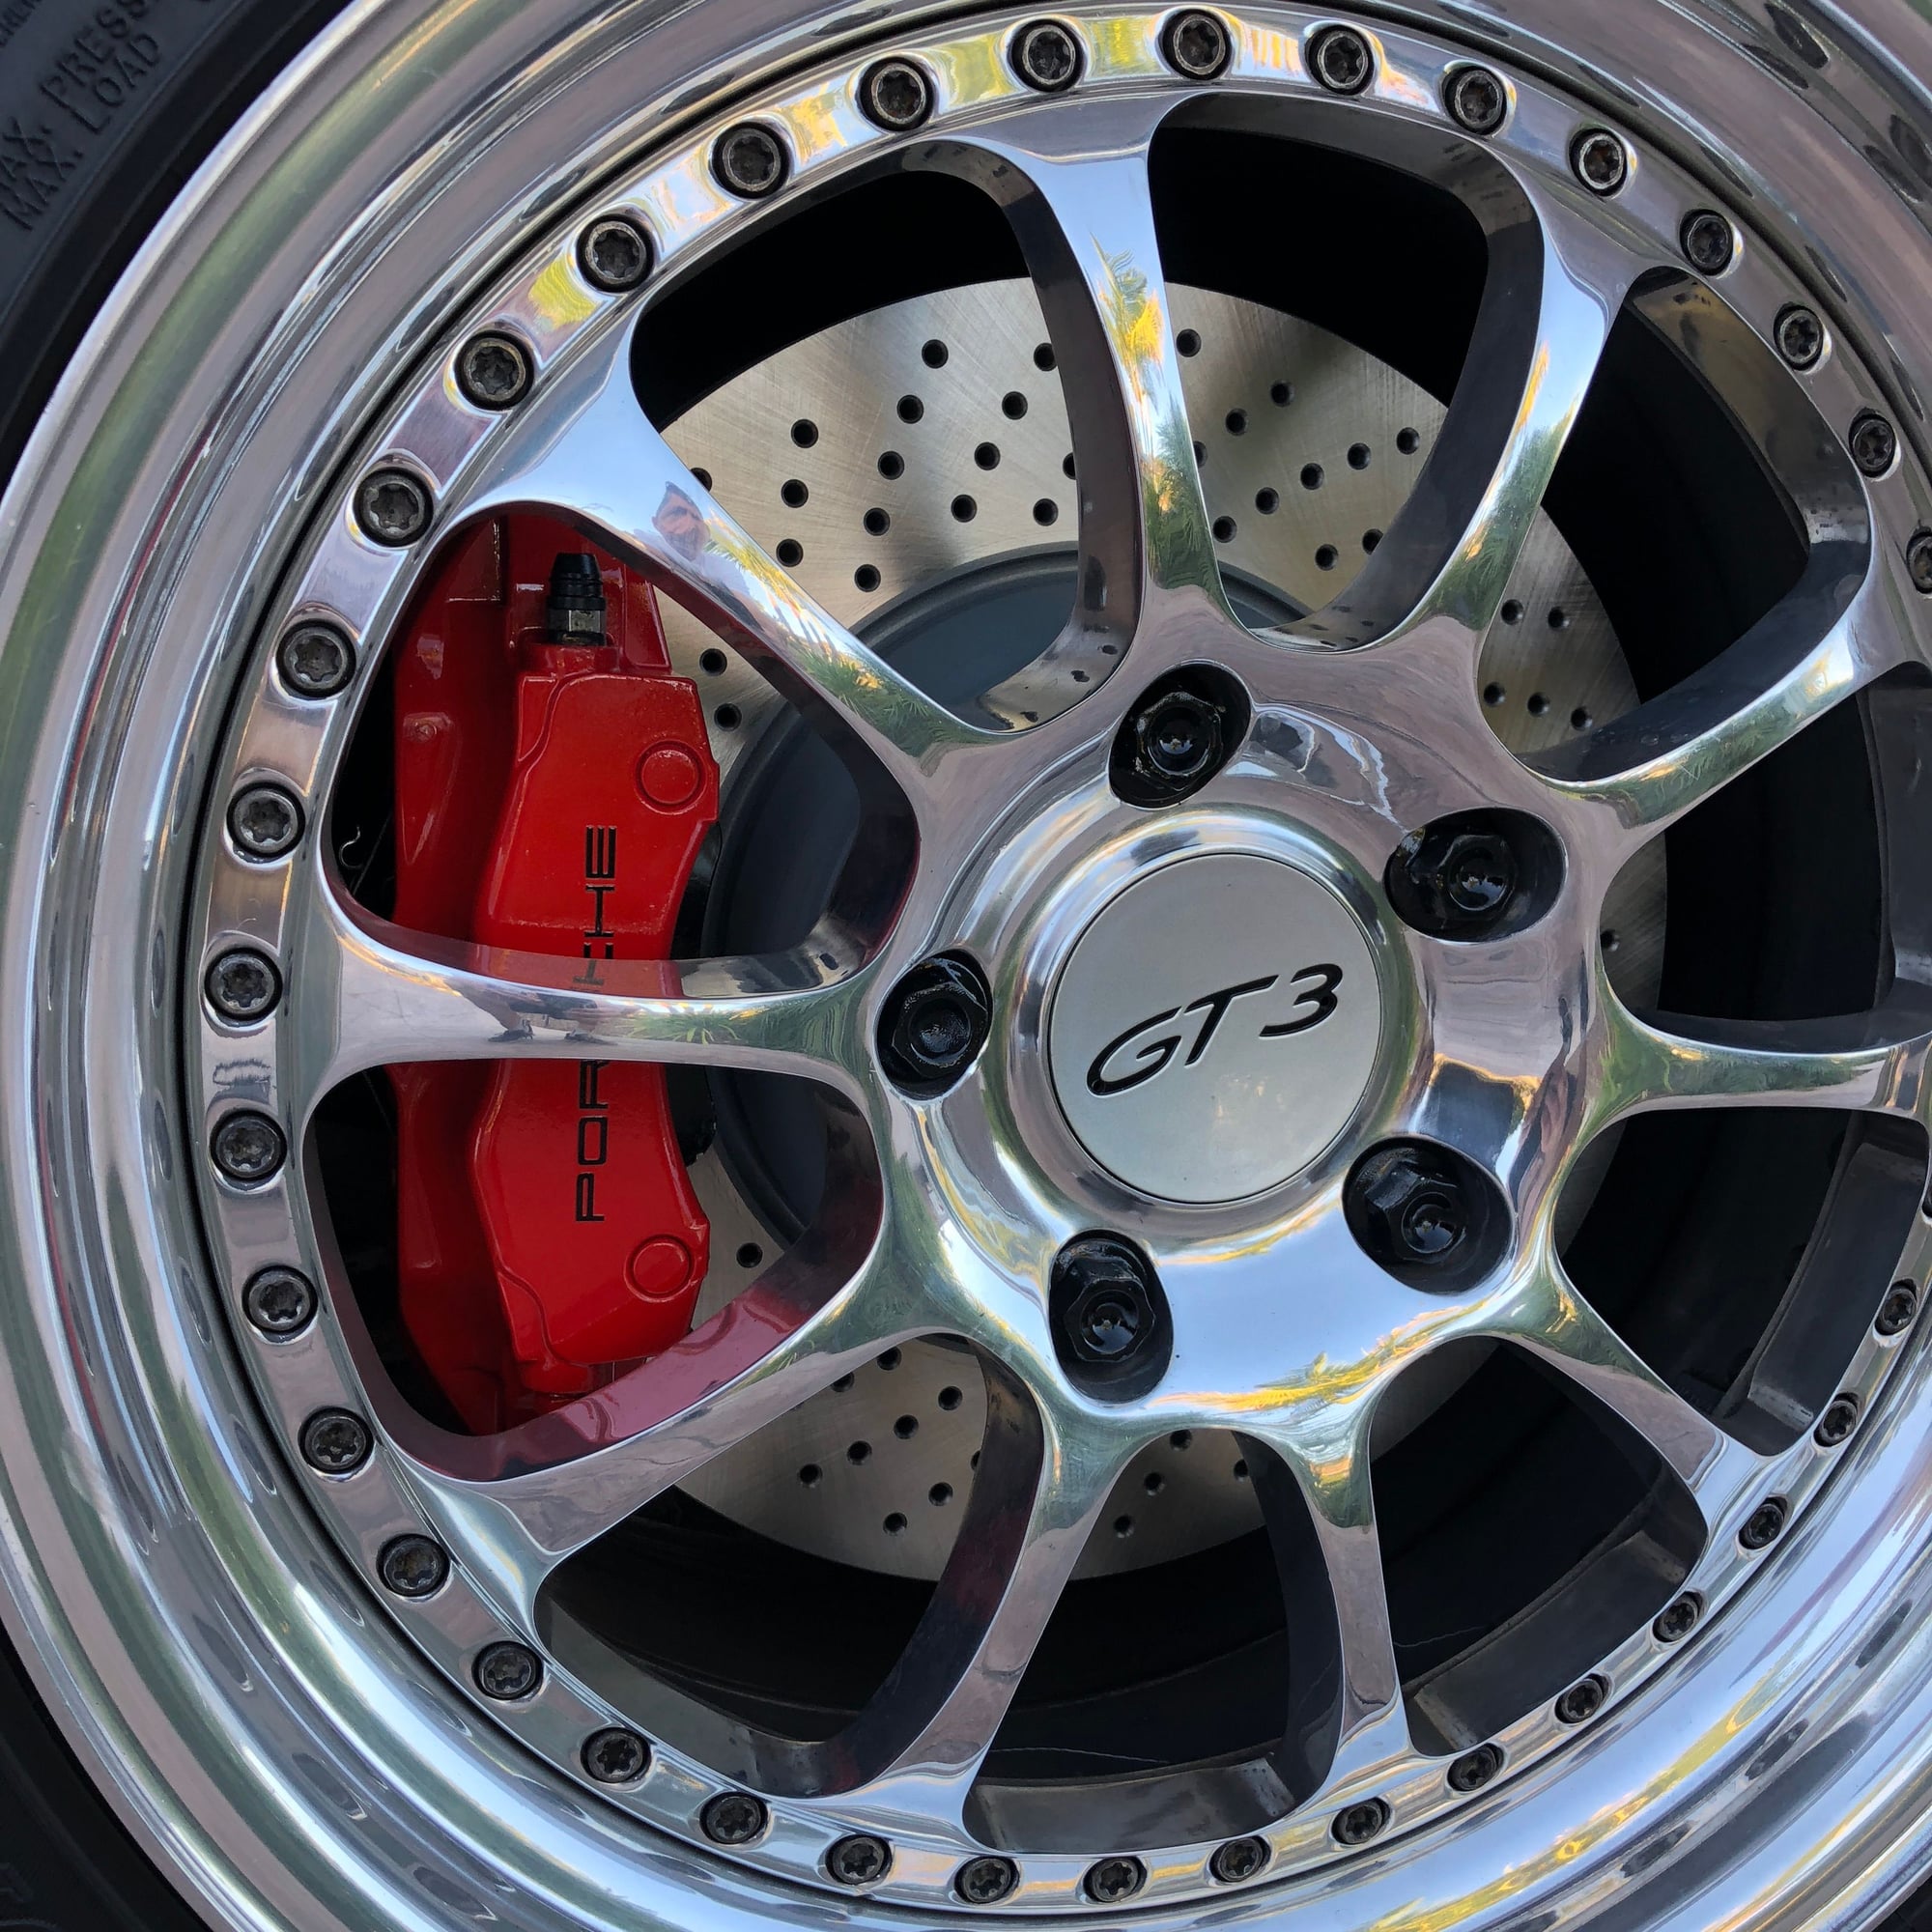
Polished Aluminum Kinesis...came with the car and they're growing on me. Sumitomos not so much. They're damn near brand new and will be avail soon in San Dawg.
Really nice job and you have a lot of patience. I had to paint/repair one of my front calipers and it looks nothing like you did. My paint did not even come close to the original color which I did not realize until it dried.
I did use some painters tape but did not spend much time on the repair. That is probably why my calipers look like crap and yours look great.
Thanks for the props, fellas. MPSC2's will be in Monday and I'm taking the wheels off and dropping them off at the tire shop so that'll be my first opportunity to chip or gouge these freshly painted calipers. At least I won't have anybody to blame but myself LOL.
 08-06-2018, 11:46 PM