When you click on links to various merchants on this site and make a purchase, this can result in this site earning a commission. Affiliate programs and affiliations include, but are not limited to, the eBay Partner Network.
JB001 & Rolex11 thank you very much for yalls assistance.
Few questions:
- please tell me the importance of the potentiometer. I read somewhere I need to tape it back while cylinder is removed to keep the computer in sync with the position of the top
-I�m thinking since my banjo bolts are located on the bottom of my pump, I�ll need to unbolt and turn over to gain access?
-since my car is a newer model than what�s on the paper directions and the YouTube, will I really need to disconnect & remove rear deck actuator. - I can access and remove pump without moving it & black cone (which I can�t find)??
Again, thank you very much for your assistance
I tried to upload a pic of my car�s setup. But I think it was unsuccessful...
UPDATE:
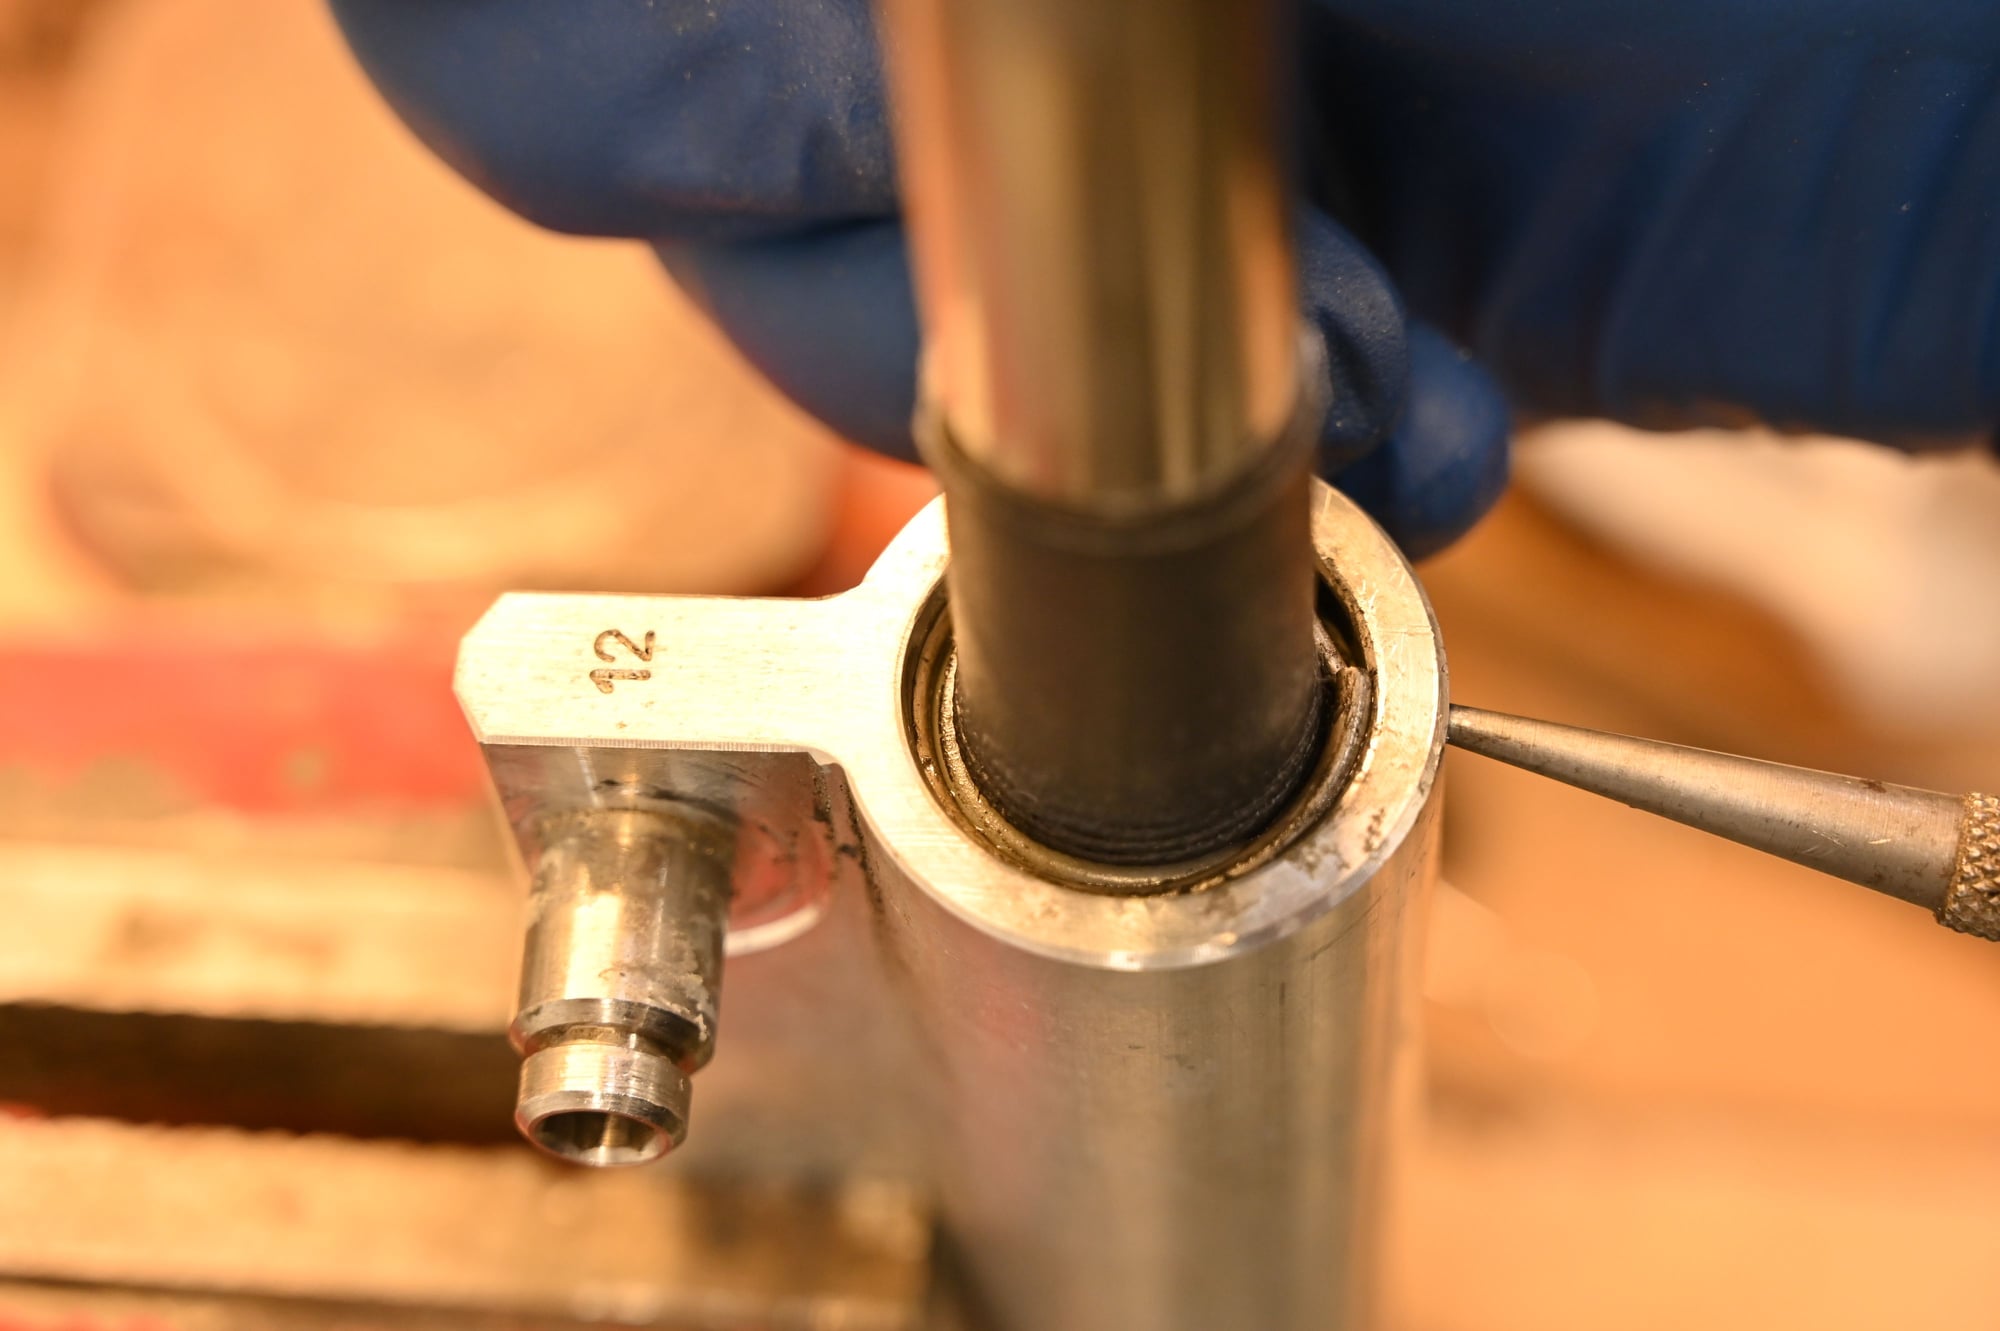
was able to remove passenger side cylinder. Got it to my bench. After MANY attempts finally got snap rings off and can not for the life of me get the white seal out of cylinder body. And was unlucky enough to slightly nic the actuator rod. (See attached pic)
Yes I used an air compressor with no help at all.
Looks like I may be shippong them off for rebuild...
Havent removed driver side yet. Still waiting on details of potentiometer.
Thanks again guys for any and all help with this job.
The compressor didn't work for me. Then I sucked some oil from a glass with the cylinder and then compressed the piston. The oil pushed out the white nylon ring.
Al little messy but efficient
Regarding the scratched actuator rod, you can polish it as I did... for the same reason with this kit:
technique to remove retaining clips and seals/stop rings
Just replaced the passenger side top hydraulic cylinder seals on my '06 997 C2S. Removing the cylinder from the car by combo of instructions from previous posts was pretty easy. Removing the retaining clips and seals/stops from the cylinder by above methods was beyond my skills and/or patience.
Using JB001's Rebuild Cylinders Pics PDF as a guide, my tweaks were as follows:
To ease removal of the retaining clips I drilled a small hole in the cylinder wall inline with the clip location. This allowed me to insert a pin, (nail set in my case) and press one end of the clip inward which made it easy to lift out with a small pick.
Wrap the cylinder rod in tape to protect from damage, (I used Gaffers tape, no residue, thicker/stronger/more dense than duct or painters tape). Using a pick or similar, rotate the clip around in the groove so the gap is opposite the mounting rib, (this assuming you'll be holding the cylinder with a vise by the mounting rib during drilling).
This prevents accidentally drilling into/through the clip.
On the aluminum cylinder housing scribe a line .15" from the end, this will be the center line of the drill bit, (probably should center punch as well to prevent drill bit drift).
Using a 7/64ths drill bit, preferably in a drill press, (I used a mill but with great care and having center punched your drill location a cordless hand drill with a drill stop could work) drill a hole ~.175" deep.
Make sure not to drill into the cylinder rod, (duh).
Rotate the clip around slightly past the newly drilled hole. Using an appropriately sized pin, (I used a nail set) press in on the clip while lifting up with a pick. Repeat for other end. Once the clips are removed check for and remove any metal bur(s) on the inner surface at the hole which could impede the removal of the white nylon(?) seal retaining ring.
I used hydraulic pressure to remove the retaining rings and seals. To do this I submerged both hose ends in a small jar of hydraulic fluid and moved the rod back and forth in the housing to suck some fluid back into the cylinder
Then, I clamped both ends in rubber padded clamps so that pressure created by cycling the rod would press on the seals.
IMPORTANT! Once the hose ends are "sealed" do not move the rod in the cylinder housing before placing rags around the cylinder at the seals, (maybe lightly zip-tie in place) to catch the fluid which will be expelled.
The pressure required to displace the seals is substantial and is very effective at atomizing said fluid and coating the entirety of one's surroundings in hydraulic fluid. You can probably guess how I know this...
Once the new seals were inserted I found that half a wooden clothes pin worked well to re-seat the seal retaining rings in the cylinder housing.
I have been going back and forth between shipping off my actuators for a rebuild or taking the DIY route. After speaking with one of the groups providing a rebuild service, as well as reading their online product info, the consistent message has been that these o-ring kits are garbage, they are destined to fail, and possibly fail spectacularly with a seized actuator from the o-ring slipping out which was not designed for this purpose.
But is that true? Sure saves a ton of money and I have yet to read someone that says their own rebuild resulted in a seized actuator.
At the same time, the pics from BCCarrera2 gave me pause - while extremely detailed and helpful, I could see plenty of opportunity to mess this up.
Can anyone let us know how their fixed actuators have held up over time, and if they took the DIY route or sent them off?
The DIY route is a pain in the butt.
Send�em to the Craig guy in YouTube. Turnaround took less than a week and they�ve worked great since install.
Wish I could sell ya the rest of Porsche hydraulic fluid I didn�t use. Didn�t take much for job.
Please allow me to explain my decision to rebuild my top hydraulic cylinders : My 996 is my daily drive for 8 years. I decided to rebuild the cylinders in order avoid having to rent a car for a week on top of the service and shipping cost.
Also, I must admit that I enjoy fixing my car..
PS: The hydraulic cylinders that I rebuilt 2 years ago still work perfectly but they may fail spectacularly one day according to the vendor who do not want us to install the inexpensive O rings.
It took a while but I am glad i found this thread. I was going to use top hydraulic but they are not doing refurbishments until the end of the year. I tri d a few other spots I found online and they are not either. I did see Craig from eBay, and I am glad I see some luck by others. 400 bucks and 1 week and it will be fixed.
 10-14-2018, 04:46 PM