Journey of an Engine Replacement on 2002 996 w/Tiptronic
#16
Instructor
Thread Starter

Getting ready to remove the AC Compressor. This sensor needs to be removed to access the back rear bolt of the compressor.

This is the sensor, and there is a holding grommet that the sensor fits into. Remove this and with a little skill, you can remove the back right bolt.
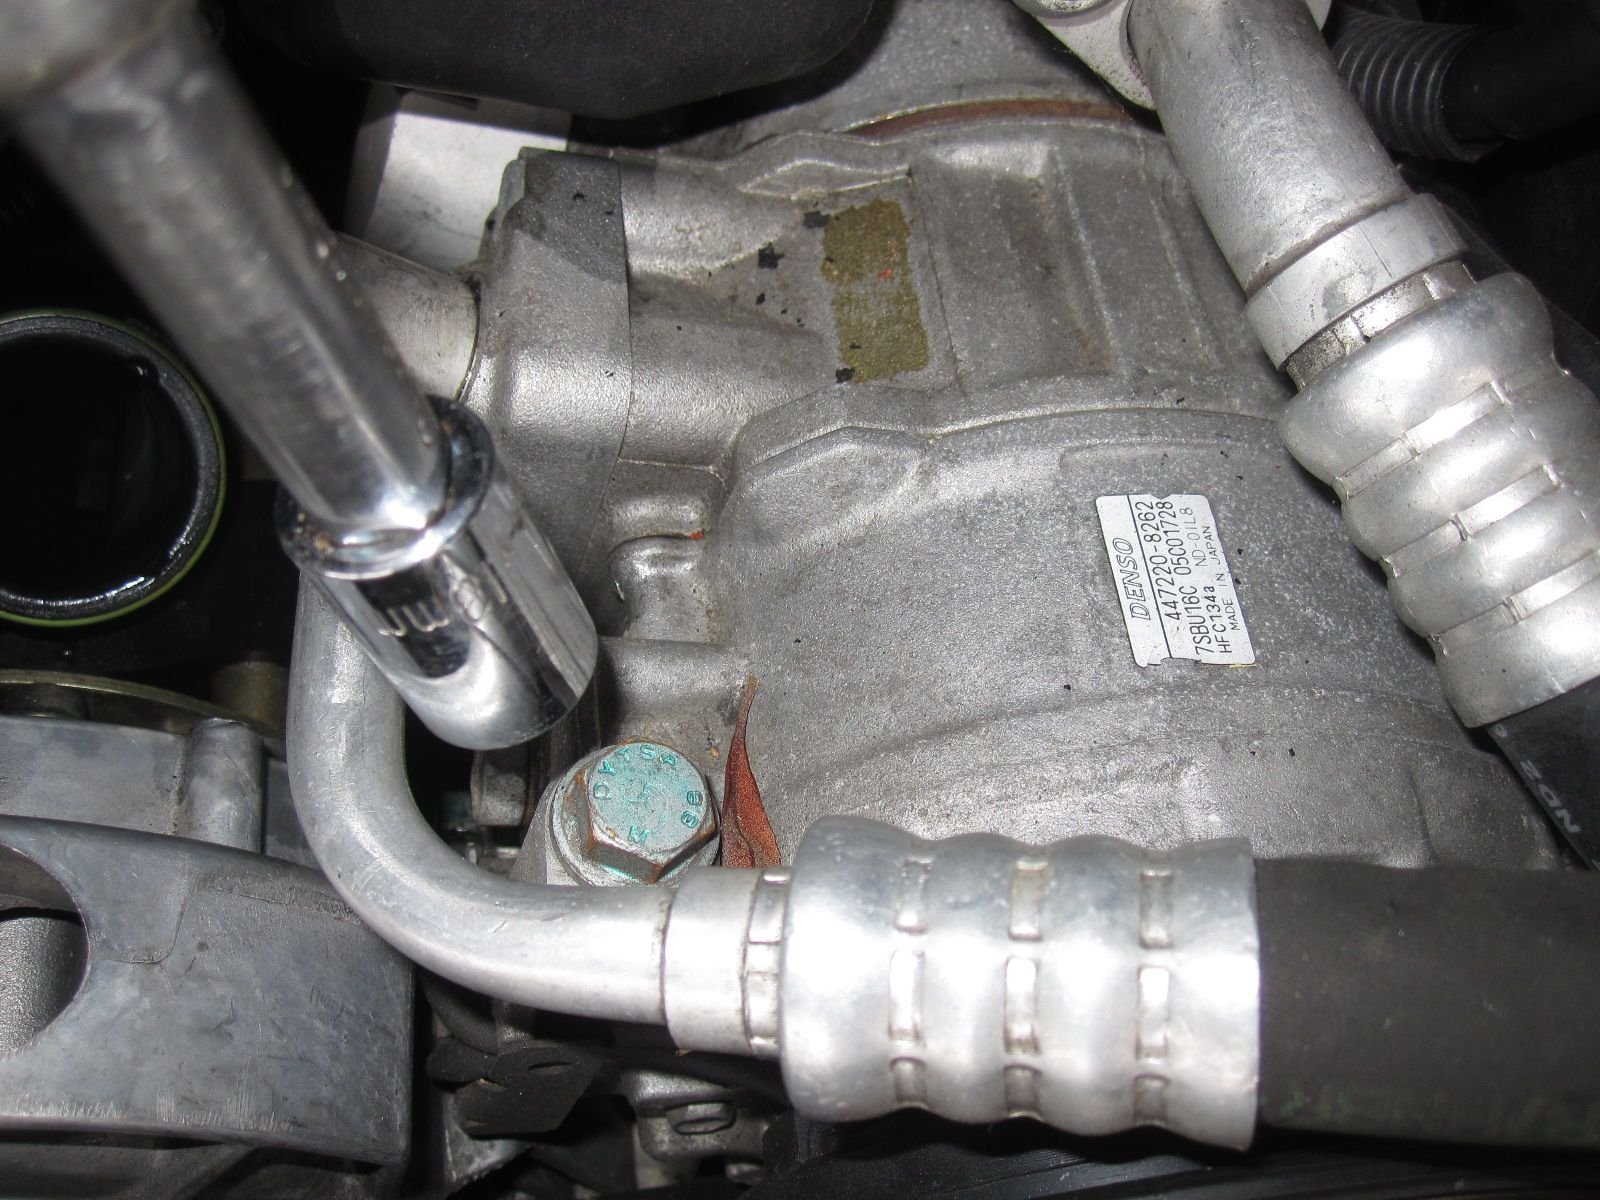
Front bolt...easy.
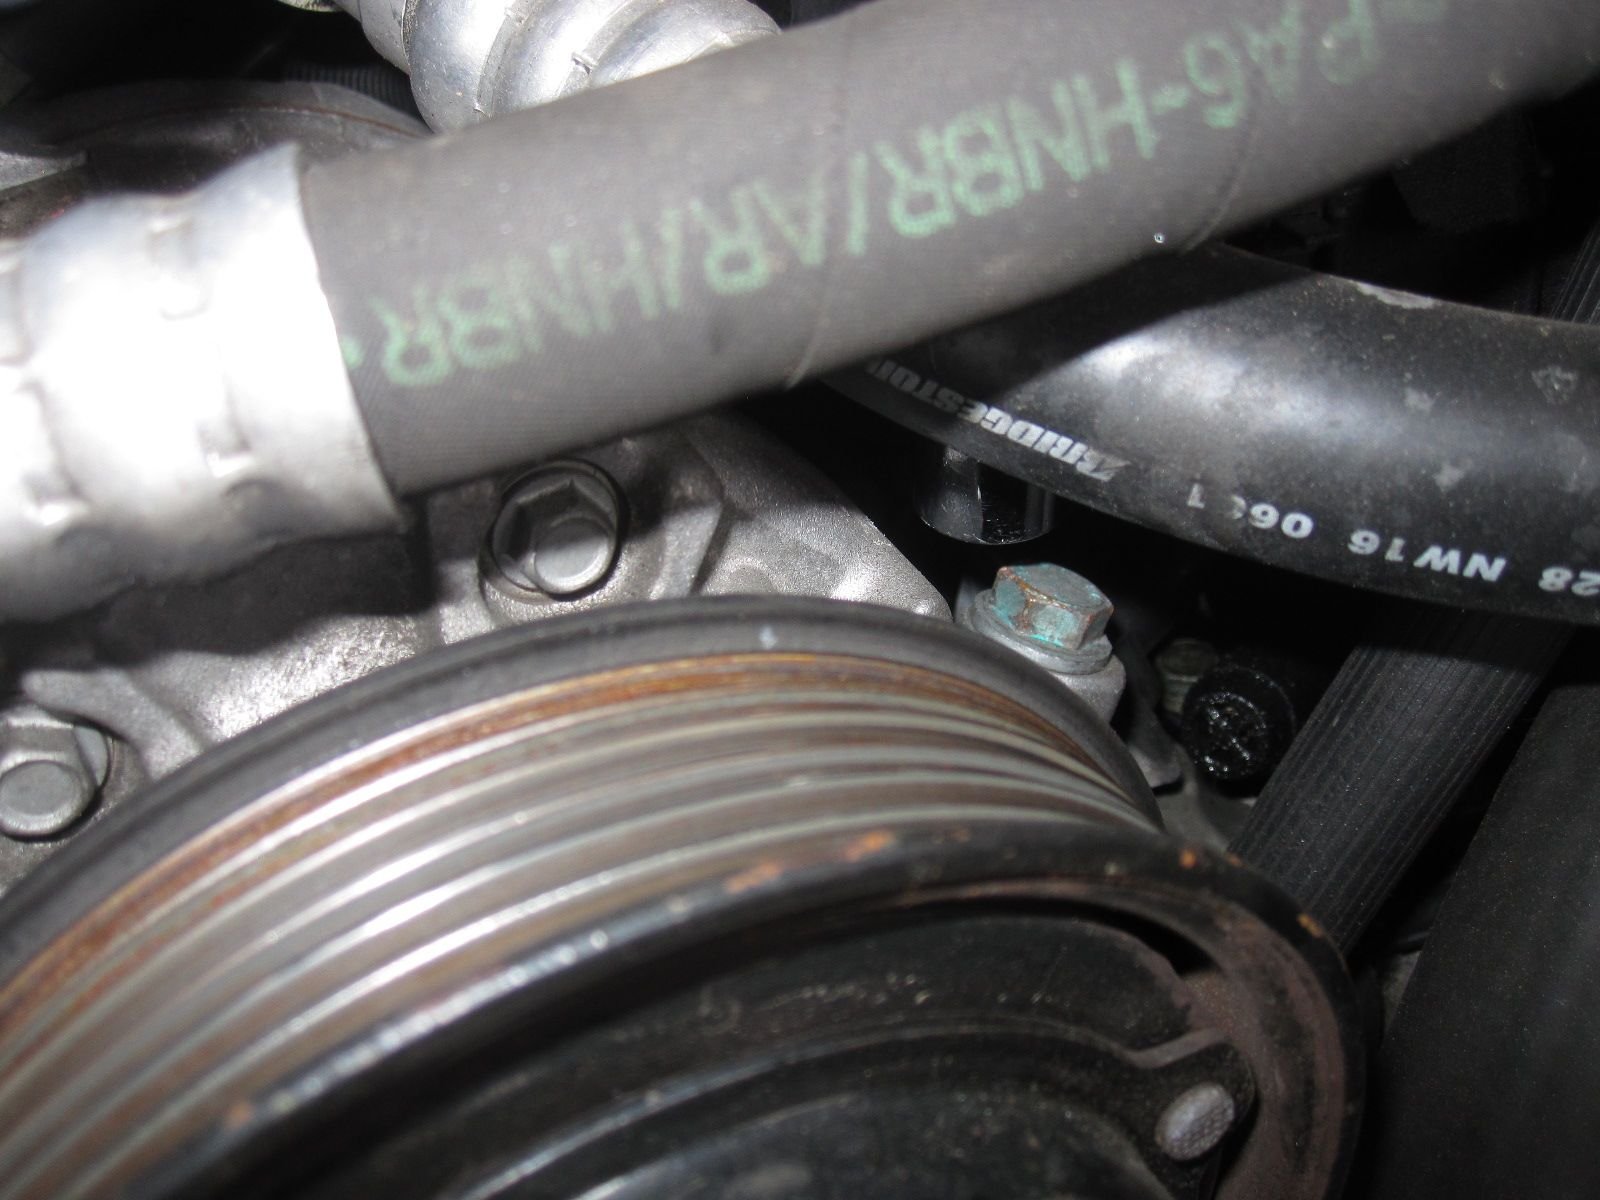
Second bolt...easy.
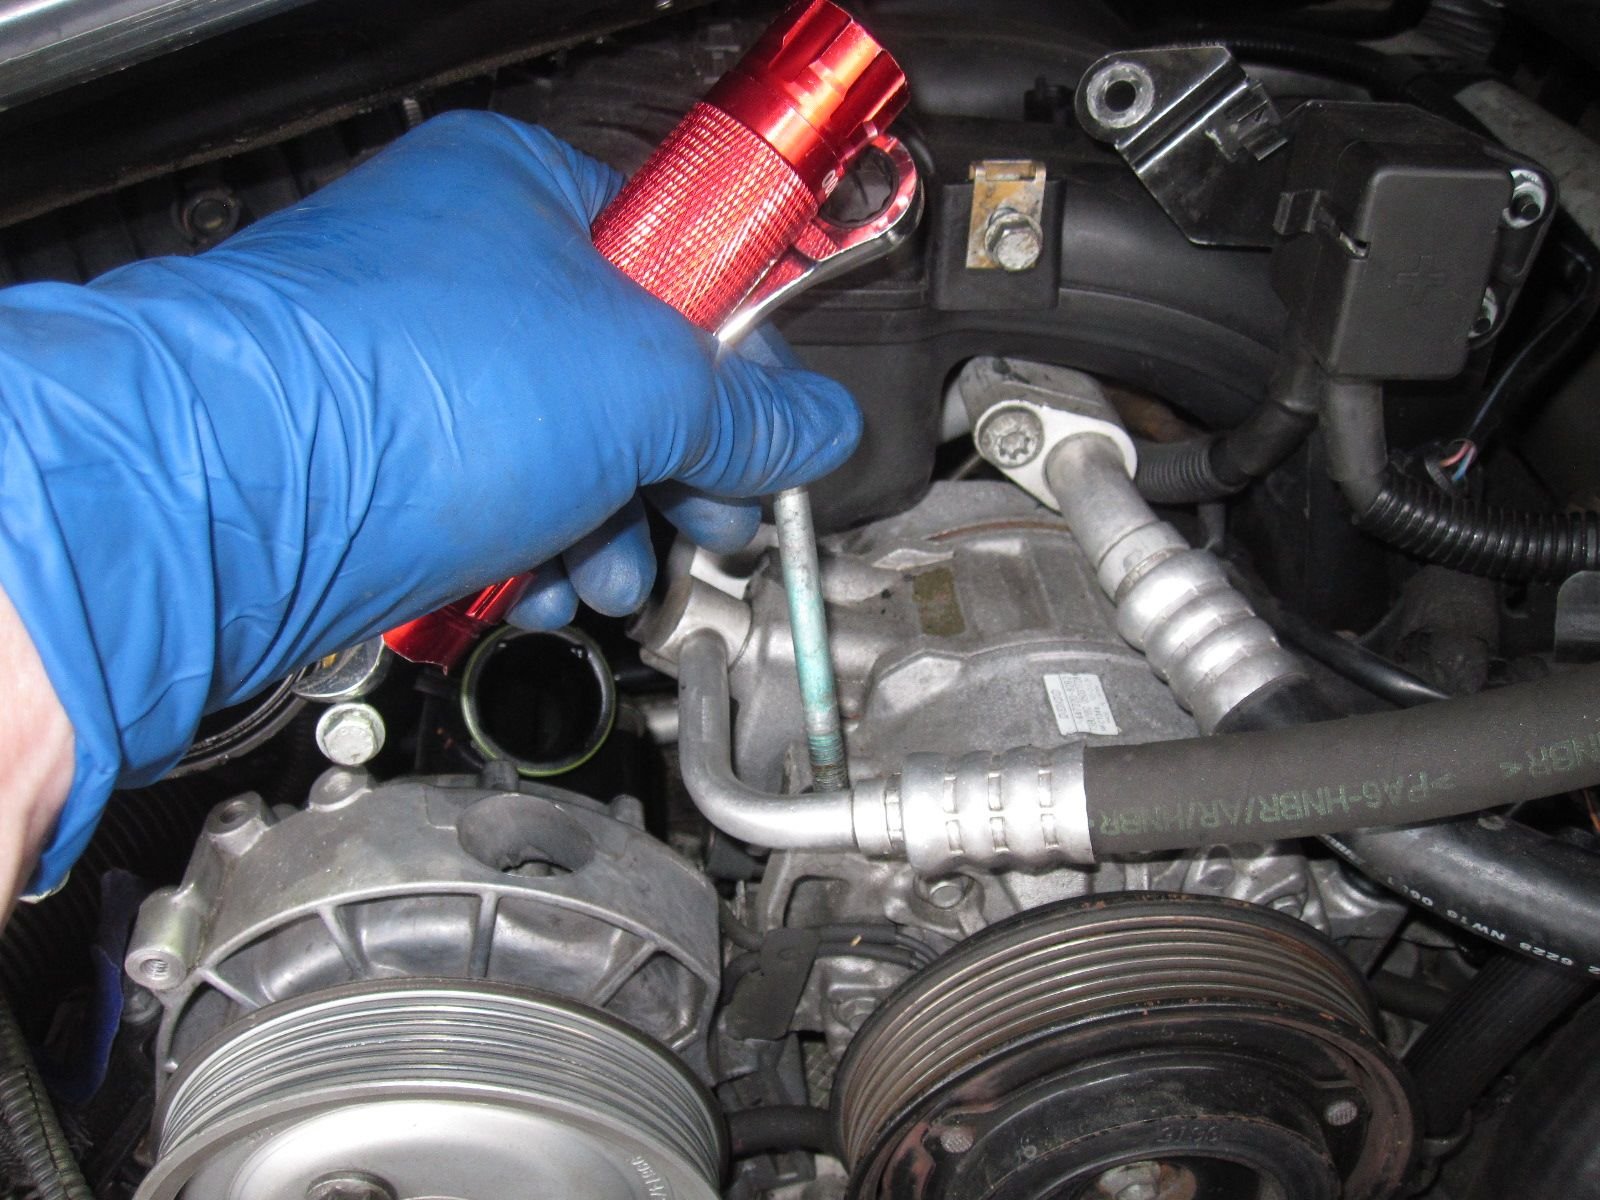
I put the first two bolts back in where they belong, after I removed the AC Compressor off the engine. I did not remove the compressor, so I don't have to have it recharged.

Here is where the third bolt goes. Don't forget it, when you put the compressor back on. See the bolt that I replaced. Don't want to lose it.
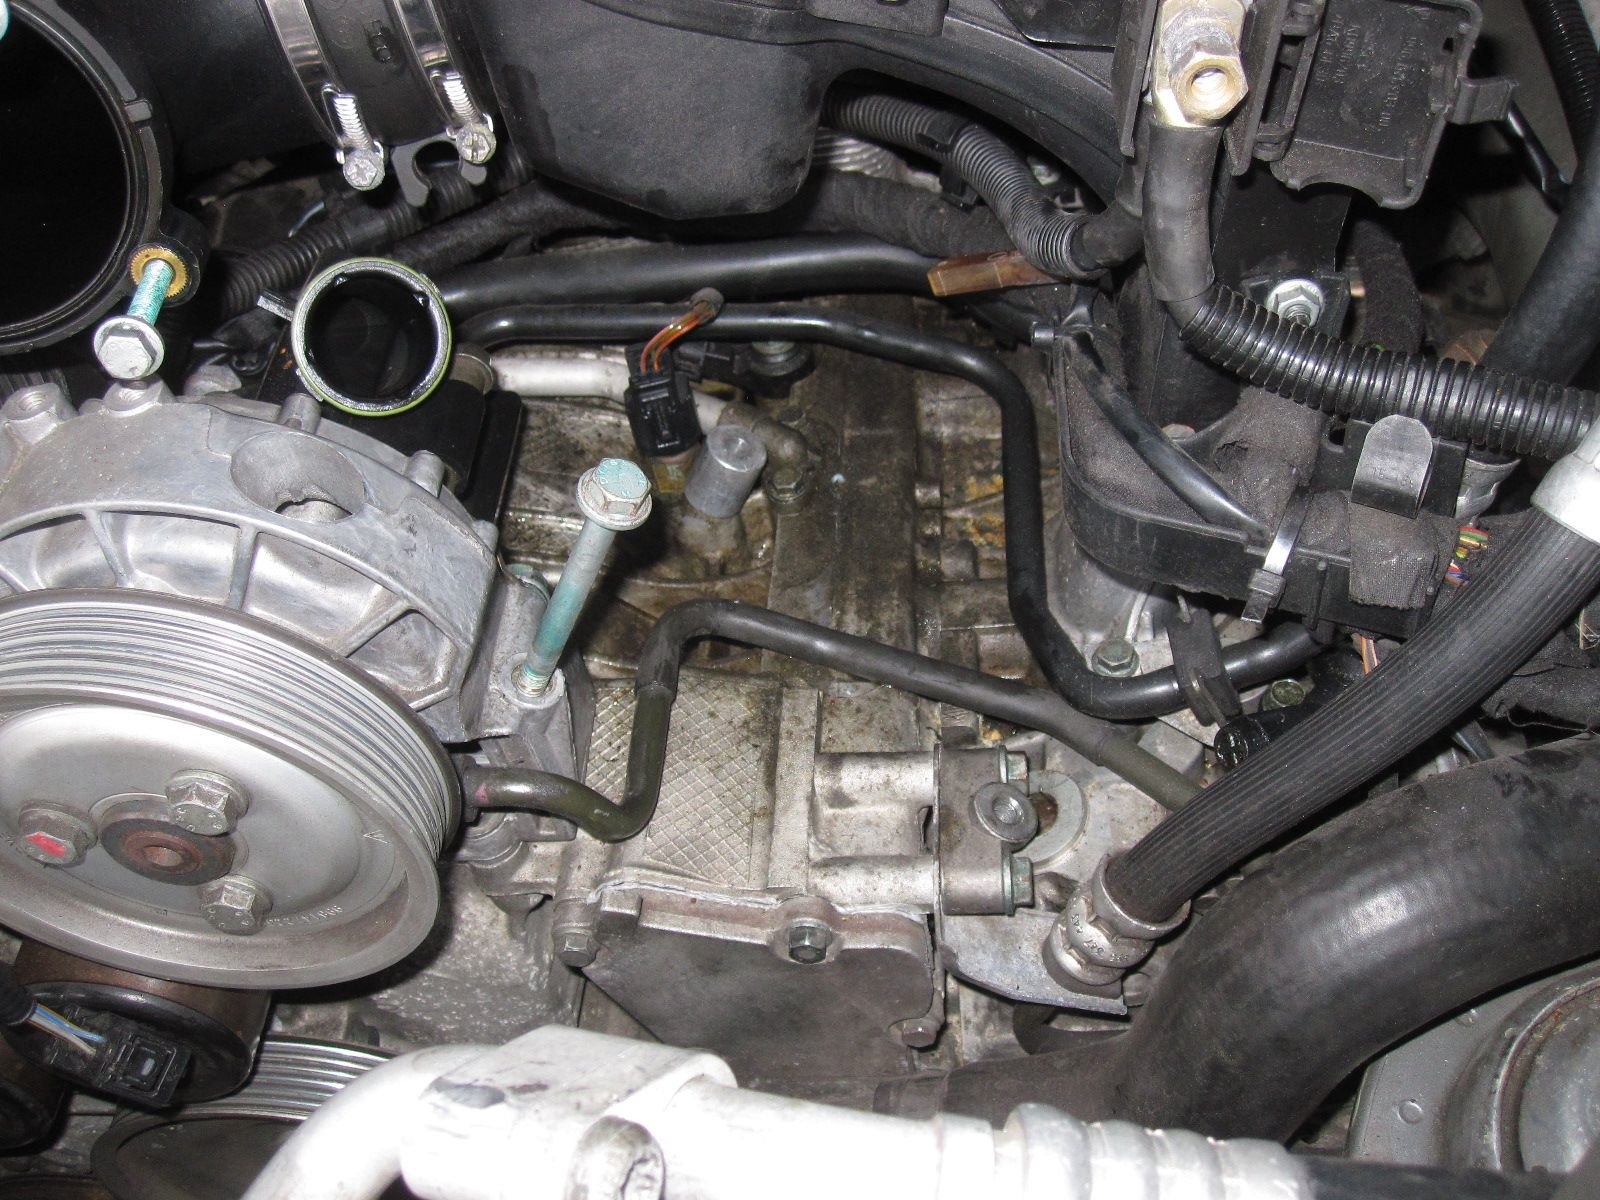
Taaa Daaa
#17
Instructor
Thread Starter
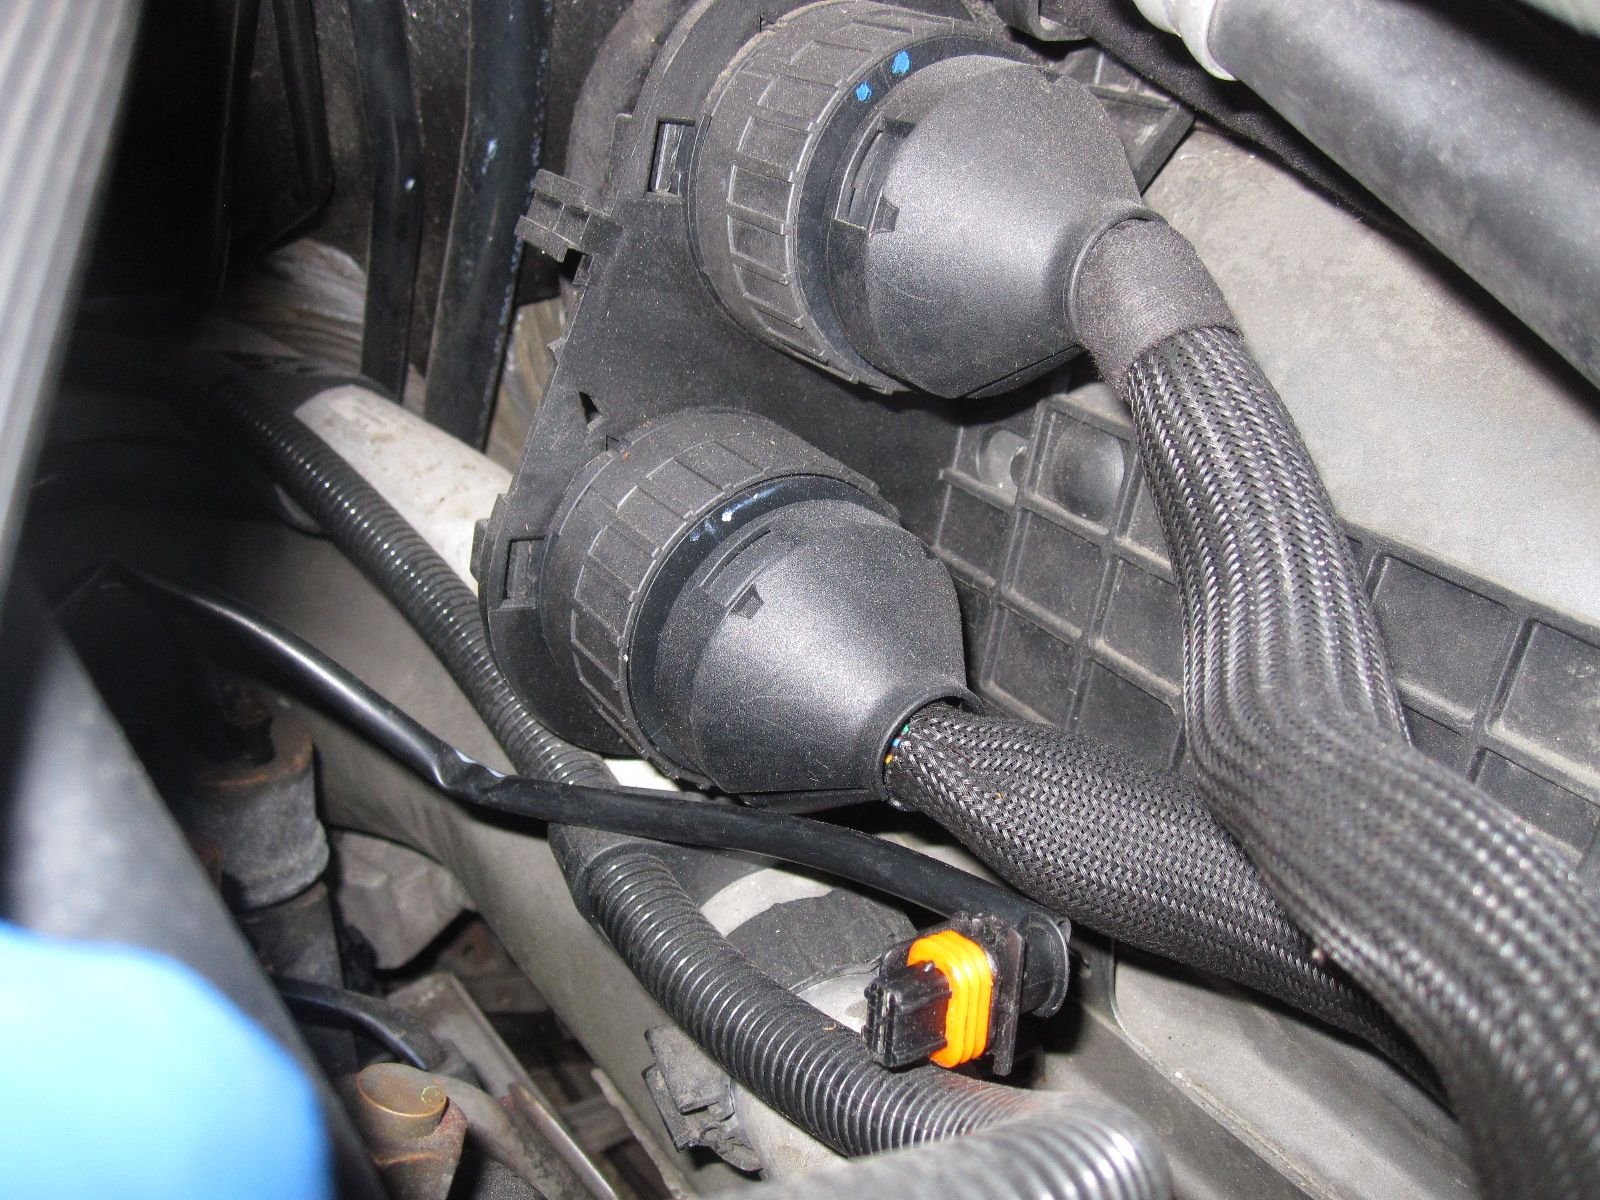
Next...remove the engine connectors.
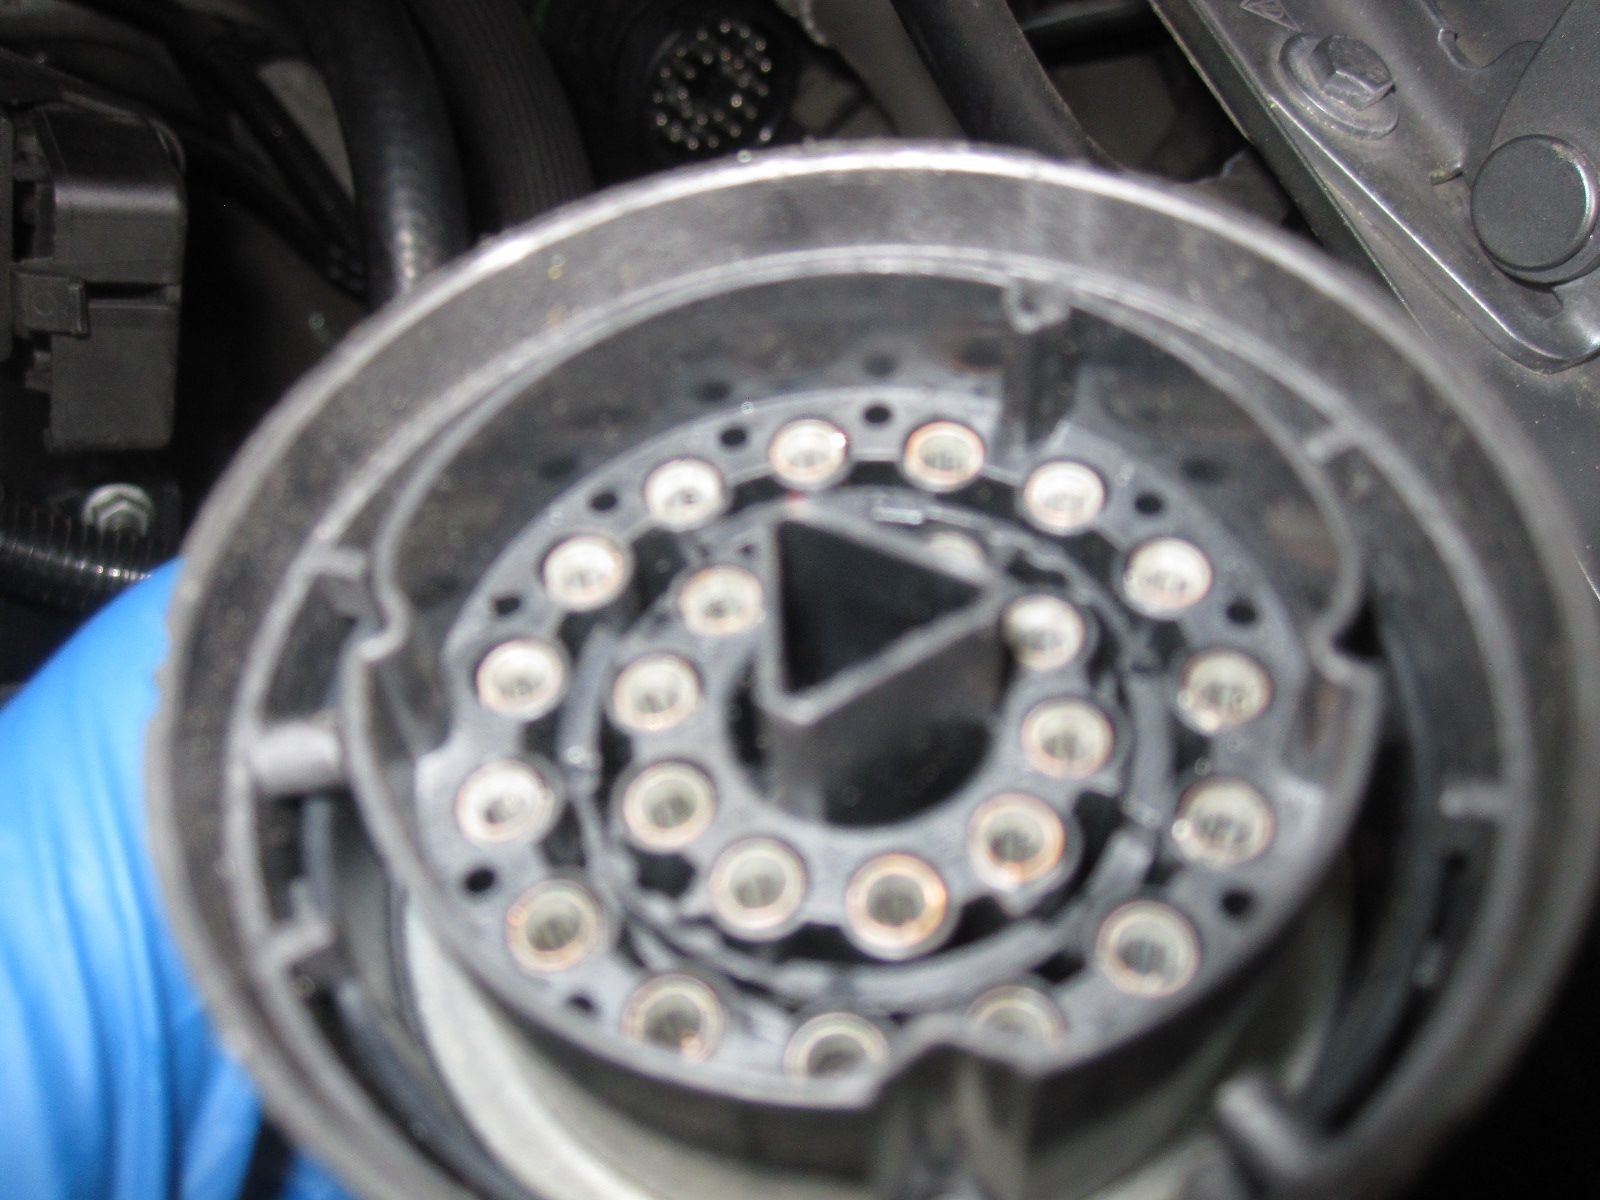
Sorry for the blurrrrrrrr. I hope these are keyed differently. I didn't keep track of which one went where.
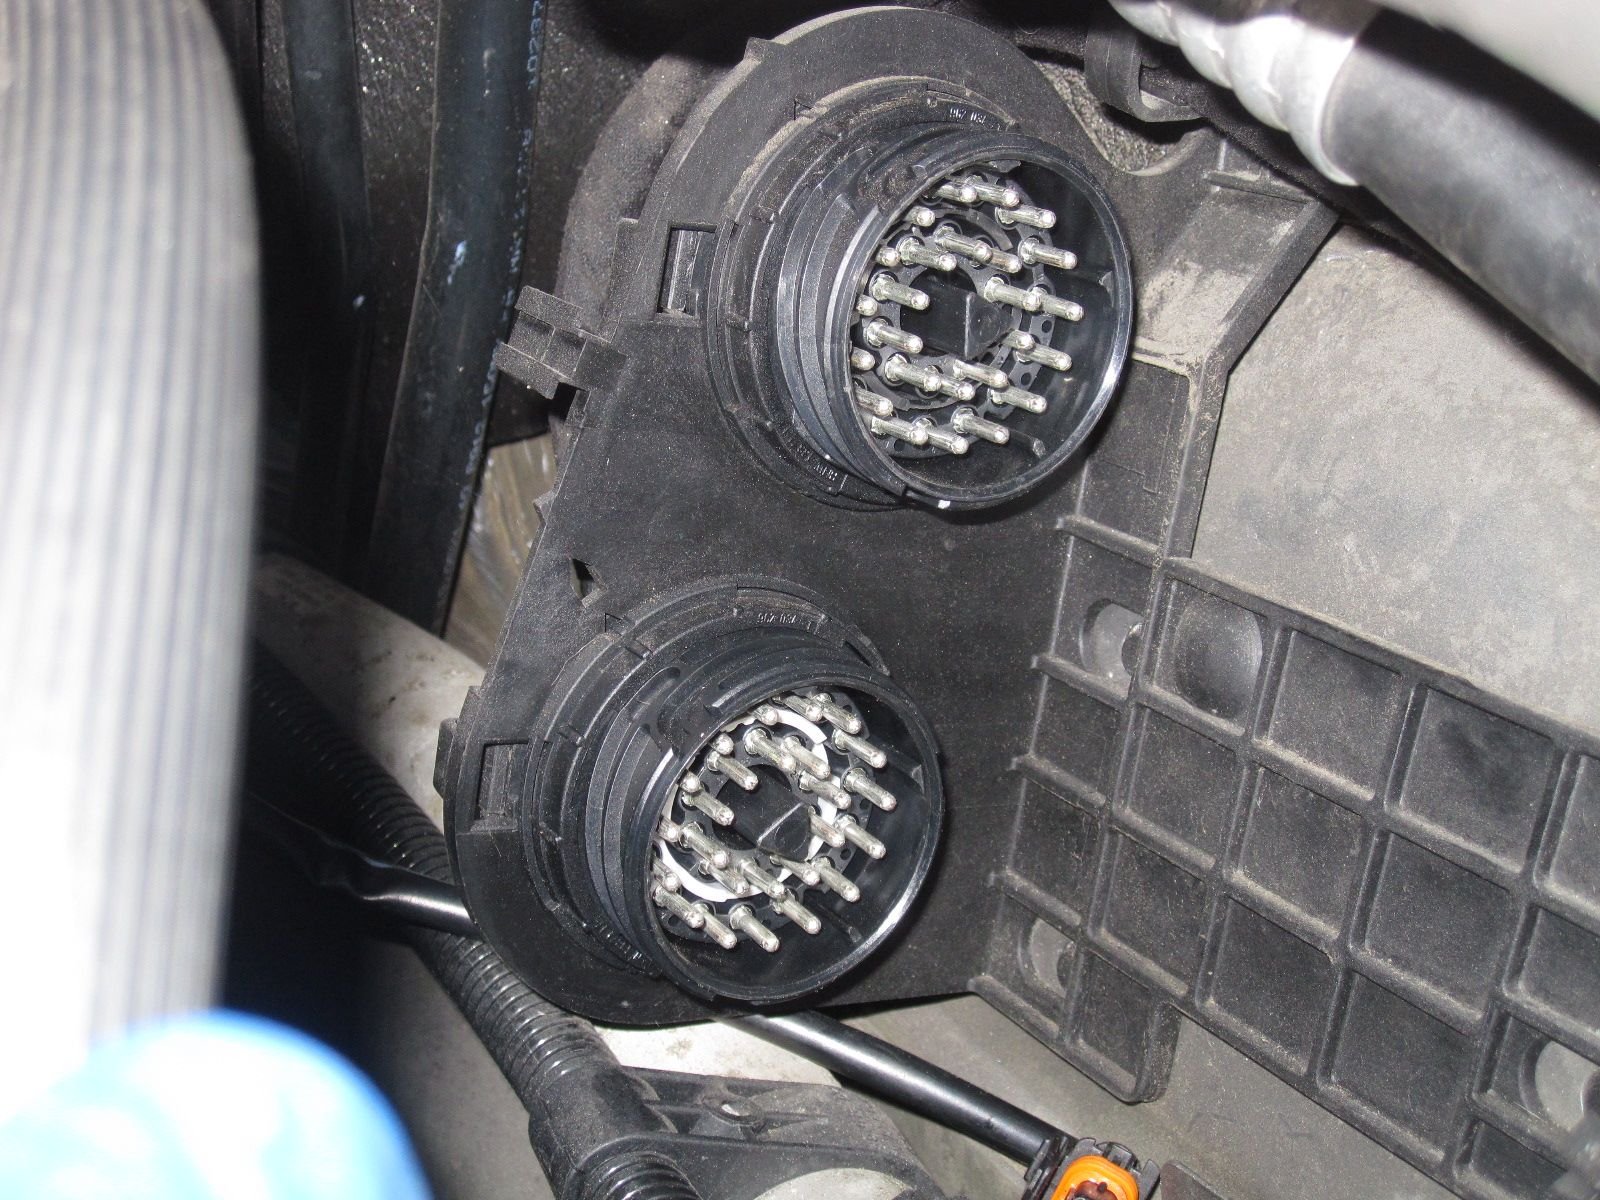
Engine connectors disconnected.
Next, we will remove the coolant reservoir and the air pump in the corner.
#18
Rennlist Member

#19
Rennlist Member
"Sorry for the blurrrrrrrr. I hope these are keyed differently. I didn't keep track of which one went where."
The plug with the fabric tape near the plug goes to the top socket!
The plug with the fabric tape near the plug goes to the top socket!

#20
Instructor
Thread Starter
Not bad observation...EXCEPT that is a picture of the engine I am taking OUT. The replacement engine so happens to have fabric tape on BOTH connectors. I compared the two connectors, and it appears that they are keyed a little differently. We cross that bridge when I get there.....
#21
Rennlist Member
DOH! Hopefully the key is in the keying... Good luck 

#22
Instructor
Thread Starter
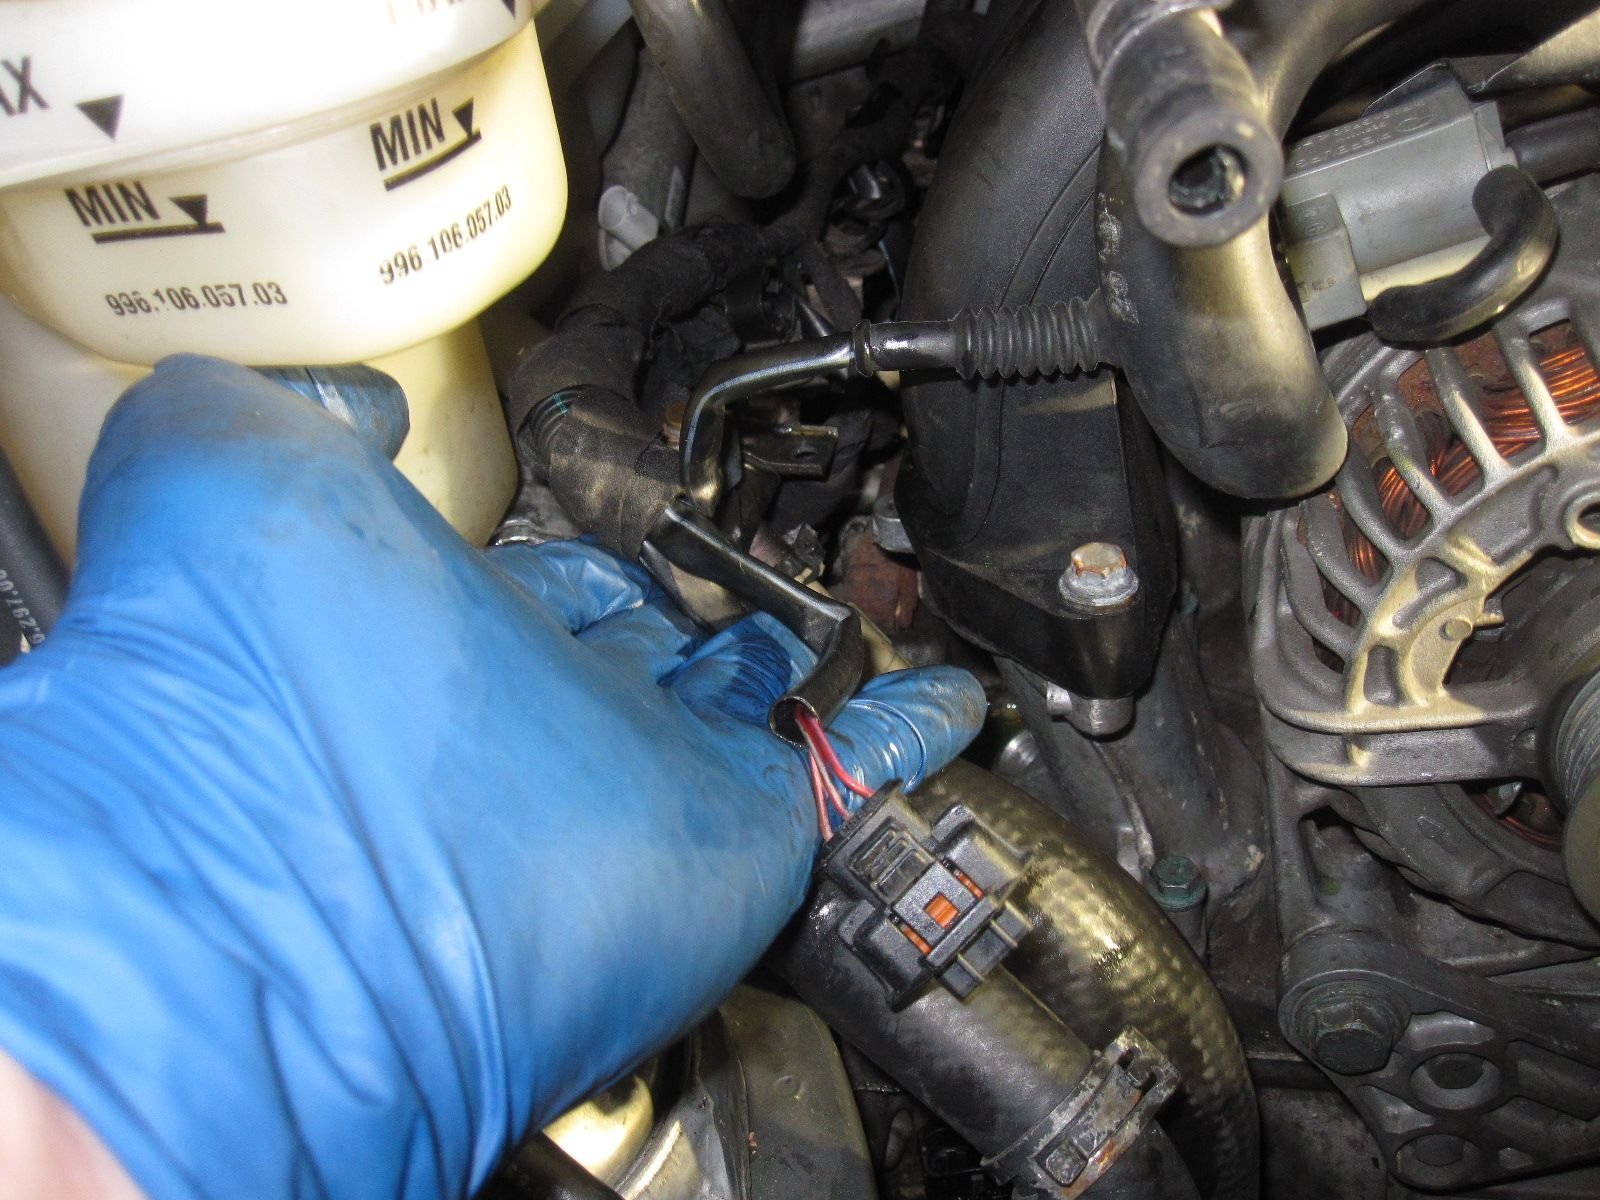
The next step in Wayne's book discussed taking the fuel lines off the driver side fuel rail. Actually, there has been a change for 2002 and later. There is a different setup and only one quick disconnect. The fuel rail and hoses stay connected to the engine. I didn't find this out until it was almost too late, but luckily I checked the site and got some direction.
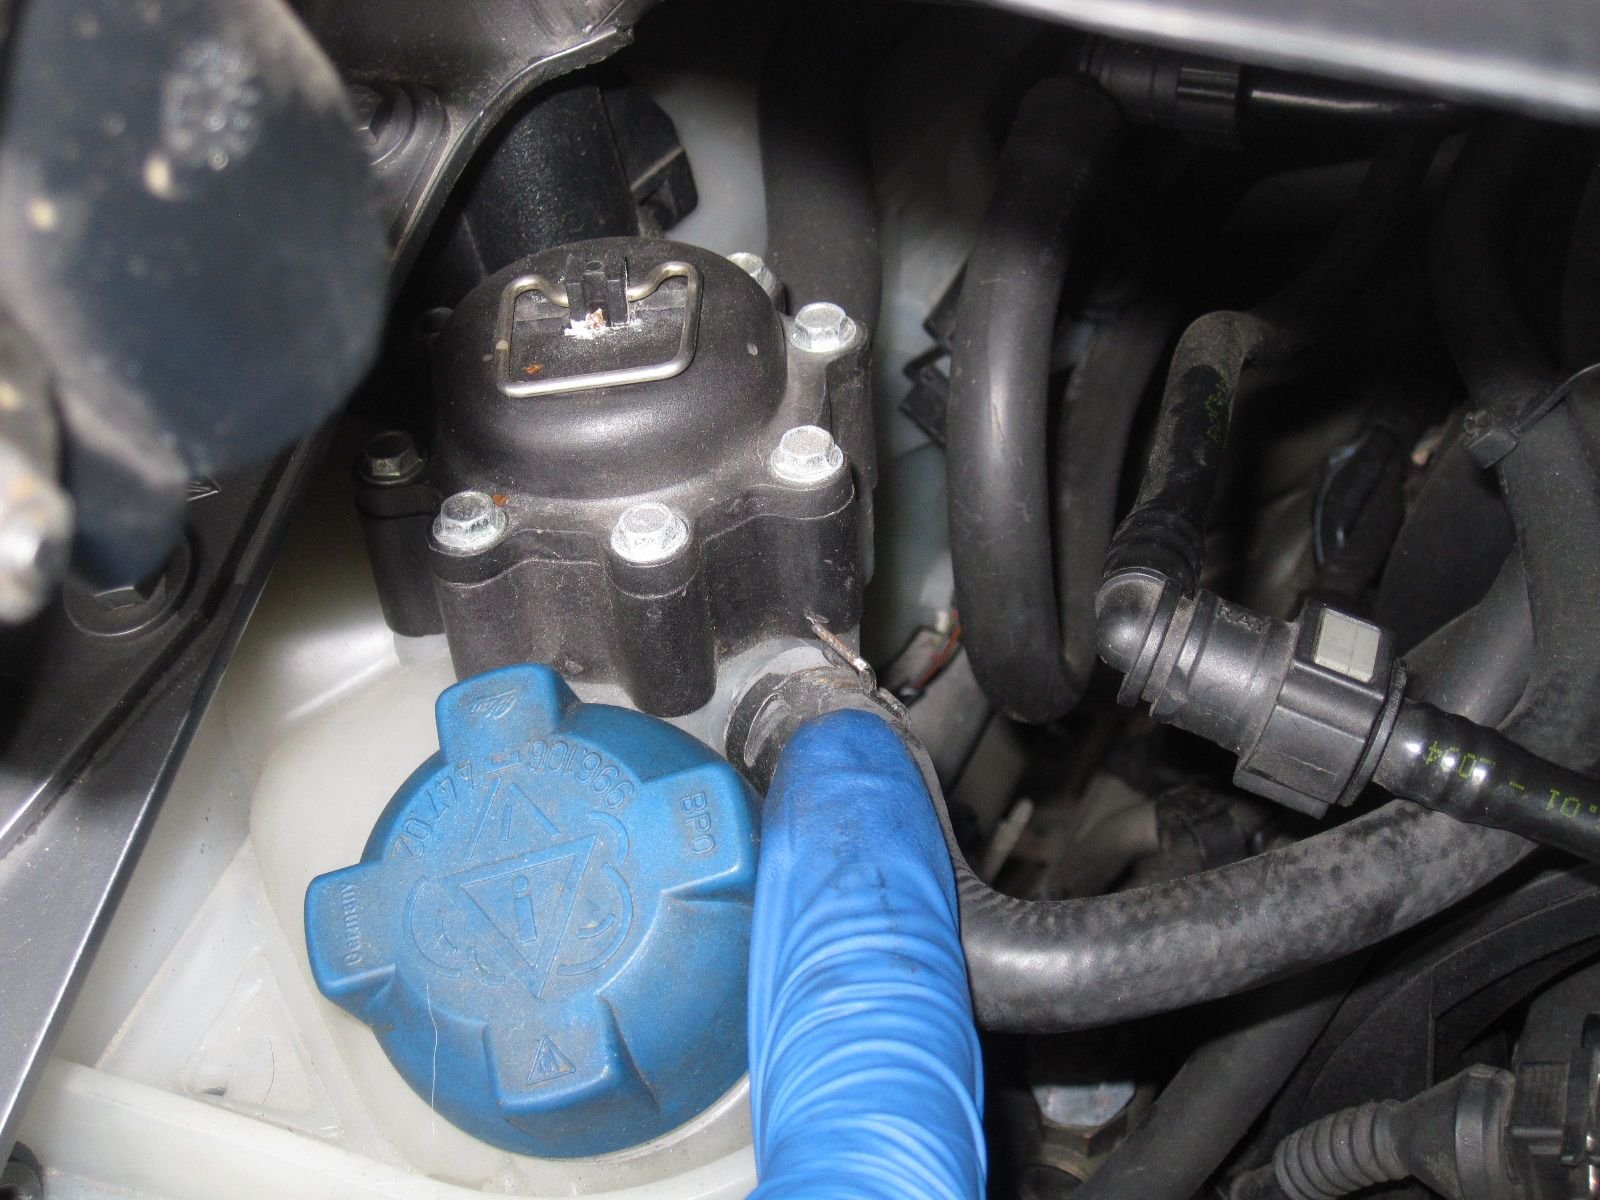
Starting to remove the coolant reservoir. Quite frankly, I should have tired to lower the engine first. I couldn't remove it without doing this. I wrestled with it for a while, before giving in an dropping the engine a little. Save time...start off. Also easier after I removed the secondary air pump. These pictues are out of order, because it was a trial and error thing.

Removed hose....
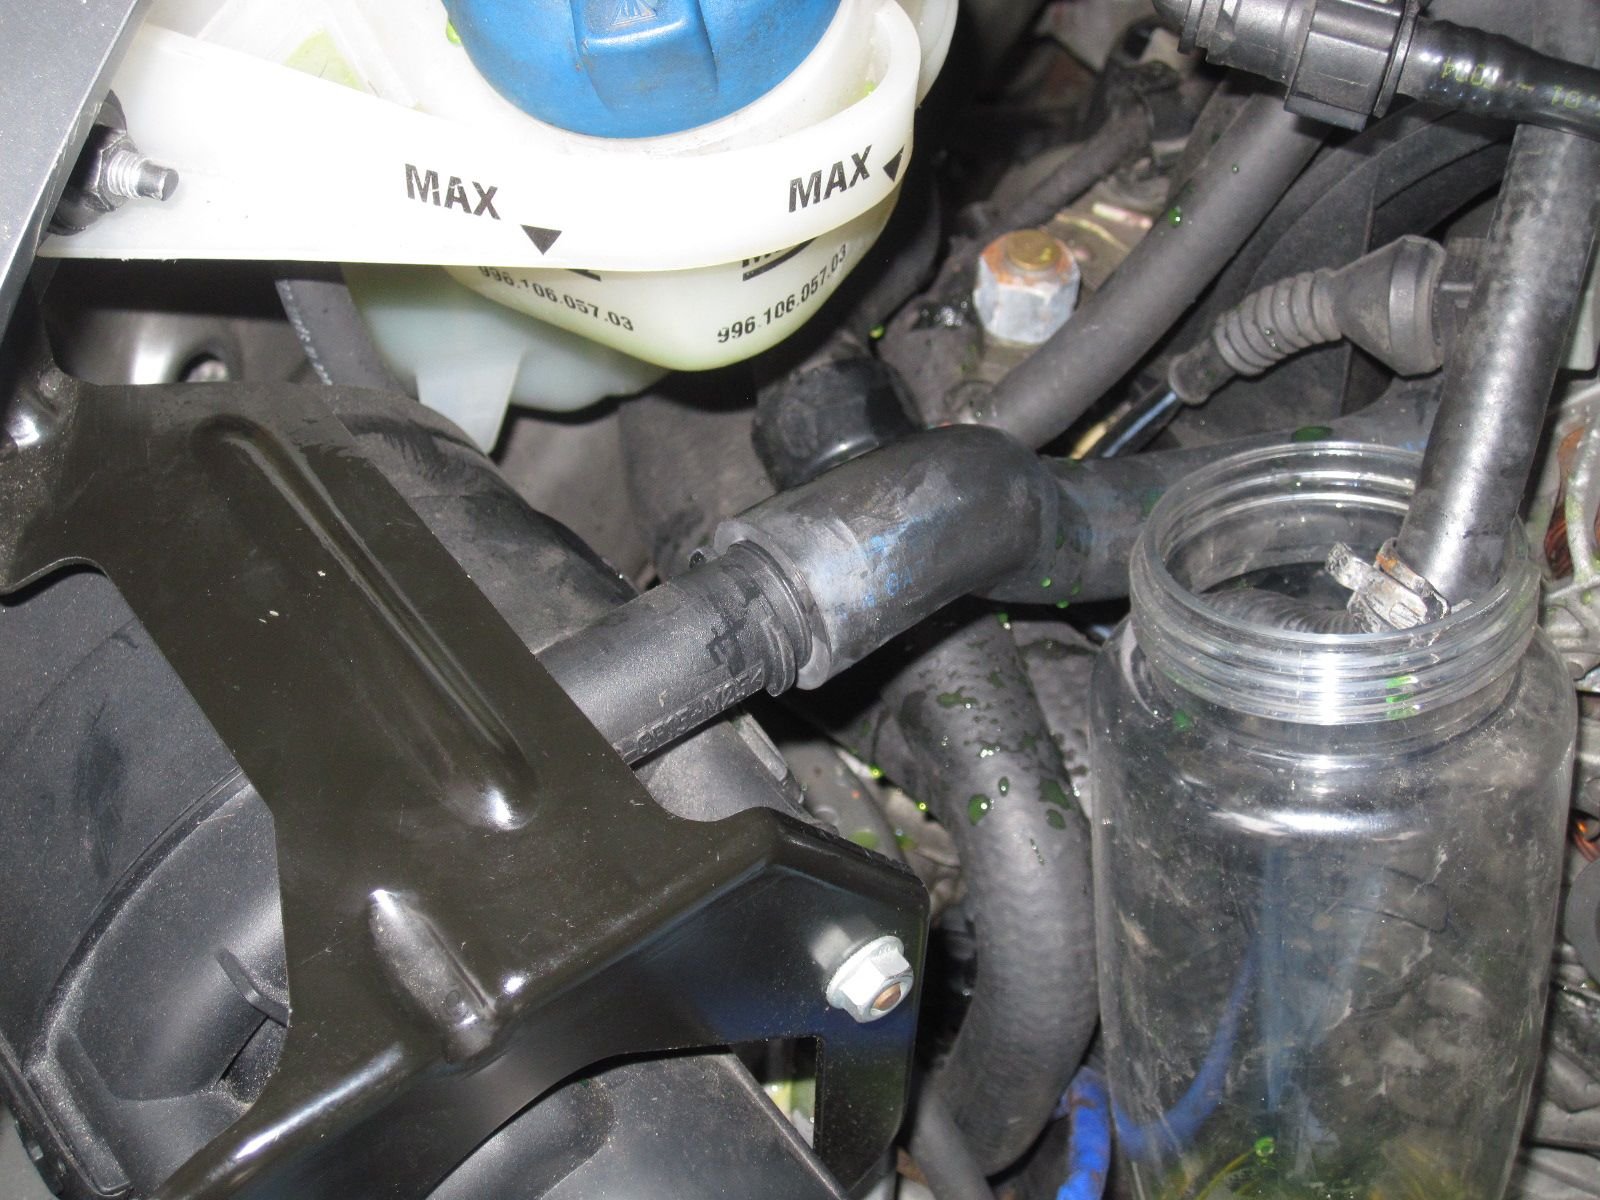
Disconnectign secondary air pump. Notice the jar that was draining coolant, after I disconnected it from reservoir.
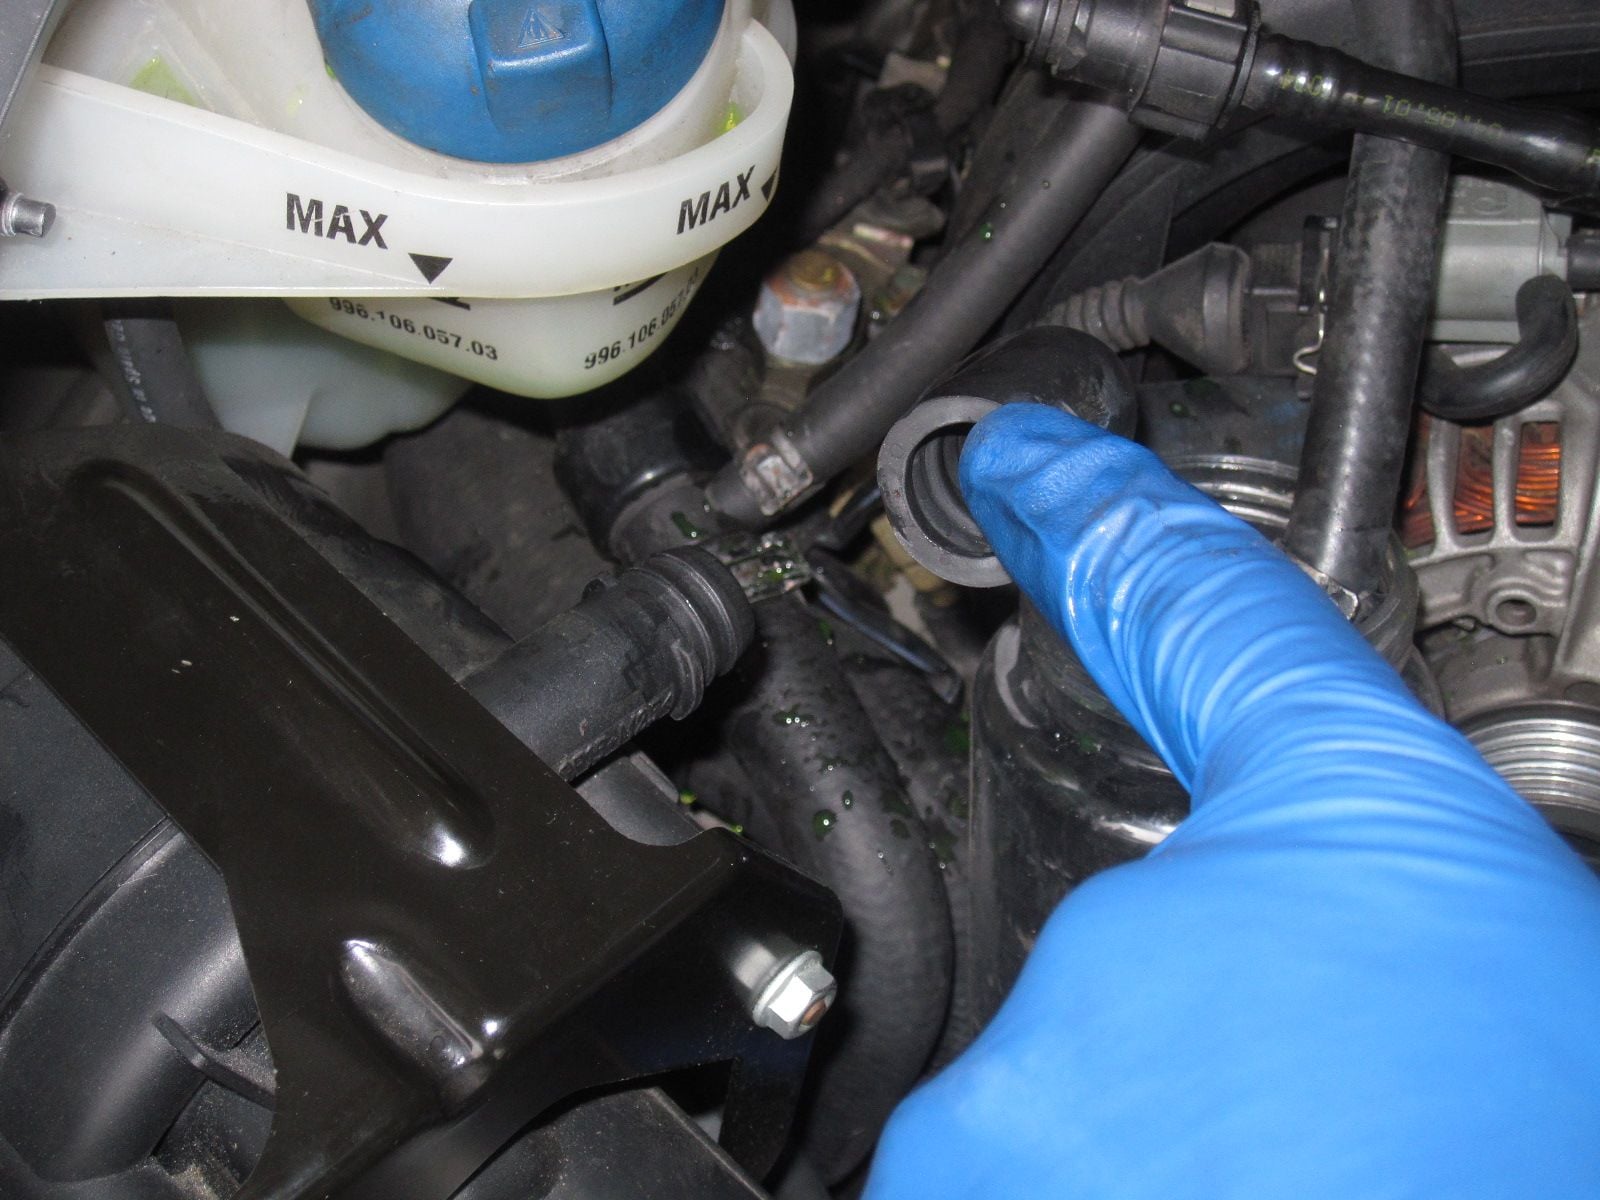
Hose off....
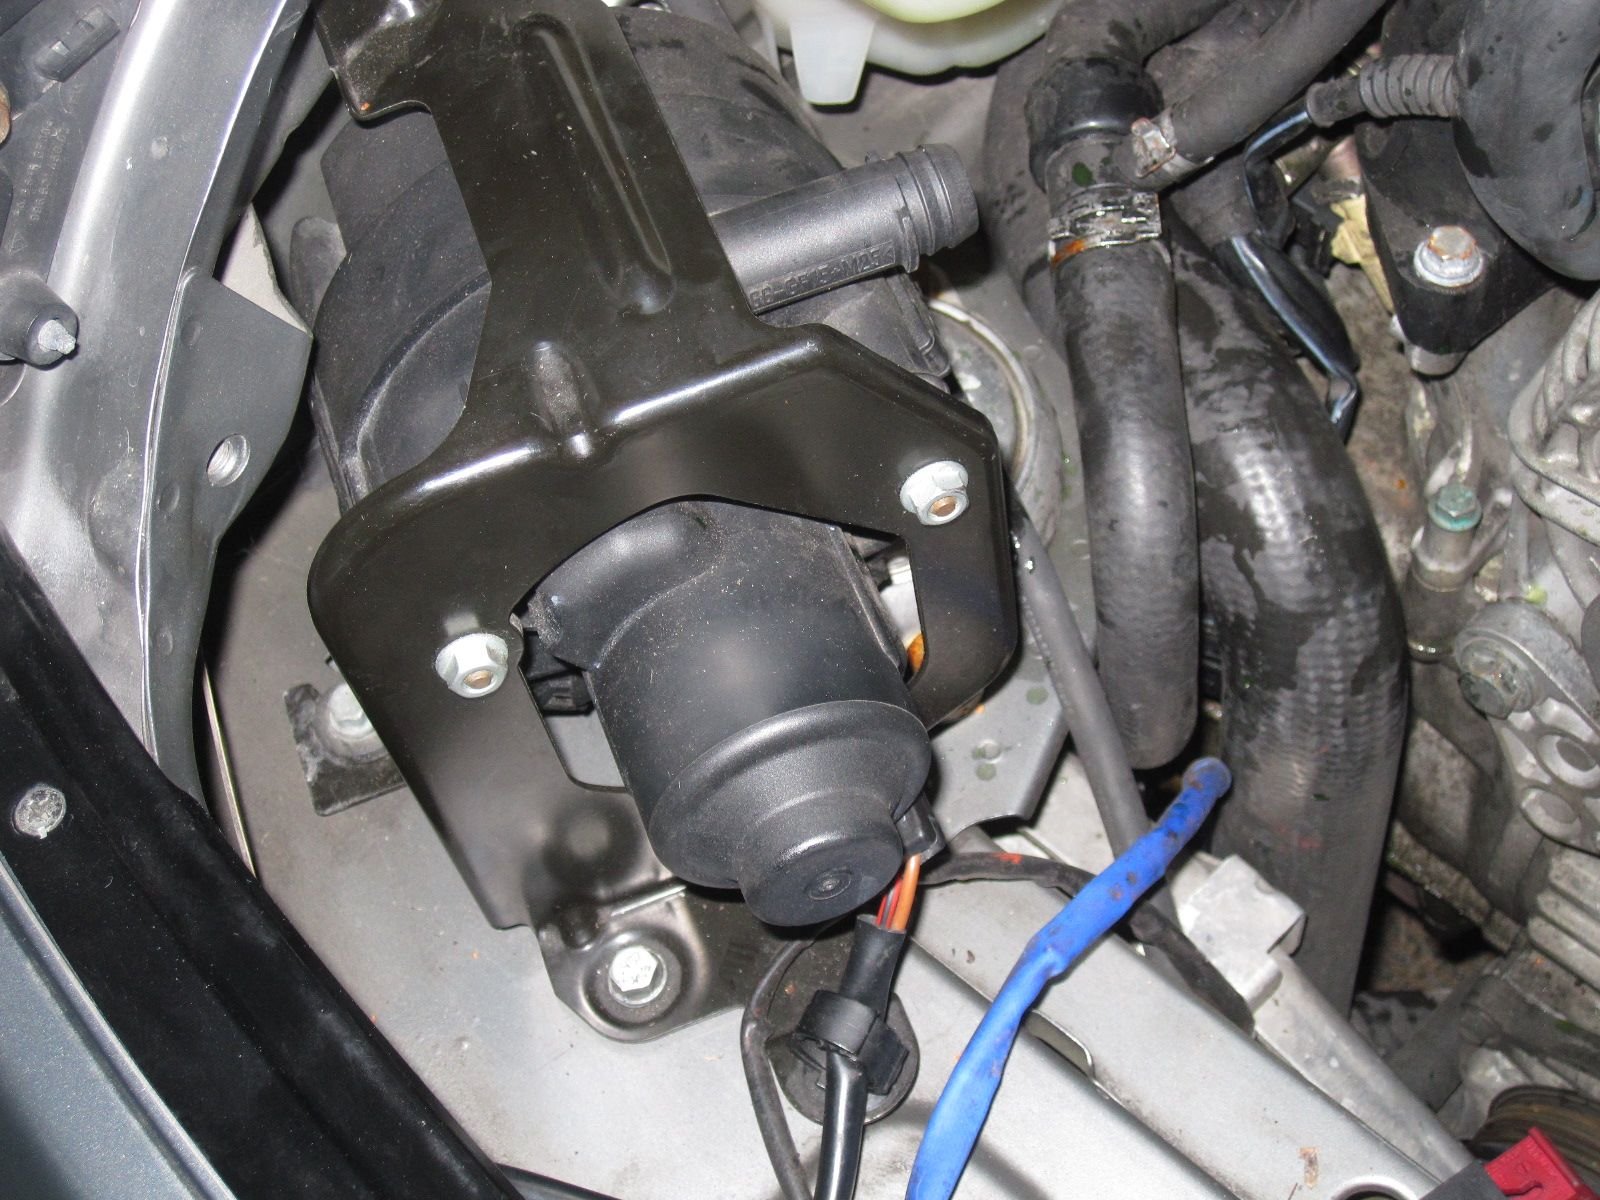
Secondary air pump. Pretty easy to remove bolts holding it in....gives you a lot of room to remove coolant reservoir.
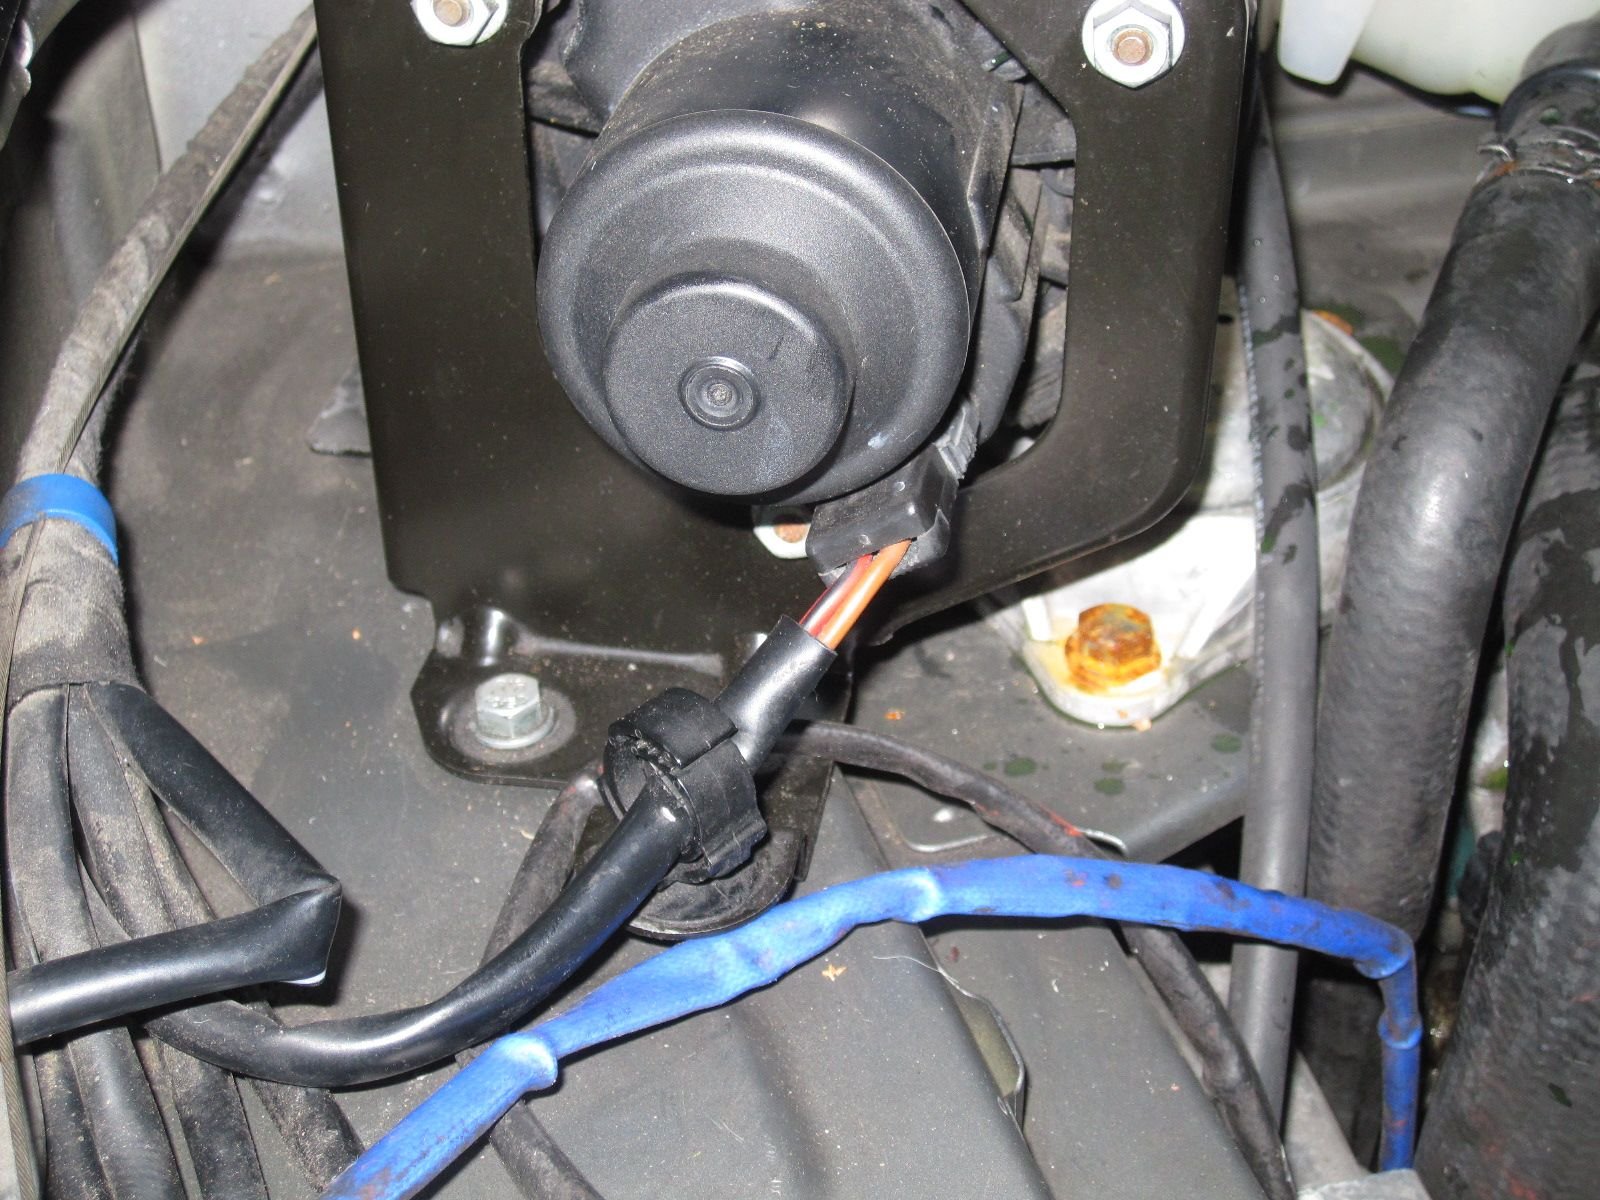
Disconnect this plug....
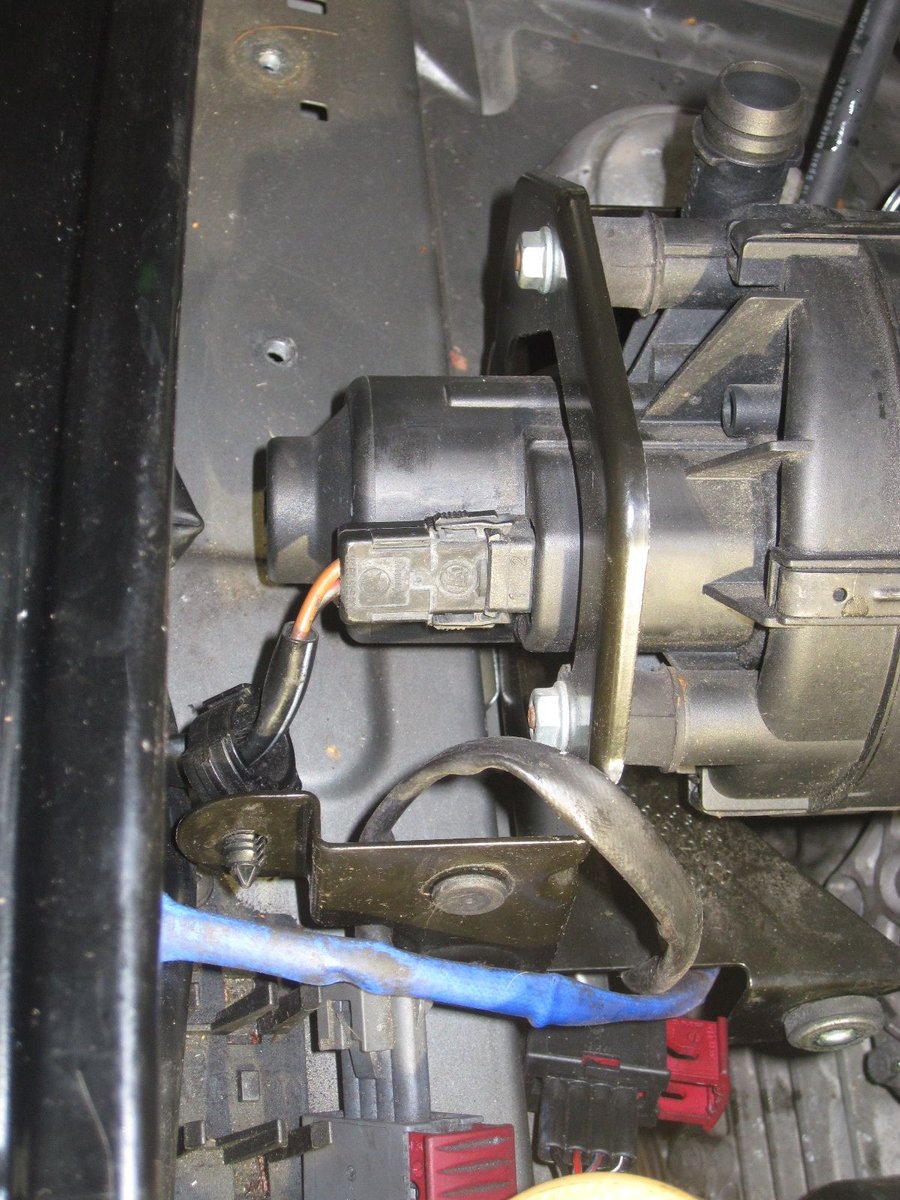
another view....
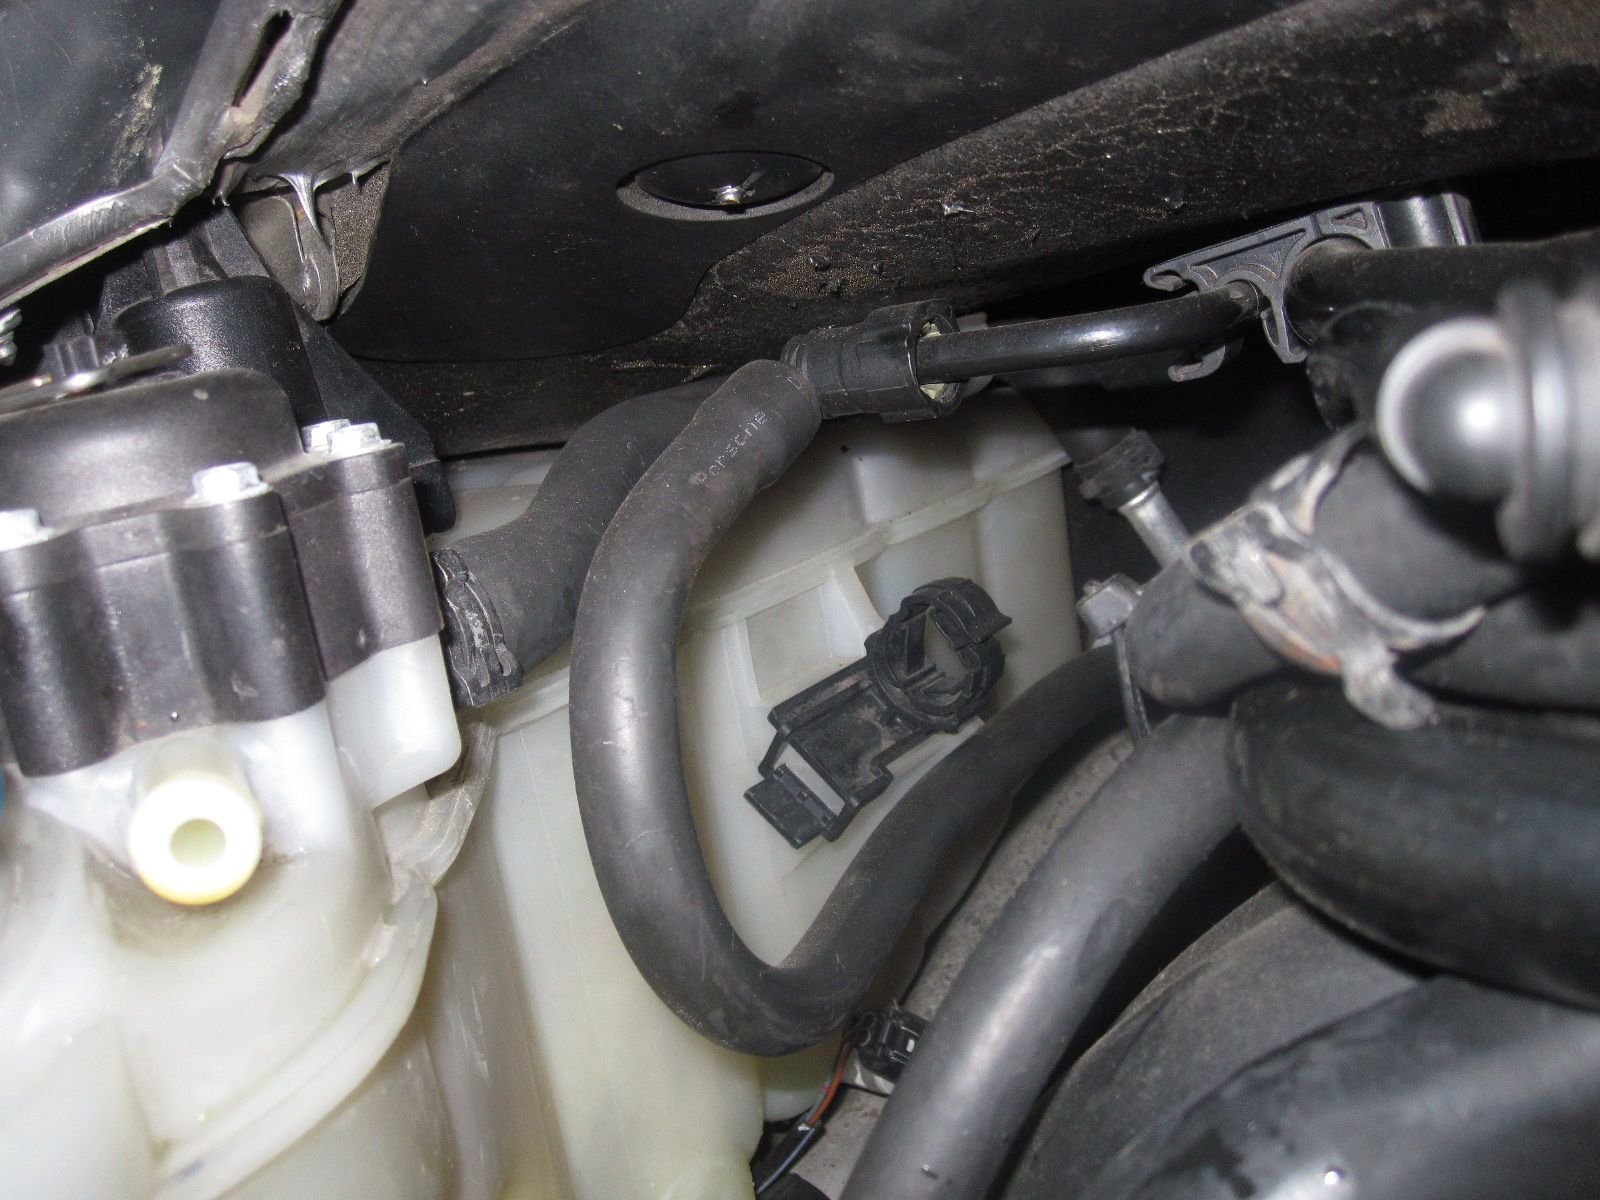
I believe that this is the quick disconnect connector (upper hose that connects to metal hose) for the fuel hose, that feeds BOTH fuel rails
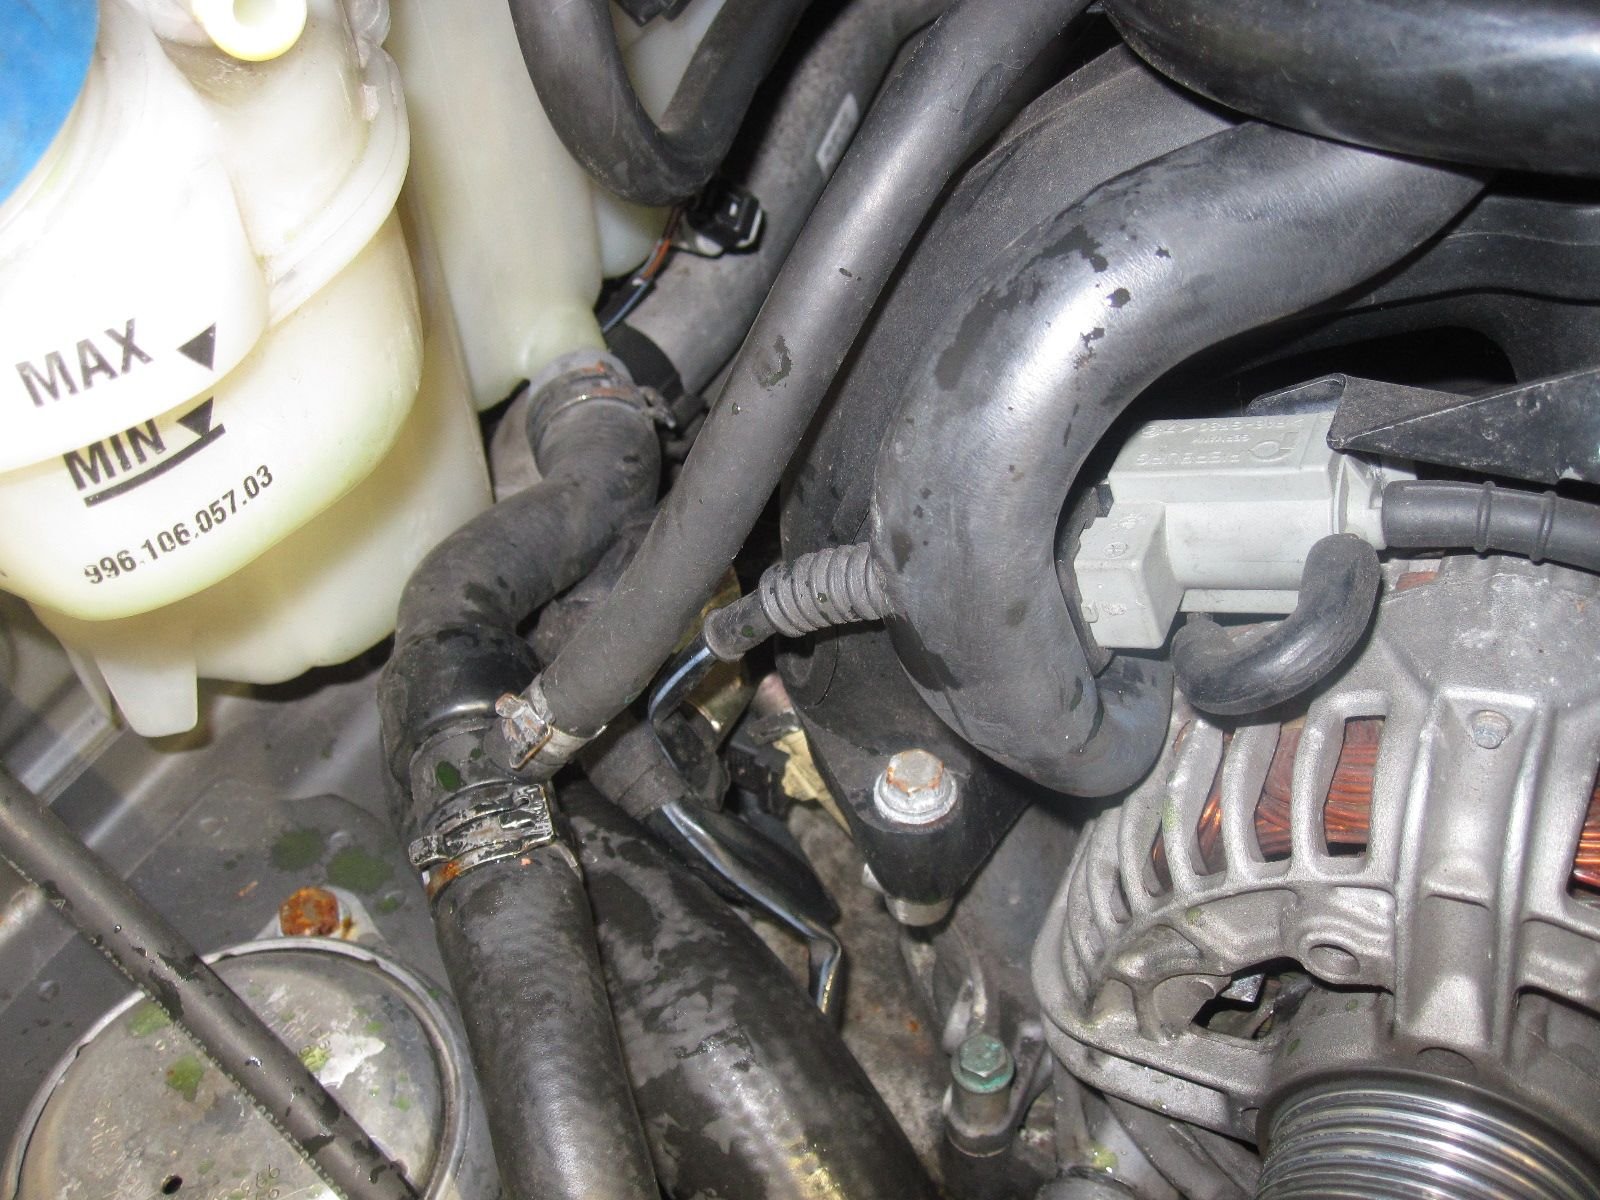

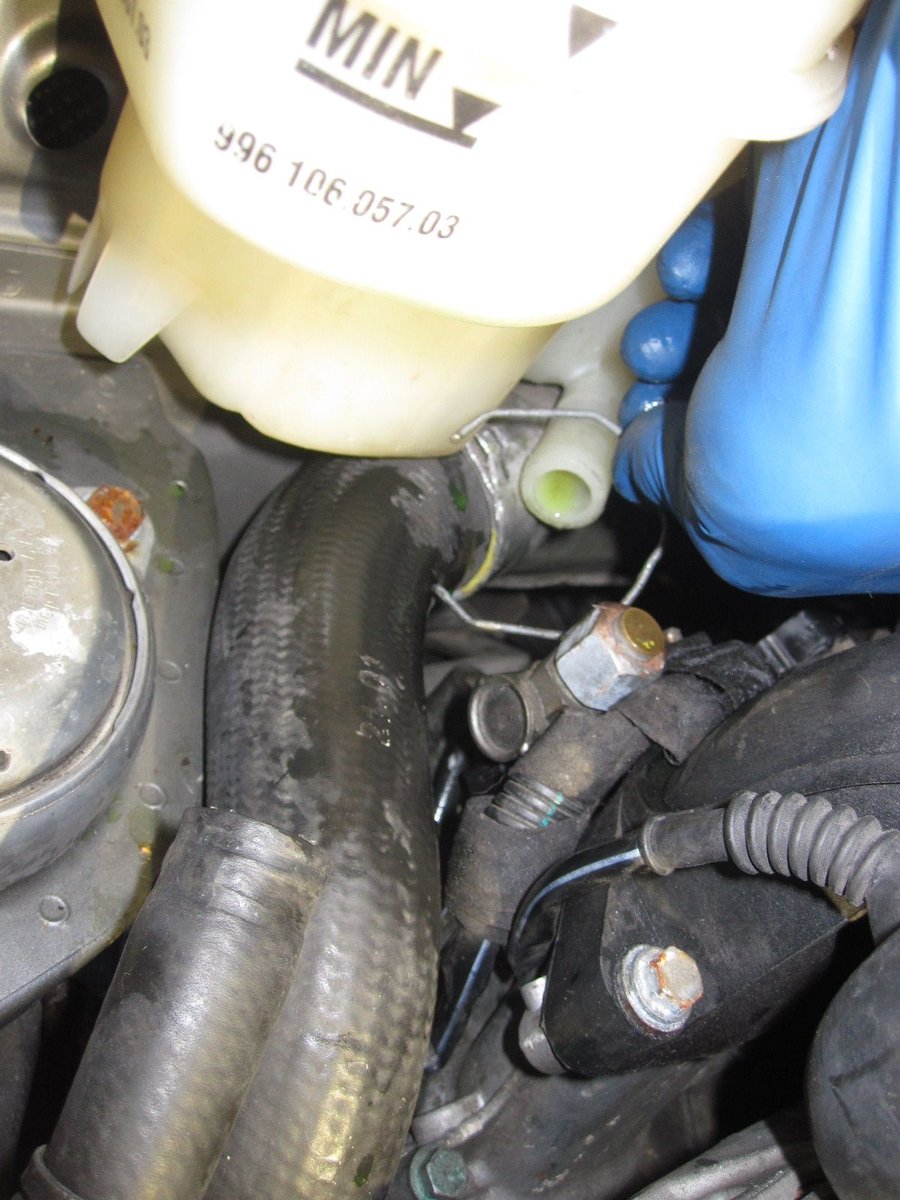
Removing another hose off of coolant reservoir.
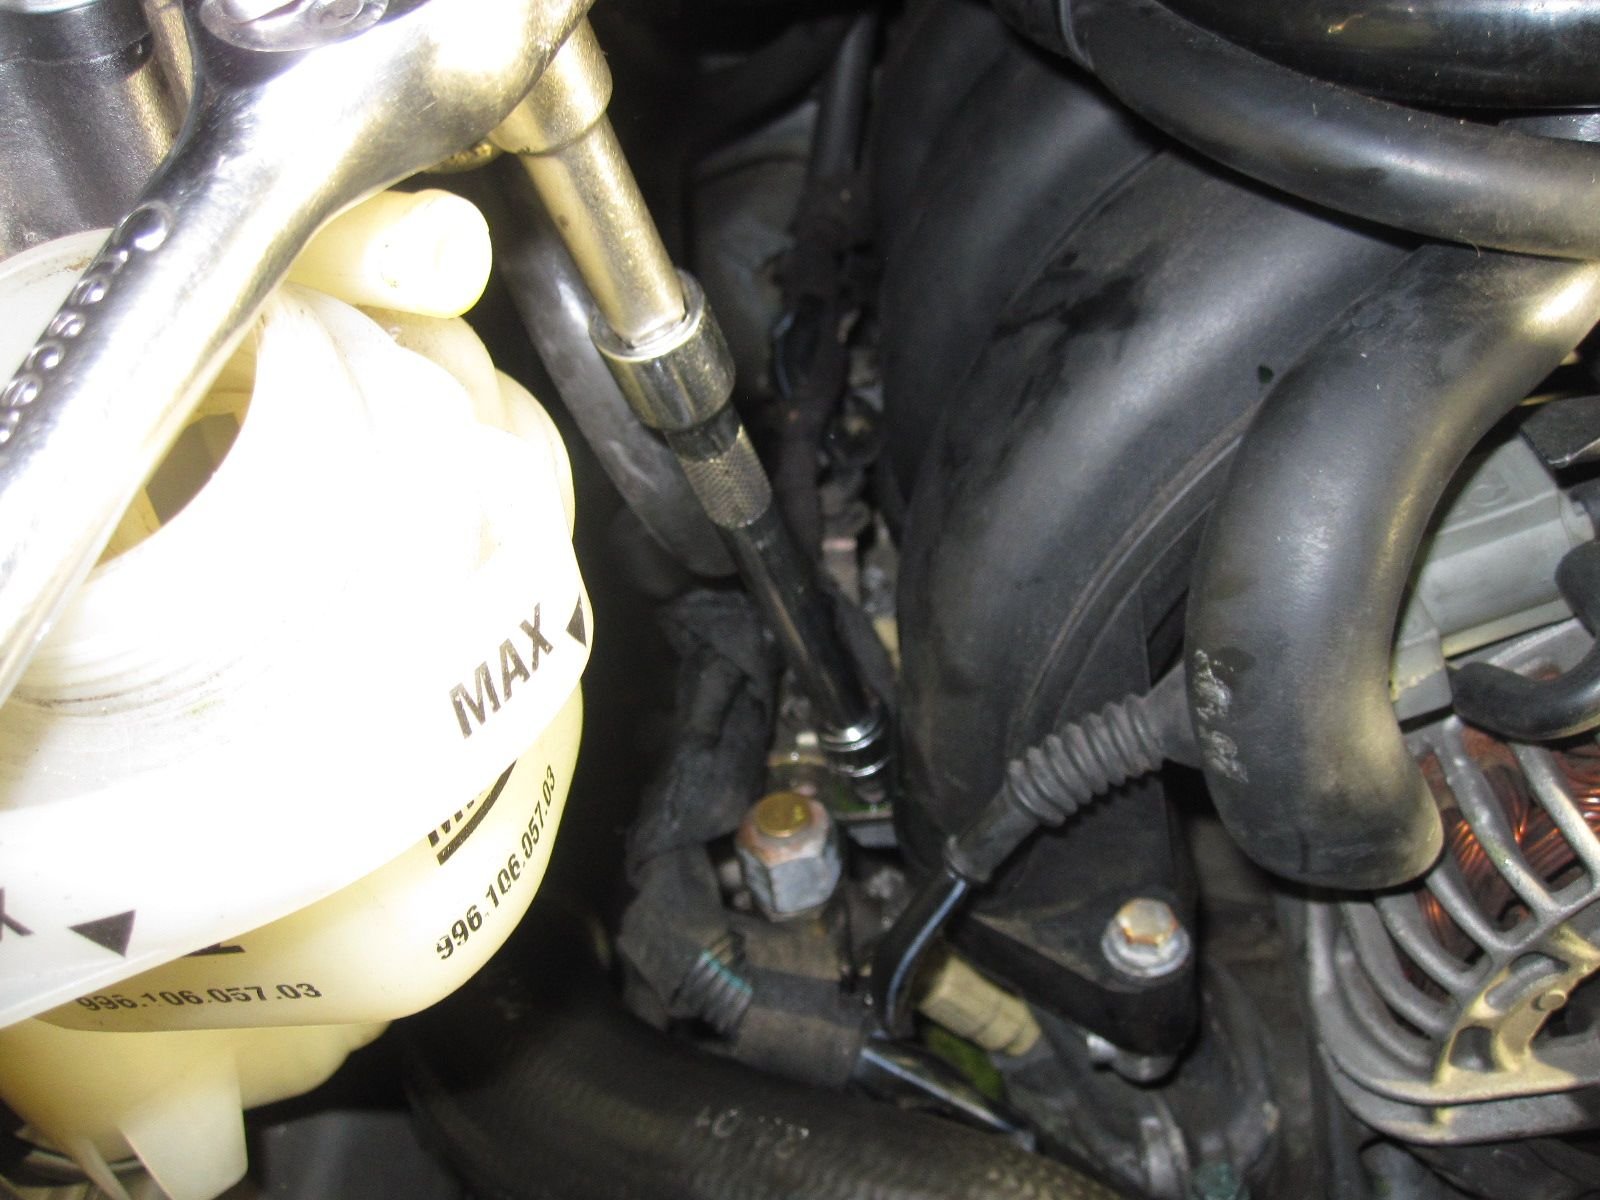
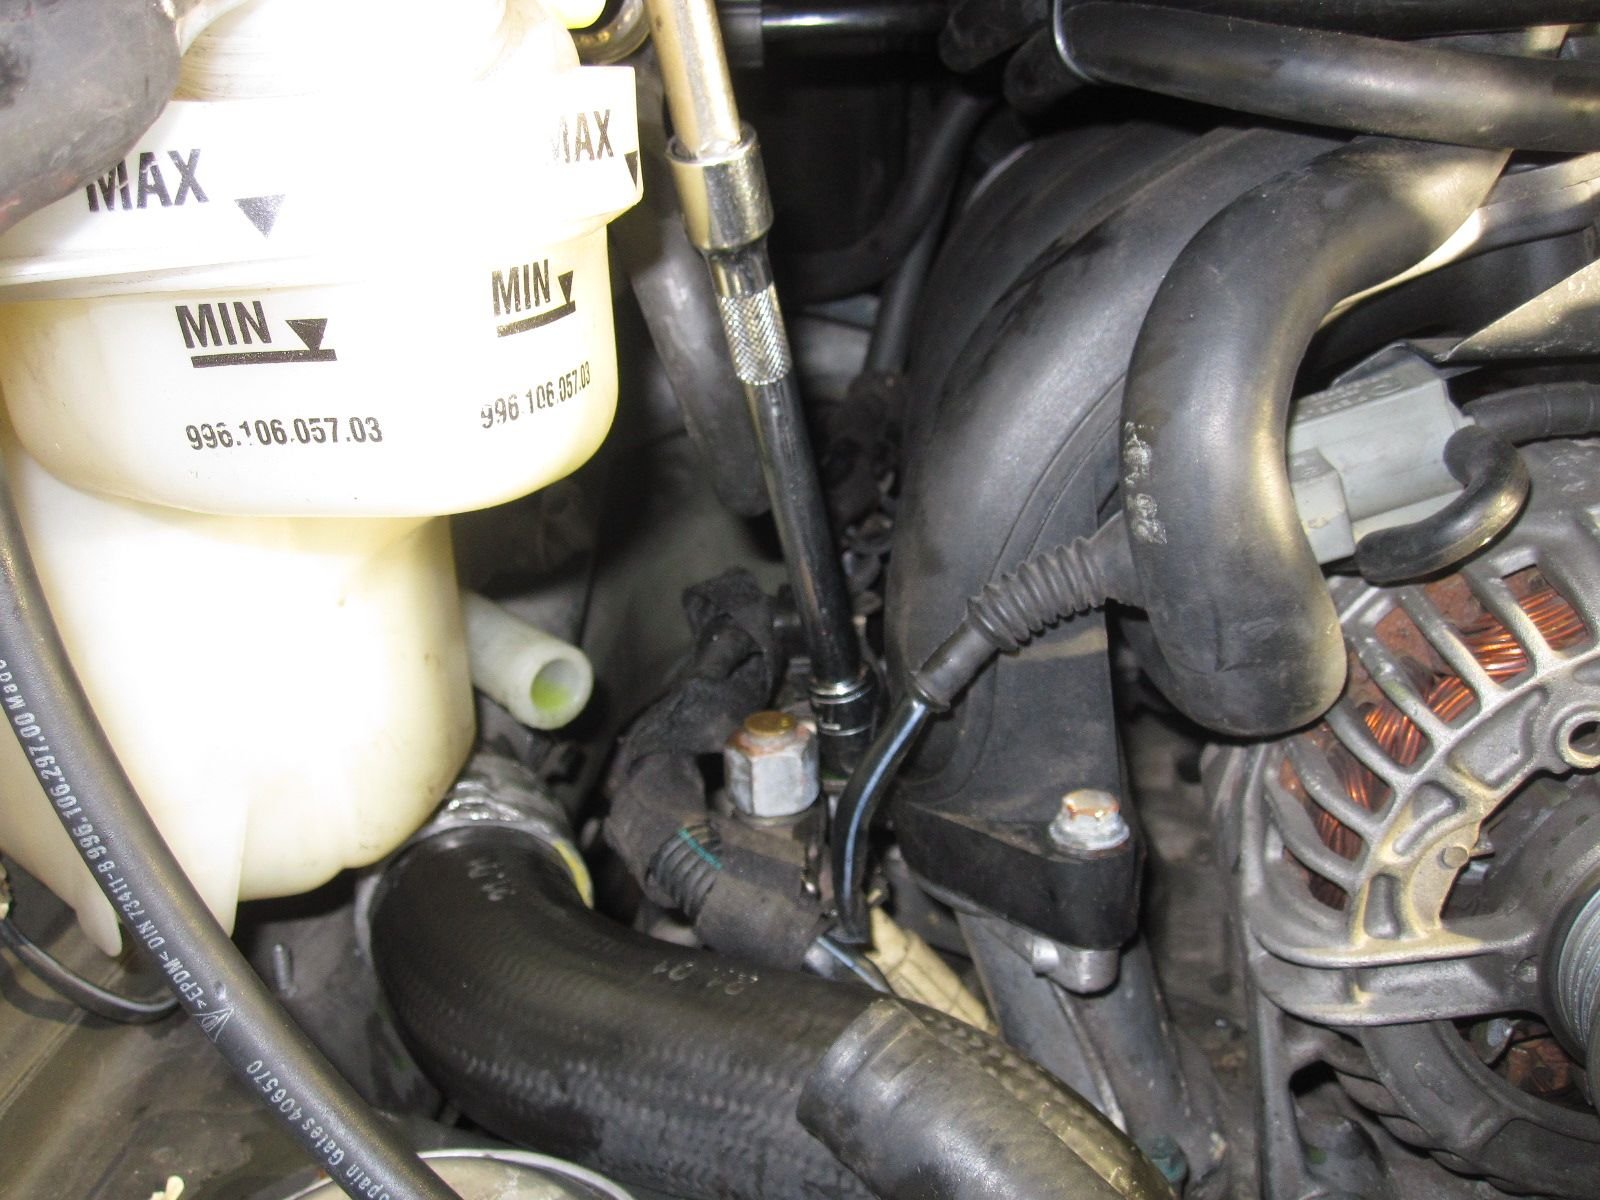


#23
Instructor
Thread Starter
Just a quick note....I started off taking these pictures, simply to document how I needed to PUT IT BACK TOGETHER. I left a lot of these pictures here simply as a reference of how things looked as I was disassembling. Not all pictures are relevant to the disconnecting or removing of an item.
#24
Instructor
Thread Starter
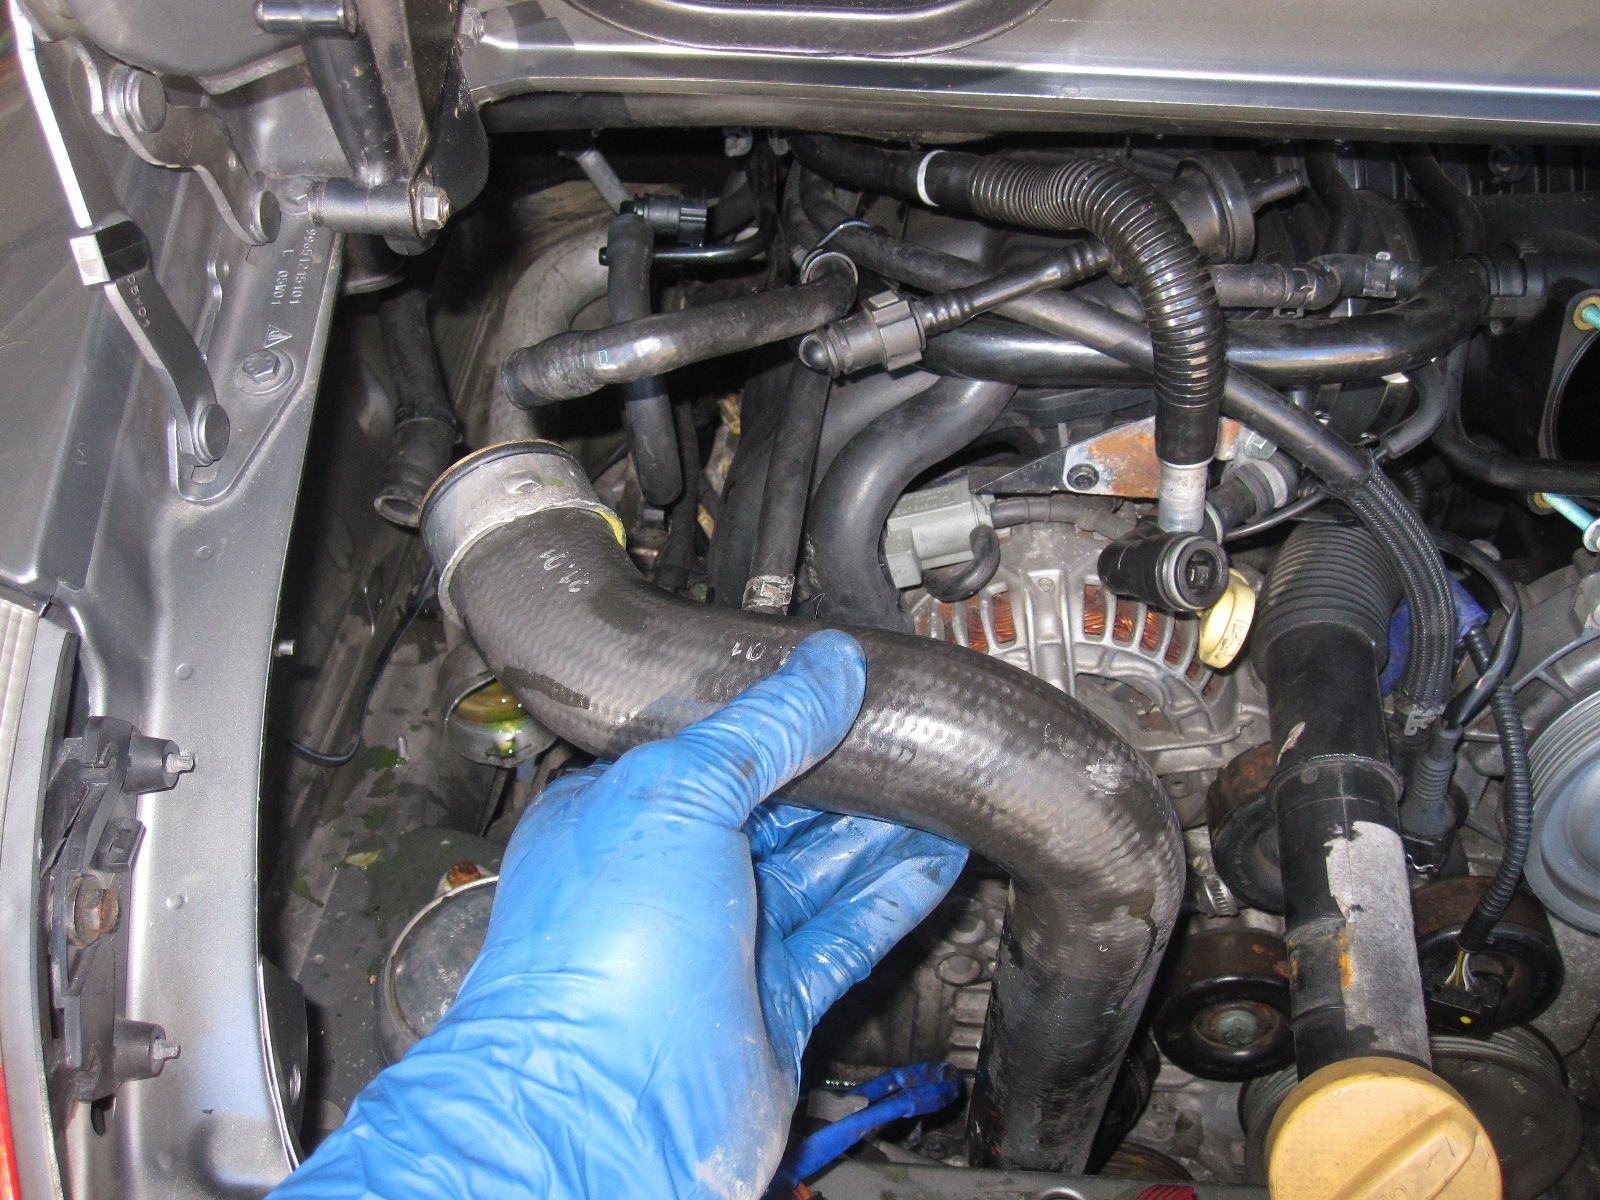
I jumped ahead and started removing a lot of the coolant lines. I was there anyway, and obviously they needed to come out at some point. Wayne covers this later in his book. There is a little metal clip that holds the hose on. Don't lose it.
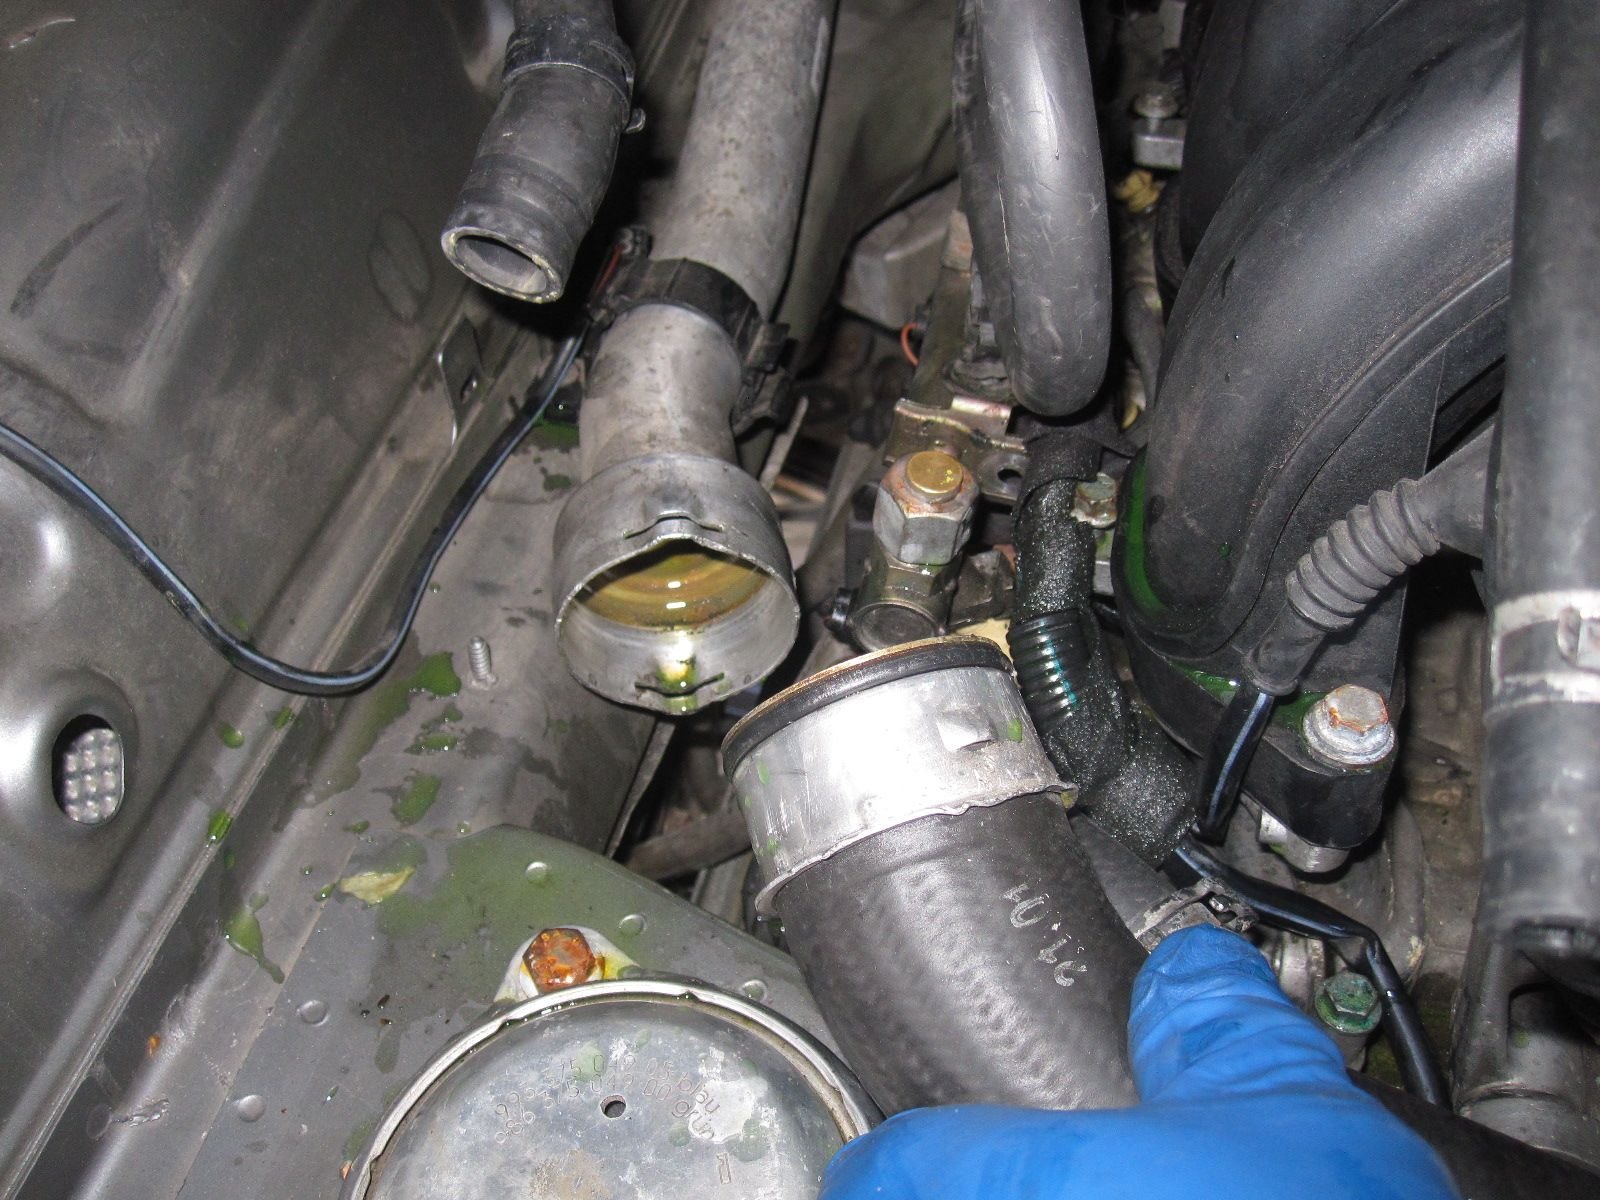
Remove the clip and pull.


Under the car...looking up.
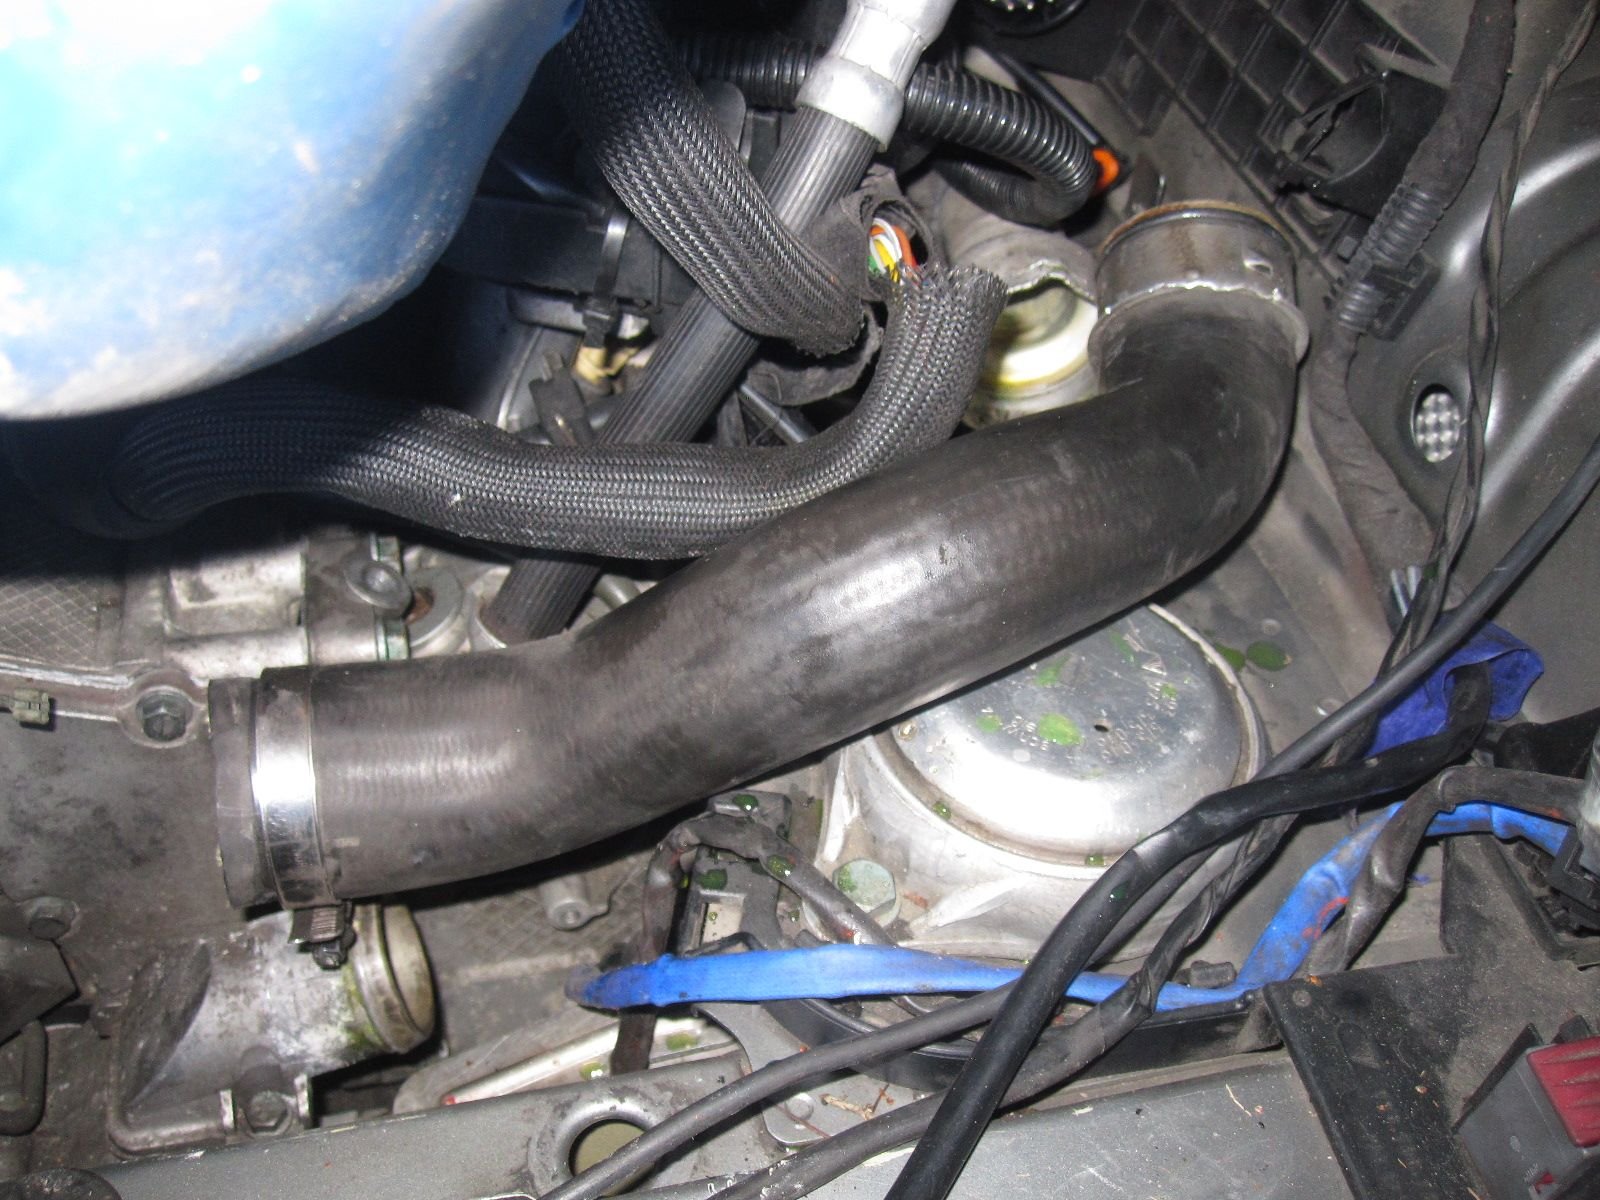
Passenger side cooling hose.
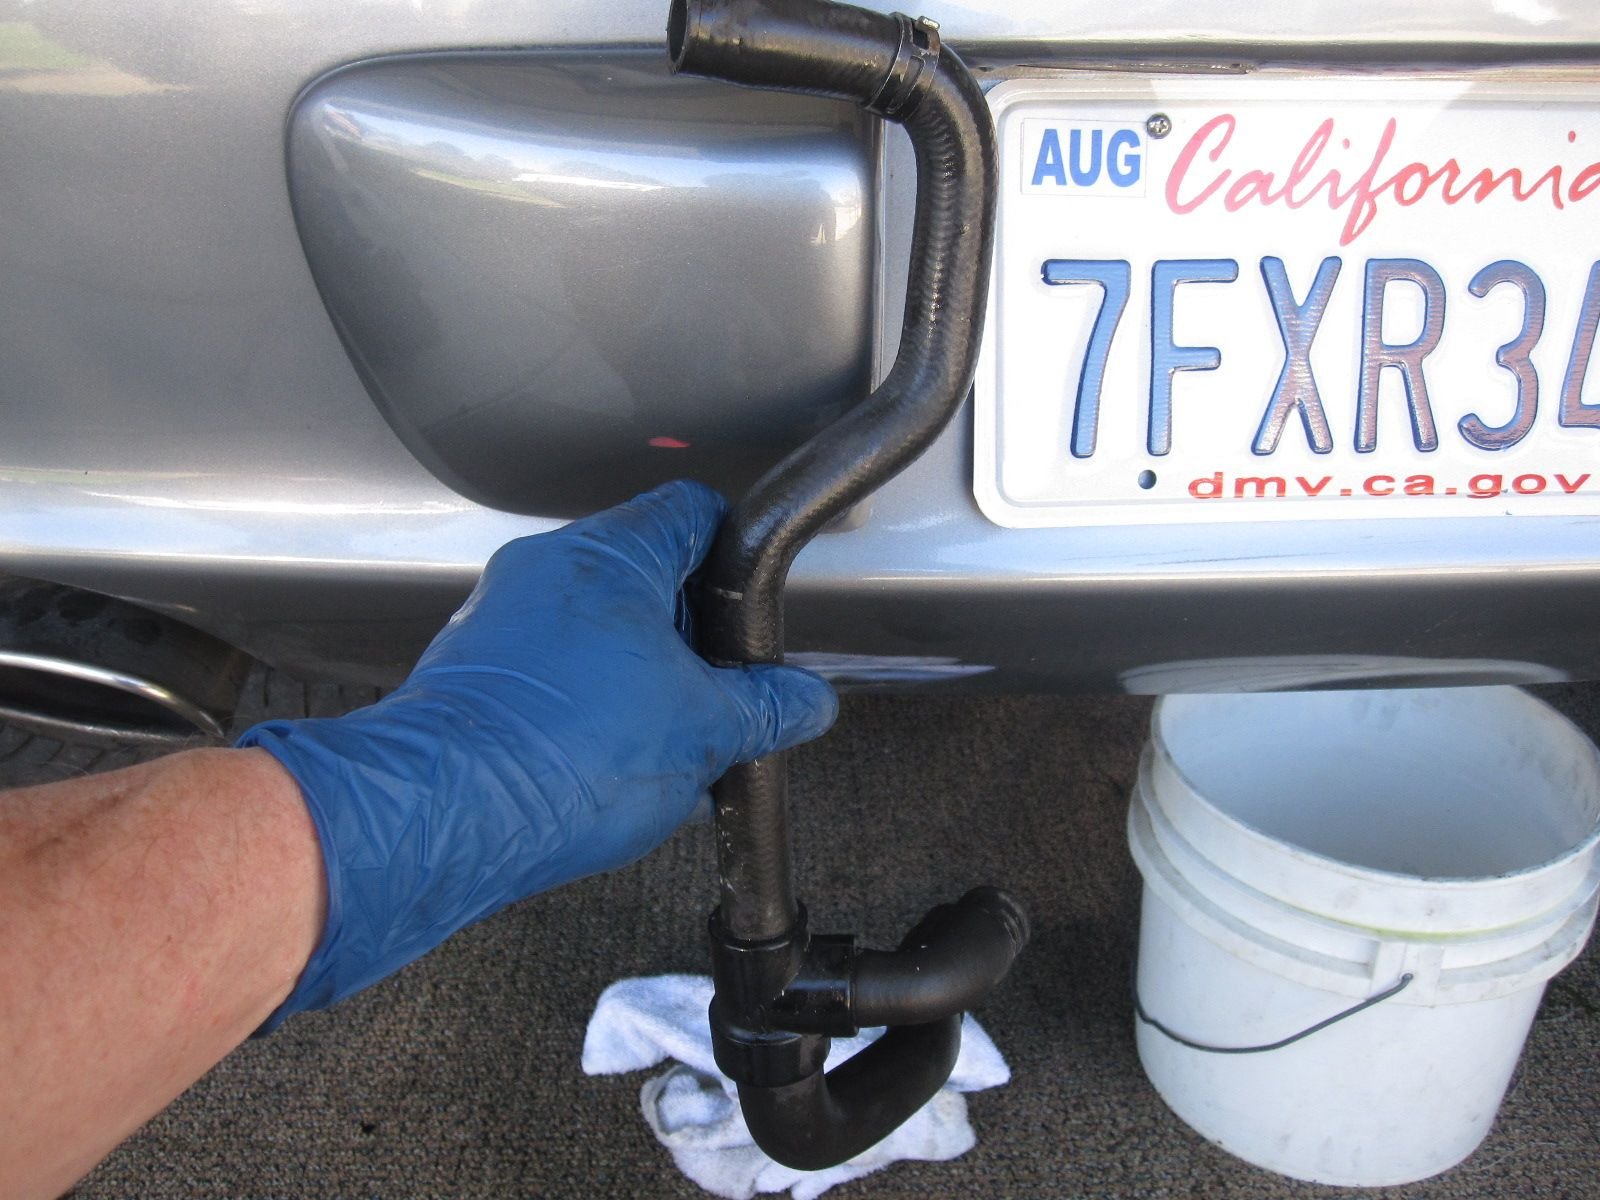
I removed this set of hoses. This is how it sits, when it is in the car.
#25
Instructor
Thread Starter
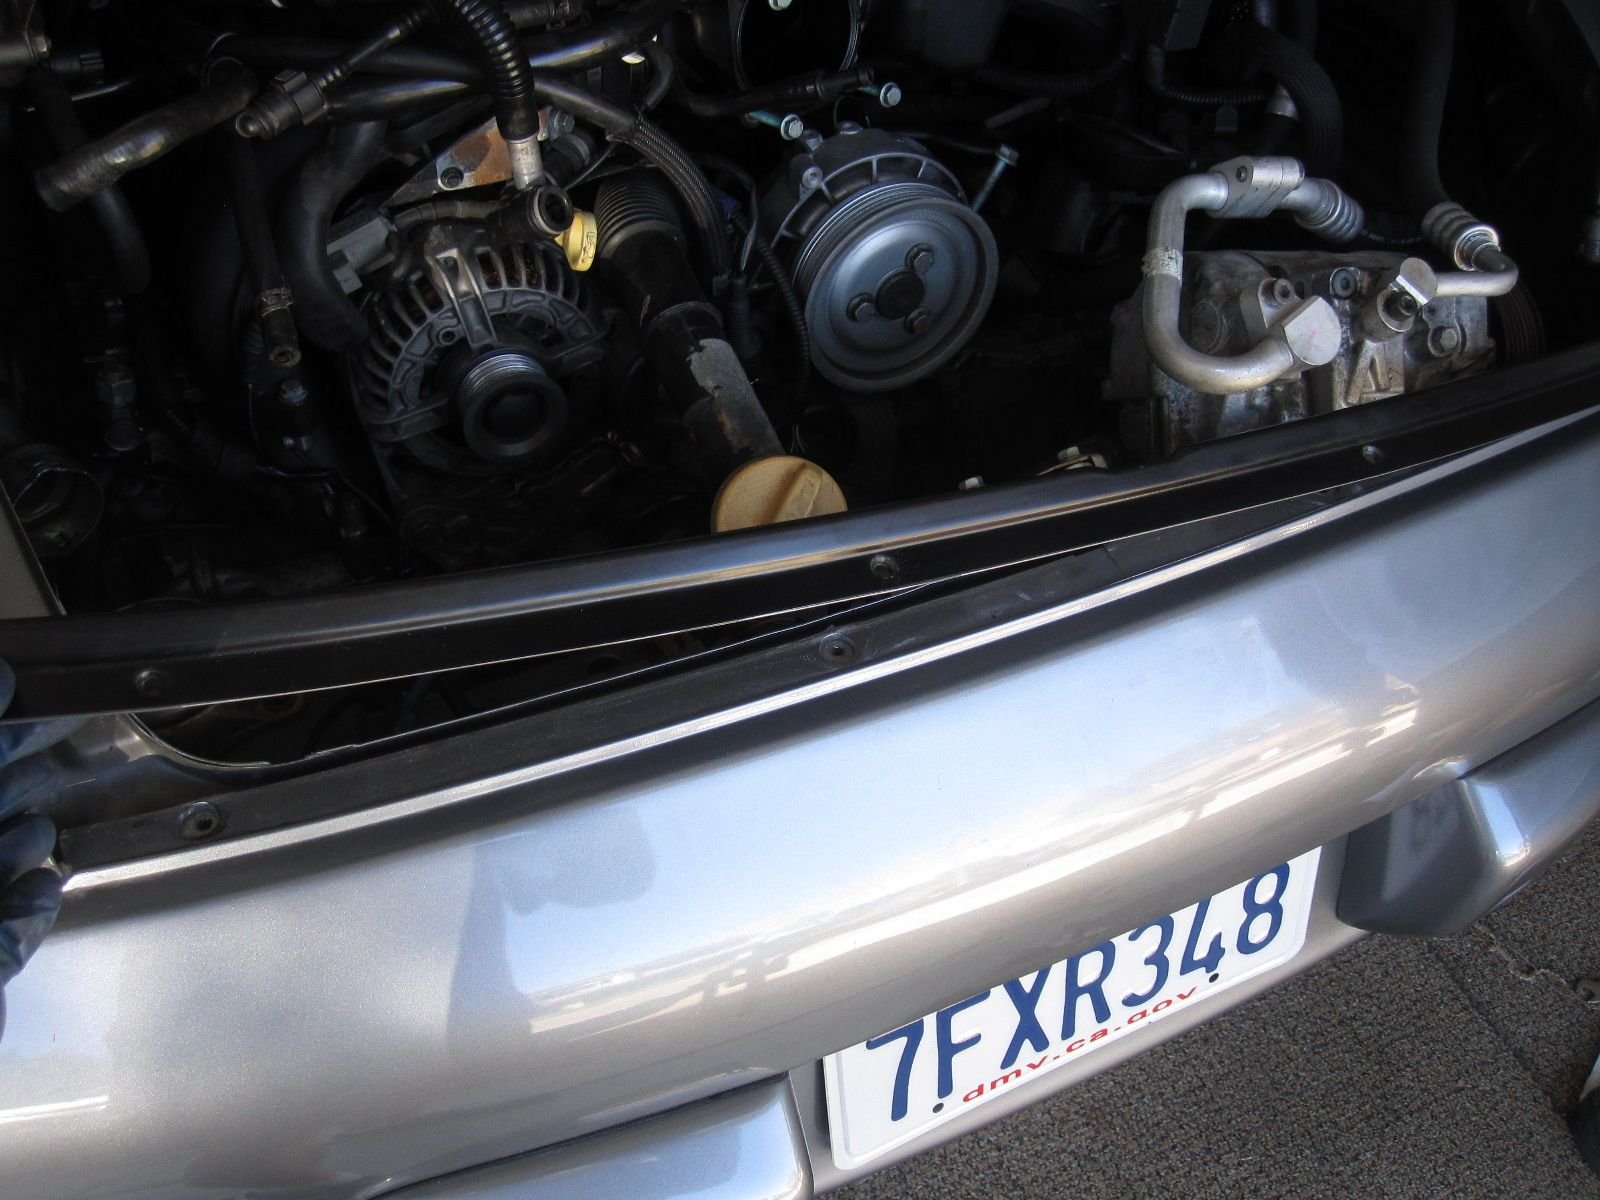
Next we moved to removing the bumper cover, bumper, mufflers, and cats. This process is pretty straight forward and the book does a great job of walking you through it.
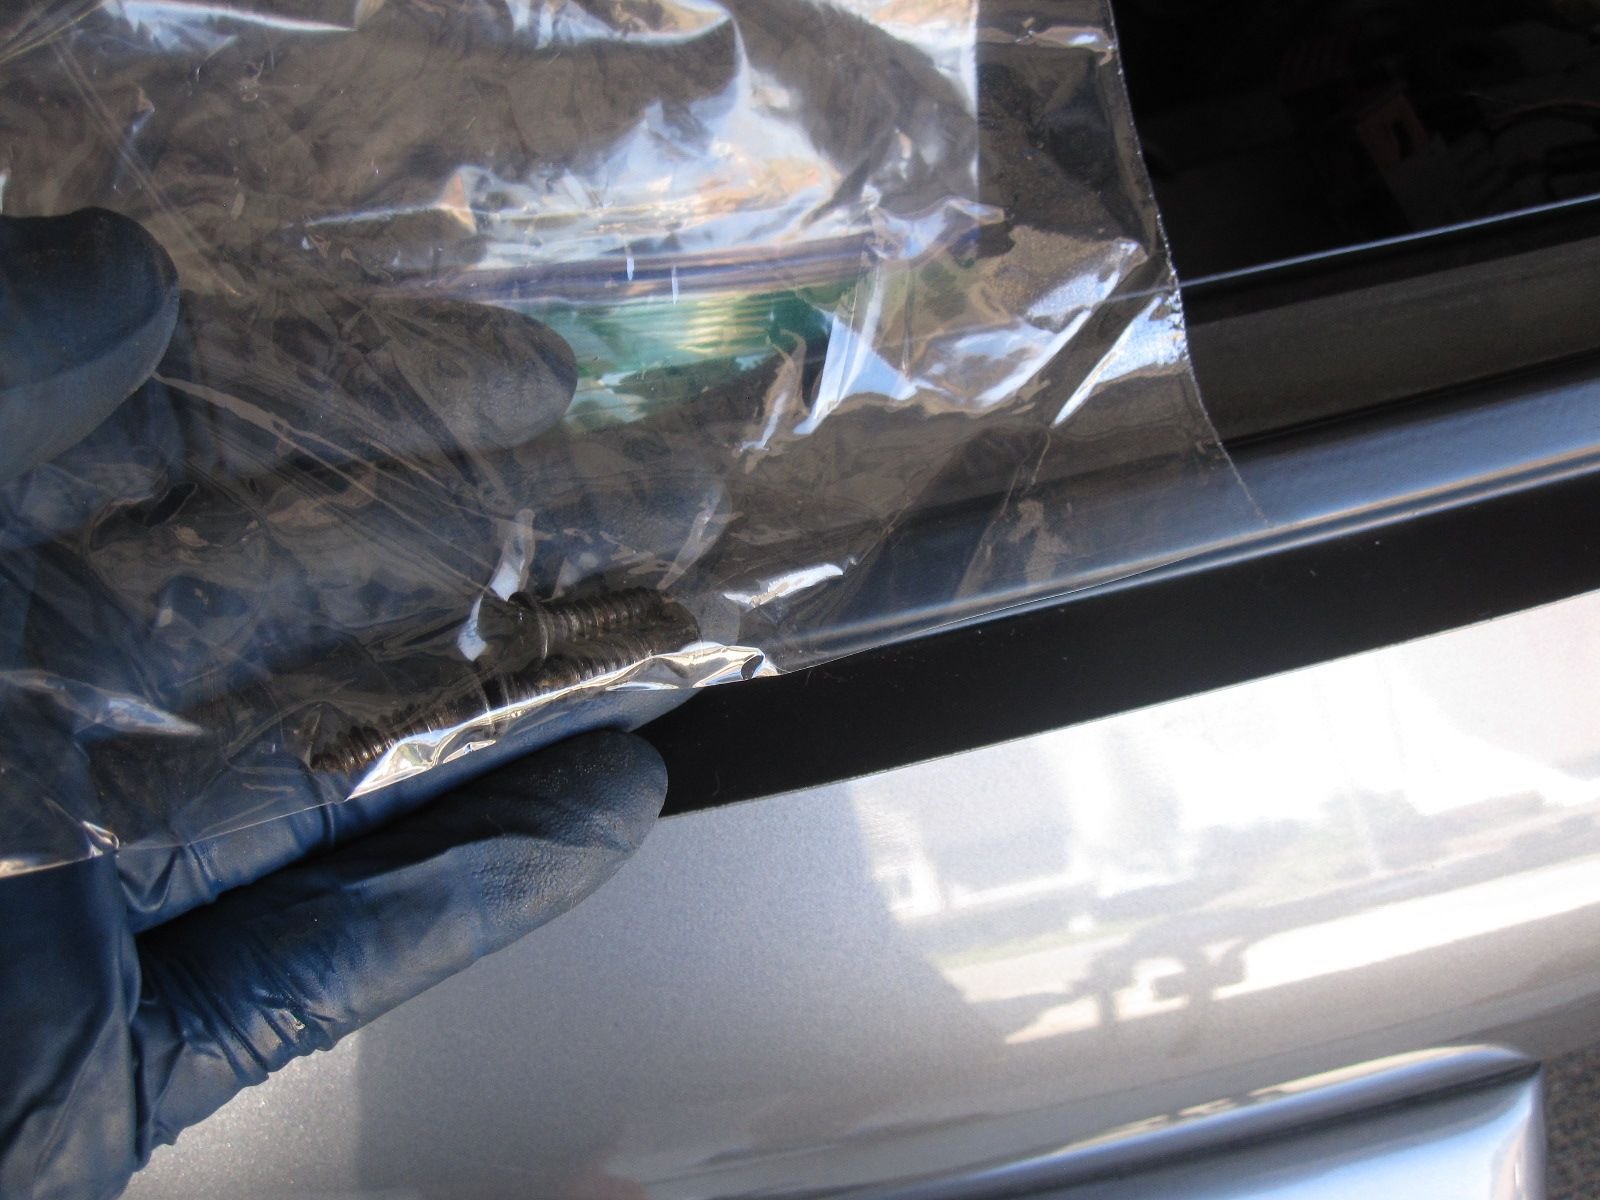
Keep track of where all the screws go. Baggies, note cards, and black marker.

Kinda says it all....I didn't take pictuers of removing the bumper cover. A few screws, and carefully pull it away from the body, to prevent damage.

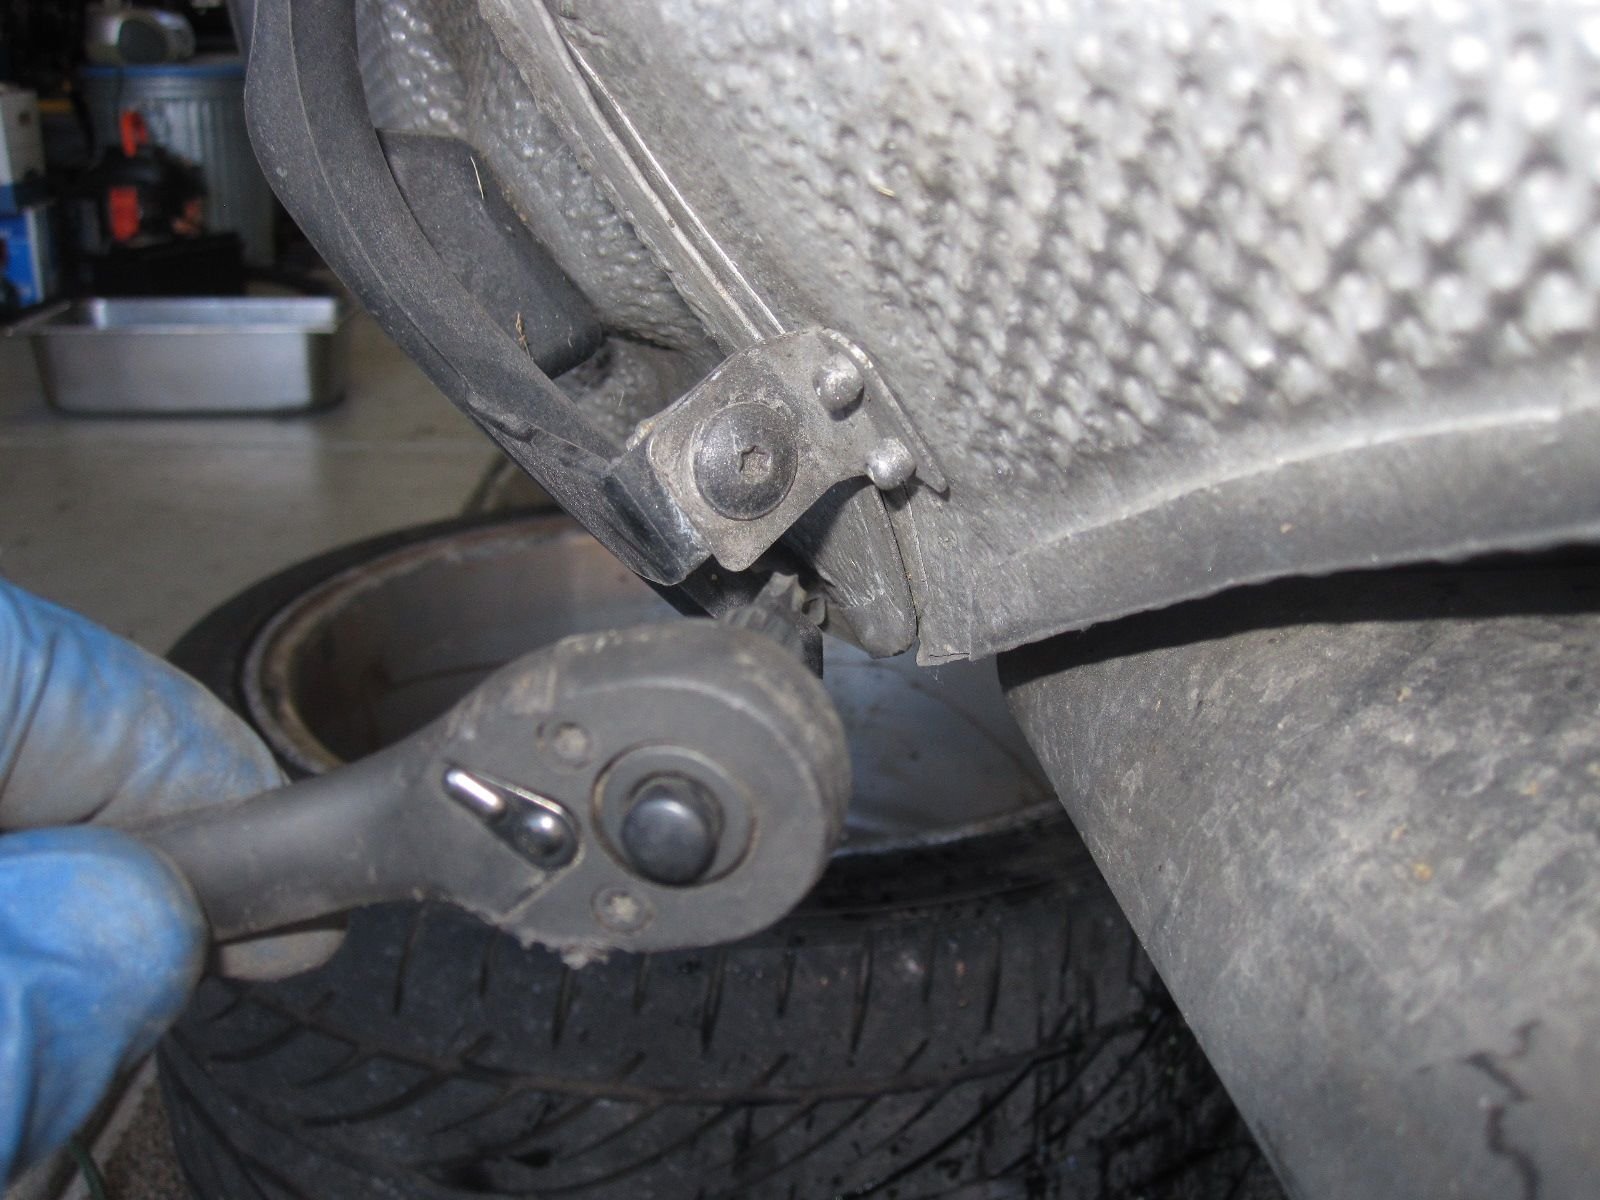
Starting to remove the heat shields that surround the muffler. Again...easy.....

I made my son help me. Here is how it slides away from the body.
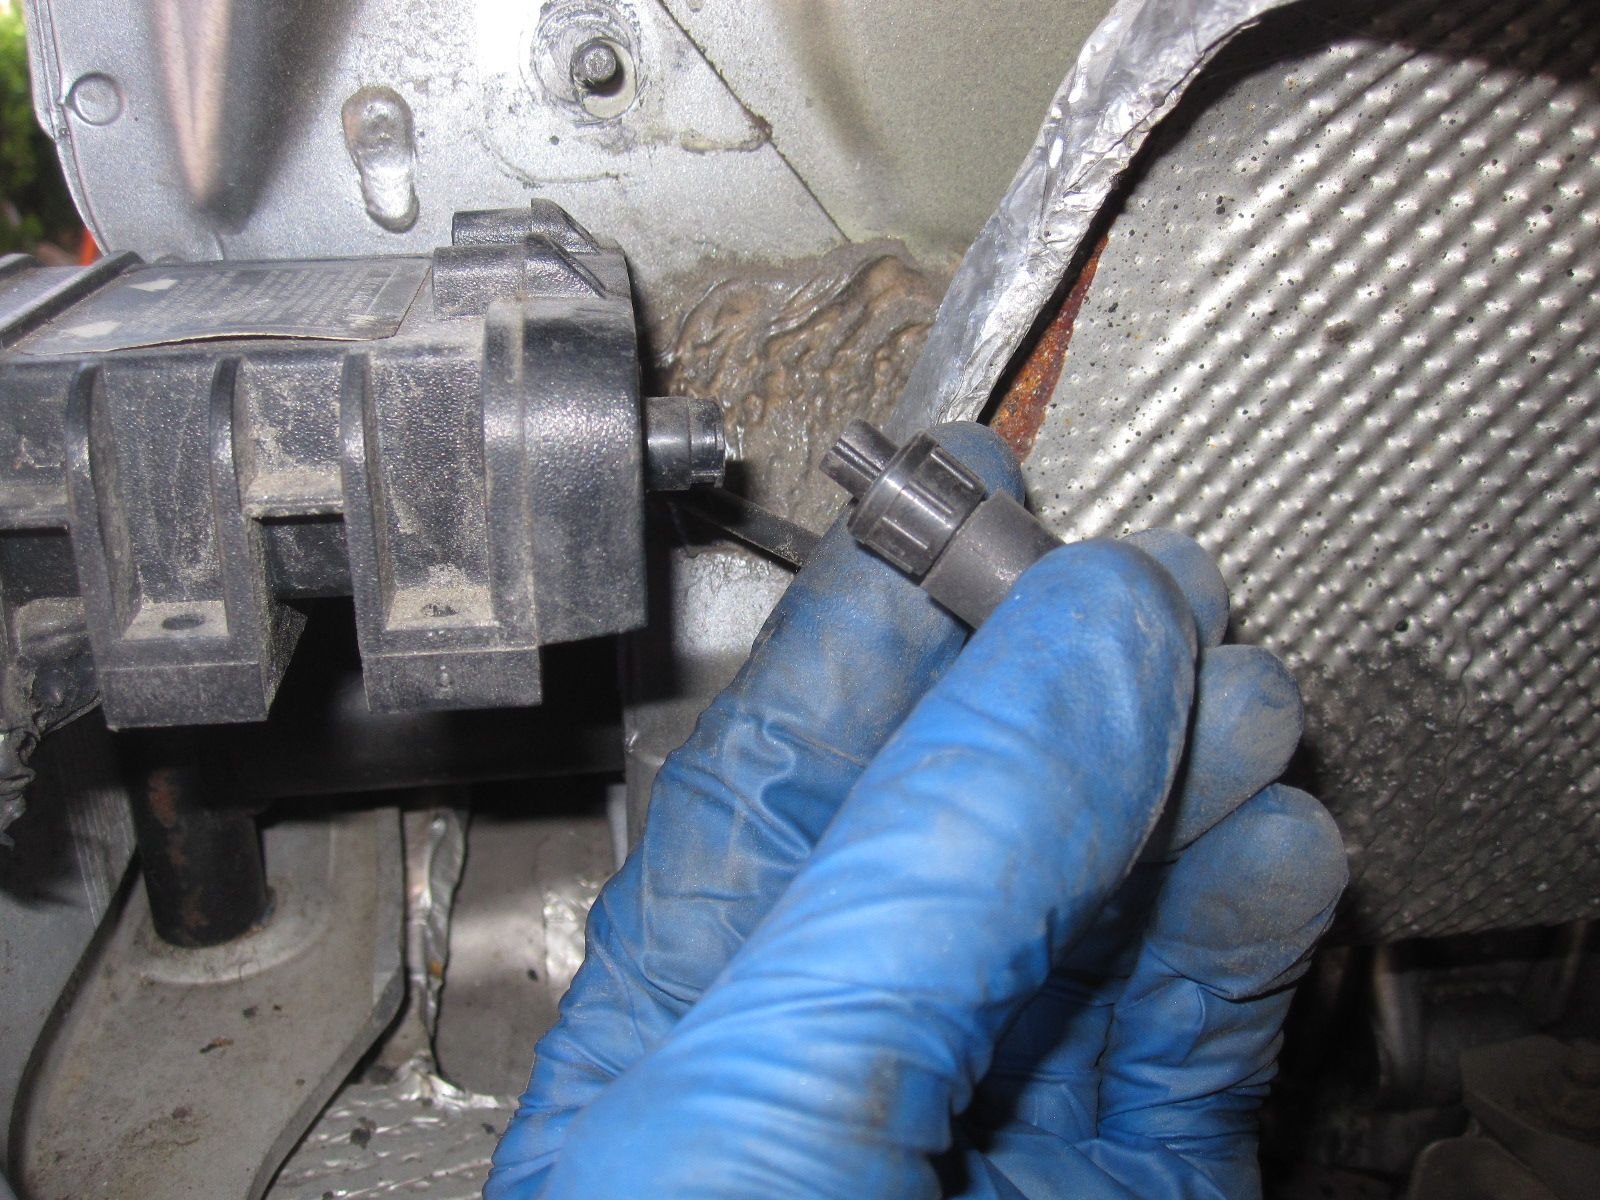
This is on the rear passenger side. I am sure that this is the air bag thing-a-ma-jiggy-bobby. Diaconnect and remove.

Again...simple stuff. Bumpers removed
#26
Instructor
Thread Starter

Next...I climbed under the car and removed the plastic trays. Put all the bolts and nuts in a baggie.
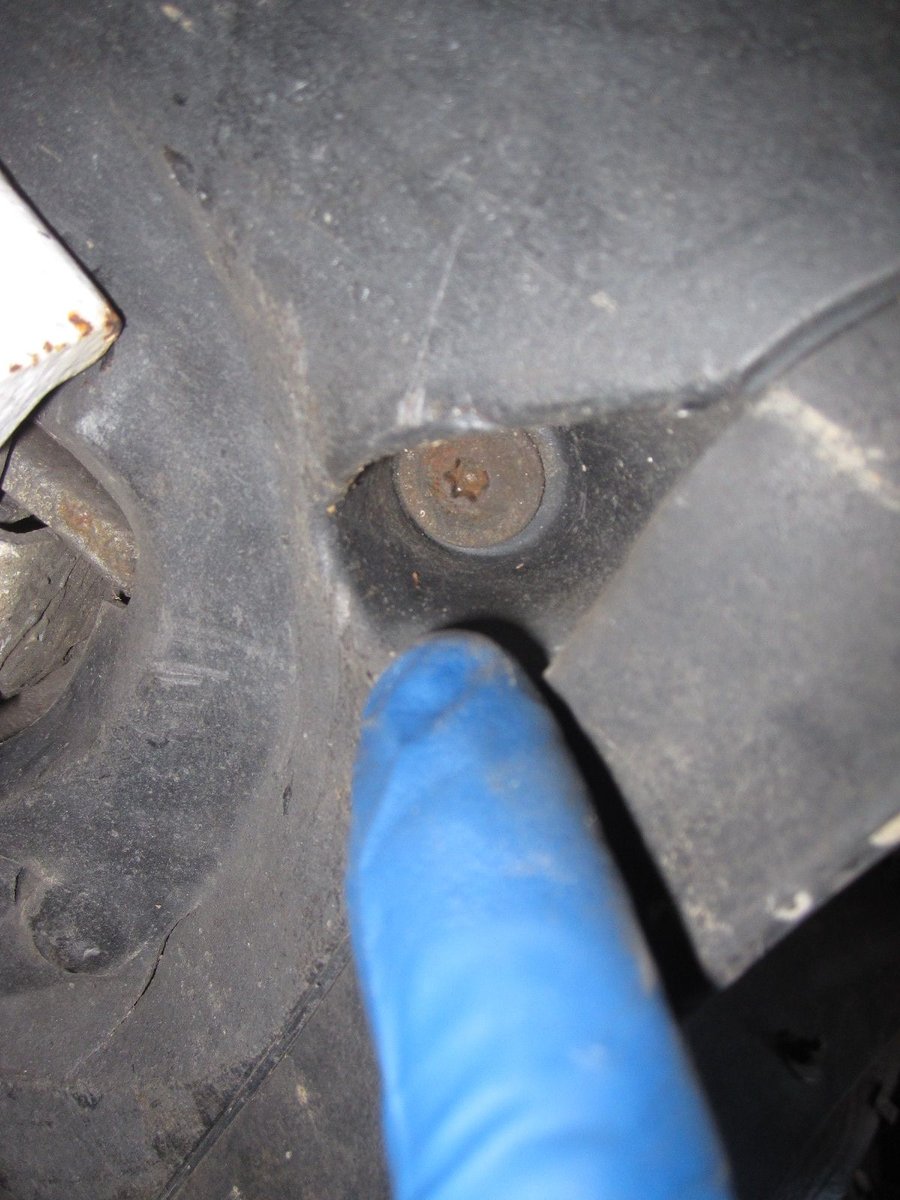
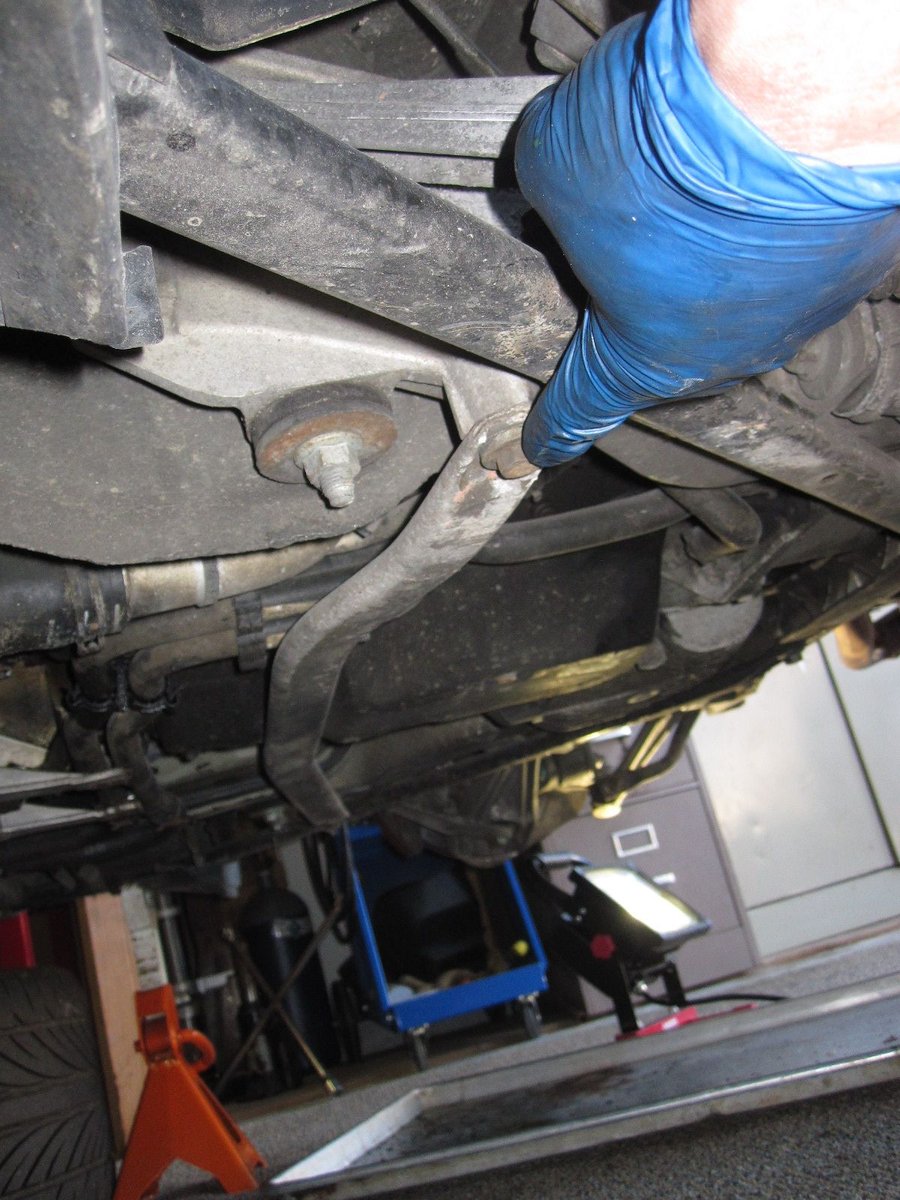
Moving on to removing some of the bracing under the car. All straight from the book.
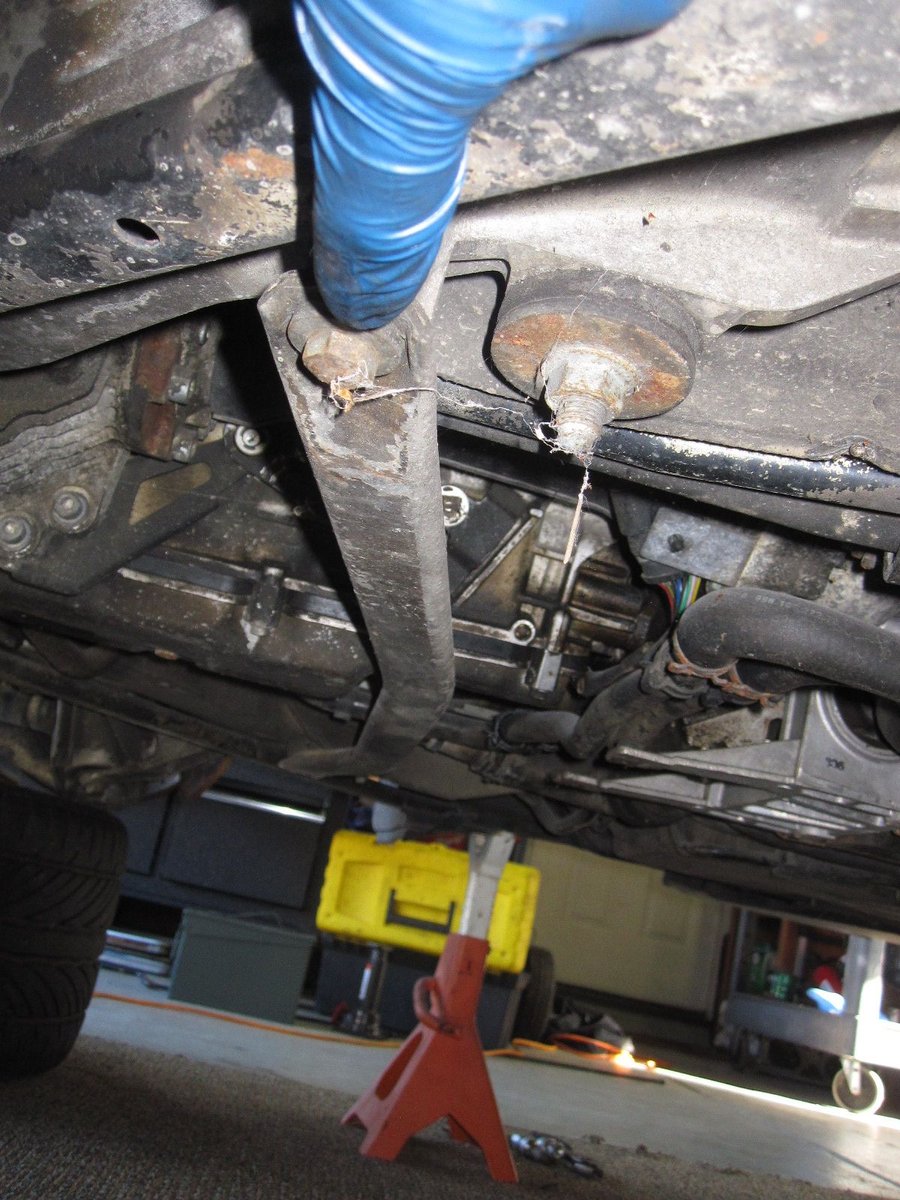

Again...a lot of these bolts I put back in the car, where they attach. Hard to lose them that way.
#27
Instructor
Thread Starter

Removing CV shafts. IMPORTANT....get the right driver to remove these, or you WILL strip them out. I believe it is a triple square??? NOT a TORX....
I actually ordered new CV bolts, just to make sure I didn't have any other issues. The metal is soft and replacements are CHEAP compared to the hassle of trying to remove a stripped one.
#28
Instructor
Thread Starter

Removing rear sway bar


More stuff to disconnect. I noted how the wires were run and tucked in.

How the wires were tucked in for future reference.
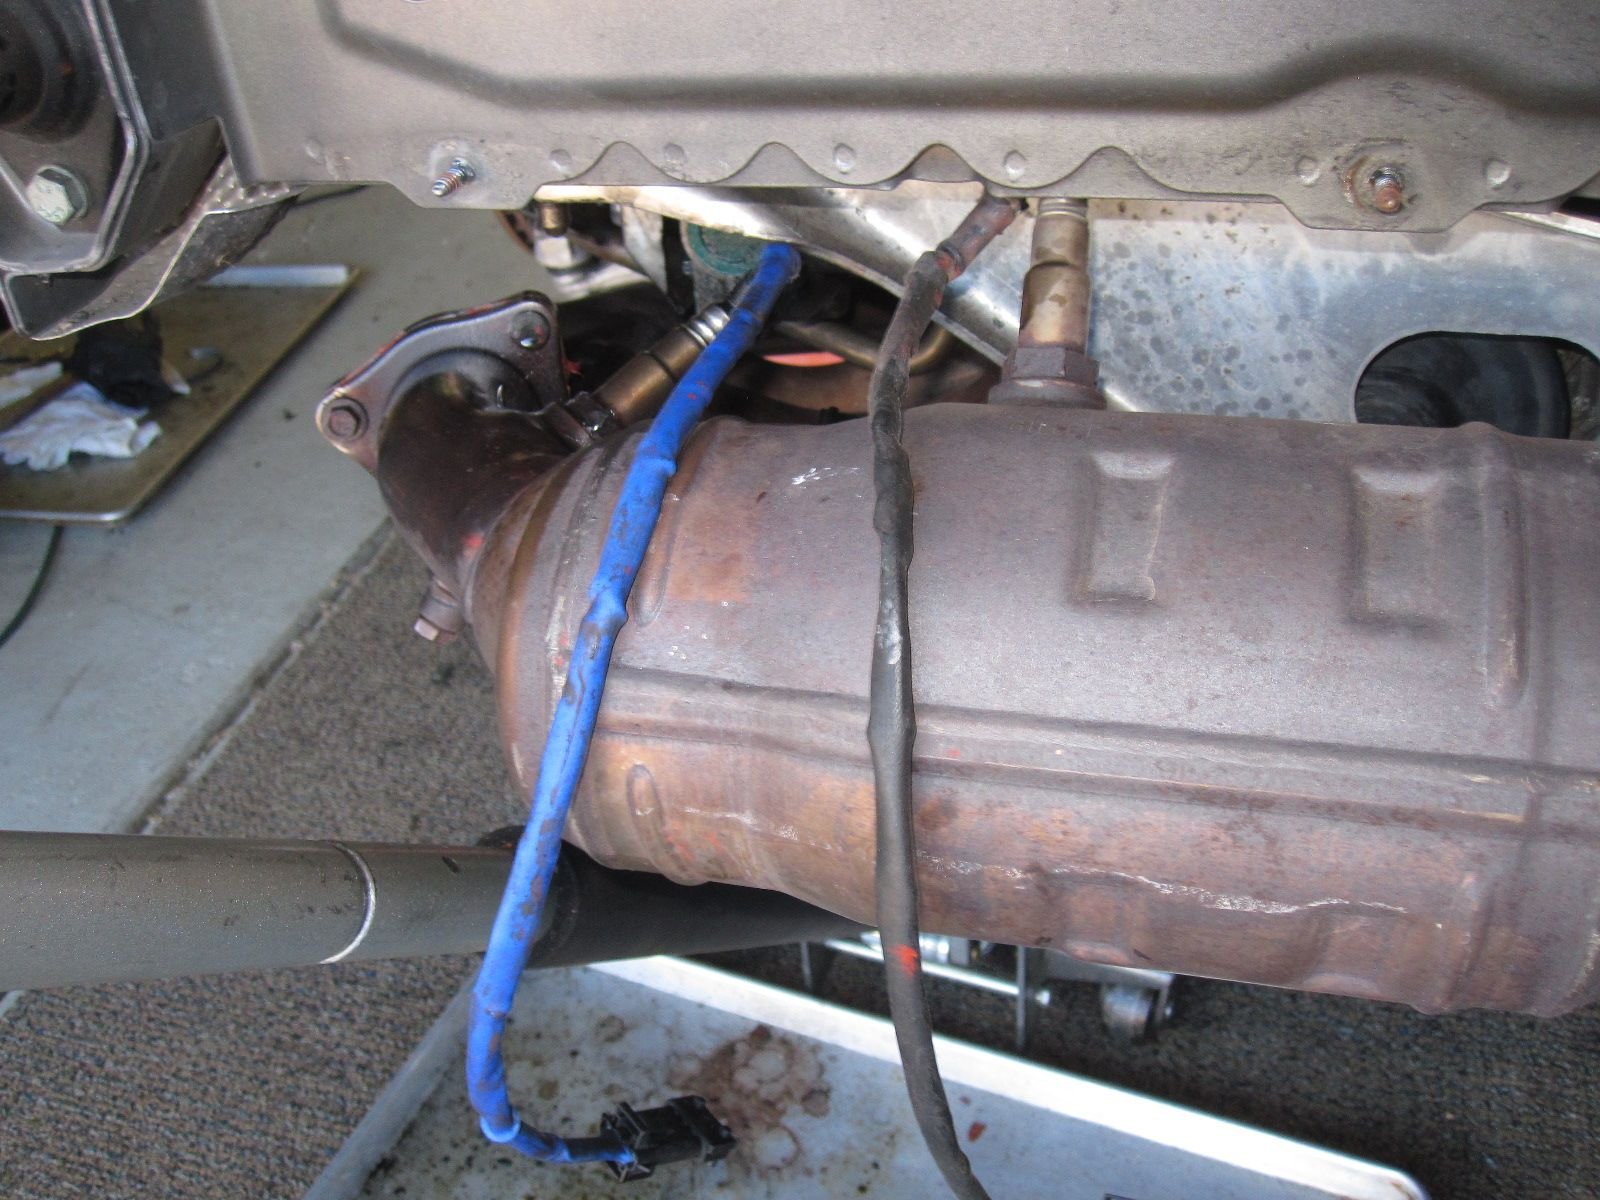
Mufflers removed and removing the O2 Sensors. Notice where the blue one and black one go.
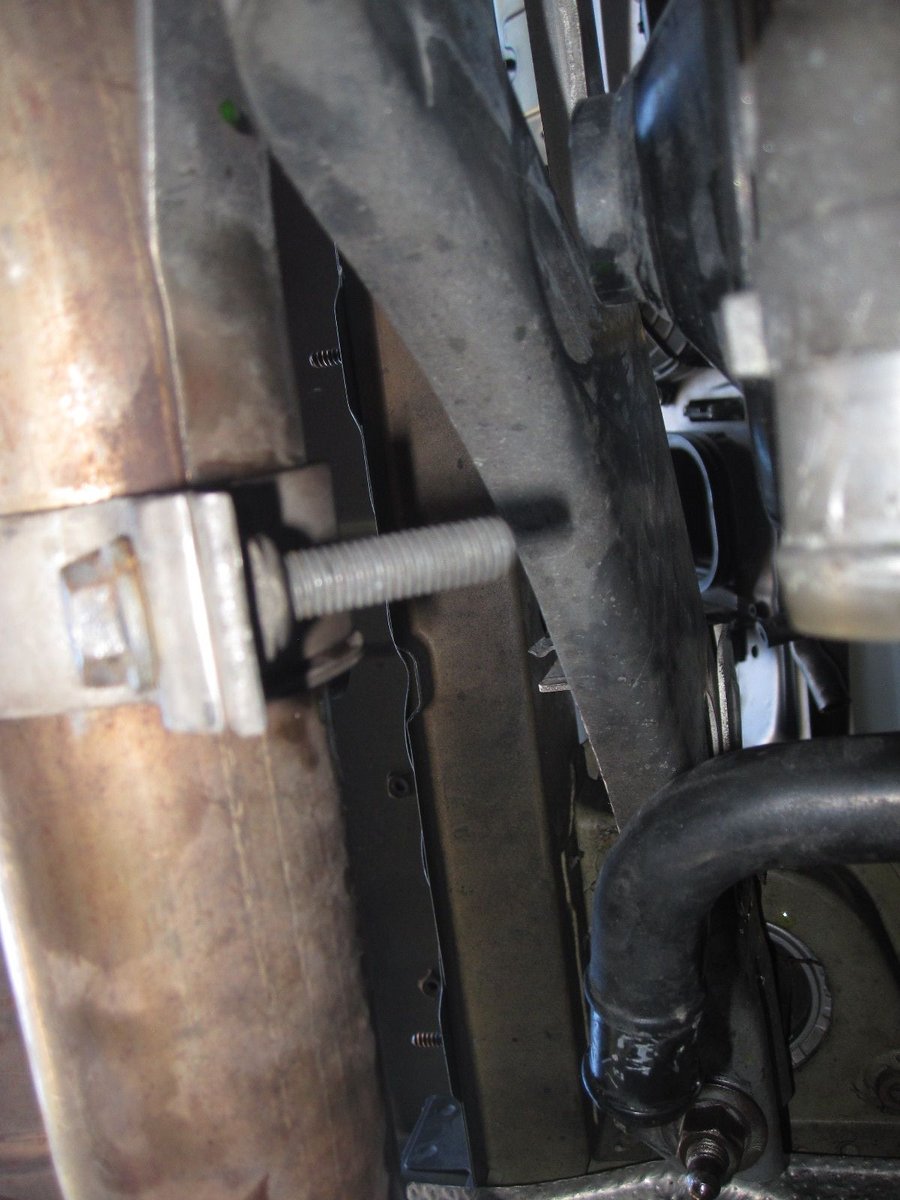
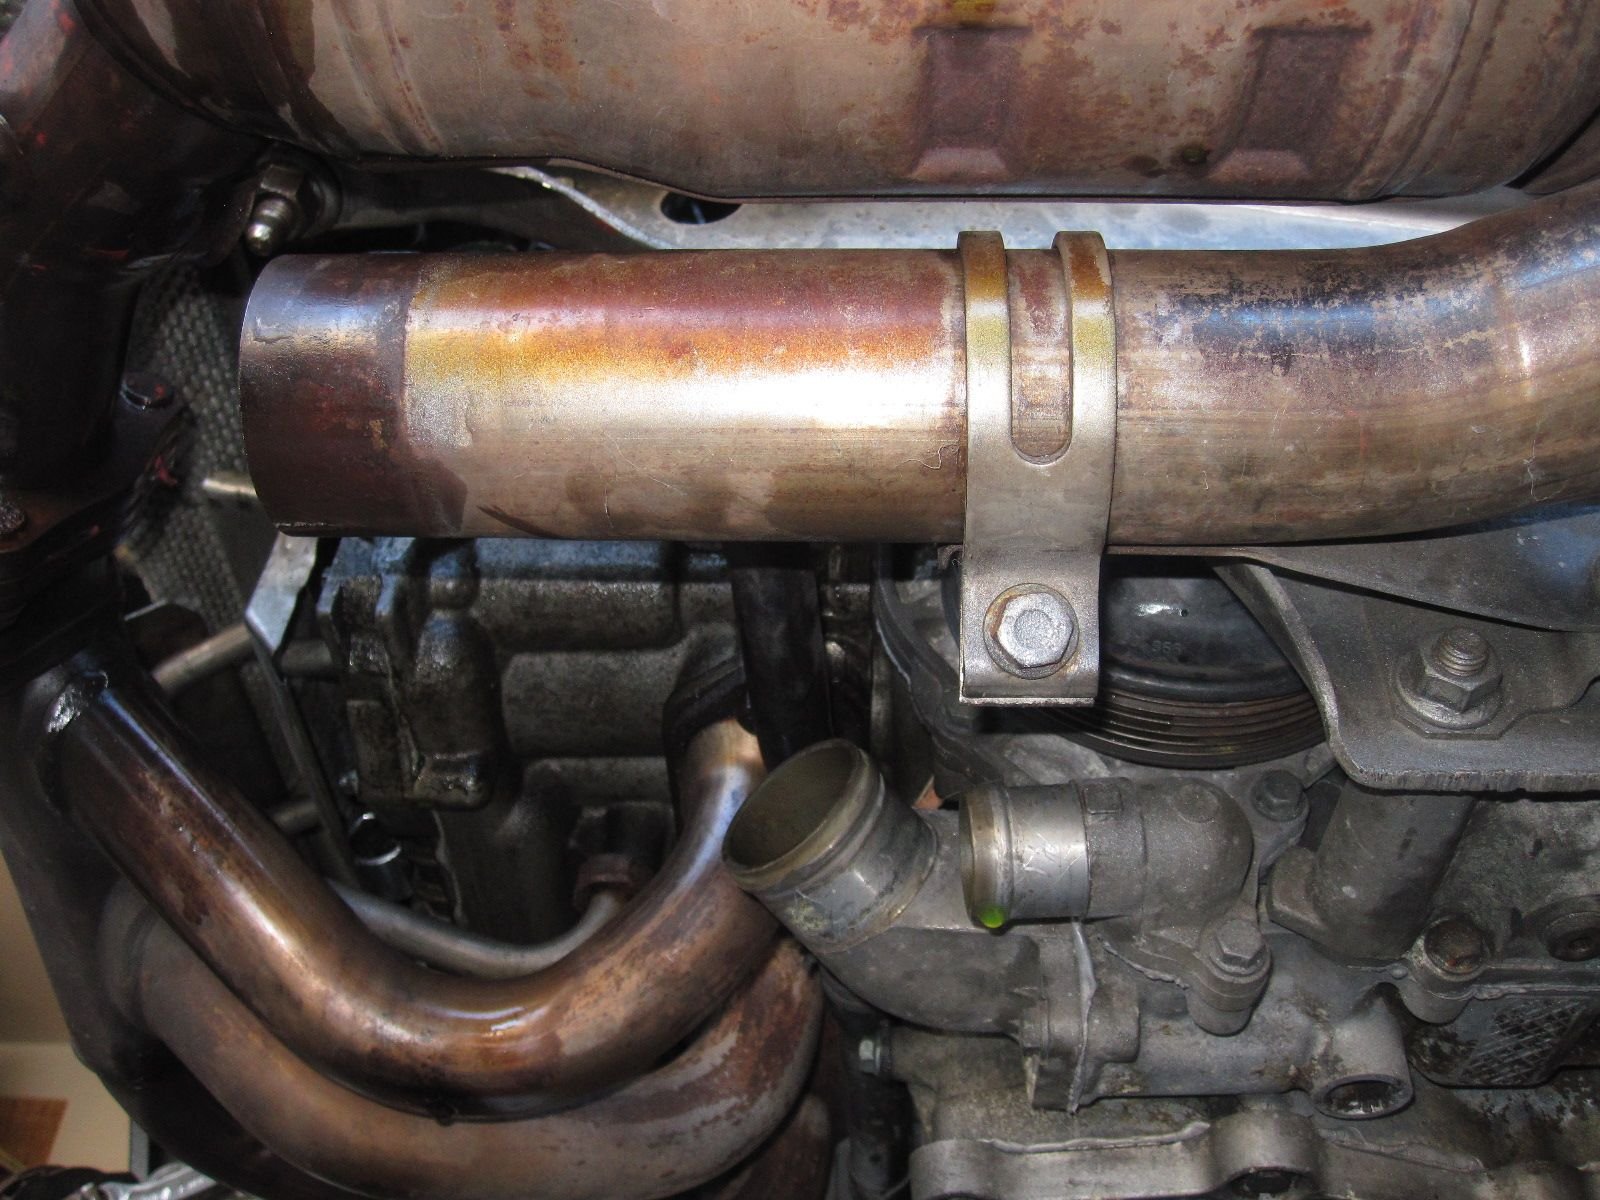
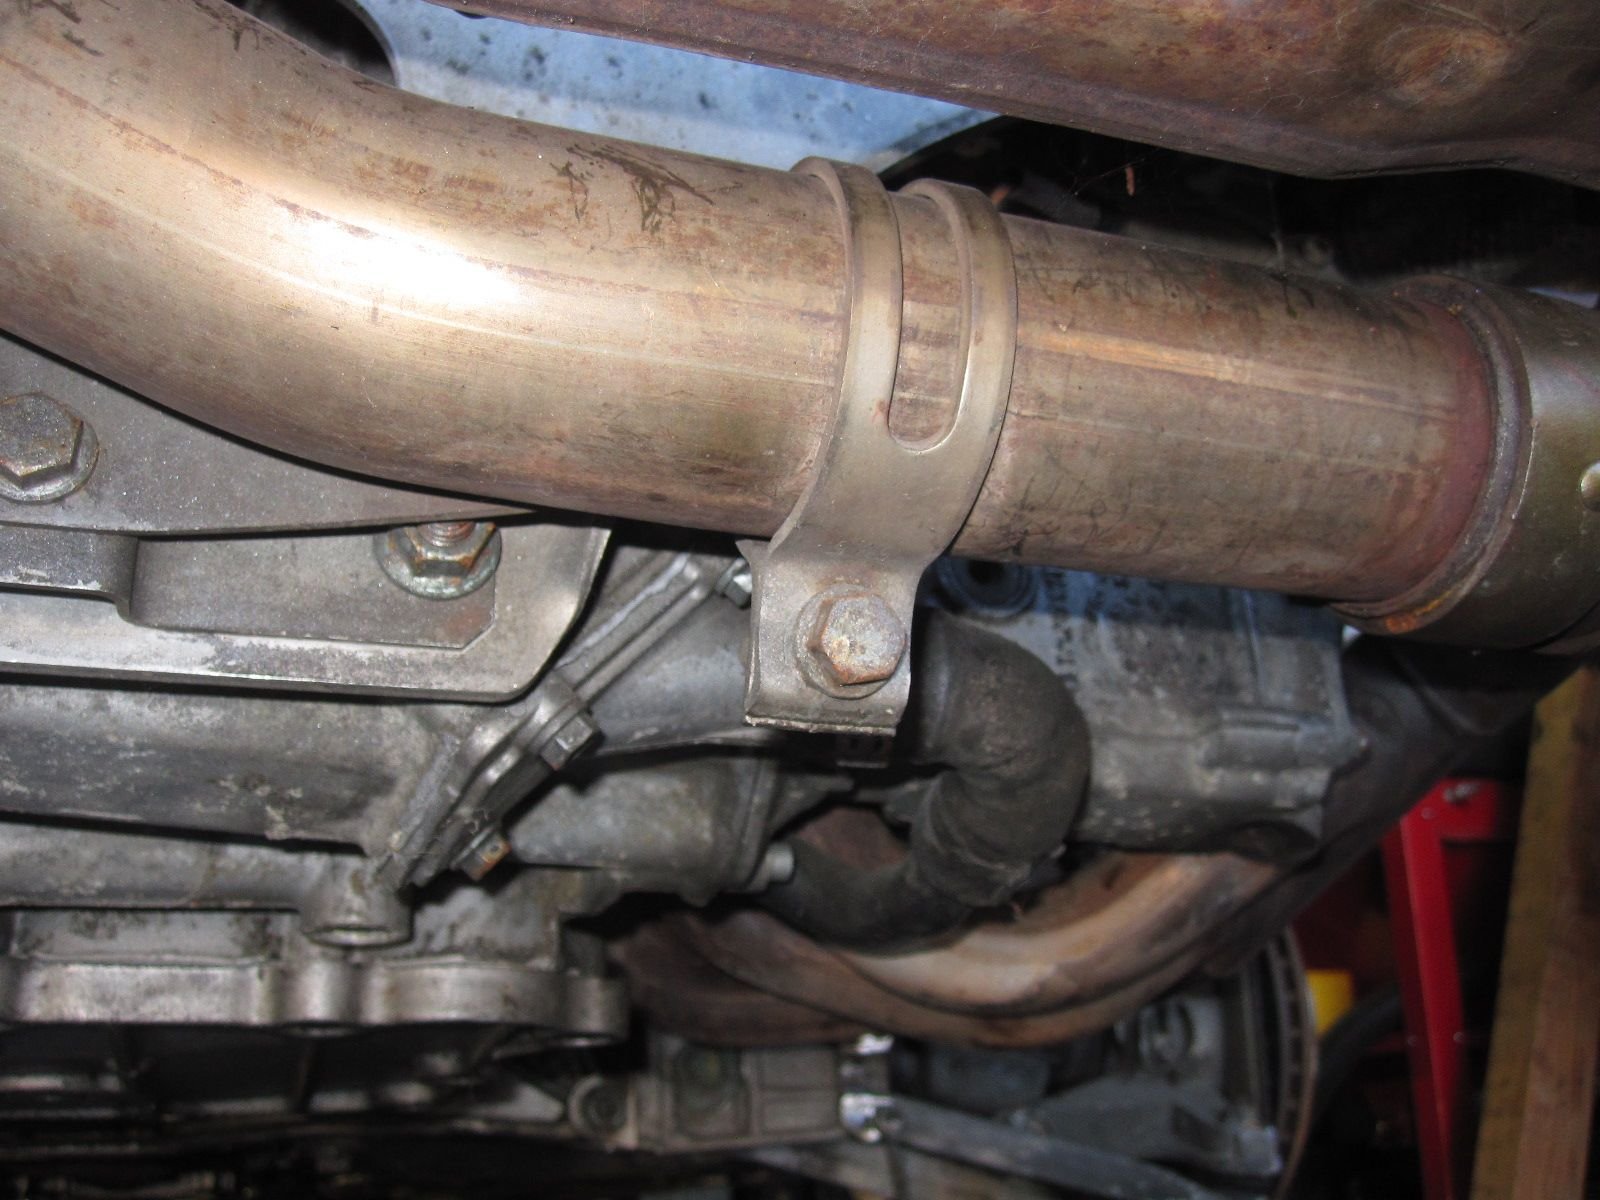
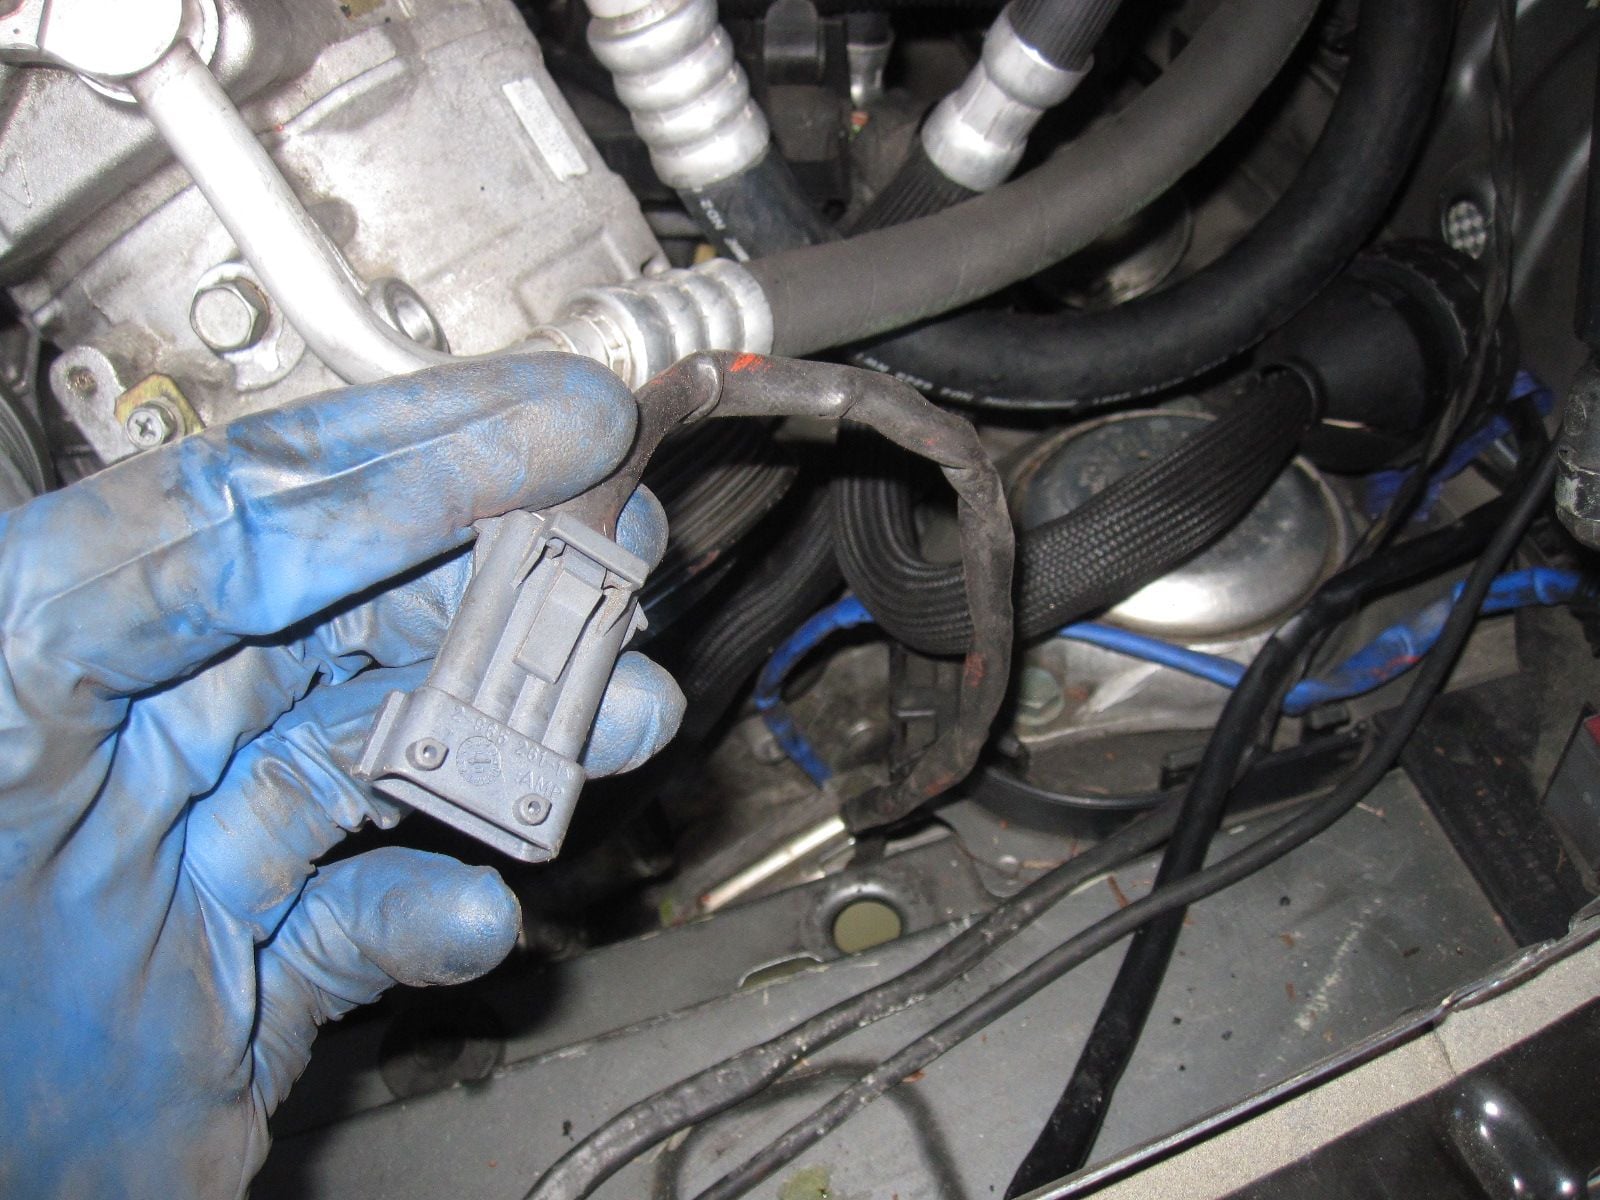
O2 connector.
#30
Instructor
Join Date: Oct 2008
Location: SF Bay area
Posts: 223
Likes: 0
Received 0 Likes
on
0 Posts


