When you click on links to various merchants on this site and make a purchase, this can result in this site earning a commission. Affiliate programs and affiliations include, but are not limited to, the eBay Partner Network.
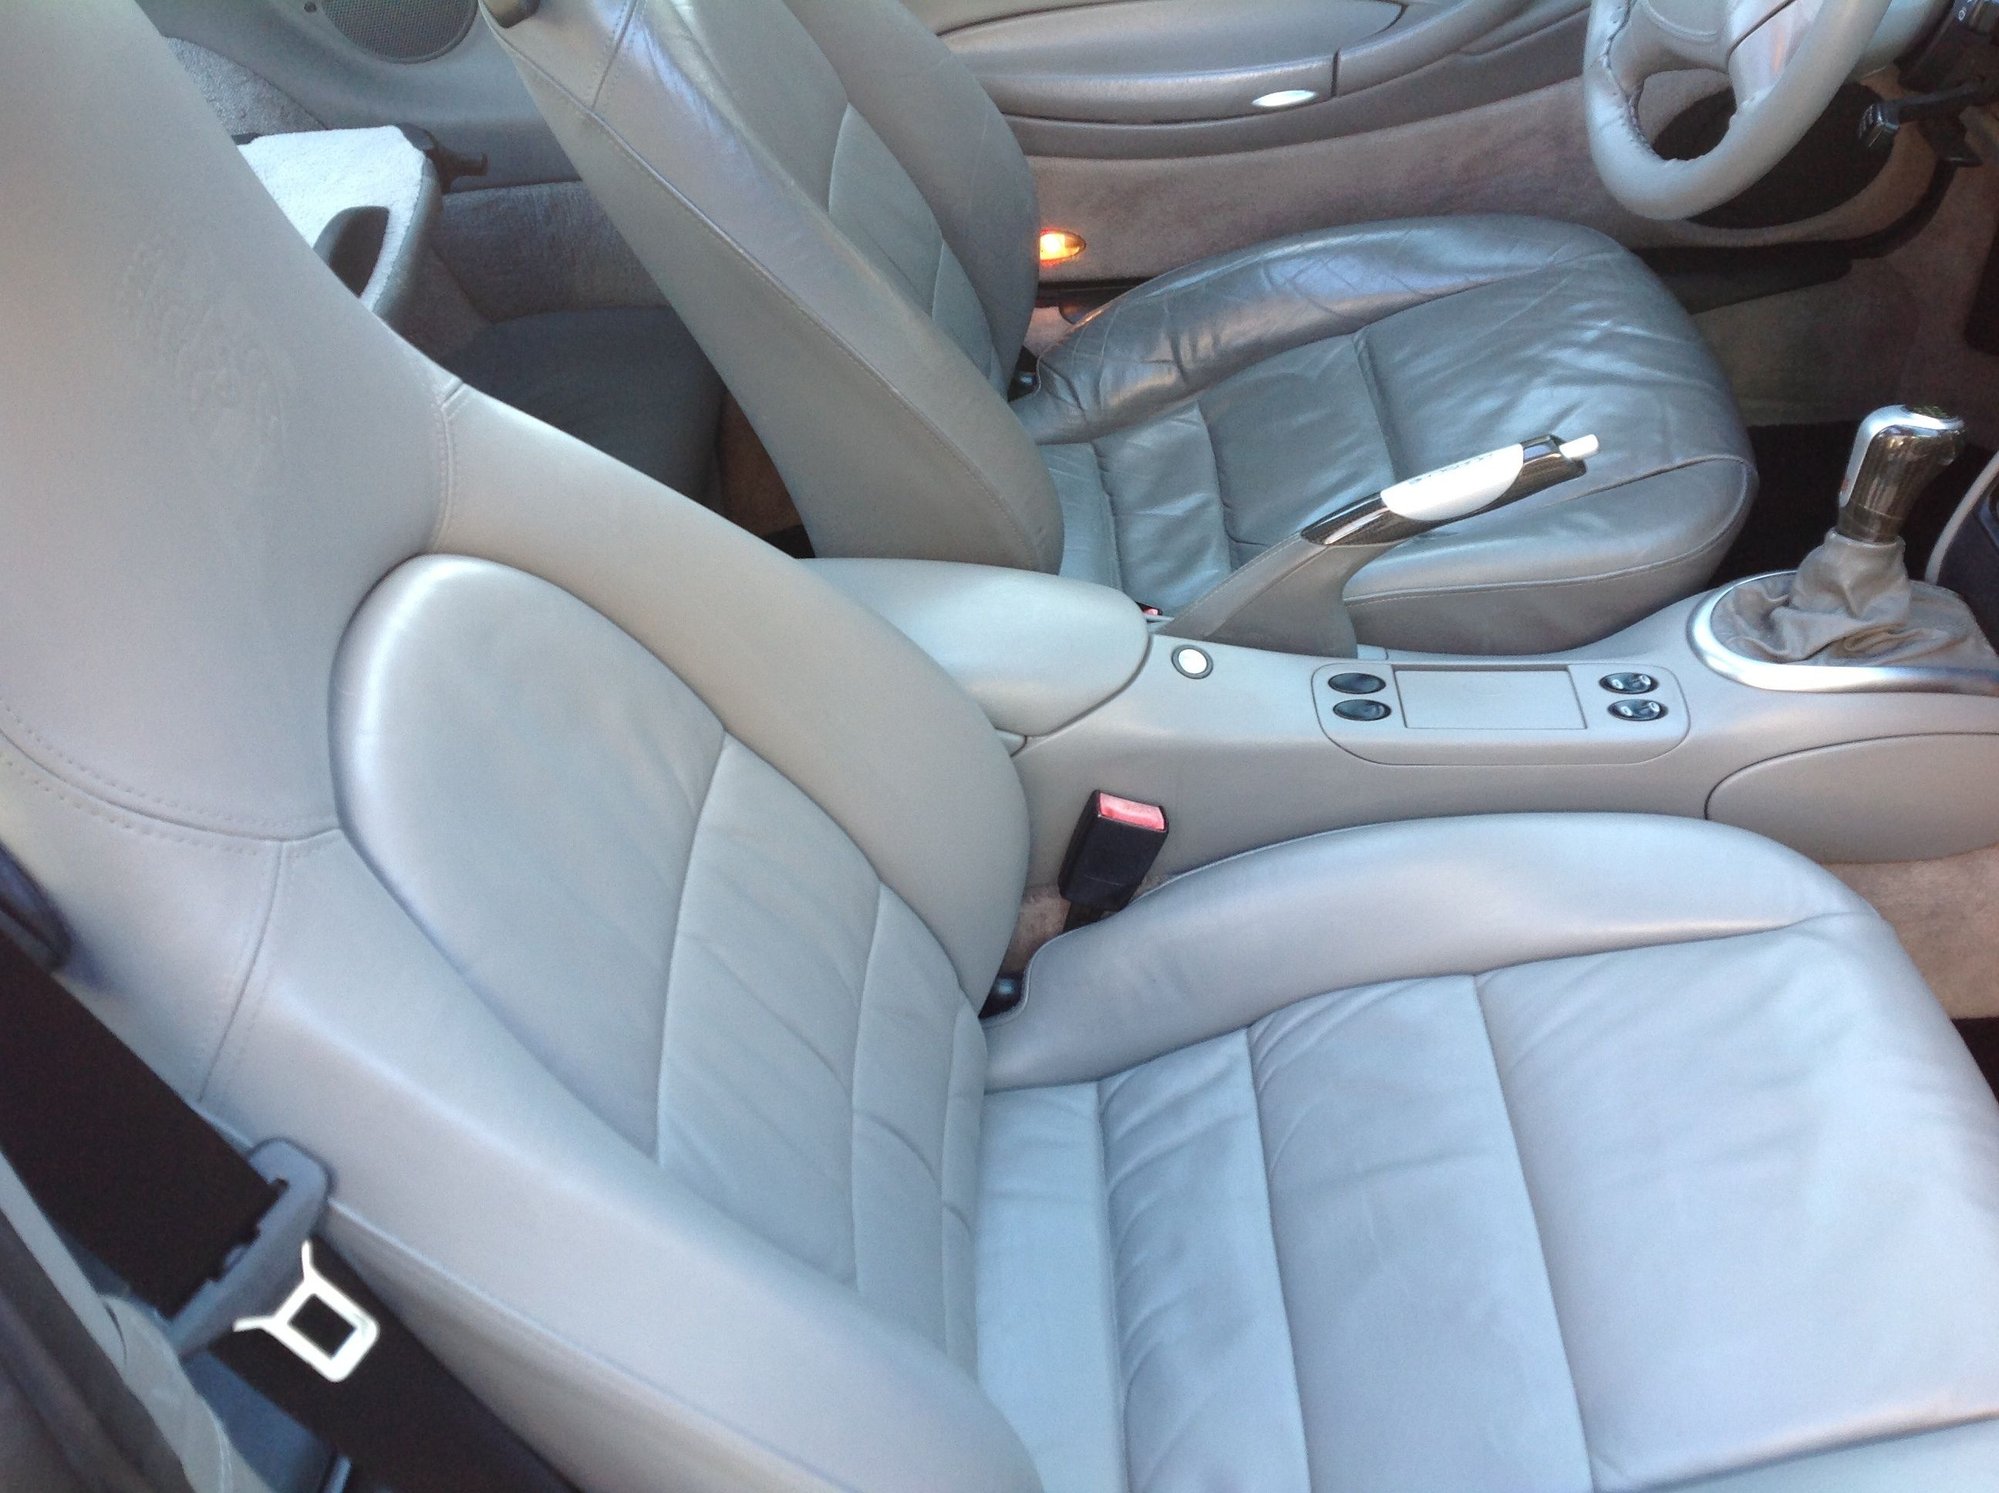
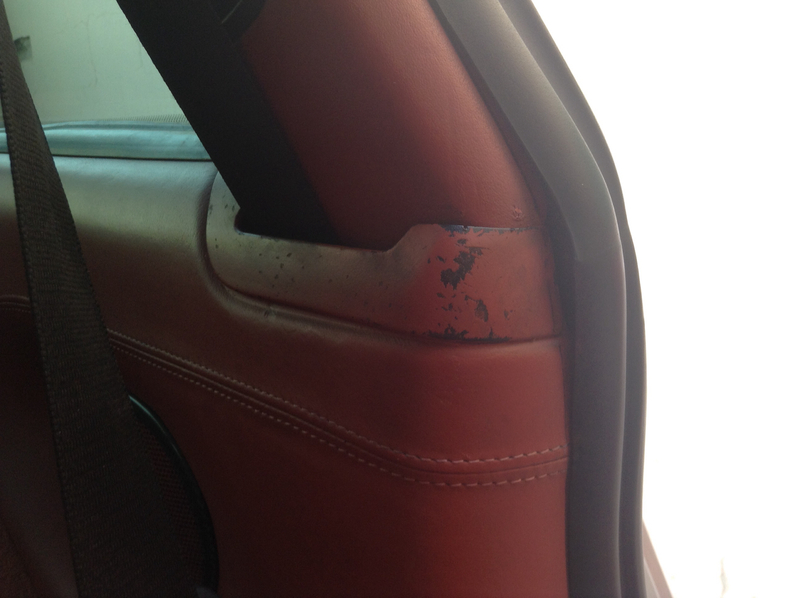
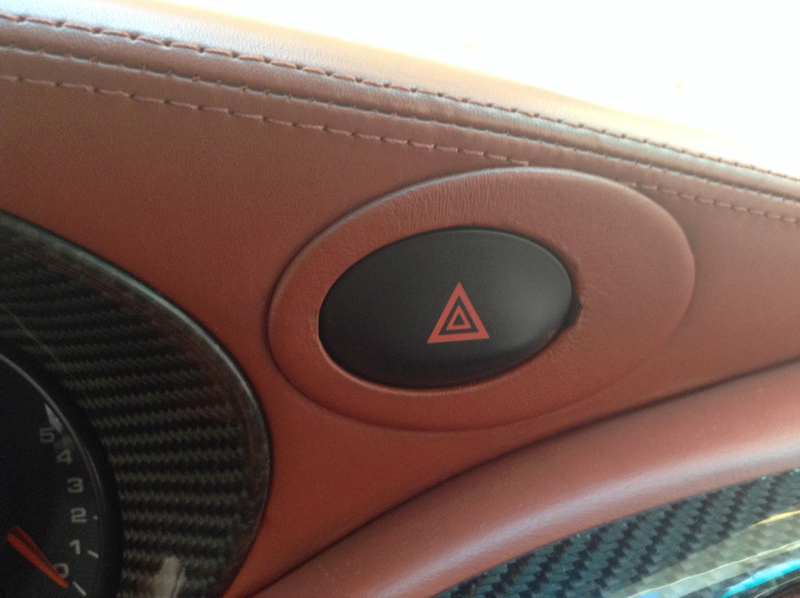
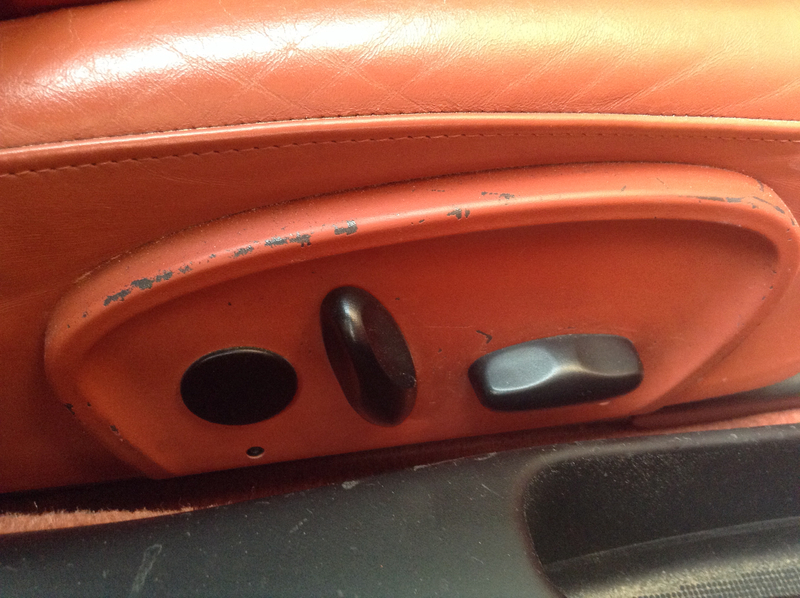
My 996 interior is scratched in a number of areas and looks scruffy. Any suggestions of how to get it looking good again? I assume it will have to be painted or replaced. Not sure what is possible.
I've repainted a few car interiors (datsun 240's) that have had scratched up plastic and faded colors. I wouldnt use a brush on anything I didnt have to. You will first have to find a color that matches or literally paint every similar piece with the new close color.
It's all got to come out. Seats, interior pieces, etc. For the seat **** bezel you would have to take it apart to remove it, give it a light sanding (id probably use steel wool 00 for that) then repaint it. And you have to do the other side to get it to match. While its all out I'd even do the seatback if you have the hard back. Those are always scratched up - filler, sanding, respray.
For the air vents I'd want to take all that peeling paint off and get the part right down to the plastic and spray it again. I'd want to use an airbrush for that (harborfreight / princess auto $20.00). If your coating is only available in a rattle can then I might even sand between coats if it globbed anywhere.
You can paint/dye panels etc. For scratches you can fill them then sand and paint... lots of options. It's hard to describe the steps because each piece and car is different but spend an hour on youtube and you can see lots of videos that can lay out all your options.
Taking the time and care in the details and color matching are the biggest challenges. Heres an example of a dashboard I fixed a crack in and whats involved (i know I have other interior repair threads on other sites I will look for some).
Not as hard as you might think. Matching the color will be your biggest challenge, but if you get close, and do all of the pieces in sight, you will be AMAZED at how it transforms your interior. I used leather dye (after sanding everything smooth - removing all of the old finish isn't necessary, but would advise getting as much as possible) and applied the dye with a foam brush. I have a small sprayer, but never ended up using it. Use very light coats and take your time. First couple of coats may not look like much, but be patient. Pop off the ignition key surround first and play with that.
I admit I got carried away with my graphite grey interior! Did the seats and just about everything in sight. As a result though, people think my interior is brand new. I couldn't stand how banged up my console was, so I started there first. It came out so good I just kept going. Wasn't going to do my sets, but the rest looked so good I took the plunge. Go for it!
One more thing. If, after putting a coat of dye, you have some spots where there's some excess (like between the seat folds), a light sanding before the next coat will take care of any unevenness. Also, I did my seats in the car, but it would be easier if you take them out.
You can get the vinyl color in SEM at auto paint stores. They match to sample. You would have to remove the parts , strip the part with acetone and sand it good with a scuff pad then paint with SEM. If you want origional finish.
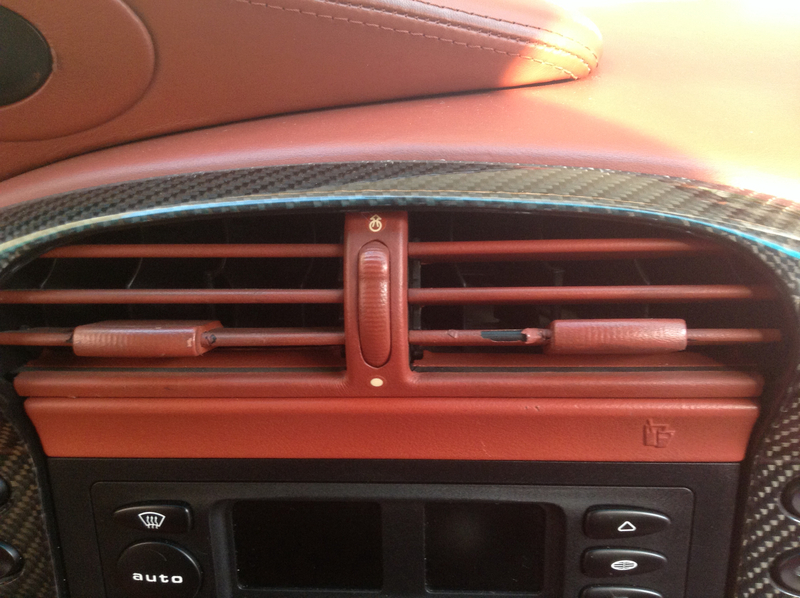
Looks like a difficult job. Why oh why did they use paint to do this, especially soft touch and easy to scratch paint.
Best option might be to take it all out and spray it black. Might even subdue the boxster red everywhere else in the cabin! Tie it in with some black mats.
Nah, not difficult. Just takes time. And you can remove one or two pieces at a time and do the job at your leisure. I would opt to try and match the color first, and go the black route as a default, although that might not look bad either. It's your car! Either way, i think you will really love the results.
personally it looks to me like somebody did this their self, and used some strange thick paint. I dont think it was factory origional. unless you have some option on the window sticker. I would suggest buying used parts on ebay and replacing them, or painting them correctly with sem and replacing them


