Notices
996 Forum 1999-2005
Sponsored by:

Painting Bumperettes - DIY - (now with after mounted pics)

Thread Tools
 
Search this Thread
 
Old 02-19-2011, 02:54 PM
  #16  
FLY996
Rennlist Member
 
FLY996's Avatar
 
Join Date: Jan 2007
Location: CT
Posts: 881
Likes: 0
Received 1 Like on 1 Post
Default

Nice job..looks way better....
Old 02-19-2011, 04:11 PM
  #17  
mpd425
Rennlist Member
 
mpd425's Avatar
 
Join Date: Aug 2004
Location: Northeast, Ohio
Posts: 716
Likes: 0
Received 0 Likes on 0 Posts
Default

Looking Good
Old 06-04-2011, 04:11 PM
  #18  
cmer
7th Gear
 
cmer's Avatar
 
Join Date: May 2011
Posts: 7
Likes: 0
Received 0 Likes on 0 Posts
Default

It's now been a few months and I was wondering how it looks. Is it durable or has the paint peeled off? I was going to buy from BumperPlugs but I might just try this DIY instead. A lot more fun!
Old 06-04-2011, 04:29 PM
  #19  
scottiemac
Racer
 
scottiemac's Avatar
 
Join Date: Jan 2009
Location: Summerland, BC
Posts: 287
Likes: 0
Received 7 Likes on 7 Posts
Default

Great DIY. I have the paint to do mine and I'm just waiting for it to stop raining in Calgary! I have to do it in the garage as my wife won't let me spray paint in the basement.
Old 06-04-2011, 08:10 PM
  #20  
SSST
Drifting
 
SSST's Avatar
 
Join Date: Mar 2011
Location: Bastrop By God Texas
Posts: 2,255
Likes: 0
Received 2 Likes on 2 Posts
Default

Looks great. I may have to do that

One easy way to remove pebbling is acetone. It actually disolves plastic and rubber, but not so rapidly you can't manage it. Soak a clean, smooth rag with acetone and rub lightly until the pebbling is gone. Much easier than sanding. A pretty good paint and body guy taught me that.
Old 06-04-2011, 09:11 PM
  #21  
vange_c4s
Racer
 
vange_c4s's Avatar
 
Join Date: Apr 2011
Location: central massachusetts
Posts: 367
Likes: 0
Received 2 Likes on 2 Posts
Default

those look really good. dyi is the best. you know how it was done (good and bad) and can enjoy the satisfaction of performing the work. well done.
Old 06-05-2011, 12:14 AM
  #22  
fbgh2o
Odd Posts
Rennlist Member
Thread Starter
 
fbgh2o's Avatar
 
Join Date: Dec 2007
Location: Ottawa, Ontario
Posts: 3,633
Received 51 Likes on 27 Posts
Default

It's now been a few months and I was wondering how it looks. Is it durable or has the paint peeled off? I was going to buy from BumperPlugs but I might just try this DIY instead. A lot more fun!
They have stood up fine... No issues at all. One small scrape where someone tapped the car in a parking lot and no evidence of cracking or anything similar.
Old 06-05-2011, 08:43 AM
  #23  
Barn996
Race Director
 
Barn996's Avatar
 
Join Date: Sep 2007
Location: Kittery, Maine
Posts: 11,801
Received 13 Likes on 11 Posts
Default

Overall the write up was top notch and with pics +1.
Old 06-11-2011, 10:09 PM
  #24  
cmer
7th Gear
 
cmer's Avatar
 
Join Date: May 2011
Posts: 7
Likes: 0
Received 0 Likes on 0 Posts
Default

I guess I'll be trying this DIY soon! I'll give acetone a shot since my patience is usually limited.
Old 06-12-2011, 01:50 AM
  #25  
Dennis C
Rocky Mountain High
Rennlist Member
 
Dennis C's Avatar
 
Join Date: Aug 2007
Location: Colorado
Posts: 17,116
Received 1,245 Likes on 782 Posts
Default

Nice DIY. I may have to try that...
Old 06-12-2011, 03:42 AM
  #26  
RPMulli
Banned
 
RPMulli's Avatar
 
Join Date: Apr 2010
Posts: 1,552
Received 48 Likes on 27 Posts
Default

I like the acetone idea... beats sanding rubber anyday.....
Old 06-13-2011, 10:17 AM
  #27  
Millemiglia
Racer
 
Millemiglia's Avatar
 
Join Date: Aug 2002
Location: Stockholm, Sweden
Posts: 432
Likes: 0
Received 1 Like on 1 Post
Default

Big improvement!
Job well done!
Old 06-13-2011, 10:22 AM
  #28  
ivangene
Parts Specialist
Rennlist Member
 
ivangene's Avatar
 
Join Date: Aug 2008
Posts: 16,326
Likes: 0
Received 23 Likes on 16 Posts
Default

dont know how I missed this but

WOW

Nice Job
Old 06-13-2011, 08:01 PM
  #29  
buzzone
Advanced
 
buzzone's Avatar
 
Join Date: May 2011
Location: N. Florida
Posts: 51
Likes: 0
Received 0 Likes on 0 Posts
Default Newbie paints plastics

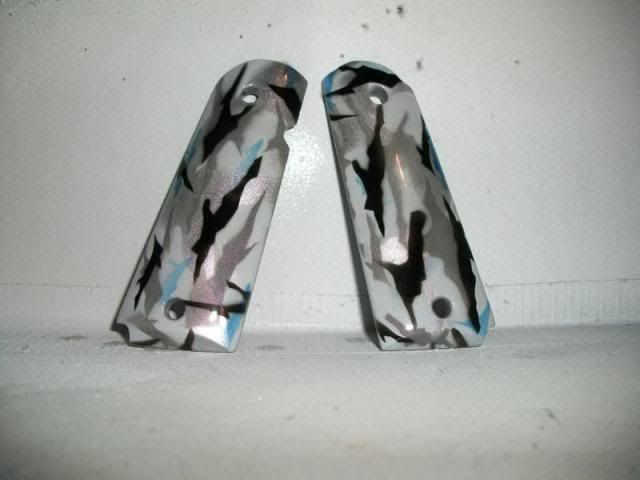
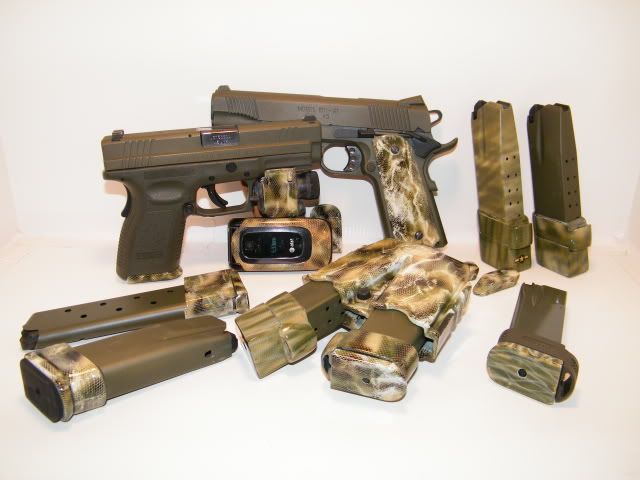
You did well, given the part is hard to get paint to stick, not O Peel! I paint plastic parts that I make... You have chosen one of the hardest things to paint. Lot's of oil with molded P parts. Then mold release on top of that, and it gives off more oil residue out of the mold... so not for the timid!. If you ever want something similar.. Happy to help, or do it No Charge! At this point... you did a fine job. Showing a few examples of plastic and rubber painting, becasue even pro painters sometimes dont like painting the soft stuff! Buzz


Last edited by buzzone; 06-13-2011 at 08:53 PM. Reason: sp
Old 03-26-2013, 09:20 AM
  #30  
King_James
Instructor
 
King_James's Avatar
 
Join Date: Dec 2012
Location: Toronto, ON
Posts: 115
Likes: 0
Received 0 Likes on 0 Posts
Default

Any update on this? How's it holding up? Im using your steps and just finished the sanding last night.


Quick Reply: Painting Bumperettes - DIY - (now with after mounted pics)


All times are GMT -3. The time now is 06:00 AM.