When you click on links to various merchants on this site and make a purchase, this can result in this site earning a commission. Affiliate programs and affiliations include, but are not limited to, the eBay Partner Network.
Reviving an old thread, but used this for reference in changing the factory detent to the GBox piece, which will cure the 2nd gear pop-out when the transaxle is cold.
Notes:
- I elevated the car on my liftbars, and removed the right rear wheel for easier access
- I cut down an 8mm allen wrench on the short side by about 1/4" rather than try to use an 8mm socket bit.
- I did need to put some extra 'persuasion' on the end of the allen to finally break the cover free. With the sealant on the cover, it is no easy removal as the sealant gums-up the threads
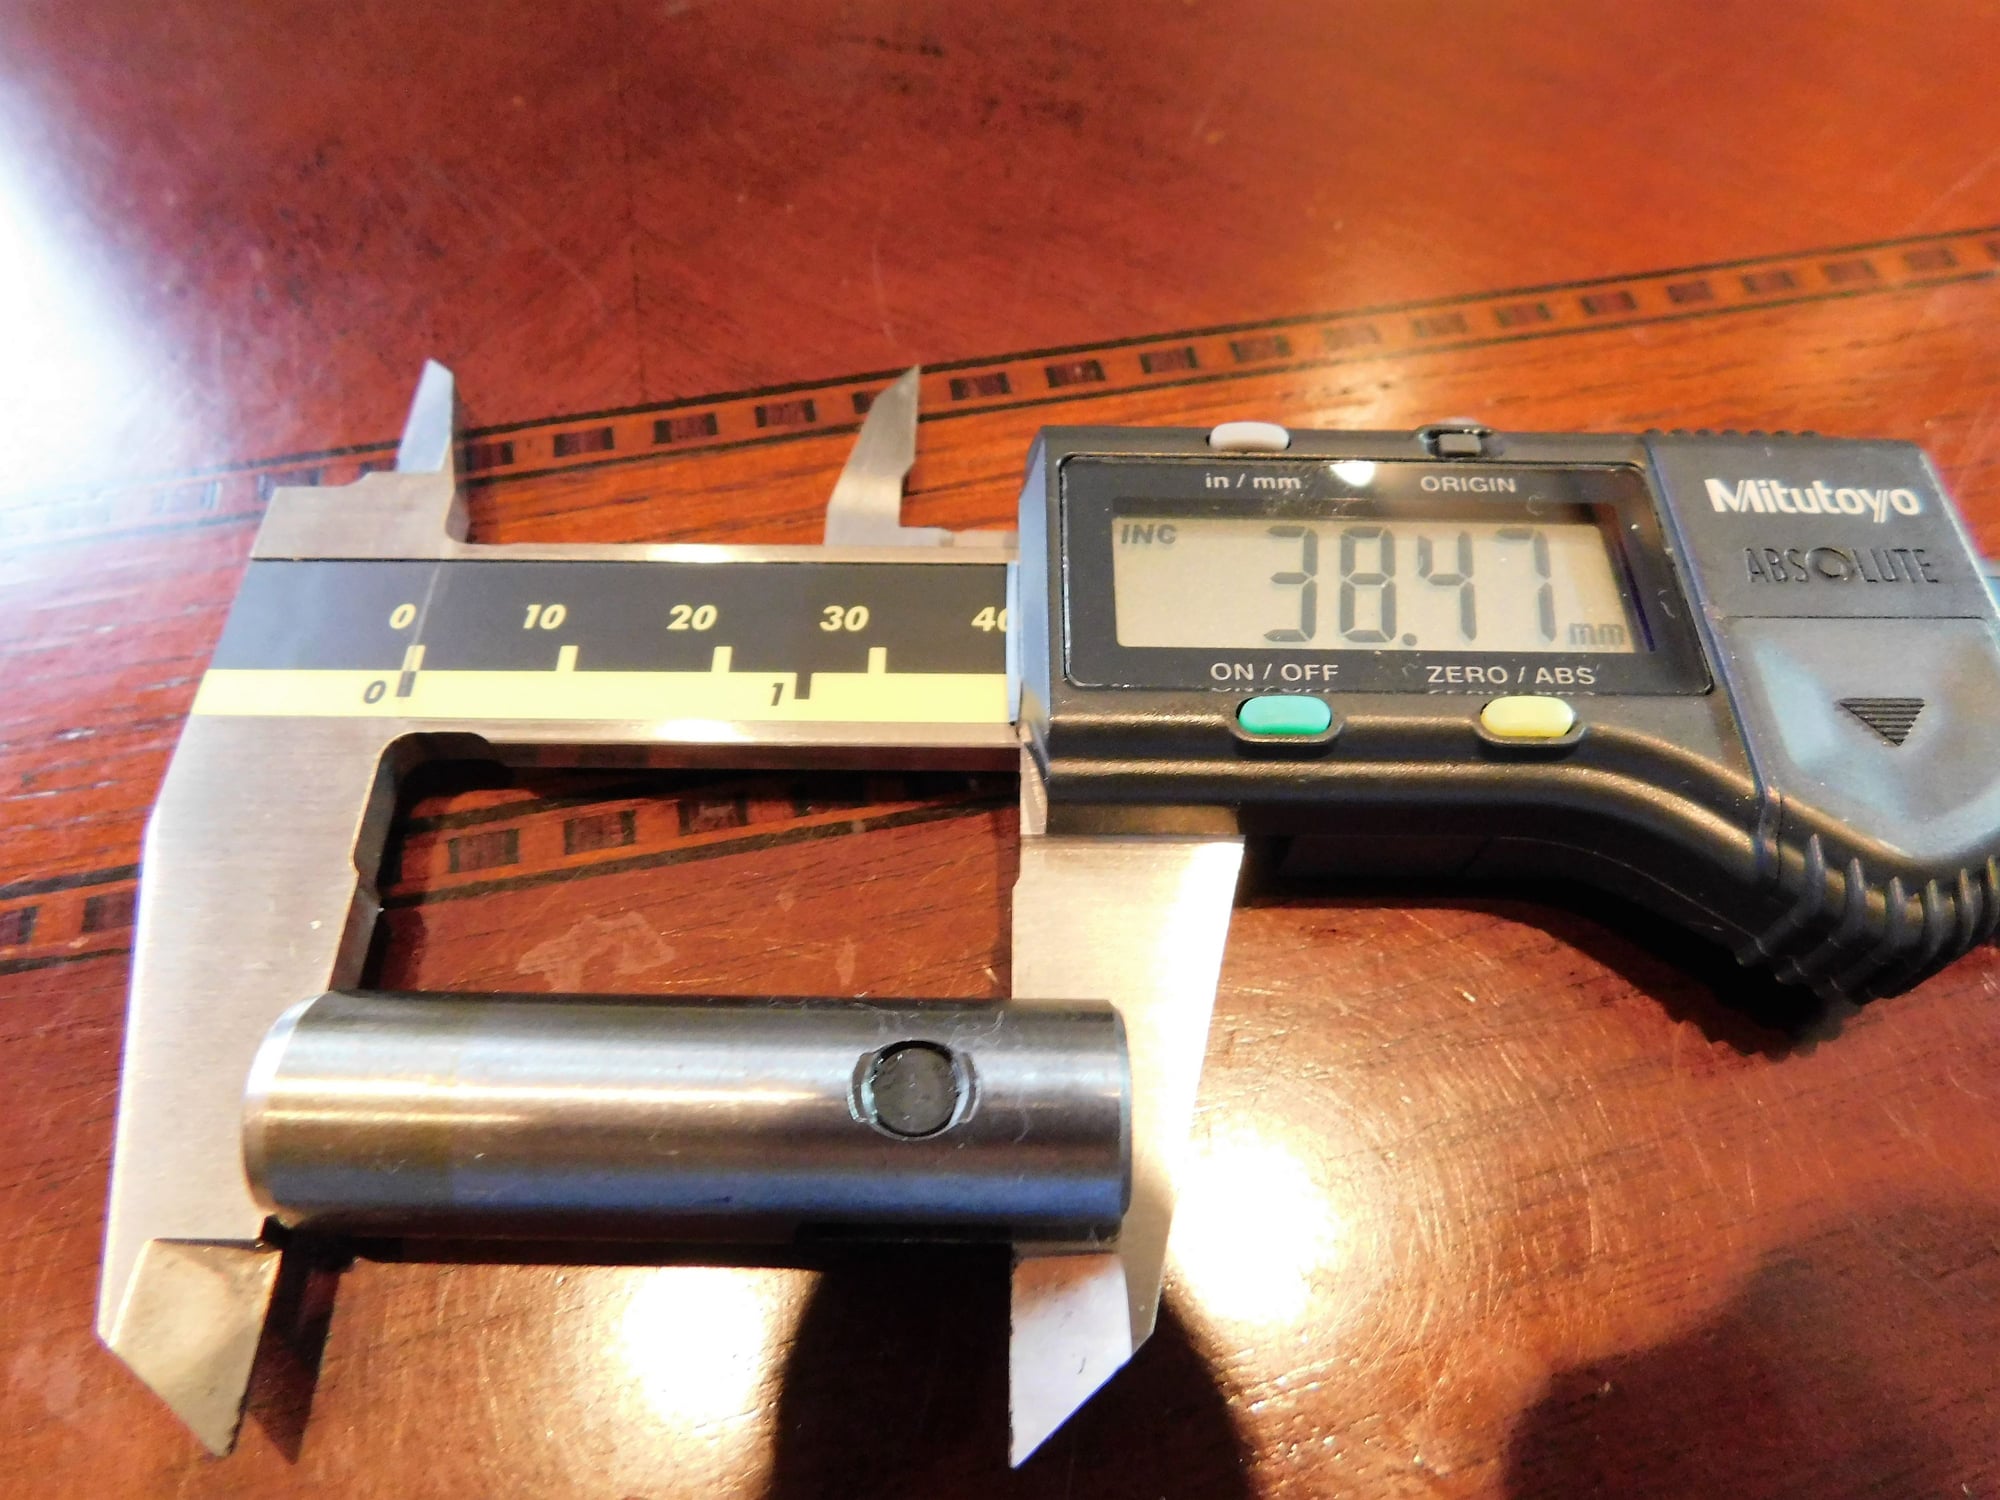
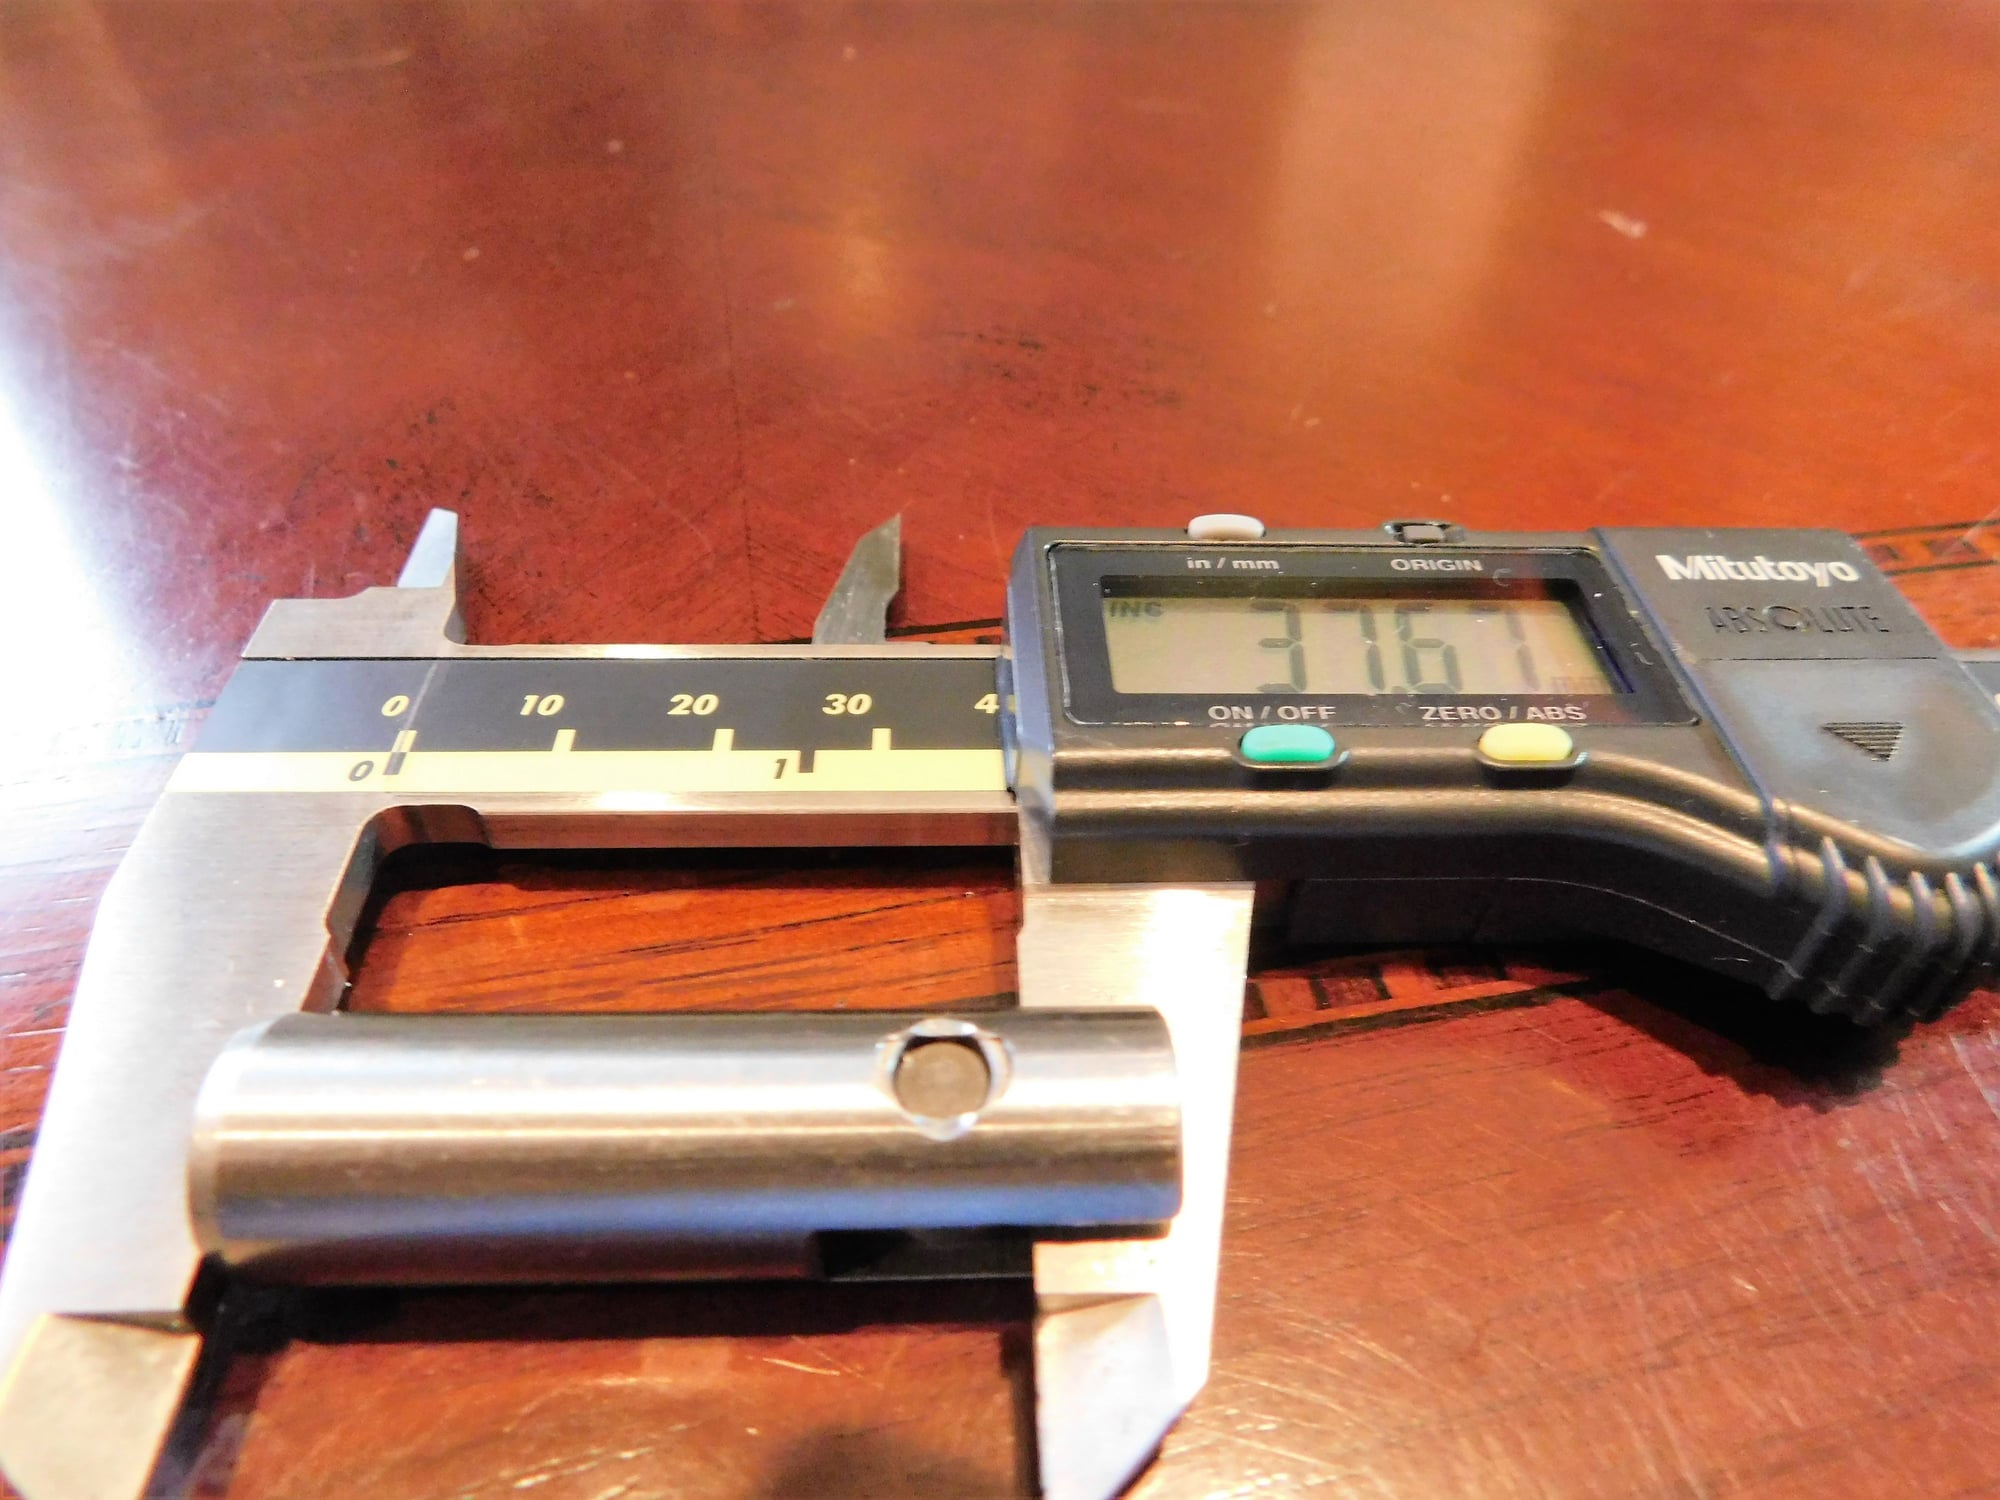
Here's the difference (in mm's) between the factory piece and the GBox piece:
Anyone know what the part number is for the OEM detent spring?? I'm having the GBox installed next week when they do my clutch...figured it might be worth putting in a fresh spring. I came up with part# 996-303-245-00. Not sure if this is correct though. Porsche San Antonio said it costs about $1.
Hey guys, wanted to update this thread with a couple of useful photos I took while attempting this job over the holidays. First, following the photos above, I was able to remove the 13mm bolt on the trans housing using the method shown in photos 4 and 5 above. It was tight, but eventually it broke loose.
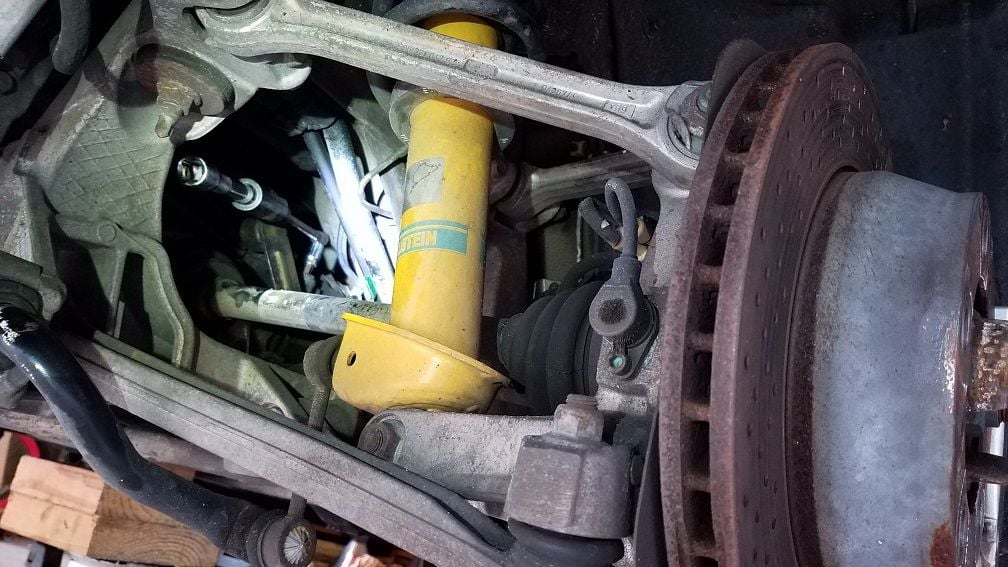
However, I attempted to remove the cap screw using the method shown in photos 6 through 9 and it would not budge. I even used the exact same wrench that redridge used and ended up bending the wrench before the cap screw would come out. However, if you remove the passenger side rear wheel, place a jack under the transmission and remove the trans mount bolts you can actually lower the transmission about 2 inches which is just enough to get a regular 8mm allen socket and a 3/8-inch breaker bar onto the screw. To get more leverage, I used a 15mm deep socket and a short extension placed over the handle of the breaker bar - see photo.
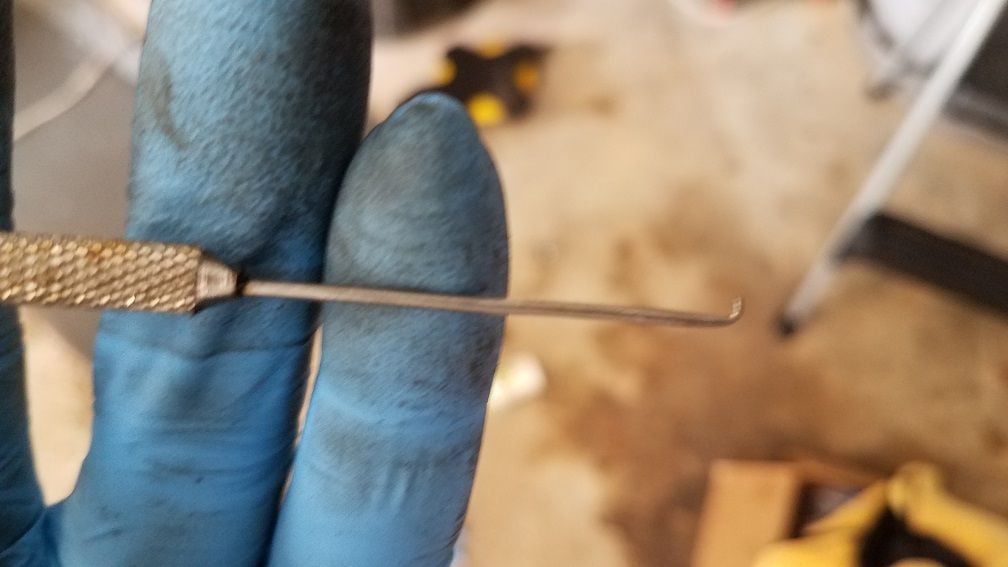
This did allow the cap screw to be removed and I was able to access the spring and detent. The spring came out fine using the magnet method shown in photo 9 above. For the detent removal, I tried using the magnet method shown in photo 10 above. I even used 3 different magnets - one of them was very strong, moved the shifter back and forth in 1-2, but the detent would not come out. It would come up about 1/4 inch but it seemed to bind on something as I was trying to pull it out. I made a tool using a dental pick that I cut in half then using a pair a needle nosed pliers made a small J-hook on the end that I could lower through the center of the detent and hook onto the bottom to pull it up. This method did provide better leverage and a positive engagement to try and remove the detent.
Unfortunately, in my case, the detent was still binding on something. It would come up about 1/4 inch, but no further. After playing with it for about 3 hours I gave up and I think I'm in the boat of having to drop the trans to replace it - which is going to be a PITA that I had not envisioned. It seems most people are able to get this detent out using the magnet method. Anyway - hopefully these photos help somebody if they are undertaking this project.
Unfortunately, my Indy had the same situation, and had to drop the eng/trans. That led to finding several additional issues, Leaking valve covers, blah, blah...
Final update, we had the car on a lift this weekend and a friend of mine/local tech was able to use a pair of 90 degree bend needle nose pliers like these to grab the upper edge of the detent and work it out.
It still took about 20 minutes of playing with it. We never could figure out what was causing it to bind. No scarring or corrosion visible on the old detent. The new detent slid right in. We removed the two trans mount bolts to lower the trans about 2-inches, but was able to complete the job without pulling the transmission. With two days of driving, so far so good. No first-gear pop-out. I'm cautiously optimistic this will solve the problem. Fingers crossed.
 05-19-2012, 12:06 PM