When you click on links to various merchants on this site and make a purchase, this can result in this site earning a commission. Affiliate programs and affiliations include, but are not limited to, the eBay Partner Network.
My rear latch mechanism closes a second after the hatch pops open. I have to push the open switch a gently push on the hatch toclose it. Any ideas what is out of whack?
Matt, did you ever find the solution to this issue? Something tells me it might be the shocks that raise the hatch beginning to lose their strength. I am starting to have a similar issue with my Targa, so let me know what you found that worked!
I had a problem with my 2003 996 Targa hatch glass yesterday and was able to resolve it and wanted to post some further details related to this thread. What happened was the catch hook had worked loose and had slipped under the spring mechanism that pops the hatch open once it is released by the lock motor. I could hear the motor activating the release but the hatch would not open. So here is the repair procedure I used:
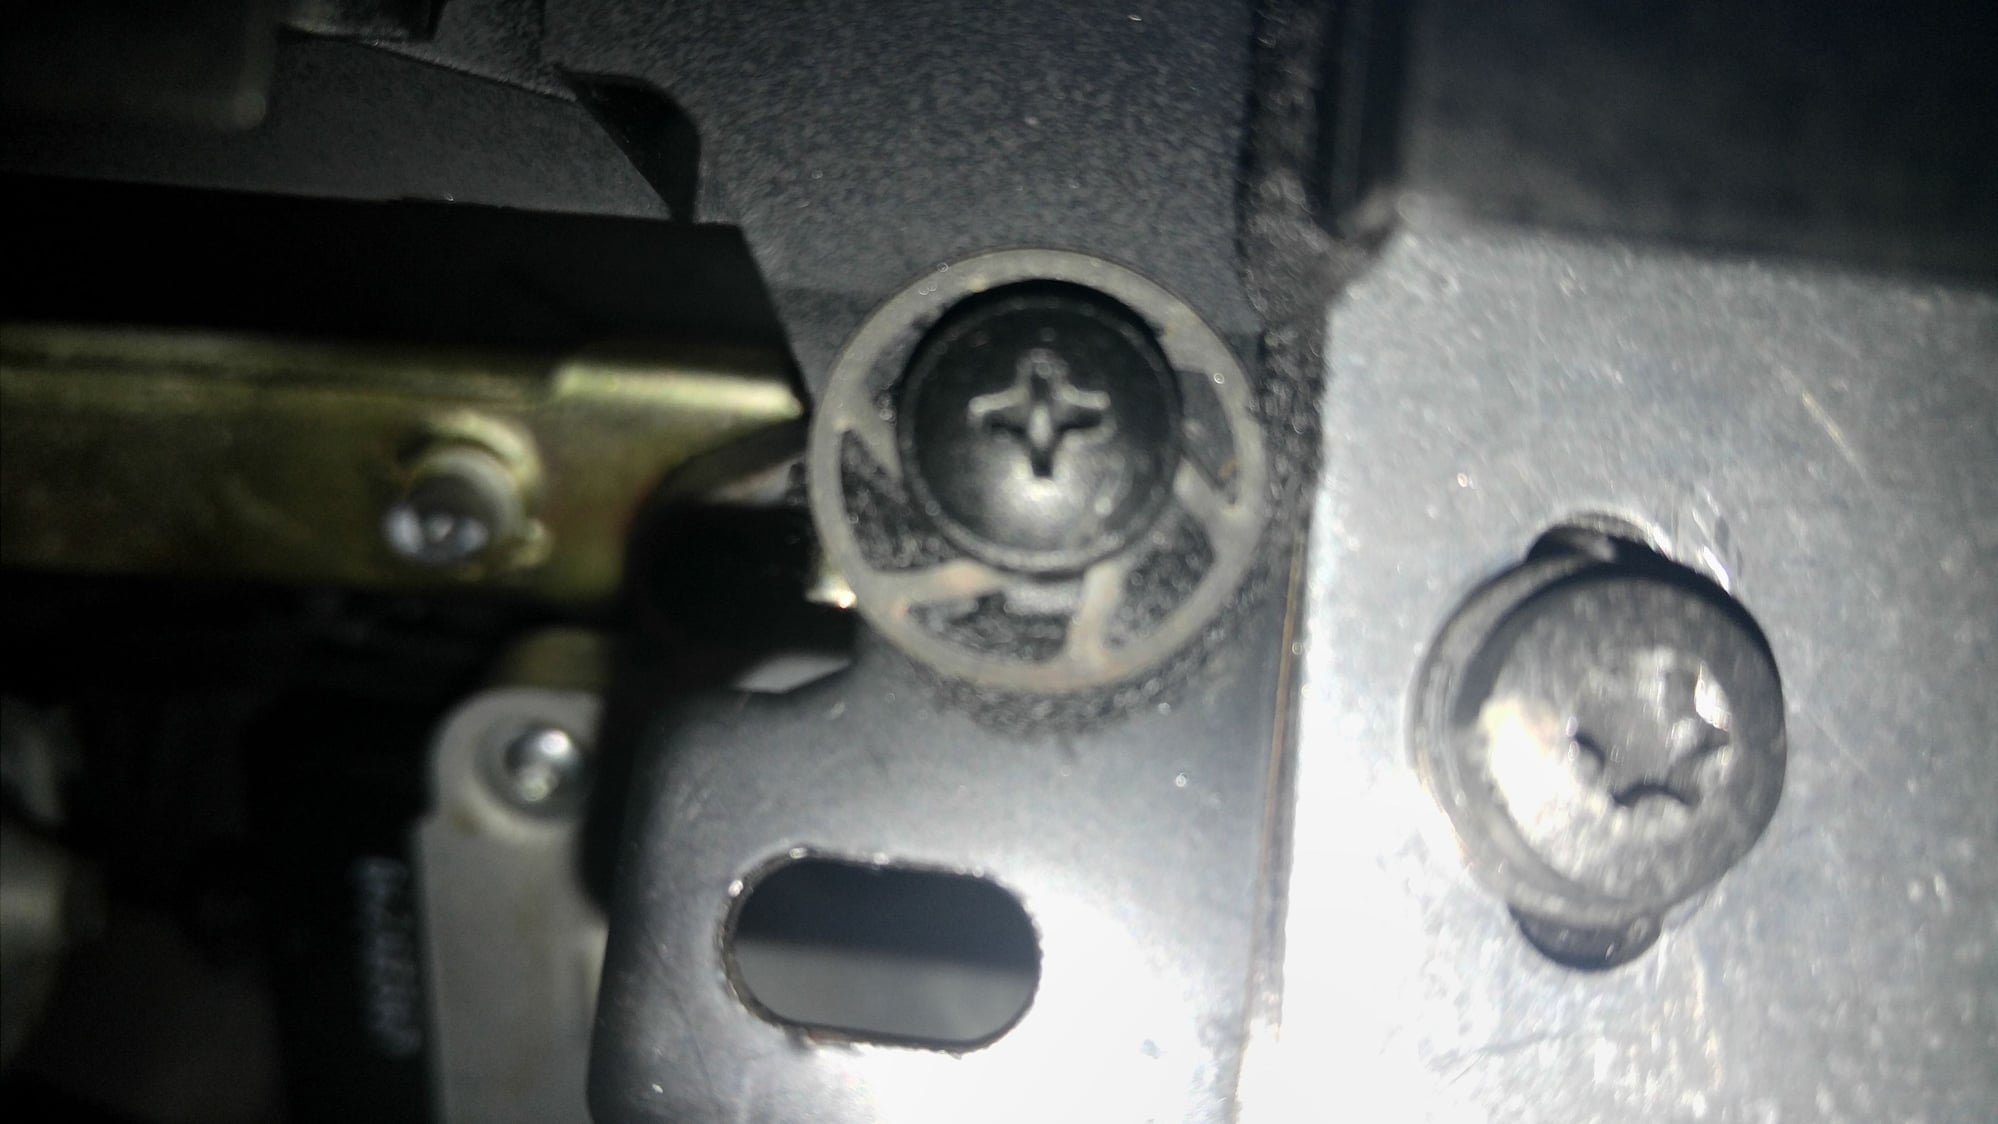
1. Remove the lower panel to access the hatch motor - just reach under the edge and firmly pull it off as it is held in by four spring clips.
2. You can also remove the top panel by removing the four screws with the funky lock washers. You may need to twist out the rubber bumpers in the corners to remove this panel and I would suggest a little silicone spray to help lubricate the bumpers so they come out freely.
3. This will fully expose the motor mechanism which is held in place by two screws. It appears in my case that the motor had been replaced before by a previous owner because it is a 997 part number.
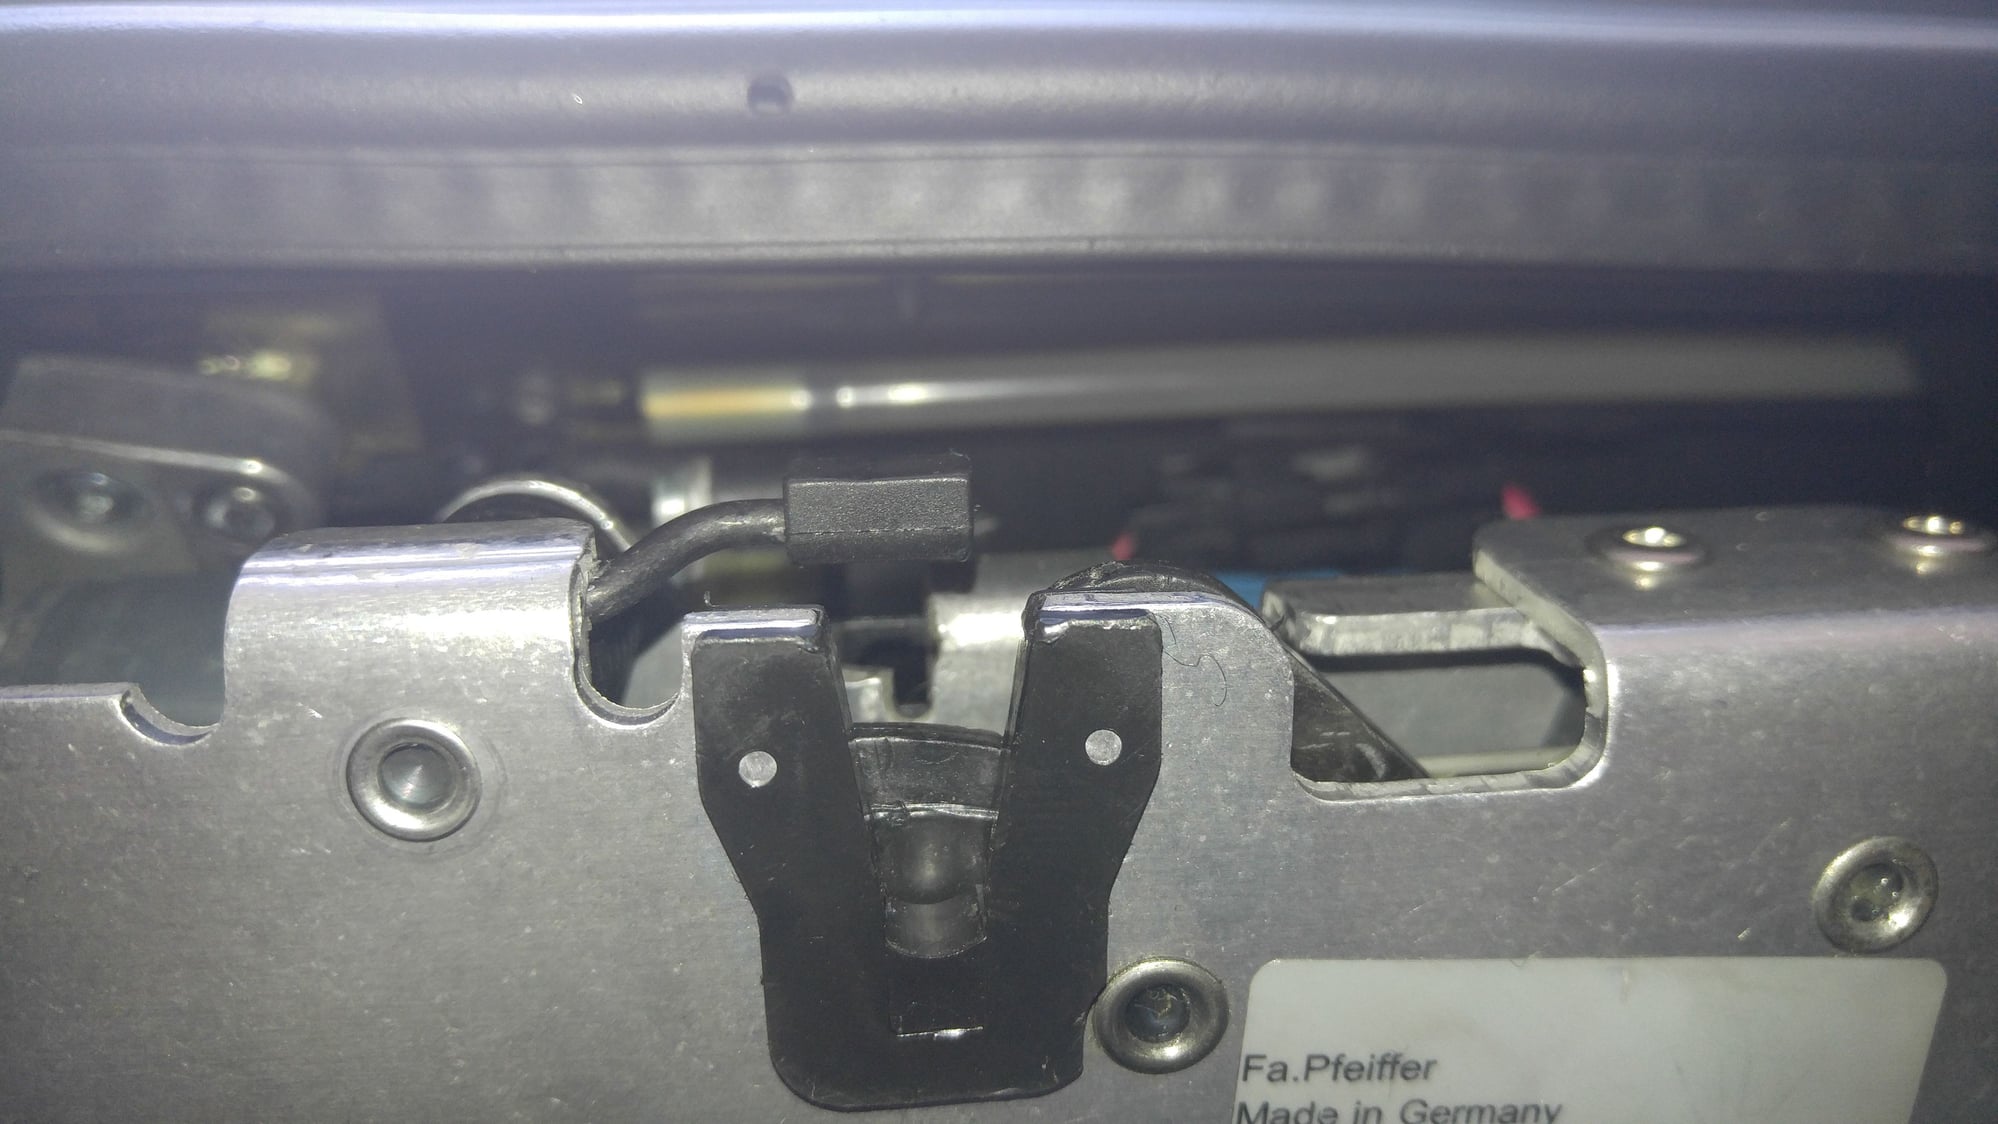
4. The offending problem was the spring lever that the catch mounted to the liftgate pushes down onto when closing the lid. The catch should not go under the spring lever and should just push down on the nylon piece mounted to the spring lever. When the hatch is released, this spring lever just pops the lid up slightly so it can then be raised by hand.
5. In order to free the mechanism I had to work out the screws that mount the catch to the glass lid by hand. The catch, which was a little loose, was trapped under the spring lever. This was an extremely tight fit and a tedious process and if the screws had not already been loose I am not sure what I would have done next. Here is a shot of the lid finally freed with the two screws removed.
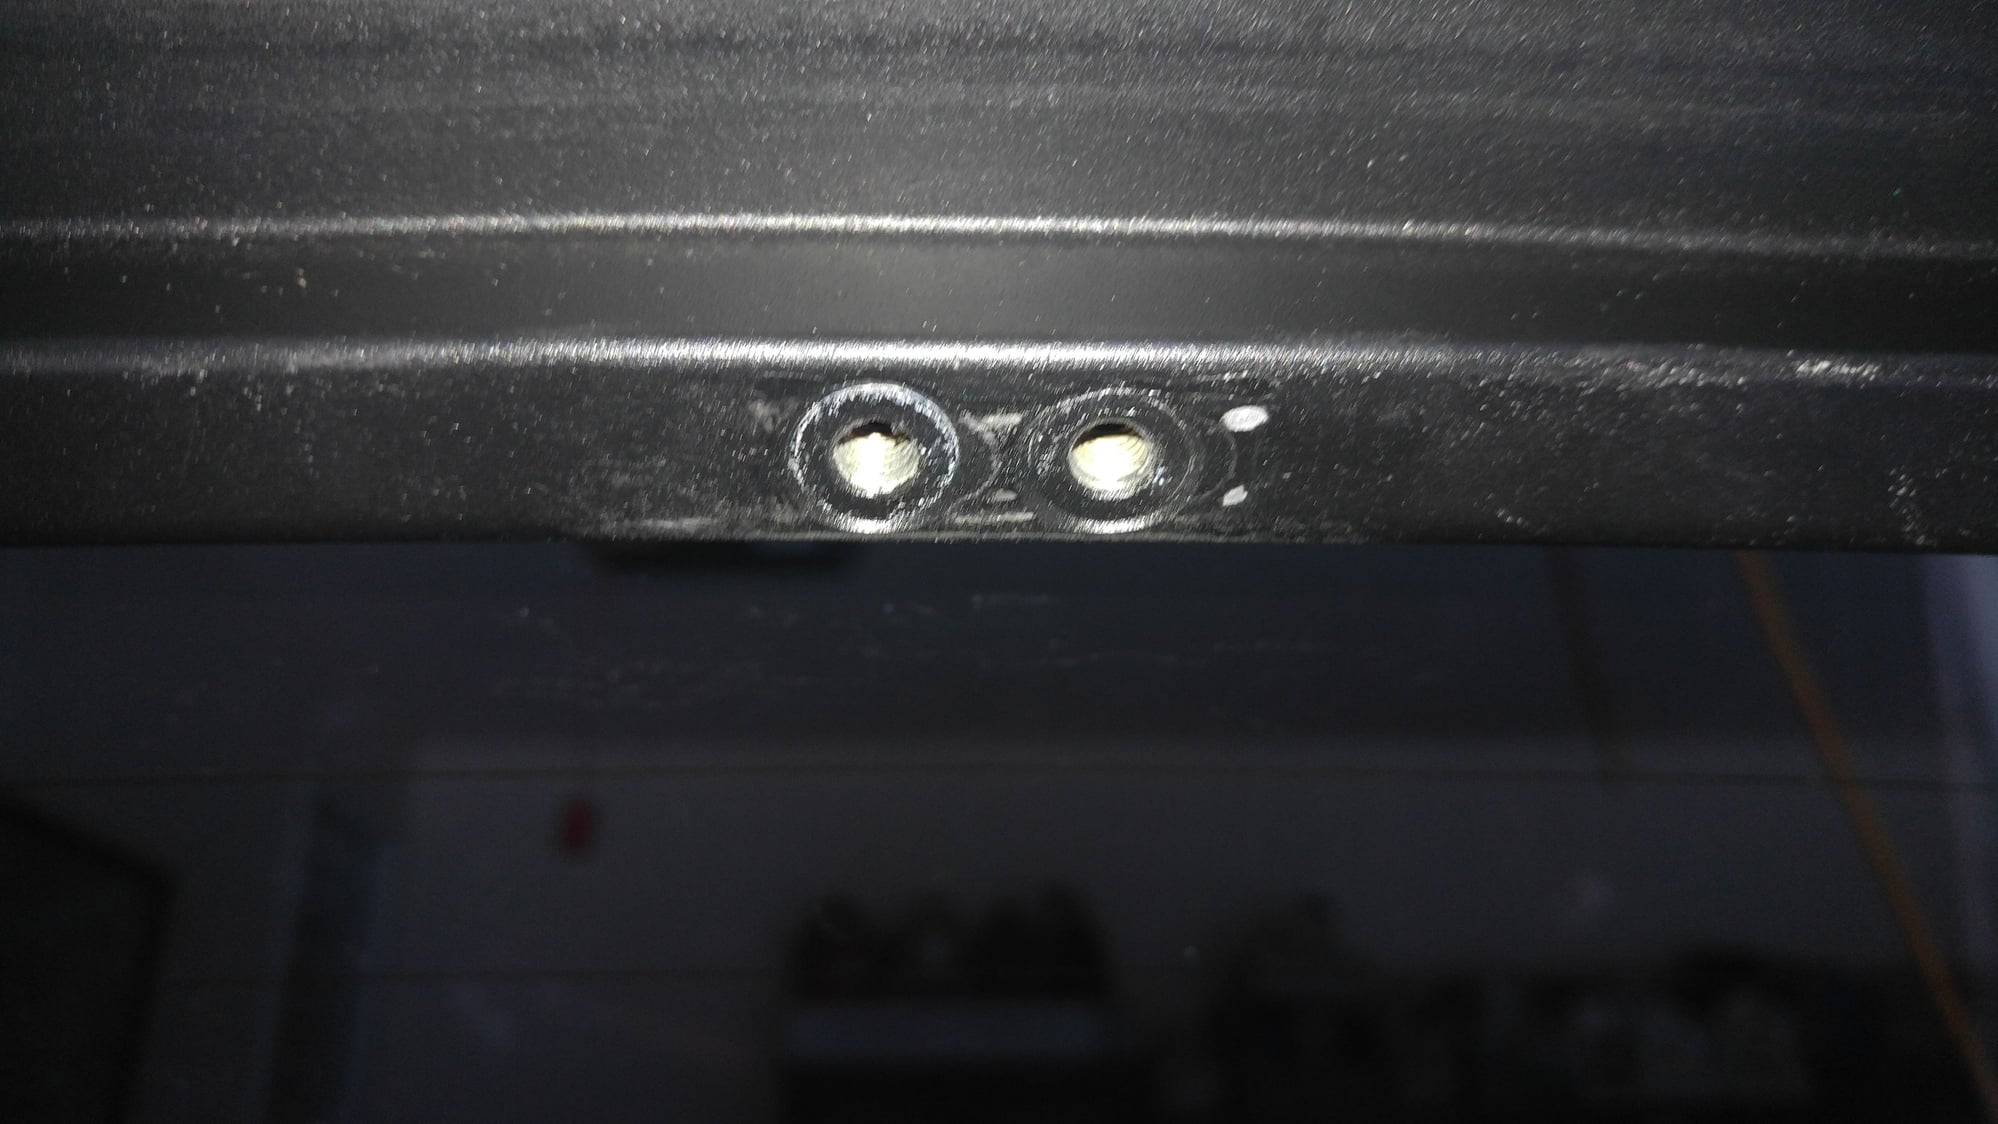
6. Once everything was removed it was just a matter of reassembly and testing the fit of the hatch catch relative to the spring lever and locking mechanism. There is some adjustment in the catch and the motor when reassembling. I moved the catch some to the right (as viewed from the rear) to help ensure the catch would not slip under the lever again. I also put some lock washers on the screws so they would not work loose again. Were these lock washers originally there, I don't know, but it seemed to make sense to add some.
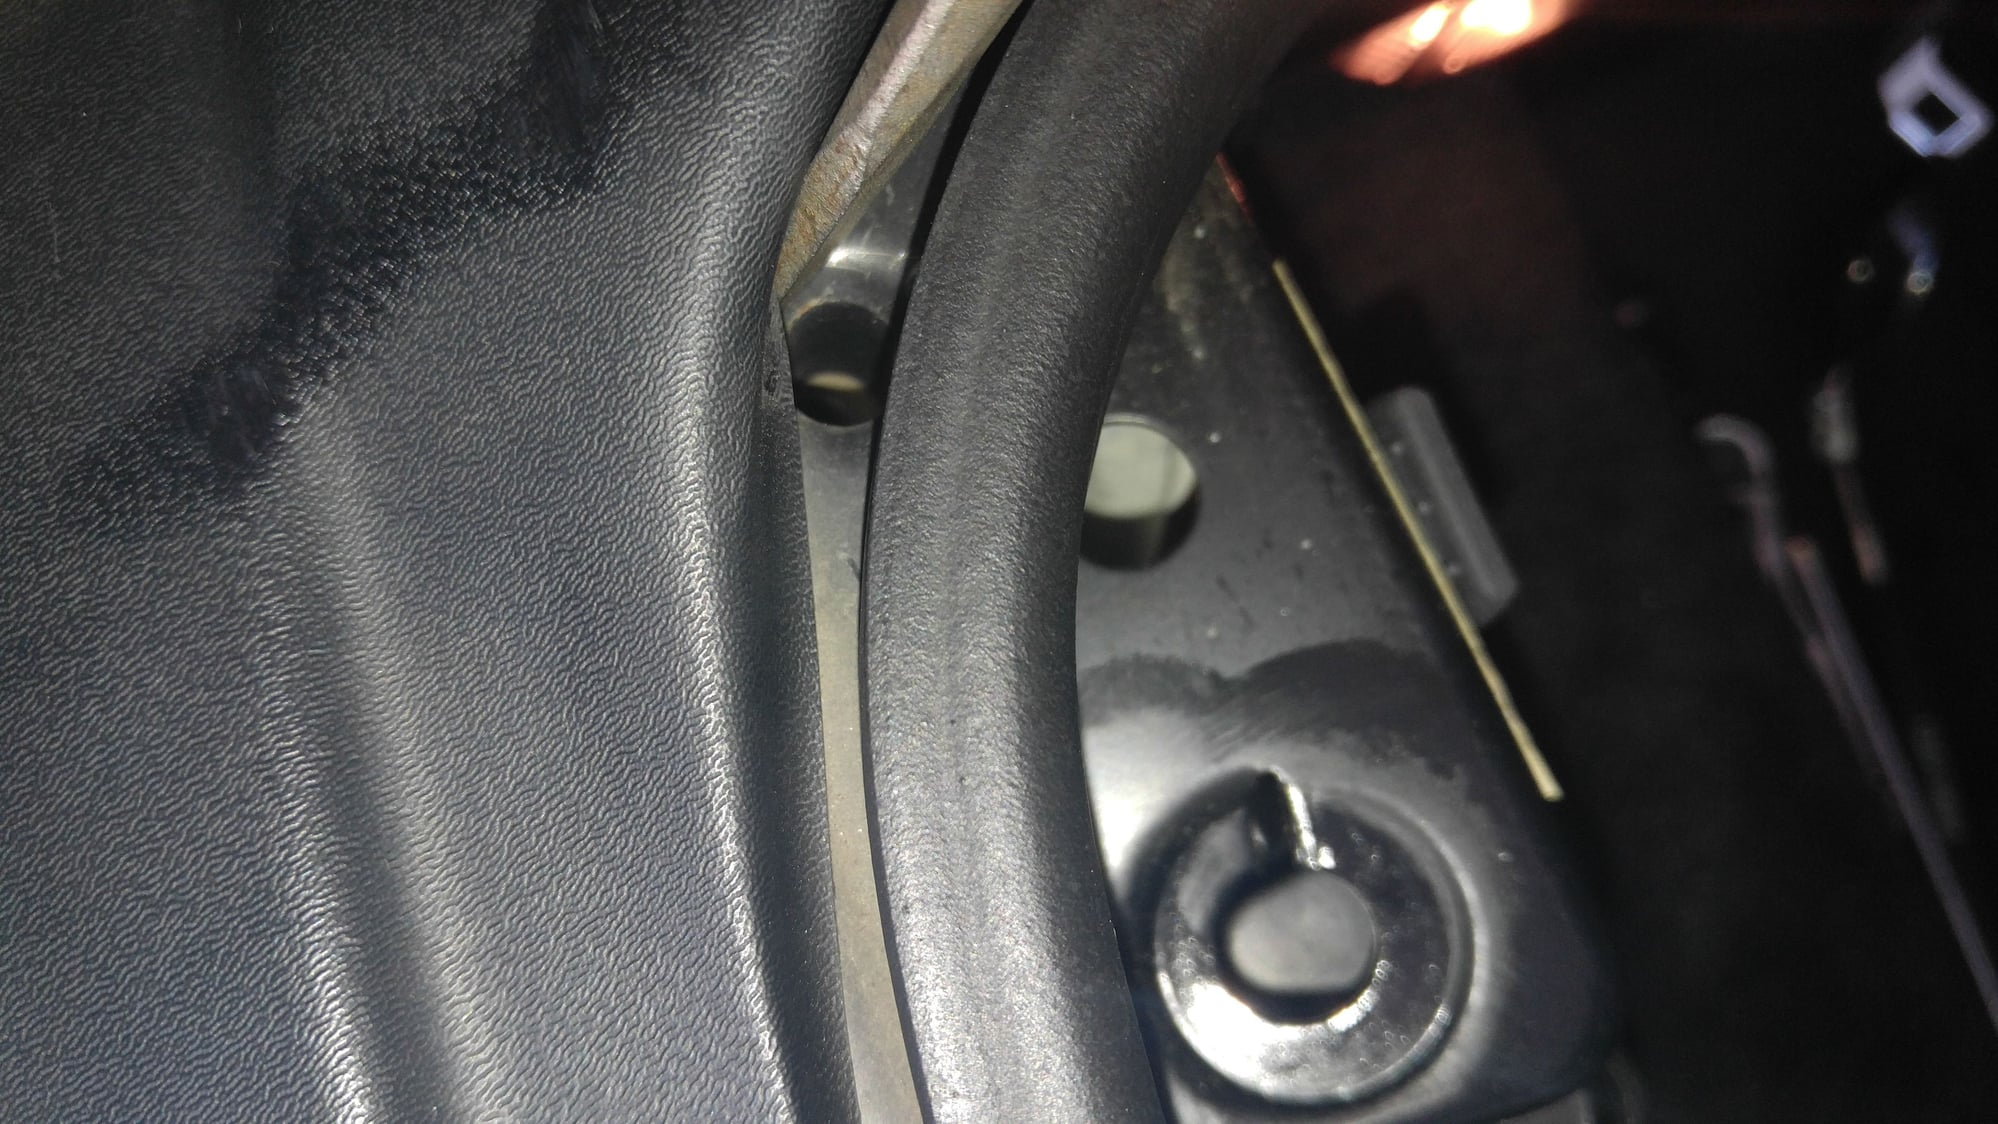
7. While I was in there, I also made sure the drain holes at the corners were clear by blowing some compressed air into the holes.
My guess is that over time the catch just worked loose enough to slip under the spring lever. So I would suggest checking those screws periodically to ensure they are tight.
Theon Goes Full Carbon Fiber With Stunning New Build
Slideshow: Built around a carbon-bodied 964 and a naturally aspirated 4.0-liter flat-six, this bespoke commission highlights how far the restomod formula has evolved.
Tuner Is Converting Porsche 911s Into Shooting Brakes
Slideshow: A Polish Porsche specialist is moving ahead with one of the most unusual 911 conversions in recent memory: a shooting brake version of the 991-generation sports car.
This Coachbuilt Creation Is A Modern Take on the Legendary Porsche 917
Slideshow: A Porsche Carrera GT has been transformed into a one-off coachbuilt machine that blends analog supercar engineering with styling inspired by the legendary 917 race cars.
Is This Convertible Cayenne A Steal, Or A Returnless Investment?
Slideshow: A heavily modified Porsche Cayenne convertible with faux wood trim and a long list of flaws recently sold at auction for surprisingly little money.
Porsche's Top 5 Most Questionable Naming Decisions
Slideshow: For a company obsessed with engineering precision, Porsche has occasionally named its cars in ways that left even loyal enthusiasts scratching their heads.
Pogea Racing's 964 Porsche 911 Reimagination Stands Out in a Crowded Field
Slideshow: Pogea Racing's latest Porsche 964 project blends carbon-fiber construction, modern chassis upgrades, and up to 500 horsepower while keeping the air-cooled 911 experience firmly analog.


")