When you click on links to various merchants on this site and make a purchase, this can result in this site earning a commission. Affiliate programs and affiliations include, but are not limited to, the eBay Partner Network.
Quick update. . Dealer said they'd have to remove the whole top about 10 hrs of work to replace.
I took it to Invisible Touch in Bedford. The guy is specialized in convertible tops.
He did it in 2 hrs - but even better, when he removed the fabric top he discovered the cable was fine - but the rivet that the cable hooks onto was broken. He carefully machined away the rivet and made a new rivet with his rivet gun and reattached the cable.
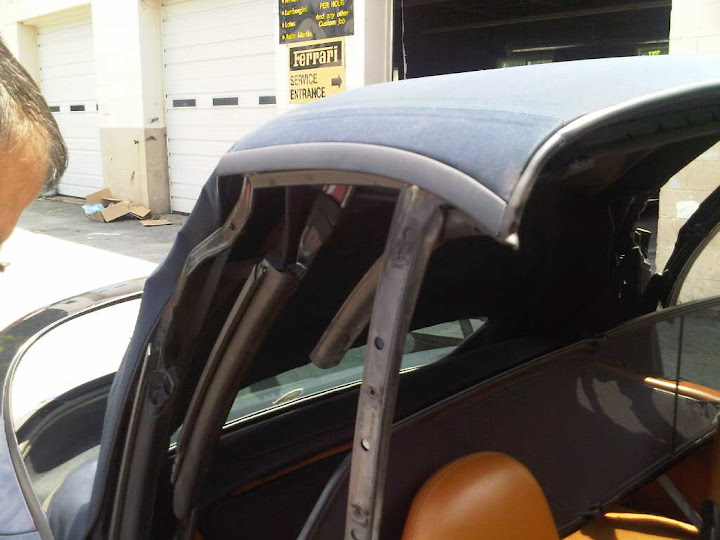
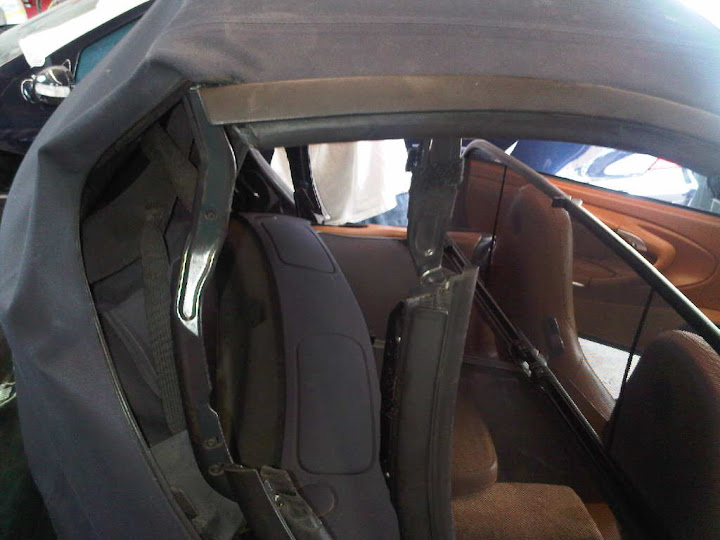
Dismantling the top:
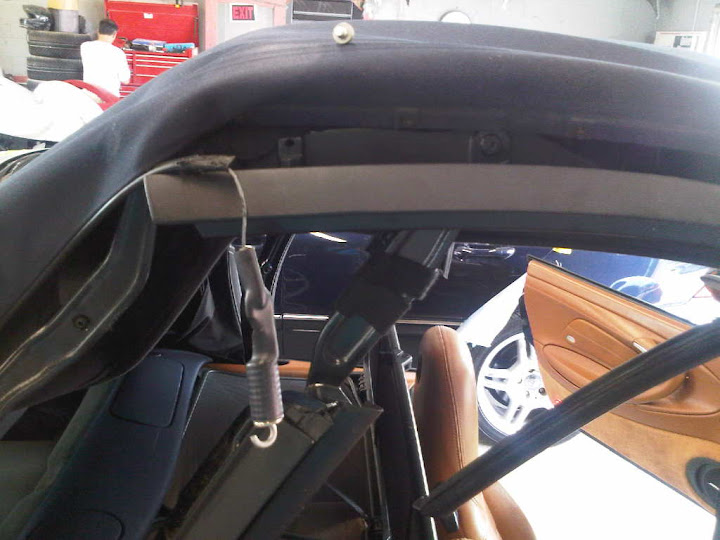
The cable is fine - you can see the broken rivet (the little silver thingy on top of the picture)
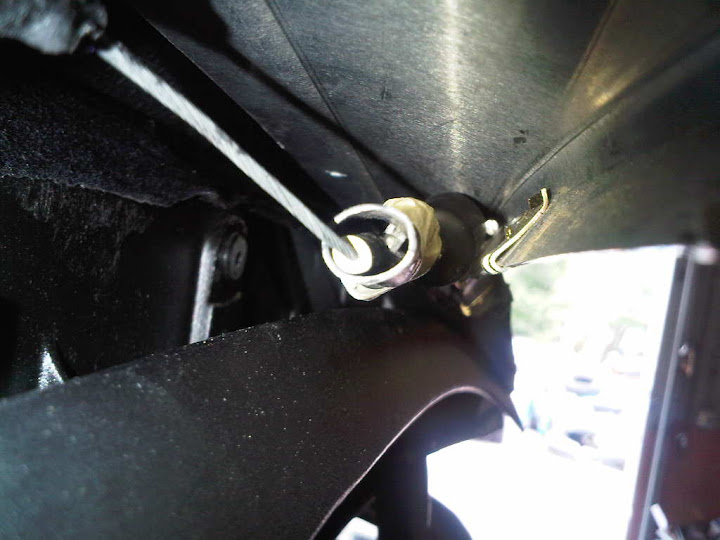
Where the rivet is fixed to - an aluminium piece inside the roof
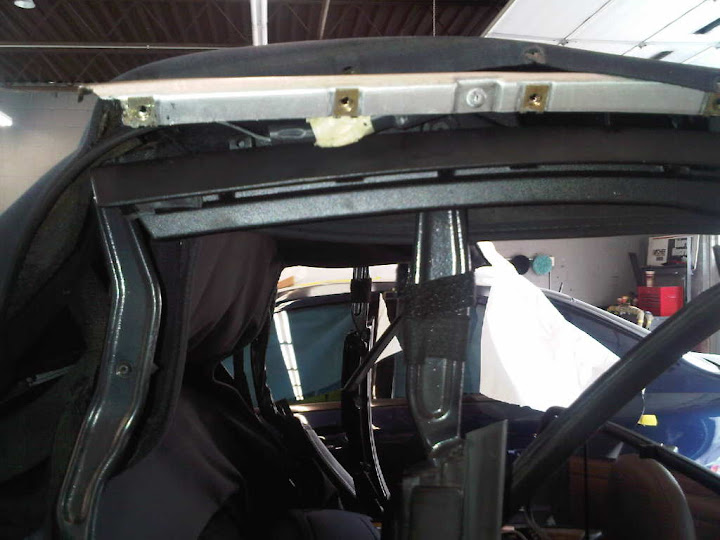
reassembled
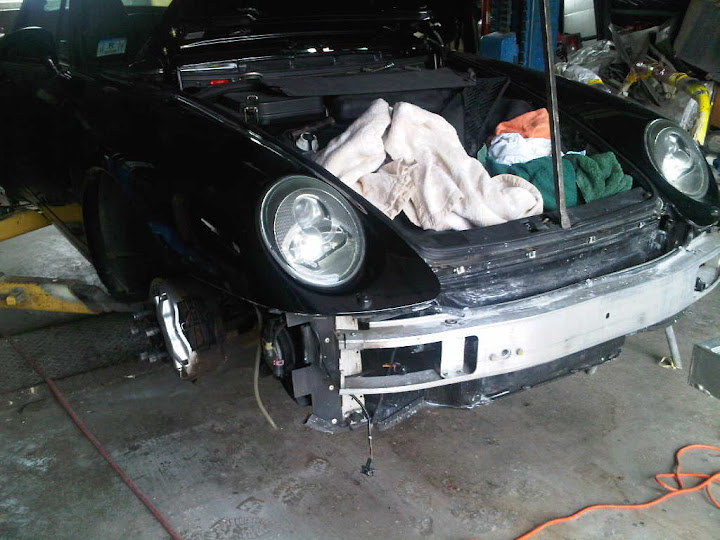
and a nice 993 C4 getting refinished/reconditioned
and there was a beautiful Lamborghini Gallardo being fixed too...
Reviving a 5 year old thread. Any help on this would be greatly appreciated. I have the same issue, the rivet that holds the mounting point for the spring that provides the tension on the wire that runs the edge of the convertible top has snapped. The lack of tension caused the side of the top to refuse to align properly with the window frame
I recovered the snapped rivet and the spring mount point from inside the frame. The spring mount point is a small aluminum part. Any ideas on where I can get one of these? I guess I can try to drill out the remainder of the rivet that broke and reuse the mount point if I cant get a new one. Also any ideas on what type of rivet I should use on reassembly?
Hi,
I got your PM just now but will reply here for others.
the guy who fixed mine reused the same mount point and drilled out the old rivet and then used a rivet gun to fashion a new rivet.
I don't have much more details than that because I was not the one doing the work....
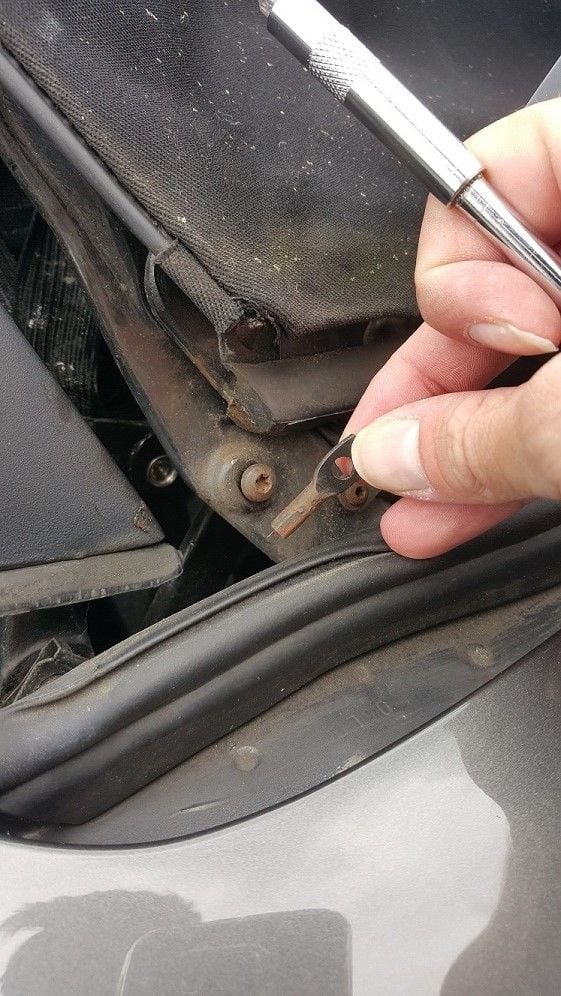
Some pictures of the spring mount point. The broken off rivet is still in it. I've never really done much riveting so any thoughts on the type of rivet to use as a replacement would be appreciated.
Pretty sure the spring mounting stud is aluminum. Il'l confirm with a magnet. I think I can replace the rivet without taking the top fabric completely off of the aluminum tray. The fabric does appear to be glued onto the tray but I think I can peel it back enough to get the rivet on.
Does the type of rivet depend on the type of metal the spring mounting stud is made of?
There are generally two types of rivets, the solid material type that has a mushroom shaped head on one end, it is pressed through the two pieces to be attached, and then the other end flattened against a hard metal, usually pneumatically. This is typically used in aircraft construction where panels are attached to frame rail.
The other kind is pop rivet, it has hollow thin-wall aluminum or steel barrel with one end flared out, a steel or aluminum nail-shaped stud is loosely fit through the barrel from the other end, the barrel is inserted through the two pieces to be attached together, then a hand or hydraulically powered rivet gun is used to pull on the stud to make a flare on the other end of the barrel to attach the two pieces together, the stud usually has a score made on the shaft so it will snap at a designed force after the opposite end of the barrel is also flared, the broken piece of the stud will stay in the barrel, I believe to reinforce the strength of the rivet.
Is the backside of the rail accessible where this mounting point is attached to? If so it maybe easier to use a small diameter bolt with a nylon-locknut to attached the mounting point to the rail, if it is not accessible, then the pop rivet will be your only choice.
It doesn't look like there is a lot of force on this cable, so I'm going to suggest using aluminum barrel pop rivet, unless you feel strong enough a steel barrel pop rivet will not cause compression damage to the mounting point and the rail.
Agreed Aviography,
I'm going to use a aluminum barrel pop rivet. I'm also going to Dremel the old rivet out of the spring mount so I can re-use it. This project is now waiting on good old Amazon (for a rivet gun and dremel).
I'm tempted to preemptively fix the "good" side of the top at the same time. I'm guessing that shear stress, time, oxidation and dampness combined to break the rivet on one side and its only a matter of time until the other side goes.
Thanks for all the help. I'll let you know how the project concludes.
Just updating in the event someone has the same issue. I was able to open up the side of the top and rivet the spring mount back in place. I did it without having to remove the front of the roof material from the front lip. I did have to peel back a bit of the material on the side to get access to the spring mount rivet hole. This solved my problem with the top.
Originally Posted by sjg1138
Agreed Aviography,
I'm going to use a aluminum barrel pop rivet. I'm also going to Dremel the old rivet out of the spring mount so I can re-use it. This project is now waiting on good old Amazon (for a rivet gun and dremel).
I'm tempted to preemptively fix the "good" side of the top at the same time. I'm guessing that shear stress, time, oxidation and dampness combined to break the rivet on one side and its only a matter of time until the other side goes.
Thanks for all the help. I'll let you know how the project concludes.
I have same issue, both sides. Bought new tension ropes from ECS for $85 each. Tried to install today. 90 minutes later, couldnt figure out how to get the top end exposed (2004 cab). Broke a clip and lost 2 torx screws in the process. Geez...
To get access to the cable on the top end.
1. Remove 3 torx above window
2. Peel back rubber seal
3. Remove 4 Phillips head screws ( the 4th is under a rubber seal and sealing gunk) took me a while to find this one
I'm not sure the next few are required. These are from the front of the top and per side.
4. Remove 2 torx holding the convertible latch in place (the latch will fall)
5. Remove 1 torx holding the rubber seal in place at the corner
6. Remove 1 smaller torx holding the headliner in place
7. Remove 3 torx on the front holding the rubber seal in place
8. Fold rubber seal out of the way
9. Pull the side of the top out and fold it so you can work on the rail.
You may need to peel some of the top away from the base on the front corner.
Boom. You have access to fix the river or replace the tension cable.
IF YOU ARE REPLACING THE TENSION CABLE YOU WILL NEED A HAND HELD HYDRAULIC CRIMPER!!!!! $50 at harbor freight.
In my case the cable broke at the base from corrosion. I used the ECS replacement and it worked perfectly. The old cable pulled right out, I greased the new one and it slid in very easily. Then.....
10. crimp the base cable to the eyelet and re attach the eyelet to the base
11. Hook top eyelet to tension spring.
12. Apply heat wrap to spring/hook
13. Put everything back together
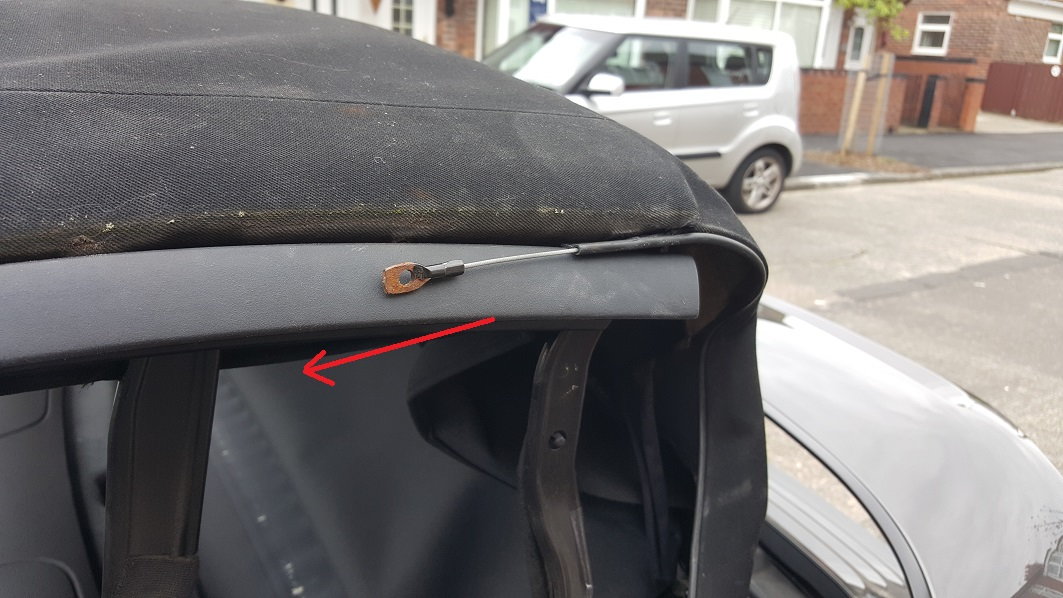
Hello! I've read through this extremely helpful thread and sussed out that my tension cable has snapped... So I bought a new one online and decided to remove the old one while I wait for it to arrive.
But it doesn't seem to want to come out of the hood beading! Am I missing something? Or has it somehow seized in there which may have been the initial cause for it to separate from the crimp on the end? I've attached a few photos.
Any help would be massively appreciated!
Tried to removed in this direction after unhooking from the spring

 06-28-2010, 11:25 AM