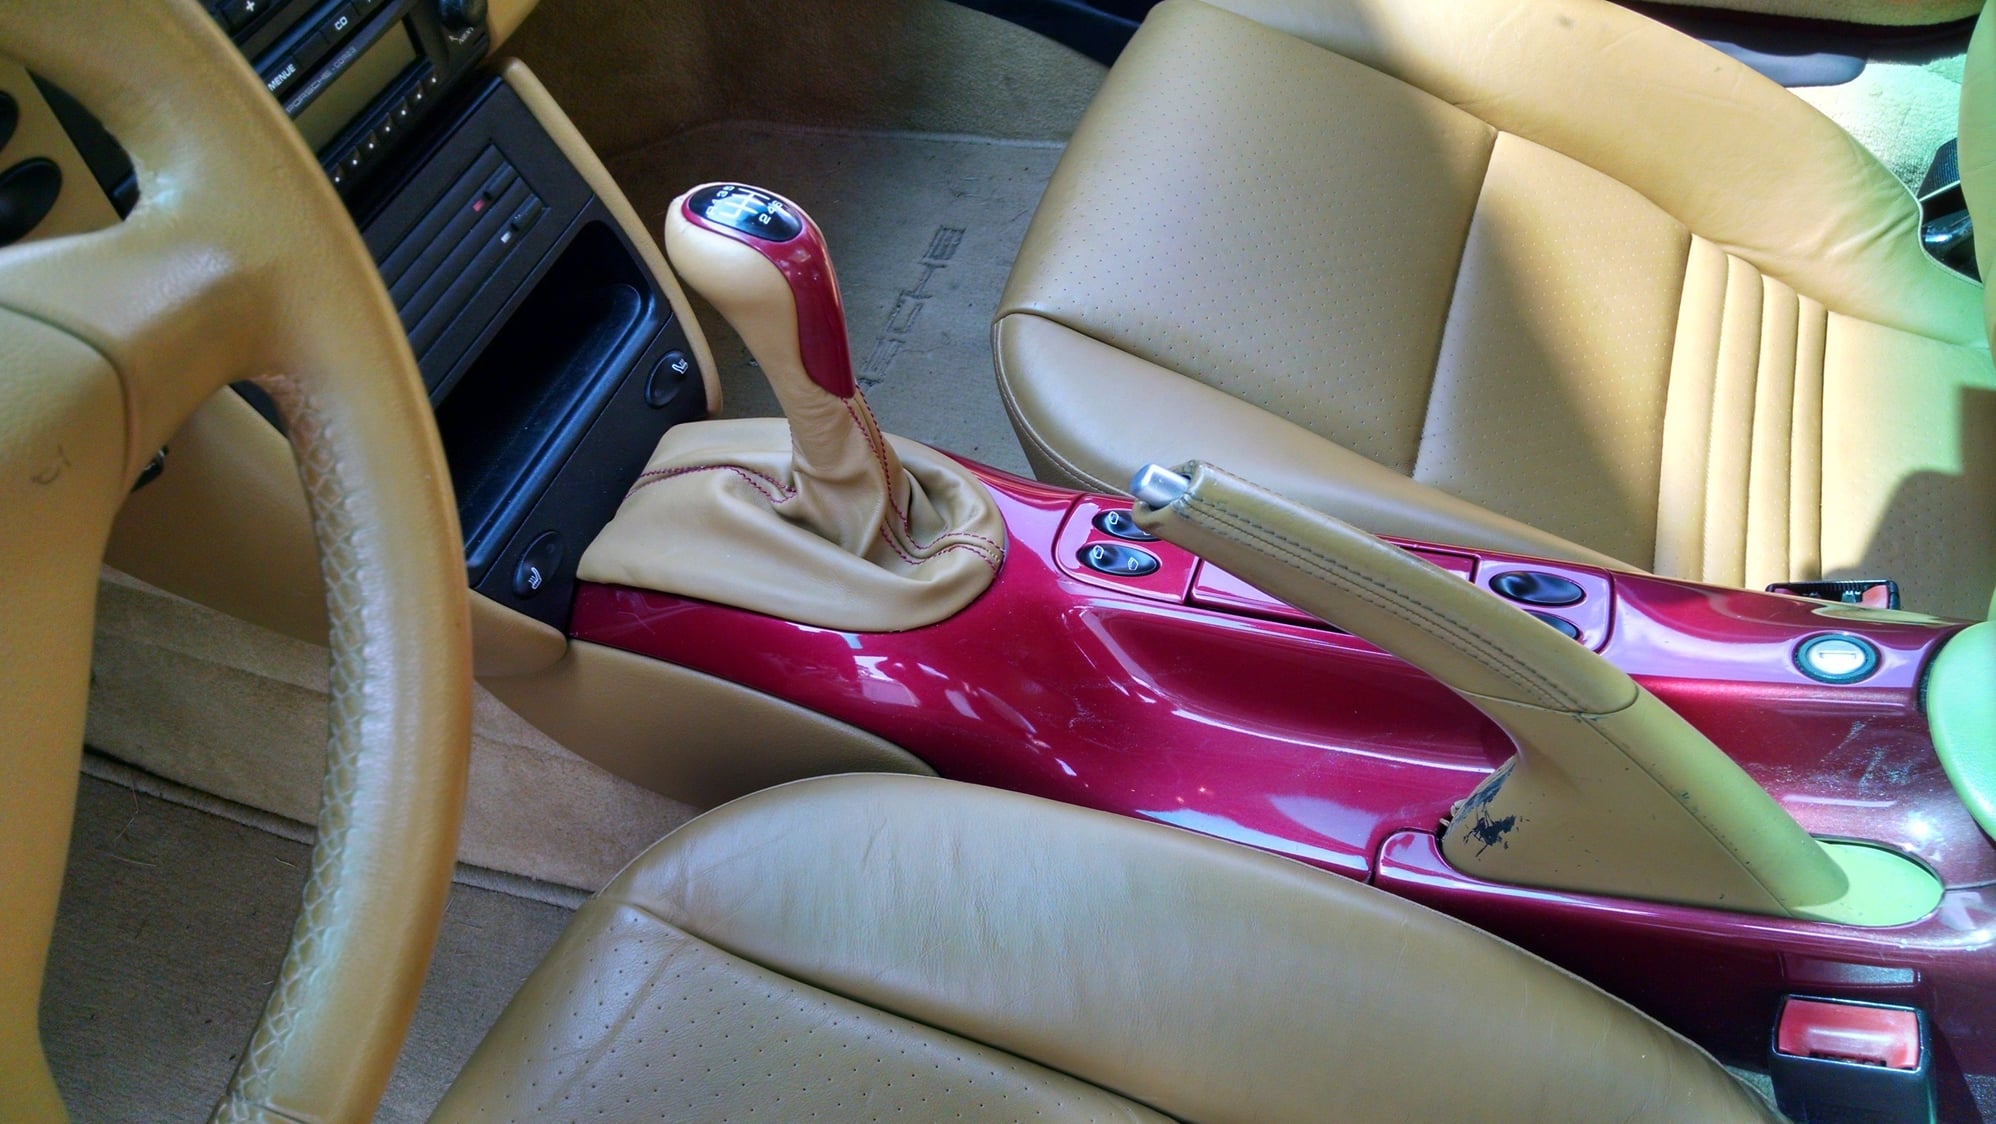
Shifter Trim Repair / Refinishing Results - Pictures and Description
#16
Instructor
Join Date: May 2009
Location: Cleveland, OH
Posts: 105
Likes: 0
Received 0 Likes
on
0 Posts
Impressive results in the end. Looks professional.
I'm looking to add that trim piece to my 996, as I simply have the black shifter hood but no trim.
Does anyone have a part#? Am I able to add it on if it didn't come equipped from the factory?
I'm looking to add that trim piece to my 996, as I simply have the black shifter hood but no trim.
Does anyone have a part#? Am I able to add it on if it didn't come equipped from the factory?
#20
I purchased a can of Testors "Diamond Dust" model spray paint on the recommendation of another thread here but I haven't started the painting task yet.
#21
Drifting
Join Date: Mar 2011
Location: Bastrop By God Texas
Posts: 2,255
Likes: 0
Received 3 Likes
on
3 Posts
Looks great. I've repainted a few of my trim pieces as well. Similar process to you. One difference is that I use SEM Plastic Adhesion Promoter instead of a primer coat. It is amazing how much chip resistance that gives the refurnished part.
#23
I just finished repainting my trim and I thought I'd post my results and some tips I learned.
I'm very happy with the results. it is almost perfect and much, much better than before. I'm thinking about painting a few other interior pieces next :-)
I took the same approach as the instructions but with a few differences:
I'm very happy with the results. Next on my list is to try the same paint on the ashtray delete I just ordered.
Note that I had the white balance set incorrectly in my first picture but I corrected it for the final shots :-)
I'm very happy with the results. it is almost perfect and much, much better than before. I'm thinking about painting a few other interior pieces next :-)
I took the same approach as the instructions but with a few differences:
- The paint I used was Testors Lacquer Diamond Dust (1830MT) on the recommendation of another rennlister. I really like the metallic look
- I didn't use a primer but I did have some adhesion promoter based on another recommendation. It seemed to work really well.
- I tried using a Dremel with a cylinder sanding disk to remove the paint. It worked quickly, but it also scratched the surface which required quite a bit of sanding to clean up. Sadly I only learned that after the first coat. See next bullet.
- The metallic paint really, really shows any surface flaws. I thought the trim plastic was perfect but after the first coat I realized it wasn't
- I found that 400 grit wet sandpaper was about right to smooth the surface and remove paint due to overspraying. 1000 grit worked well to remove dust and imperfections between coats
- Painting took a little practice. After my first attempt I found the best approach was to use very light coats. Spraying too much easily resulted in runs. But since the paint dried in 20 minutes it was pretty easy to do 5-6 coats
- The paint was fairly soft even when completely dry. I decided to coat with about 3 light coats of a lacquer clear coat. It worked great and brought out the finish even more
- Since I painted the back of the trim the little posts that held the trim to the leather boot wouldn't quite fit. I had to sand them down, and then use a bit of glue to attach it back to the boot
I'm very happy with the results. Next on my list is to try the same paint on the ashtray delete I just ordered.
Note that I had the white balance set incorrectly in my first picture but I corrected it for the final shots :-)
Last edited by kgoertz; 03-19-2013 at 11:05 PM. Reason: Add note for picture flaws
#24
Really nice work. I'm having my new sport seats color matched to my exterior (violet chromaflair) and want to get the trim ring sprayed the same color. Basic guide on getting the boot assembly away from the console (before removing trim from boot)?
#27
#29
Three Wheelin'
#30
Race Car
I think the VW code is L79A for Diamond Silver, the rarest VR6 Corrado color.


