Amberectomy
 01-31-2009, 12:43 PM
#1
Pro
Thread Starter
Join Date: Sep 2008
Location: San Diego, CA
Posts: 542
Likes: 0
Received 0 Likes
on
0 Posts
Thinking about my car while she's in the body shop and thought that NOW would be a good time to perform the amberectomy (the body shop guy already pulled the headlight assemblies out to fit the bumper cover... one less thing for me to screw up)... but before I do, I'd like to get the bulbs for the turn signals and the sidemarkers... I went to xenonmods.com as suggested, but couldn't quite find the appropriate bulbs. On the Sylvania site, they call out for the 7506 for the turn signals and 2825 for the sidemarkers... xenonmods.com has the 7507 (in amber, red or clear), but nothing remotely related to the number 2825 for the sidemarkers.
Sounds like there have been more than a few here that have successfully completed the surgery and replace the bulbs... where did you go and which bulbs did you order?
Thanks!
Rudy
---------------------------------
'01 Arctic Silver/Black C2 Cabriolet
'03 Silver F-150 Supercrew
Sounds like there have been more than a few here that have successfully completed the surgery and replace the bulbs... where did you go and which bulbs did you order?
Thanks!
Rudy
---------------------------------
'01 Arctic Silver/Black C2 Cabriolet
'03 Silver F-150 Supercrew
 01-31-2009, 01:06 PM
#2
Parts Specialist
Rennlist Member
Rennlist Member

Hey, this is an awesome mod...
What I did was email xenonmods because I got confused too..
e-mail: rjcalnan@xenonmods.com
and they had a "kit" for the SILVER BULBS which is what you want.. I got them for the 4 corners and the markers.. might have been about $30?? I forget.
Bulbs came in the mail and I have LOVED this mod ever since... in fact I regularly recommend it to anyone who still has those anoying things in!!
PM me if you get stuck, there are some tricks and general info that might help.. I have done 3 cars now and get better w/ practice
Last edited by ivangene; 11-07-2010 at 11:17 AM.
01-31-2009, 01:38 PM
#3
Pro
Thread Starter
Join Date: Sep 2008
Location: San Diego, CA
Posts: 542
Likes: 0
Received 0 Likes
on
0 Posts
Hey, this is an awesome mod...
What I did was email xenonmods because I got confused too..
e-mail: rjcalnan@xenonmods.com
and they had a "kit" for the SILVER BULBS which is what you want.. I got them for the 4 corners and the markers.. might have been about $30?? I forget.
Bulbs came in the mail and I have LOVED this mod ever since... in fact I regularly recommend it to anyone who still has those anoying things in!!
PM me if you get stuck, there are some tricks and general info that might help.. I have done 3 cars now and get better w/ practice
What I did was email xenonmods because I got confused too..
e-mail: rjcalnan@xenonmods.com
and they had a "kit" for the SILVER BULBS which is what you want.. I got them for the 4 corners and the markers.. might have been about $30?? I forget.
Bulbs came in the mail and I have LOVED this mod ever since... in fact I regularly recommend it to anyone who still has those anoying things in!!
PM me if you get stuck, there are some tricks and general info that might help.. I have done 3 cars now and get better w/ practice
Agree - I really like that look, particularly with the Arctic Silver car... I may take you up on the offer if I get stuck... Tim passed a link that details the procedure which included pictures.
Good tip to email... I tried to find reference information for the bulbs for awhile now, but not in earnest... this morning when I committed to doing it, I tried even harder to find the bulbs and failed... so I posted here.
Anyway I'll post pictures and the bulb numbers when I get them.
Thanks for the suggestion!
Rudy
-----------------------------
'01 Arctic Silver/Black C2 Cabriolet
'03 Silver F-150 Supercrew
01-31-2009, 02:49 PM
#4
Parts Specialist
Rennlist Member
Rennlist Member
yup... like you say, I too got lost trying to figure out the bulb numbers... they do it everyday, they know which ones, save the headache and just ask.
There have been a couple people say that xenonmods did not offer the best service and that they were slow and un-responsive... I did not find that to be the case, but just so you have a heads up, it has happened before ....
Place the light on a thick bed of soft towels so you dont scrath the lens as you work on it
Just 2 pointers... use about 3 layers of tin foil over the hole.. its easy to melt that and make the bulb seats deformed. second, start the "burn out" by using the soldering iron like a drill, and "drill" holes about 2/3 way up the lens as many places as you can... then "slice" the corners out (pushing away from the hole) next just slice the lower (farthest away sections) into small pieces and remove as you go... the upper 1/3 of the lens can be taken out in one (3 sided) piece after that... this takes about 1/2 as much time as cutting that up for removal.
Also dont be afraid to "poke" thru the amber lens, there is nothing behind it for a long ways (wasted a lot of time the first try on figuring that out)
(for reference lower means farthest away... the headlight will be upside down so lower is actually the upper part of the light when orientated on the car)
Next time I do one of these I think I will video it..... that would be cool ehhh
01-31-2009, 02:55 PM
#6
Parts Specialist
Rennlist Member
Rennlist Member
 01-31-2009, 05:17 PM
#7
Newbies Hospitality Director
Lifetime Rennlist
Member
Lifetime Rennlist
Member
Join Date: Apr 2005
Location: Winston-Salem, NC
Posts: 18,084
Likes: 0
Received 34 Likes
on
33 Posts
Nicolaas had a frontal lobotomy performed on himself to remind him not to buy a P-car with a Tip next time!  Sorry Nicolaas, I couldn't resist!
I think he meant that he completely replaced the headlight assemblies when he changed out the front bumper cover.
Sorry Nicolaas, I couldn't resist! I think he meant that he completely replaced the headlight assemblies when he changed out the front bumper cover.
Trending Topics
01-31-2009, 07:16 PM
#8
Pro
Thread Starter
Join Date: Sep 2008
Location: San Diego, CA
Posts: 542
Likes: 0
Received 0 Likes
on
0 Posts
Place the light on a thick bed of soft towels so you dont scrath the lens as you work on it
Just 2 pointers... use about 3 layers of tin foil over the hole.. its easy to melt that and make the bulb seats deformed. second, start the "burn out" by using the soldering iron like a drill, and "drill" holes about 2/3 way up the lens as many places as you can... then "slice" the corners out (pushing away from the hole) next just slice the lower (farthest away sections) into small pieces and remove as you go... the upper 1/3 of the lens can be taken out in one (3 sided) piece after that... this takes about 1/2 as much time as cutting that up for removal.
Also dont be afraid to "poke" thru the amber lens, there is nothing behind it for a long ways (wasted a lot of time the first try on figuring that out)
(for reference lower means farthest away... the headlight will be upside down so lower is actually the upper part of the light when orientated on the car)
Next time I do one of these I think I will video it..... that would be cool ehhh
Thanks for the tips... I'm running by the body shop a little later to pick up the assemblies... If anything, your tips offer a lot of encouragement, although it would have been nice to see a quick clip of the process...
I'll let you know how it goes... I did order the bulbs, but I got them from autolumination.com... four of the silver turn signal bulbs and four of the silver side marker bulbs. I got them for $2.99 each - with rush delivery it was under $30 for the eight bulbs... they were actually a link from xenonmods... and they had a conversion chart right on the home page (by the way the 7506 turn signal bulbs are #1156 and the 2825 side marker bulbs are #194).
Thanks again.
Rudy
---------------------------
'01 Arctic Silver/Black C2 Cabriolet
'04 Silver F-150 Supercrew

 01-31-2009, 09:11 PM
#11
Parts Specialist
Rennlist Member
Rennlist Member
01-31-2009, 09:47 PM
#12
Ironman 140.6
Rennlist Member
Rennlist Member
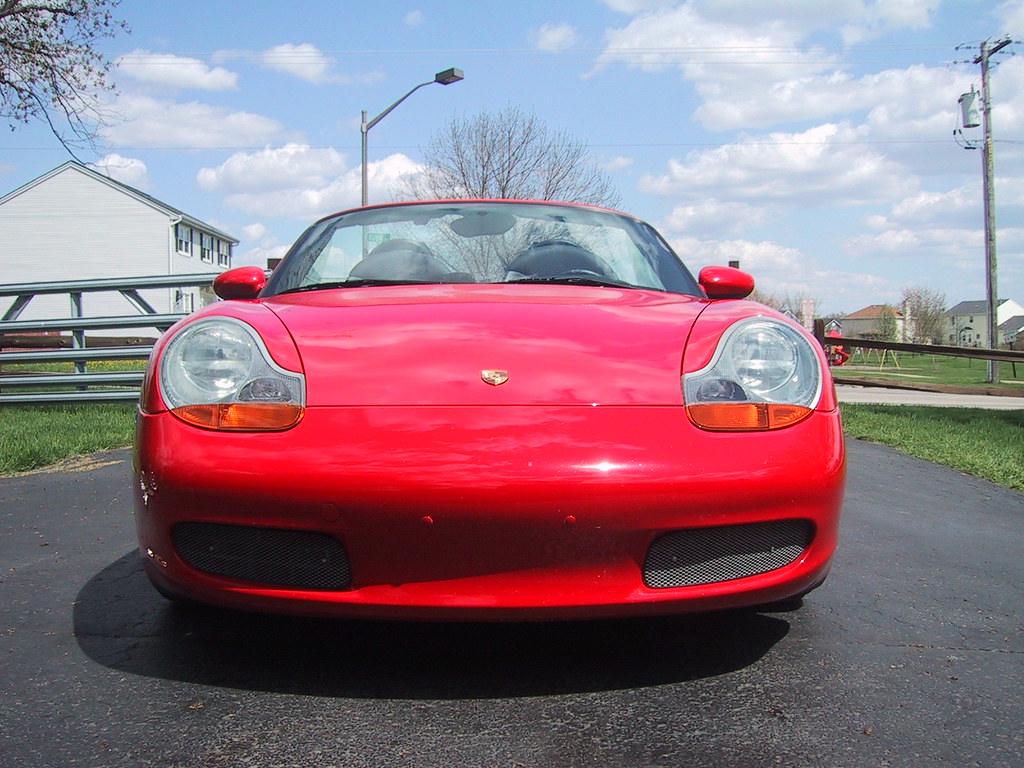
- I removed them.
- Purchased a set of used headlights from a 996 on e-bay
- Performed the amberectomy on the internal orange lenses on the units I purchased
- Installed the new
- Sold my old lights on e-bay
01-31-2009, 10:04 PM
#13
Parts Specialist
Rennlist Member
Rennlist Member
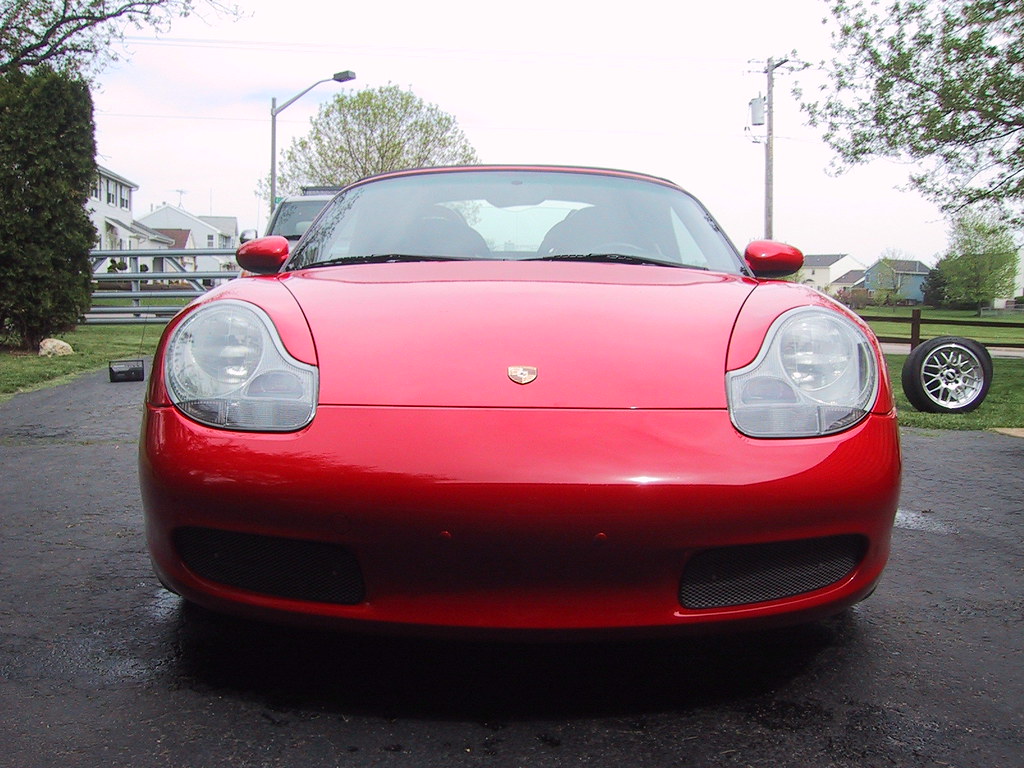
I see in your 1st "after" picture you have done the prescribed stereo mod (aka a boom box in the driveway pointed at the car)
Now that's a Porsche stereo to be proud of.... it stays home while you go drive and enjoy the sound of your car ! !
LOL
Now that's a Porsche stereo to be proud of.... it stays home while you go drive and enjoy the sound of your car ! !
LOL
01-31-2009, 11:12 PM
#14
Ironman 140.6
Rennlist Member
Rennlist Member
Gotta have some tunes, while I work......
02-01-2009, 12:09 AM
#15