When you click on links to various merchants on this site and make a purchase, this can result in this site earning a commission. Affiliate programs and affiliations include, but are not limited to, the eBay Partner Network.
996 AC Compressor Replacement DIY Tutorial Step-by-Step
Howdy ya'll.
I've used the info on these forums often and wanted to contribute a bit, finding minimal guidance for a compressor replacement on a 996. So here goes my first write-up.
This was done on a .2 C2 6MT coupe
Difficulty -> Easy
Time -> 30min, 2 hours max if things get stuck/need to oil balance, etc
While you're in there-> maybe receiver/drier which costs about $25, it's just left of the battery and takes 10 min to replace, might as well do when system is empty
-> clean throttle body
0) Have a professional evacuate your AC system of all air and refrigerant, drive home then disconnect battery (negative first then positive...)
1) Strap on knee pads and pop the deck lid.
2) 13mm socket to remove bolt on air cleaner box, detach MAF sensor and the clips on airbox which hold the MAF sensor cable. 7mm socket to loosen hose clamp holding airbox to throttle body.
3) Pull airbox with snorkel out (tilt snorkel towards you and move airbox slightly towards left side of car and carefully pull out of engine bay)
4) 24mm socket on breaker bar/large ratchet to relieve tension on serp belt and remove serpentine belt at least off the compressor, or all the way out if you prefer
5) Remove throttle body (4x 10mm bolts) and intake plenum
Best practice for removing the intake plenum is to loosen all 7mm/philips hose clamps and move them far laterally by pulling out the vacuum lines on each of the boots then moving the inner two hose clamps over the little nipple where the vacuum lines insert, so all clamps are on the far side
against the runners/distributors, then pull plenum out diagnonally allowing the rubber boots to bend without restriction of clamps
6) Remove 10mm bolts on battery positive connection access point (MAKE SURE BATTERY DISCONNECTED FIRST) and 10mm bolt holding power steering reservoir/other stuff
7) Use a suction tool/turkey baster to remove any power steering fluid from the reservoir
8) Unthread the clamp about .25-.5 turns to release the power steering fluid reservoir and wiggle to remove the reservoir
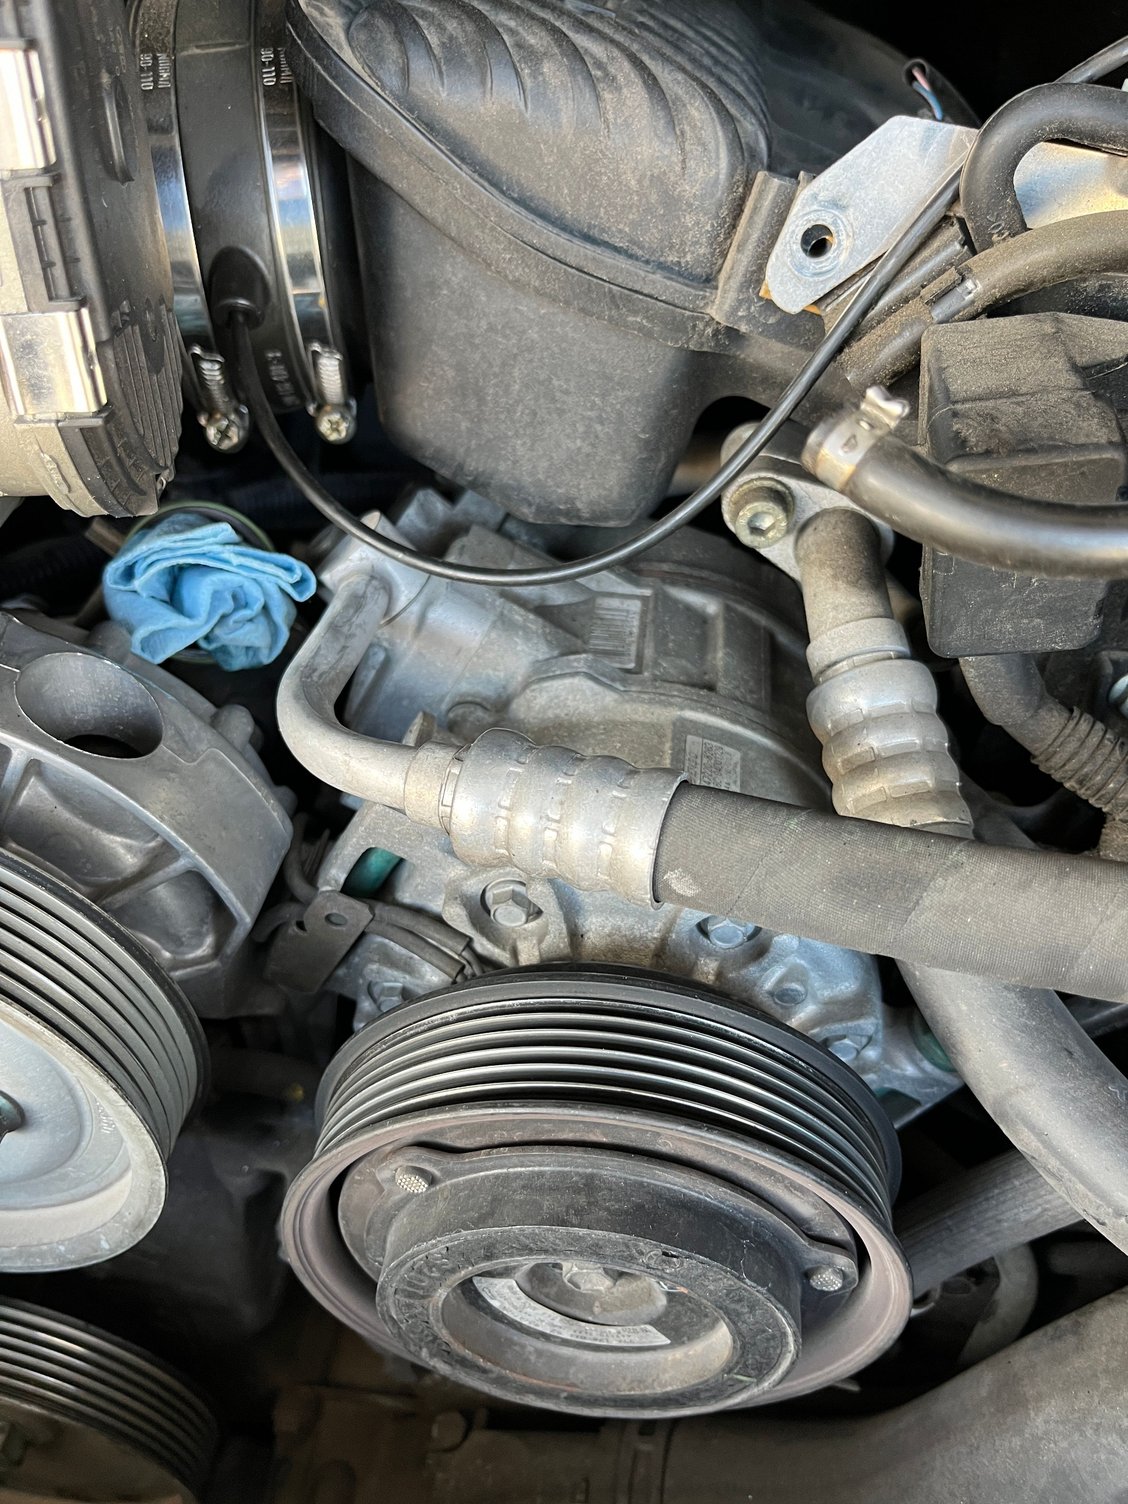
9) Now that the power steering reservoir and intake plenum are removed, you have good access to all 3 bolts of the AC compressor. Remove the compressor power cable; Just pull carefully.
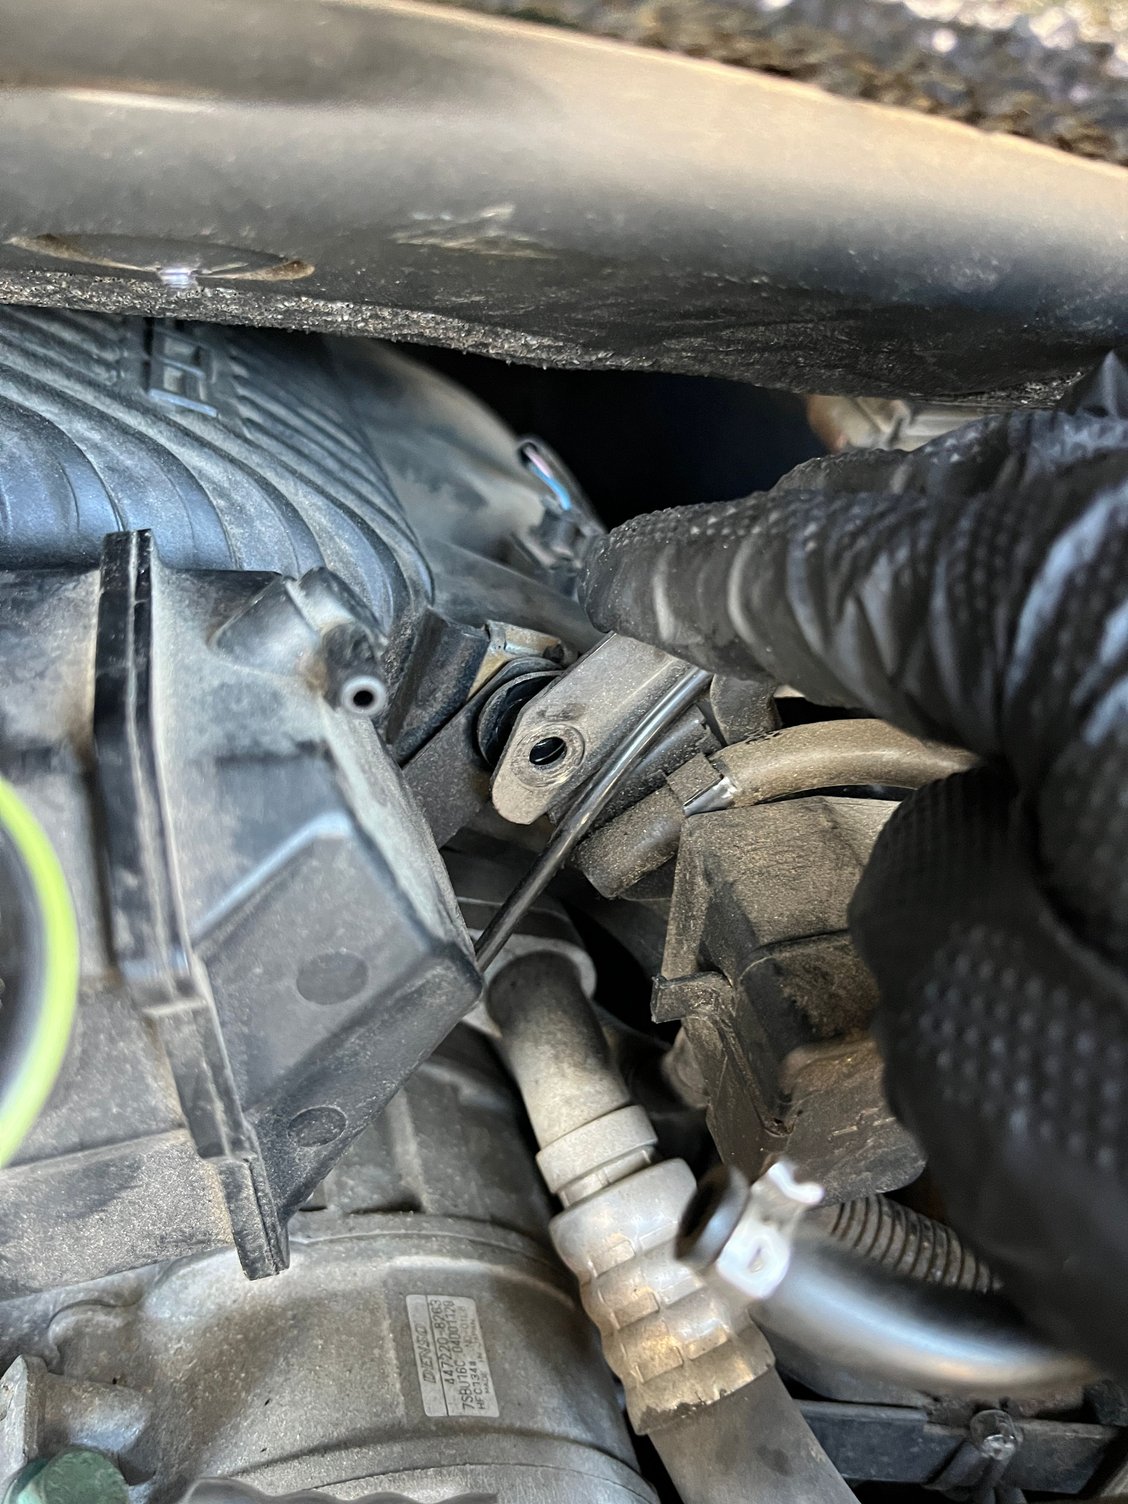
10) Remove the 2x 13mm bolts on the front of the AC compressor. The right side one might benefit from a standard or ratcheting wrench depending on hoses in the way
11) Remove the refrigerant hose closest to the rear of the compressor/furthest from you using 6mm allen key (ball end allen key may be helpful for access) and plug the line quickly to avoid air ingress as much as possible
12) Remove the entire segment by removing another 6mm hex bolt on the same line, plug again, and pull the entire hose segment out to provide optimal access for following steps
13) Assemble the ultimate 3rd bolt combination tool (as developed by a guy on a forum IDR his name but it's useful - IMAGE BELOW) thin wall/short 13mm socket-> 1/4" wobble/flex joint->extension->ratchet
14) Place left hand on bolt, use the semicircular shape of the back of the alternator to guide your left hand to the bolt and carefully place the ultimate tool with your right hand between the air distributors then slowly crank away (hopefully you have a high engagement ratchet... I didn't and it took a while) Finish by hand -> faster for me at least
15) Remove the other refrigerant line and plug it. I had to do this after re-tightening the front 2 compressor mount bolts to allow for the torque to break this 6mm hex bolt loose.
16) Remove rear bolt and prepare a landing zone for compressor when you pull it off (I used retired boxer briefs )
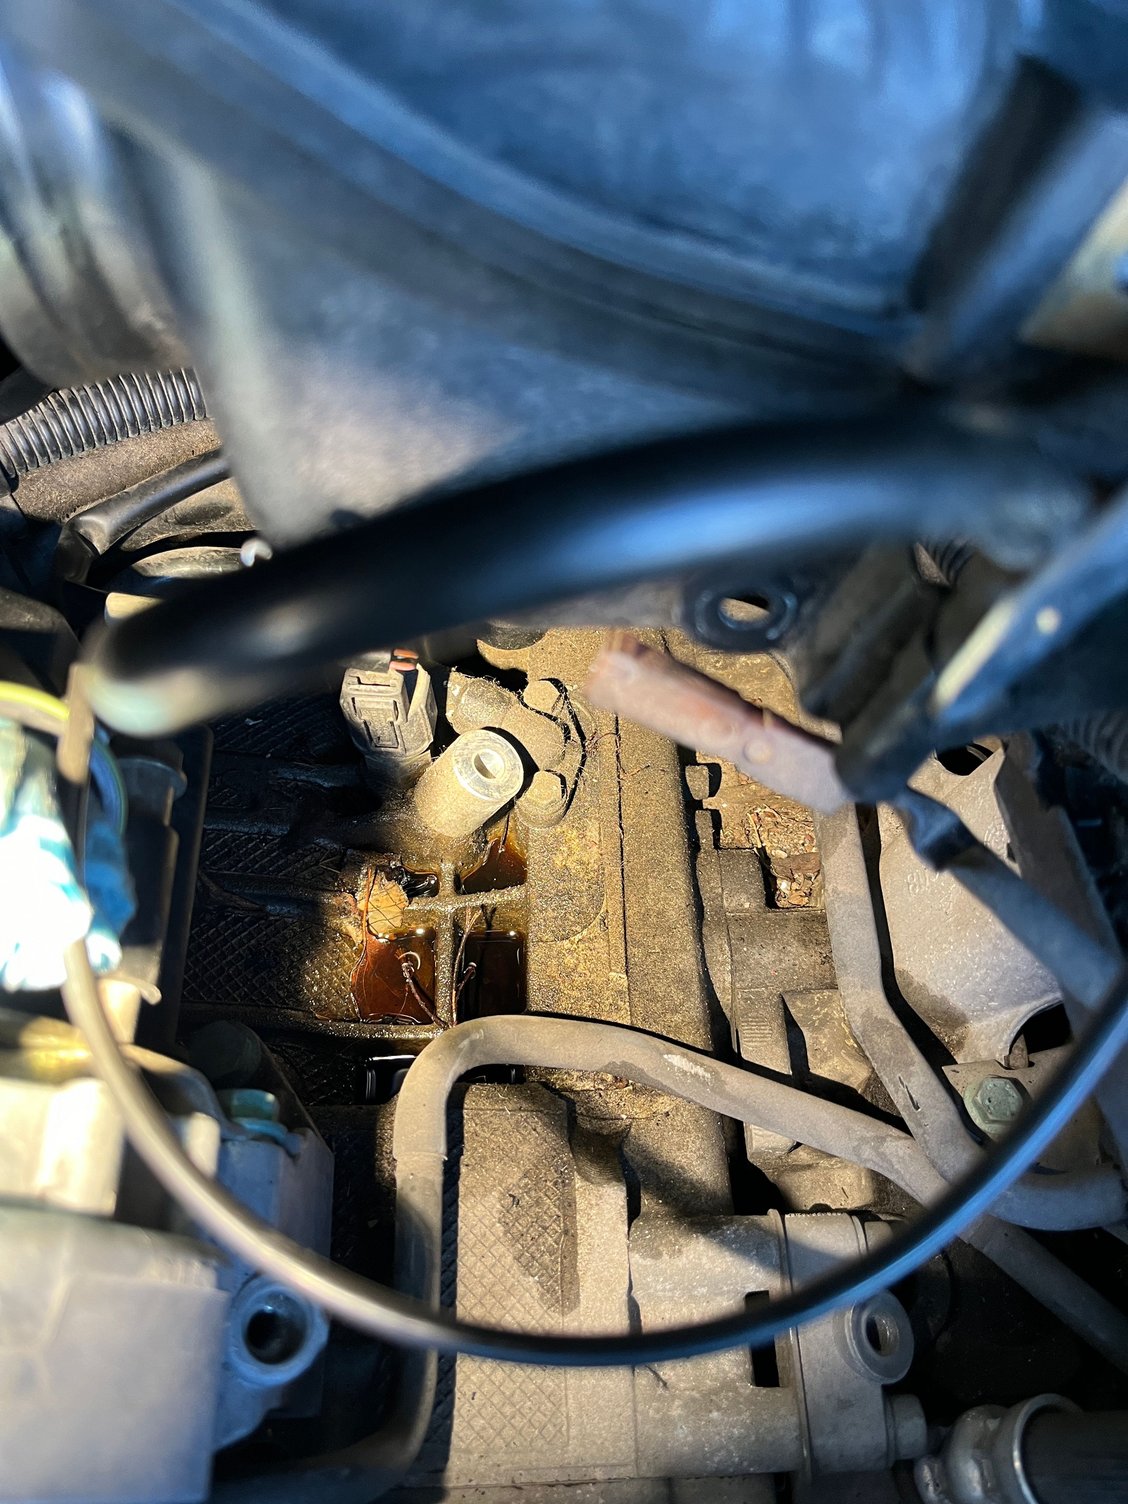
17) Pull compressor out and assess for leaks/clean up as needed (I had a whole leafy oily swamp on the top of my engine)
18) Oil balance if needed, follow procedure to ensure oil is on all seals (turn magnetic clutch while service ports facing upward etc)
19) Install new compressor, place bolts first especially 3rd bolt to ensure optimal access to tighten properly
20) Connect hoses carefully (leave rubber seals on new compressor until you are just about to install the hoses)
21) Connect power cable carefully
22) Reinstall power steering res and top up with Pentosin CHF 11S (pricey stuff!) - Use dipstick integrated in the PS res lid to make sure you have enough
23) Reinstall plenum (hose clamps far laterally to make it easy!!)
24) Reinstall throttle body
25) Reinstall battery connection access point and bolt for PS reservoir/etc
26) Replace serp belt, Reinstall air cleaner box
27) Reconnect battery
28) Have a professional evacuate, pressure test, and recharge system
Hope this helps! Good luck!!
THE ULTIMATE 3RD BOLT TOOL
Last edited by akassrugby; Apr 20, 2024 at 09:34 PM.


 )
)