Notices
996 Forum 1999-2005
Sponsored by:

another headlight restoration thread

Thread Tools
 
Search this Thread
 
Old Jun 28, 2019 | 03:06 PM
  #1  
mrfeh's Avatar
mrfeh
Thread Starter
Racer
 
Joined: May 2019
Posts: 361
Likes: 28
Default another headlight restoration thread

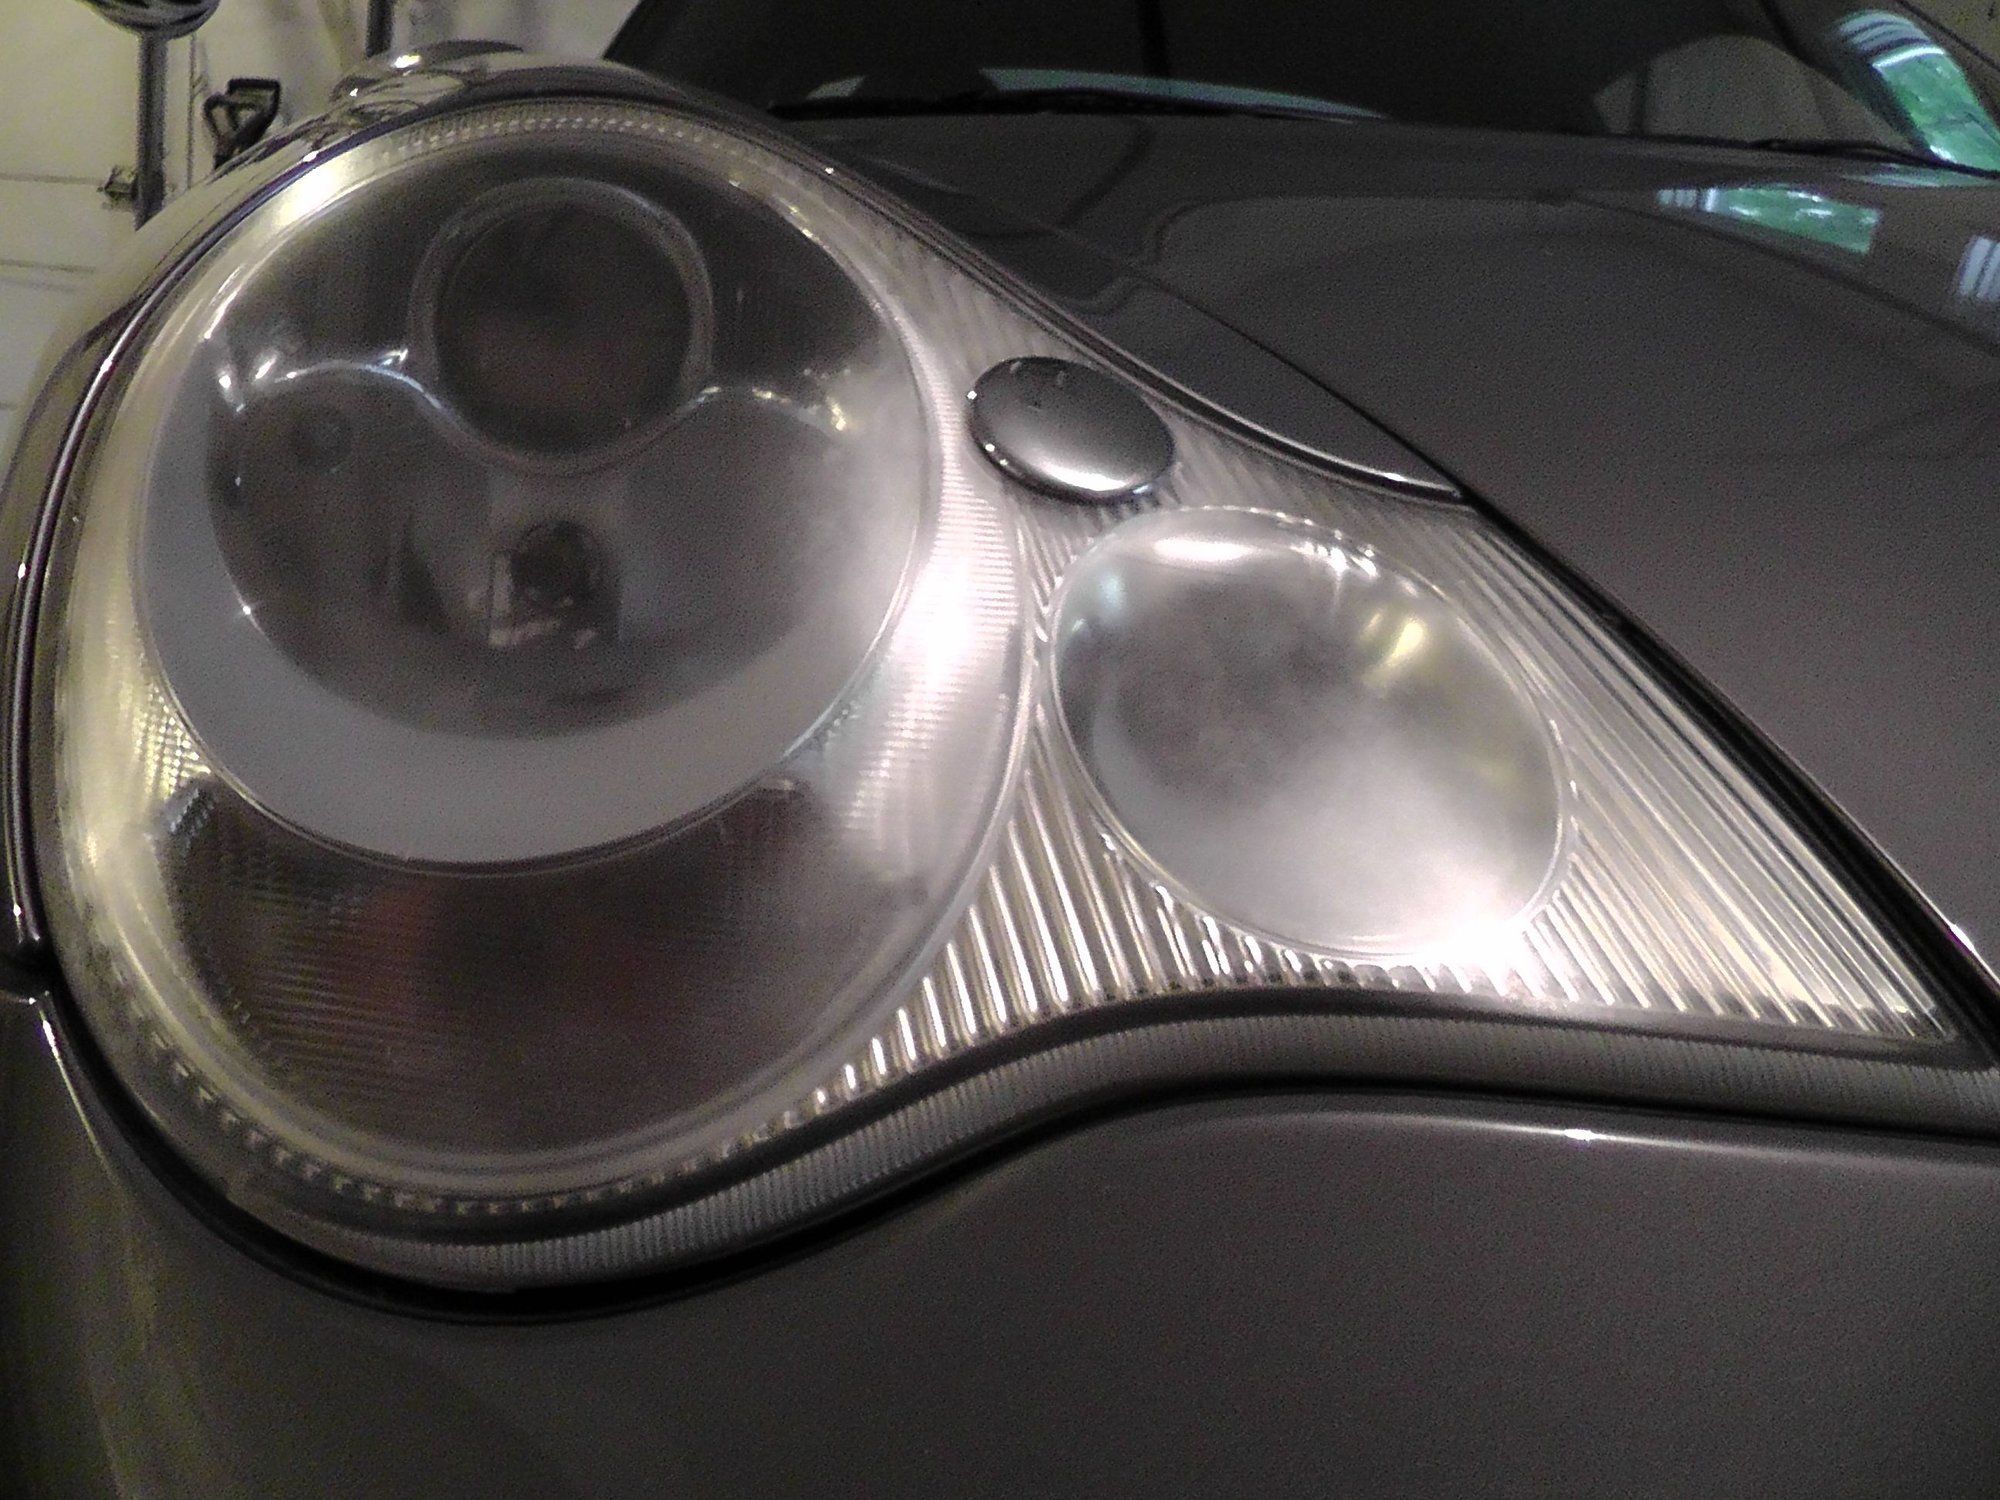
Did mine this morning using the 3M kit (the kit that does not use power tools). Very happy with the results. A few comments:
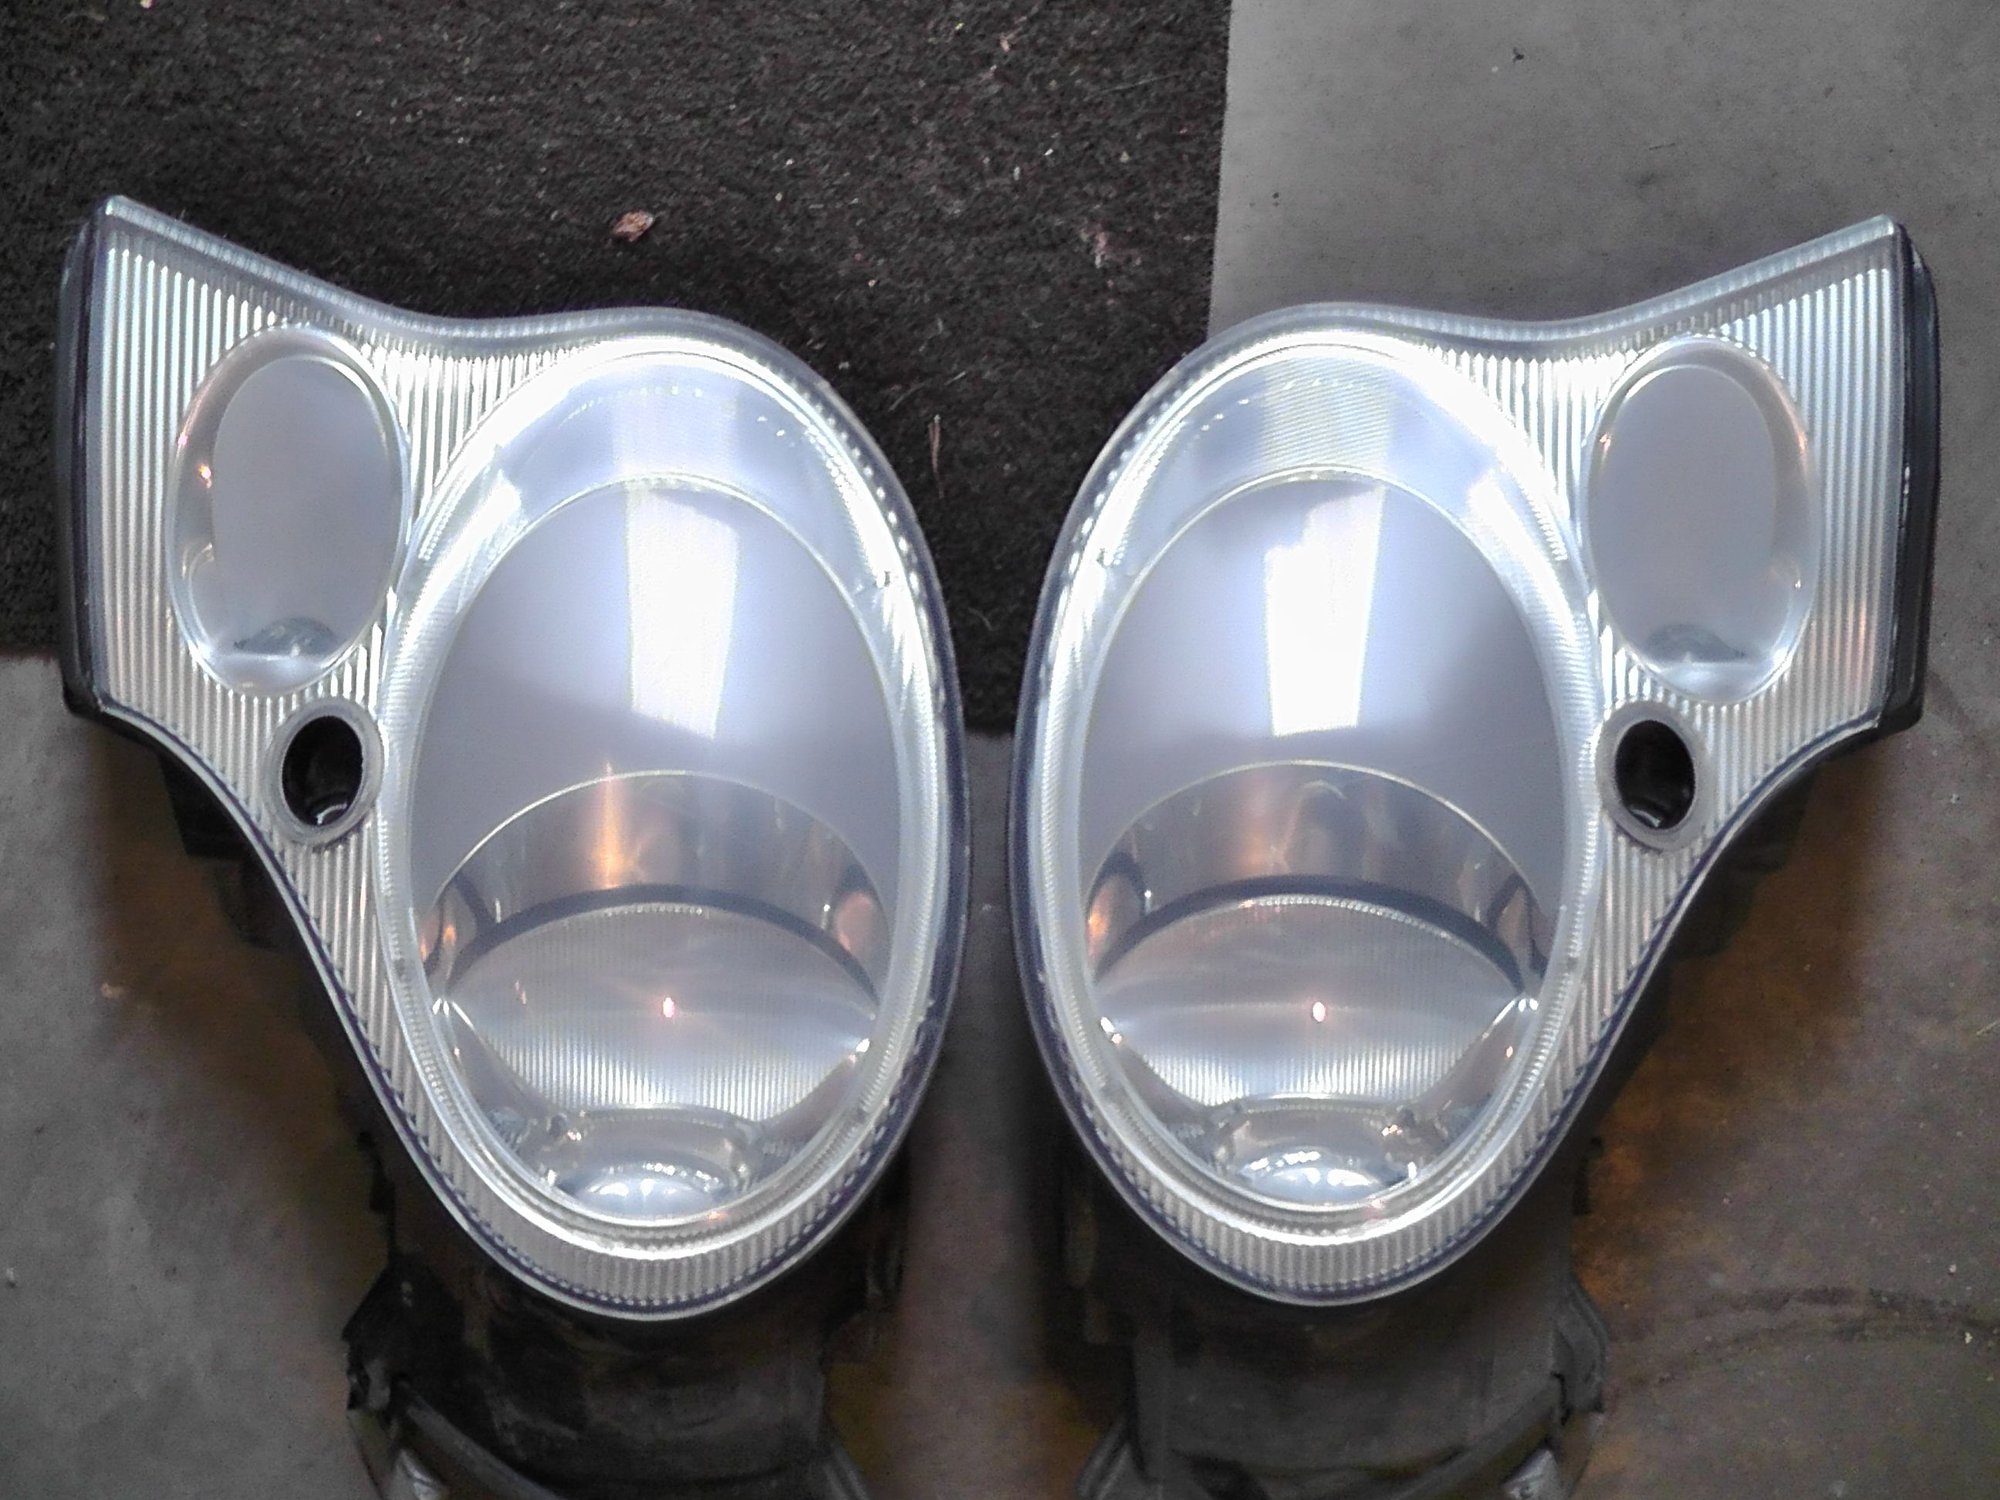
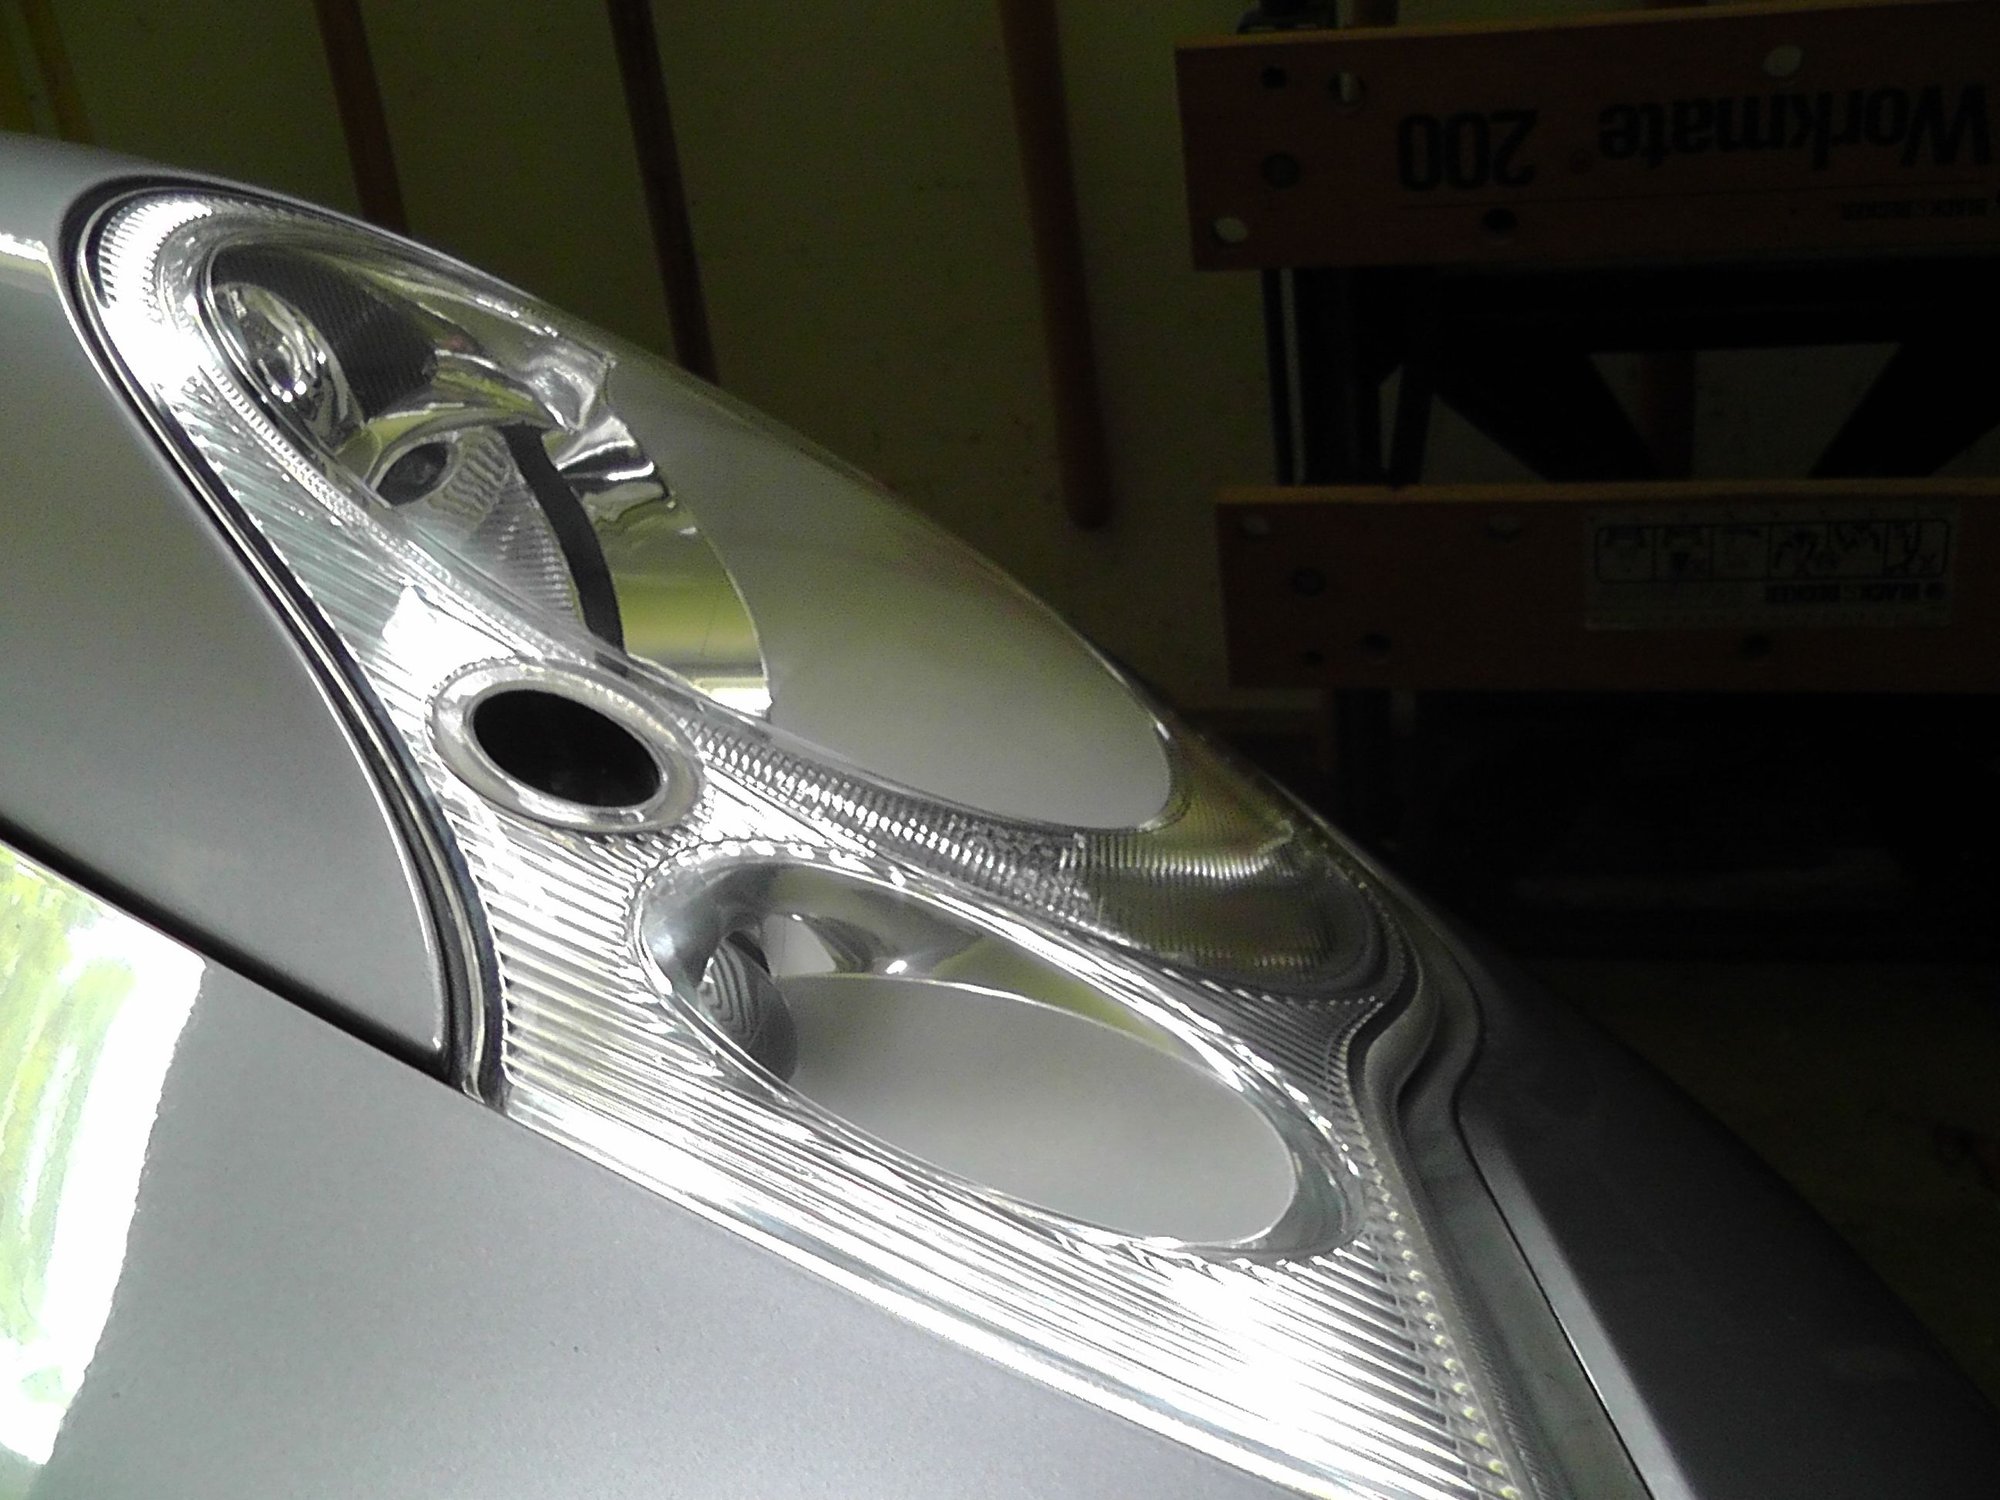
  • mine had slight hazing/yellowing, but were in decent shape to start with
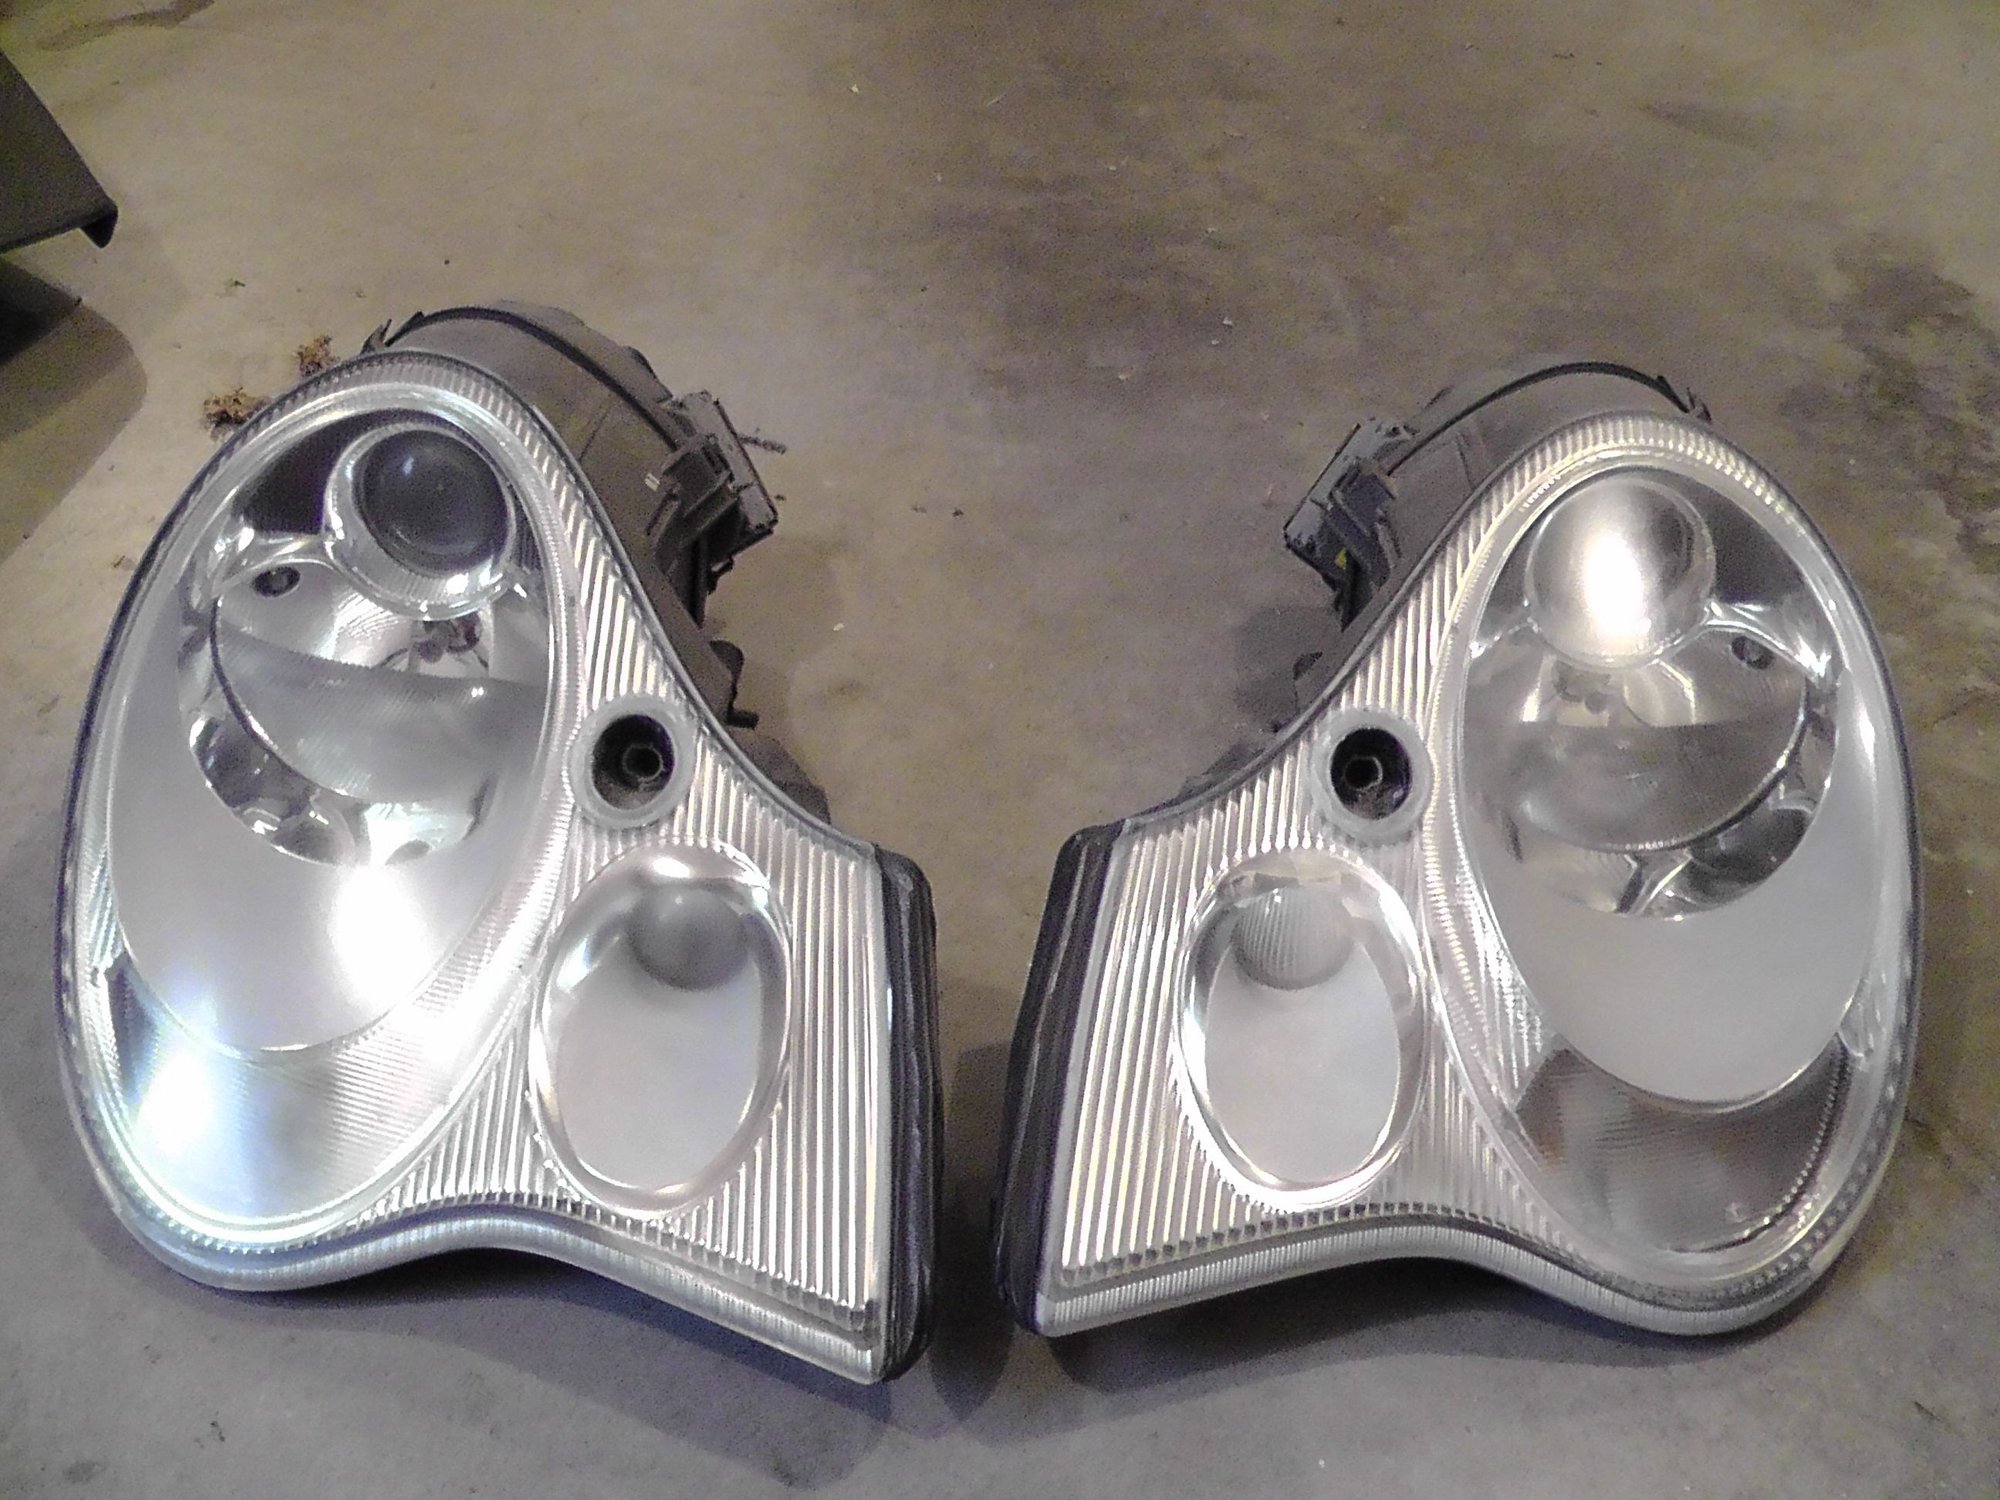
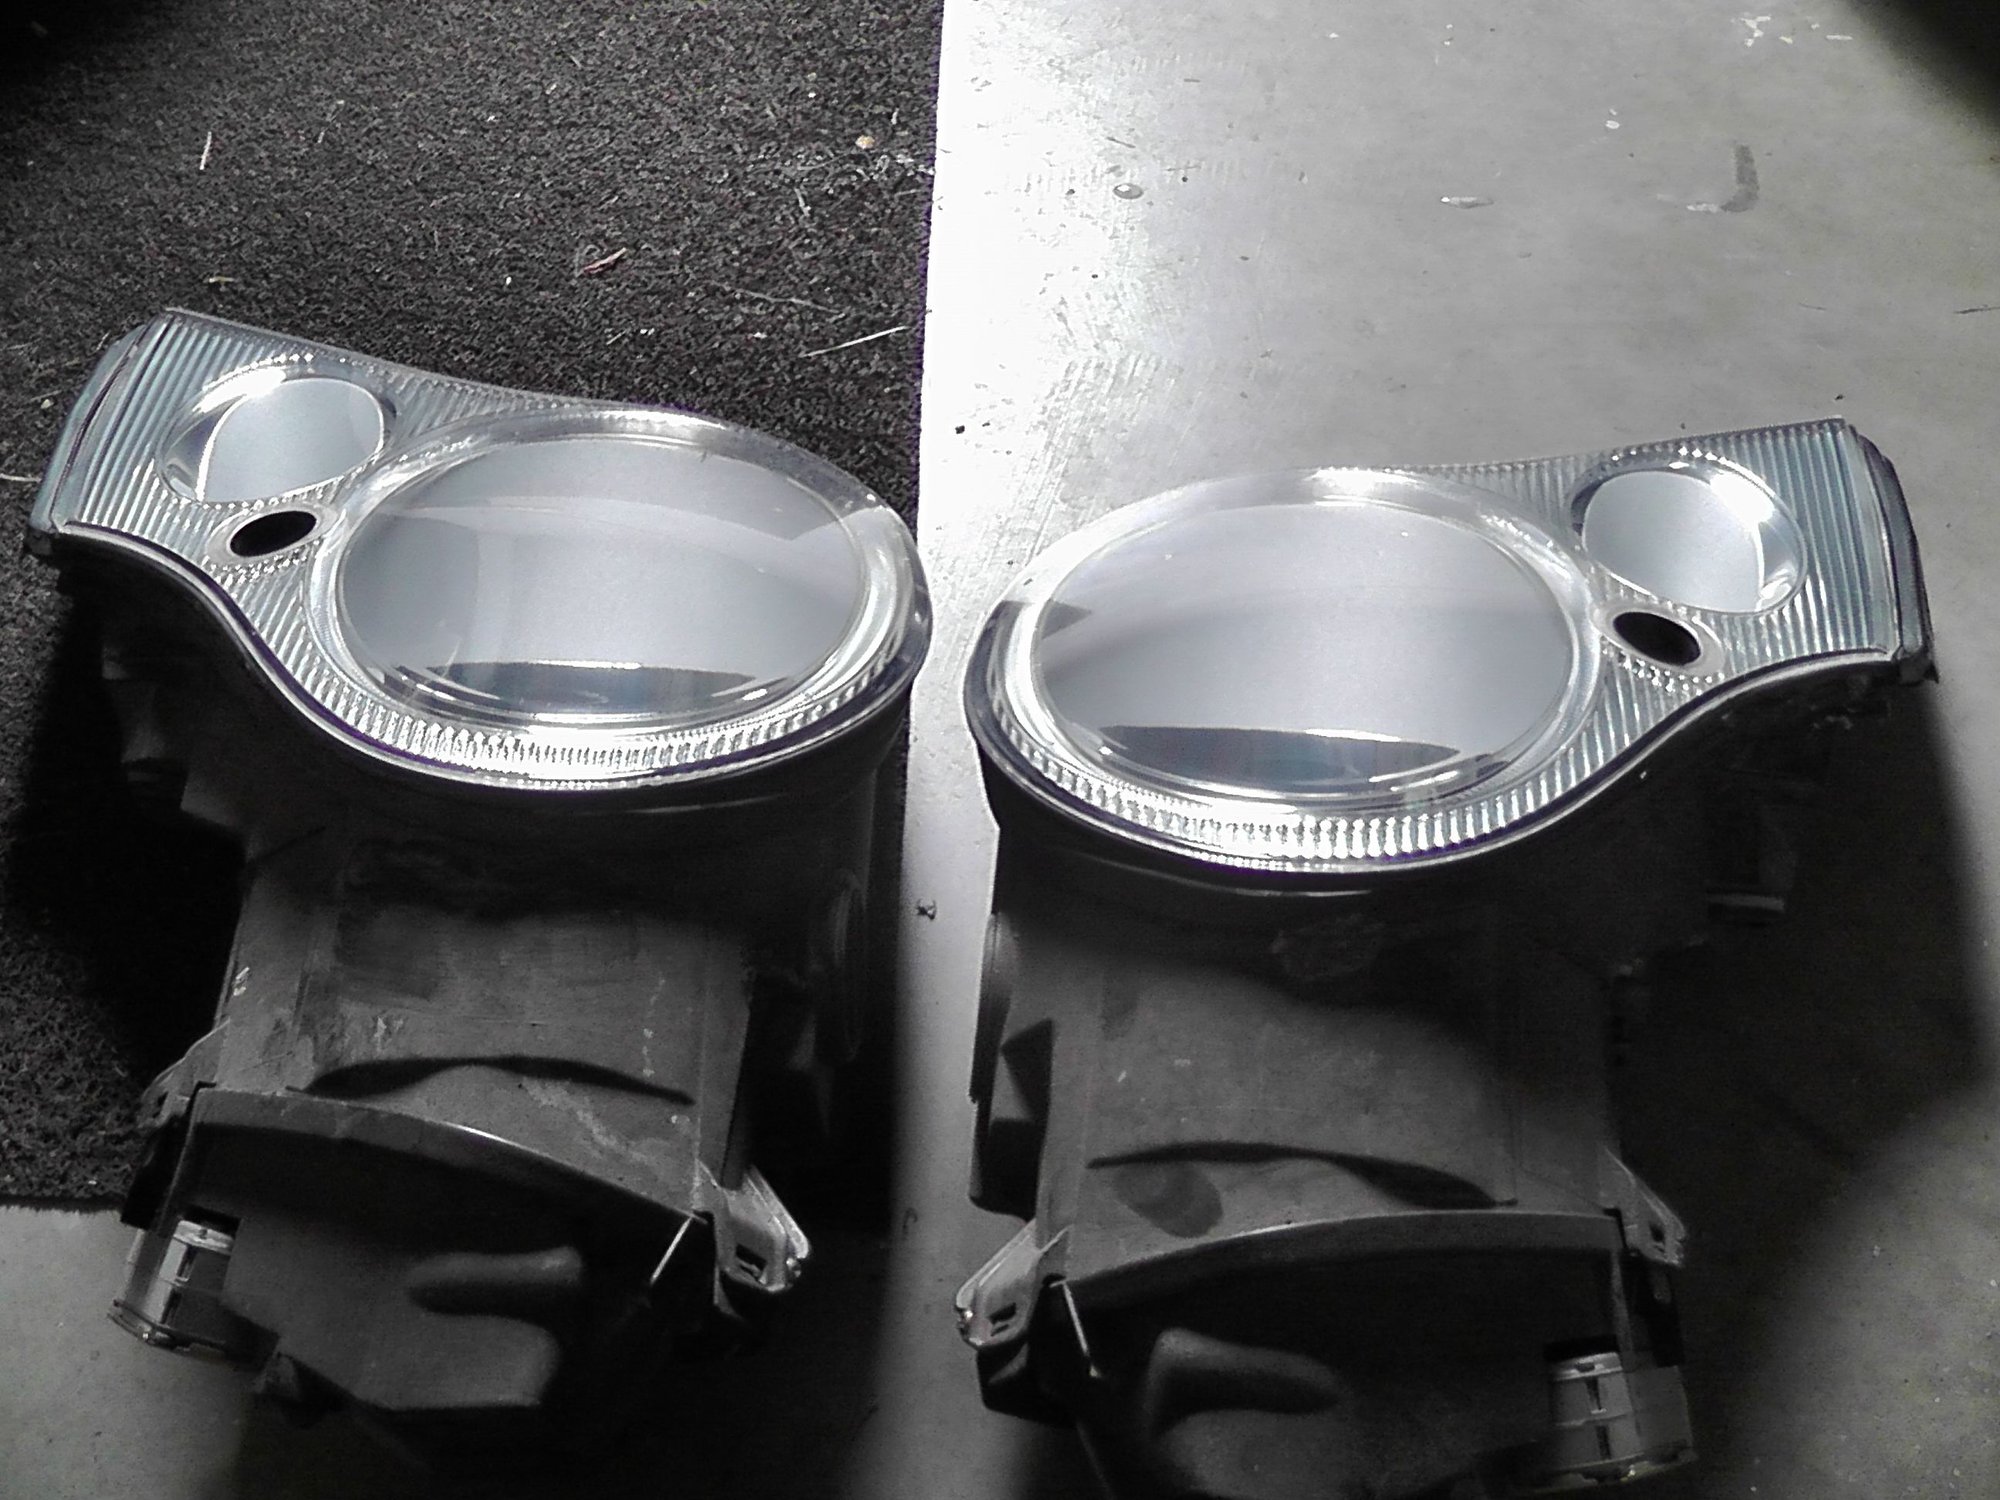
  • if you don't have the headlight removal tool, use a 5mm socket
  • if you are going to remove the washer cover, use air pressure after removing the headlights instead of prying them up (I broke one of mine prying; $60 mistake)
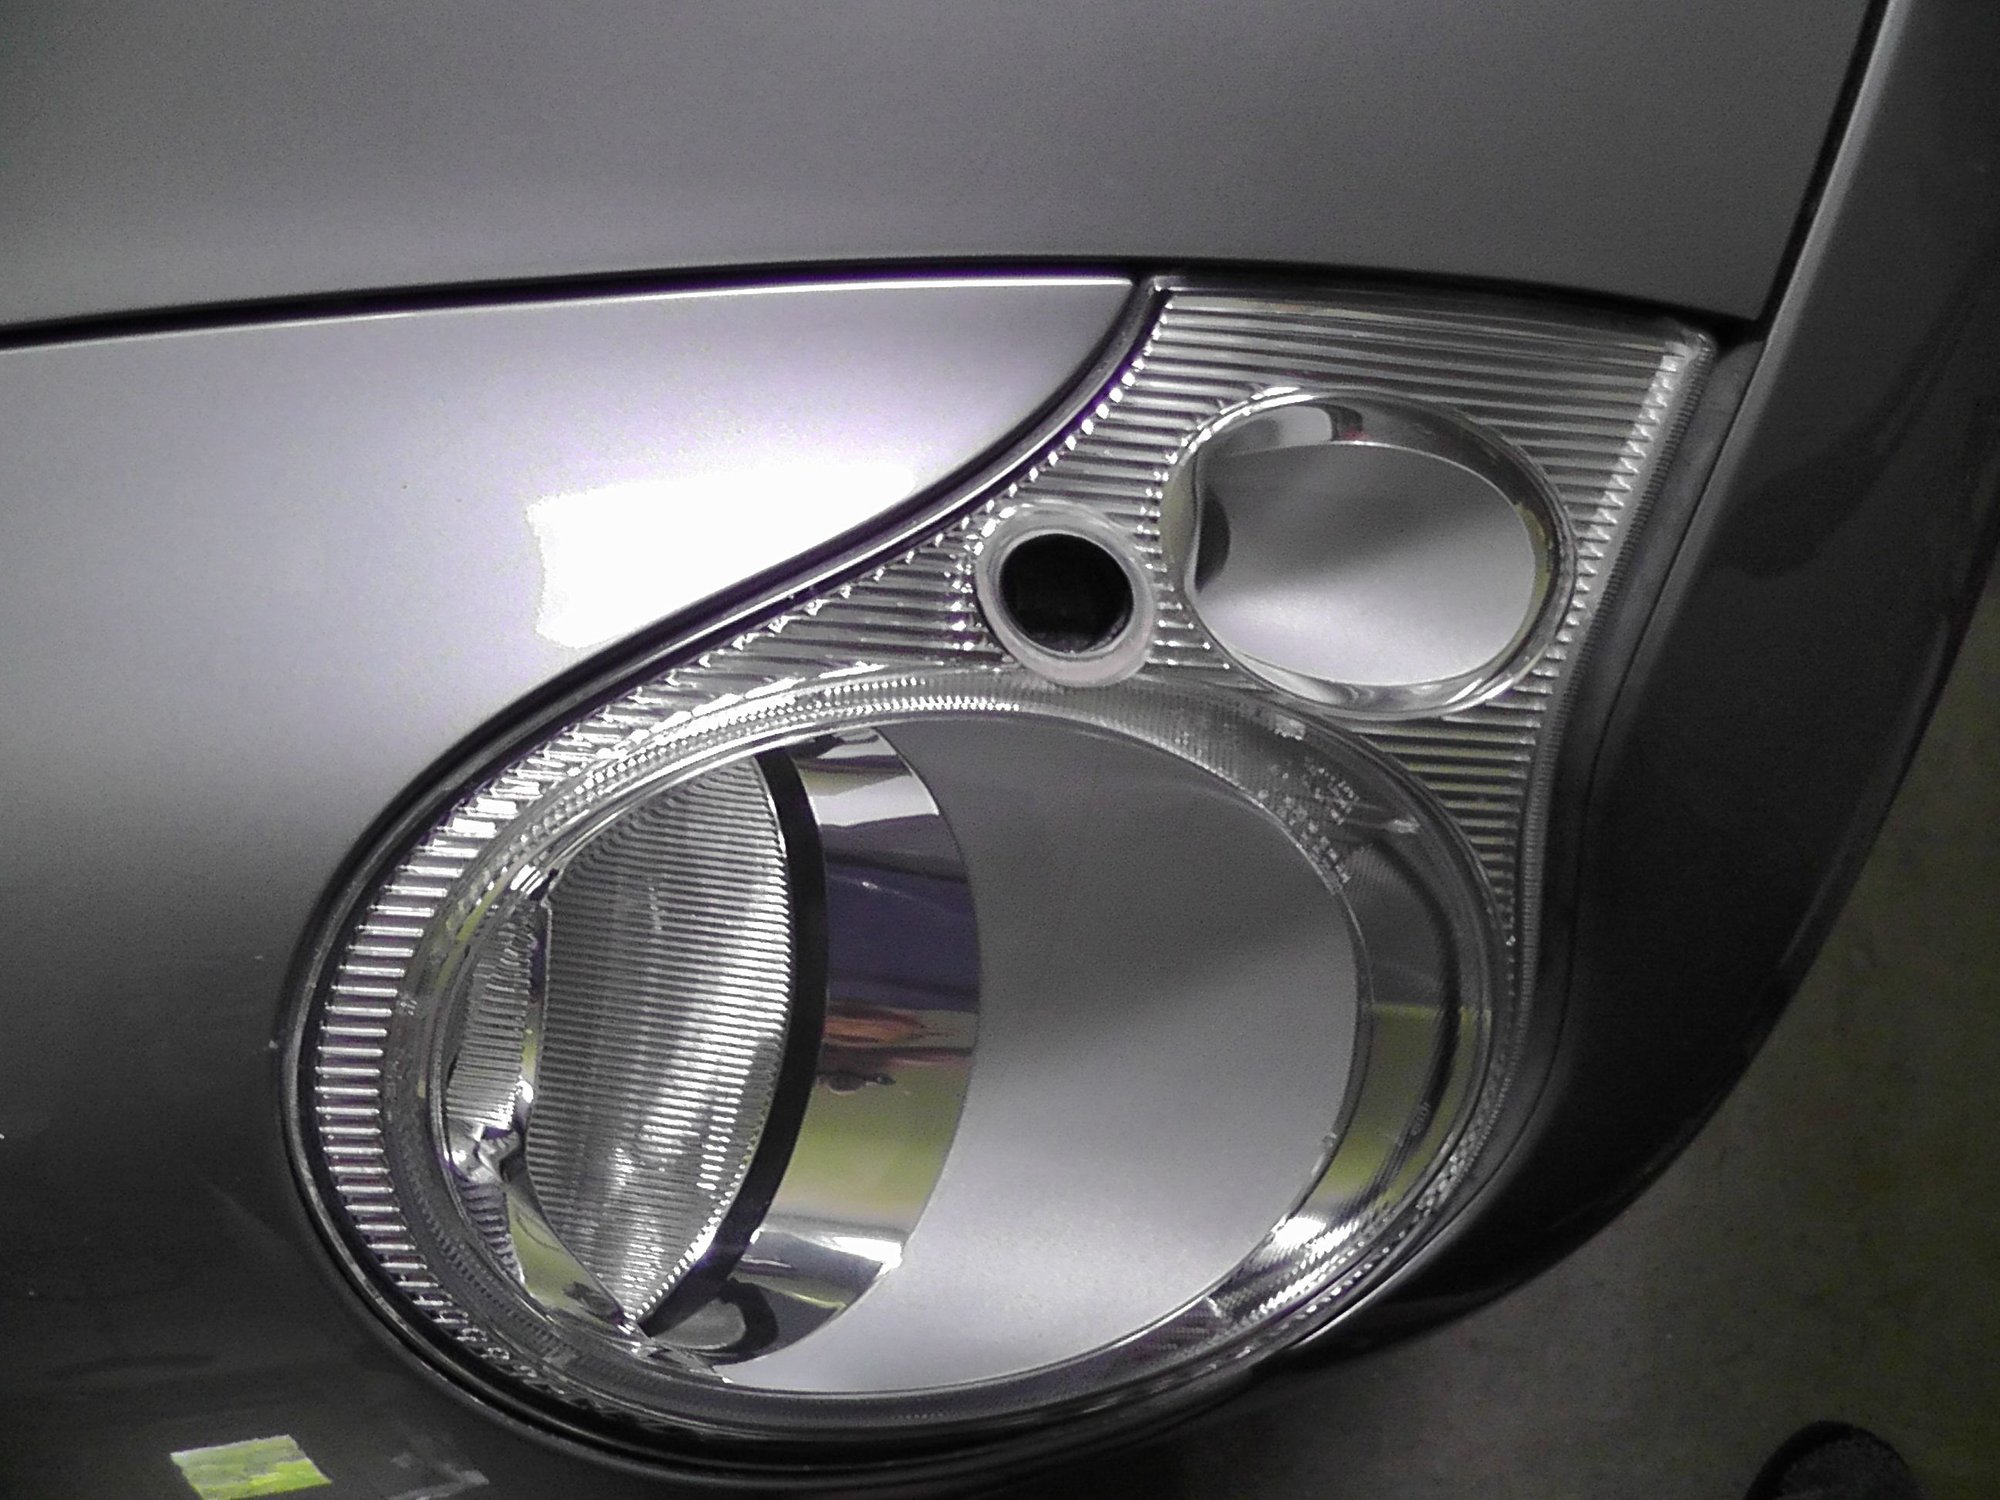
  • you can use a manual bike tire pump and a straw (of the right diameter) to get the washer extended, then unclip the cover from the sprayer
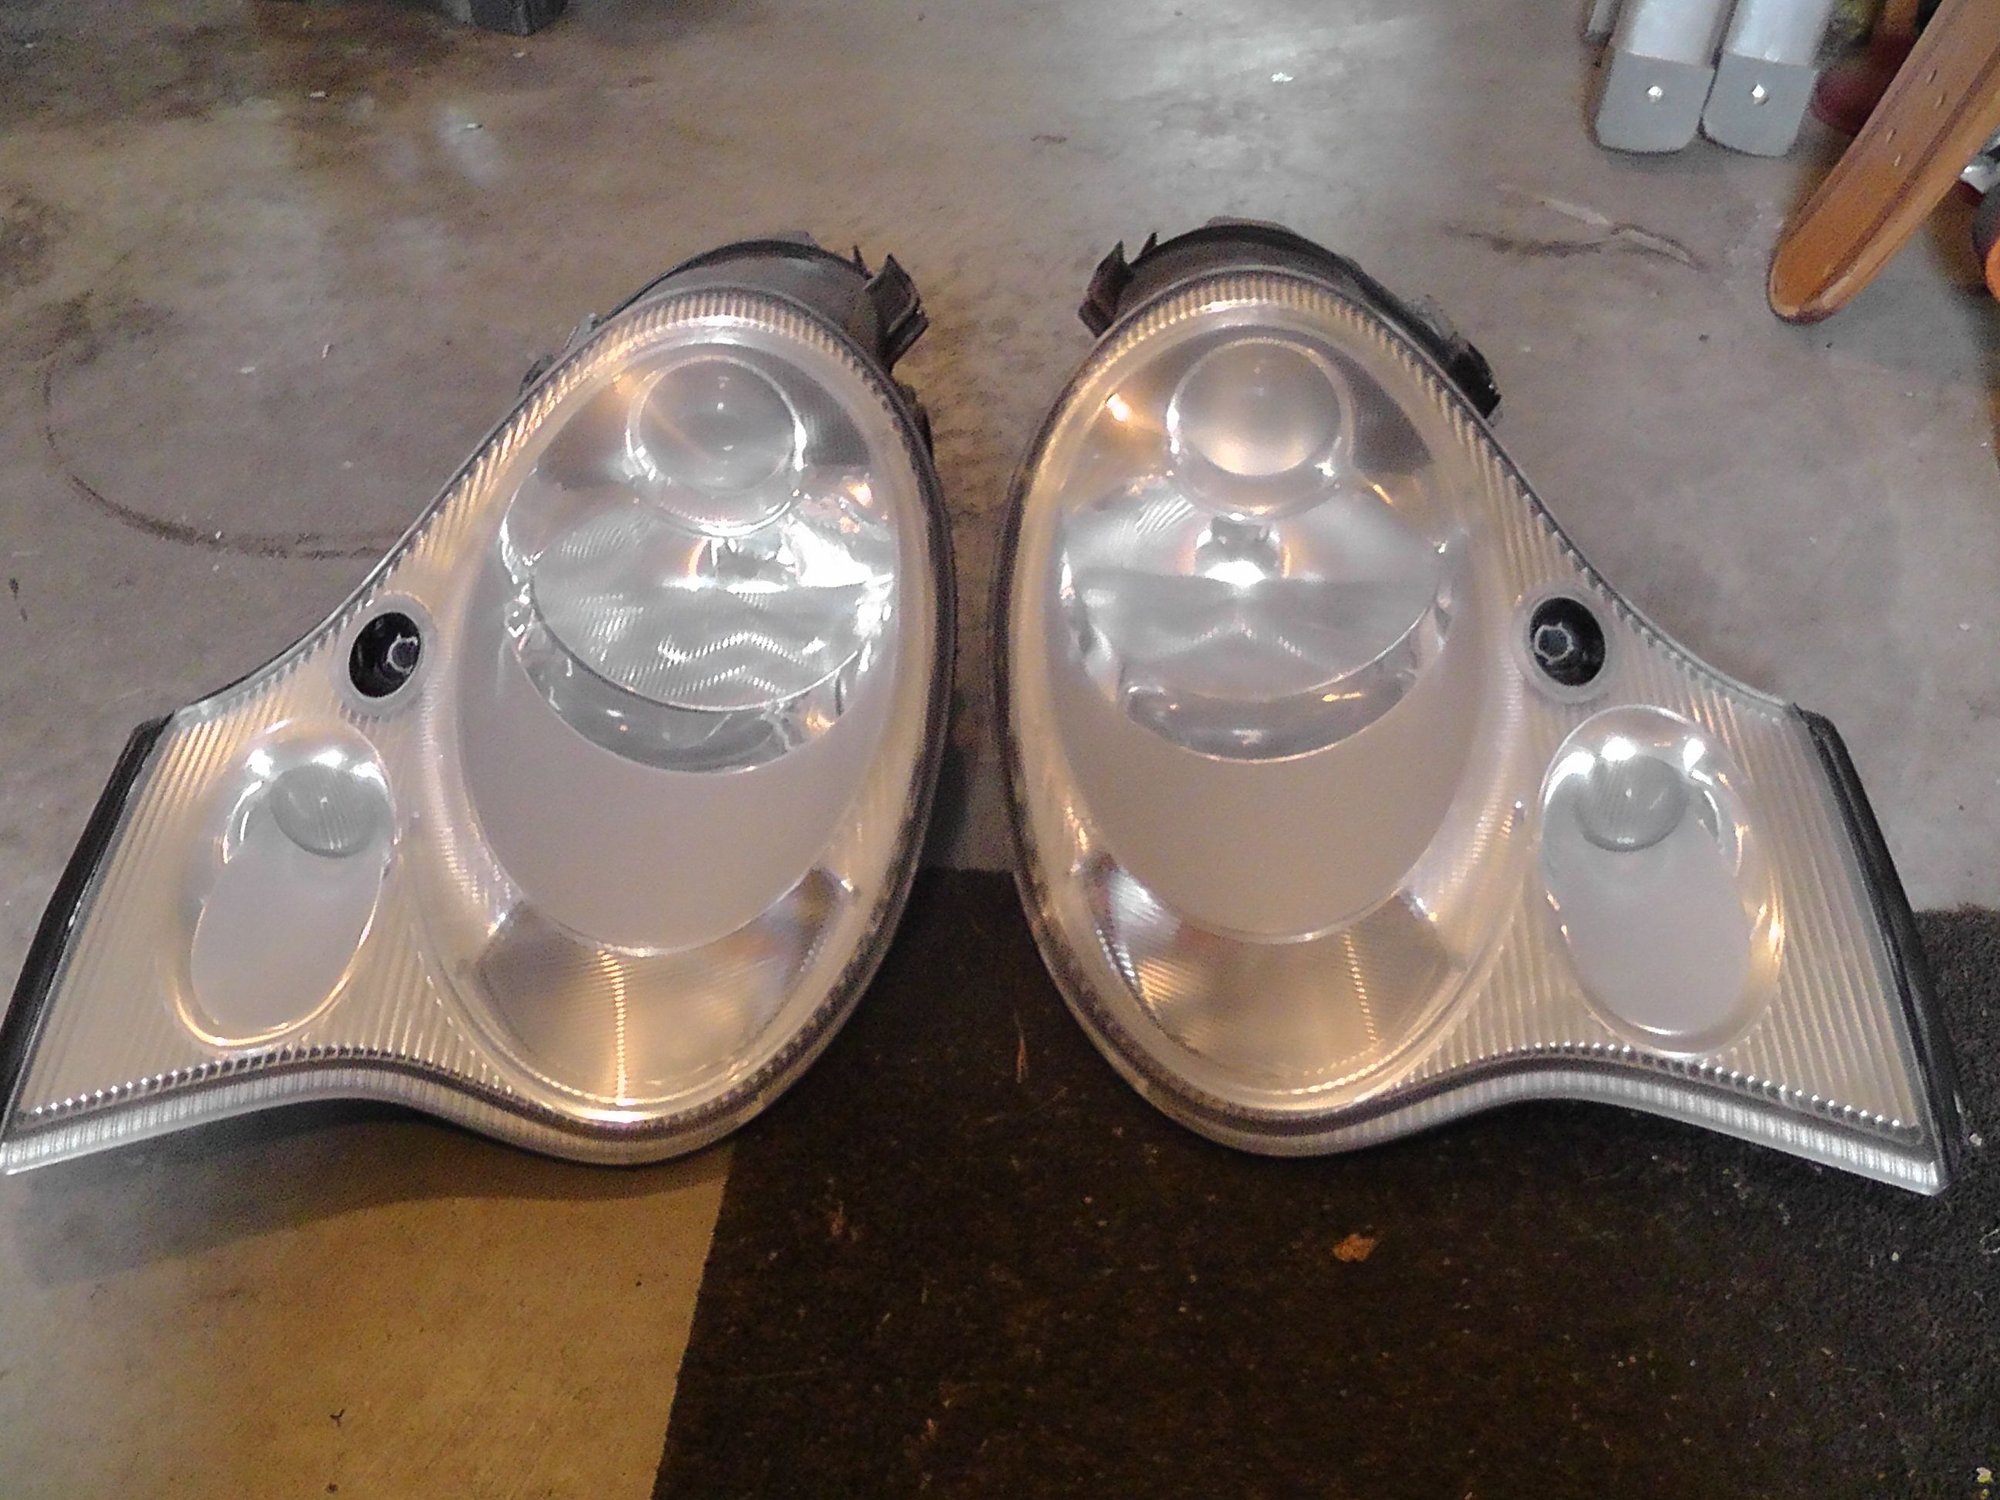
  • I spent maybe 2-2.5 hours on mine; would take less time now that I've done it once
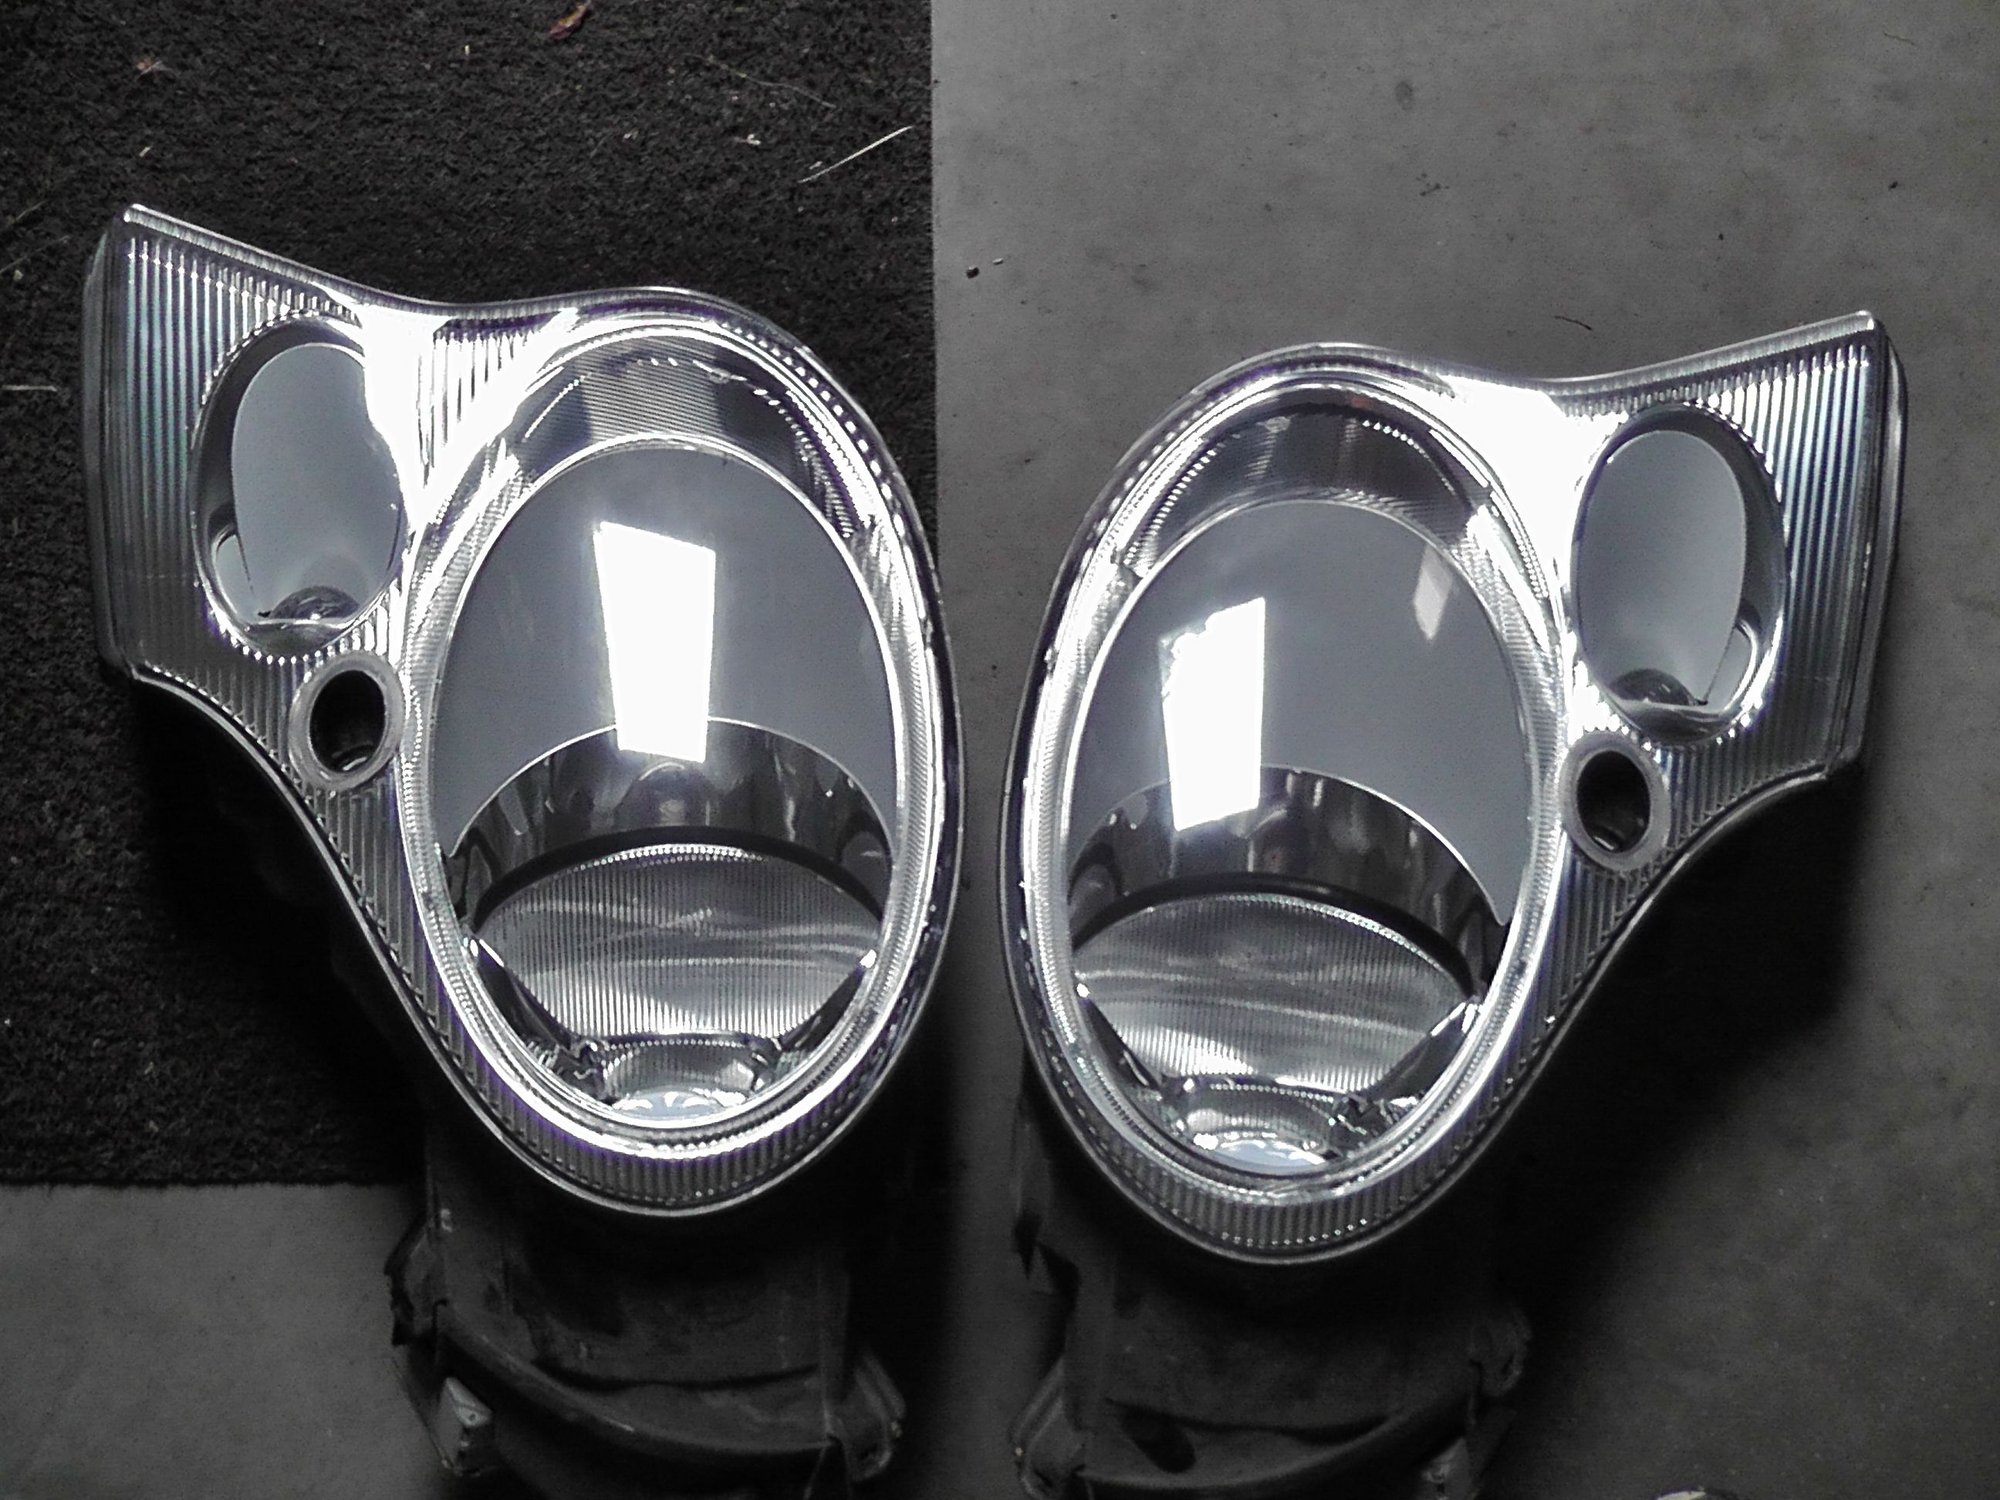
  • they aren't perfect, but look much better than before; if you want perfection, I think the clear coat would need to be sprayed instead of wiped on as is done w/ this 3M kit

Before:


During (after sanding but before clear coat):


After:


Reply
Old Jun 29, 2019 | 10:53 AM
  #2  
dcsjc's Avatar
dcsjc
Rennlist Member
10 Year Member
 
Joined: Mar 2015
Posts: 280
Likes: 115
From: San Jose, CA
Default

They look awesome! Must feel good to have them clear again.
Reply
Old Jun 29, 2019 | 12:54 PM
  #3  
mrfeh's Avatar
mrfeh
Thread Starter
Racer
 
Joined: May 2019
Posts: 361
Likes: 28
Default

I should've taken a picture of the puddle that was left after the wet sanding - it's easy to see where that layer of UV damaged plastic ends up.
Reply
Old Jun 29, 2019 | 01:48 PM
  #4  
Os7213's Avatar
Os7213
Racer
 
Joined: Jul 2018
Posts: 272
Likes: 39
From: Qc,Canada
Default

It look very good!
Let us know if the finish hold-on after a couple months.
I was looking at this kit but decided to go with 2K clear.
Reply
Old Jun 29, 2019 | 02:38 PM
  #5  
motoo344's Avatar
motoo344
Three Wheelin'
 
Joined: Oct 2018
Posts: 1,739
Likes: 479
From: PA
Default

Looks good, these small touches add up to help a car from looking old.
Reply
Old Jun 30, 2019 | 03:46 AM
  #6  
Flyfishnick's Avatar
Flyfishnick
Rennlist Member
5 Year Member
 
Joined: May 2018
Posts: 534
Likes: 226
From: Des Moines, WA
Default

Well done! Looks great.
Reply
Old Jun 30, 2019 | 08:37 AM
  #7  
Botsy67's Avatar
Botsy67
Rennlist Member
15 Year Member
 
Joined: Apr 2006
Posts: 793
Likes: 30
From: Albany NY
Default

Great job, huge improvement, actually your headlights looks like new again now, very nice... Cheers,
Reply
Old Jun 30, 2019 | 12:08 PM
  #8  
lowpue's Avatar
lowpue
Drifting
10 Year Member
 
Joined: Mar 2012
Posts: 2,525
Likes: 555
Default

you can also put xpel film on headlight to protect from UV as well. this what i have done....no yellowing.
Reply
Old Jun 30, 2019 | 12:51 PM
  #9  
Kuwaiti's Avatar
Kuwaiti
Instructor
 
Joined: Feb 2014
Posts: 171
Likes: 6
From: Merced Ca.
Default

Good job....
Reply


All times are GMT -3. The time now is 11:33 AM.