When you click on links to various merchants on this site and make a purchase, this can result in this site earning a commission. Affiliate programs and affiliations include, but are not limited to, the eBay Partner Network.
Looking for help with a motorsports AOS installation. My car is a 2004 996 C2. Can anyone explain the process for installation or point me in the right direction for the instructions? Are any new hoses required or is it plug and play?
Mostly the same as the stock installation. Drivers side intake manifold comes off. Engine lowered iirc. I replaced (cracked to pieces) and rerouted bank 2 vent line to the front of the engine, and would recommend doing that. In fact, you may have to because of the nipple orientations (can't quite remember for certain). Also, these corrugated hoses are brittle now. I used a socket head cap screw for the intake manifold screw at the front of the motor. I don't think you can get a tool on a hex head screw in that location (the Motorsport AOS blocks the access significantly). Those are the things that come to mind. It's a challenging job with the motor in! But, it's doable. I'll lyk if I remember anything else.
GL
From what I understand it mounts in the same way as stock.
Moburki, can you post a picture of how you rerouted your hose? Or is it forward and unseen?
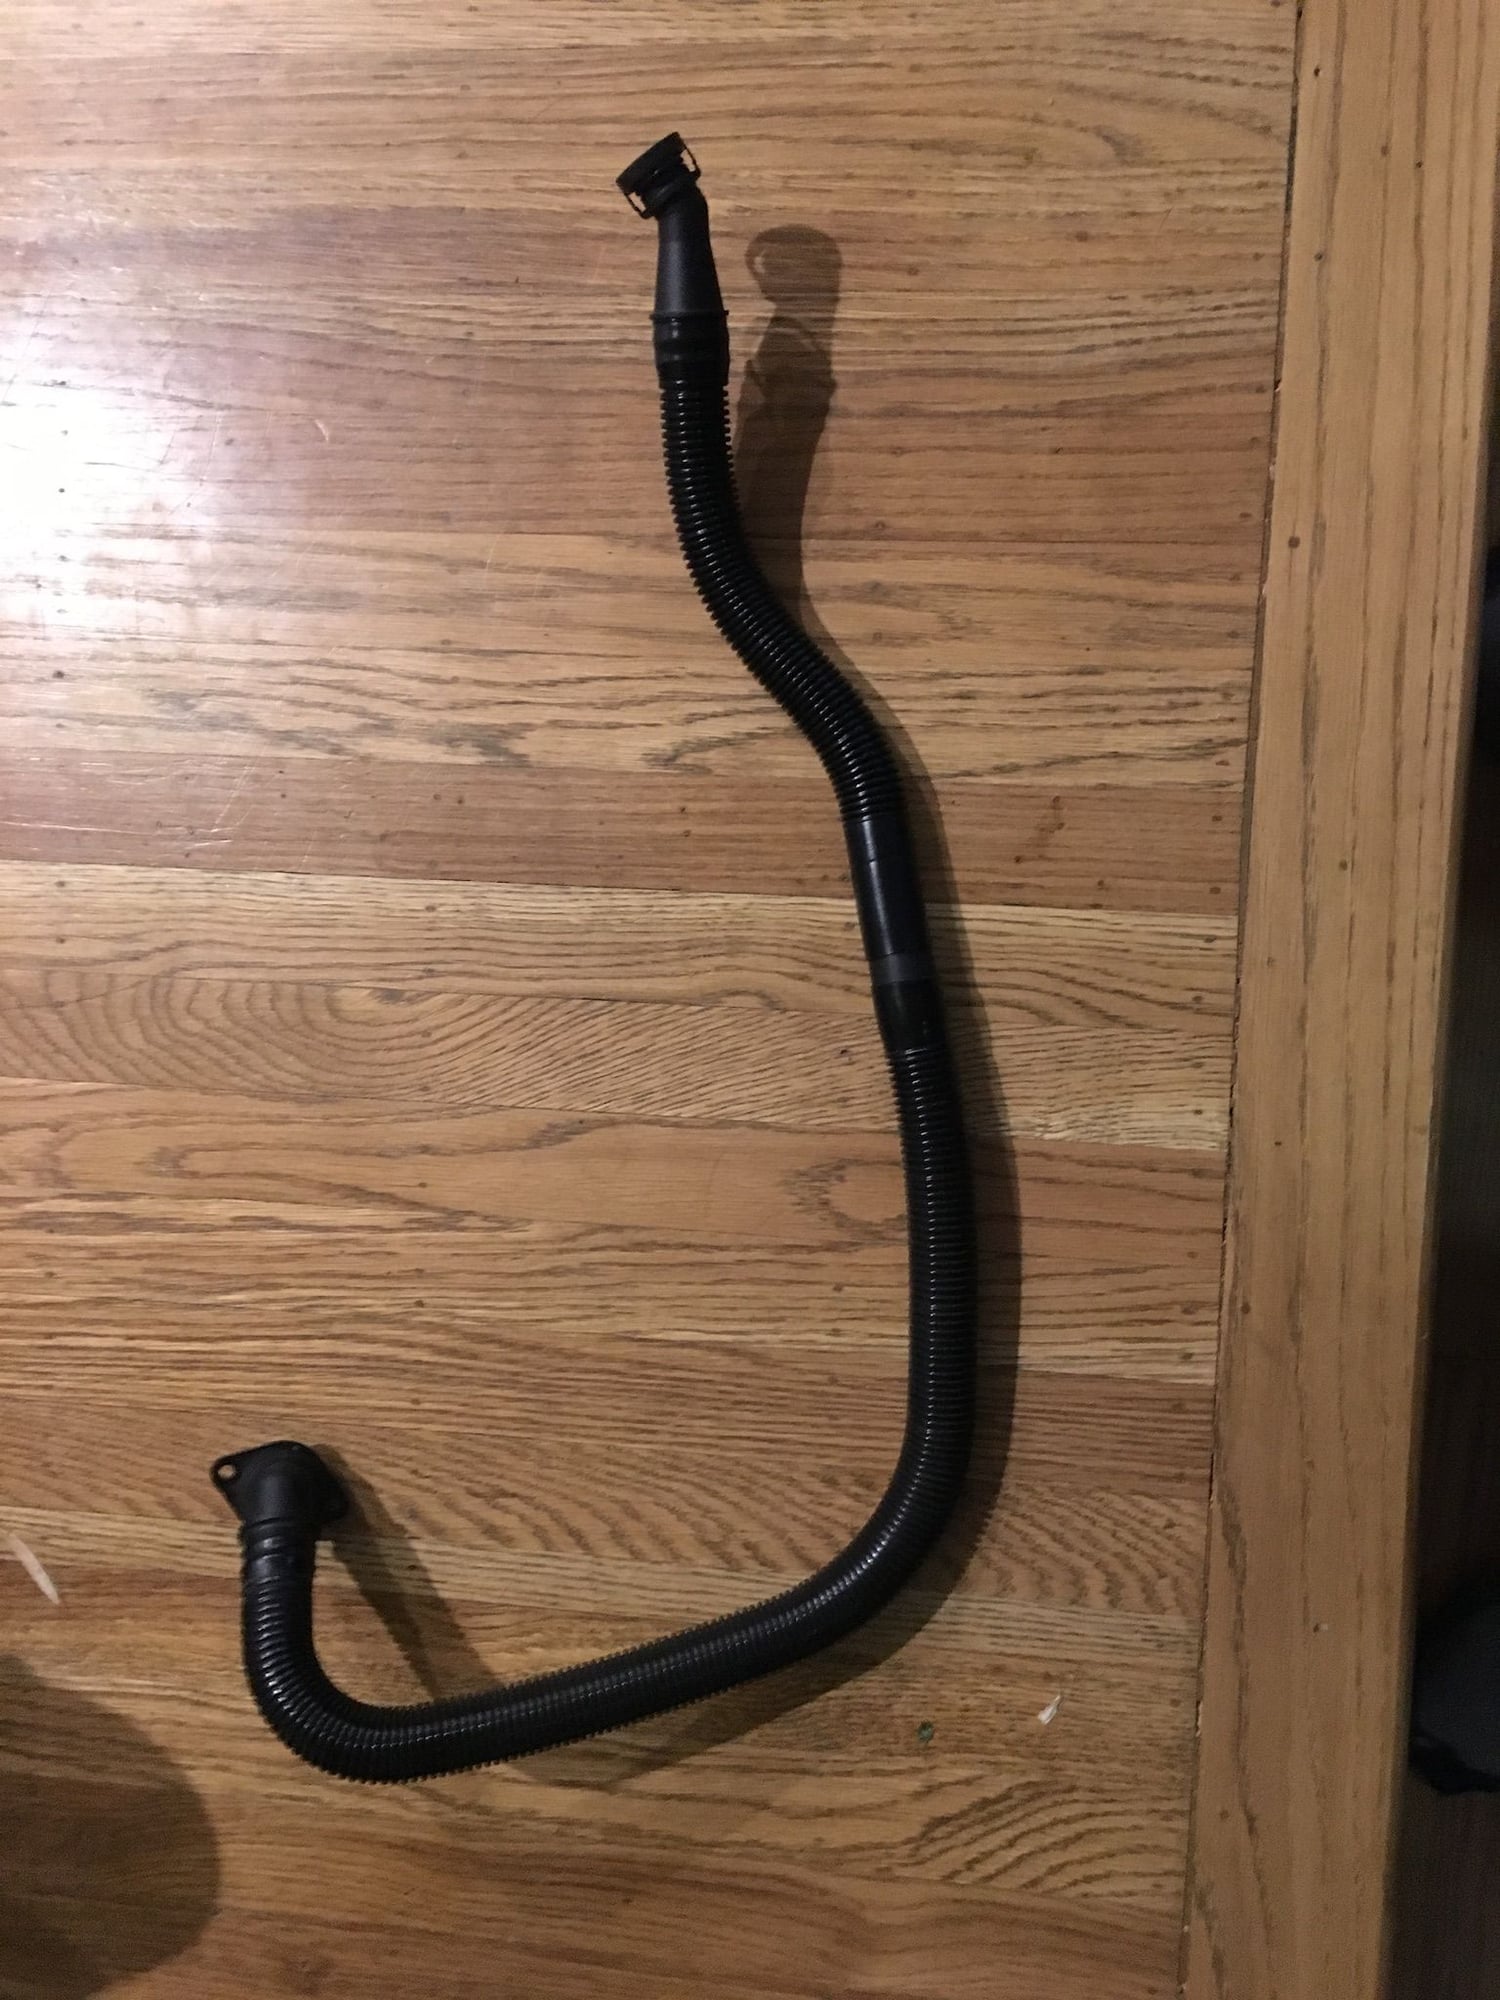
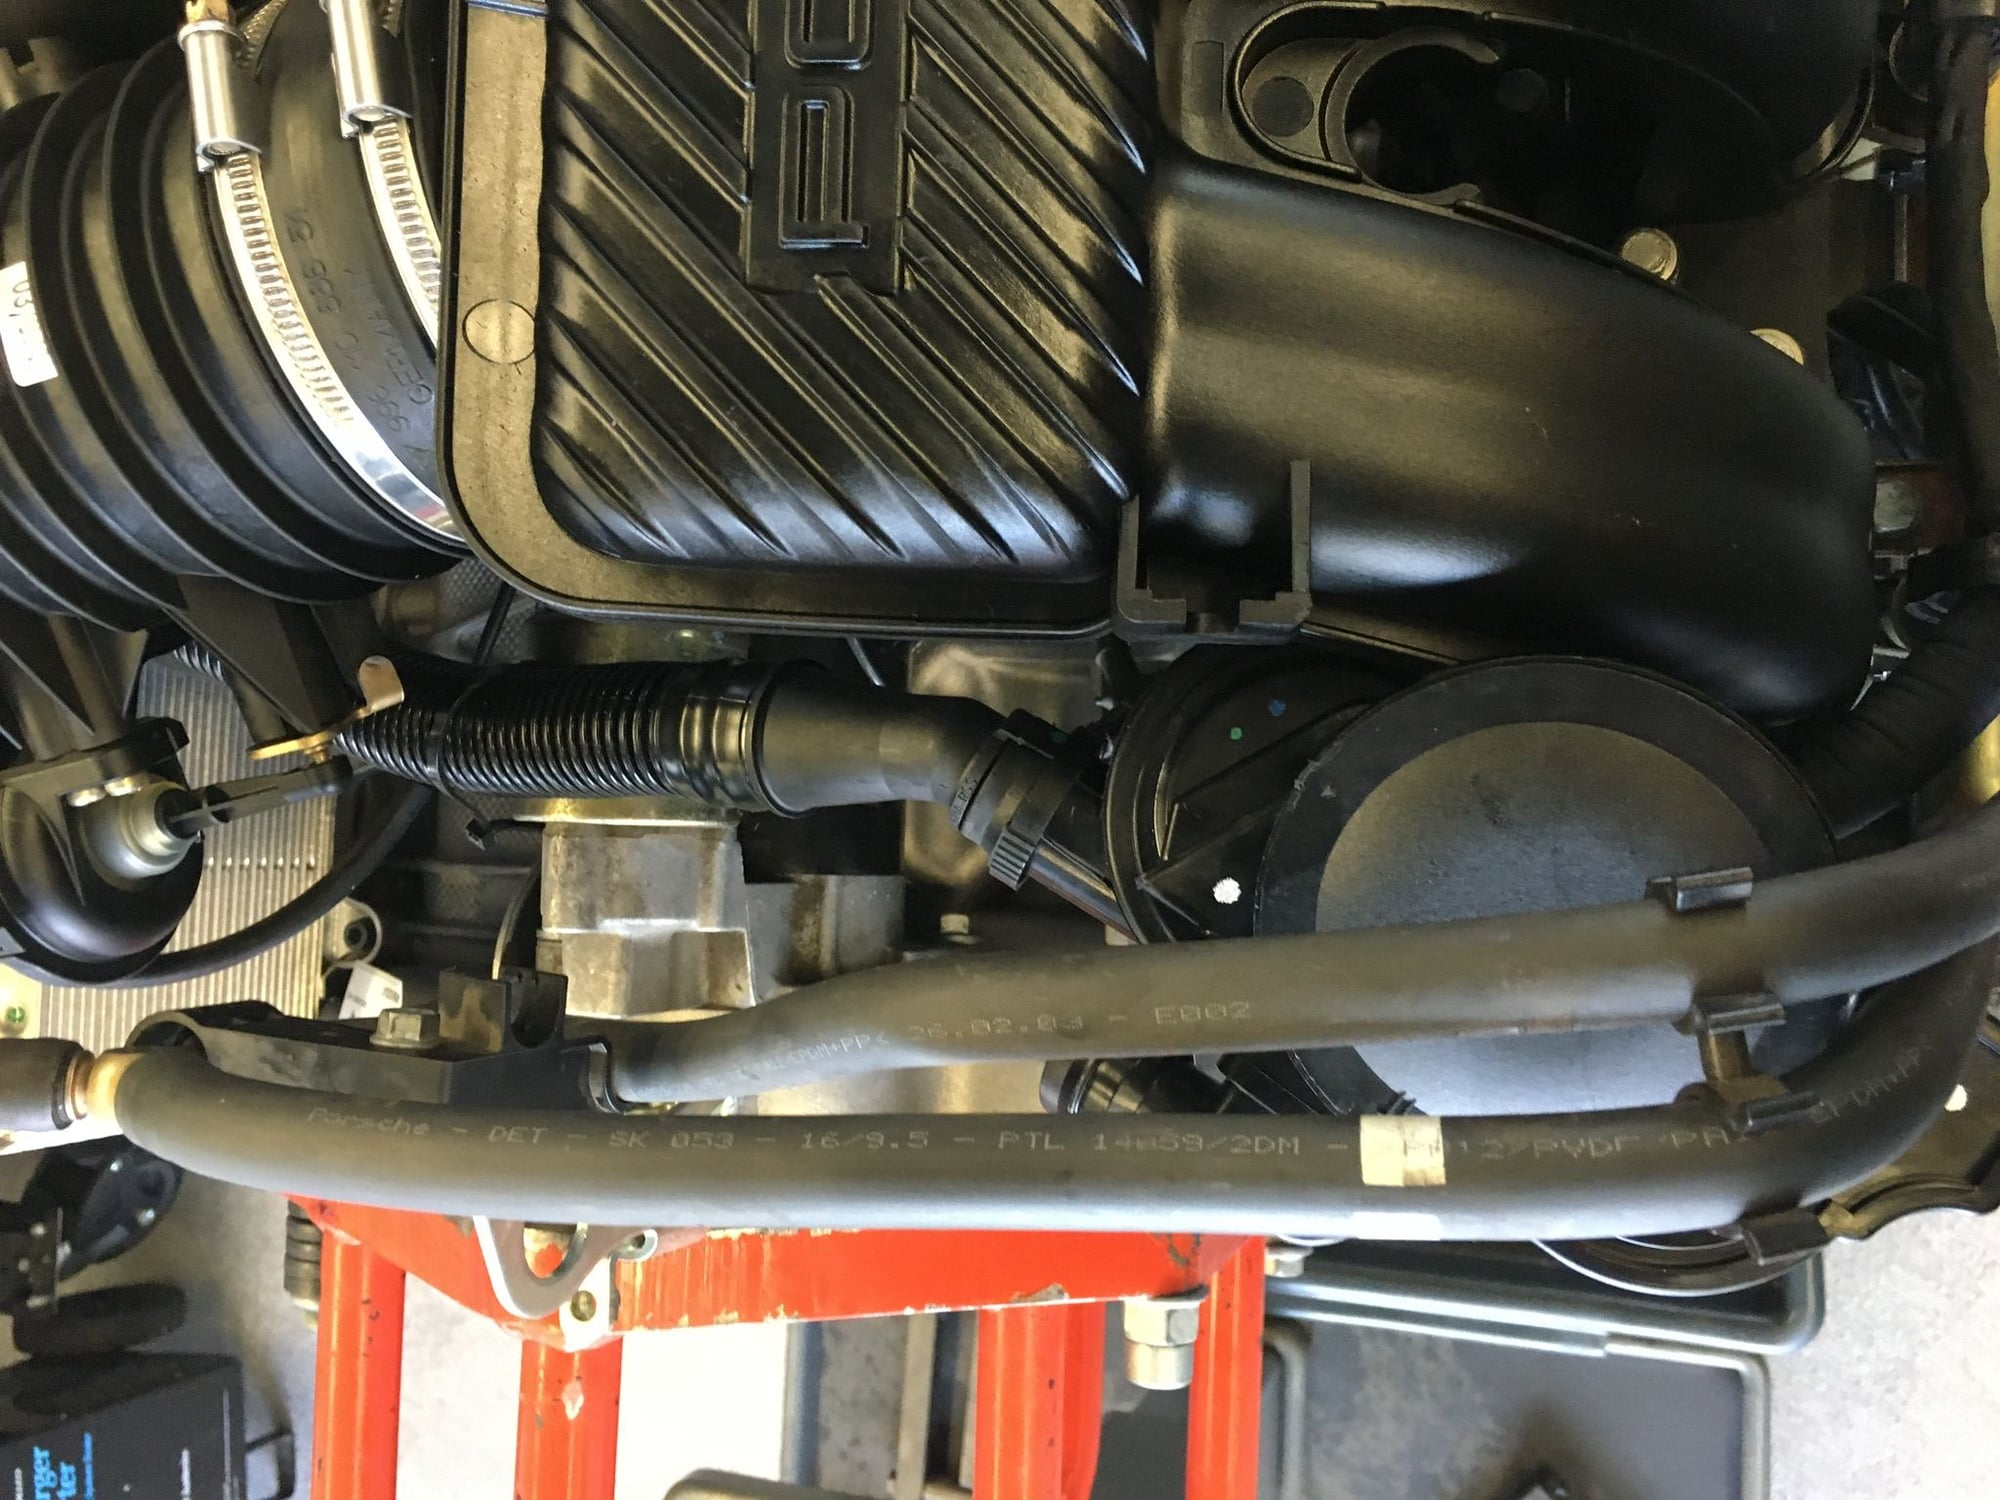
I'll have it at my house tomorrow. I'll try to remember to document the hose routing. Basically, from bank 2 head down passenger side inner fender (plenty of places to support the tube), then wraps left along the fire wall in front of the engine and to the AOS. The stock tube could be a little shorter using this method. I think there is a 997 option (or boxster) that is shorter.. I was not able to confirm this, so OEM was chosen.
Honestly, unless I was having a huge brain fart and missing something obvious while going through this, IT WAS NOT SIMPLE PLUG AND PLAY! The internet made it sound easy pesy bolt right up and did not list additional parts.
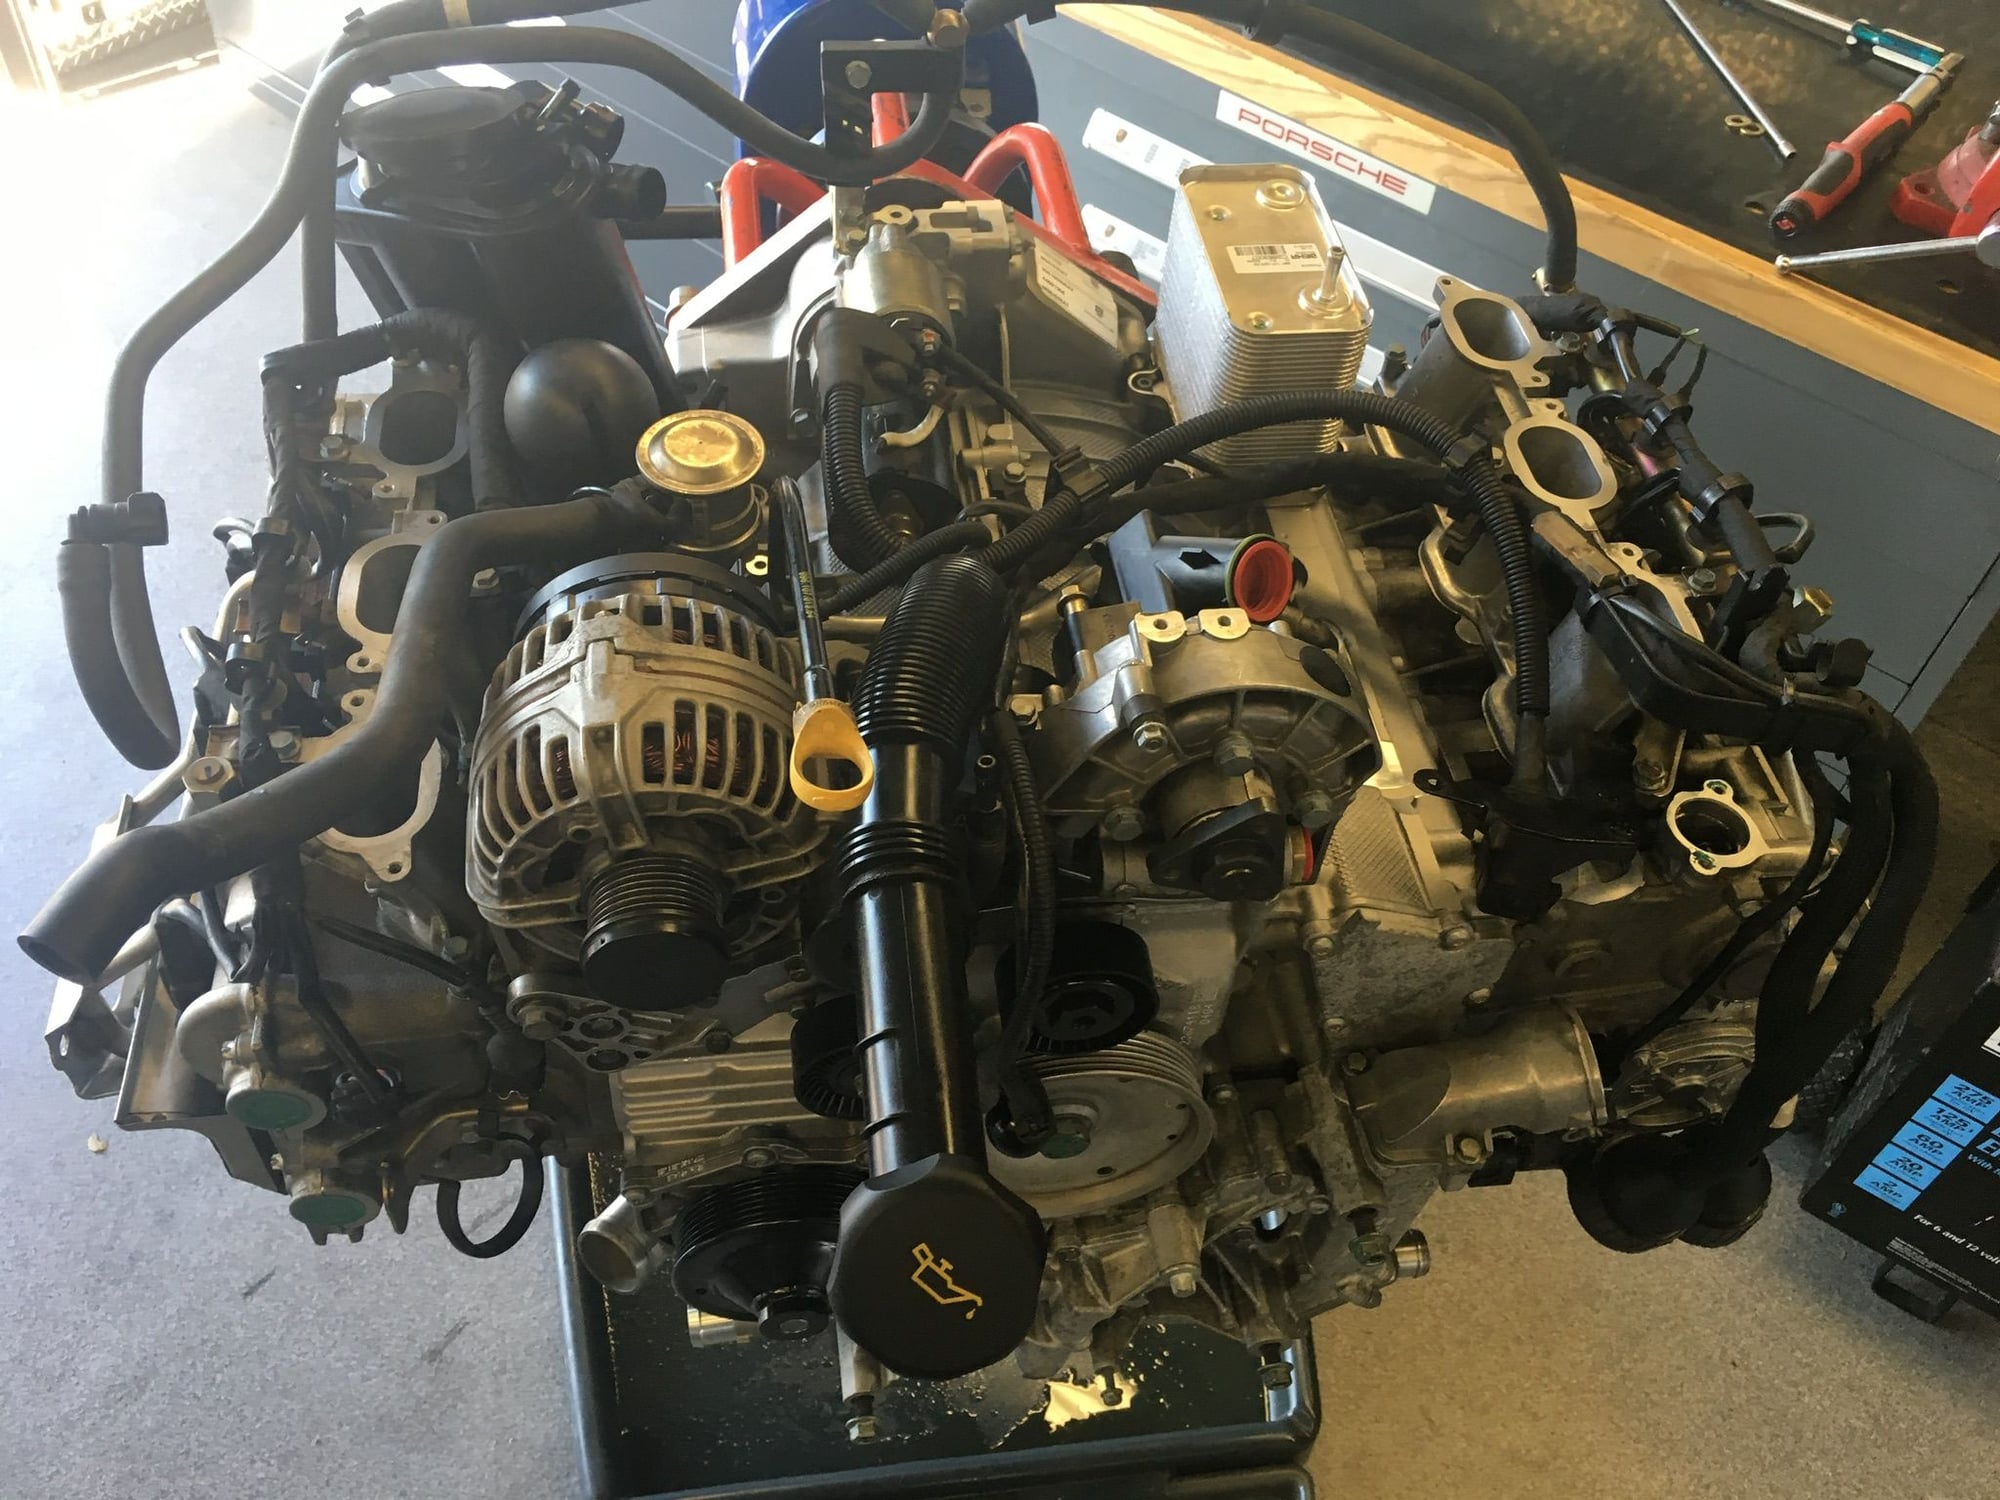
I installed a Motorsports AOS on my 2003 C4S while building the motor. The breather lines are positioned differently at the separator from a stock 3.6.
The breather line from bank 2 attaches in a completely different location on the AOS. Additionally the breather fitting on the AOS to the intake has a different angle to it.
I purchased the bank 2 breather line recommended with a quick internet search when I saw how different the Motorsports part was. The additional line does not just snap right in. The connection to the separator is spot on, but it routes straight to the bank 2 port instead of through and around the intake distributor like the old line does. This interfered with components and did not work.
Normally I wouldn�t suggest trying to repair or modify that breather tube material as I�ve never seen a repair not leak...but I was thin on options to run the separator and there was a chance with parts available-
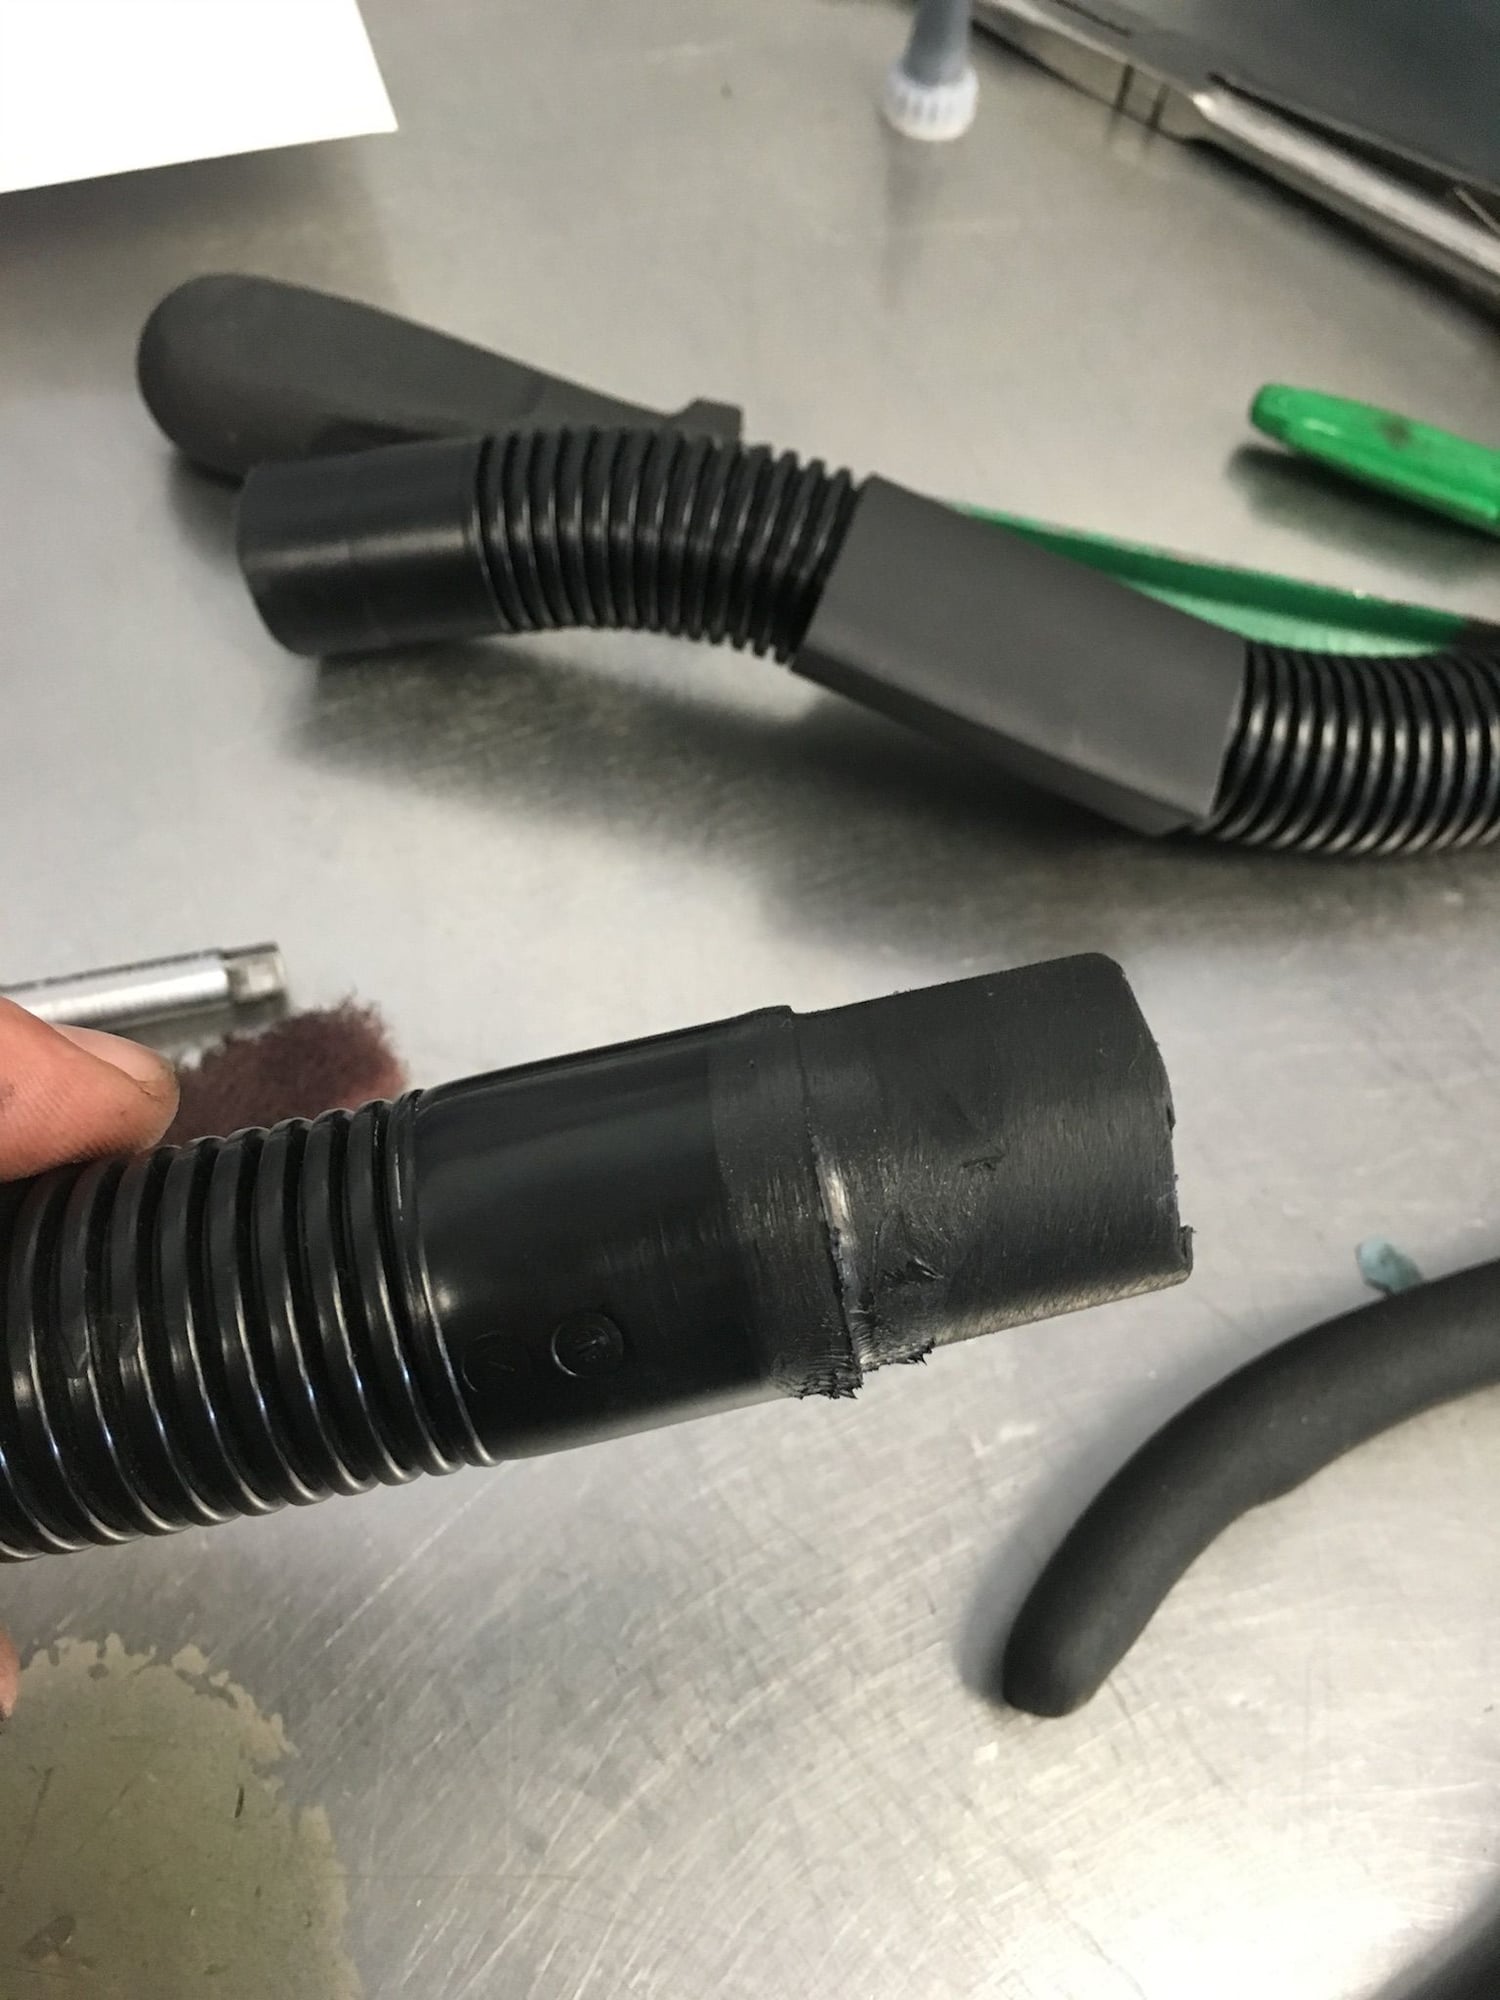
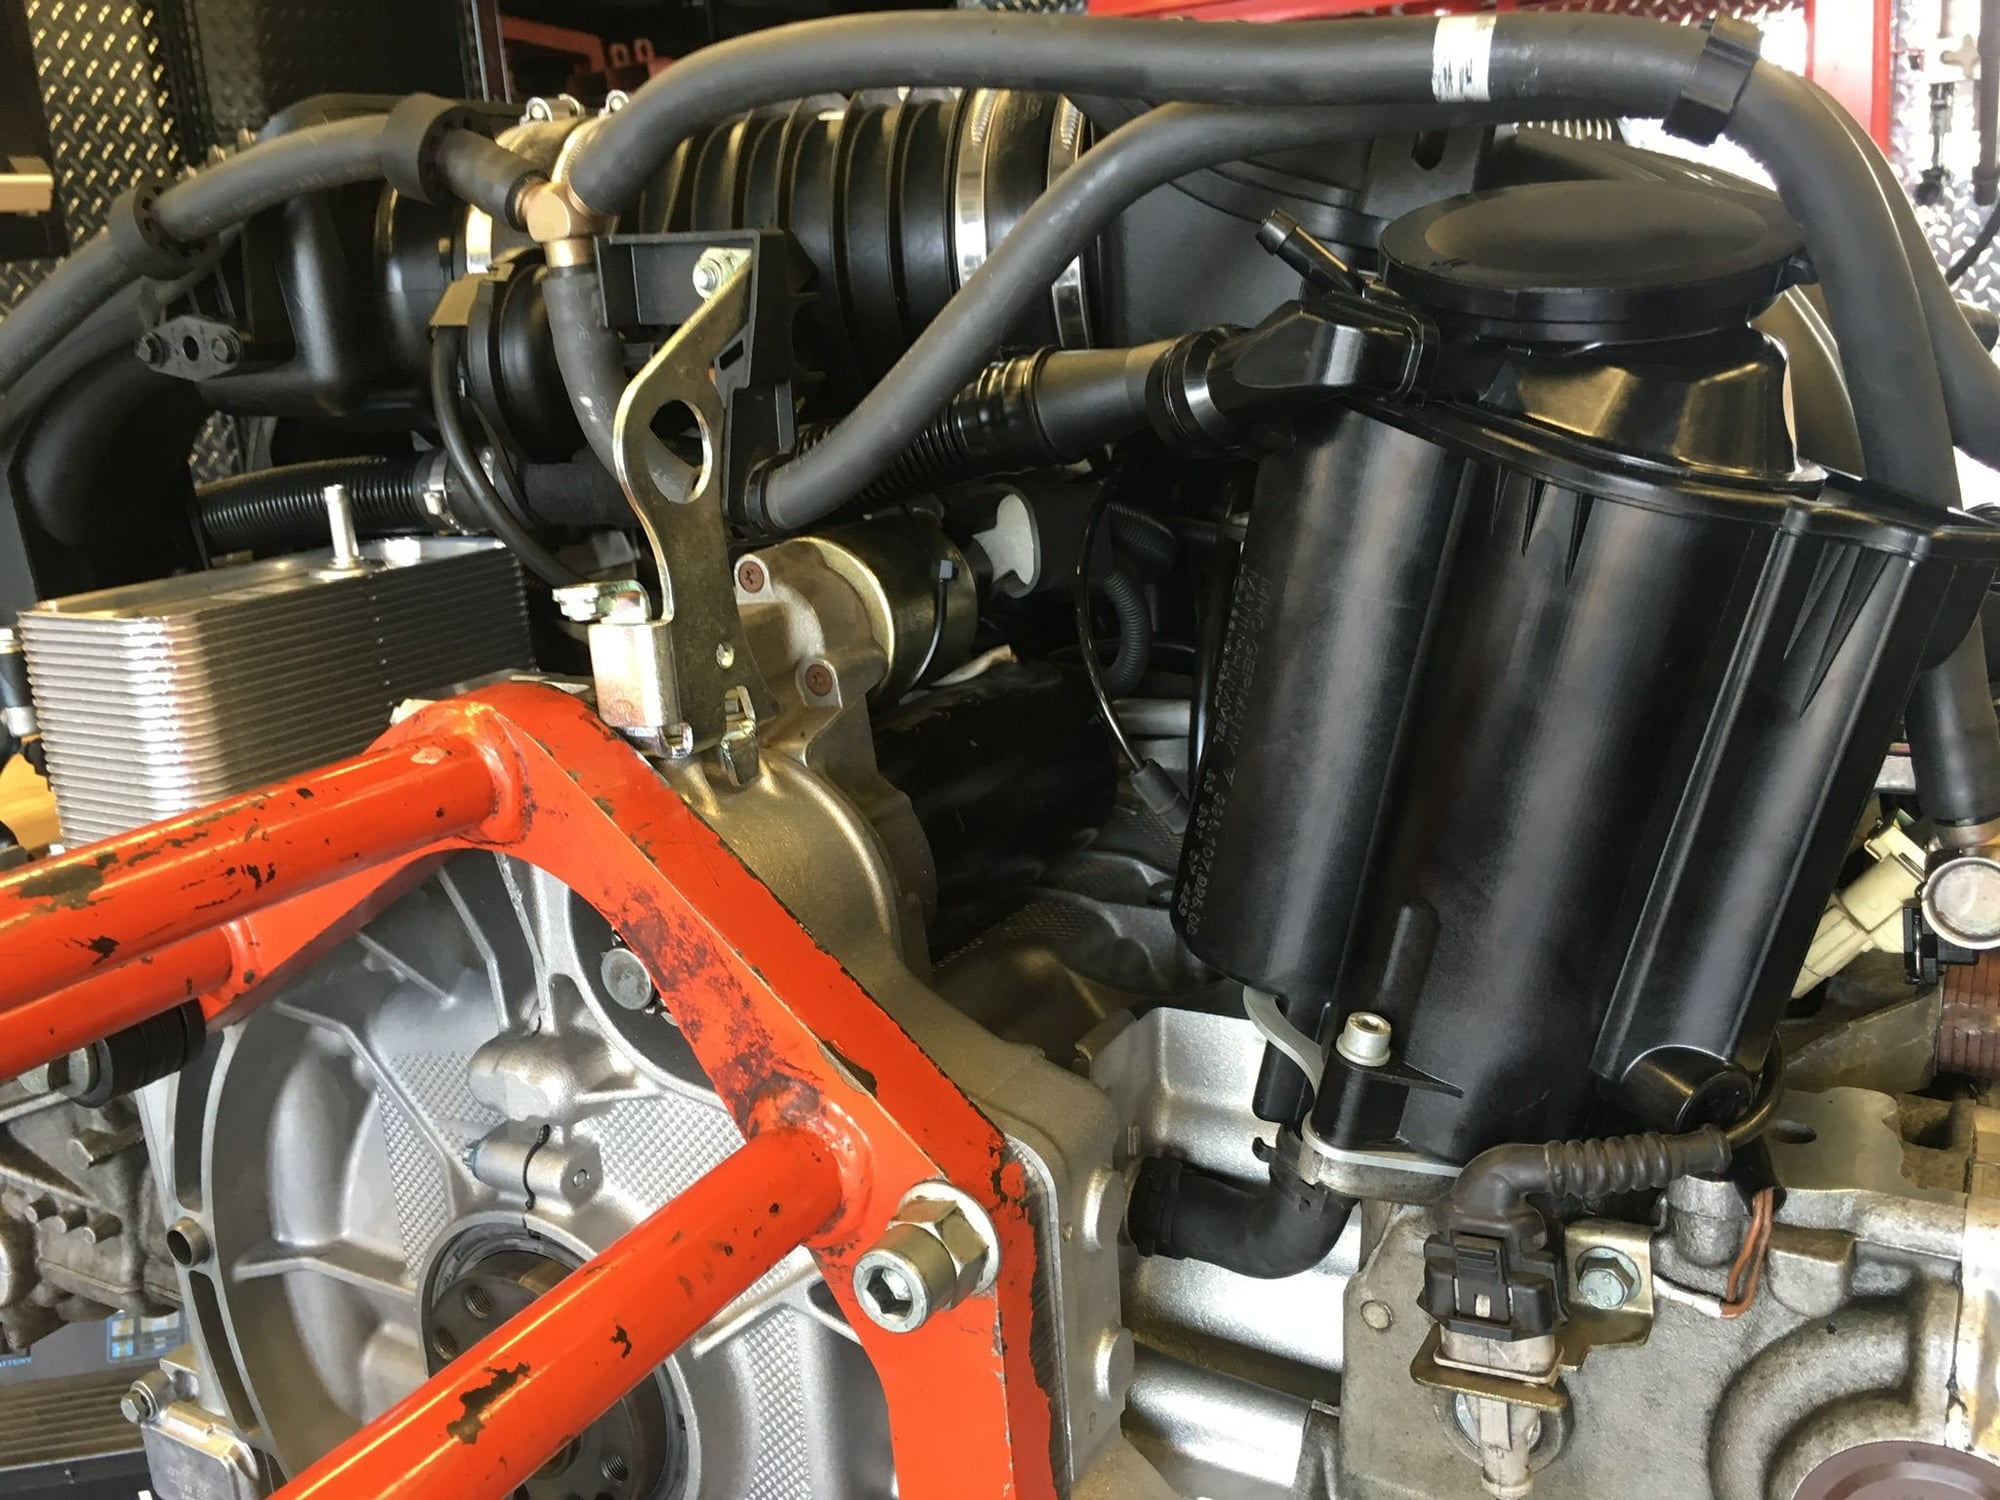
I combined the stock part(99610714759) with the suggested breather(99610794700). They both have a smooth section in the middle that provides a perfect point to splice and have a good seal, while making the length work for factory routing at bank 2. I sourced a sturdy but thinwall tube that tightly fit inside the breather tubes. I slide a piece of heavy shrink tube over one of the breather ends and out of the way for later. I applied a small bead of sealant to the connecting tube before pushing the breathers on, wiping off most of the sealant which ended up getting squeezed out. I then slid the heat shrink over the connection and shrunk. Lastly, I used 2 pinch clamps to keep everything tight through repetitive heat cycles.
No way of connecting this tube looks perfect, but I can tell you 20k miles later it�s still perfect, not a molecule of oil sweat from the connection.
Now the breather to the intake-
IIRC the angle of the hose fitting did not match the separator, but perhaps could be aggressively forced. I practiced with several scrap breather pieces I�ve collected over the years, before using a heat gun the GENTLY rotate the hose fitting to clock better to the AOS. For better or worse I also used a pinch ear clamp at this factory fitting since I rotated it, even though it was already tight again when cooled. I�ve also checked this connection several times with no signs of leaks.
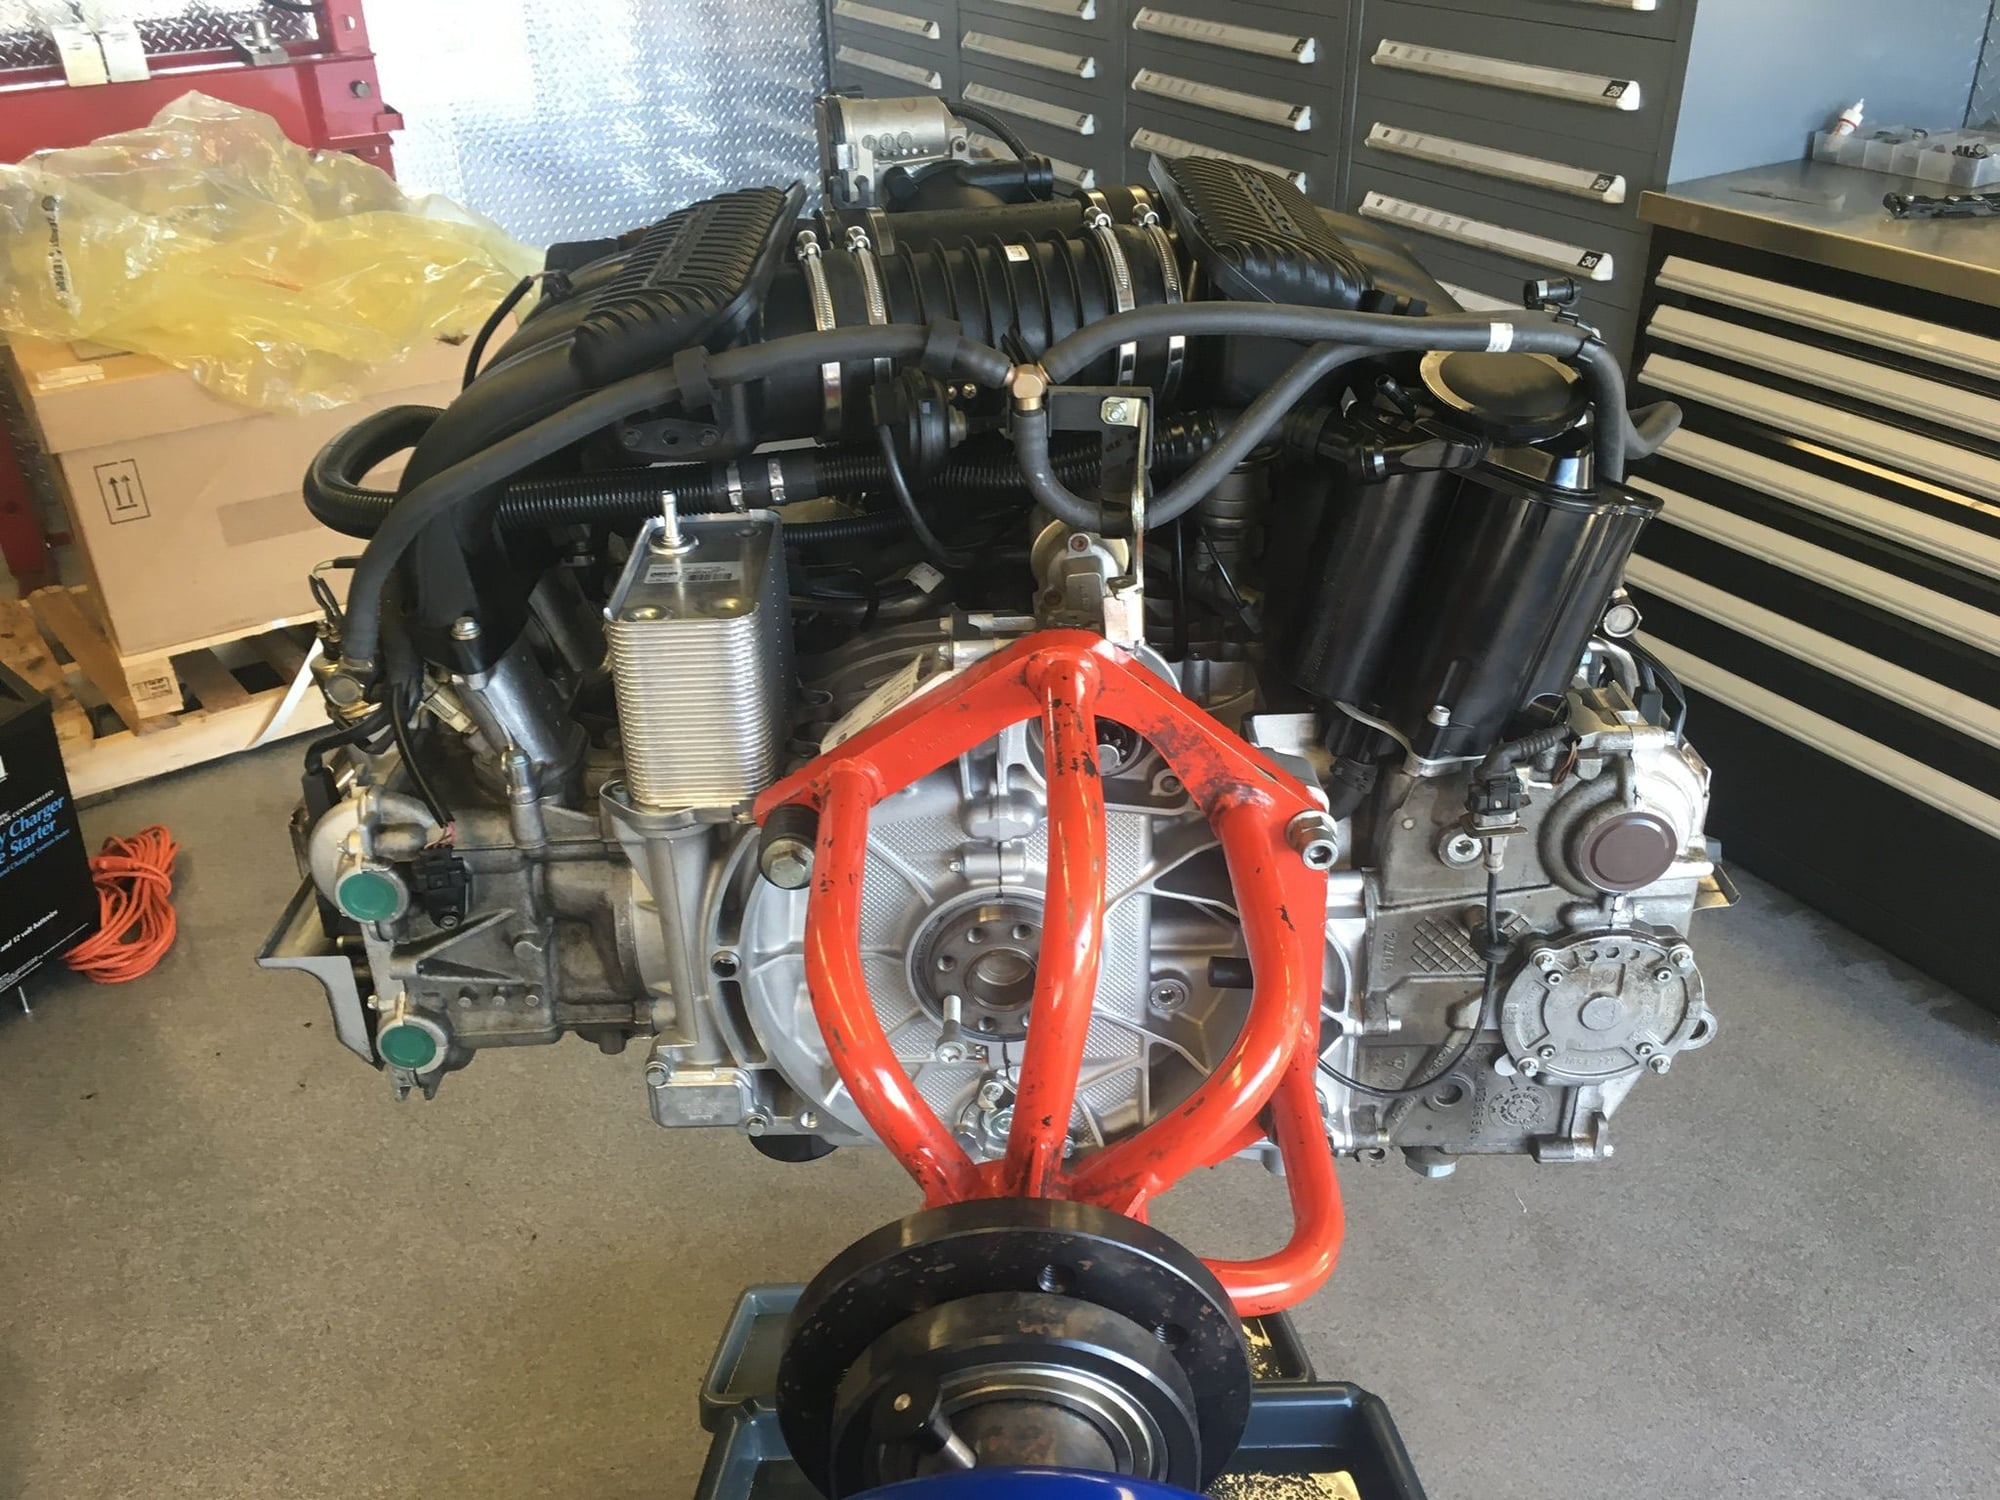
Lastly, and perhaps this is some other misadjusrment I missed, there is a metal coolant line running to the bottle in the engine bay that was contacting the AOS. I needed to do some adjusting but it�s close.
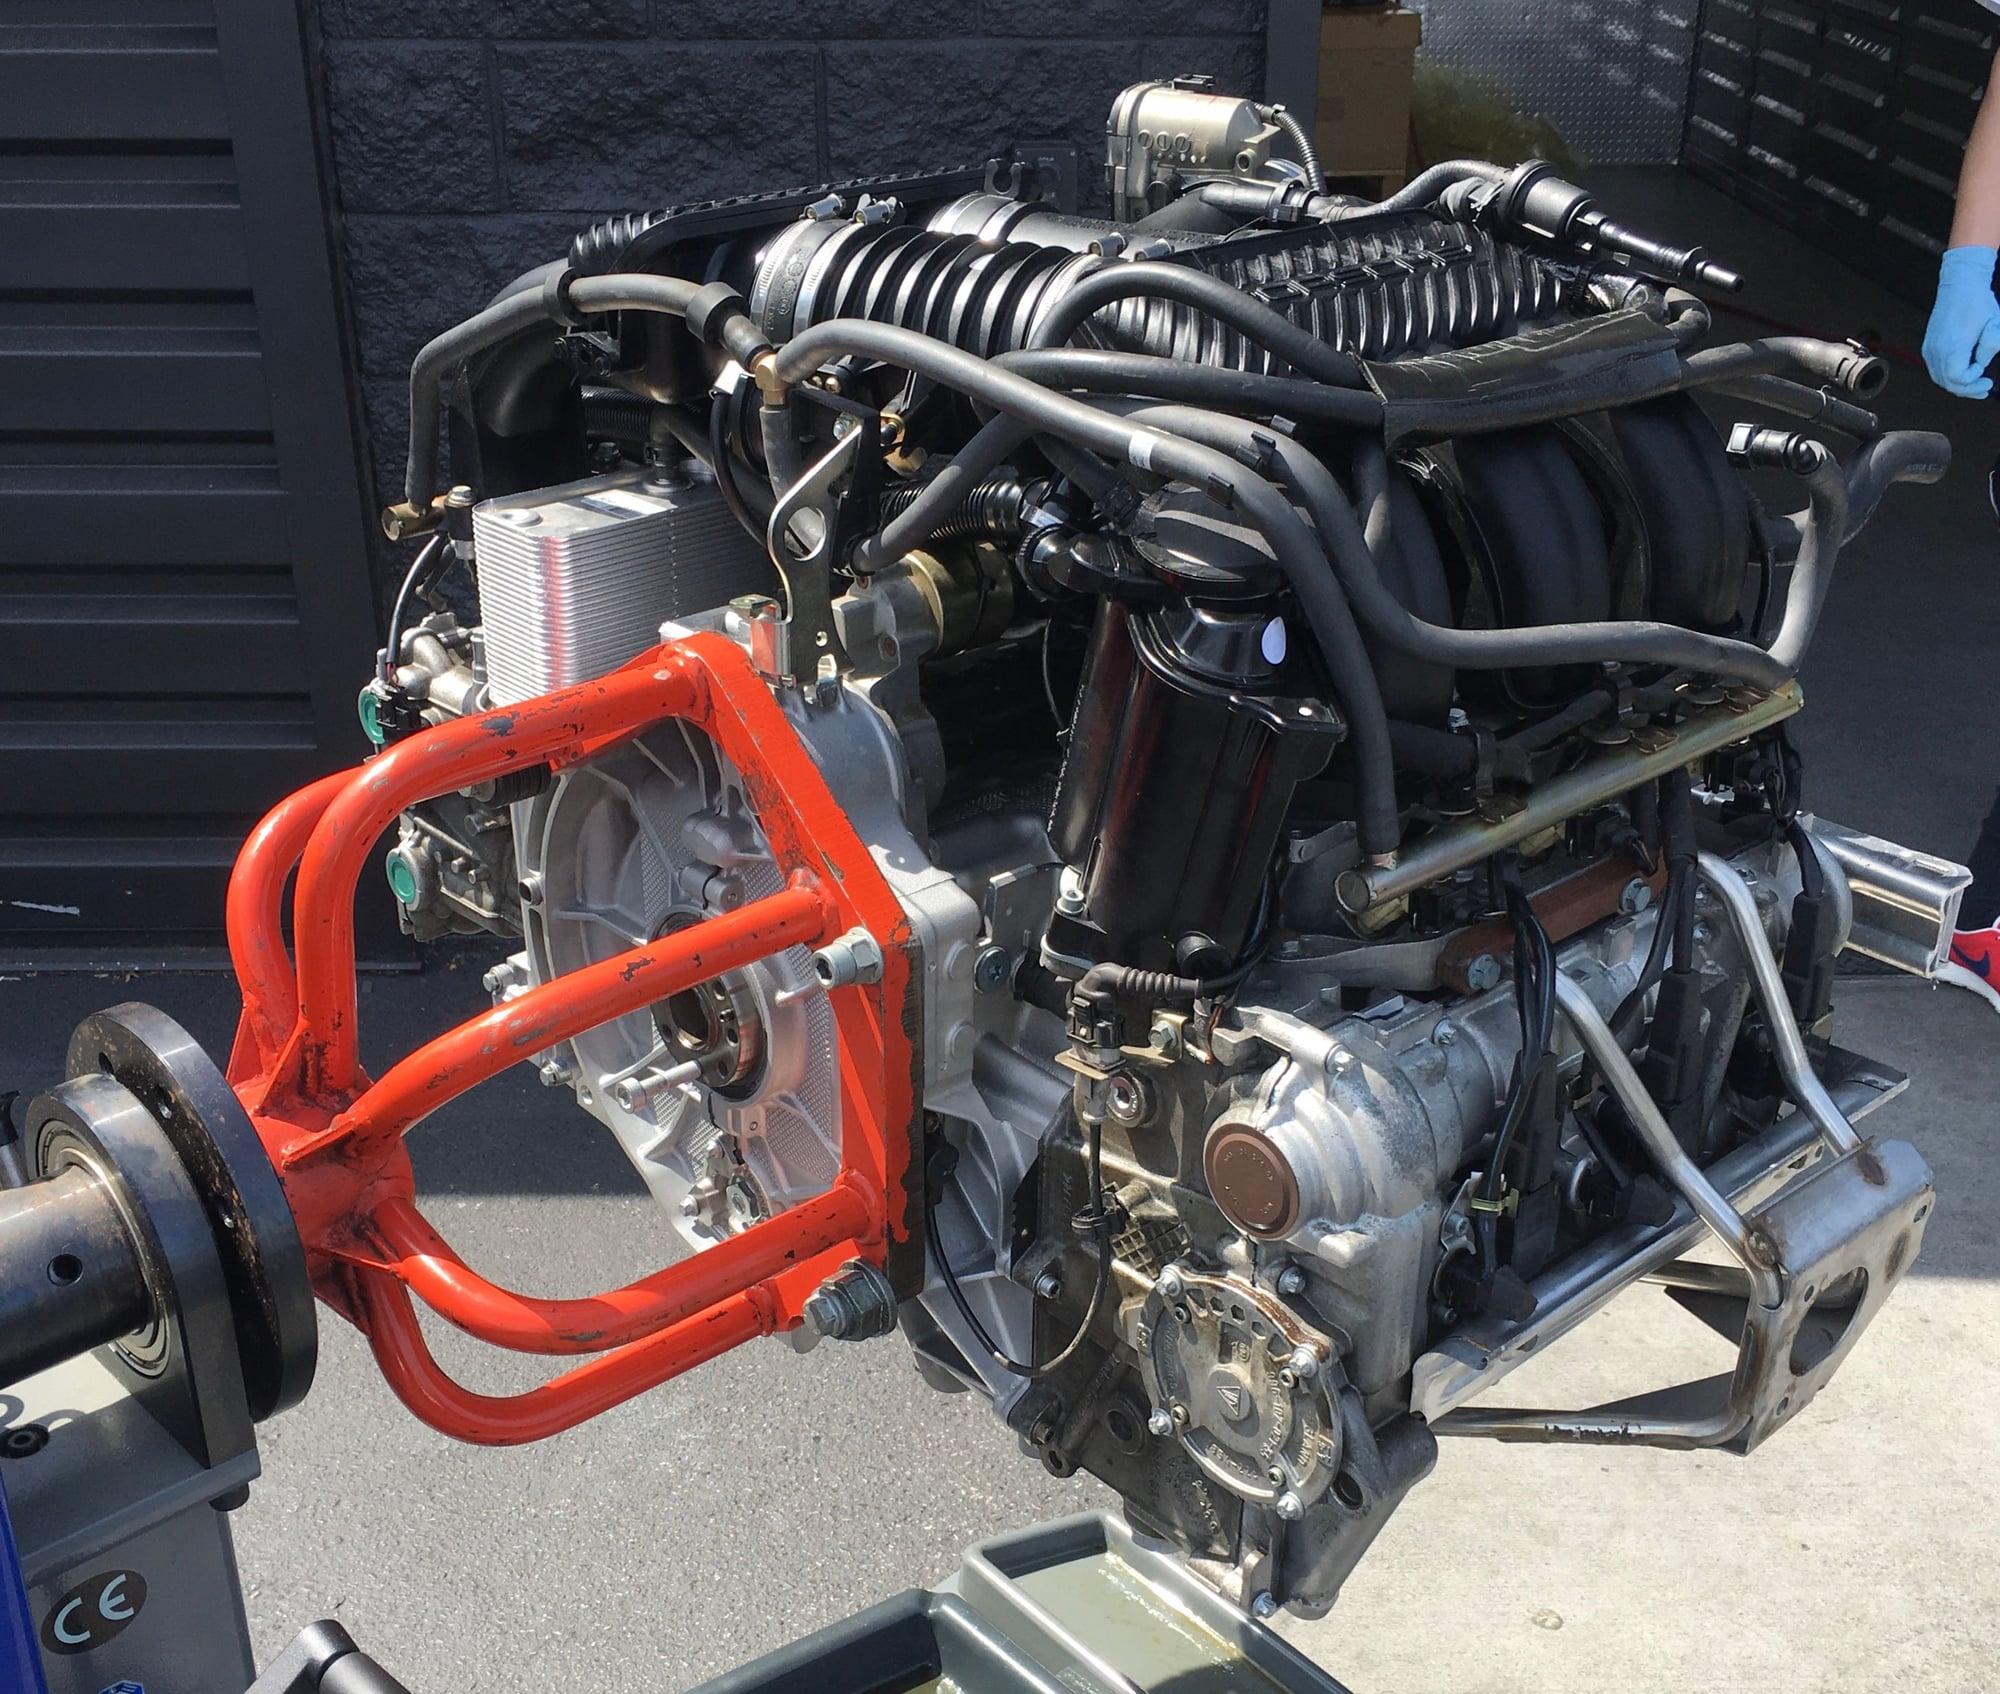
I did everything but that last bit while it was on a stand, I couldn�t imagine trying to noodle out the modifications in the car. Good luck everyone, and I really hope to come back to a �you bonehead you just needed _____� comment!
Ps: if I were to do it again I would make my spliced hose 1/2� shorter in the middle there, as it sticks slightly farther than I�d like out past the manifold
I pulled mine today and it was a royal pain in the butt. 10 hours and most of it was trying to get the farthest intake manifold bolt off, I had to lower the motor (should have just done that first) then I had a tough time getting the AOS bolt off (rearward one)
 04-25-2019, 03:34 PM