When you click on links to various merchants on this site and make a purchase, this can result in this site earning a commission. Affiliate programs and affiliations include, but are not limited to, the eBay Partner Network.
Do you guys believe my over heating was due to the right radiator fan INOP as well as semi dirty radiators? Or would that only show a slight increase in temp not a full 240 temp. Just don't want to make sure that there isnt something else going wrong.
Do you guys believe my over heating was due to the right radiator fan INOP as well as semi dirty radiators? Or would that only show a slight increase in temp not a full 240 temp. Just don't want to make sure that there isnt something else going wrong.
speed and oat dependent .At 50 mph -fans don't have much effect
Do you guys believe my over heating was due to the right radiator fan INOP as well as semi dirty radiators? Or would that only show a slight increase in temp not a full 240 temp. Just don't want to make sure that there isnt something else going wrong.
Listen, and follow.
CLEAN both rads and condensers. Use lots of water, and go from the back toward the front. Use compressed air too. Gobs of stuff will come out.
REPLACE the water pump
REPLACE the thermo with a 160F unit
REPLACE the coolant
Diagnose both fans for operation with 12V source. If both fans are running on high and low, then diagnose supply voltage back to relays. Fans come on in parallel. Both on low, or both on high. If you have bent/crushed hardware replace that. Most of the water lines are hard from the engine to the front with rubber hose in between. They run along the top inside of the front fender wells and are visible once the fender liner is out.
Consider the center third radiator kit. It is one of the best upgrades I did to my car. With the new pump and low temp thermo, my car never got over 180F even on the hottest day, sitting in traffic with the AC running full. It's a great addition and you are right there now and can install it easily. Kit is avail on Pelican, or you can buy the same rad on rockauto.com and make up your own brackets and hoses for a lot less money.
There is also a front bumper intake screen mod that will keep large chunks of crud out of the intakes. It is very cheap, just search for the bumper screen here to find the job.
It looks as though the PO had this problem and gave up because the thermostat fitting looks to be new as well as the water pump.
P.s. before you all jump on me for not taking his advice. I�m still going to pull them and do a good inspection, I�m already going to flush the coolant system for the good times.
Good idea to pull and inspect .Since those parts appear new -probably should add system had air pockets as a contributing factor .Once back together I would verify temp gage sensor readings with an ir temp gun .The other point I hate to mention is that if the old water pump broke a blade that is partially blocking a passage that would exhibit similar symptoms
Have you used an OBD2 reader to read the engine temp directly from the DME? That could either confirm or disprove the high temp readings and let you focus on things like the pipe restriction in the pic above (what % of the flow rate is lost??). Beyond that you're in danger of cracked head(s) with the overheating, so carefully monitor your coolant for oil mixture (see threads on intermix).
+1 on pelican parts tennical articles. A coolant flush is lower priority right now. Also, you will need a vacuum pump to refill the coolant. These would be my priorities:
1. Remove front bumper and clean radiators. I guarantee they are full of crud. There are YouTube videos.
2. Make sure your fans are coming on. Diagnose while the front bumper is off. Pelican tech article.
3. Change oil with a high quality 5W40. If you haven't purchased a stock filter yet, spent the extra and get the LN Engineering spin on kit. Add 9 quarts with the new filter. Do not fill over top line on dip stick. A little below the top line is ok. Do not over-torque the drain plug. If you buy the LN Engineering magnetic plug, the torque value is only 19ft-lbs, as I recall.
4. Check the brakes. A set of inexpensive Meyle drilled rotors and Textar pads are very good for street use and not too expensive. Replace the fluid with Porsche fluid. It is not much more expensive than other quality brake fluids.
5. The rubber parts on your suspension look worn out. If you have a press and the time and skill, you can methodically replace the bushings. Some of the Meyle brand arms are very reasonably priced and may not cost more than replacing the bushings.
As others have said, DO NOT let it over heat.
Not to side track from the cooling issues that the OP is experiencing but for the benefit of another newb.
Are Meyle brand replacement arms/components equivalent to factory pieces for overhauling an aging 996's suspension? Or are factory pieces superior/worth the $$?
It looks as though the PO had this problem and gave up because the thermostat fitting looks to be new as well as the water pump.
P.s. before you all jump on me for not taking his advice. I�m still going to pull them and do a good inspection, I�m already going to flush the coolant system for the good times.
Have you picked the PO brain about any issues he may have been dealing with? While I was searching for my car I was able to contact previous owners and discuss history on some.
Good point on air entrainment. That is certainly possible. I burped my using the top rad hose on each side, and ran it with the heater on, at high revs. I had to top up the coolant twice to get all the air out once I burped the rads at the top hose.
Of course, if it has new pump and thermo, and they look and test good, no need to do it again.
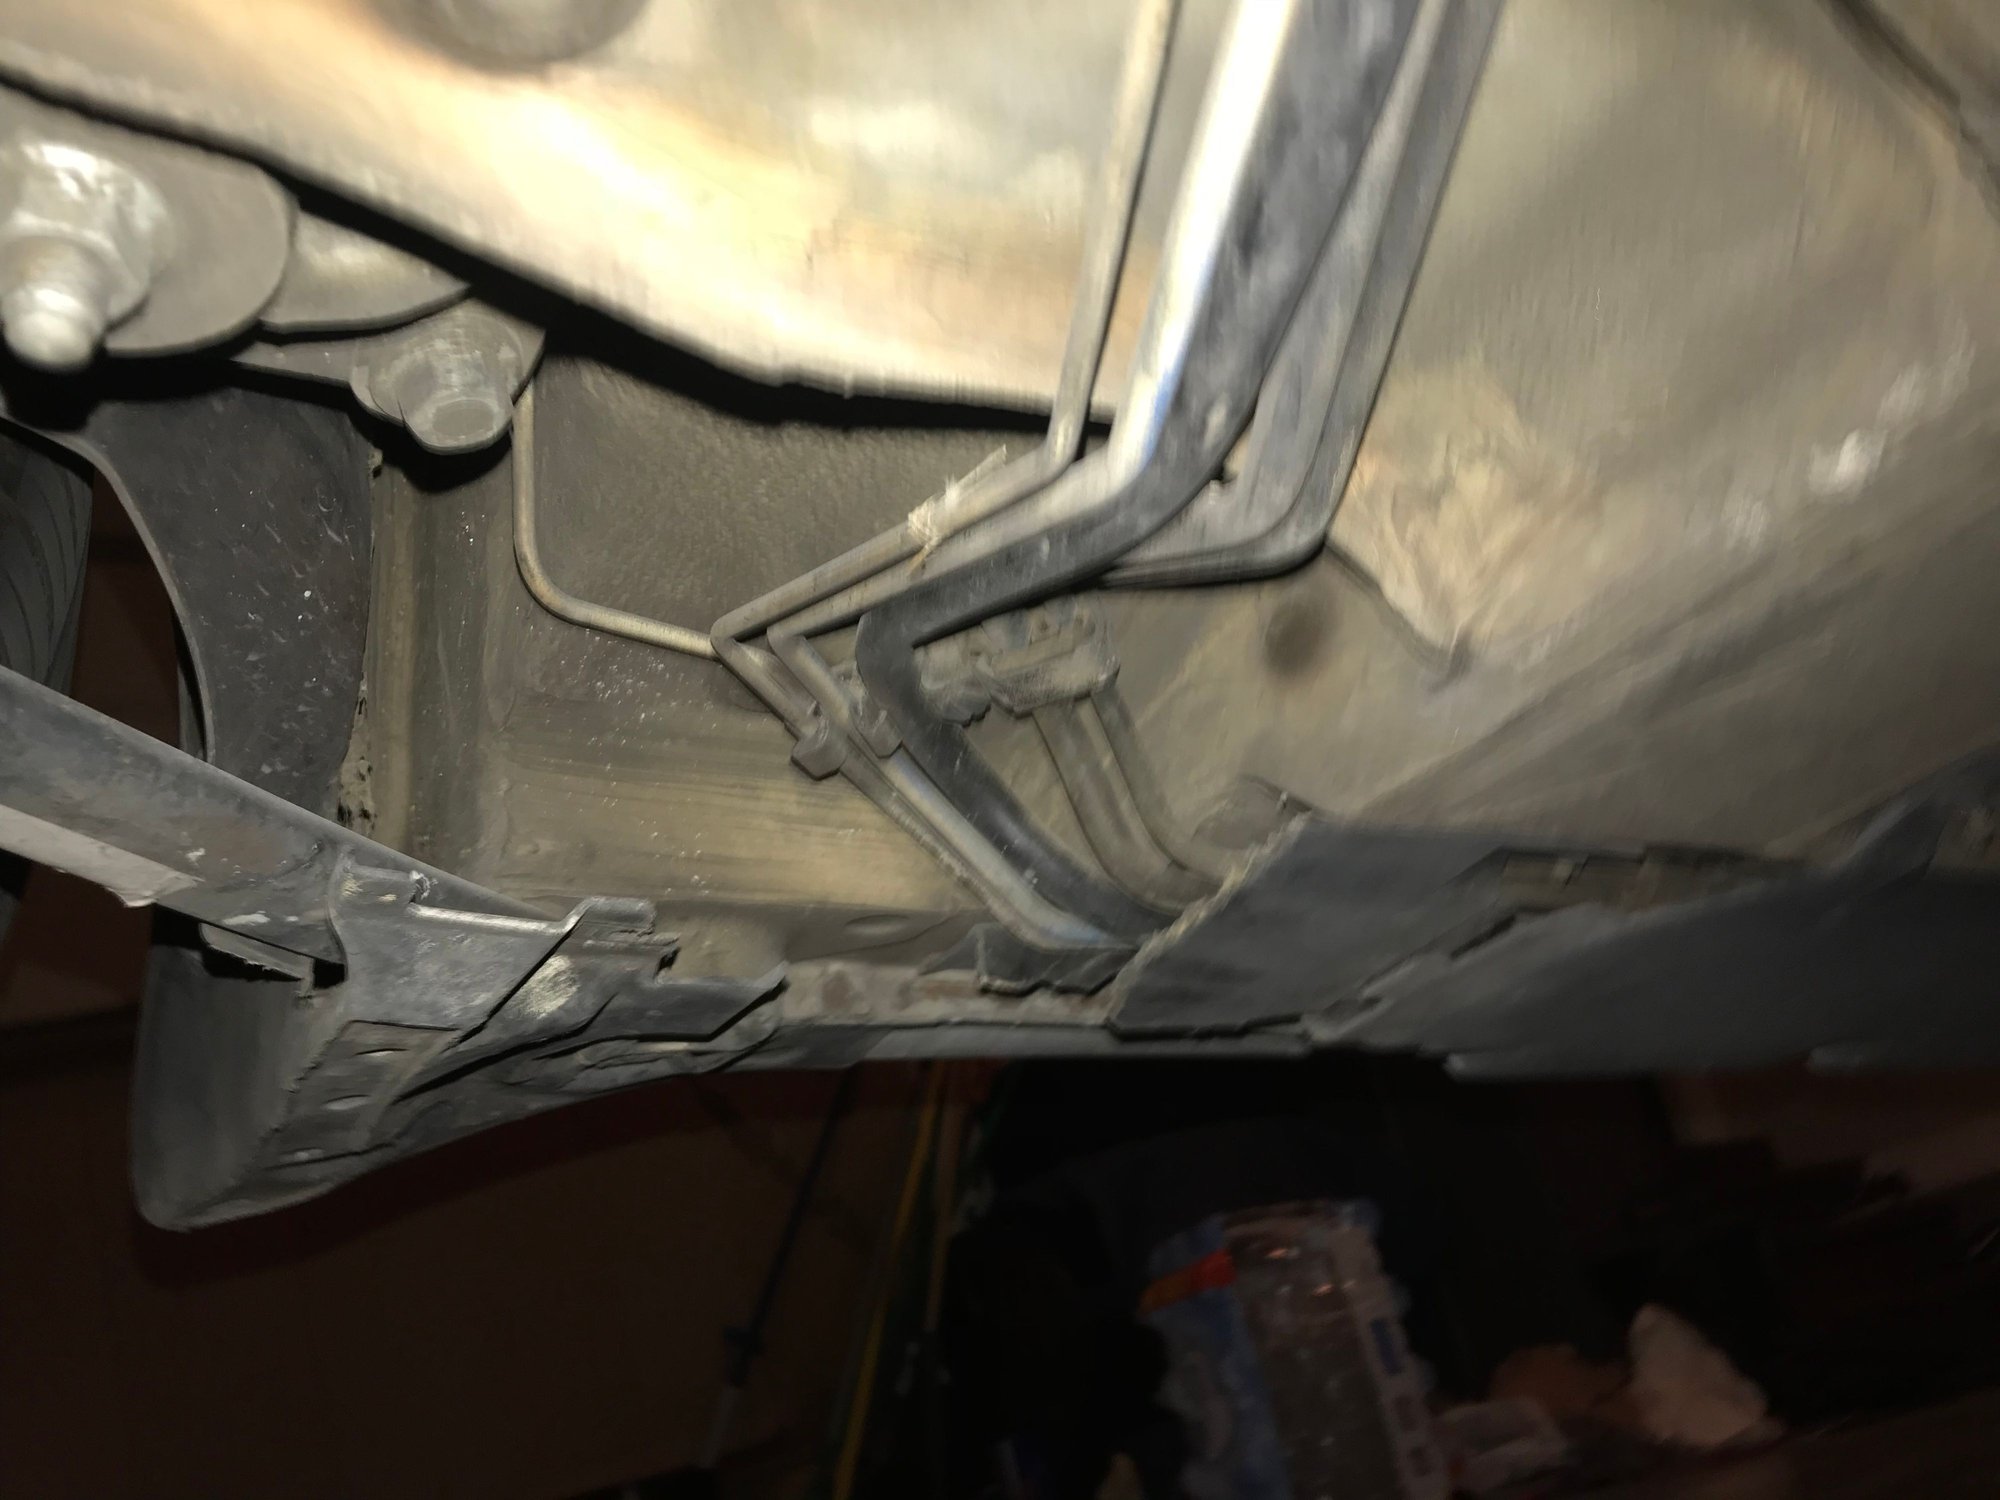
So there�s a line next to the rh front jacking point that�s bent pretty bad. And why is there a line coming out of the head light that�s 3 feet long? Because mine was bent all up in the wheel well. So far not seeing any busted lines other than that one.
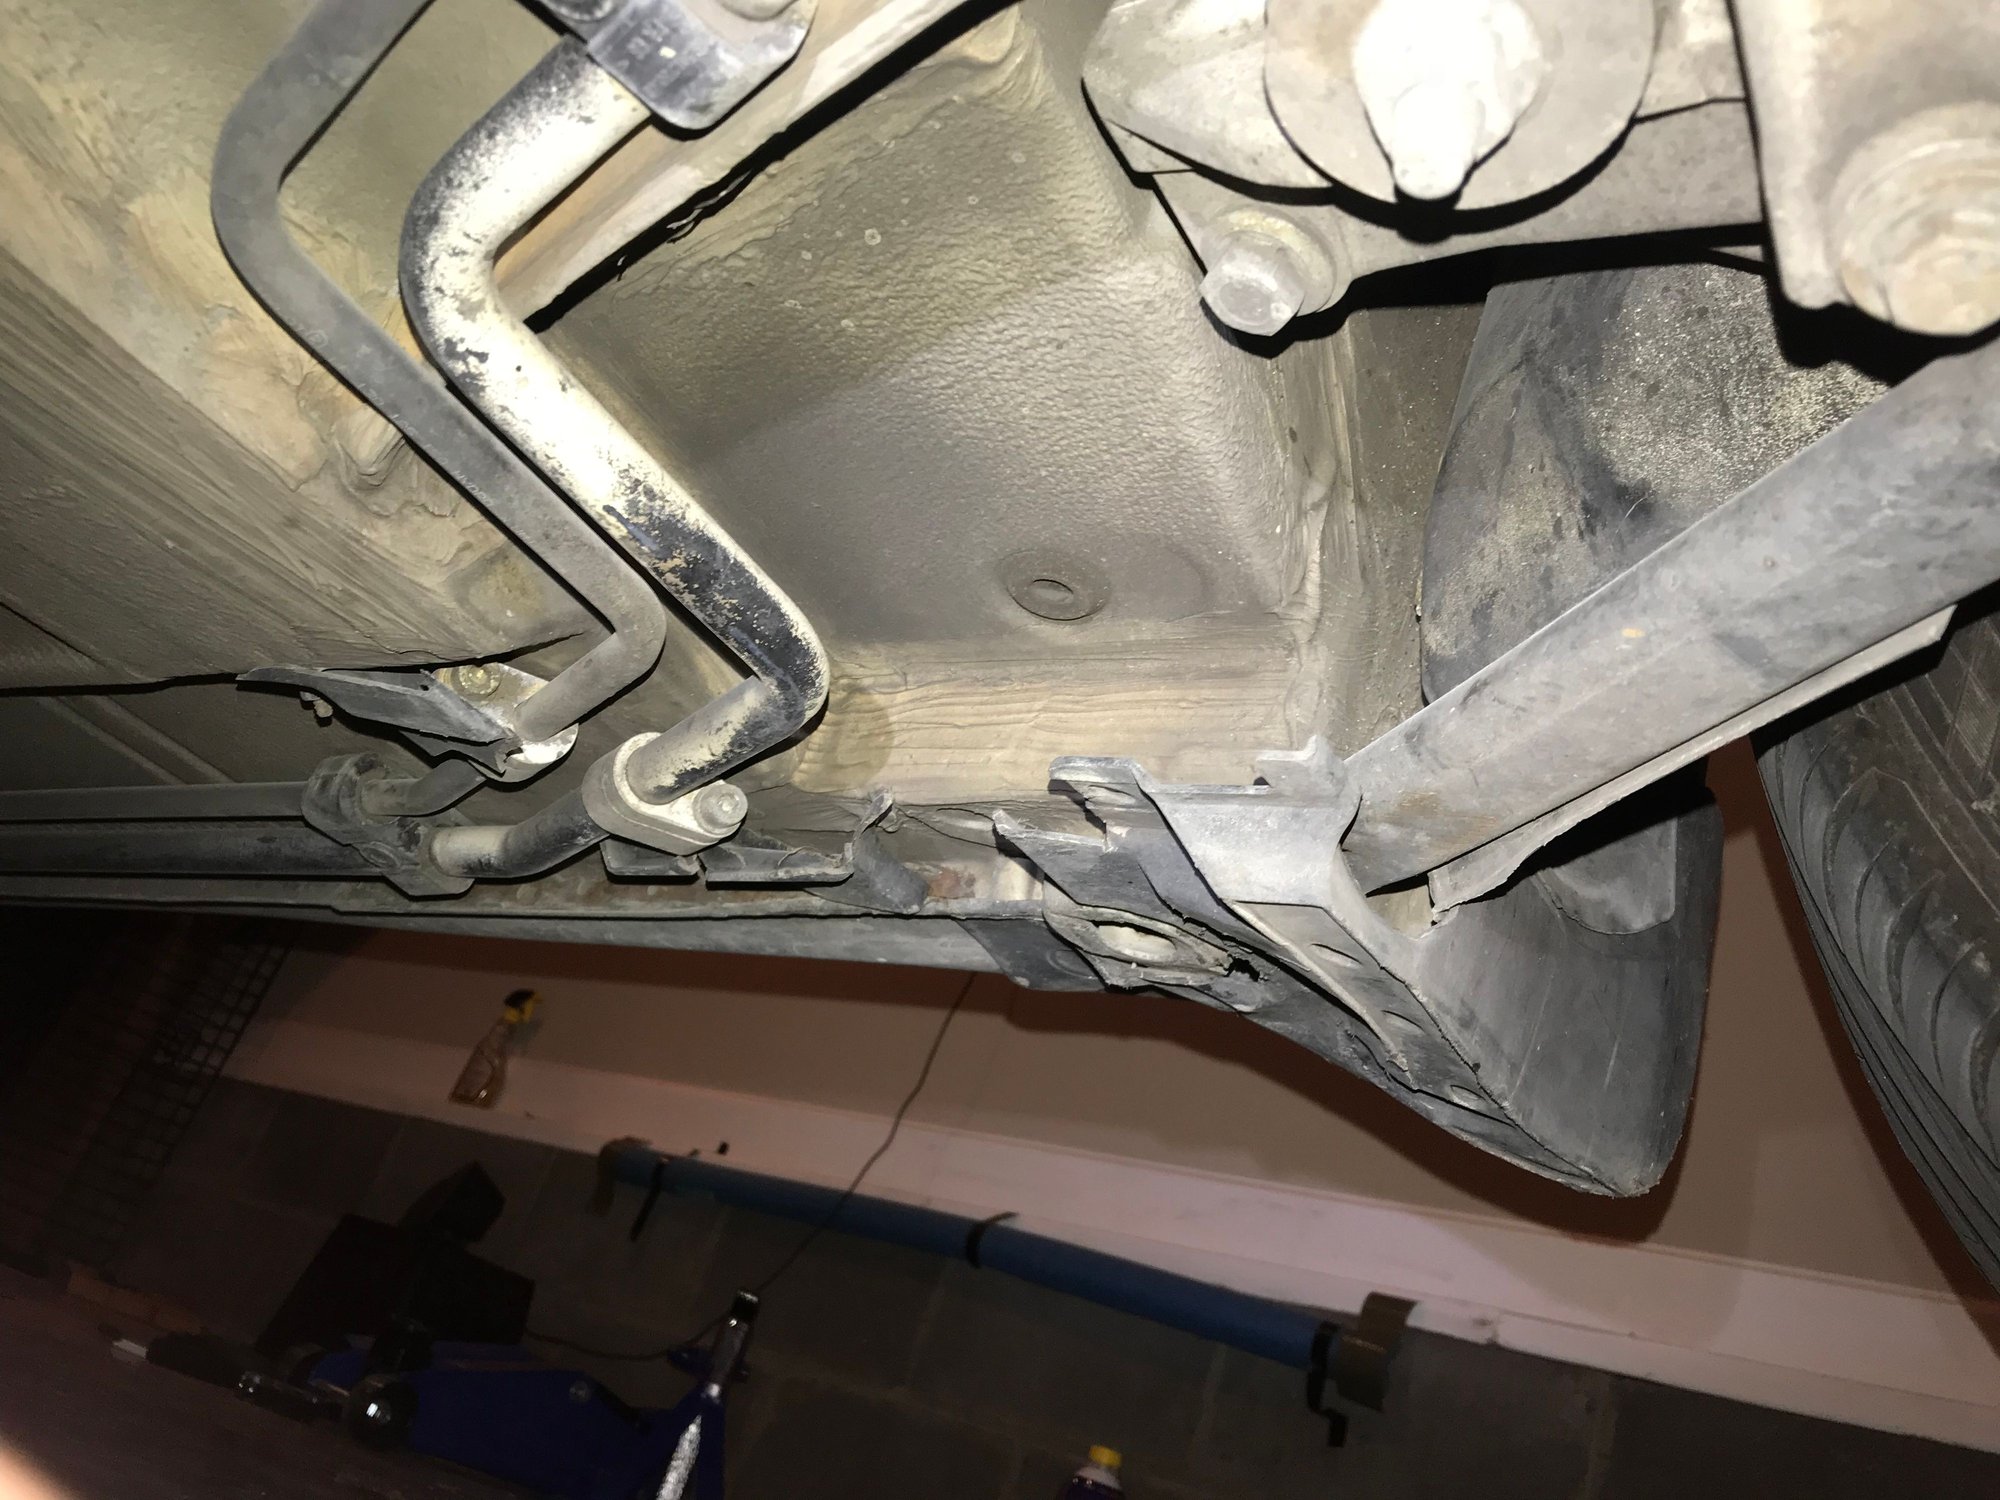
Is that a jack stand touching the cardboard? If so, I don't think you want to support the car from that point. You want the jack stand under the jack point that is in the forefront of the photo.
Is that a jack stand touching the cardboard? If so, I don't think you want to support the car from that point. You want the jack stand under the jack point that is in the forefront of the photo.
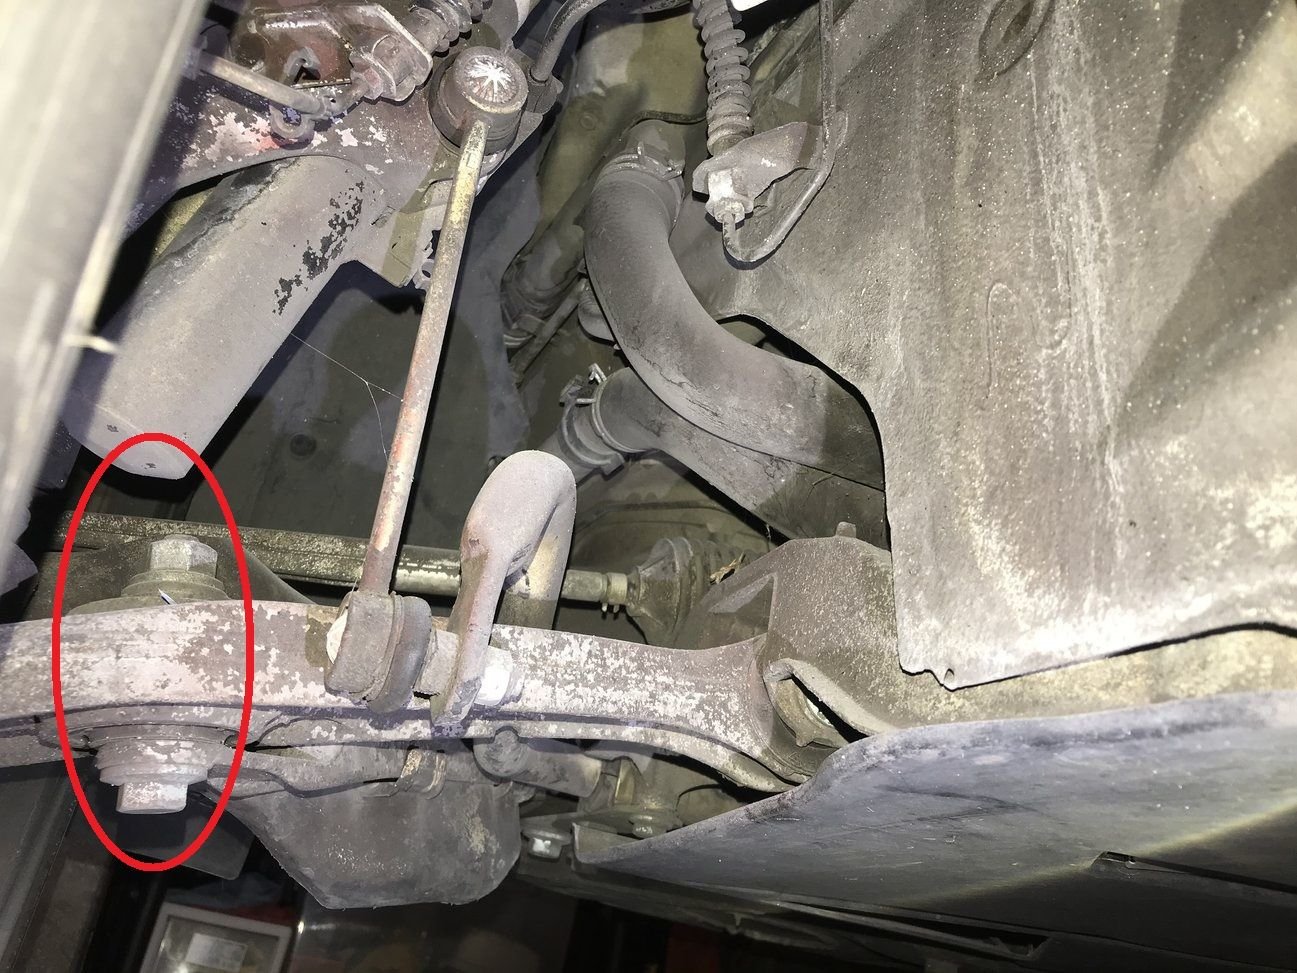
Also not a big deal but this bolt is on upside down... Kinda scary to think what else has been done incorrectly on this car, the spray paint is a bigger travesty... Also note thats the way the bolt should be on the rear...
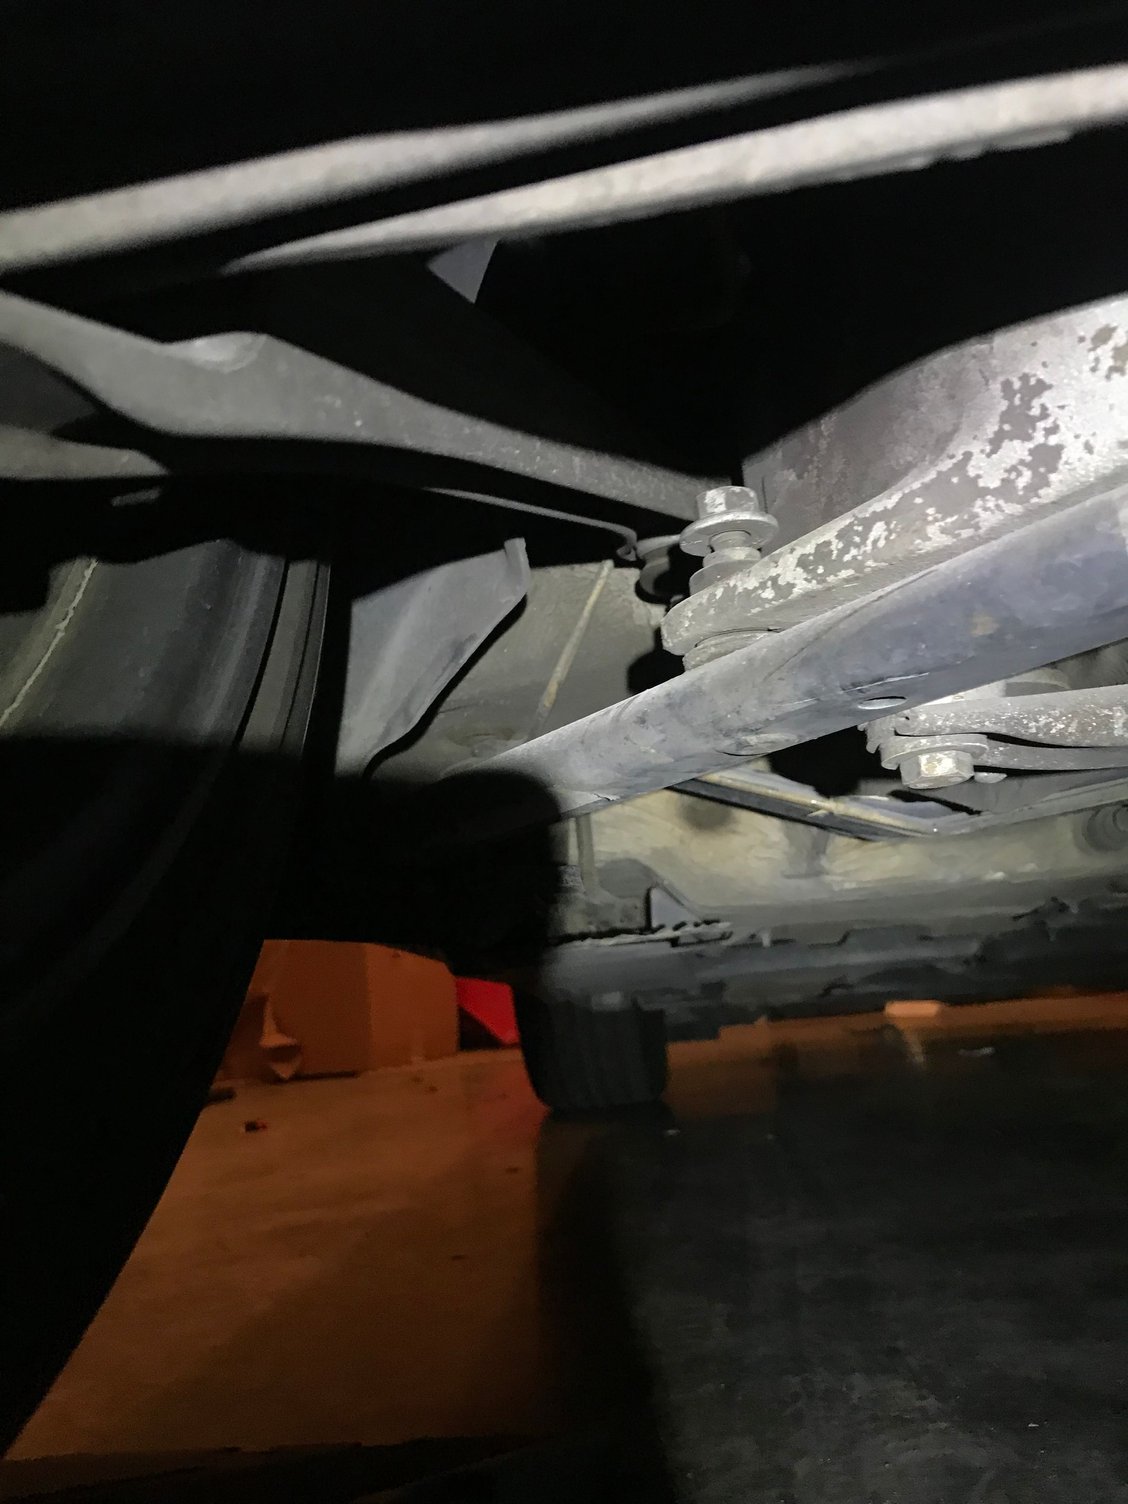
So decided to do alittle more inspection of the rear.
Heres what I’ve found so far.
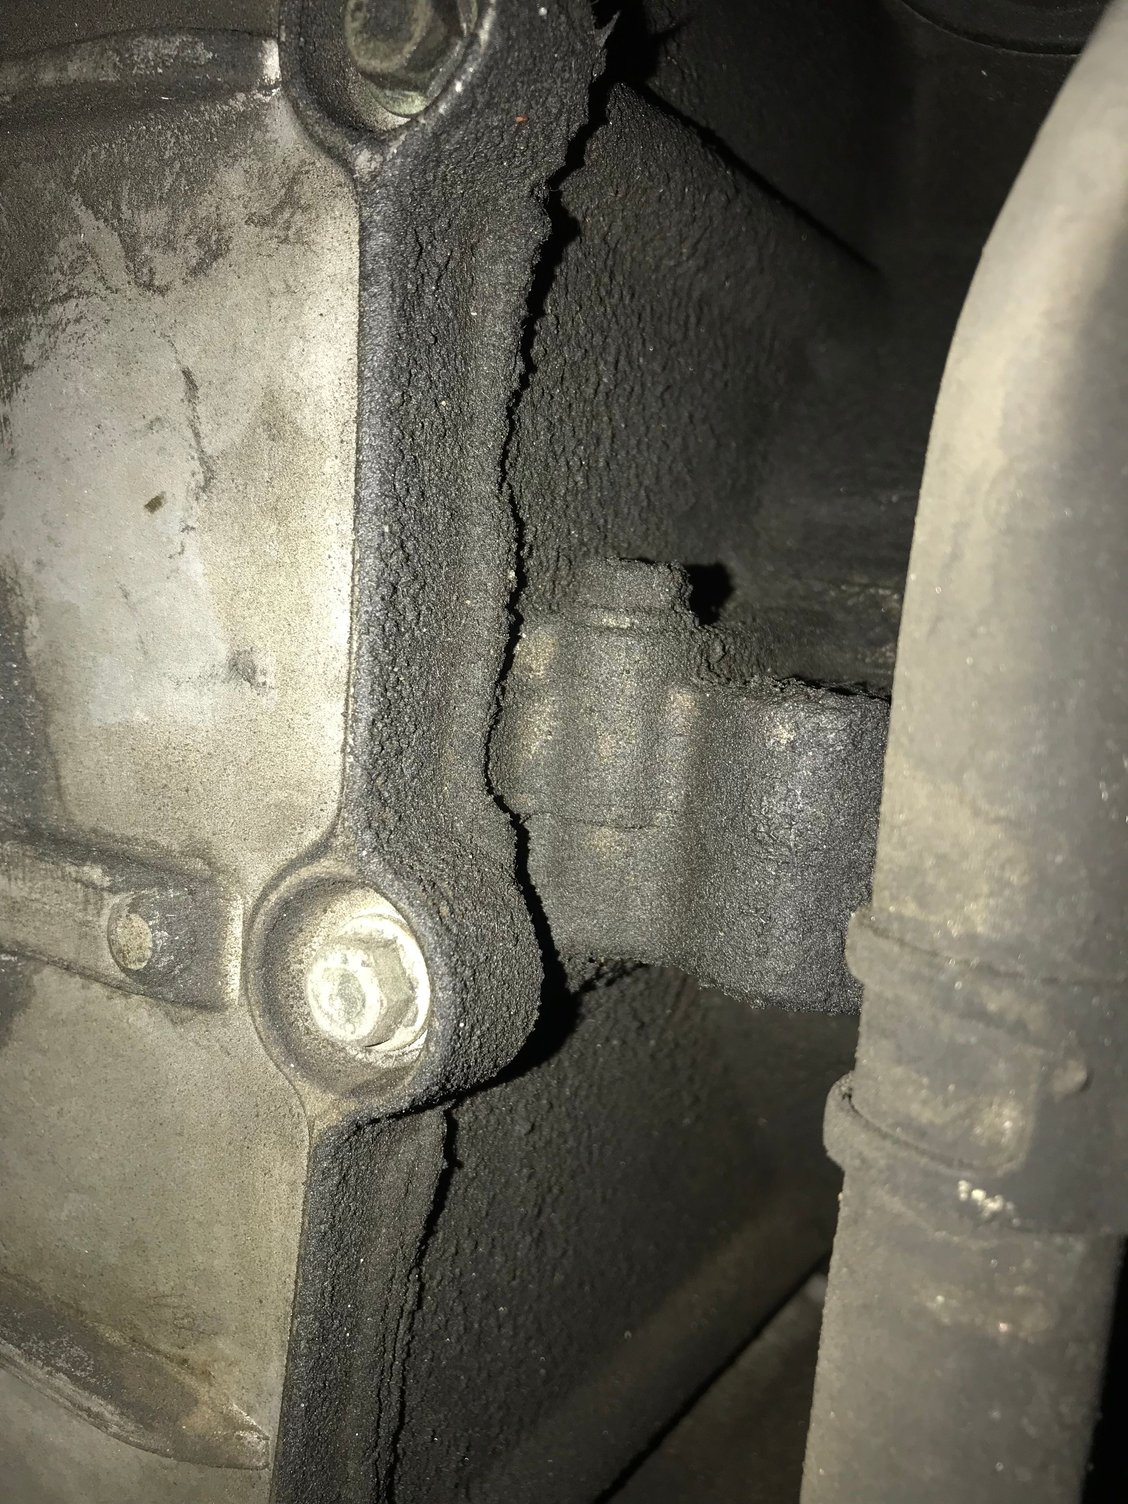
Both sides have this part of the under shroud cut off. Anyone know what it’s for?
Both sides have this bolt not even finger tight. It can get tight in that hole but it doesn’t seat so... it may come from somewhere else.
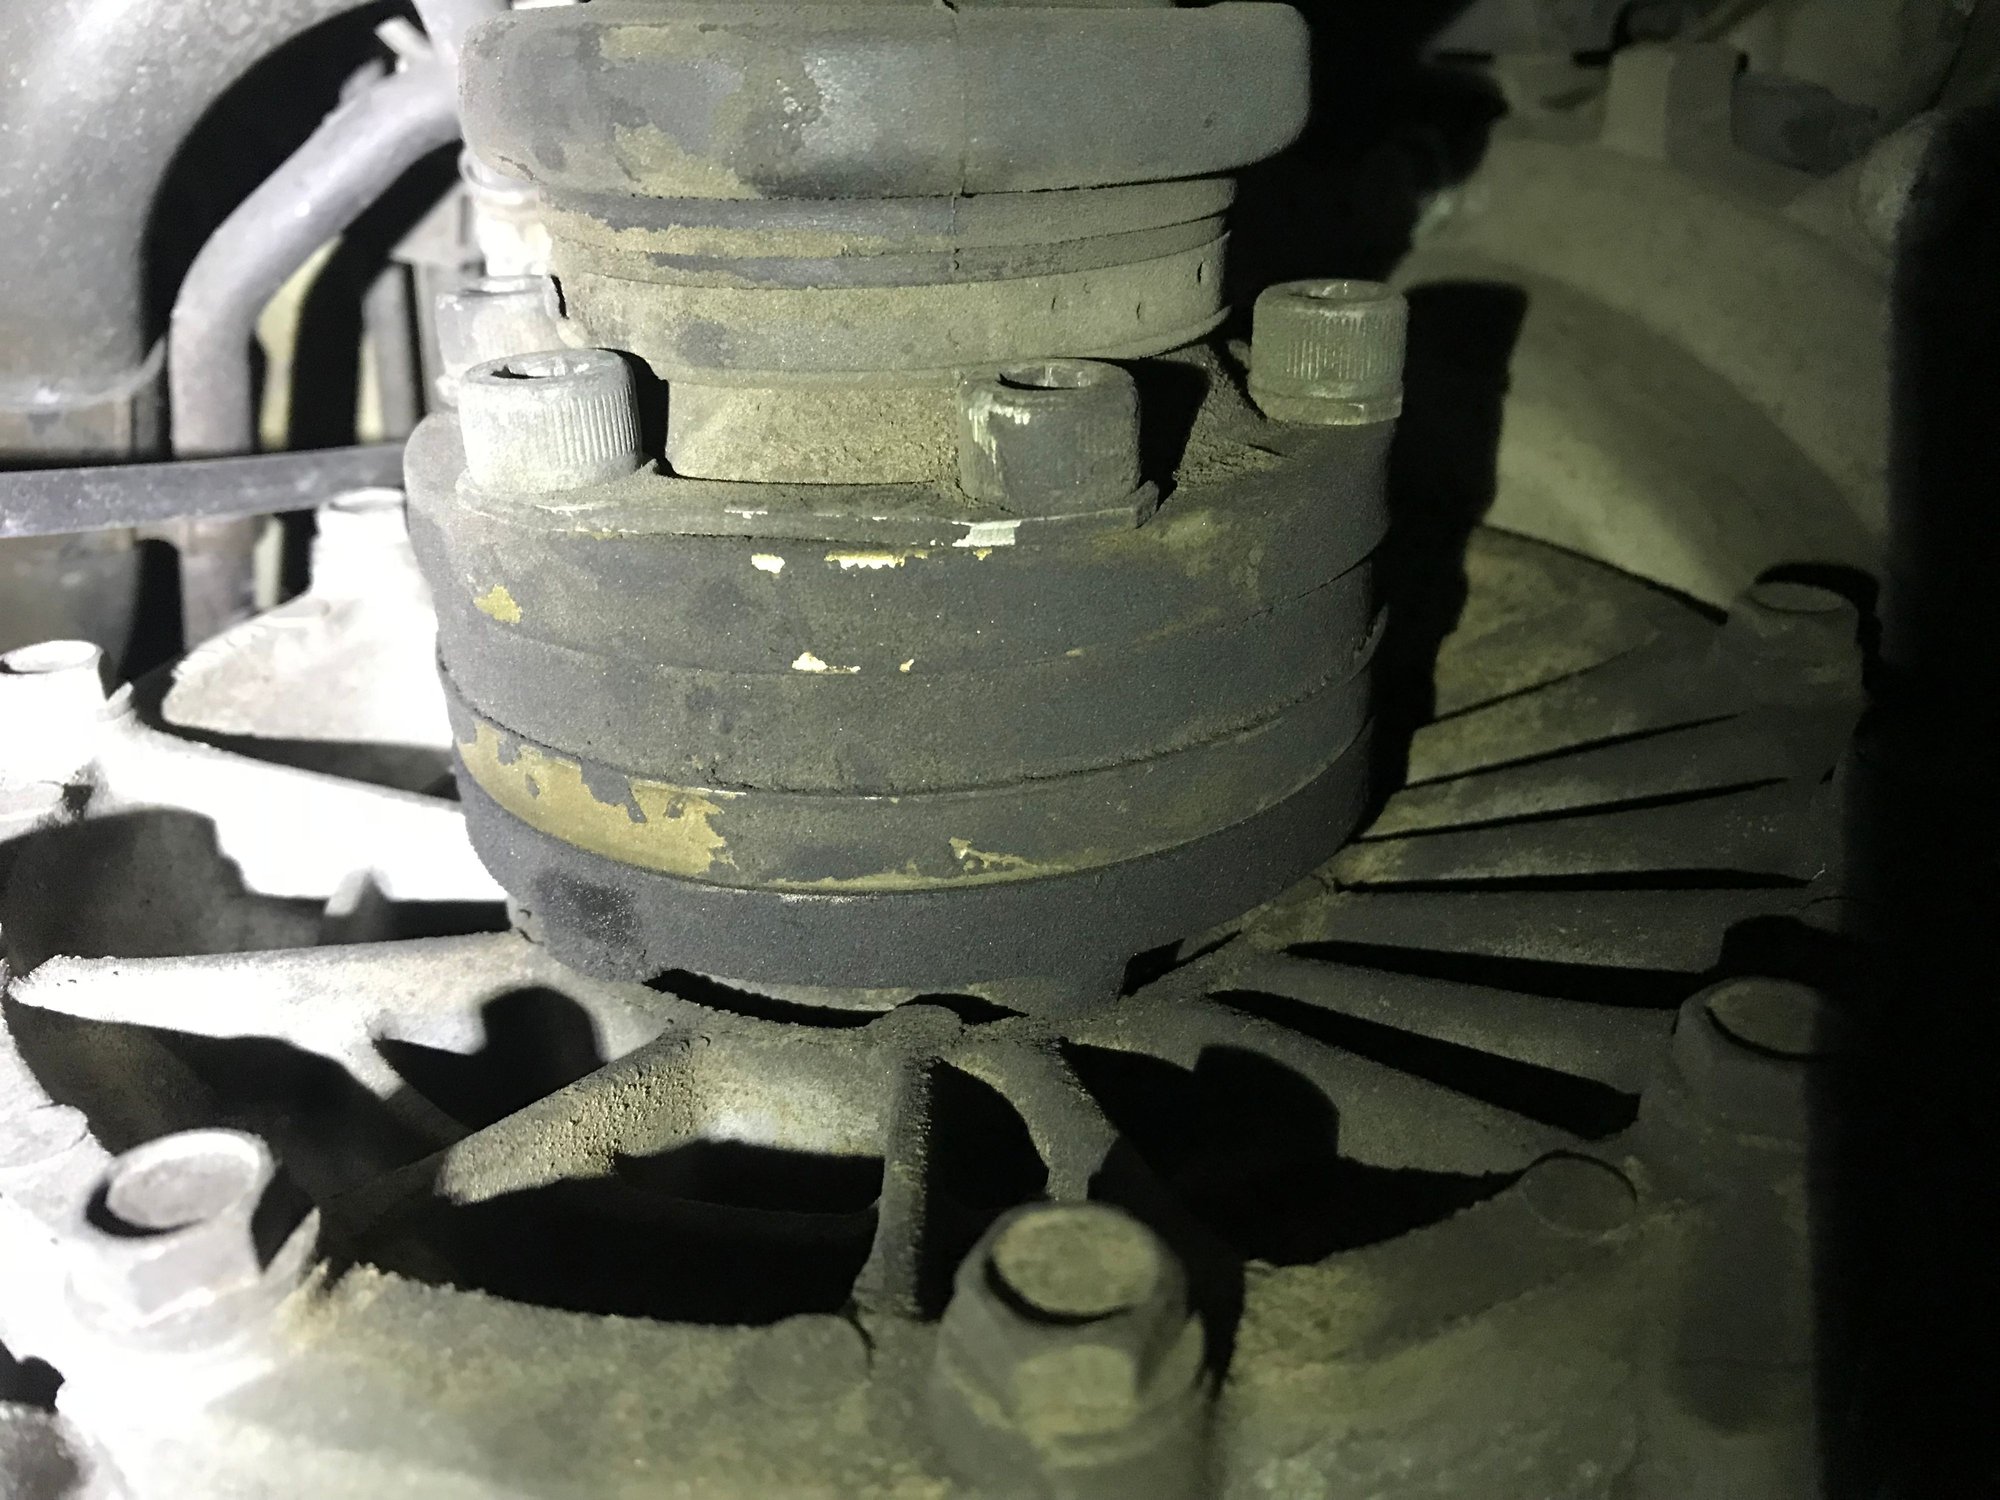
Only the Driver side axle looks to have residue on it.
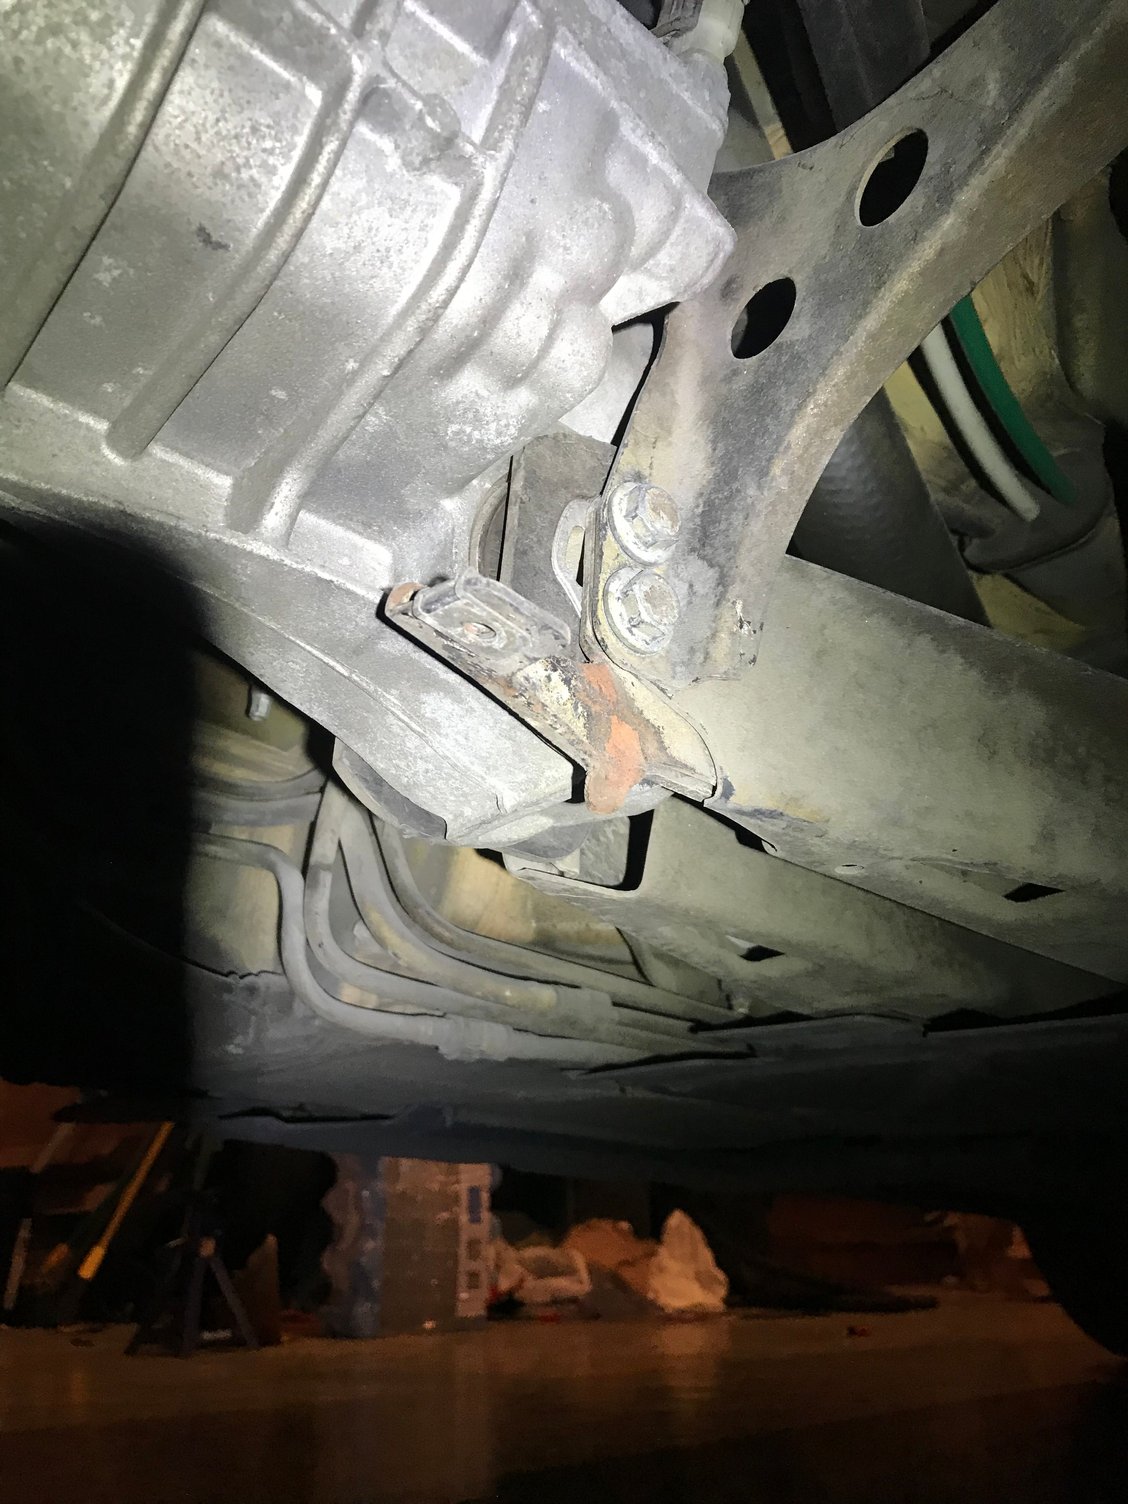
There is this bracket with nothing attached right next to the transmission on the RH side.(looking FWD)
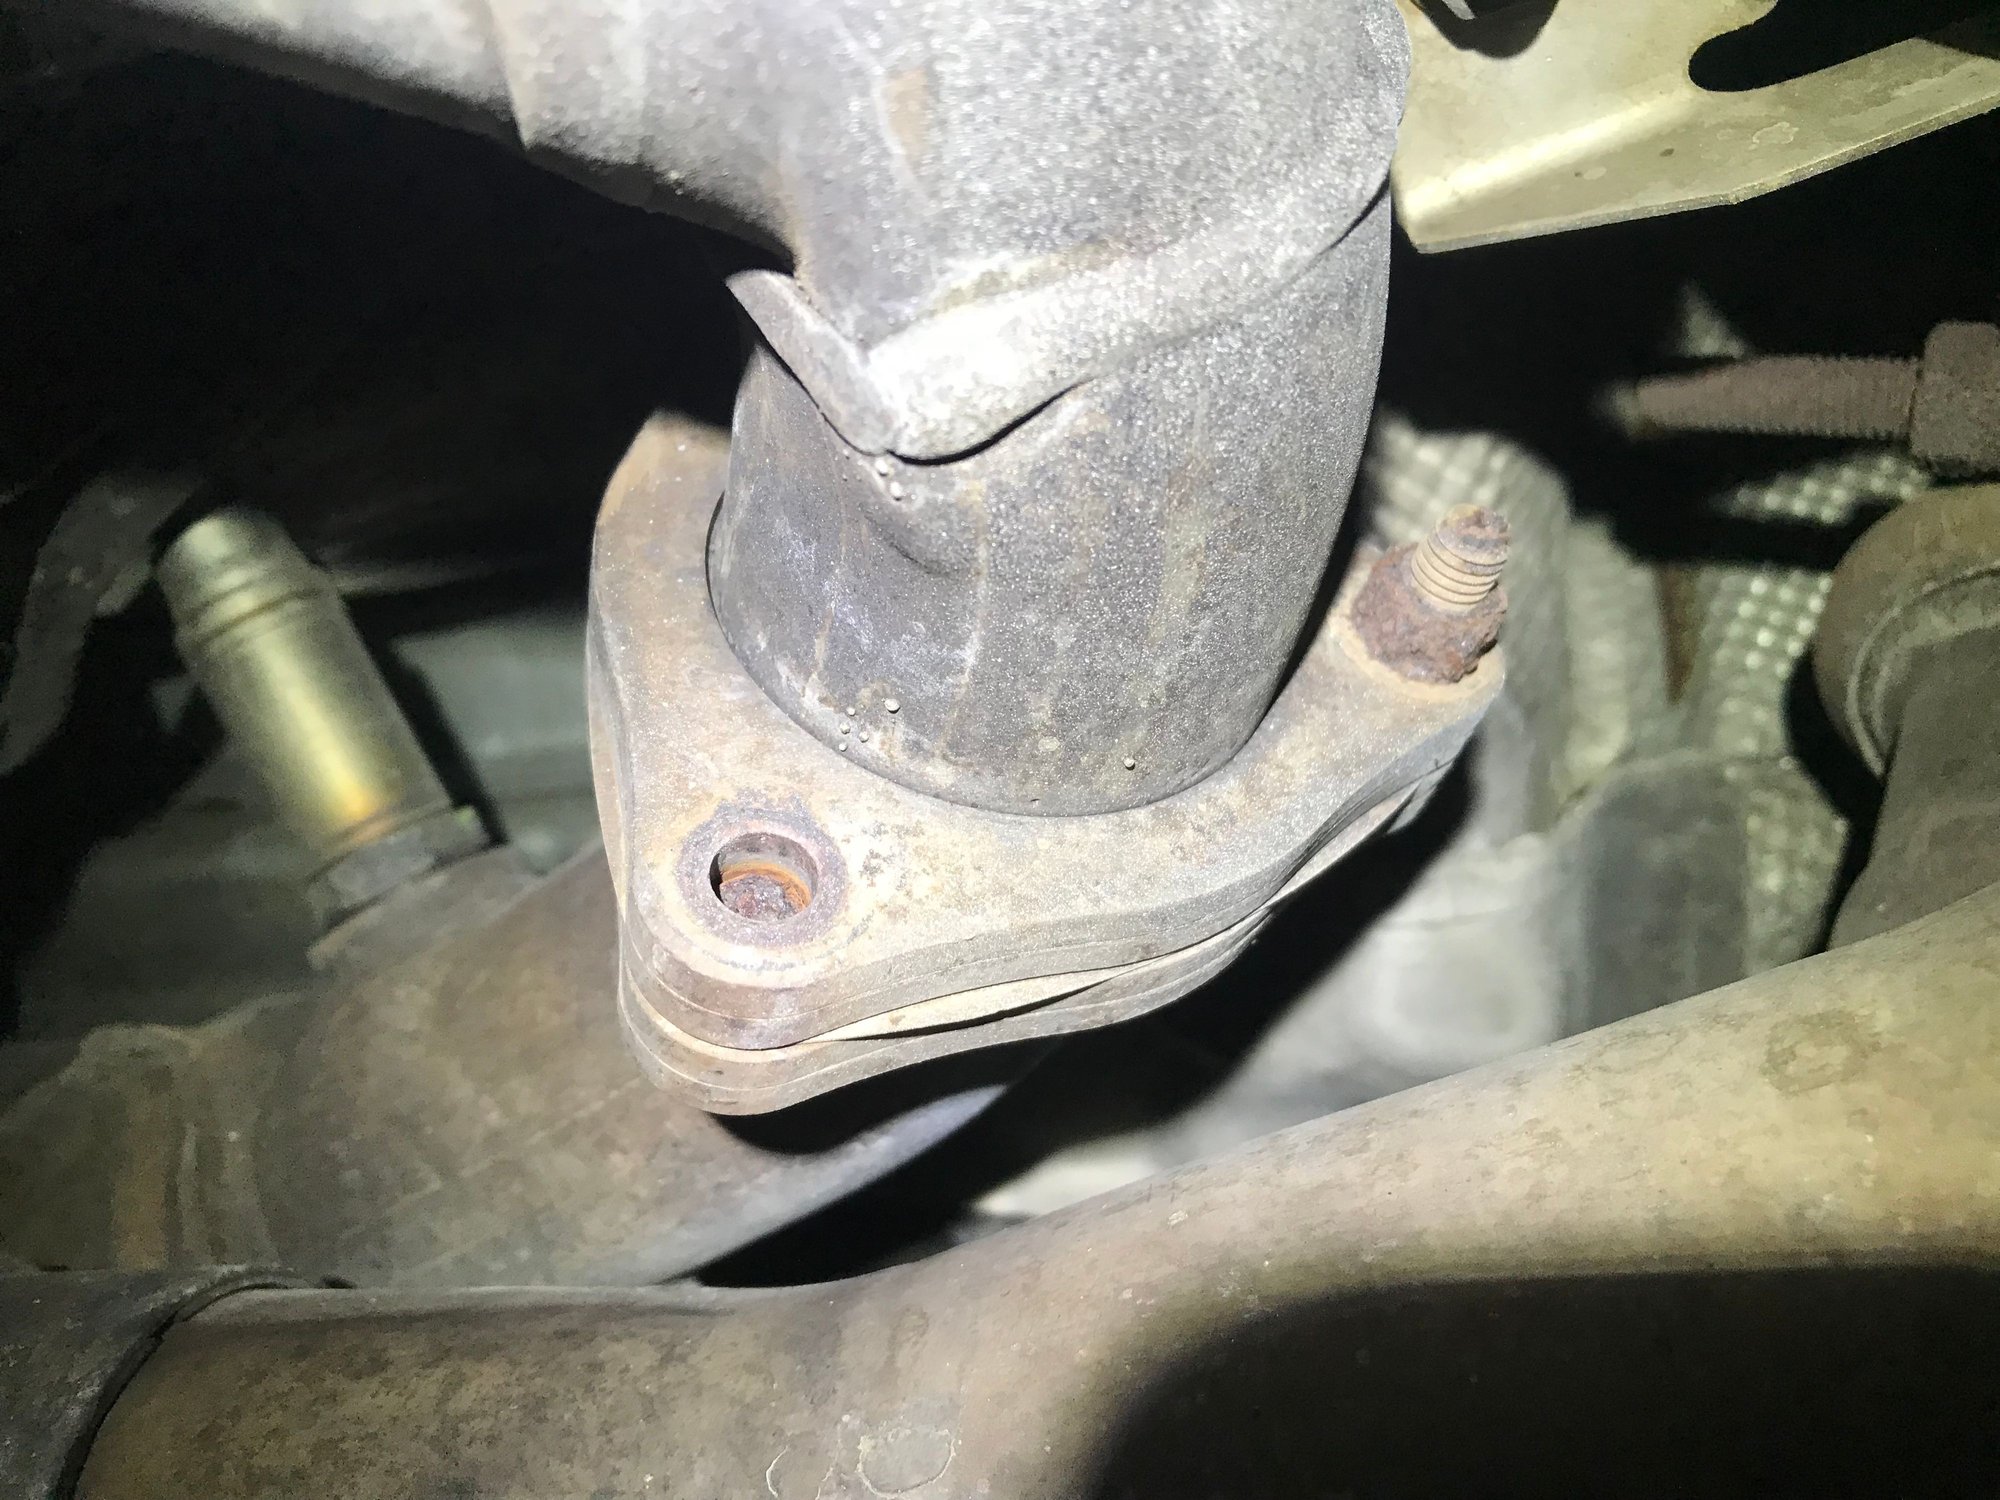
And on the LH side right after the exhaust manifold this flange has a broken bolt.
And this is the Back on the engine (looking AFT) all dried up.
In good news all the bushings for everything in the back look to have been replaced, even engine mounts.

 10-20-2018, 02:33 AM