Mechanicus 996 project, your input is greatly appreciated
#31
Shameful Thread Killer
Rennlist Member
Rennlist Member
Your rads/condensers are likely clogged bad. Also, the fans may not be cycling. Need to fix the cooling before you do catastrophic damage. Plan on the entire cooling system restoration and upgrade. New water pump with plastic impeller, low temp thermo, remove bumper and clean rads and condensers, replace both fans and test on high, check thermo switch for activation. Get the cooling system working right or you'll be spending an extra $17k for a new motor.
Next is an LN full flow oil filter kit. 996 like lots of cool clean oil. Once you have that taken care of you can deal with the cosmetics.
edit; There's still a bunch of catch-up mechanical stuff to do on susp and brakes, as well as trans. If you pull the trans for rebuild, don't forget to address the IMS bearing with some solution, clutch and rear main seal.
#32
So curious, how much is a true "project car" budget? What defines a good "project car"?
#33
Rennlist Member
Mechanicus, sorry for the thread drift.
It's a slippery slope when it comes to cheap expensive cars...These are fantastic driving machines but are not as forgiving as an American V8 when it comes down to the little things that can and will cause catastrophic engine failure. Focus on the health of your engine!
Doc hit the nail on the head as did a few others. STOP driving it (get the cooling fixed) or your likely going to end up with a $3K roller in the blink of an eye!
Best of luck and I look forward to your progress.
#34
Did not mean to drift the topic. Just trying to see the stopping point on a project like this where someone calls it "quits" and moves on from those who have done it before.
Seeing the overheat and hearing about the steering, this project can get expensive quickly. Then I read
and realized, there is no budget high enough for that precious moment "I was right".
As for the suspension, the ROW M030 kit is a pretty good value for what it includes.
Seeing the overheat and hearing about the steering, this project can get expensive quickly. Then I read
I haven't thought about a budget, doing this build for more of a learning aspect and to prove my wife wrong.
As for the suspension, the ROW M030 kit is a pretty good value for what it includes.
#35
Intermediate
Thread Starter
I was 3 minutes from the house. Iím going to tear into it this weekend. Looking like flushing coolant to ensure proper circulation, and testing wires for the fans. If you guys have advise or helpful work packages please let me know.
#36
You may already know this but...……..Pelican Parts 996 technical articles are very good -both the pictures and the narratives .On the cooling system -I would start at the radiators and work back to the water pump (which is the likely culprit ) .You can test the fans by jumpering the relays in the drivers footwell .The dme grounds the relay for fan activation which is not a failure prone part of the circuit .The common fan failure is the low speed ballast resistor .The good news is that these are pretty easy cars to work on .
#37
Rennlist Member
Get the Bentley Service Manual!
#39
Burning Brakes
+1 on pelican parts tennical articles. A coolant flush is lower priority right now. Also, you will need a vacuum pump to refill the coolant. These would be my priorities:
1. Remove front bumper and clean radiators. I guarantee they are full of crud. There are YouTube videos.
2. Make sure your fans are coming on. Diagnose while the front bumper is off. Pelican tech article.
3. Change oil with a high quality 5W40. If you haven't purchased a stock filter yet, spent the extra and get the LN Engineering spin on kit. Add 9 quarts with the new filter. Do not fill over top line on dip stick. A little below the top line is ok. Do not over-torque the drain plug. If you buy the LN Engineering magnetic plug, the torque value is only 19ft-lbs, as I recall.
4. Check the brakes. A set of inexpensive Meyle drilled rotors and Textar pads are very good for street use and not too expensive. Replace the fluid with Porsche fluid. It is not much more expensive than other quality brake fluids.
5. The rubber parts on your suspension look worn out. If you have a press and the time and skill, you can methodically replace the bushings. Some of the Meyle brand arms are very reasonably priced and may not cost more than replacing the bushings.
As others have said, DO NOT let it over heat.
#40
Rennlist Member
He's on it!
#41
Burning Brakes
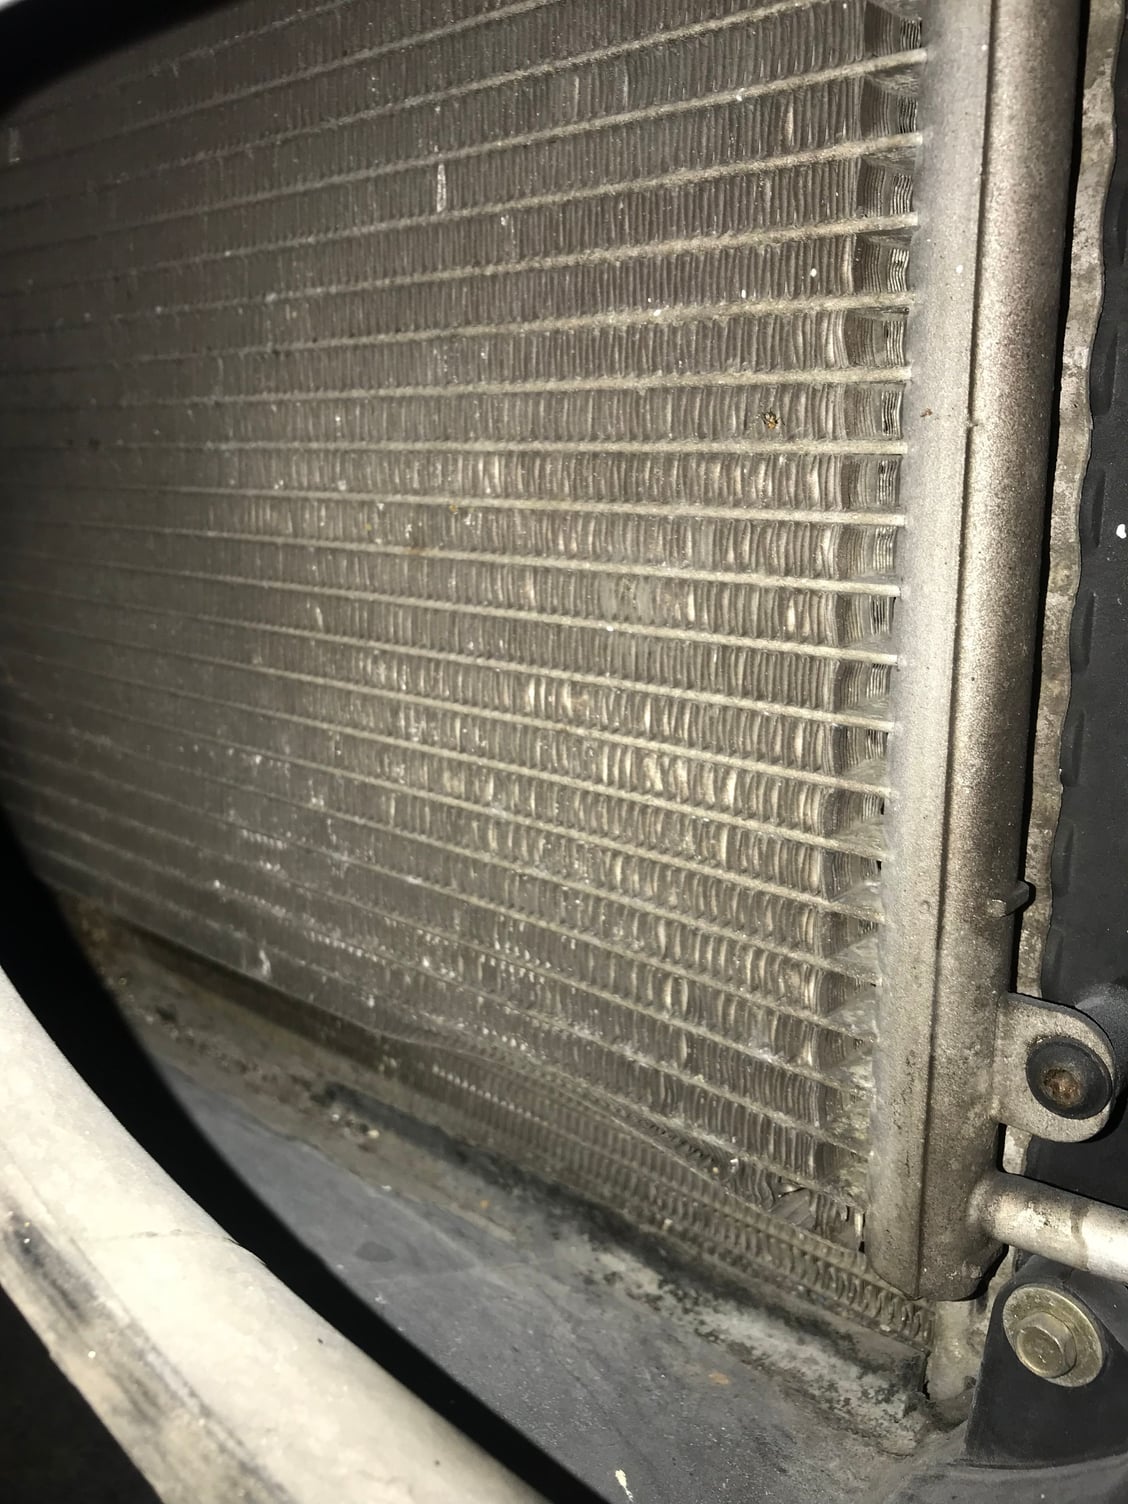
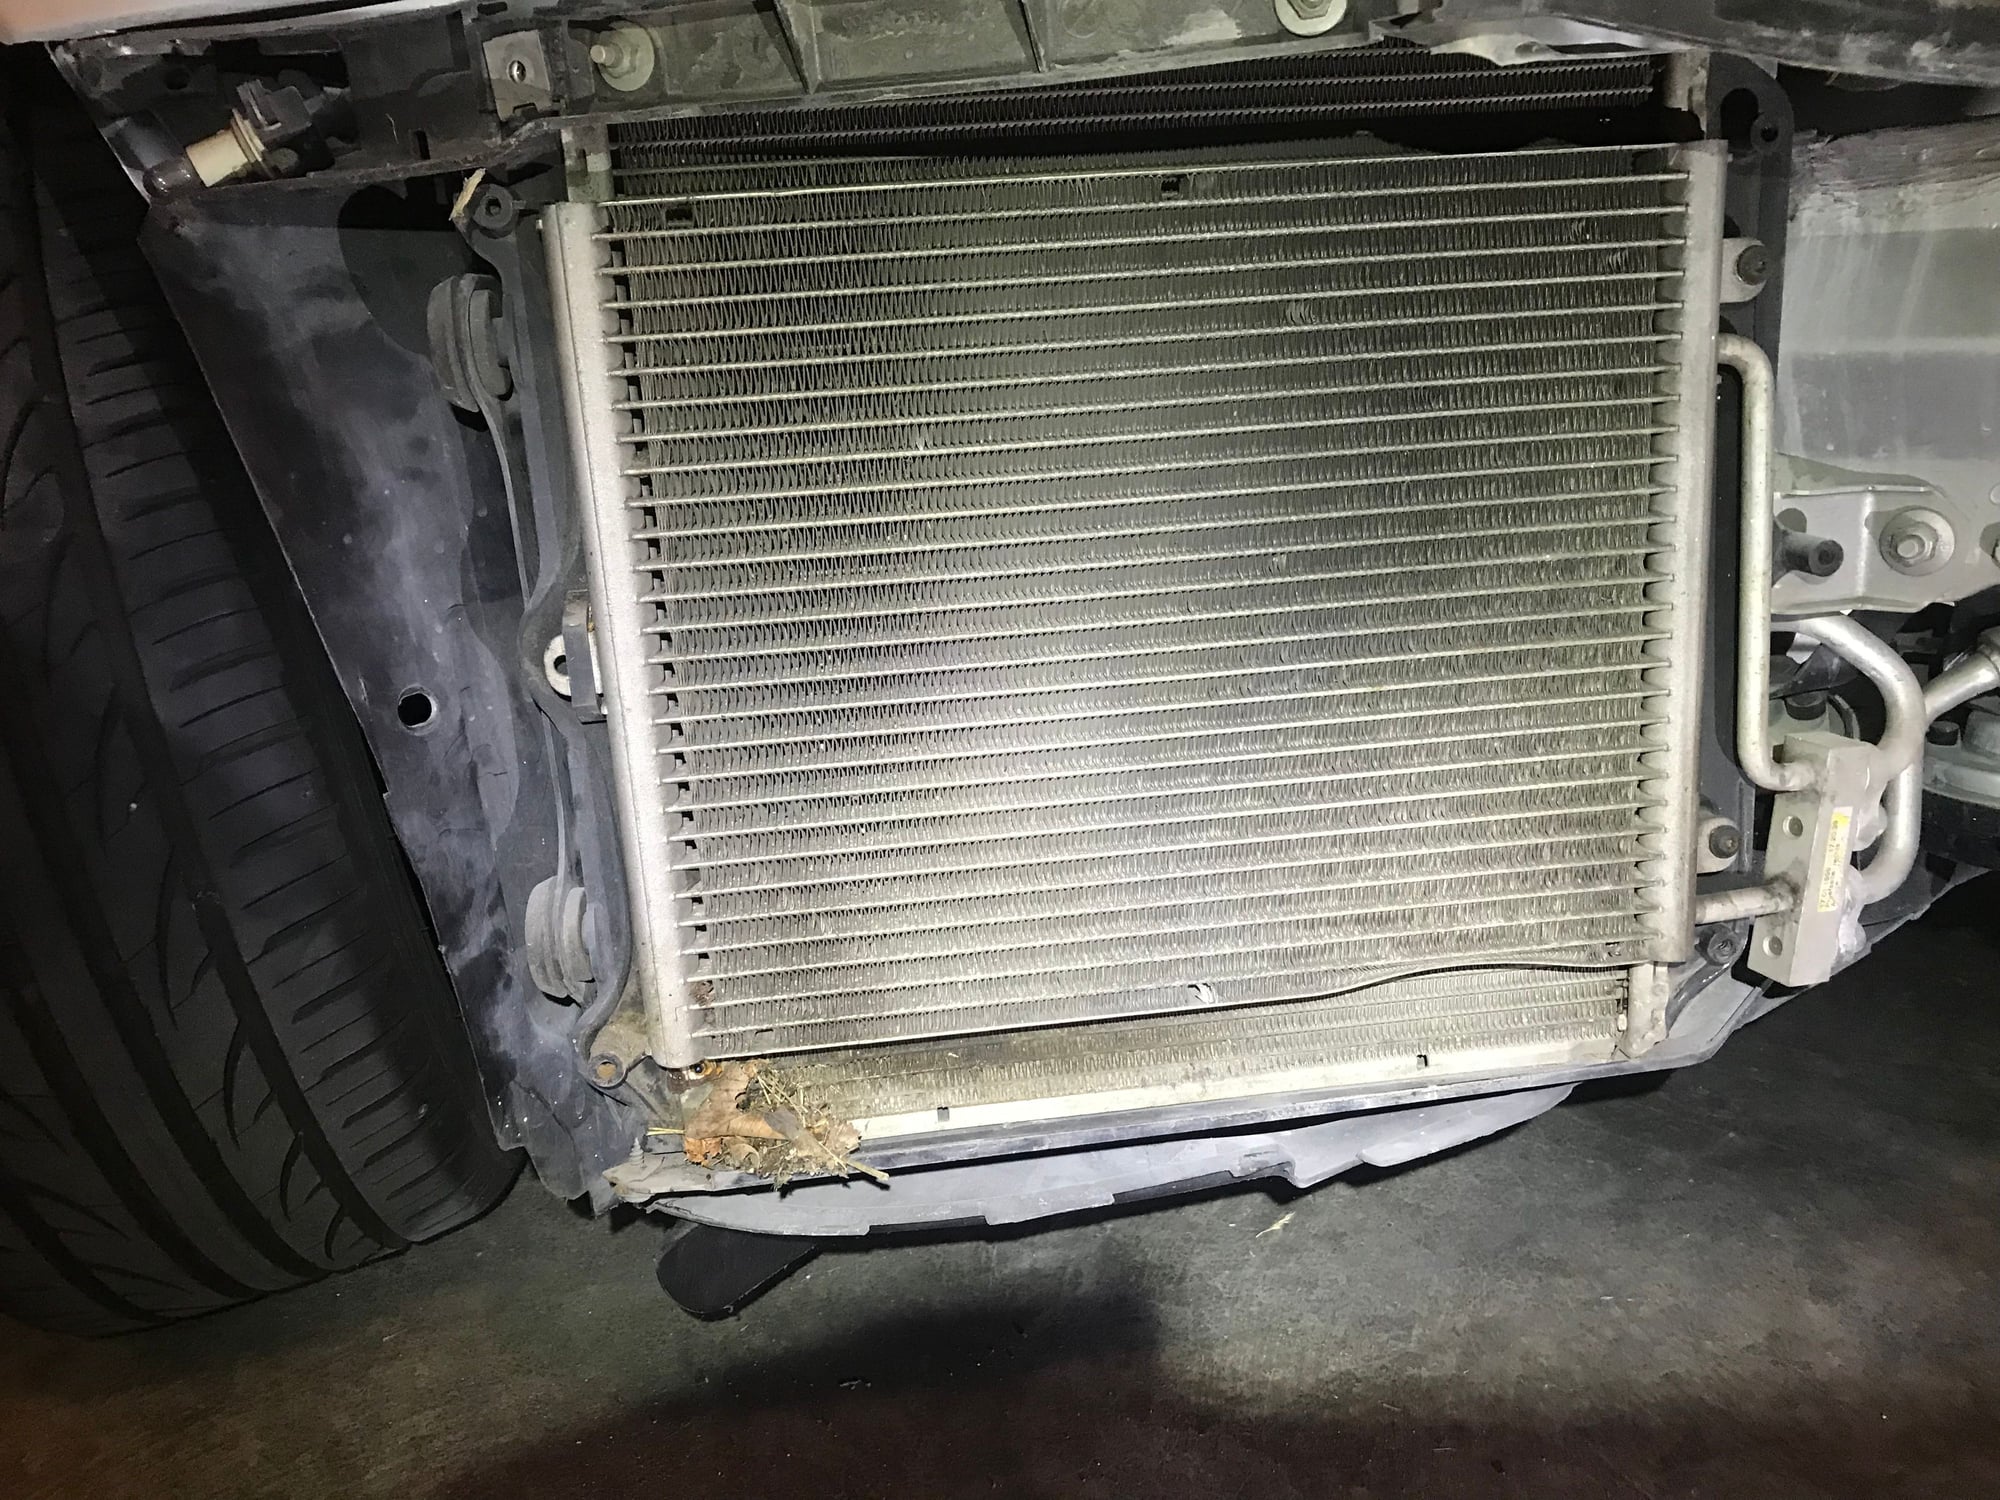
Looks fairly clean. You can slide the AC condenser out of the bracket and tilt it forward to look at the radiators and clean as necessary. I wonder if the PO cleaned them recently to try to fix the over heating issue.
#42
Intermediate
Thread Starter

So did the next step and checked the fans and the left one is the only one to come on. Switched the circuits for the low. (The second one from the right and the fourth) and still no power to the RH fan so resistor? Also the tires rub on the inside so I wonder if it got disconnected.. more disassemble to come.
#43
Rennlist Member
Mine had a gallon of crud, leaves rocks cig butts etc....
#44
Intermediate
Thread Starter

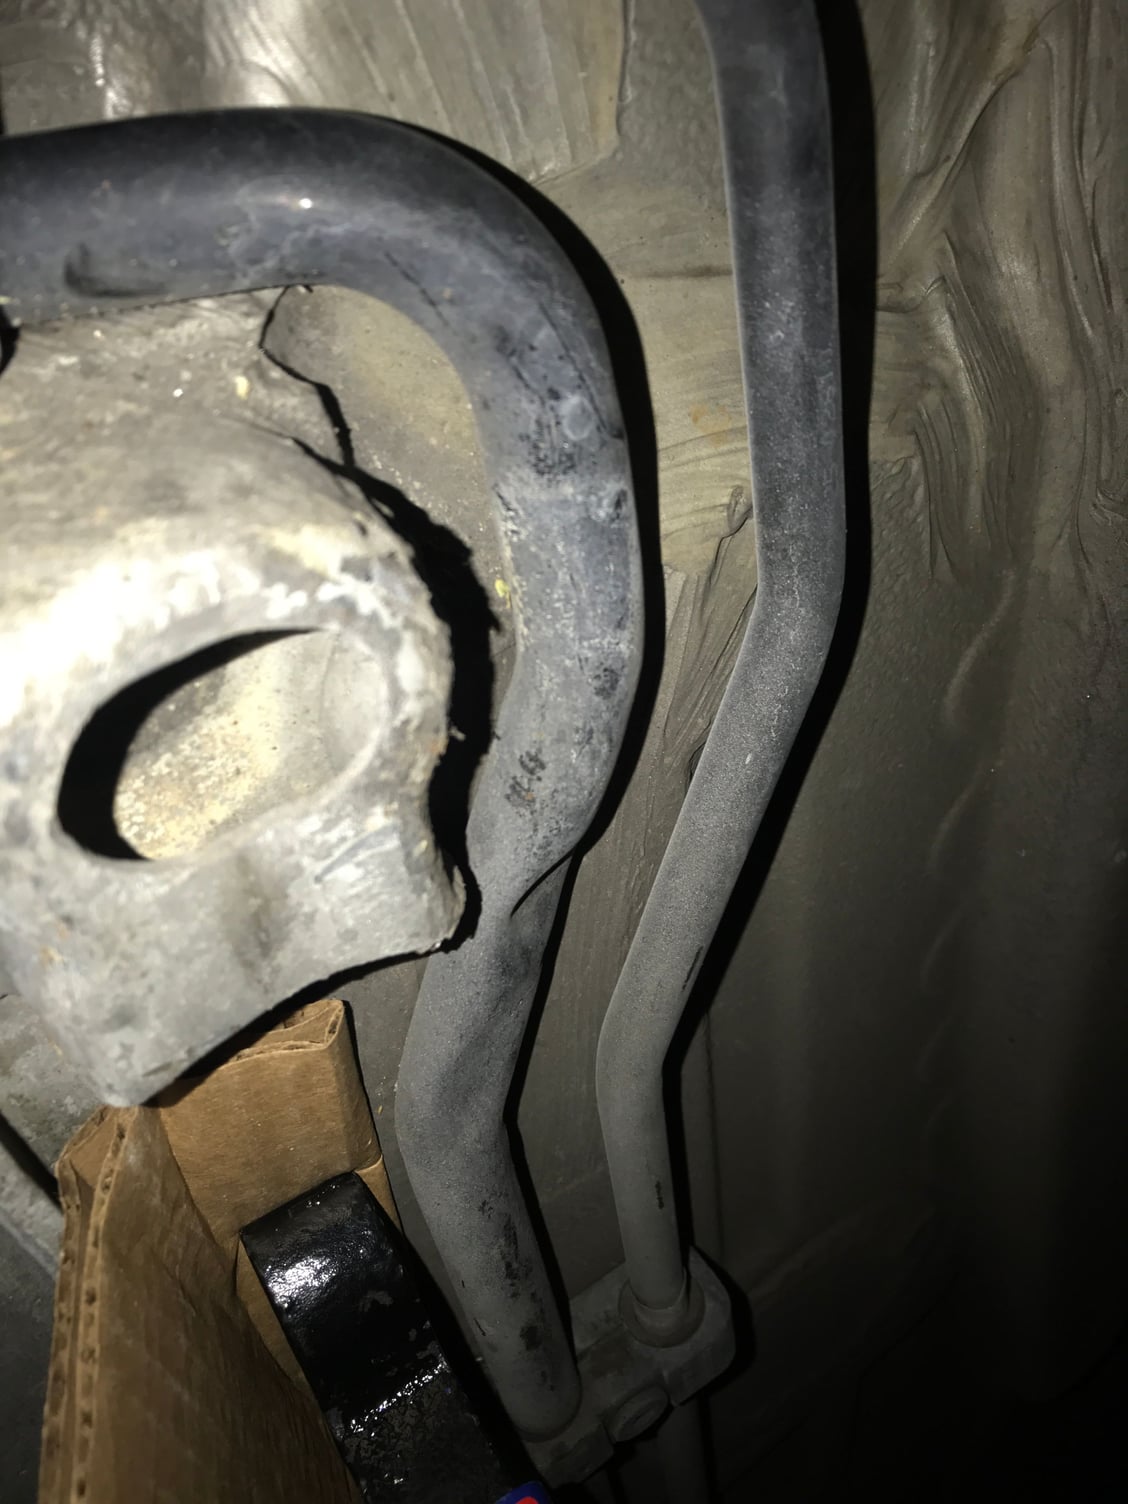
So thereís a line next to the rh front jacking point thatís bent pretty bad. And why is there a line coming out of the head light thatís 3 feet long? Because mine was bent all up in the wheel well. So far not seeing any busted lines other than that one.
#45
I've replaced my coolant a couple times without a vacuum pump. Pelican has a nice article on how to do this. No special tools needed, just a hex socket for the drain plug and pliers for hose clamps to remove as many of the hoses as you'd like to get additional fluid out.
I've replaced my coolant a couple times without a vacuum pump. Pelican has a nice article on how to do this. No special tools needed, just a hex socket for the drain plug and pliers for hose clamps to remove as many of the hoses as you'd like to get additional fluid out.


