Coolant tank
#16
I did not lower it all the way. The memory is fuzzy, but lower incrementally while keeping an eye everything and making sure that not is going to break loose. There was some stuff clipped to both the engine compartment and the block.
The clips on the hoses were also a pain. The Porsche clamp tool was useless, channel locks were much better - I suggest you get a pair of those. You will have to fidget and massage the tank out when pulling it. You will likely get some good cuts on the hands and you may curse a great deal. Pelican has a tutorial and I'm sure a Google search will be helpful. I did the same thing Rockhouse did. Its not the tank you notch, it's the mount. You'll see when you get there. Try to avoid cuttng a way a piece of the mount (I think I could avoid it now if I had to - using a different assortment of tools) - but if you do, a Dremel is also handy.
Good luck, post up if you get stuck.
#18
Rennlist Member

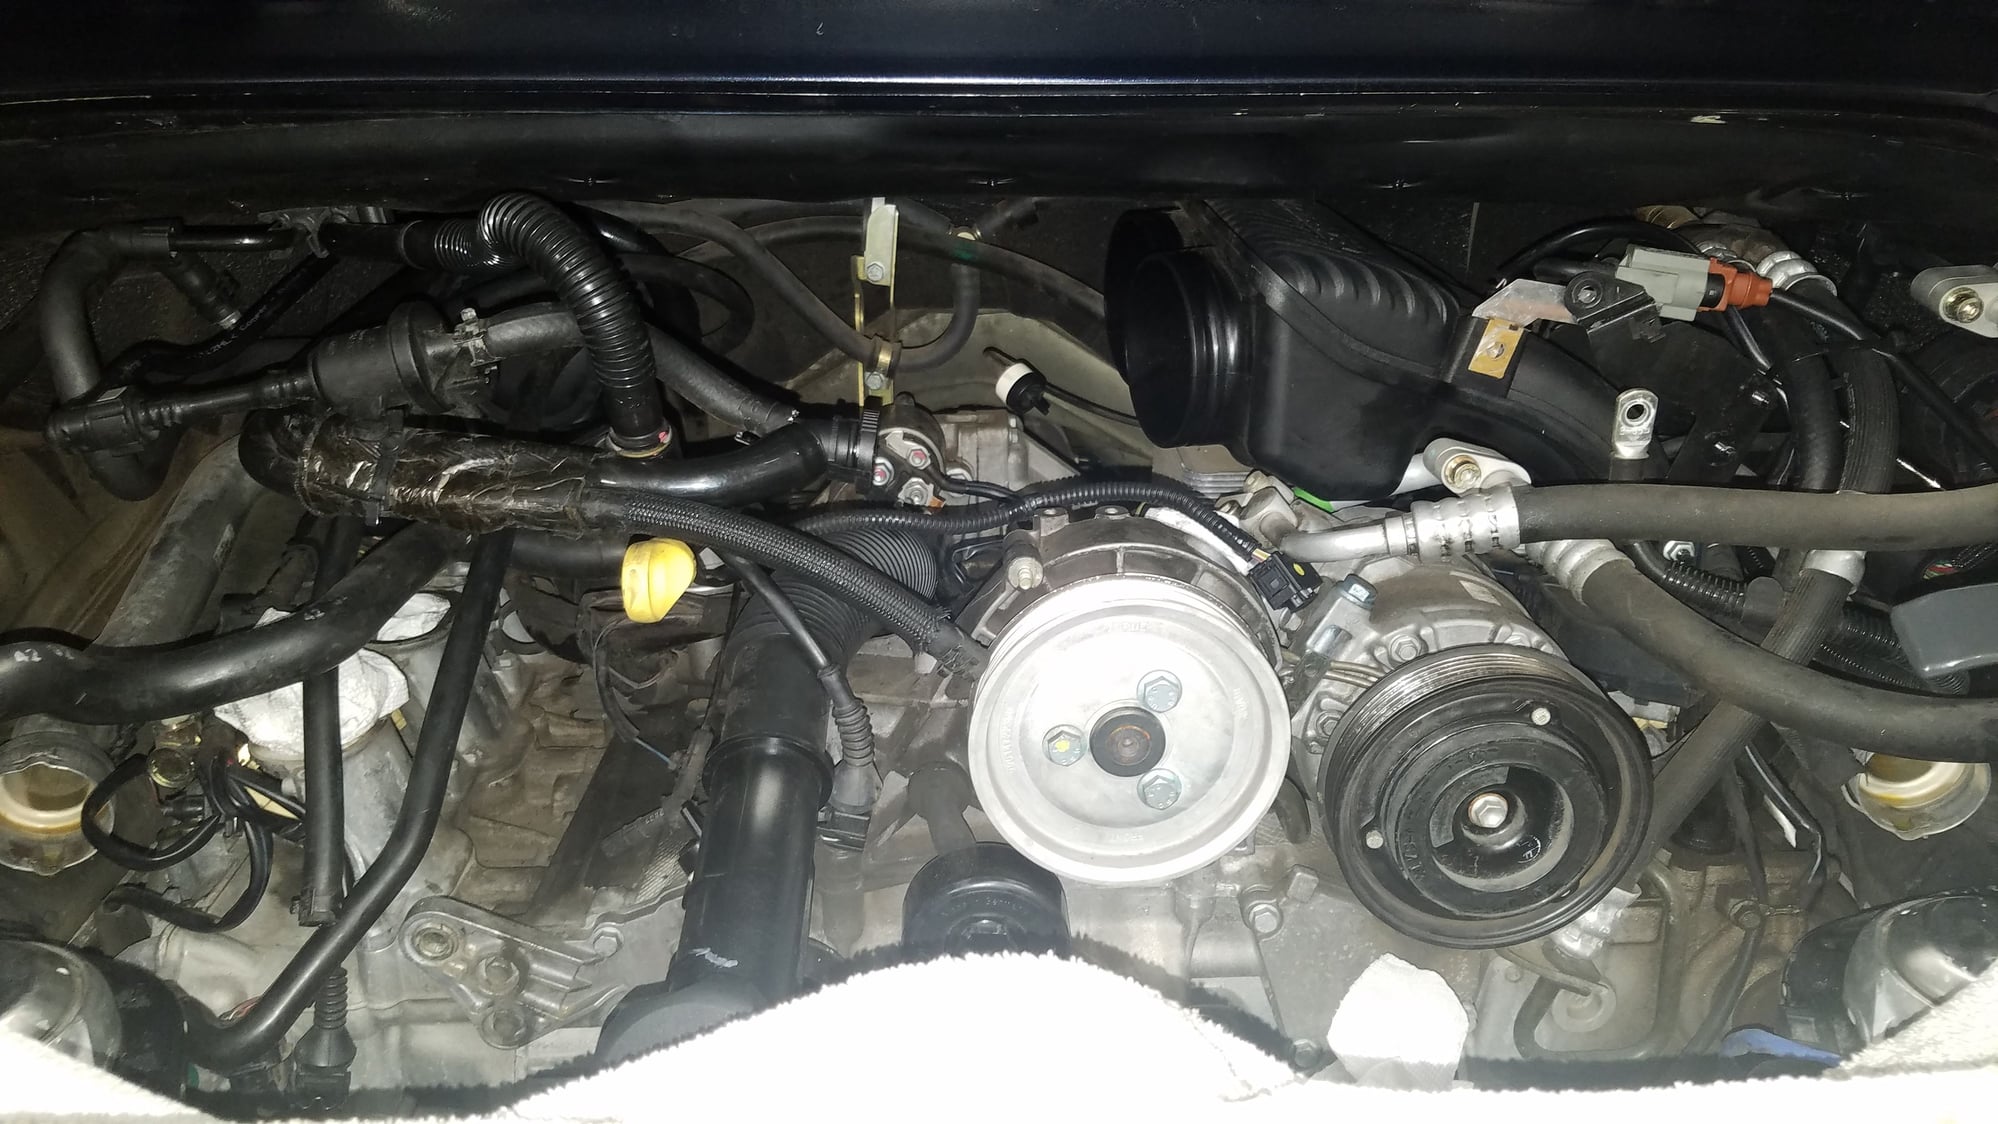
FWIW here's a photo of mine...engine lowered down on the engine mount stud nut as low as it will go, left side intake out, coolant tank out.
Last edited by Nickshu; 02-06-2018 at 02:30 PM.
#19
Rennlist Member
Thread Starter
This is sounding like,e a two beer job, ugh.
#20
Rennlist Member
#21
Rennlist Member
Yup...while you are in there...New AOS, New Starter/Alternator Y-cable, New oil filler tube, Check condition of vacuum lines that are on top of the engine if these things have not been done already.
#22
Rennlist Member
Thread Starter
F6I rebuilt the engine as a Stage II 16k miles ago so all the internals are good, but worth looking at wiring and vacuum lines. Guess a good going-over will be a good idea.
#23
I have an 04 C2 Cab with 47k miles. Planning a coolant change, it's time, and thinking about replacing the coolant tank while I'm at it. ($145 part). Haven't seen a leak but i know they will crack eventually. Is this a good time for PM, what age do they start failing?
I was also told by my parts supplier that the engine on the 04 has to be lowered slightly to let the tank clear. Does anyone know if that's the case and what has to be done to do that? Is that a big deal ($$)?
Maybe this is a better "if it ain't broke don't fix it" situation?
Thanks.
I was also told by my parts supplier that the engine on the 04 has to be lowered slightly to let the tank clear. Does anyone know if that's the case and what has to be done to do that? Is that a big deal ($$)?
Maybe this is a better "if it ain't broke don't fix it" situation?
Thanks.


