When you click on links to various merchants on this site and make a purchase, this can result in this site earning a commission. Affiliate programs and affiliations include, but are not limited to, the eBay Partner Network.
In response to my previous post on the coolant leak near the AOS on my 2004 Carrera, there was a suggestion that I find the leak, cut it out and connect the two hoses, thus bypassing the AOS entirely. This would at least stop the leak. And this would be ESPECIALLY useful if I were able to disconnect the hoses at the ends away from the AOS.
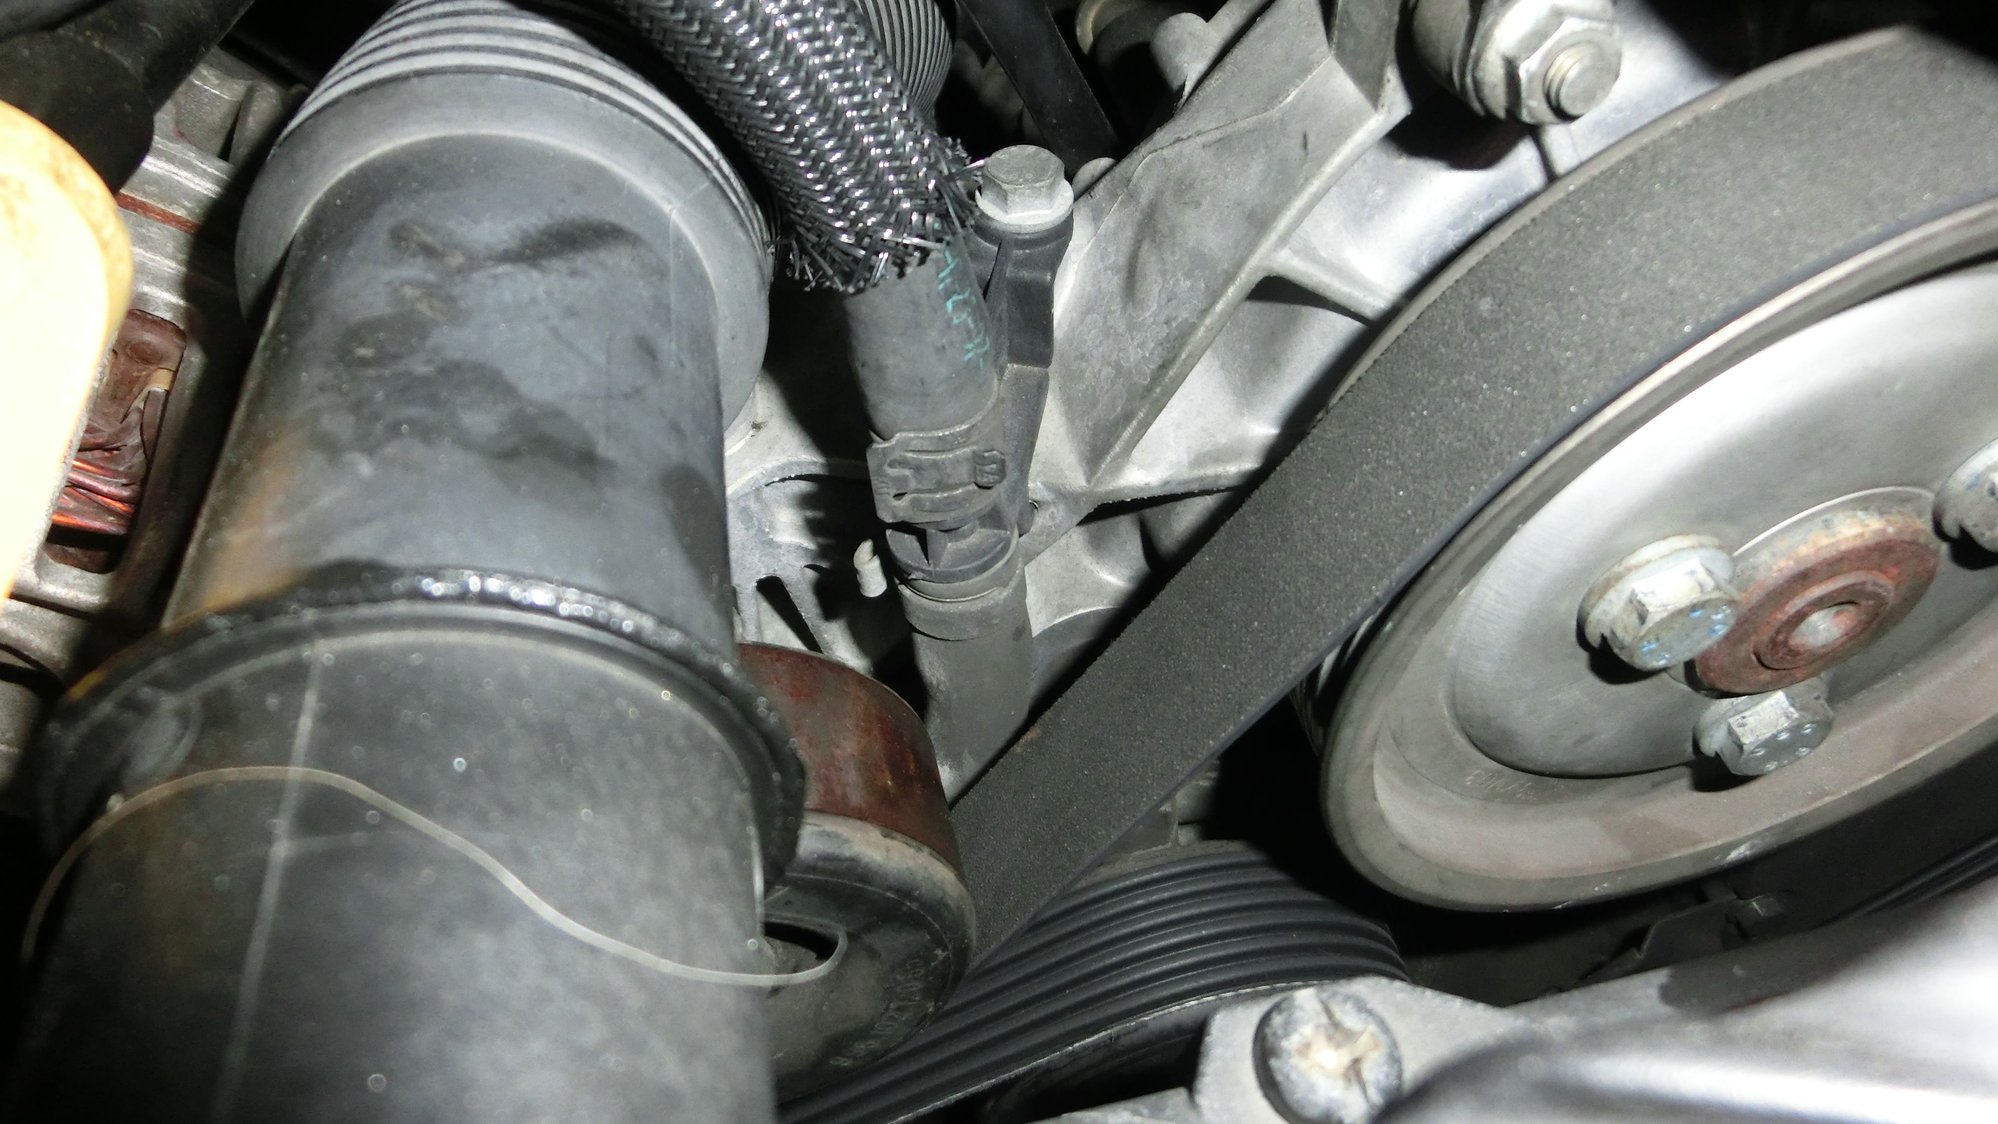
Looking at some diagrams, a connector rather obviously identifies one of the hoses. (Pic #1) Not sure really, but given that this seems to connect to the block, perhaps it is the source of the heated water?
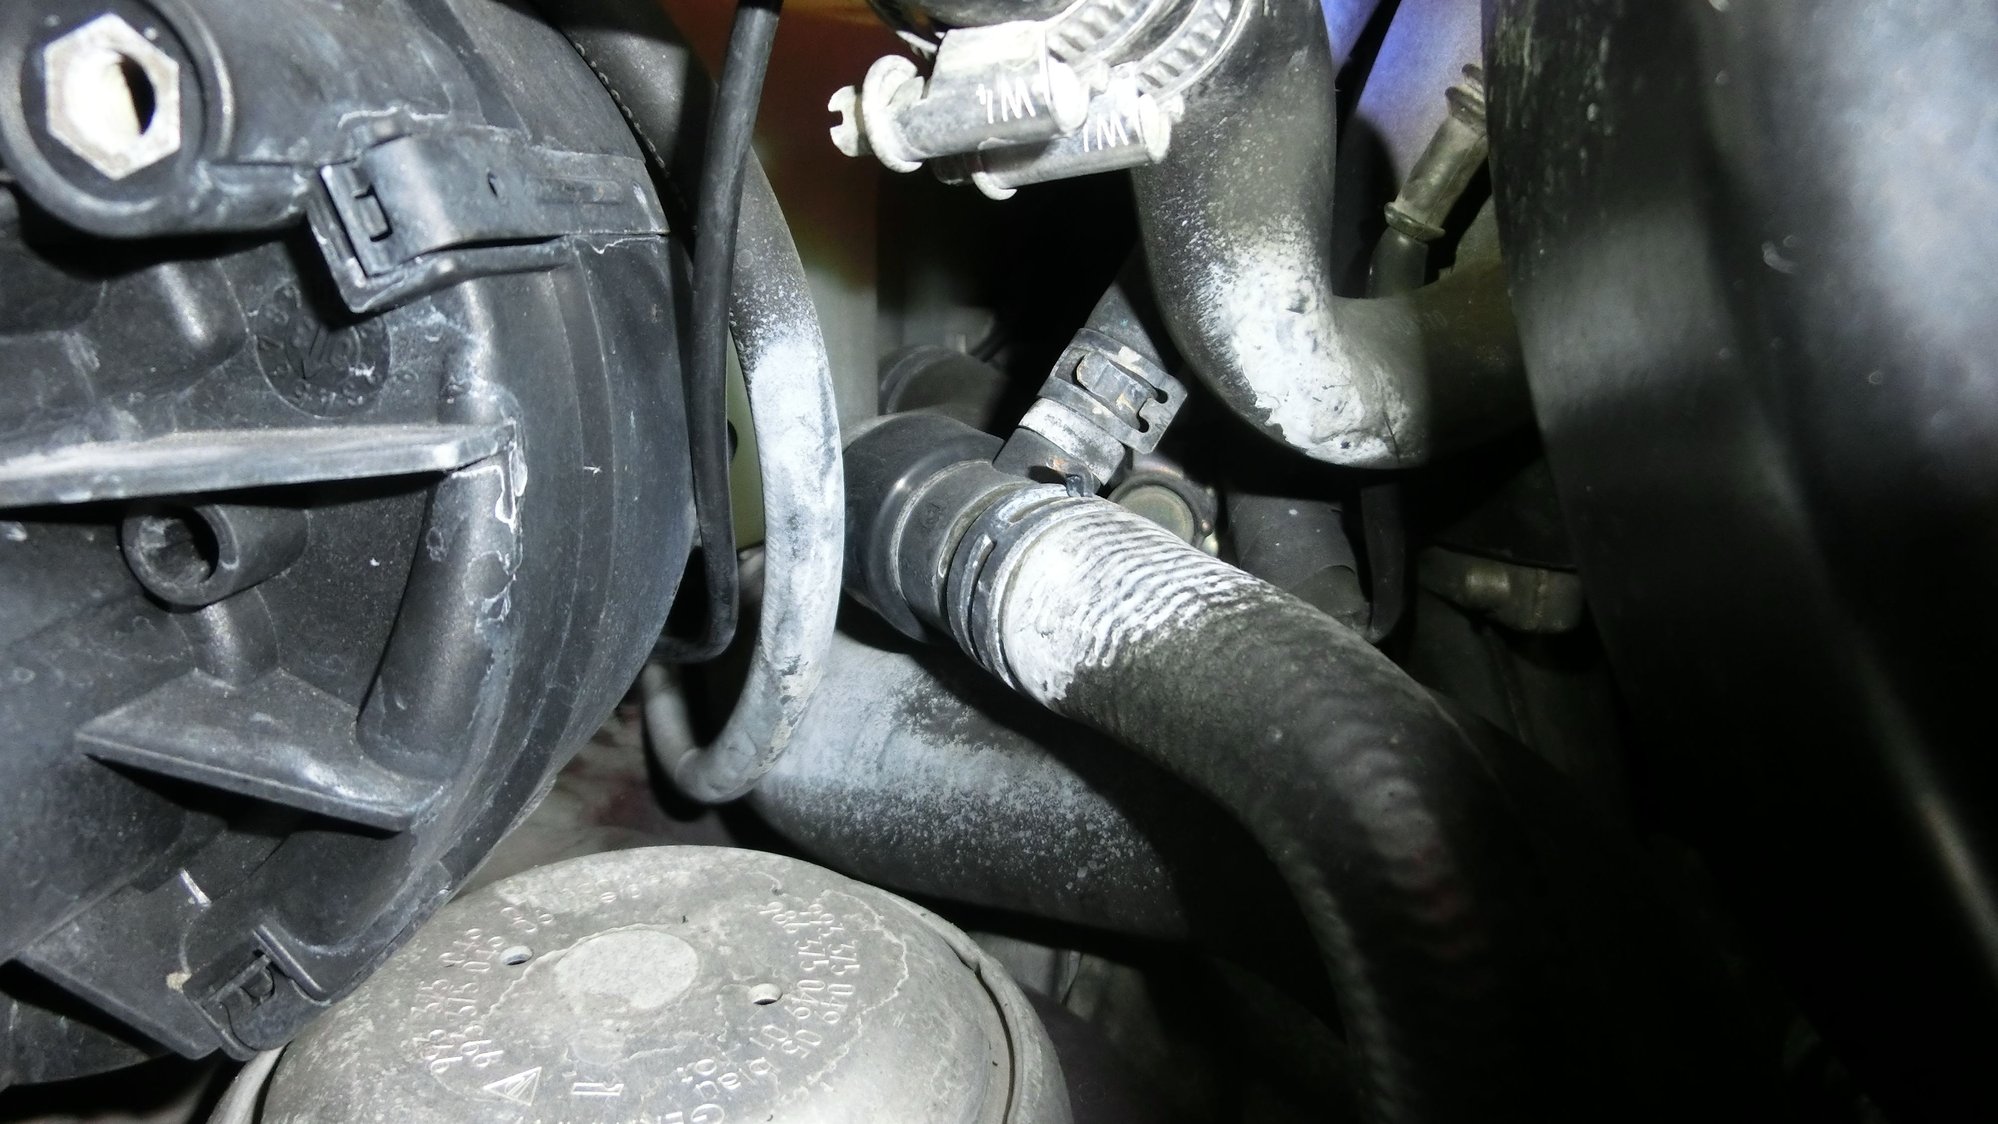
The other is more of a guess. Looking at a pic of an actual engine with the AOS unit visible from the rear of a removed engine, both of these hoses seem to move toward the back of the engine in a 'bundle' of hoses/tubes. Looks like three. One of them is not a radiator hose, one is the one in Pic #1 mentioned above and the last connects to a hose down near the water pump. (pic #2) Pic #1 Bracket rather much ensures that this is one of the hoses.
Pic #2 Not sure here, but this seems to be a possibility for the second hose.
Last edited by Zerpersande; 09-11-2017 at 09:30 PM.
Reason: Spelling
BTW that little plastic bracket holding the tube on your first pic gets very brittle with age, its just fiber filled nylon.
It will likely snap as soon as you stare at it more than a minute, so plan on replacements or fabbing a metal replacement.
When mine failed I added some metal and kind of potted it all in JB Weld, it seems strong now.
BTW that little plastic bracket holding the tube on your first pic gets very brittle with age
If you see that part is original, replace it immediately. Only takes a minute to pop the airbox out and replace with a brass piece, but it will keep you from getting stranded somewhere in the near future.
Mine just failed and cost me some track time. Don't think you can re-connect the coolant lines with what's left of that plastic piece and limp it somewhere, I did and it popped again not 5 minutes later.
BTW that little plastic bracket holding the tube on your first pic gets very brittle with age, its just fiber filled nylon.
It will likely snap as soon as you stare at it more than a minute, so plan on replacements or fabbing a metal replacement.
When mine failed I added some metal and kind of potted it all in JB Weld, it seems strong now.
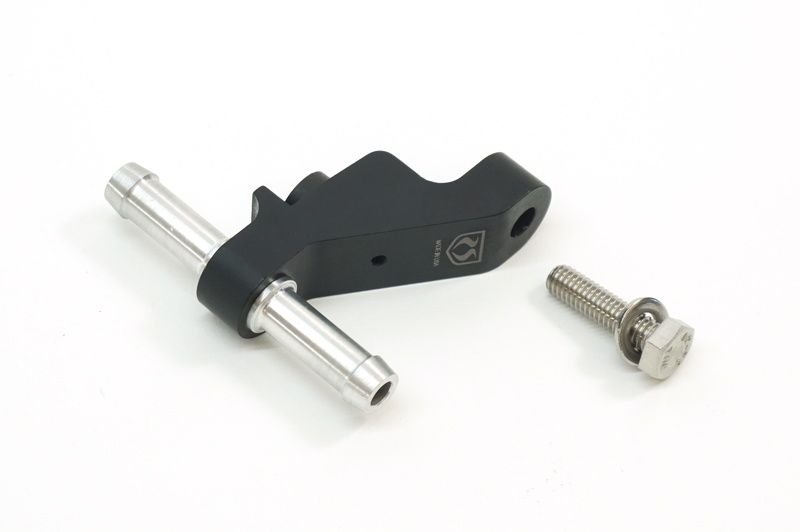
Just purchase one of these and install it while you are at it. Note that you will need a spring type hose clamp for the bottom hose as the factory is crimped on and the crimp clamp must be cut off...make sure you order one of those too...a spring clamp just like the one on the top hose.
Just purchase one of these and install it while you are at it. Note that you will need a spring type hose clamp for the bottom hose as the factory is crimped on and the crimp clamp must be cut off...make sure you order one of those too...a spring clamp just like the one on the top hose.
Woke up this morning to a large number of very helpful posts. About the only thing lacking was an offer to fly over to Japan and do the actual disconnect. Have to come up with a plan for the brittle connector, but if it breaks I can plug the supply with an appropriately sized piece of plastic rod. Perhaps cut the return ~5cm above the connection and do the same. The leak should stop and then start making plans to put in a new AOS and hoses.
Thanks to everybody. Any further comments are welcomed and I will post pics and updates.
Word on the interweb google machine is that a 3/8" brass coupler does the job too.
Schnell Gelb posted a dual-sized recommendation of 5/16--1/4. Assuming that is correct, and knowing the hoses are different sizes 3/8 would be a 16th over, which perhaps is inconsequential. But the 3/8 would be an 1/8 over on the smaller hose. Perhaps okay, but still a 50% increase in diameter.
Given that the bottom hose is supposedly crimped on, and thus has to be cut, measuring the I.D. of both hoses would likely be the best path. I'm just going to plug supply hose for now anyway. But I'll see if I can find a 3/8" to experiment with and see how it fits the smaller hose.
Also, I'll be working in metric. 7mm falls dead in between those two sizes, so maybe...
Don't over think it, the genuine Porsche one is not that bad. It lasts a long time...15yrs/100k still not broken.
Agree to an extent. But my profile pic gives a rough idea of my 'garage'. When I start work I need to have as many eventualities considered as possible. Finding things here in Japan isn't always easy. And if it IS easy it often means 'expensive'. I ordered a coolant cap and ended up paying $50 for a non-genuine Porsche cap. Blau, but not the genuine Porsche as advertised. I could have sent it back, then I would only be out $20 with no cap.
Yeah, get rid of the plastic junk in pic one, just like everyone else says go with the brass, or plastic connector piece. I used plastic, and a new spring type clamp. I then reinstalled the bolt, and zip tied it off to the bolt, holds great, and no one would ever know thats not what comes from the factory, autobacs should have everything you need, lol.
 09-11-2017, 12:14 PM