When you click on links to various merchants on this site and make a purchase, this can result in this site earning a commission. Affiliate programs and affiliations include, but are not limited to, the eBay Partner Network.
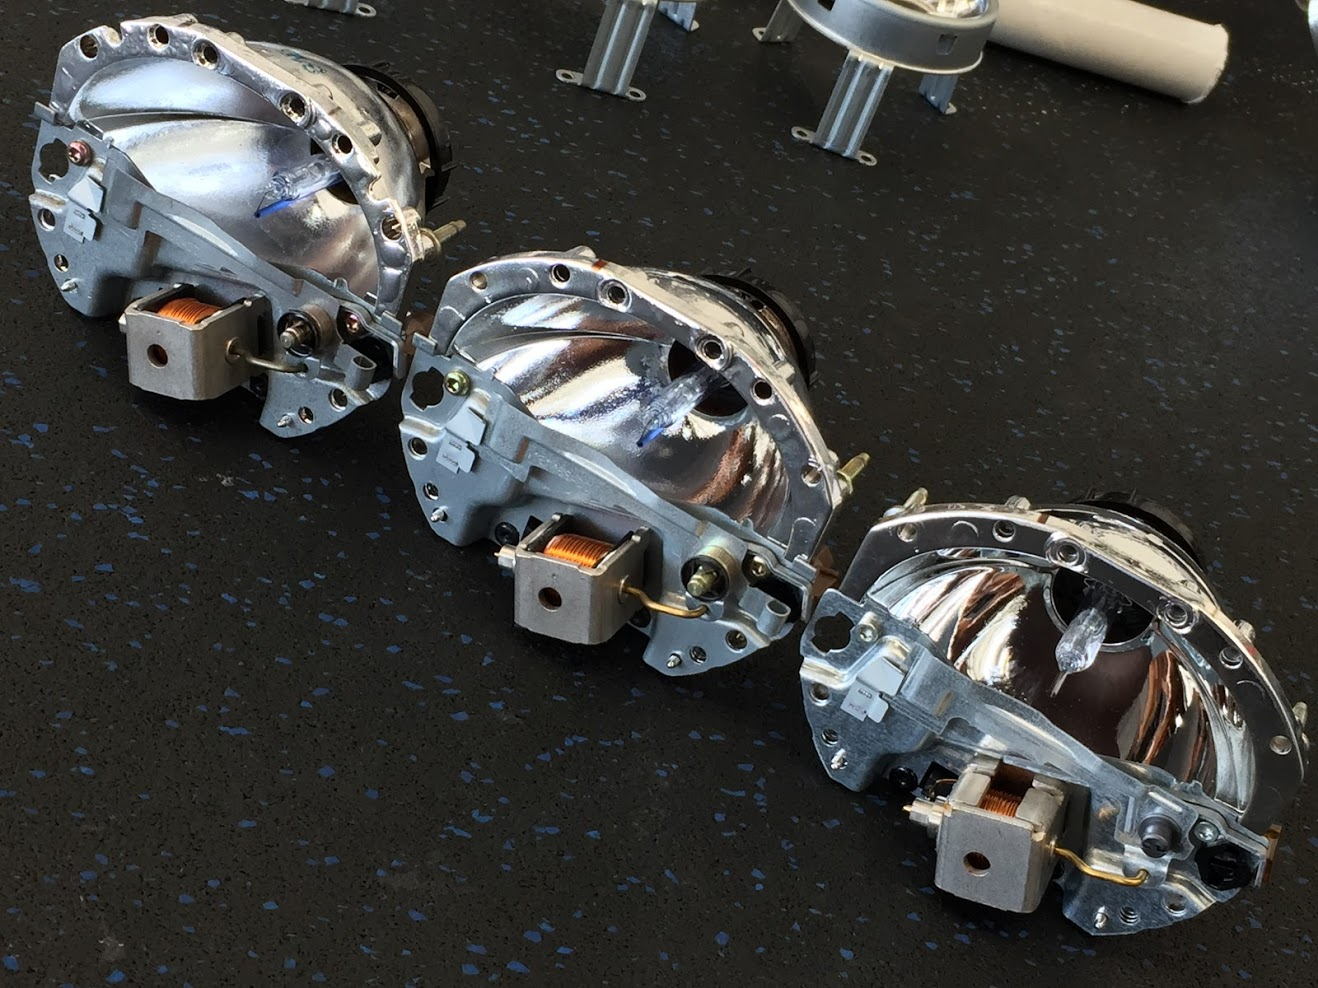
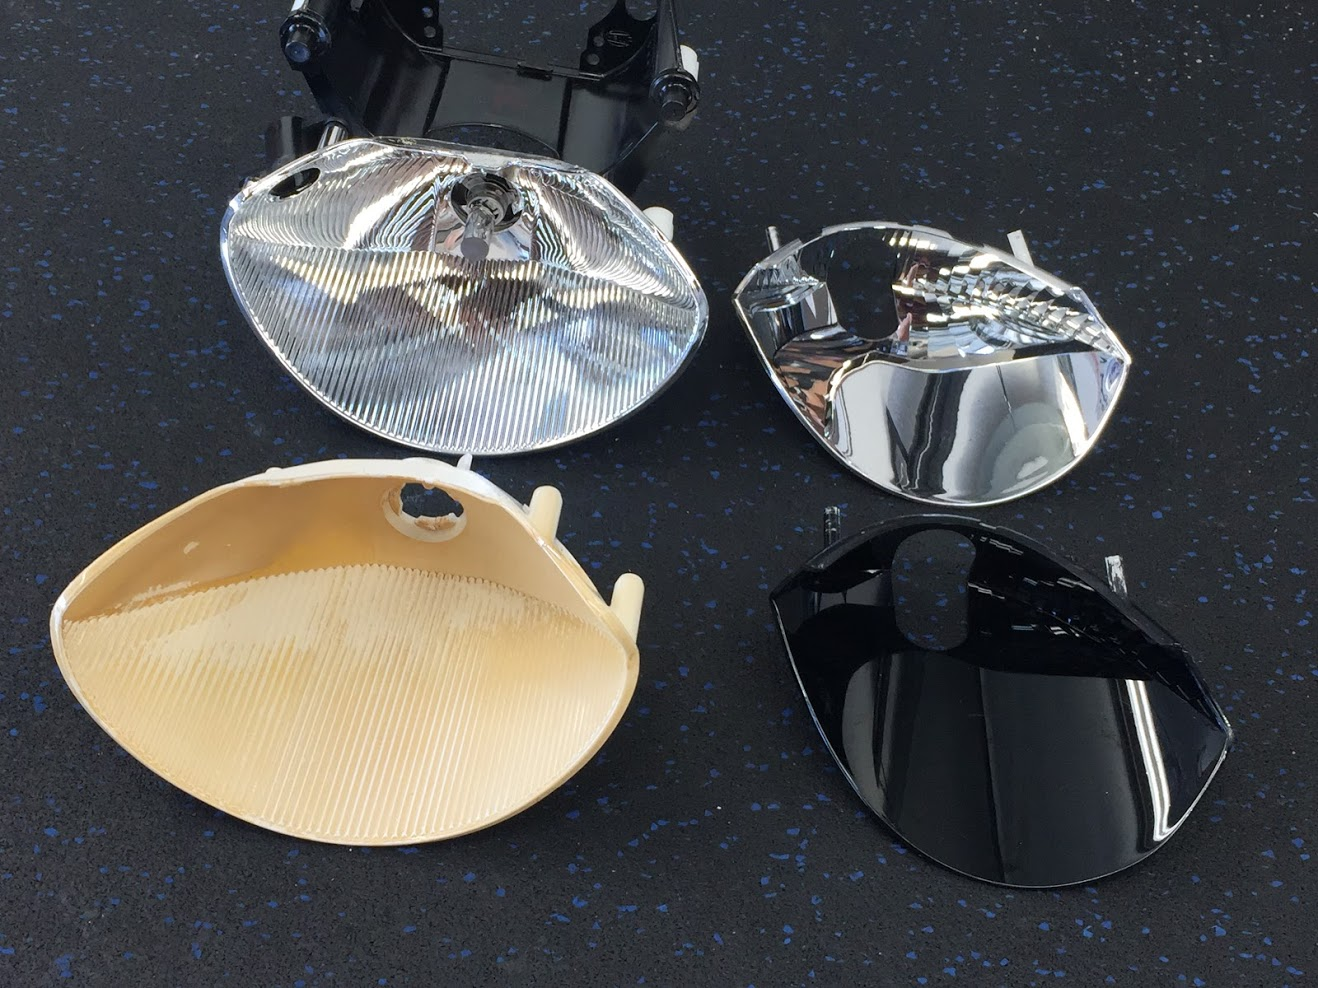
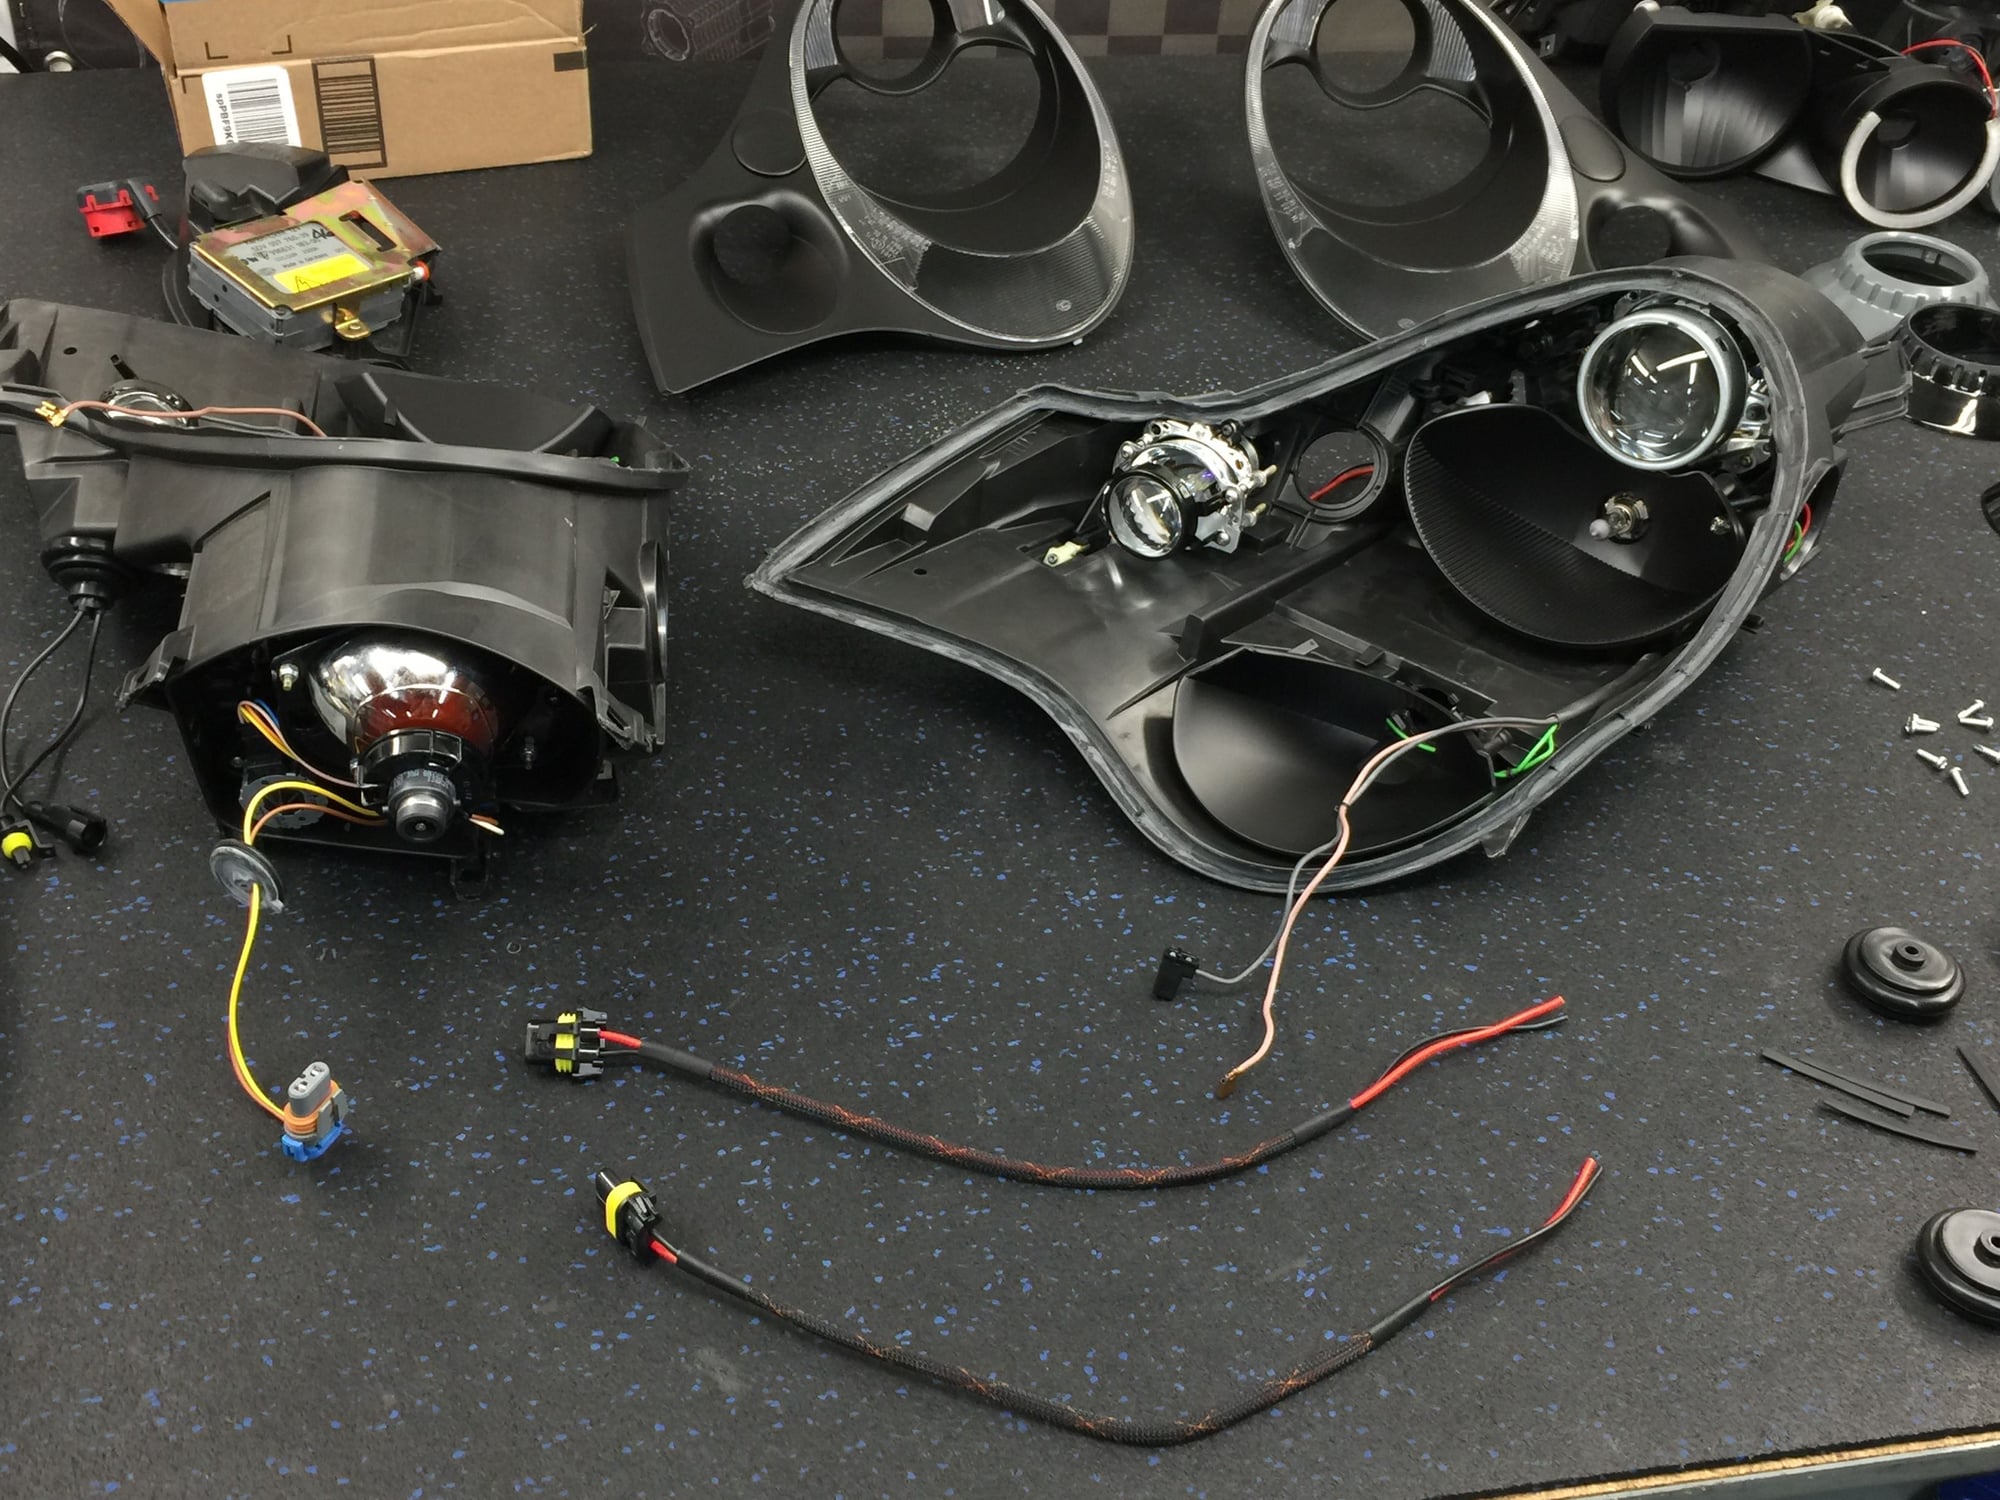
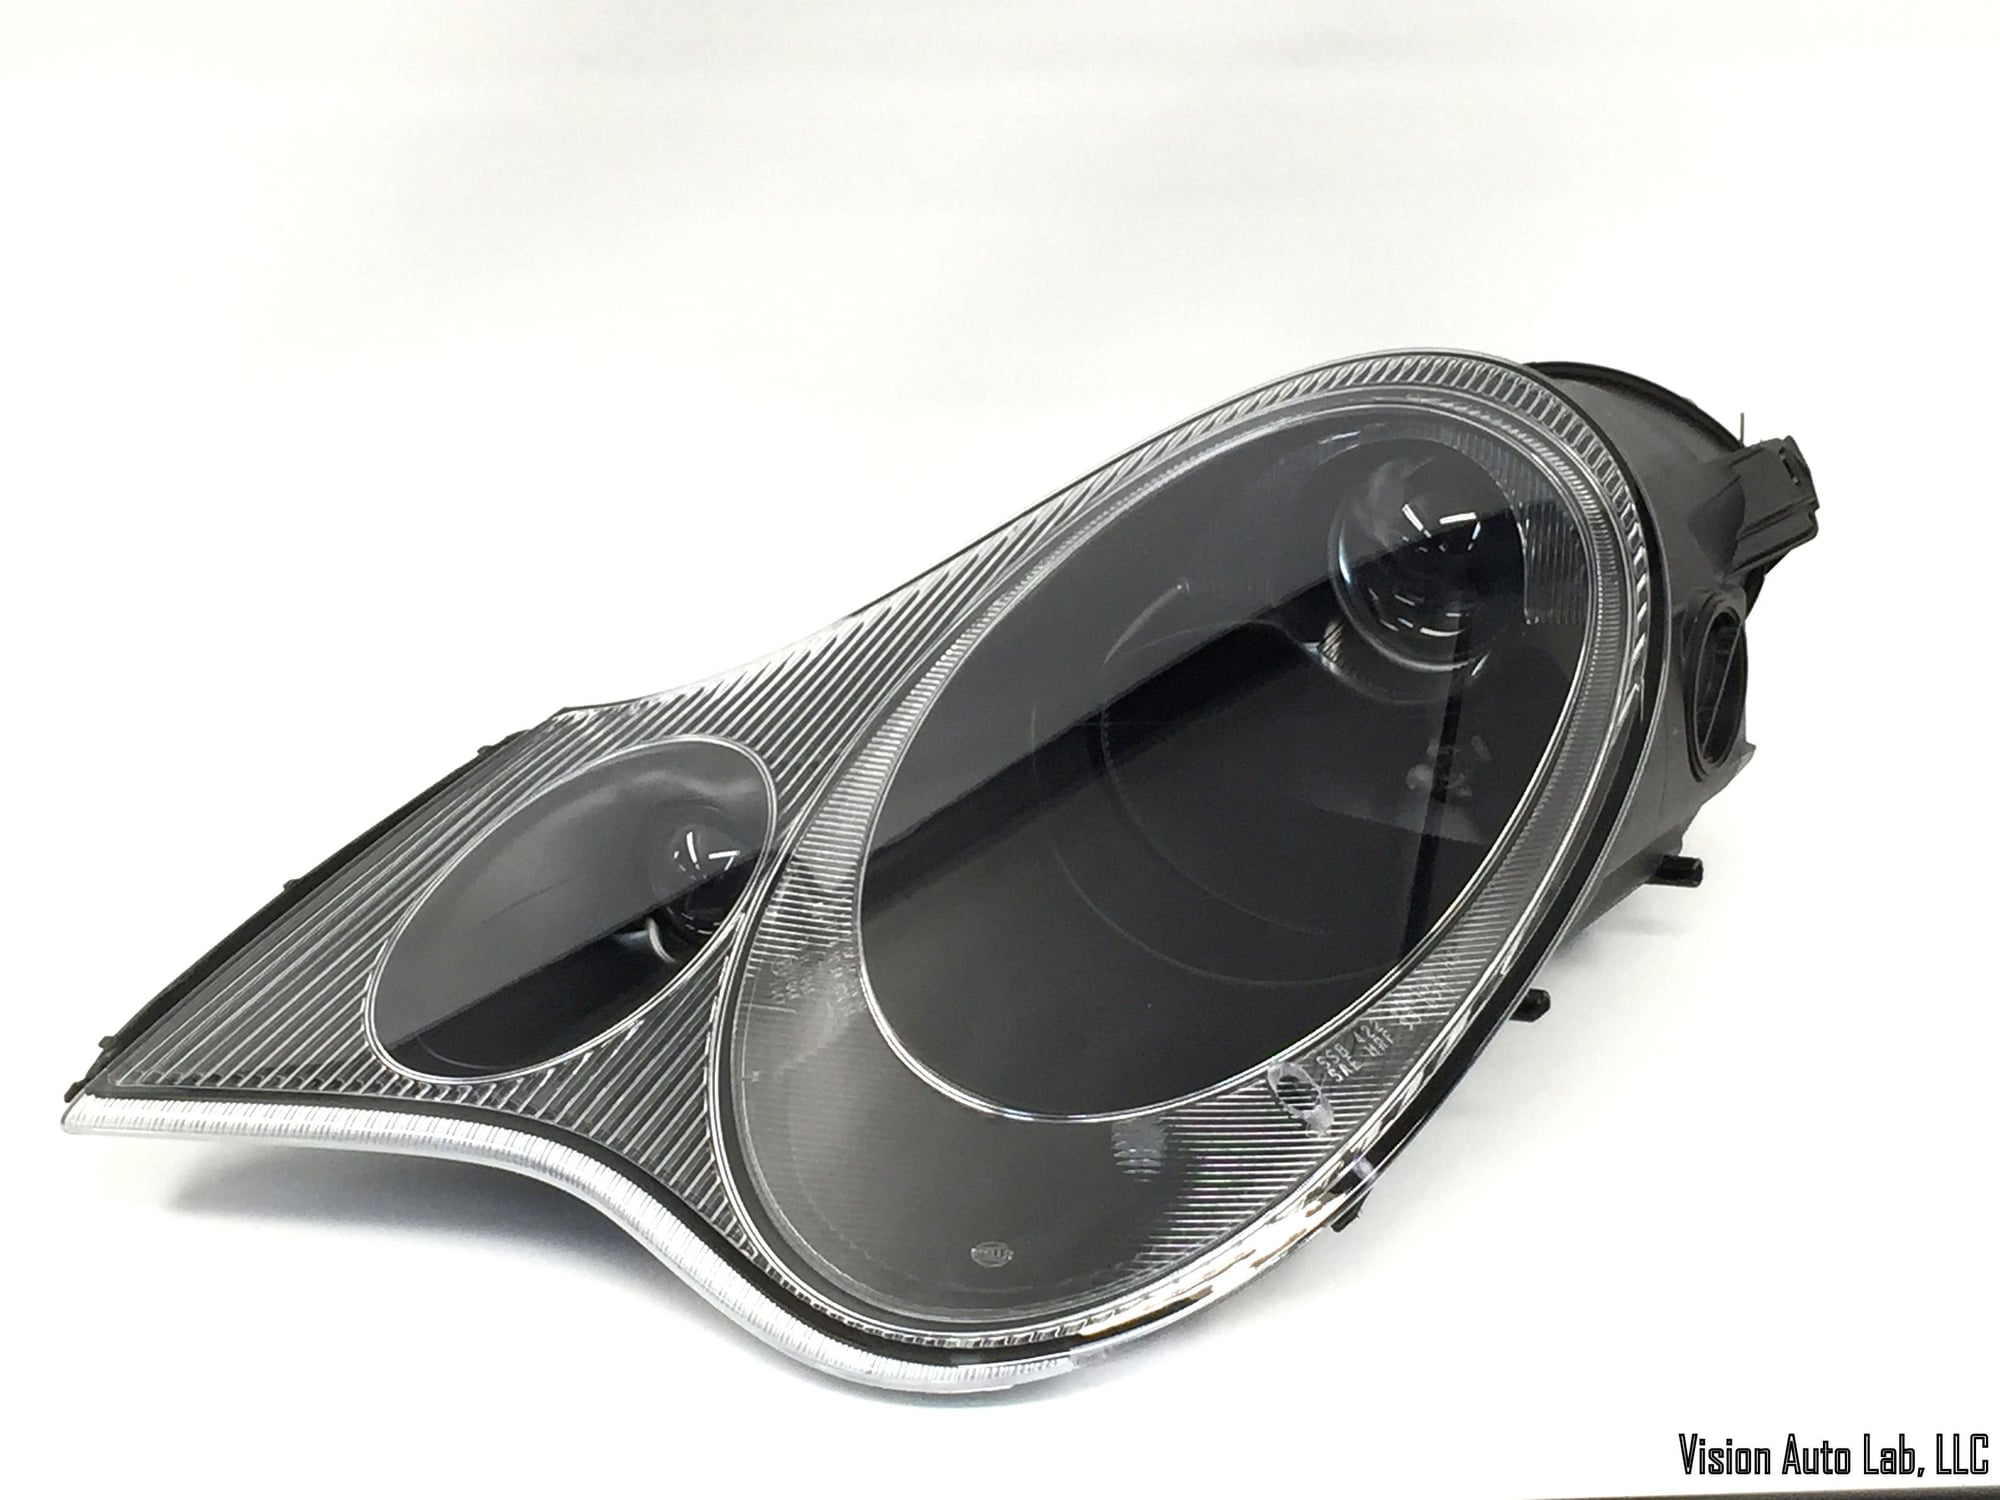
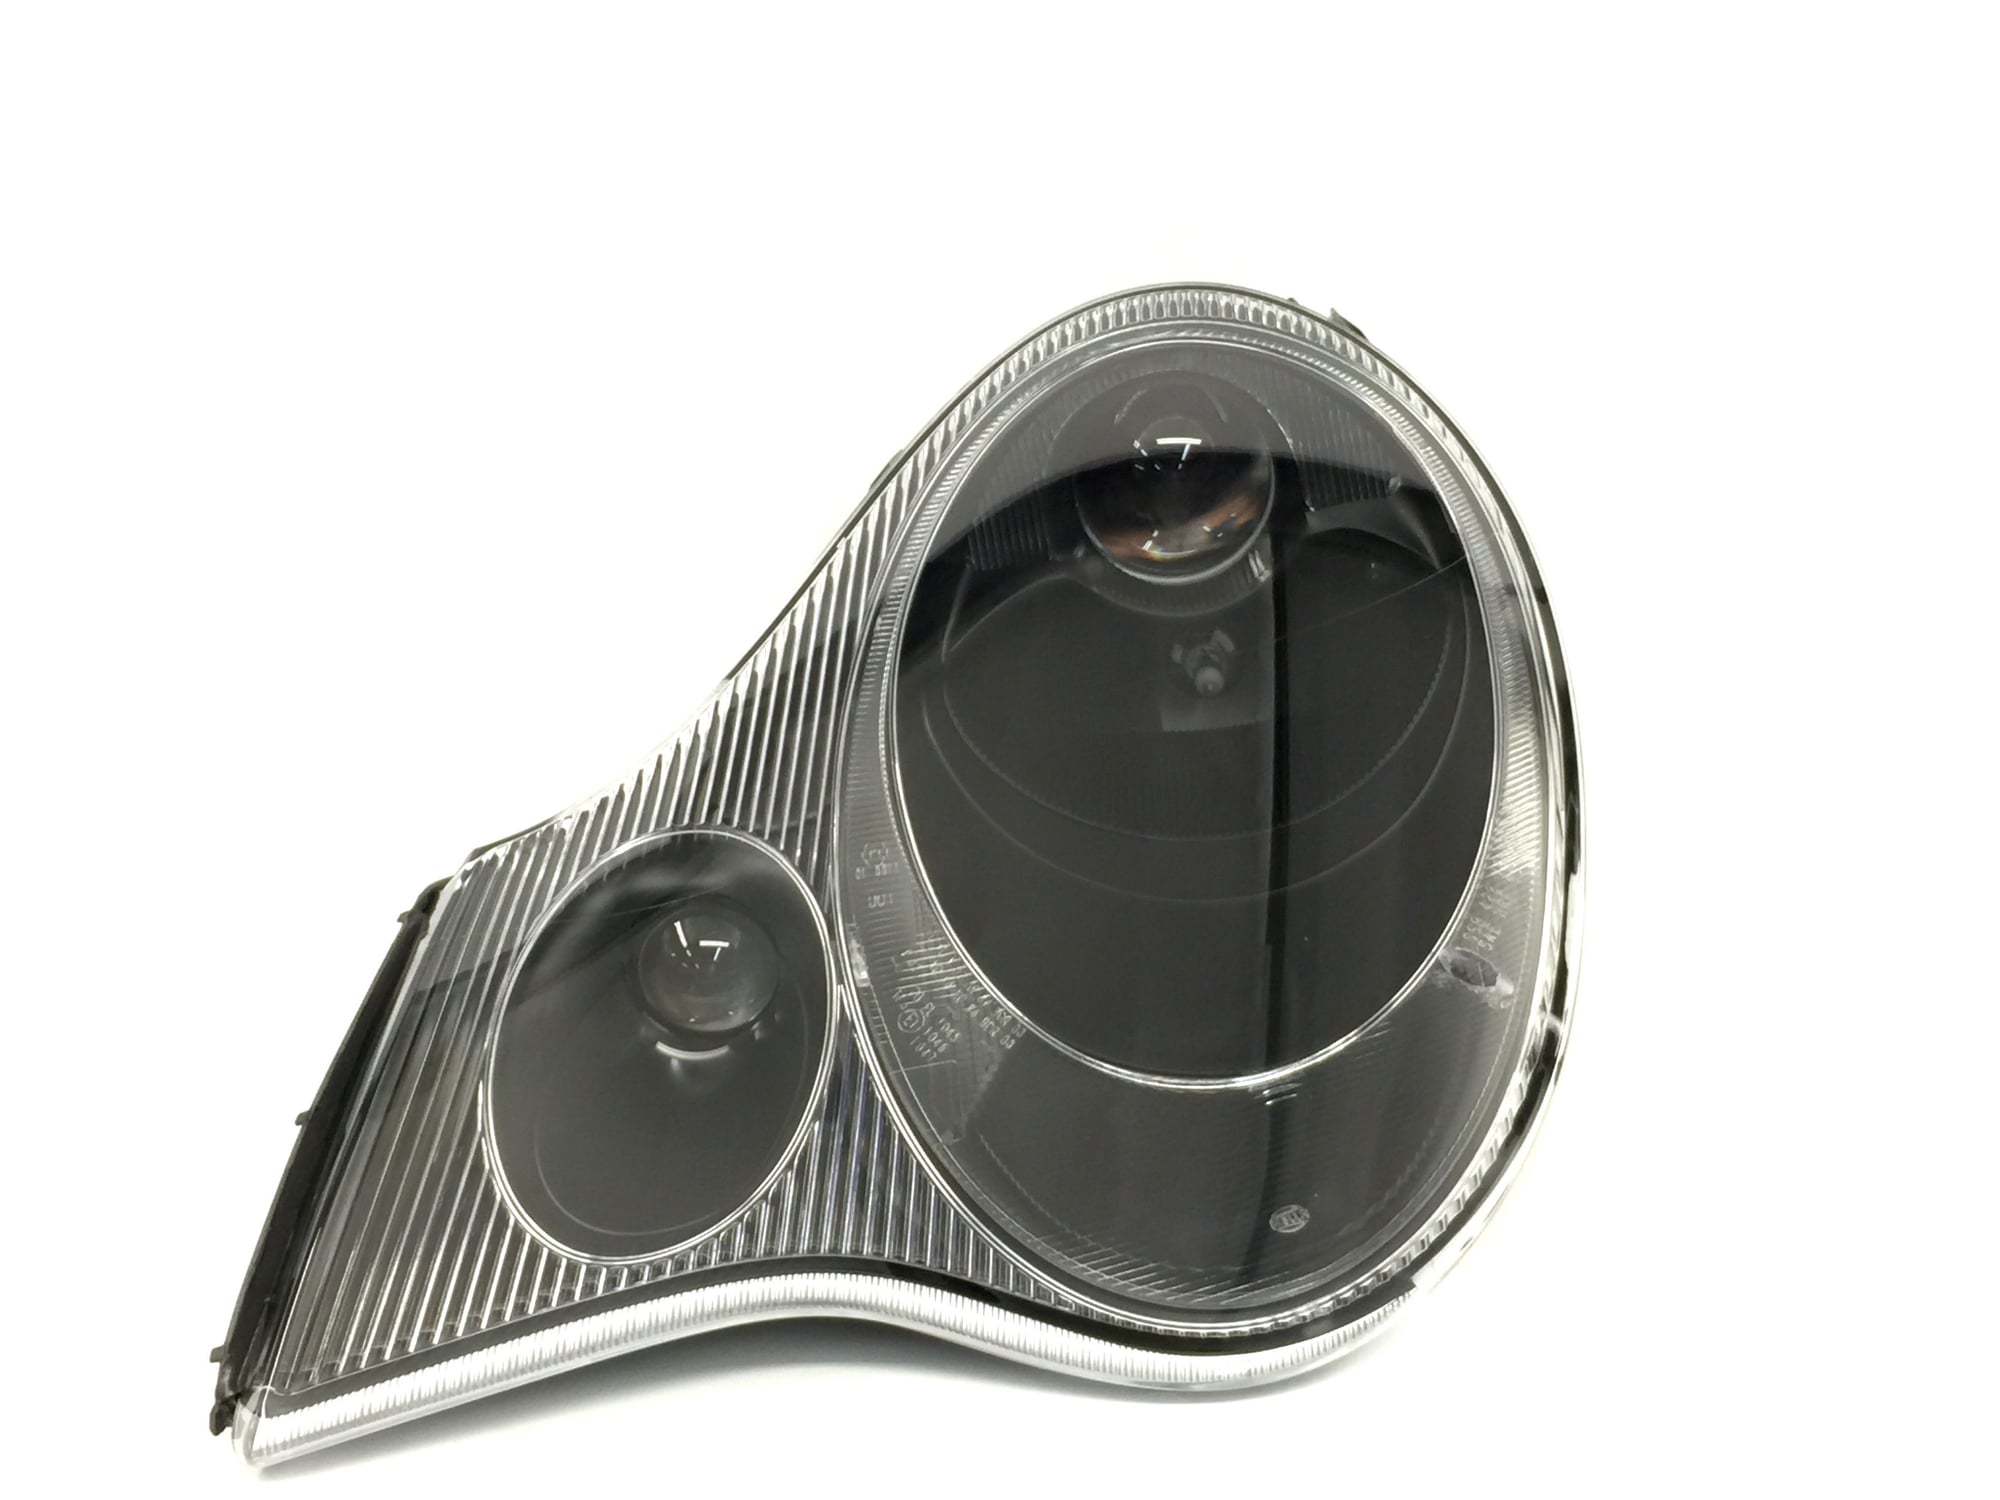
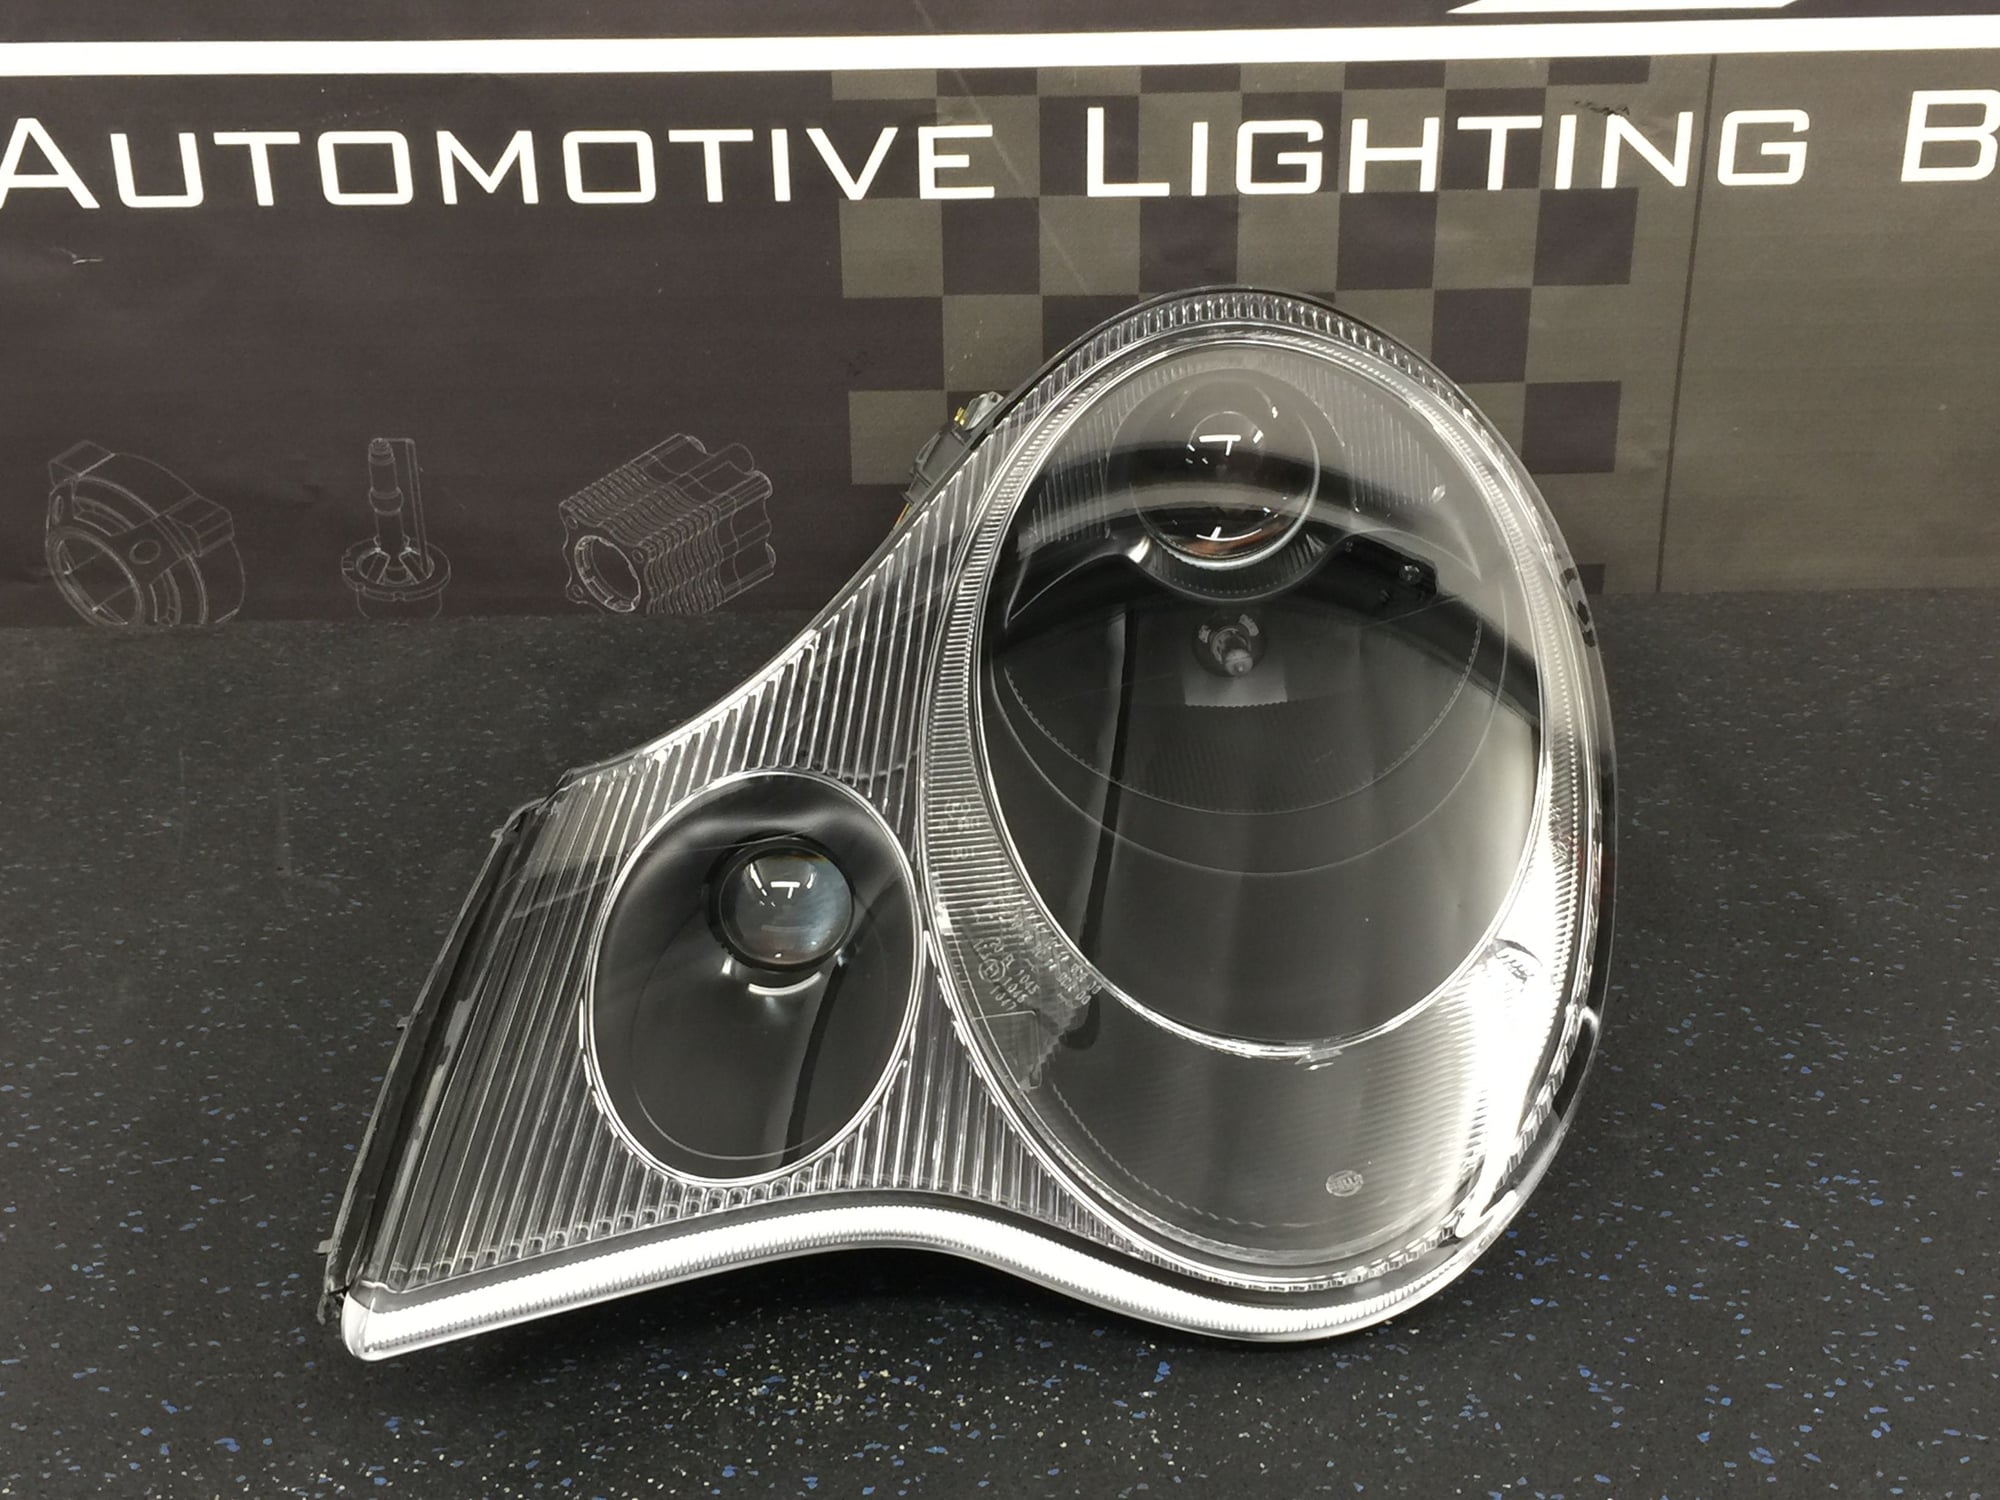
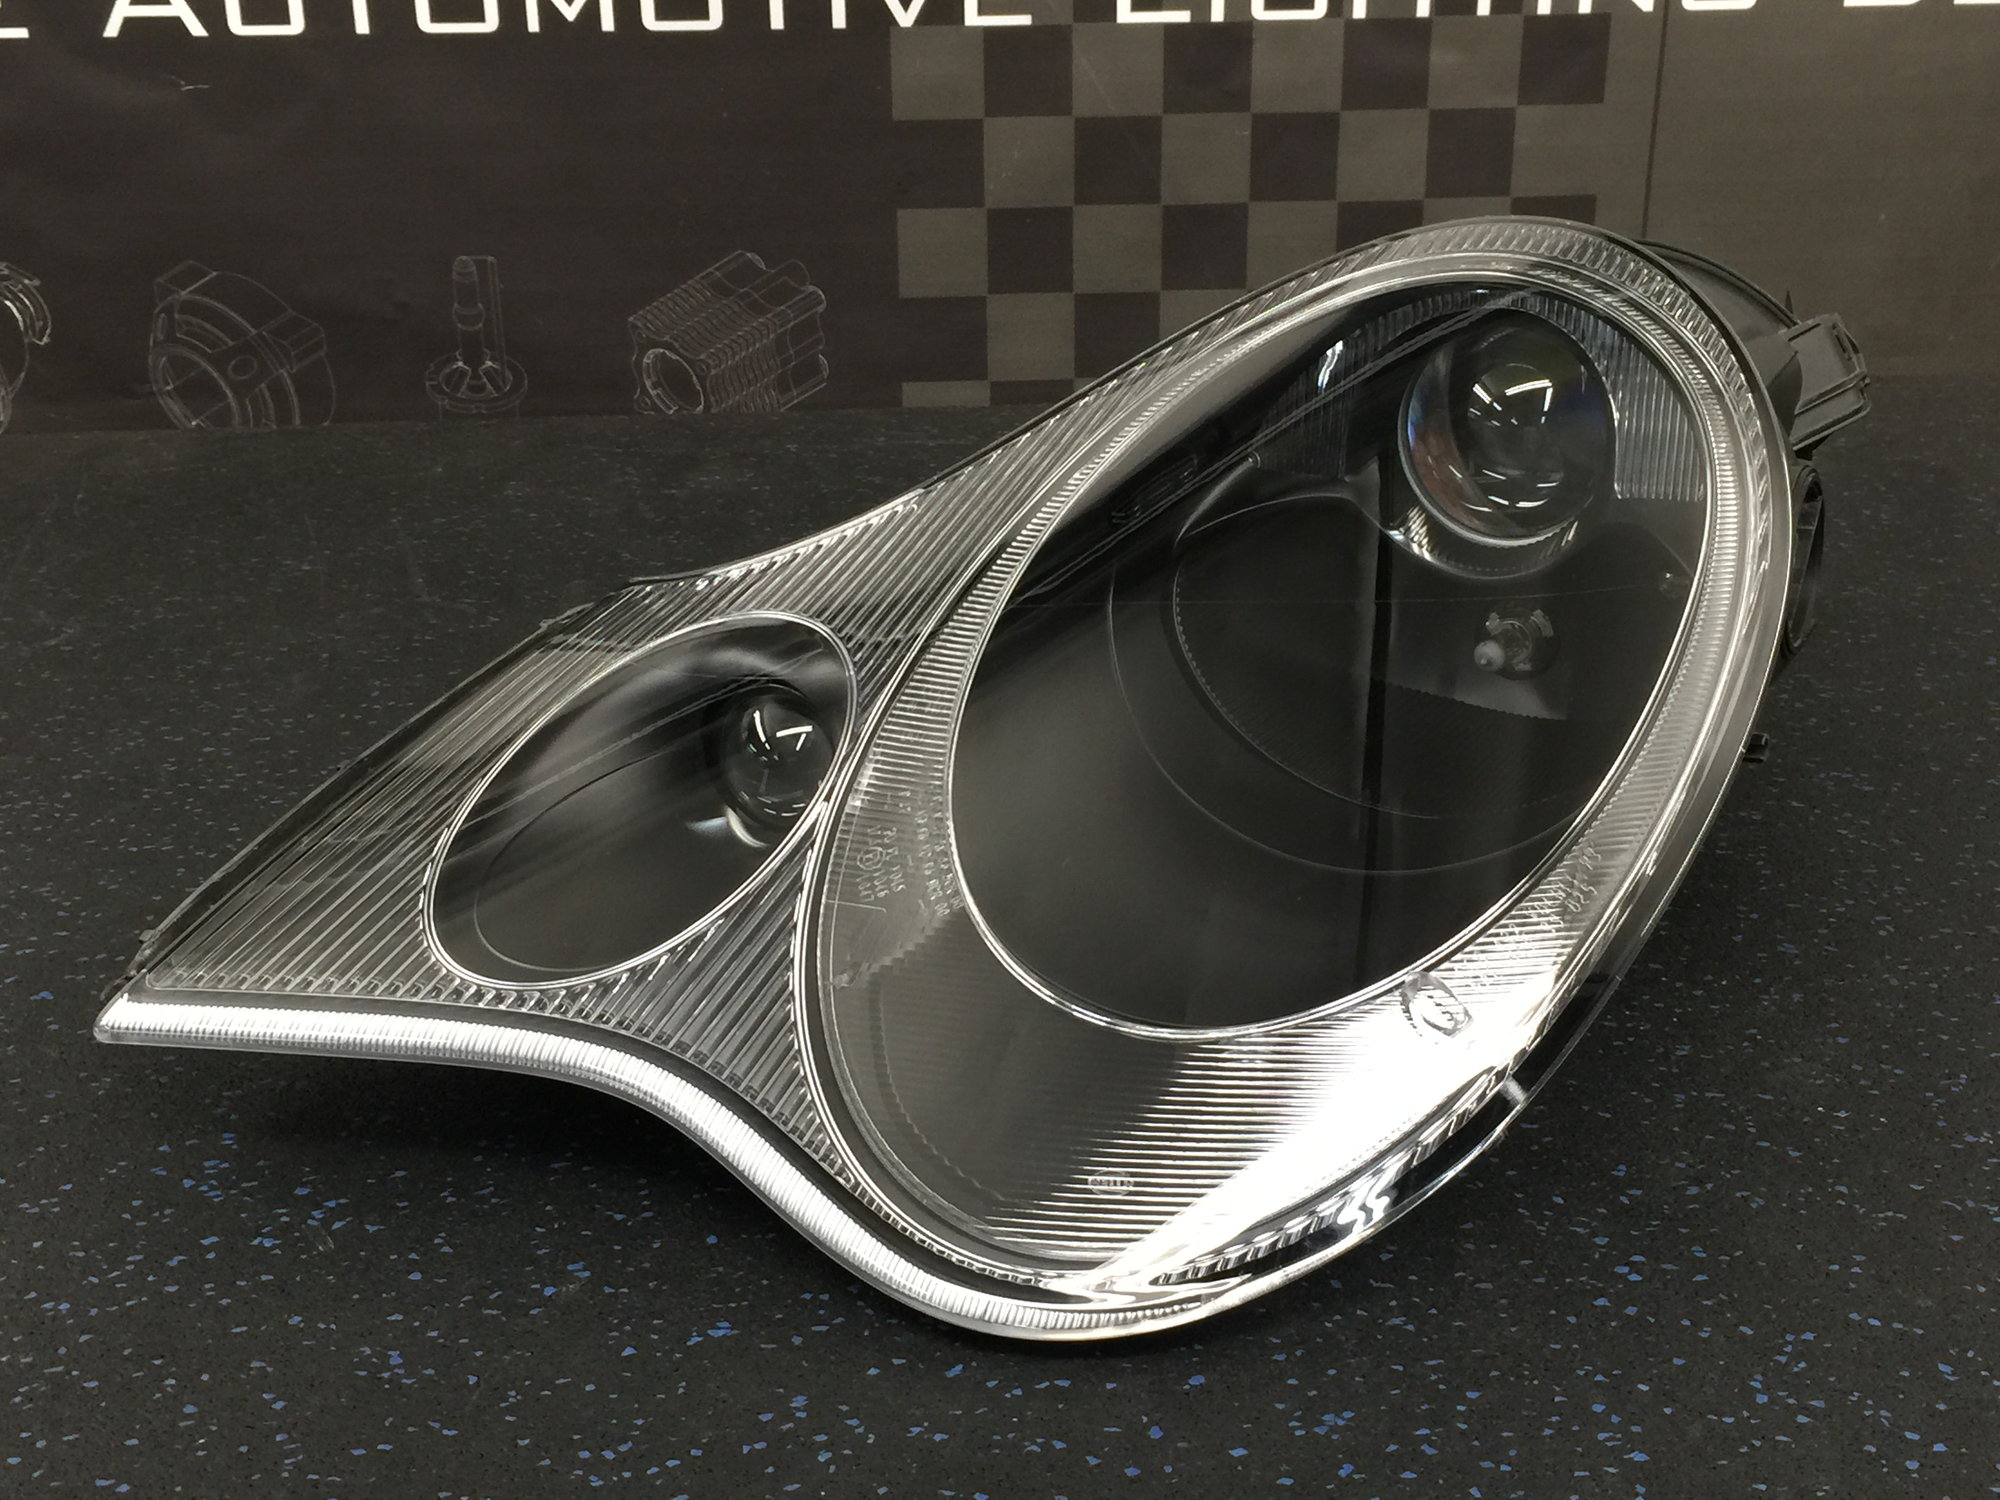
Since one of the headlights was structurally compromised from a previous accident we decided to source a complete replacement headlight. After one failed eBay transaction where the headlight purchased ended up having a broken projector bracket (same issue as original headlight) we struck gold with another eBay light. By shuffling some search terms around I was able to find a nice complete headlight for $375 shipped. Not bad since most 996 headlights in decent condition go for $500-$800/ea. After it arrived I was able to see that it was in better condition than I expected, aside from a few small rock ships in the lens it could have almost passed for new, it was in truly exceptional condition.
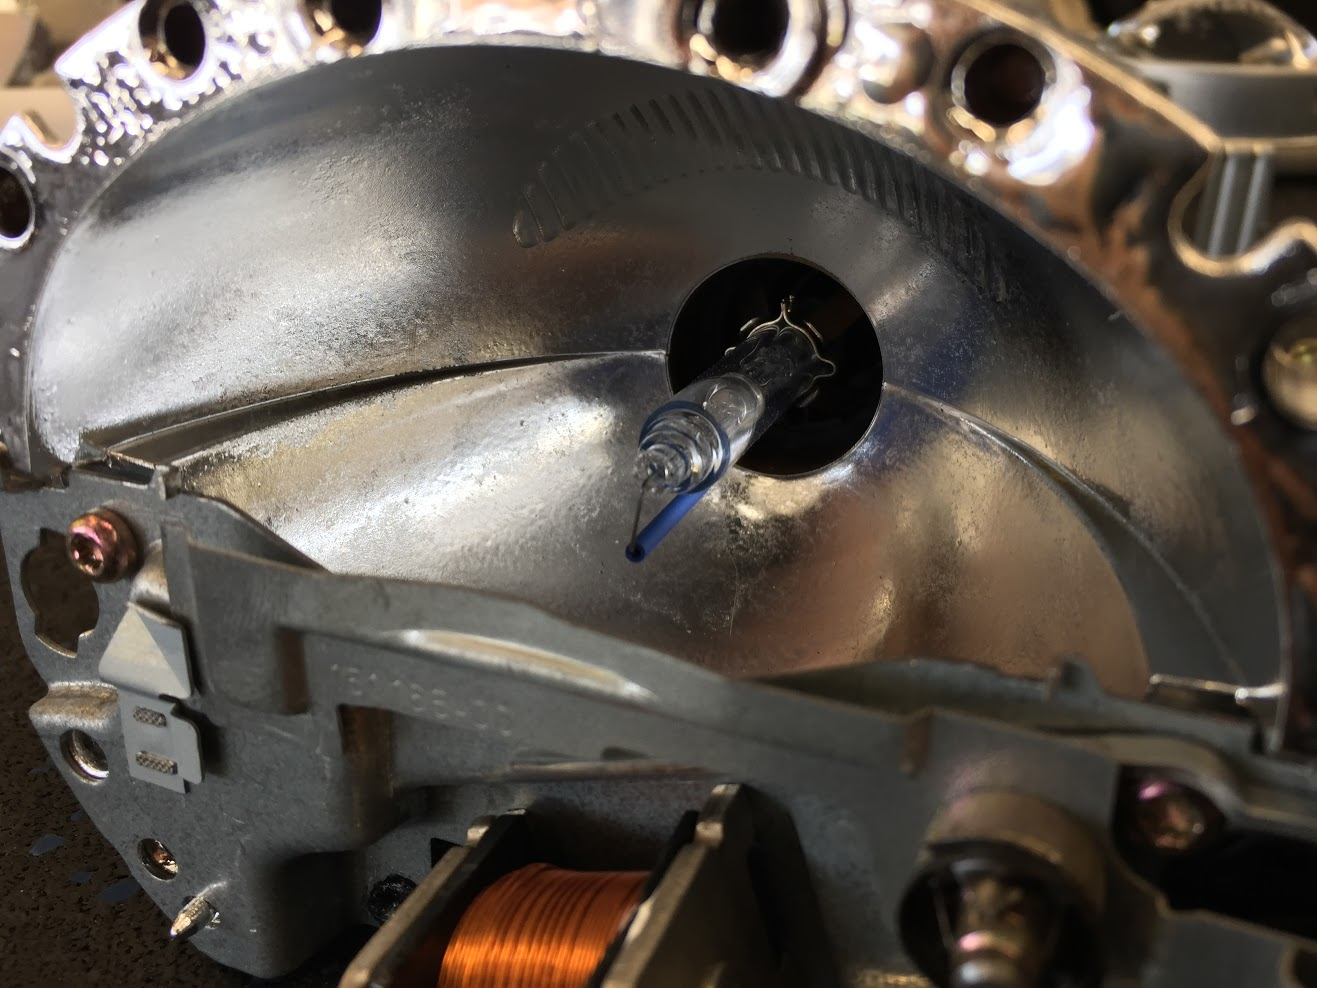
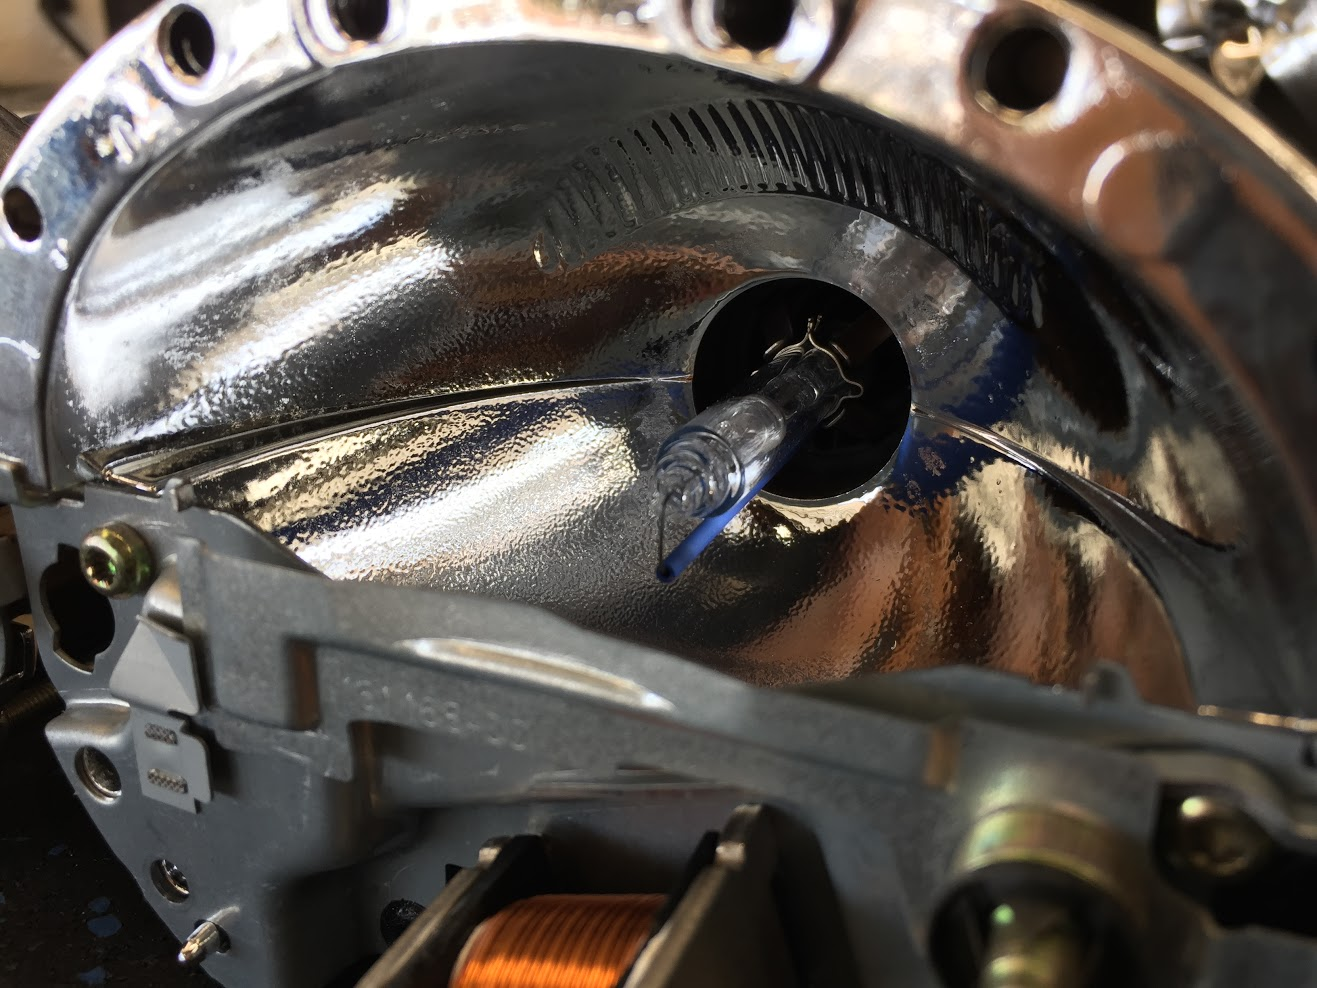
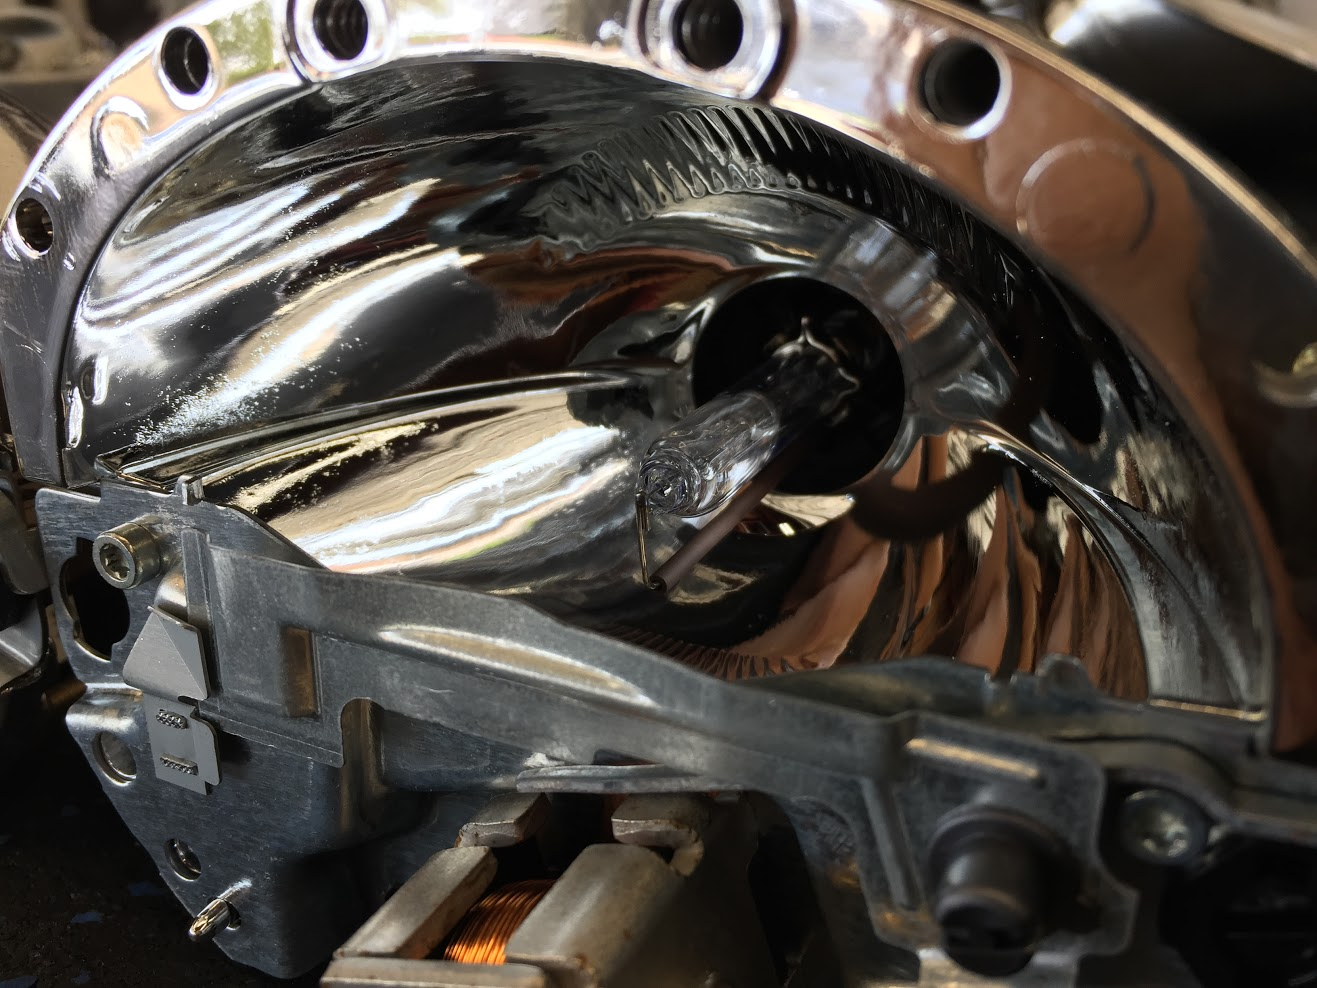
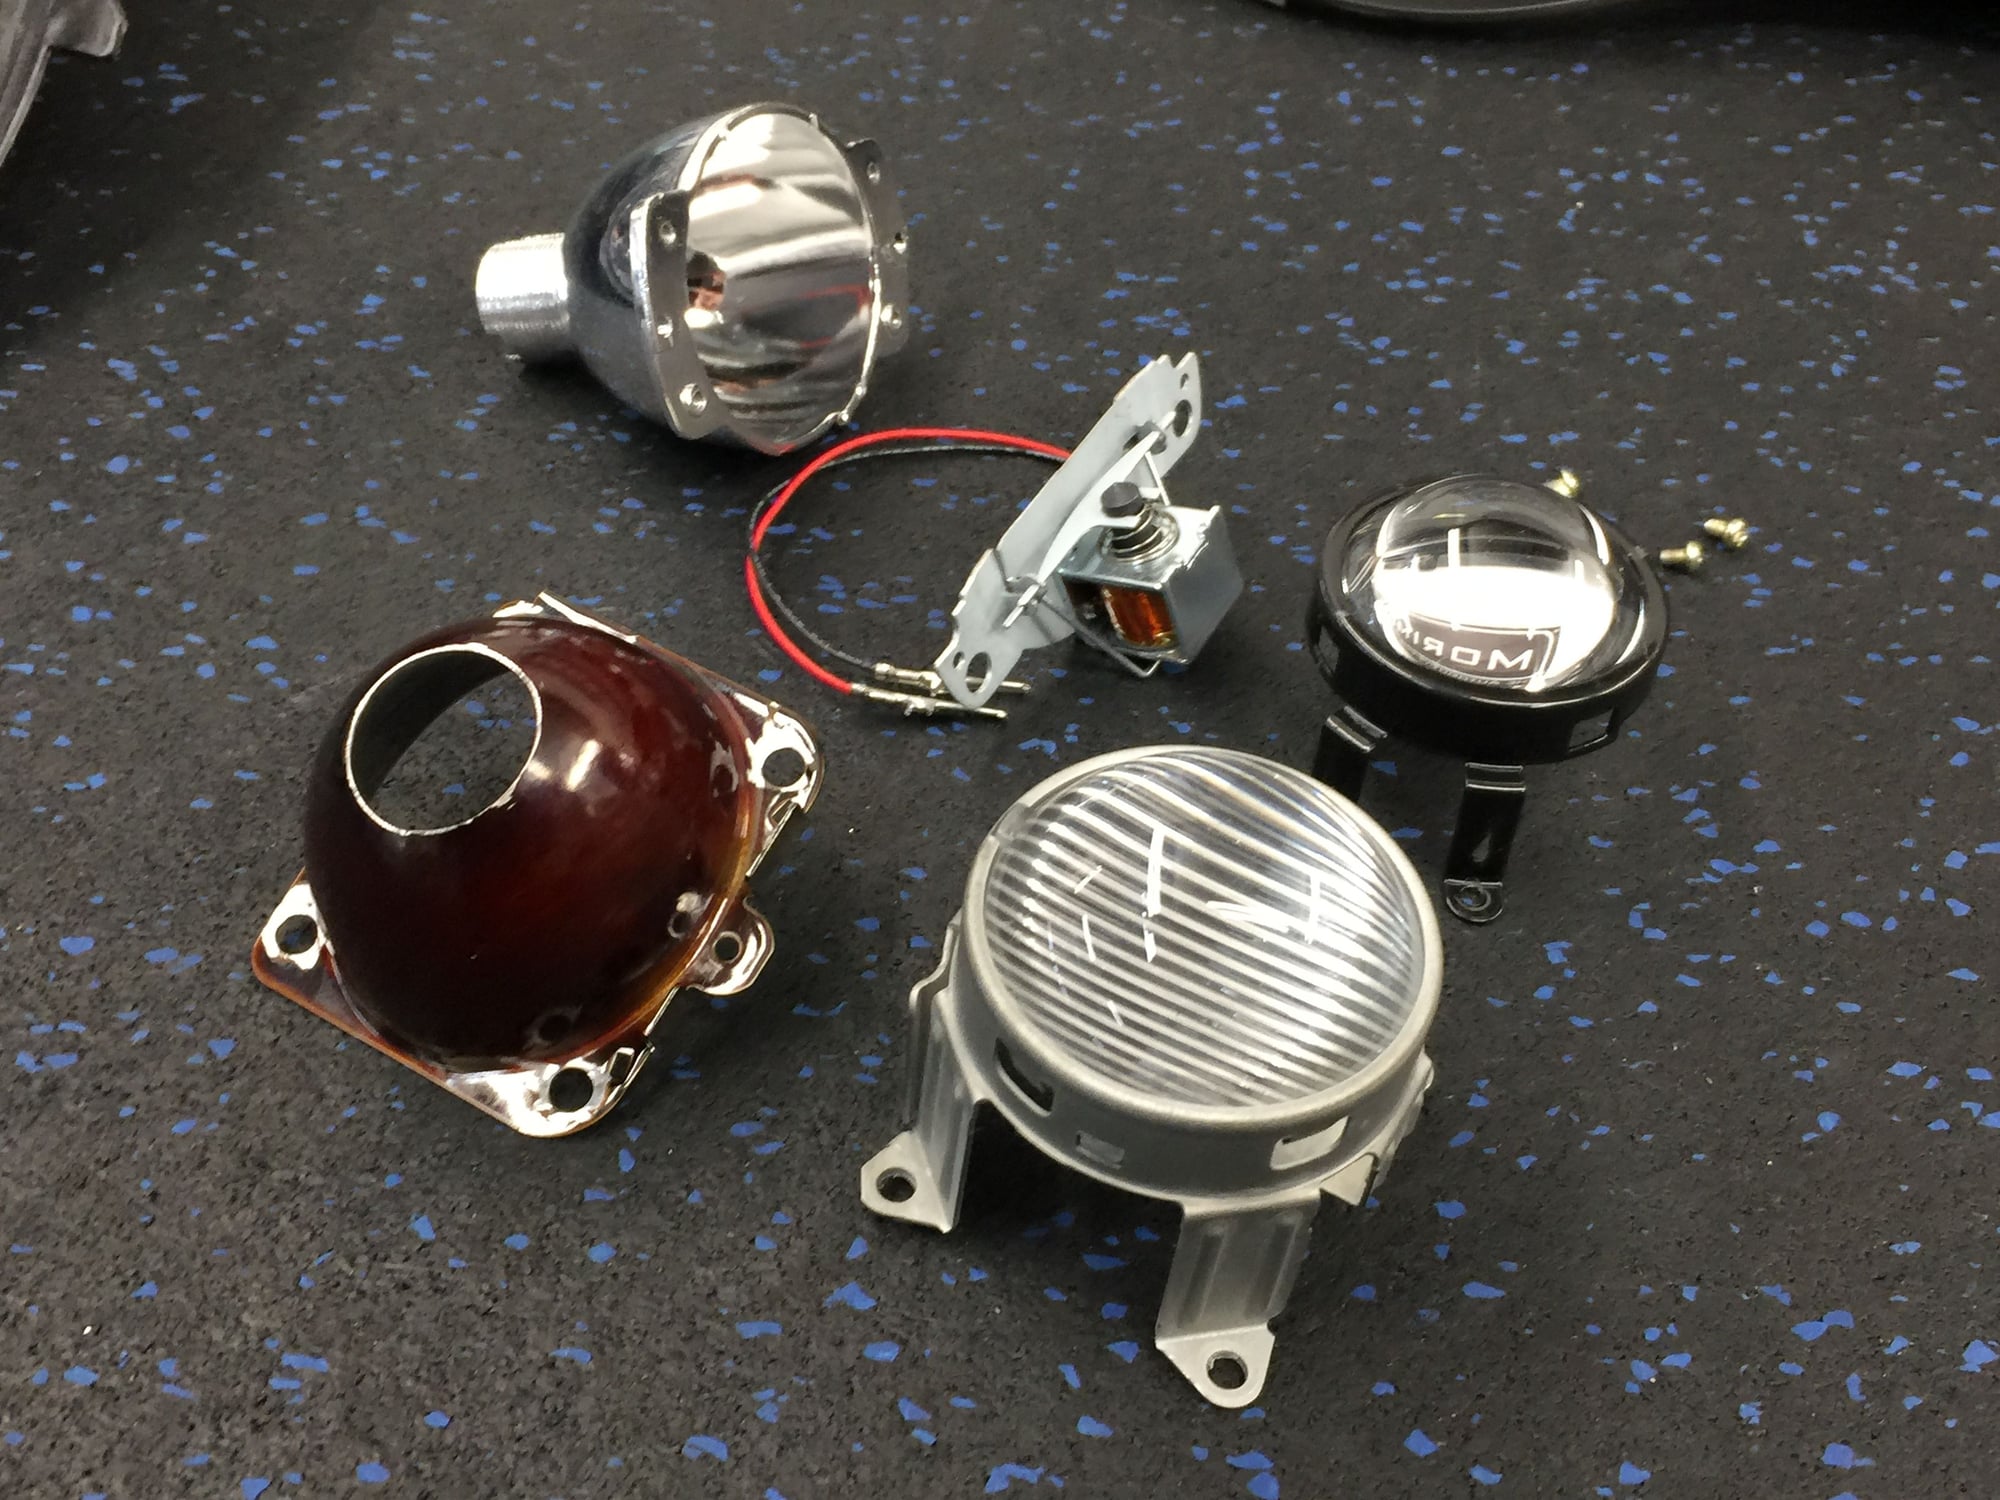
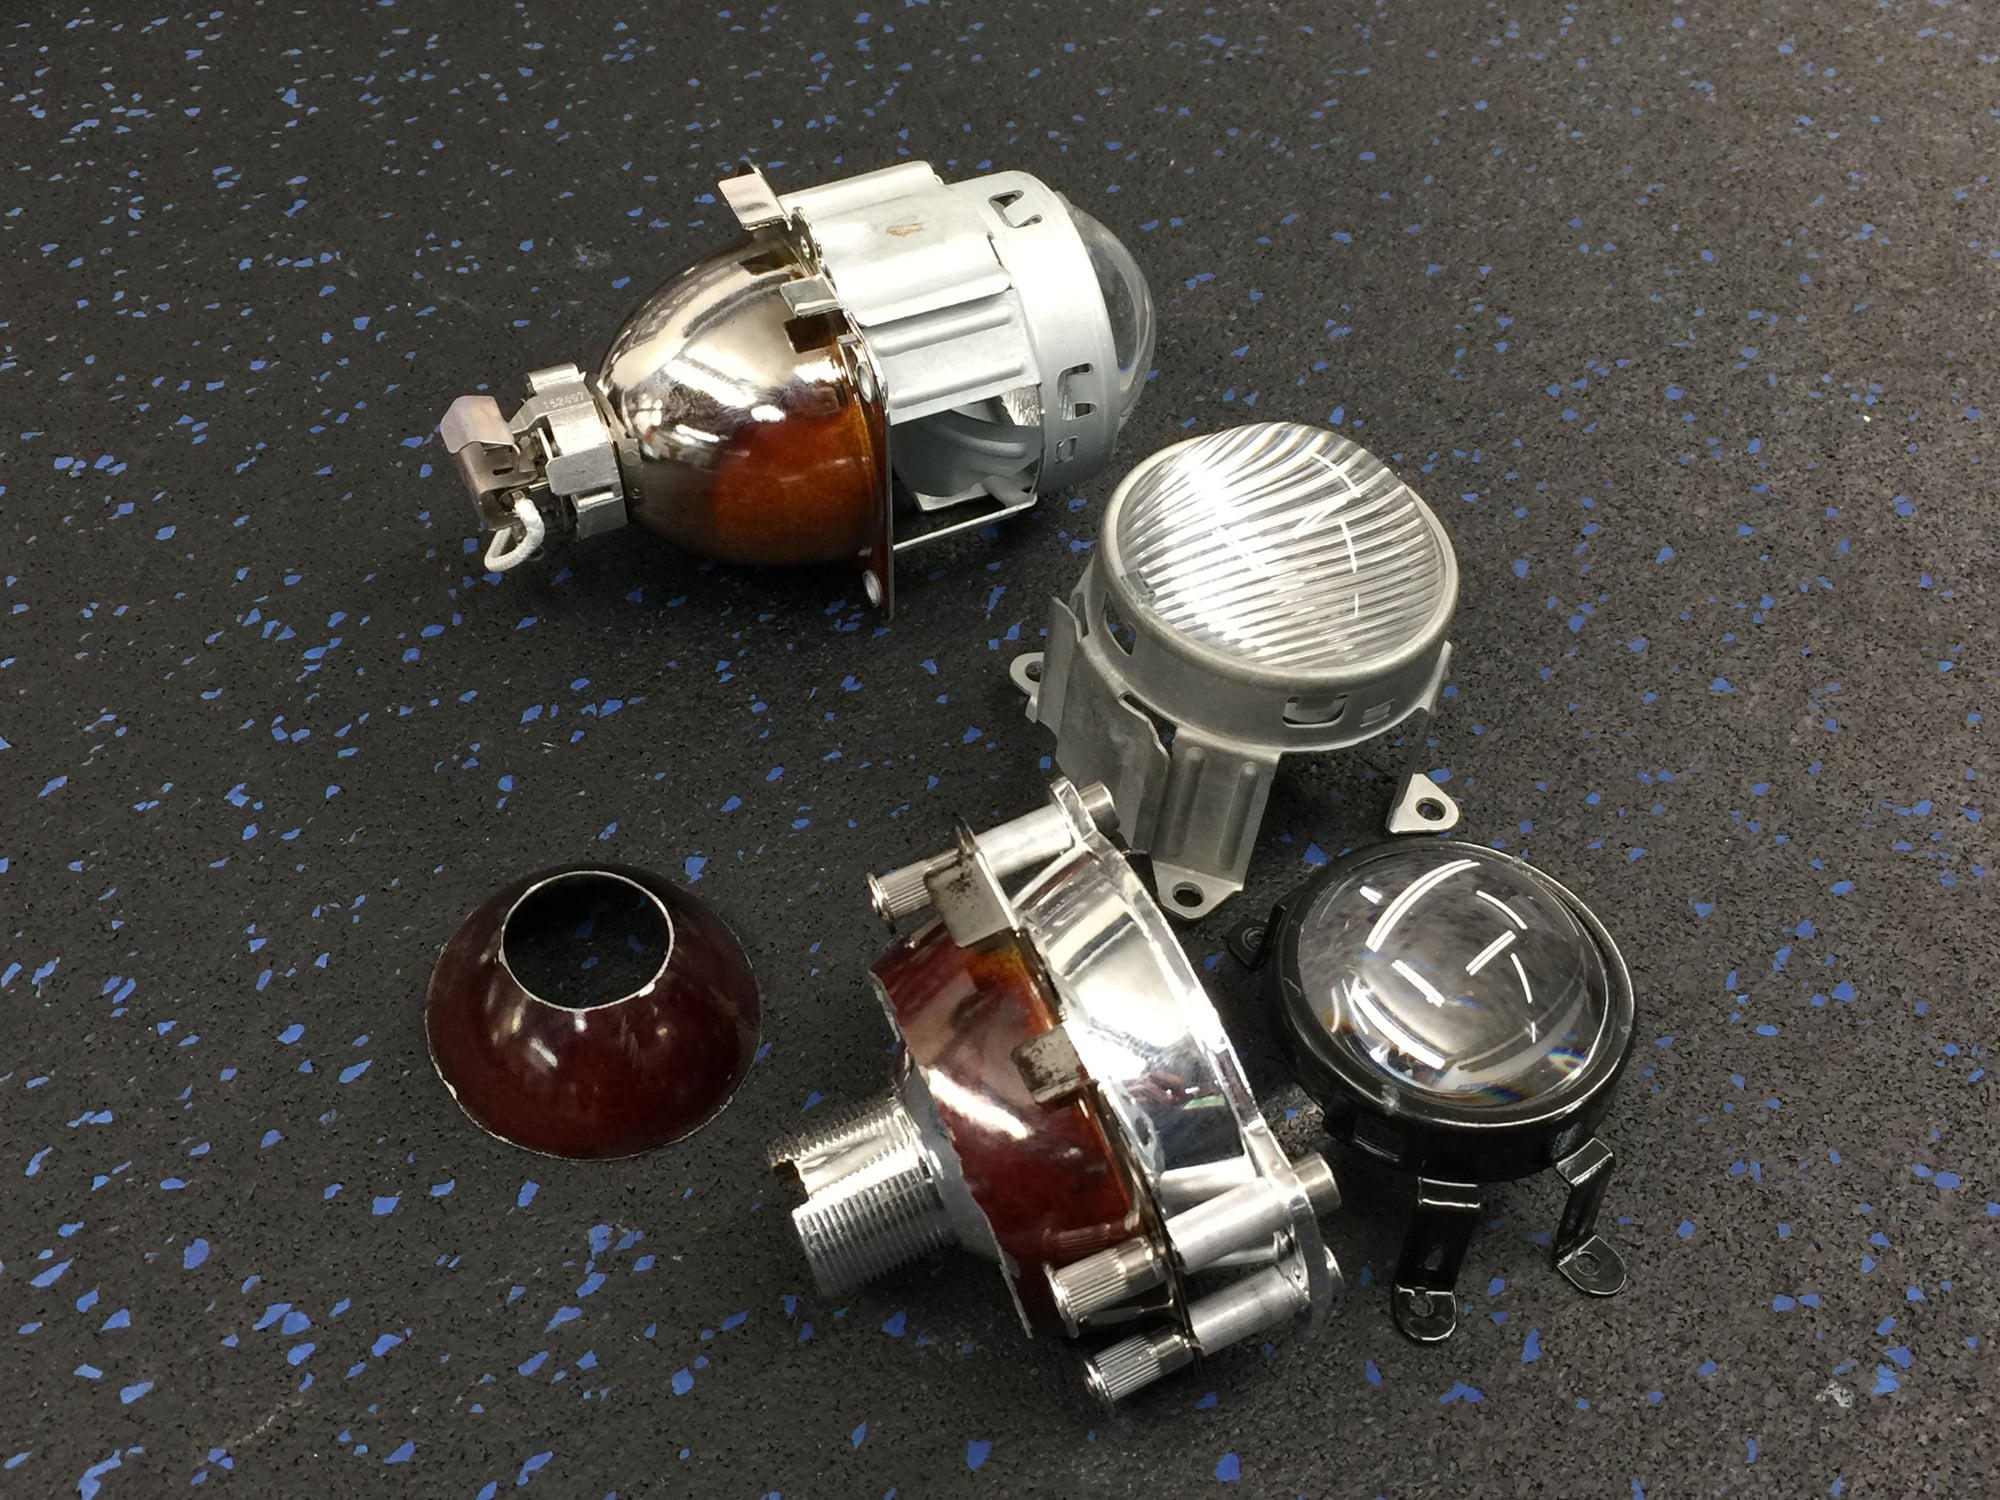
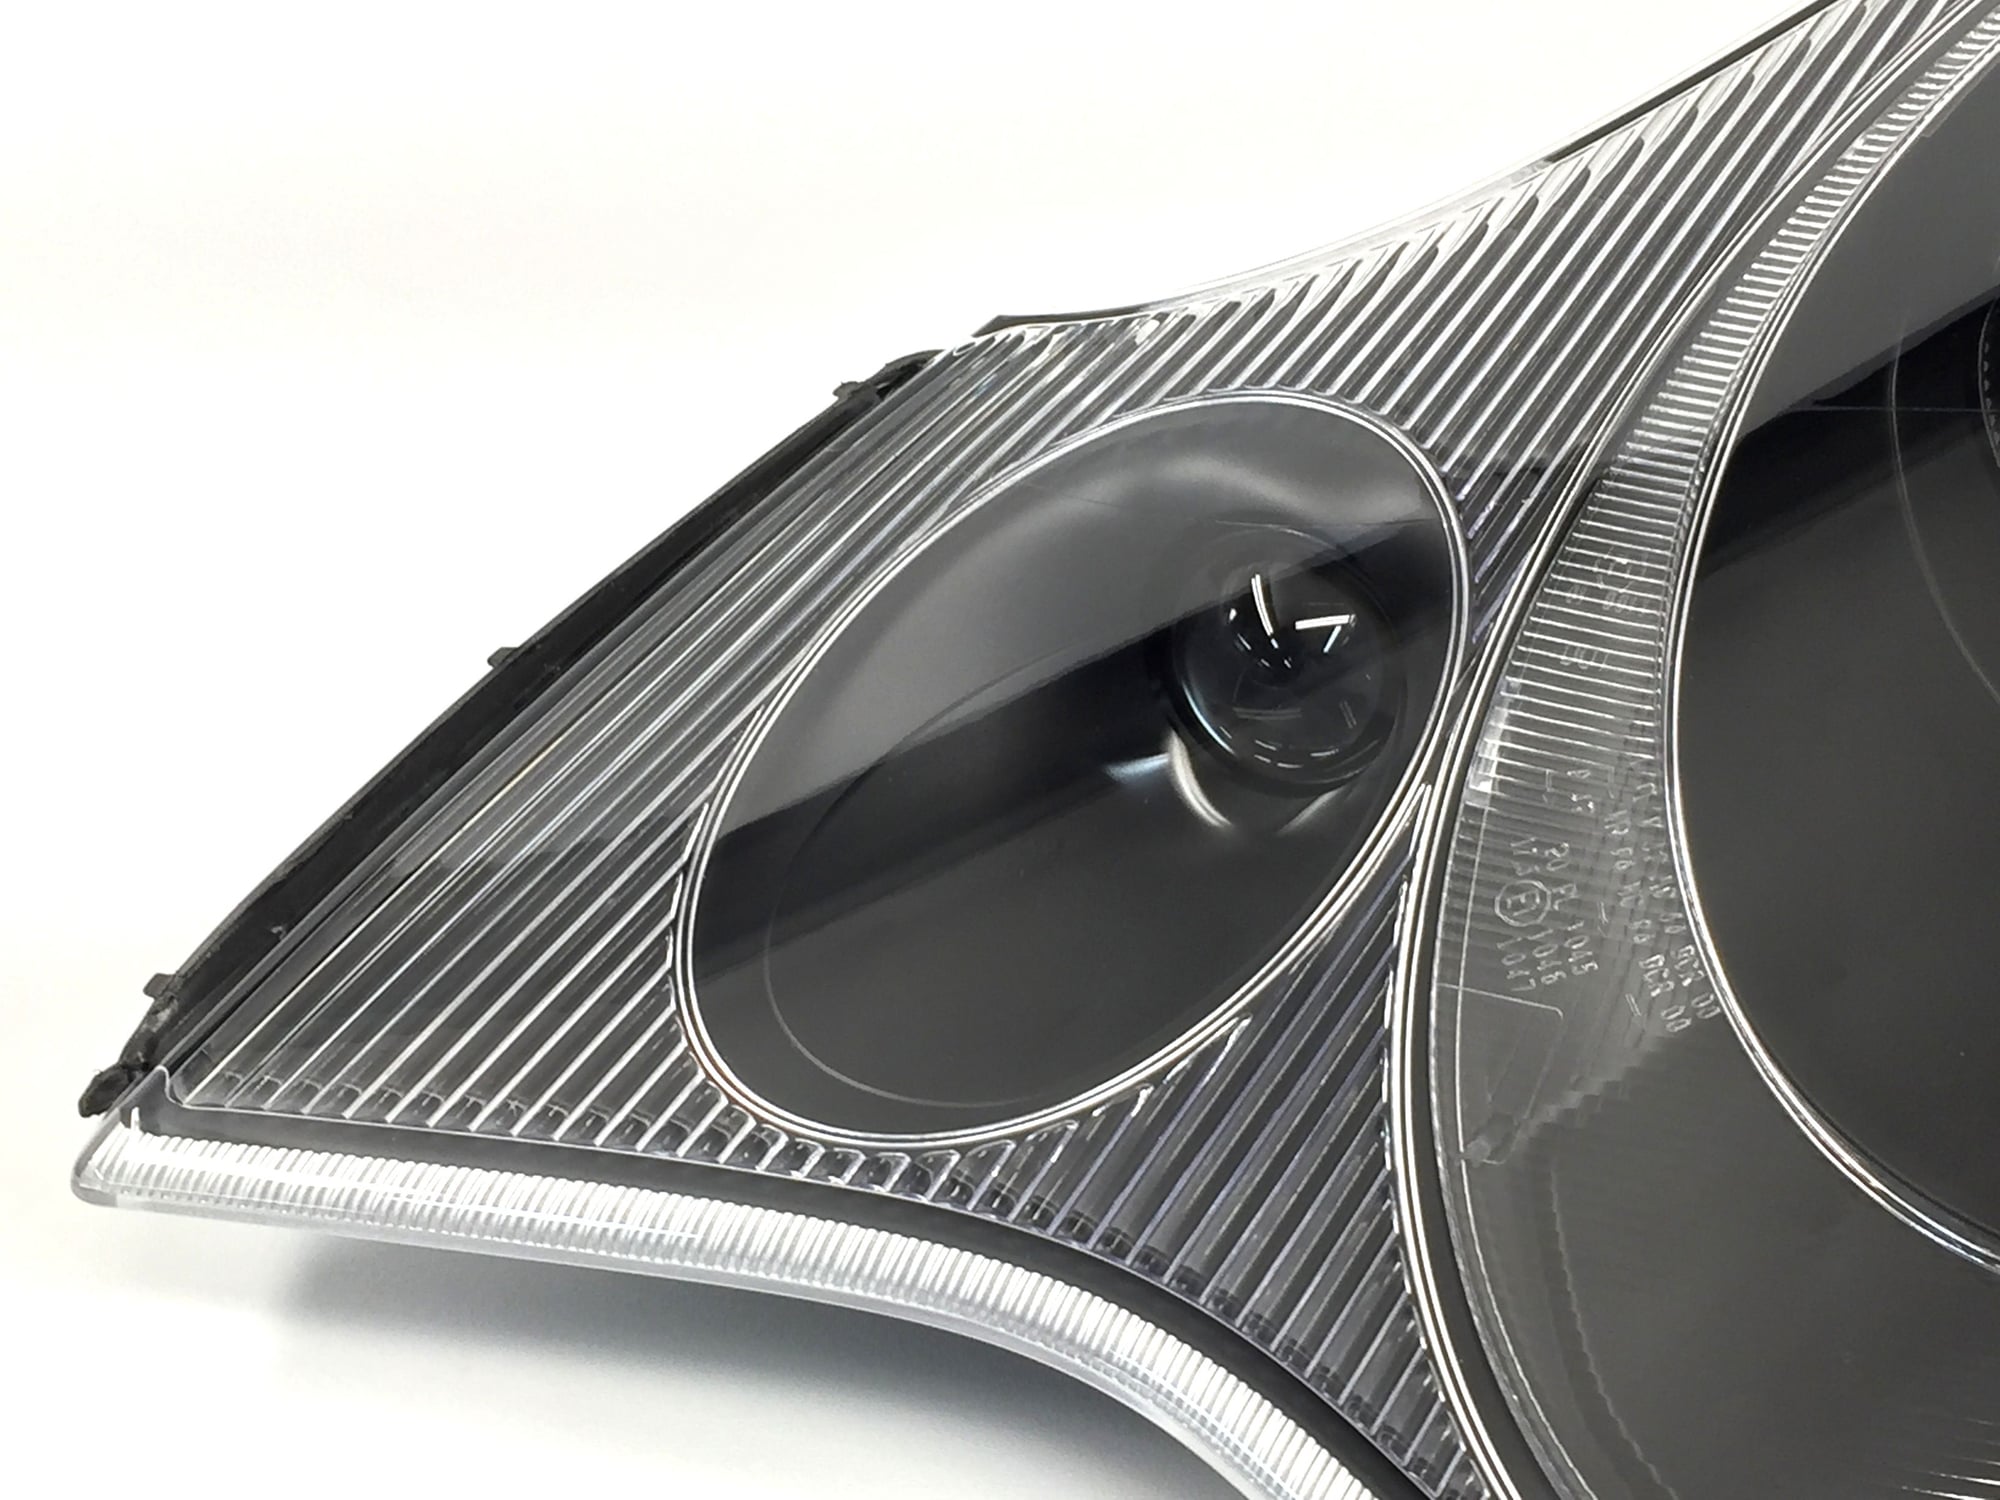
It must have come off a very low mileage car as the excellent condition continued continued inside the headlight with a projector bowl that offered a nice smooth mirror like finish. I took the opportunity to line up the 3 projectors which had varying levels of deterioration.
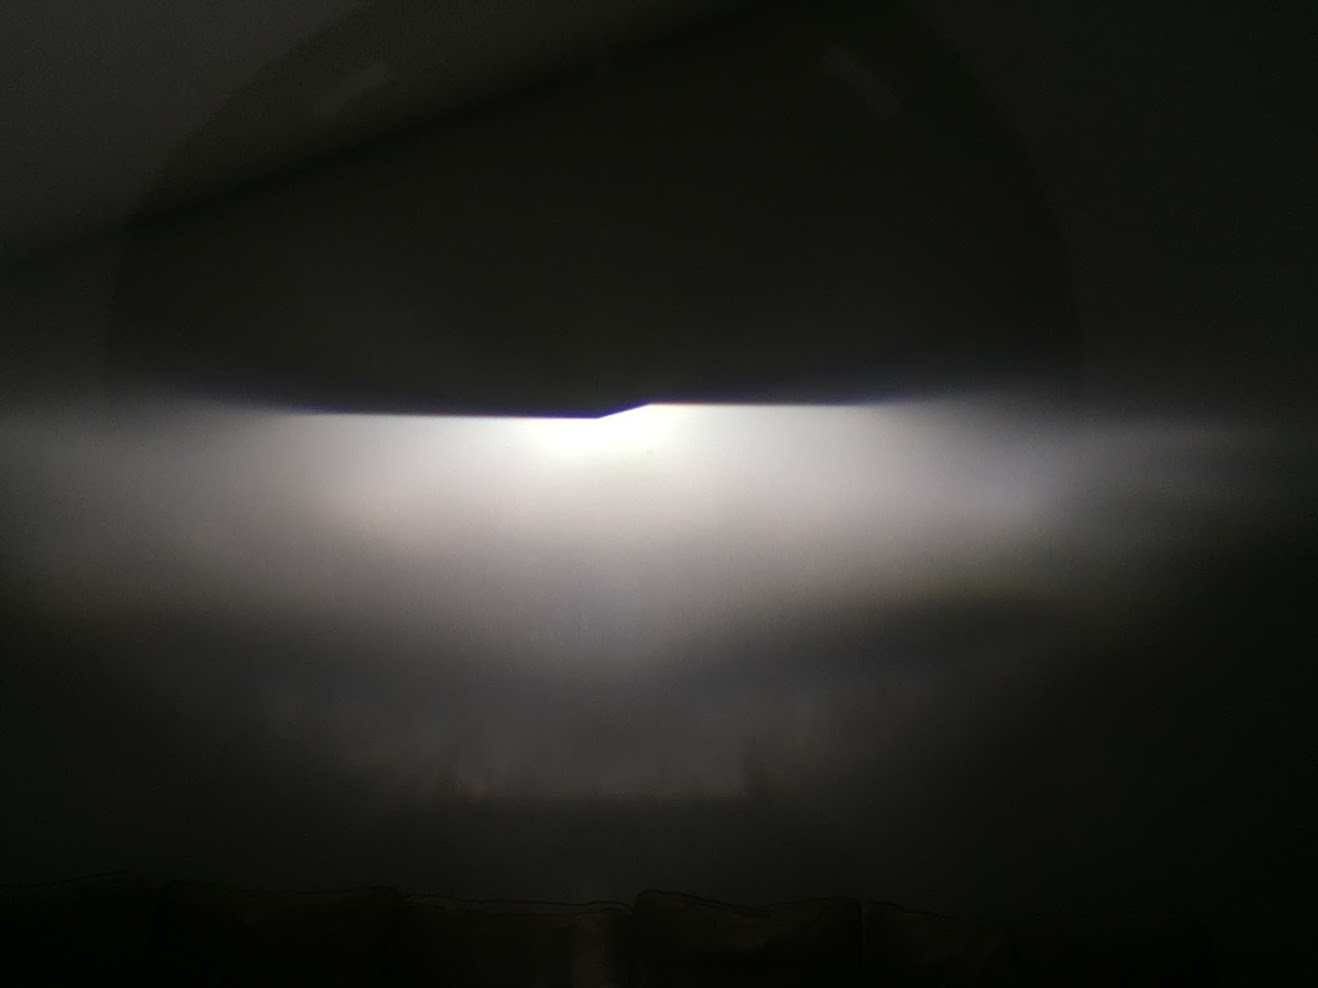
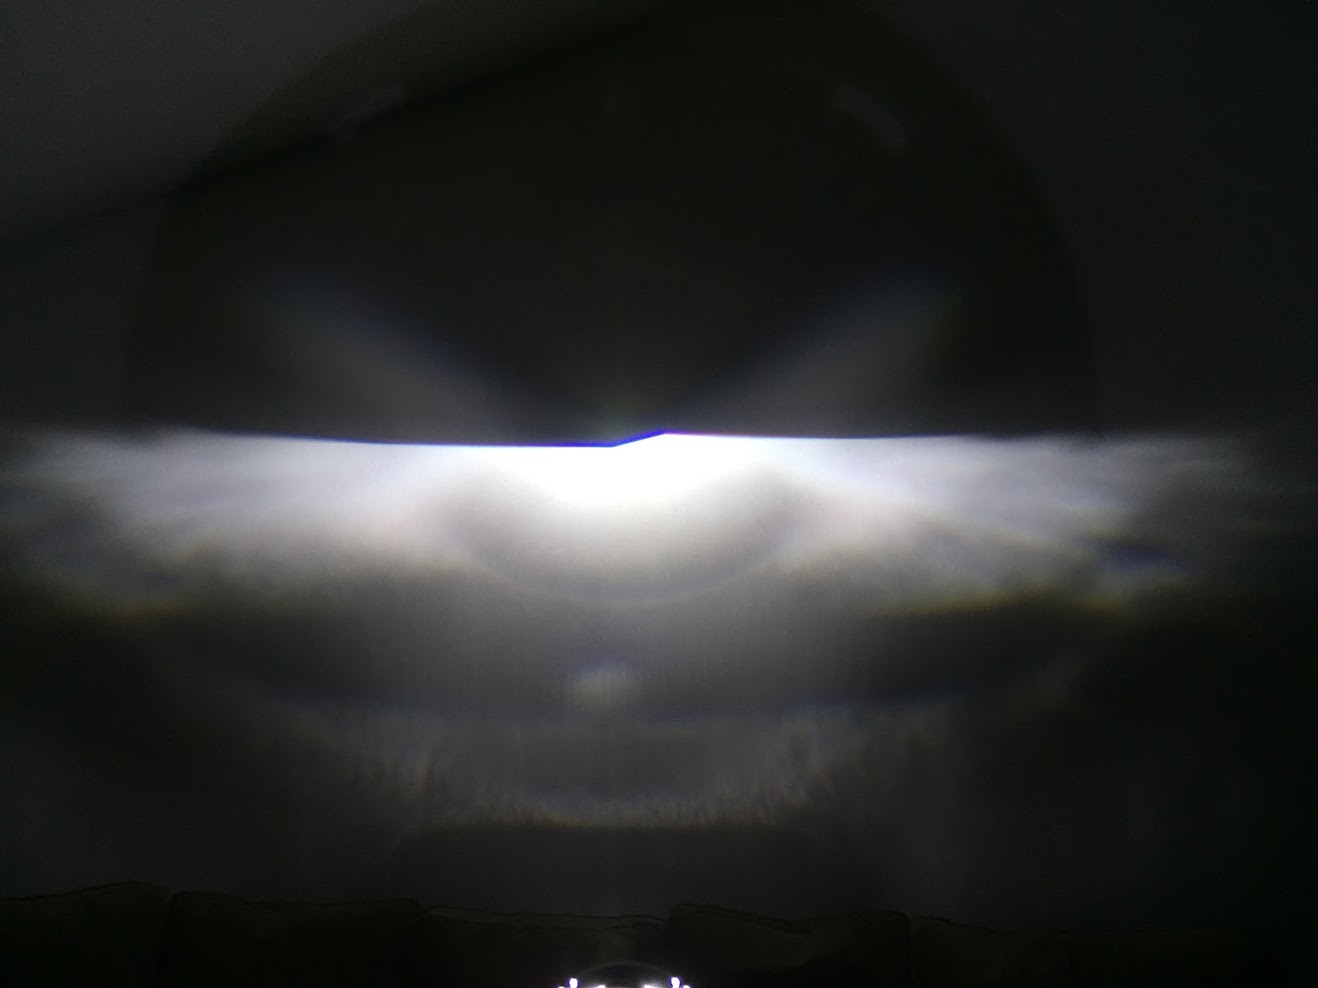
How does this affect output? Here are output pics comparing the frosted bowl to the like-new one *Both projectors have clear lens installed*
The frosted bowl smooths out the output but it diffuses/kills lots of intensity and also width.
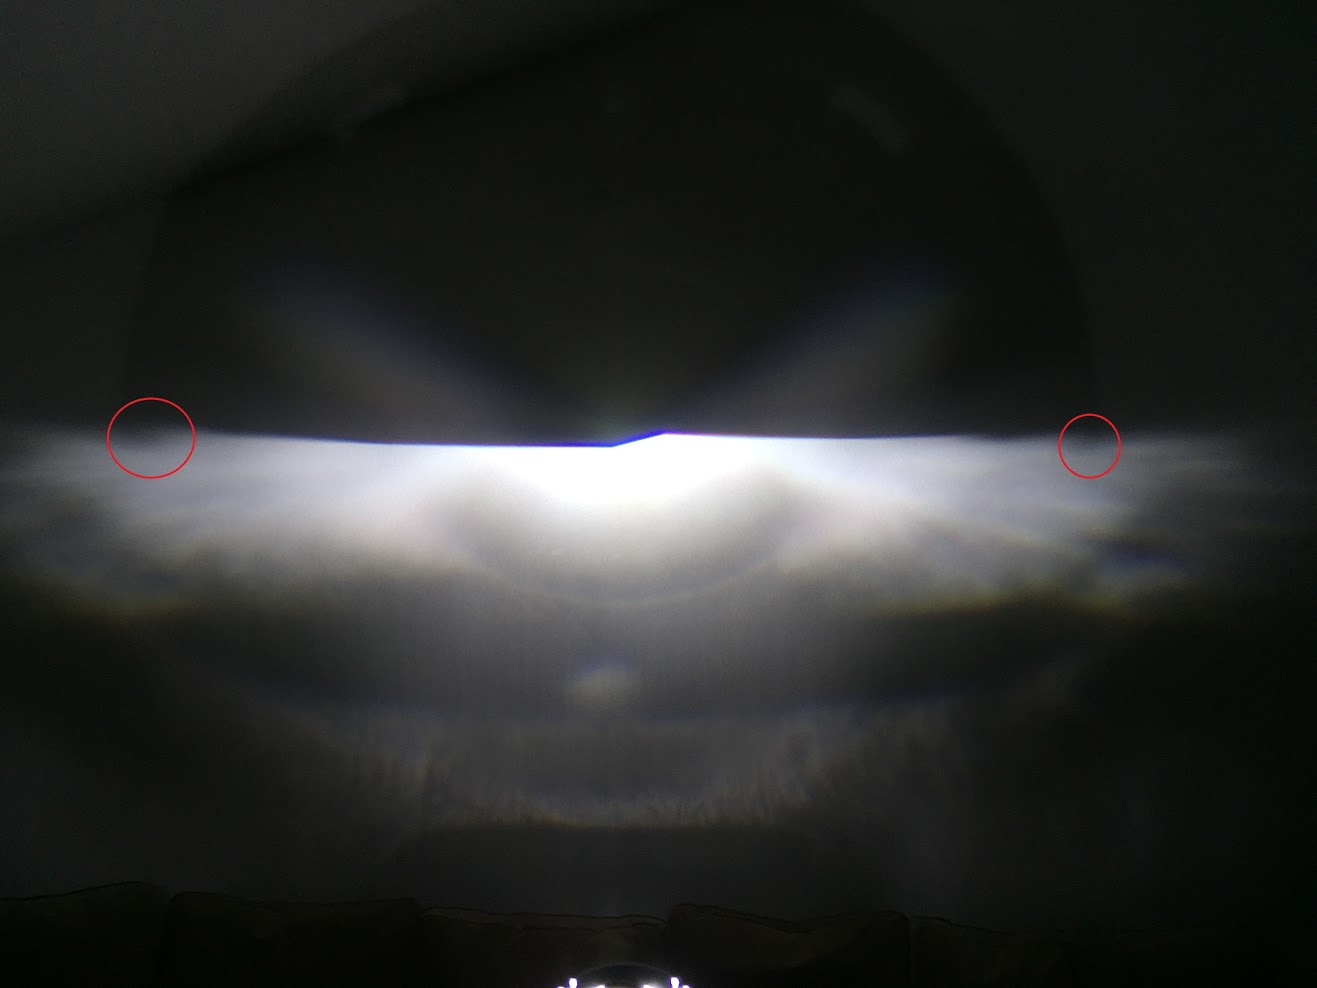
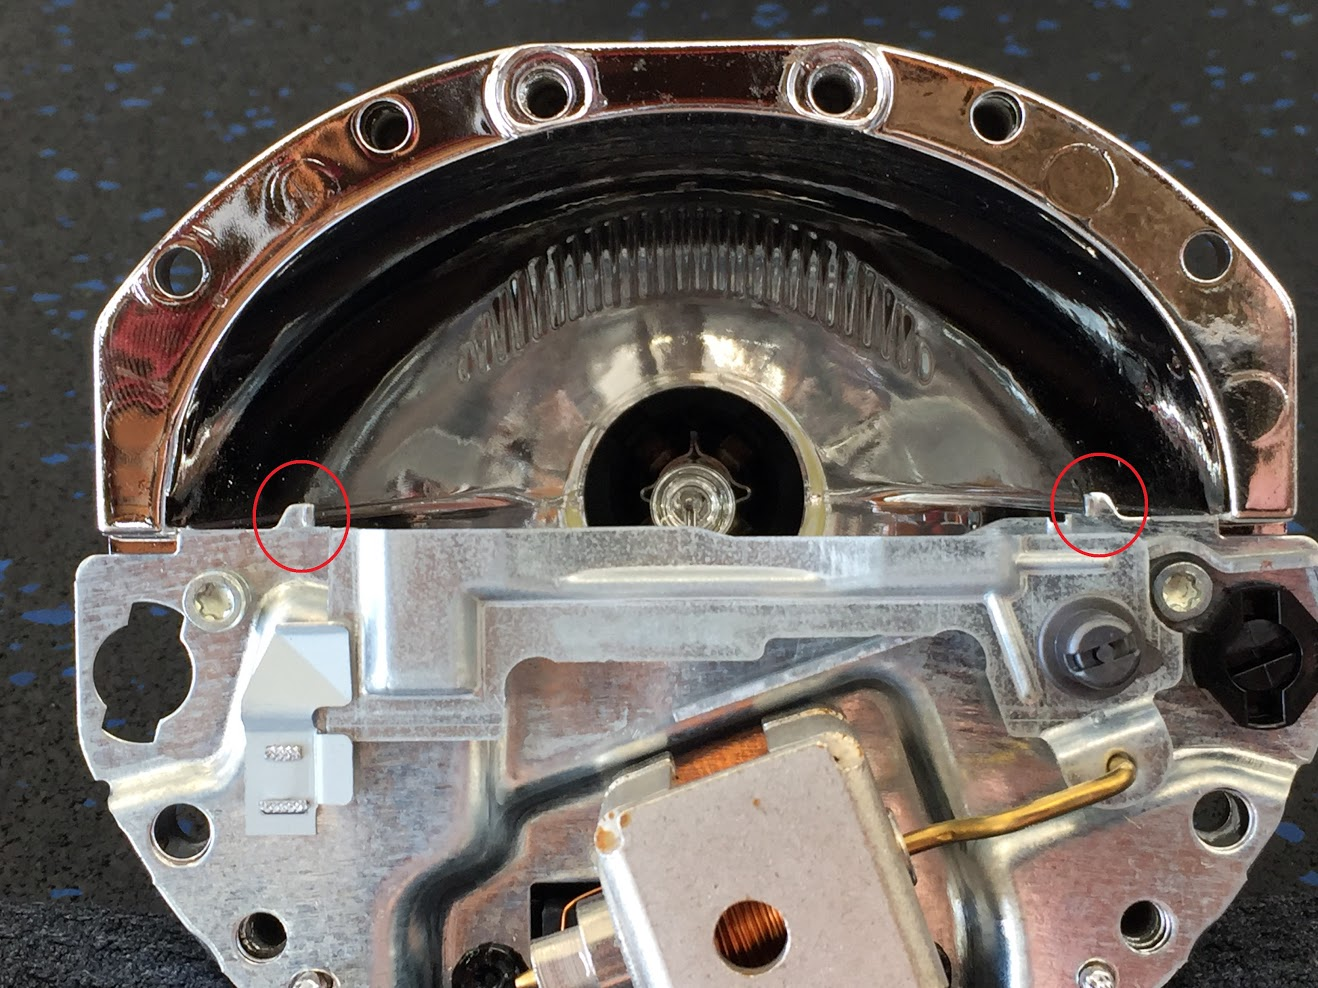
In the the last photo above you can see some small dips in the cutoff line on the wider parts of the beam pattern, that is caused by these little metal tabs which protrude above the shield. They were removed to keep the cutoff flat and uninterrupted. #DetailsMatter
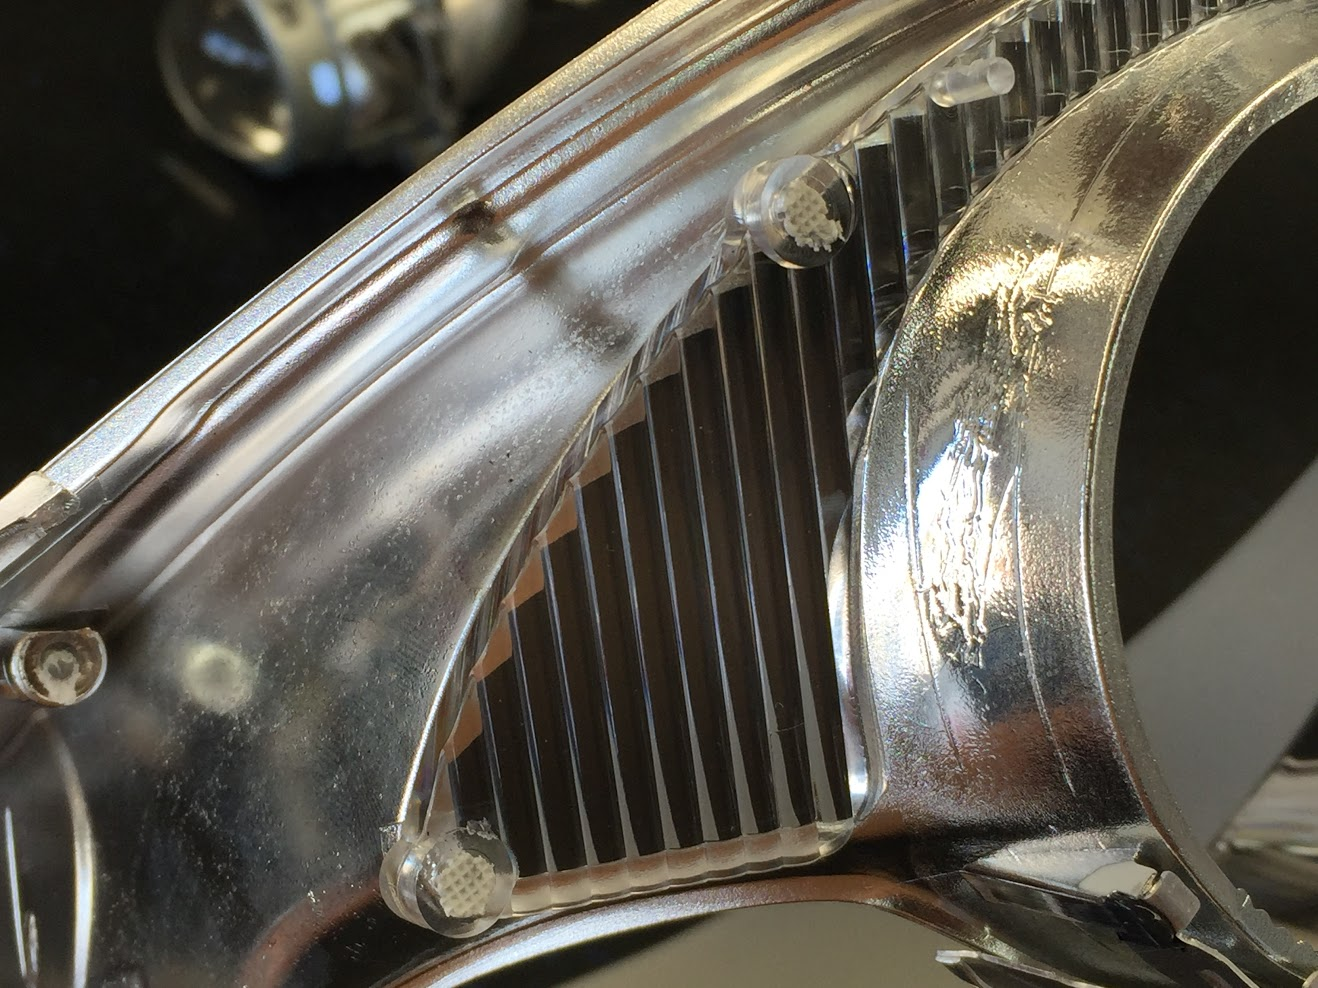
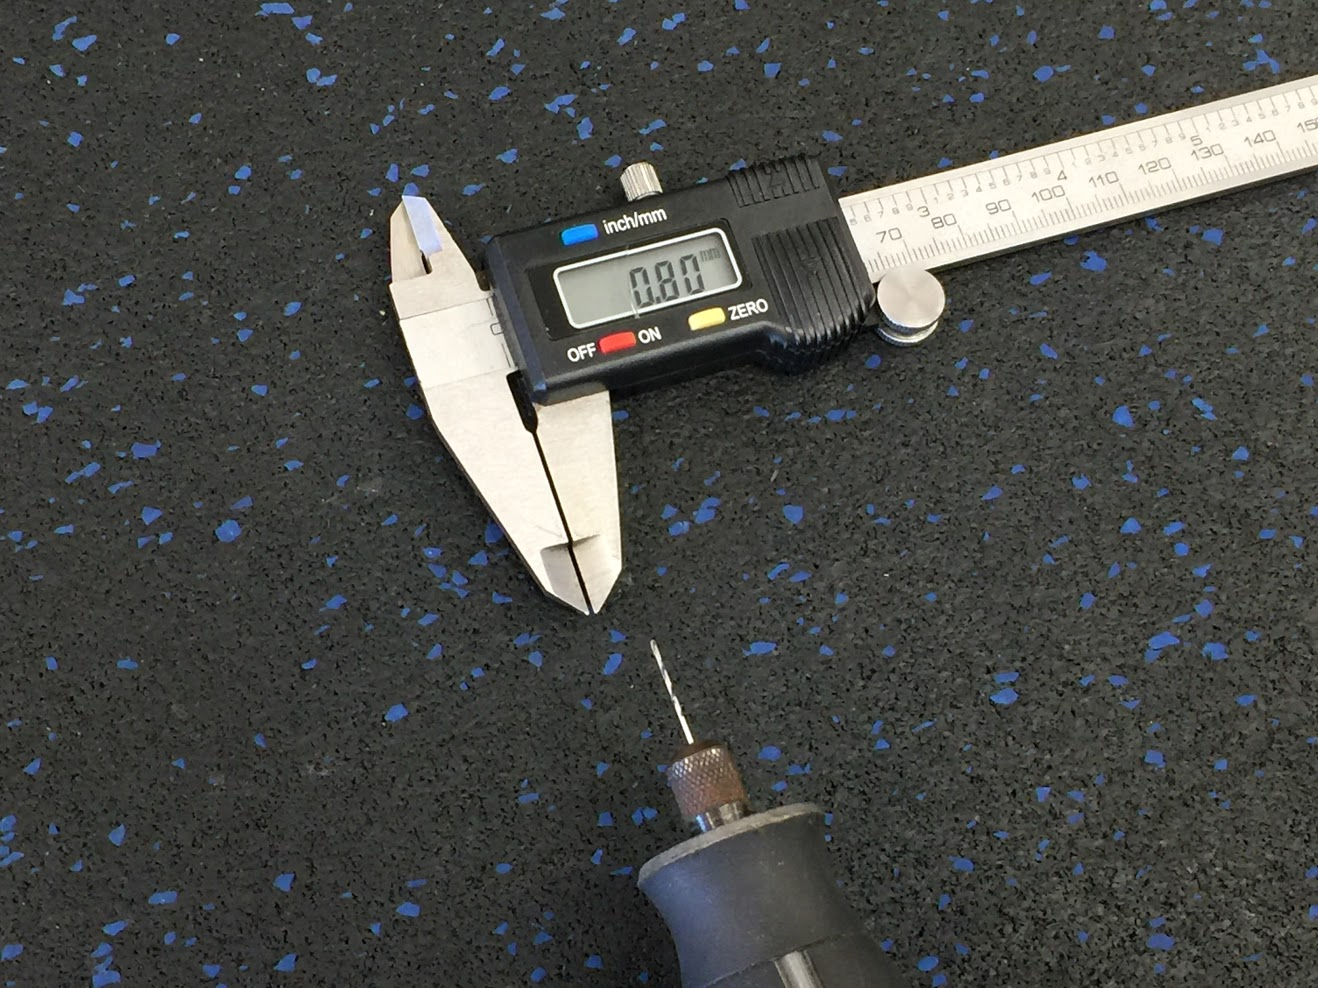
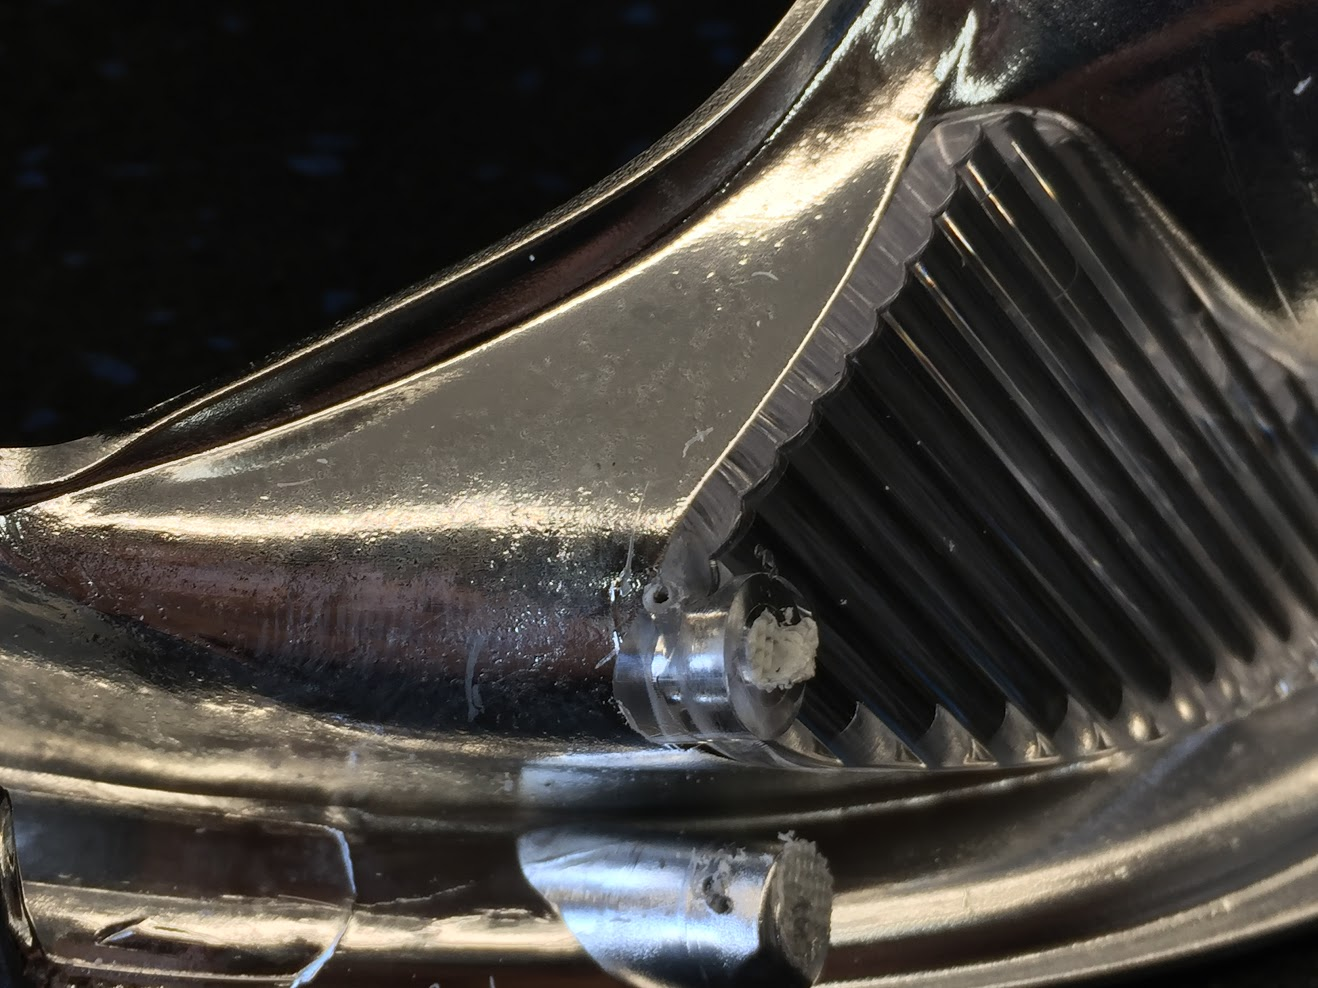
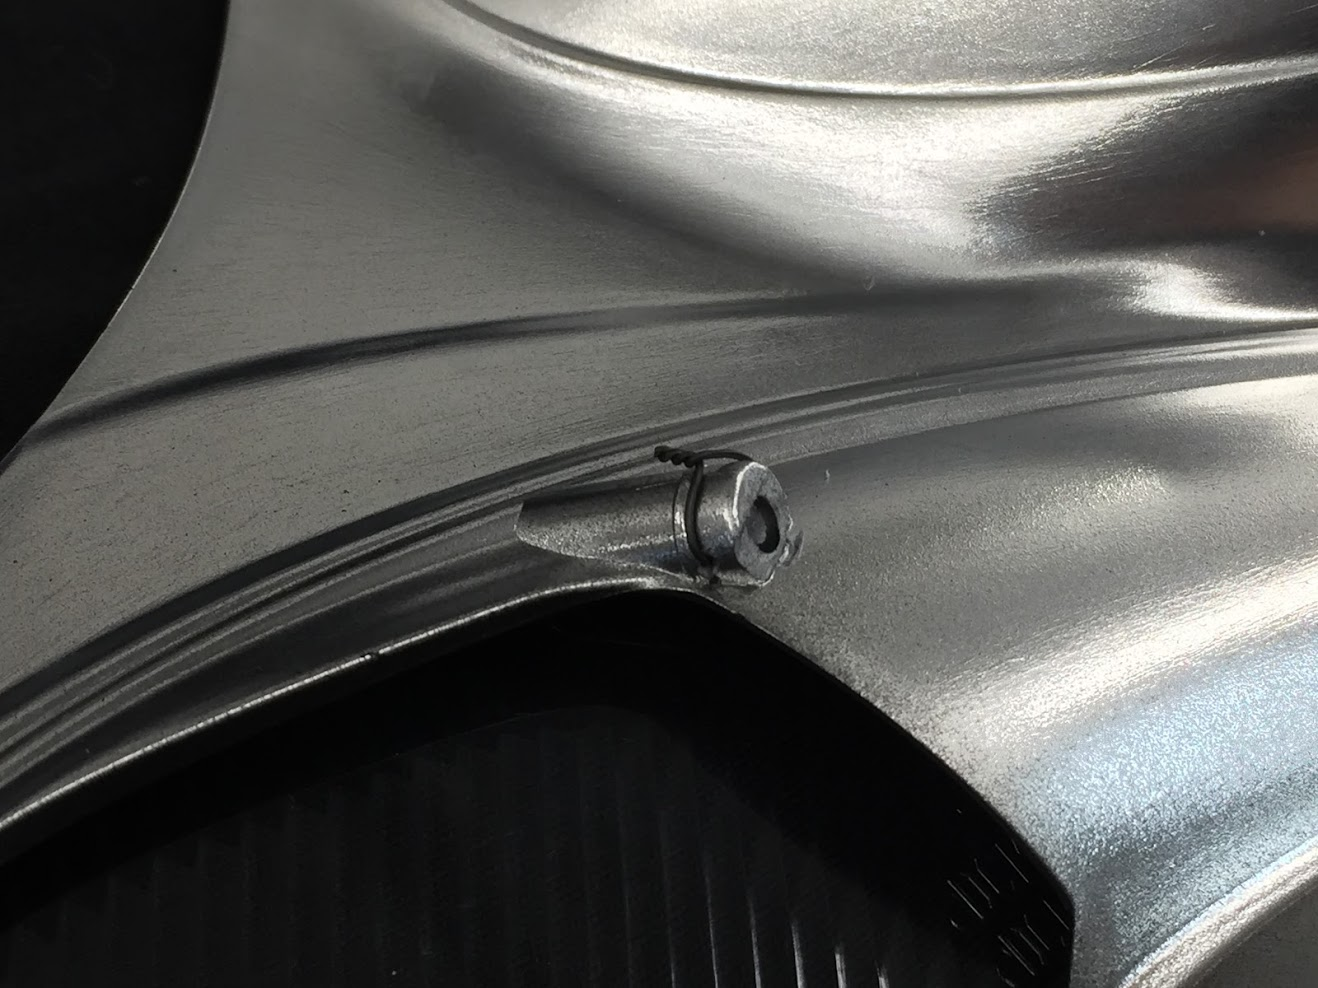
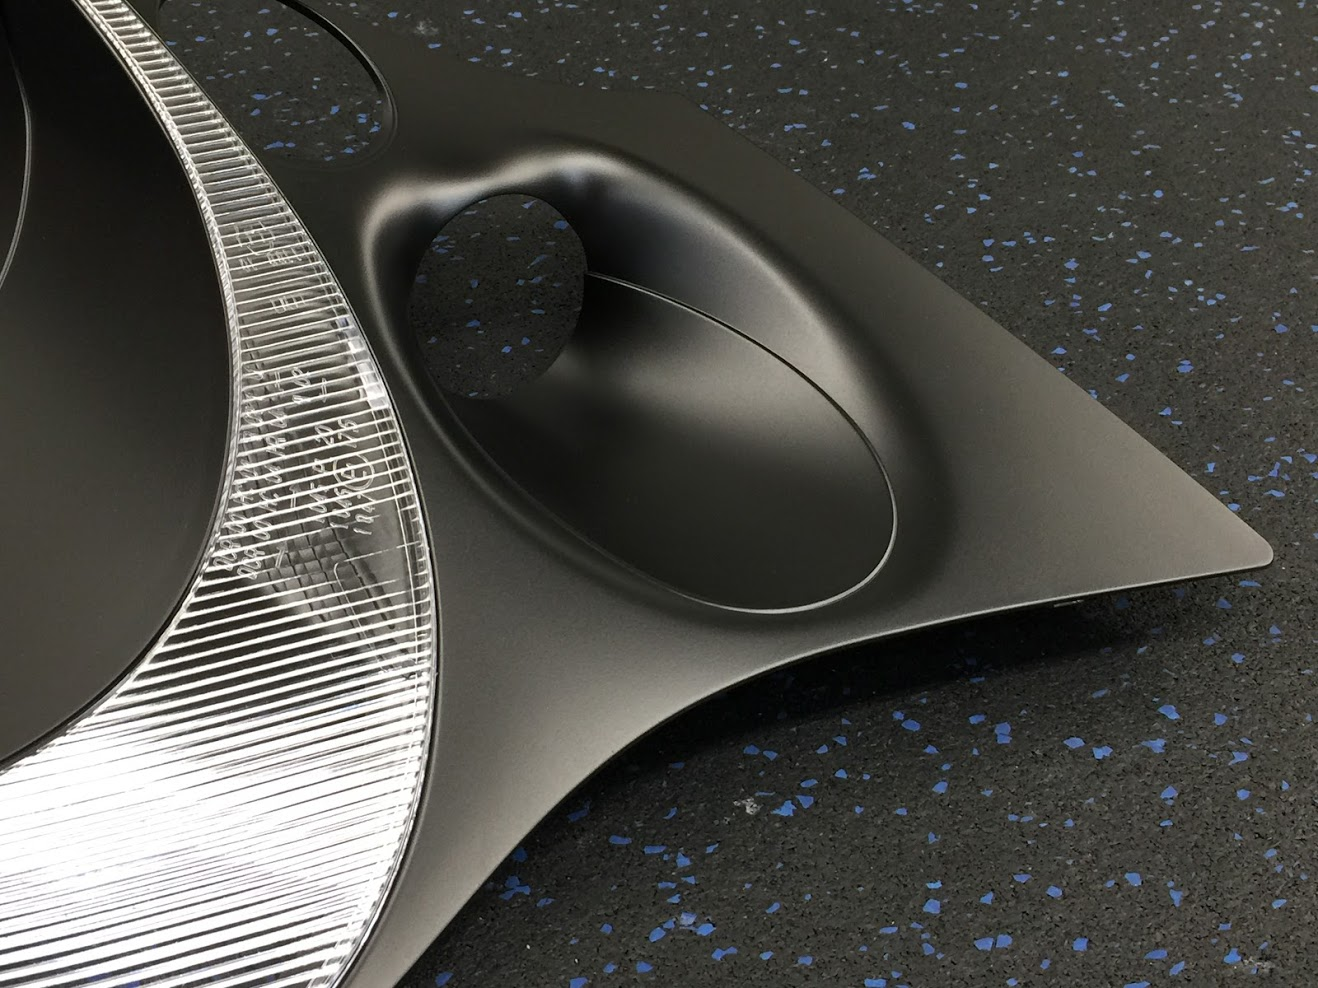
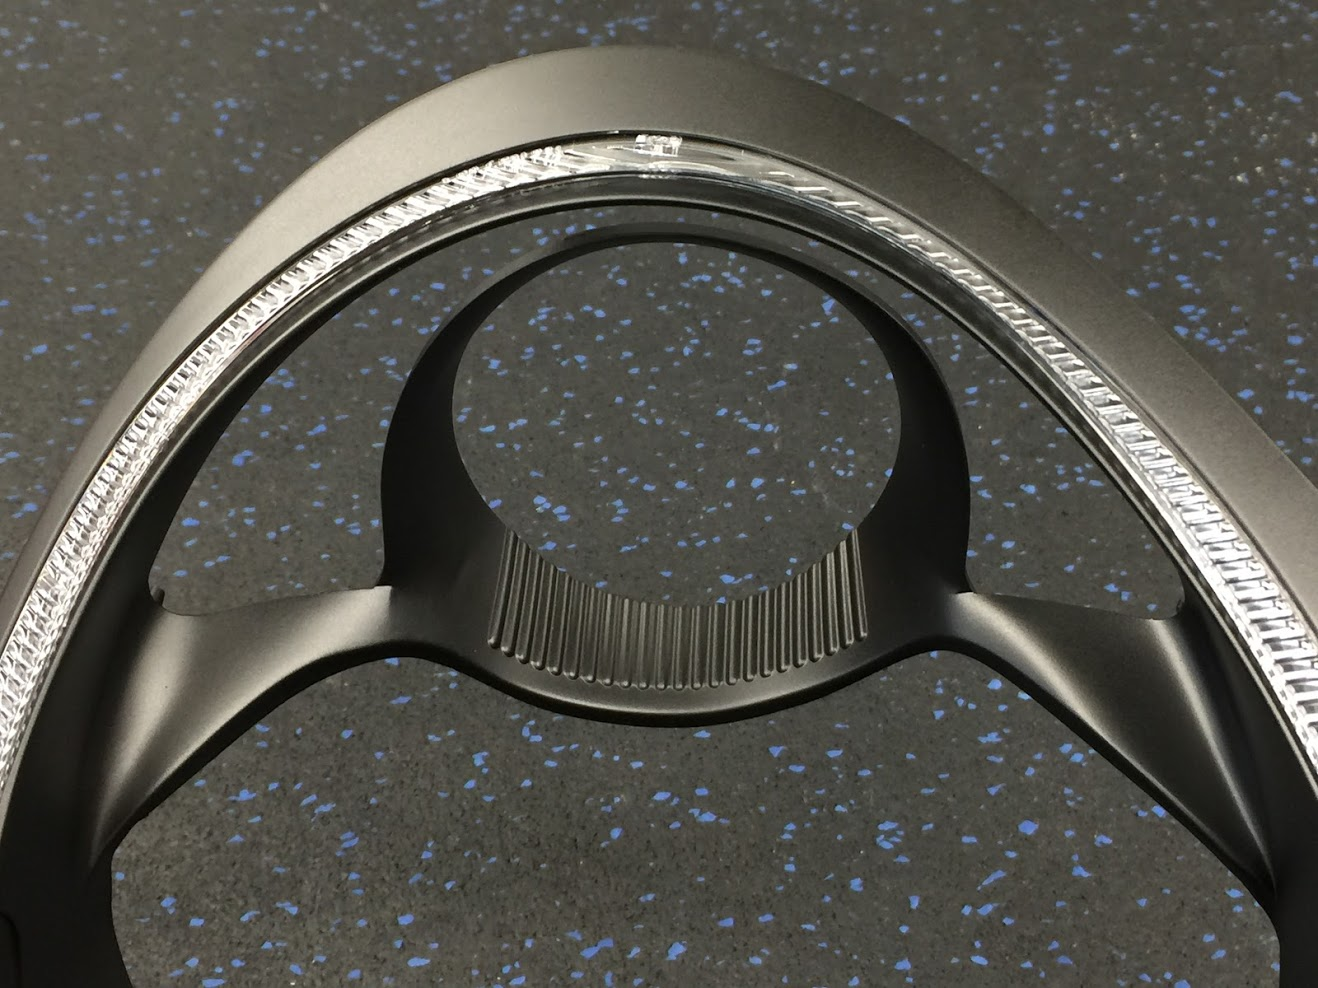
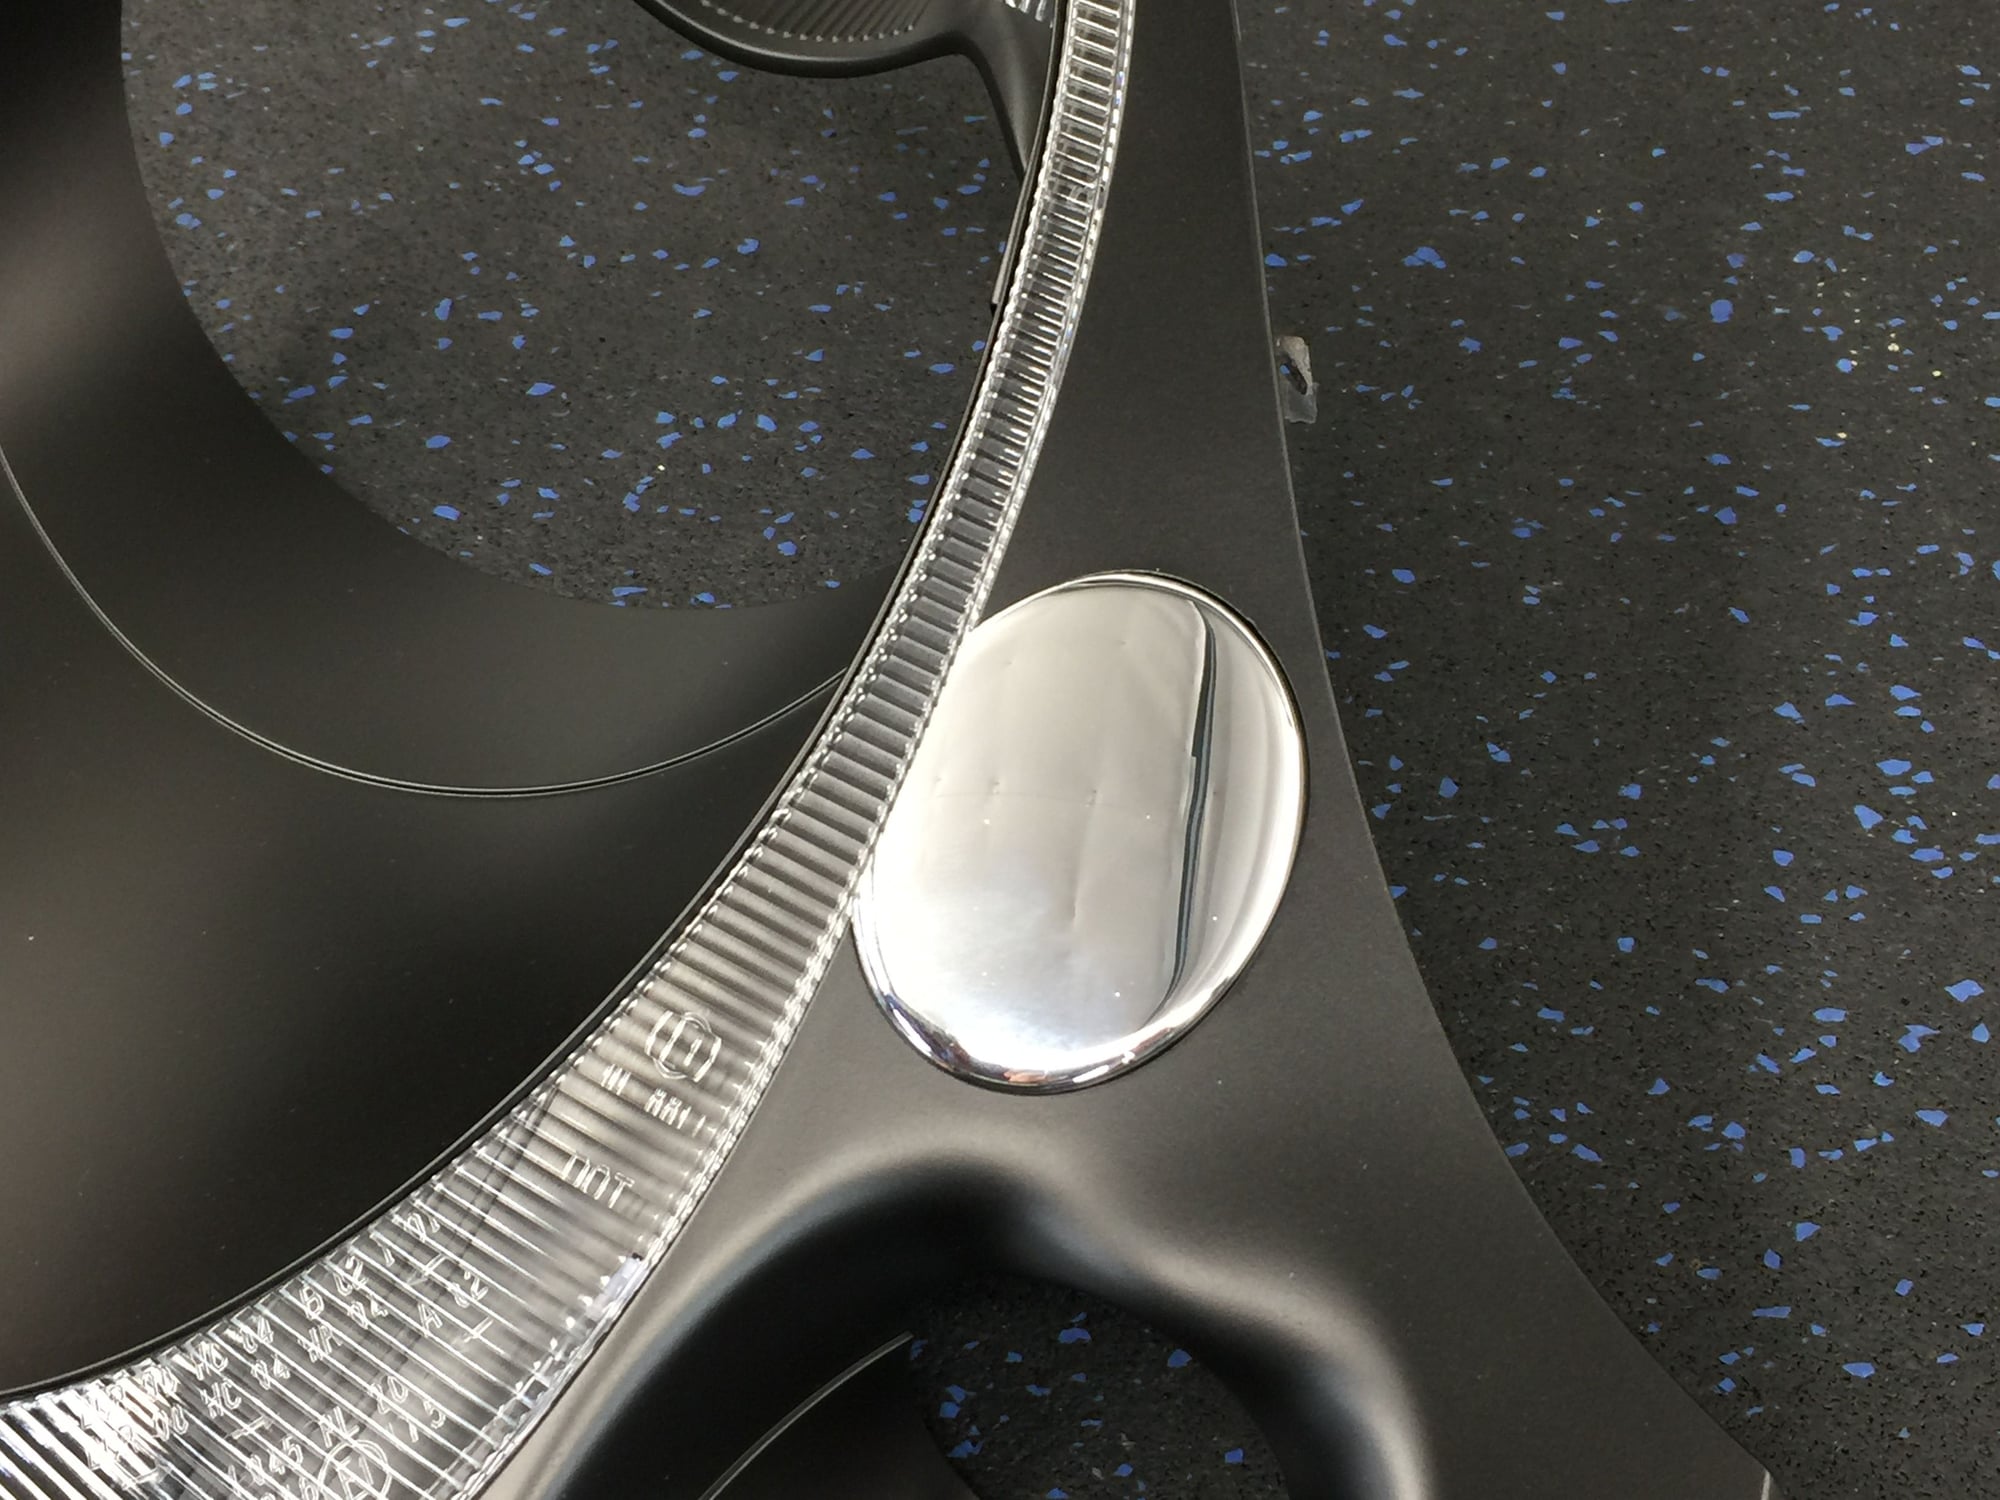
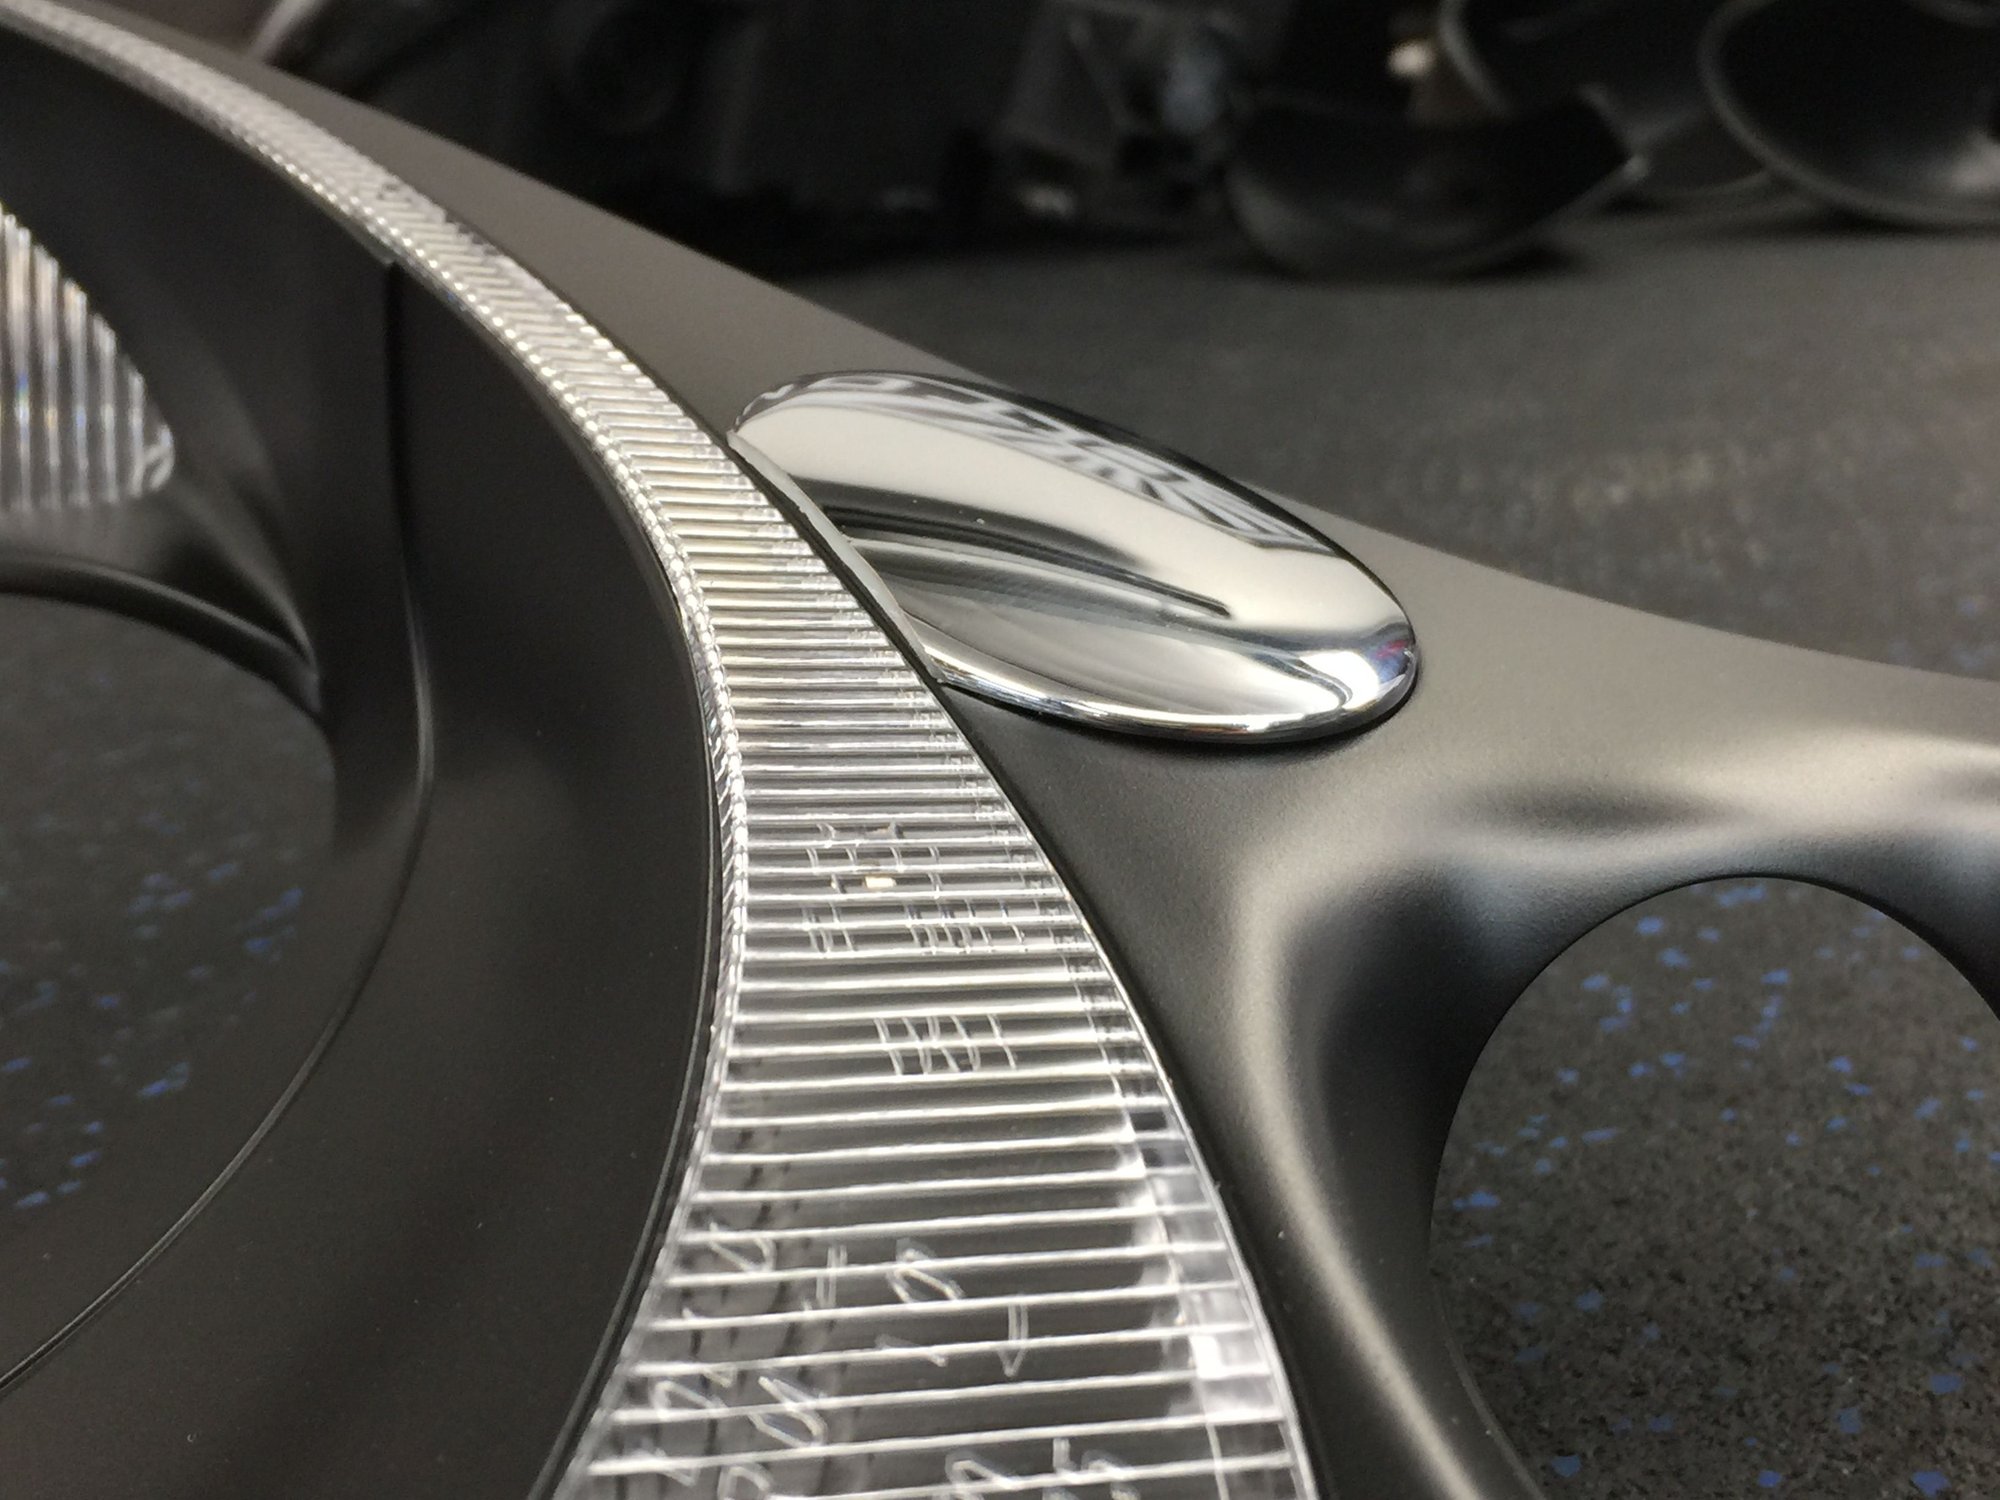
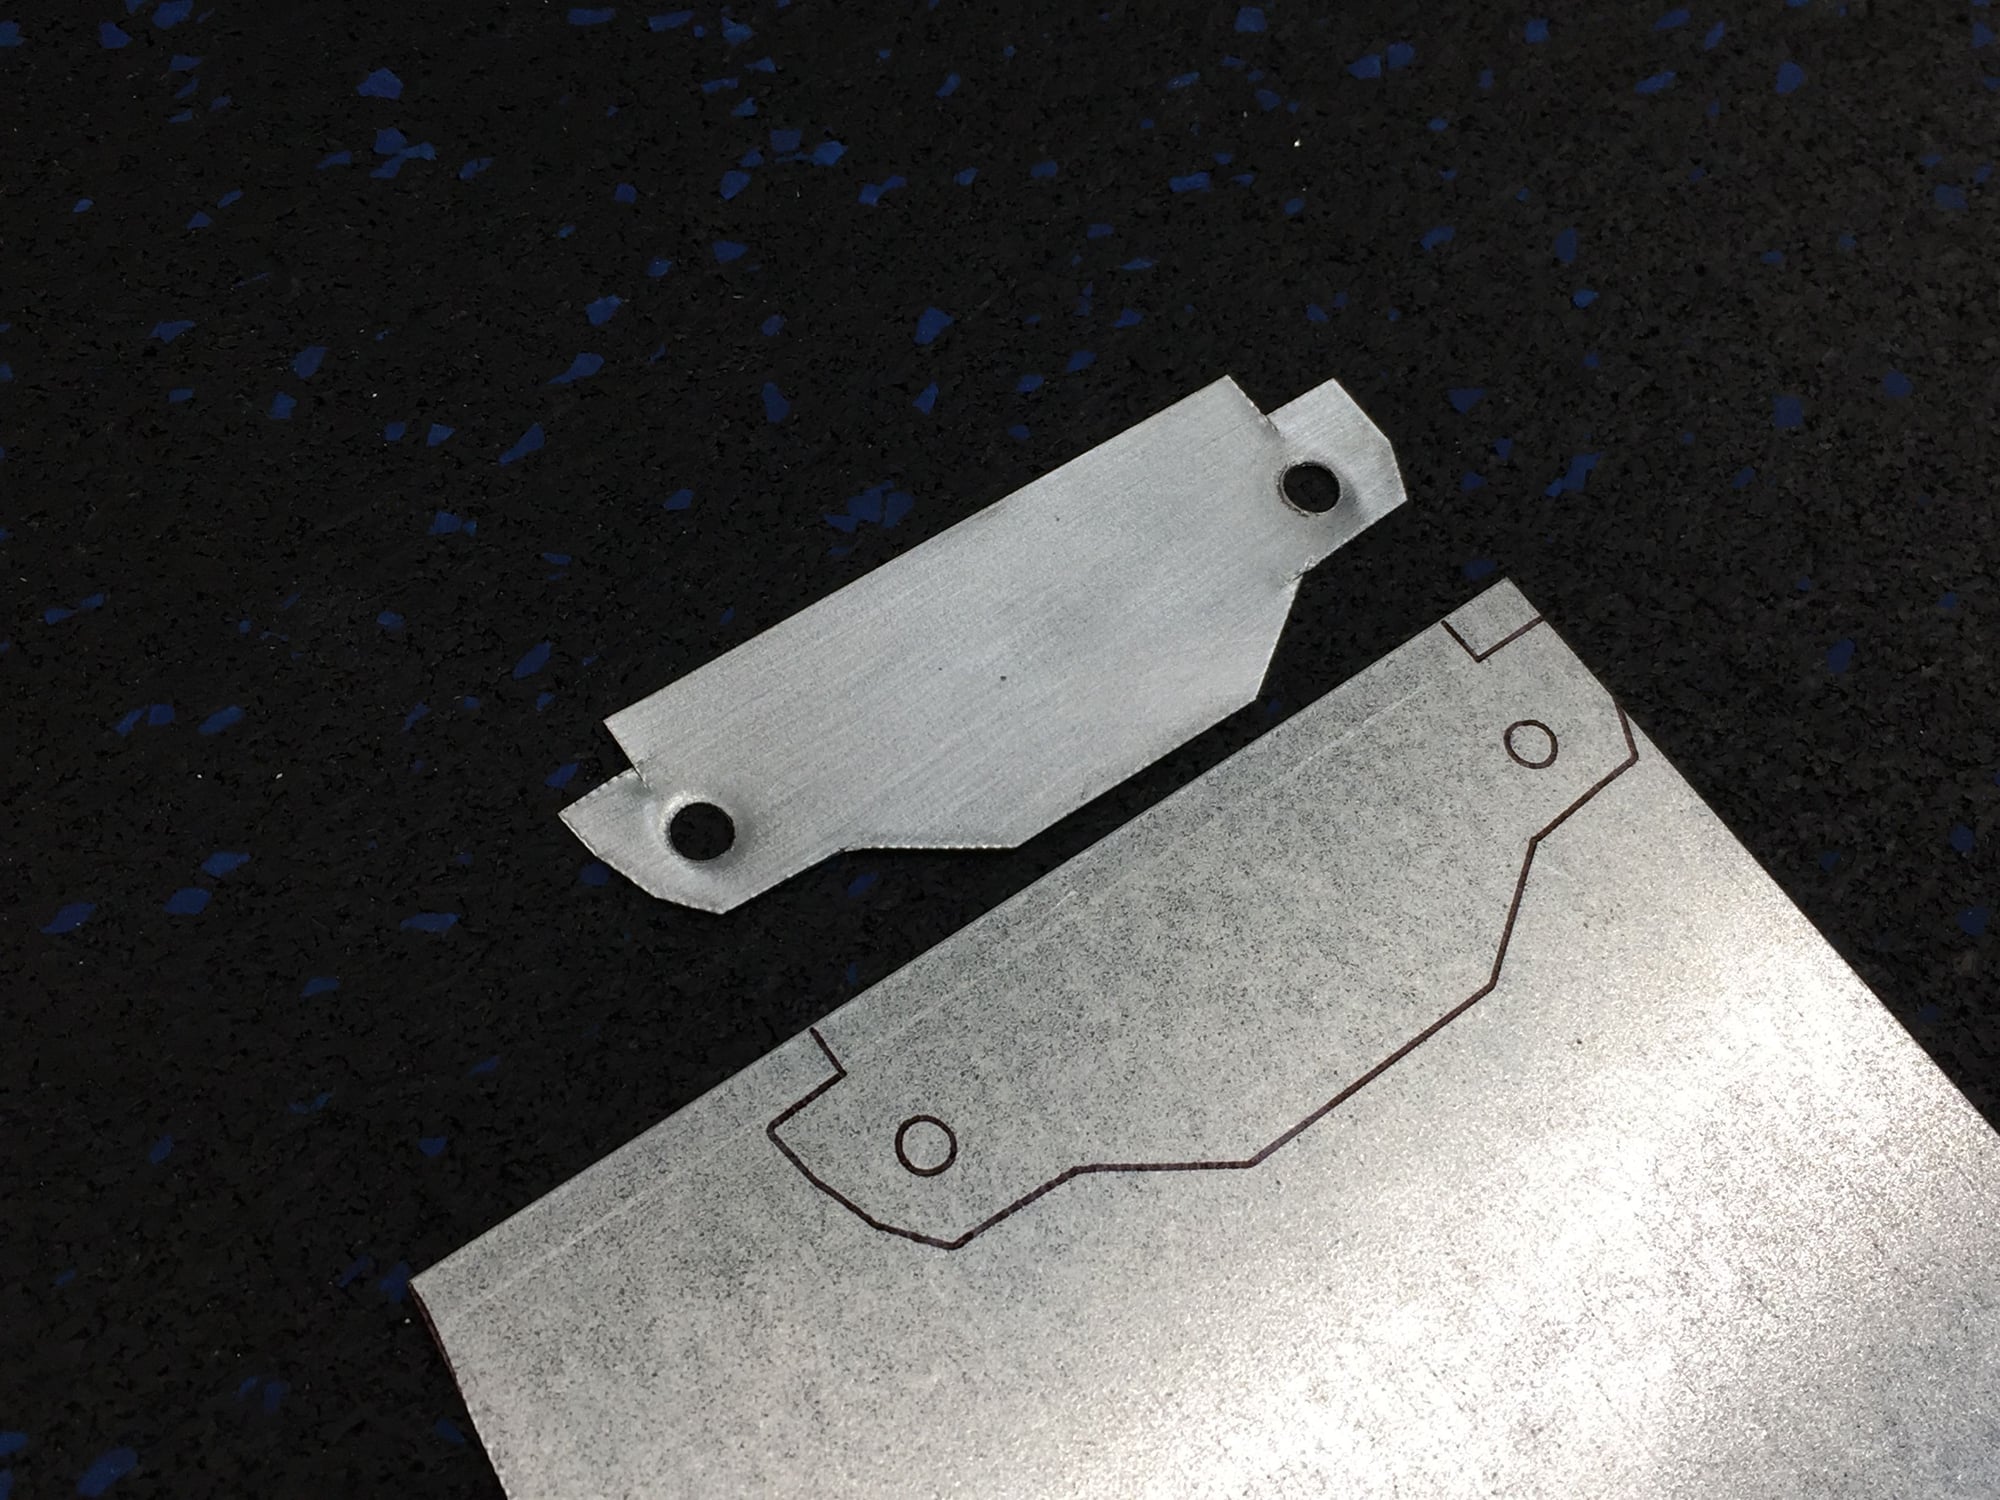
Viewing the bezel from the backside you can see the clear acrylic pieces are mounted with some melted studs. The acrylic inserts need to be (carefully) removed for paint and reinstalling them can be done a few ways, many people use a steel epoxy like JB Quick, although that works with a high success rate if applied correctly I still prefer something more secure and a REALLY small drill bit allows me to make some <1mm holes to run some thing steel wire. Holes were drilled prior to grinding out the studs to ensure proper oem fitment.
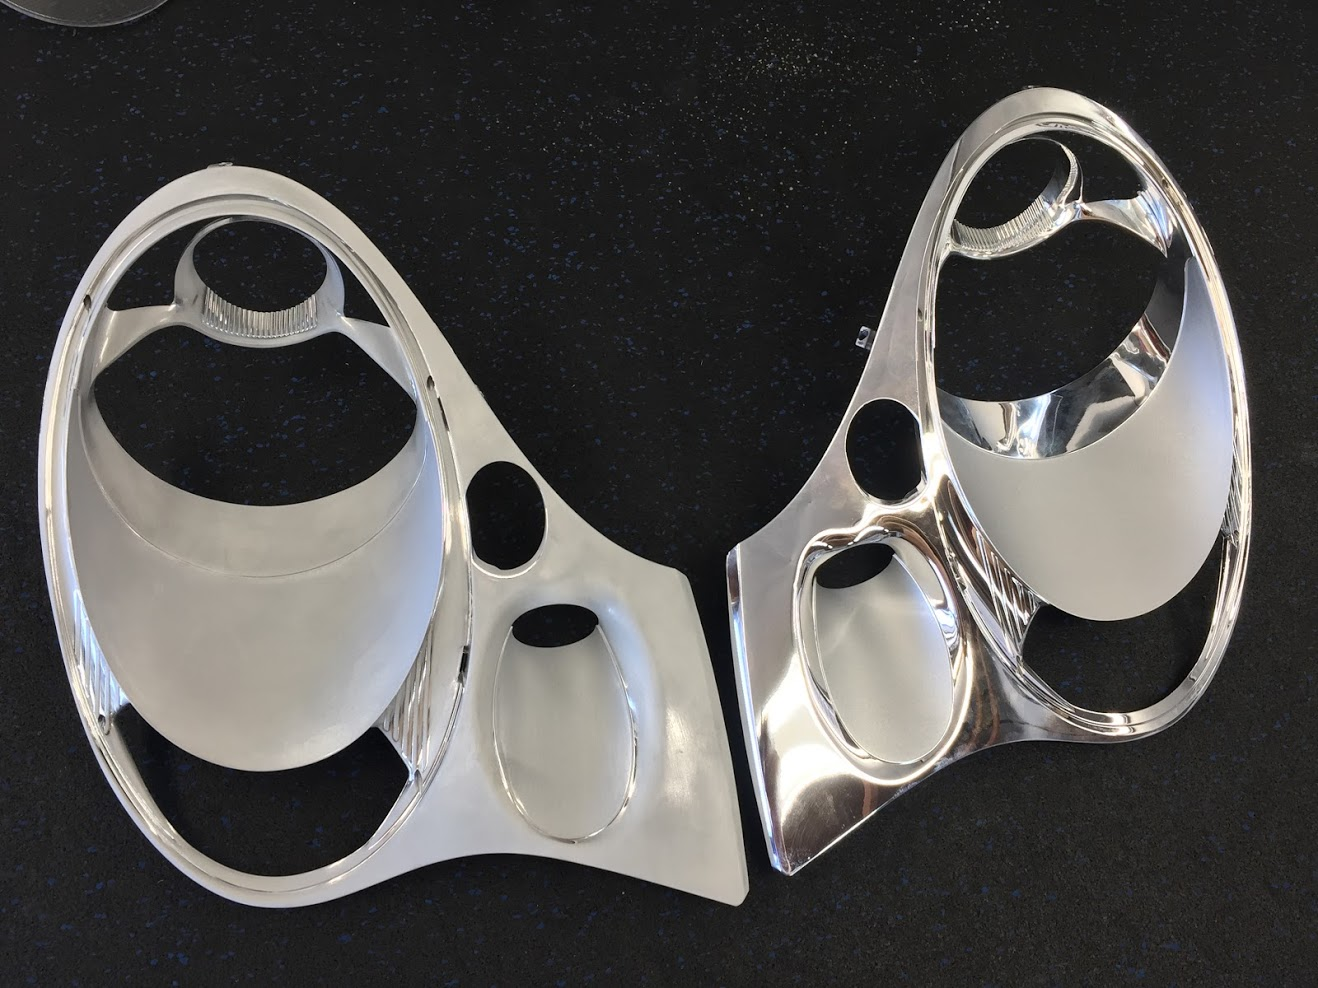
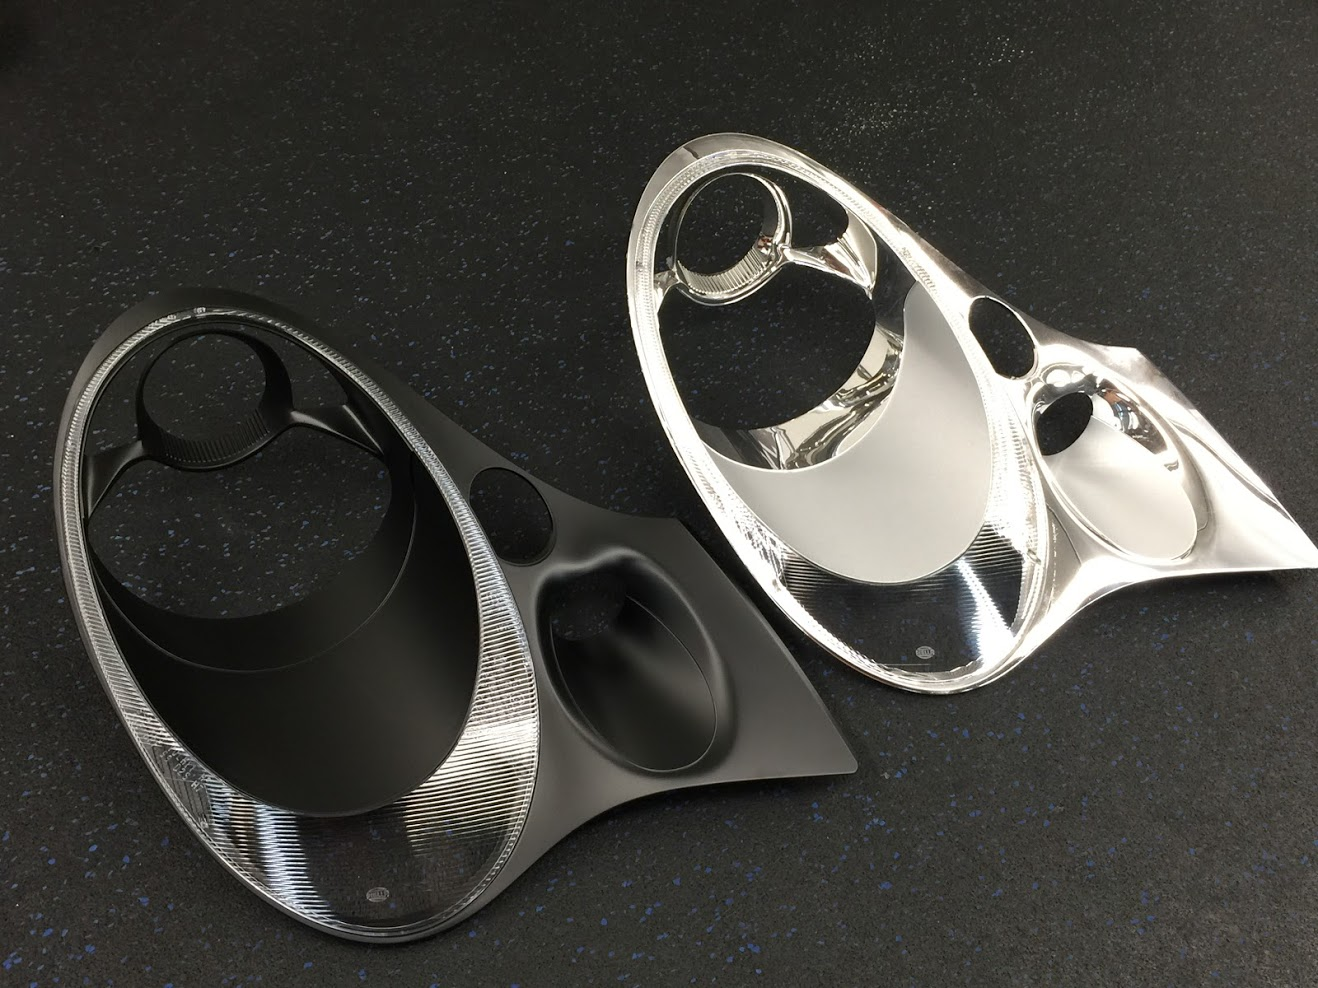
Reflective bowls de-chromed
Bezel sanded
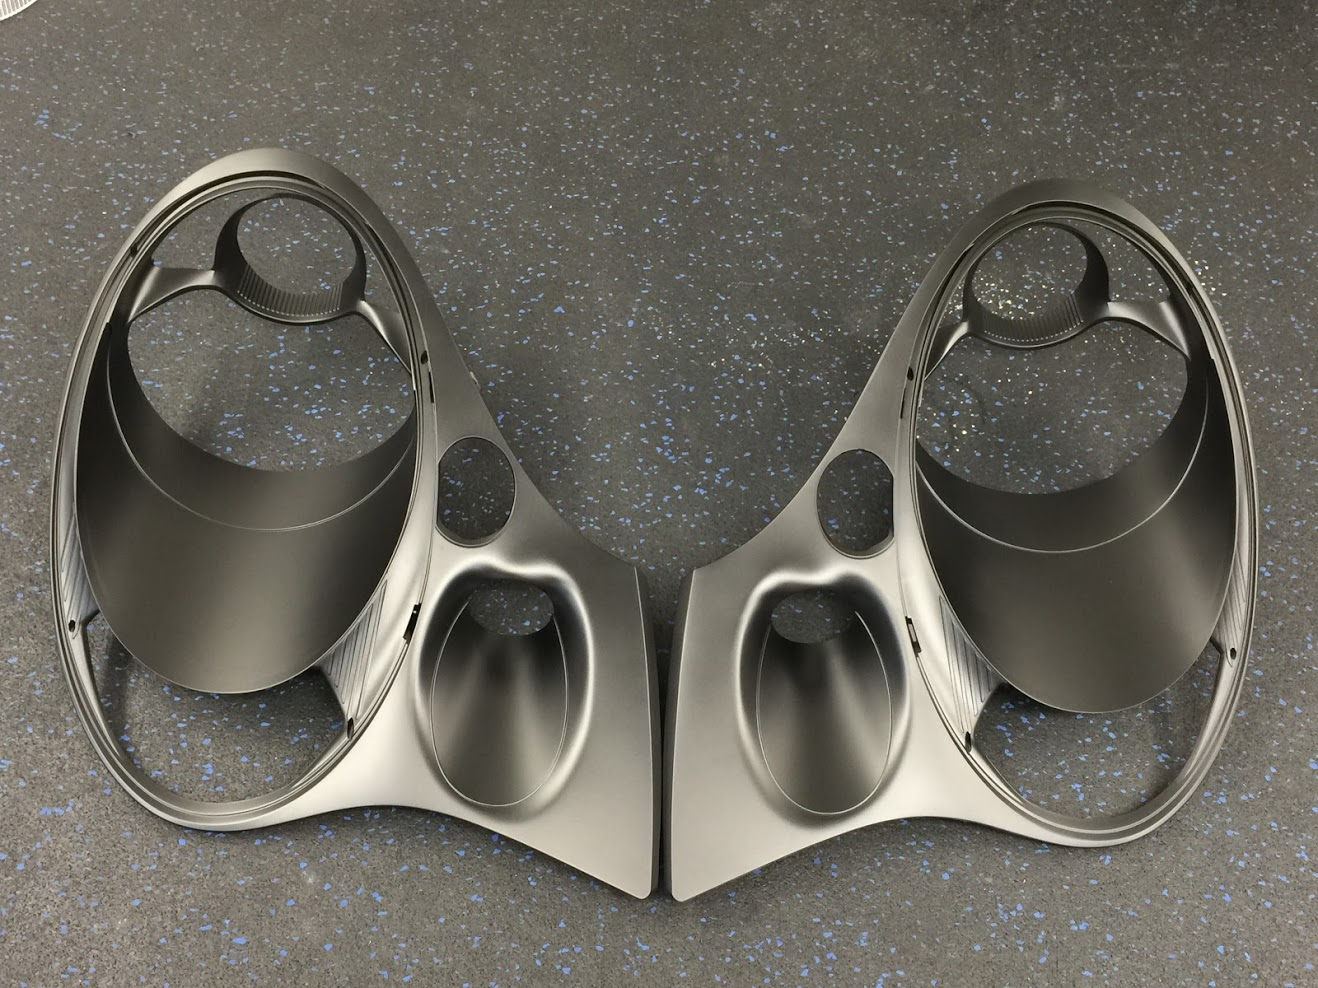
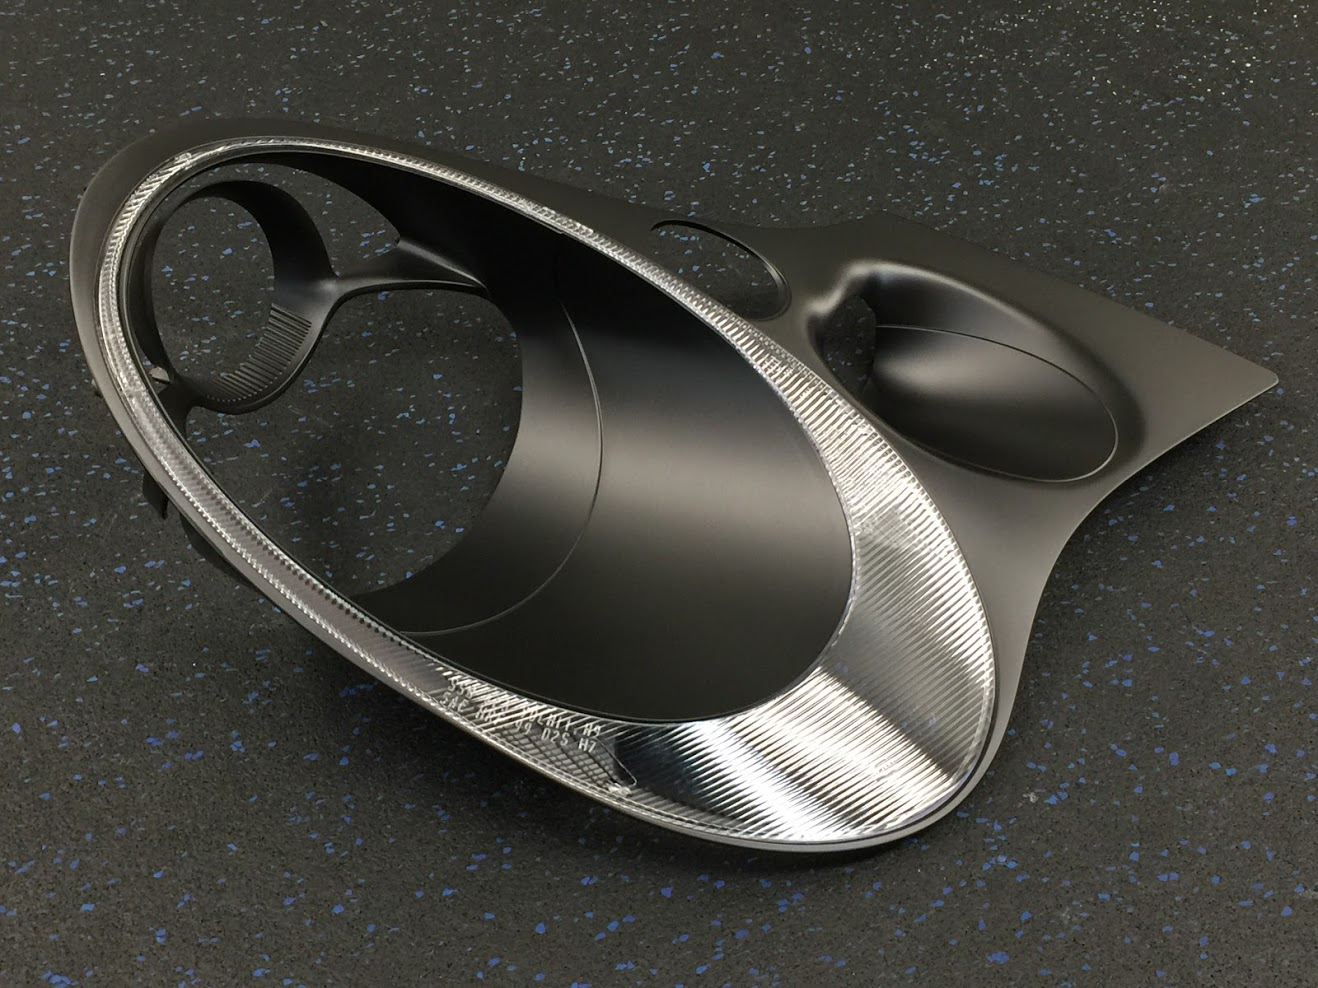
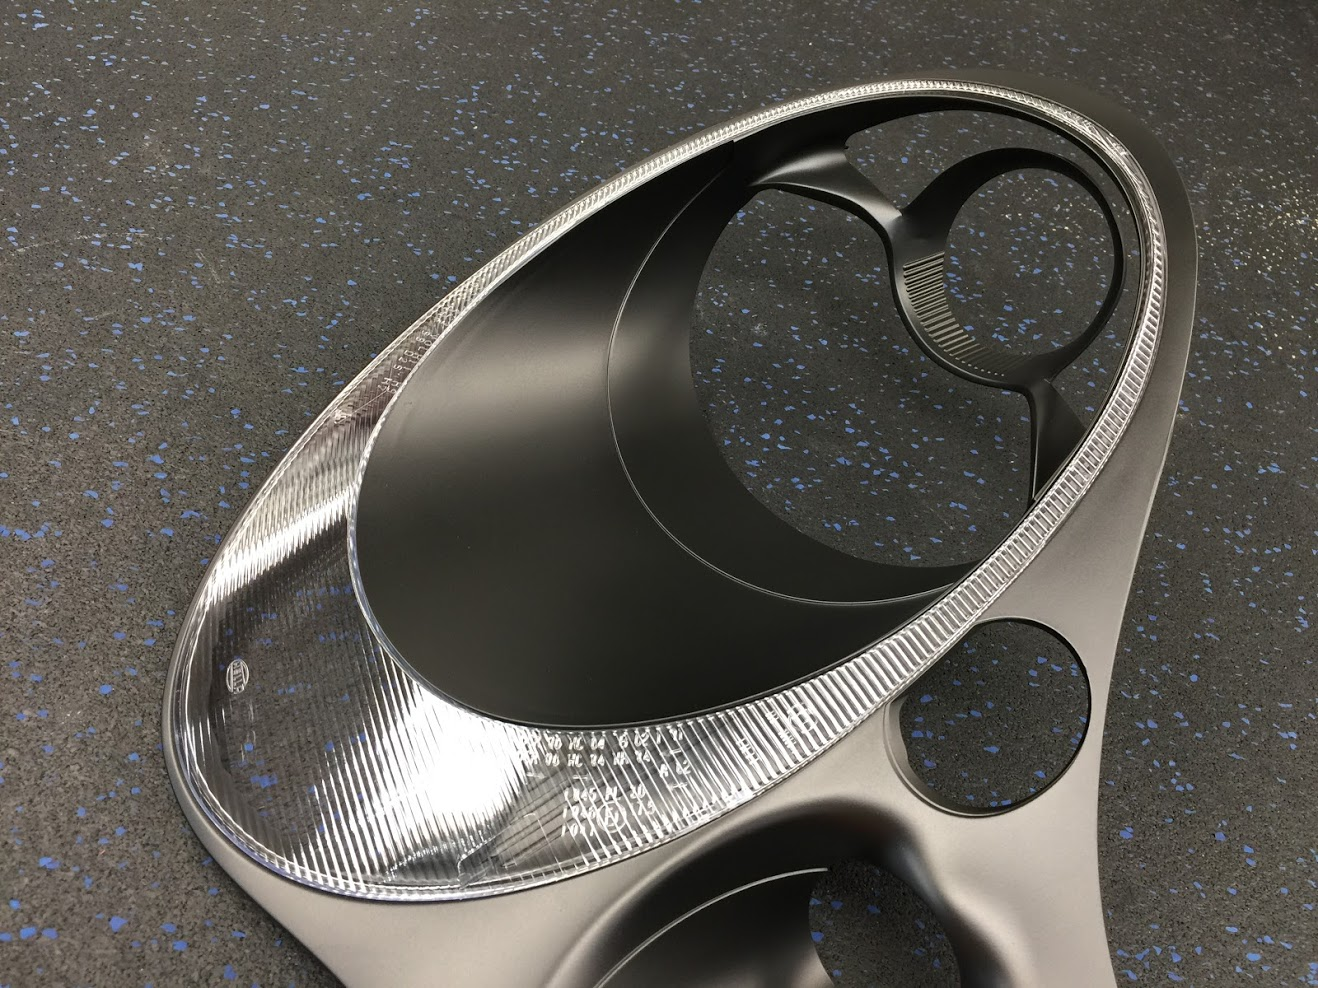
Bezel and bowl painted!
Acrylic reattached
Here is a before an after along with some "glamour" detail shots.
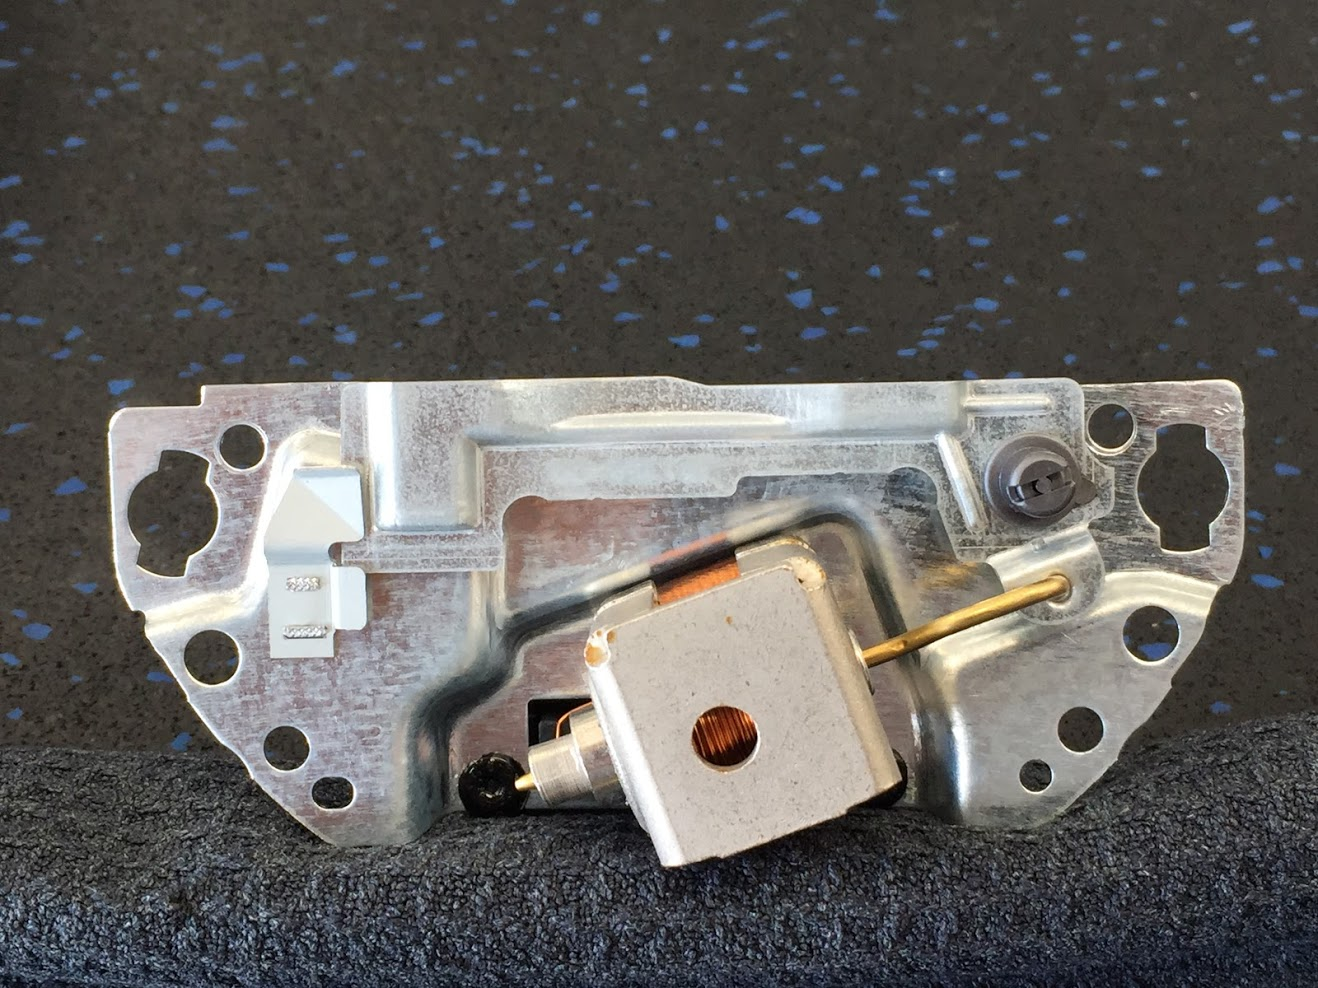
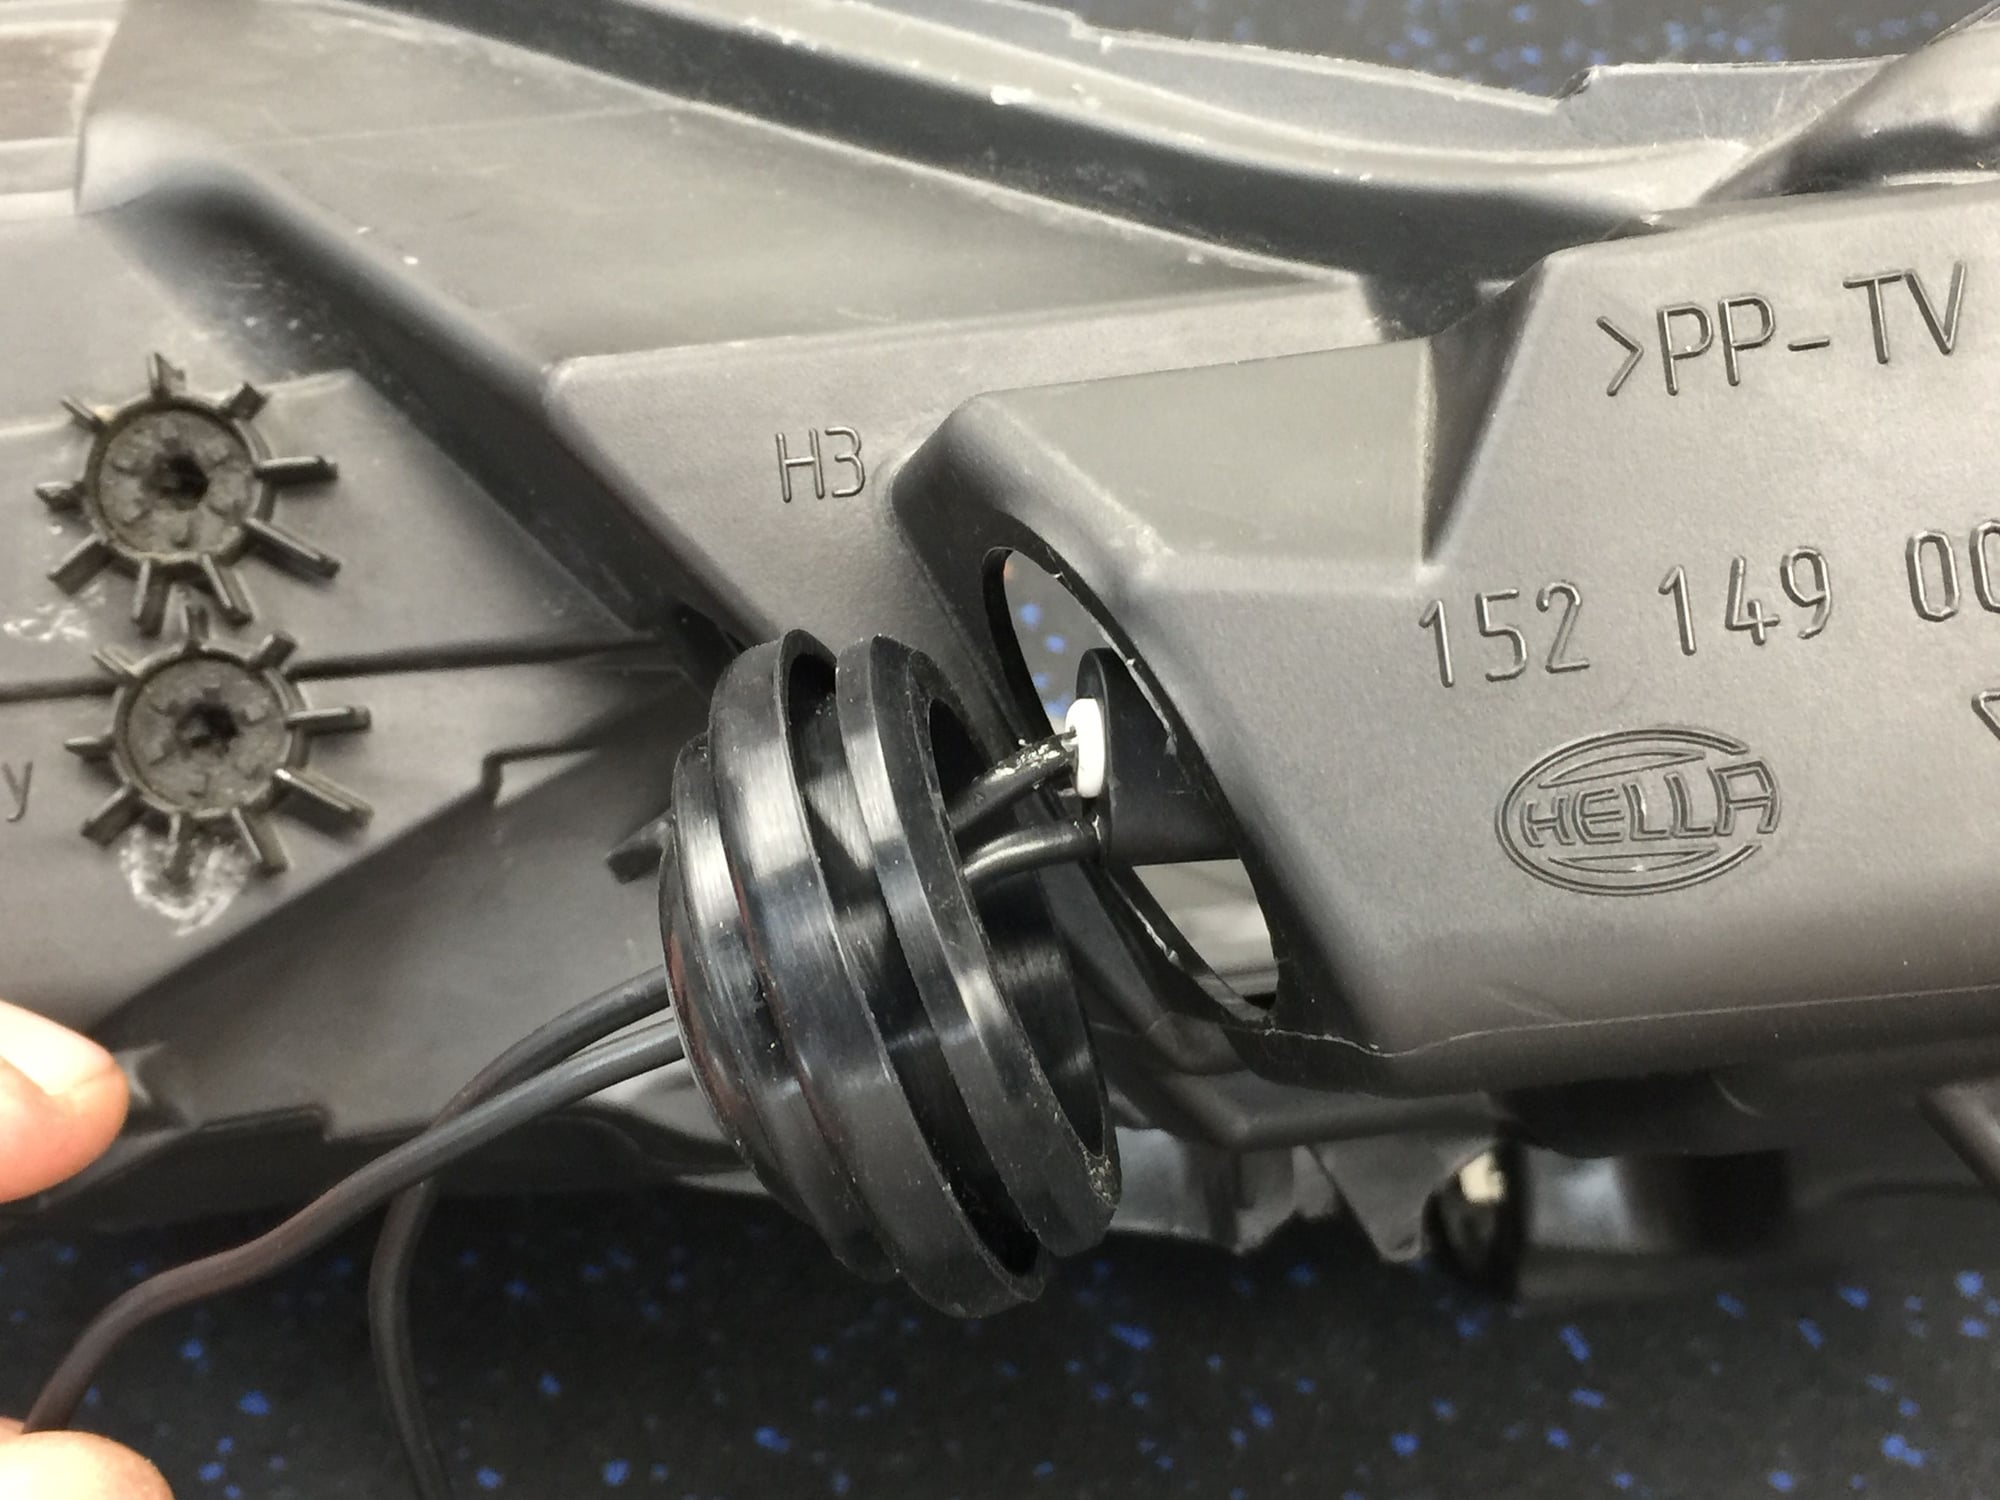
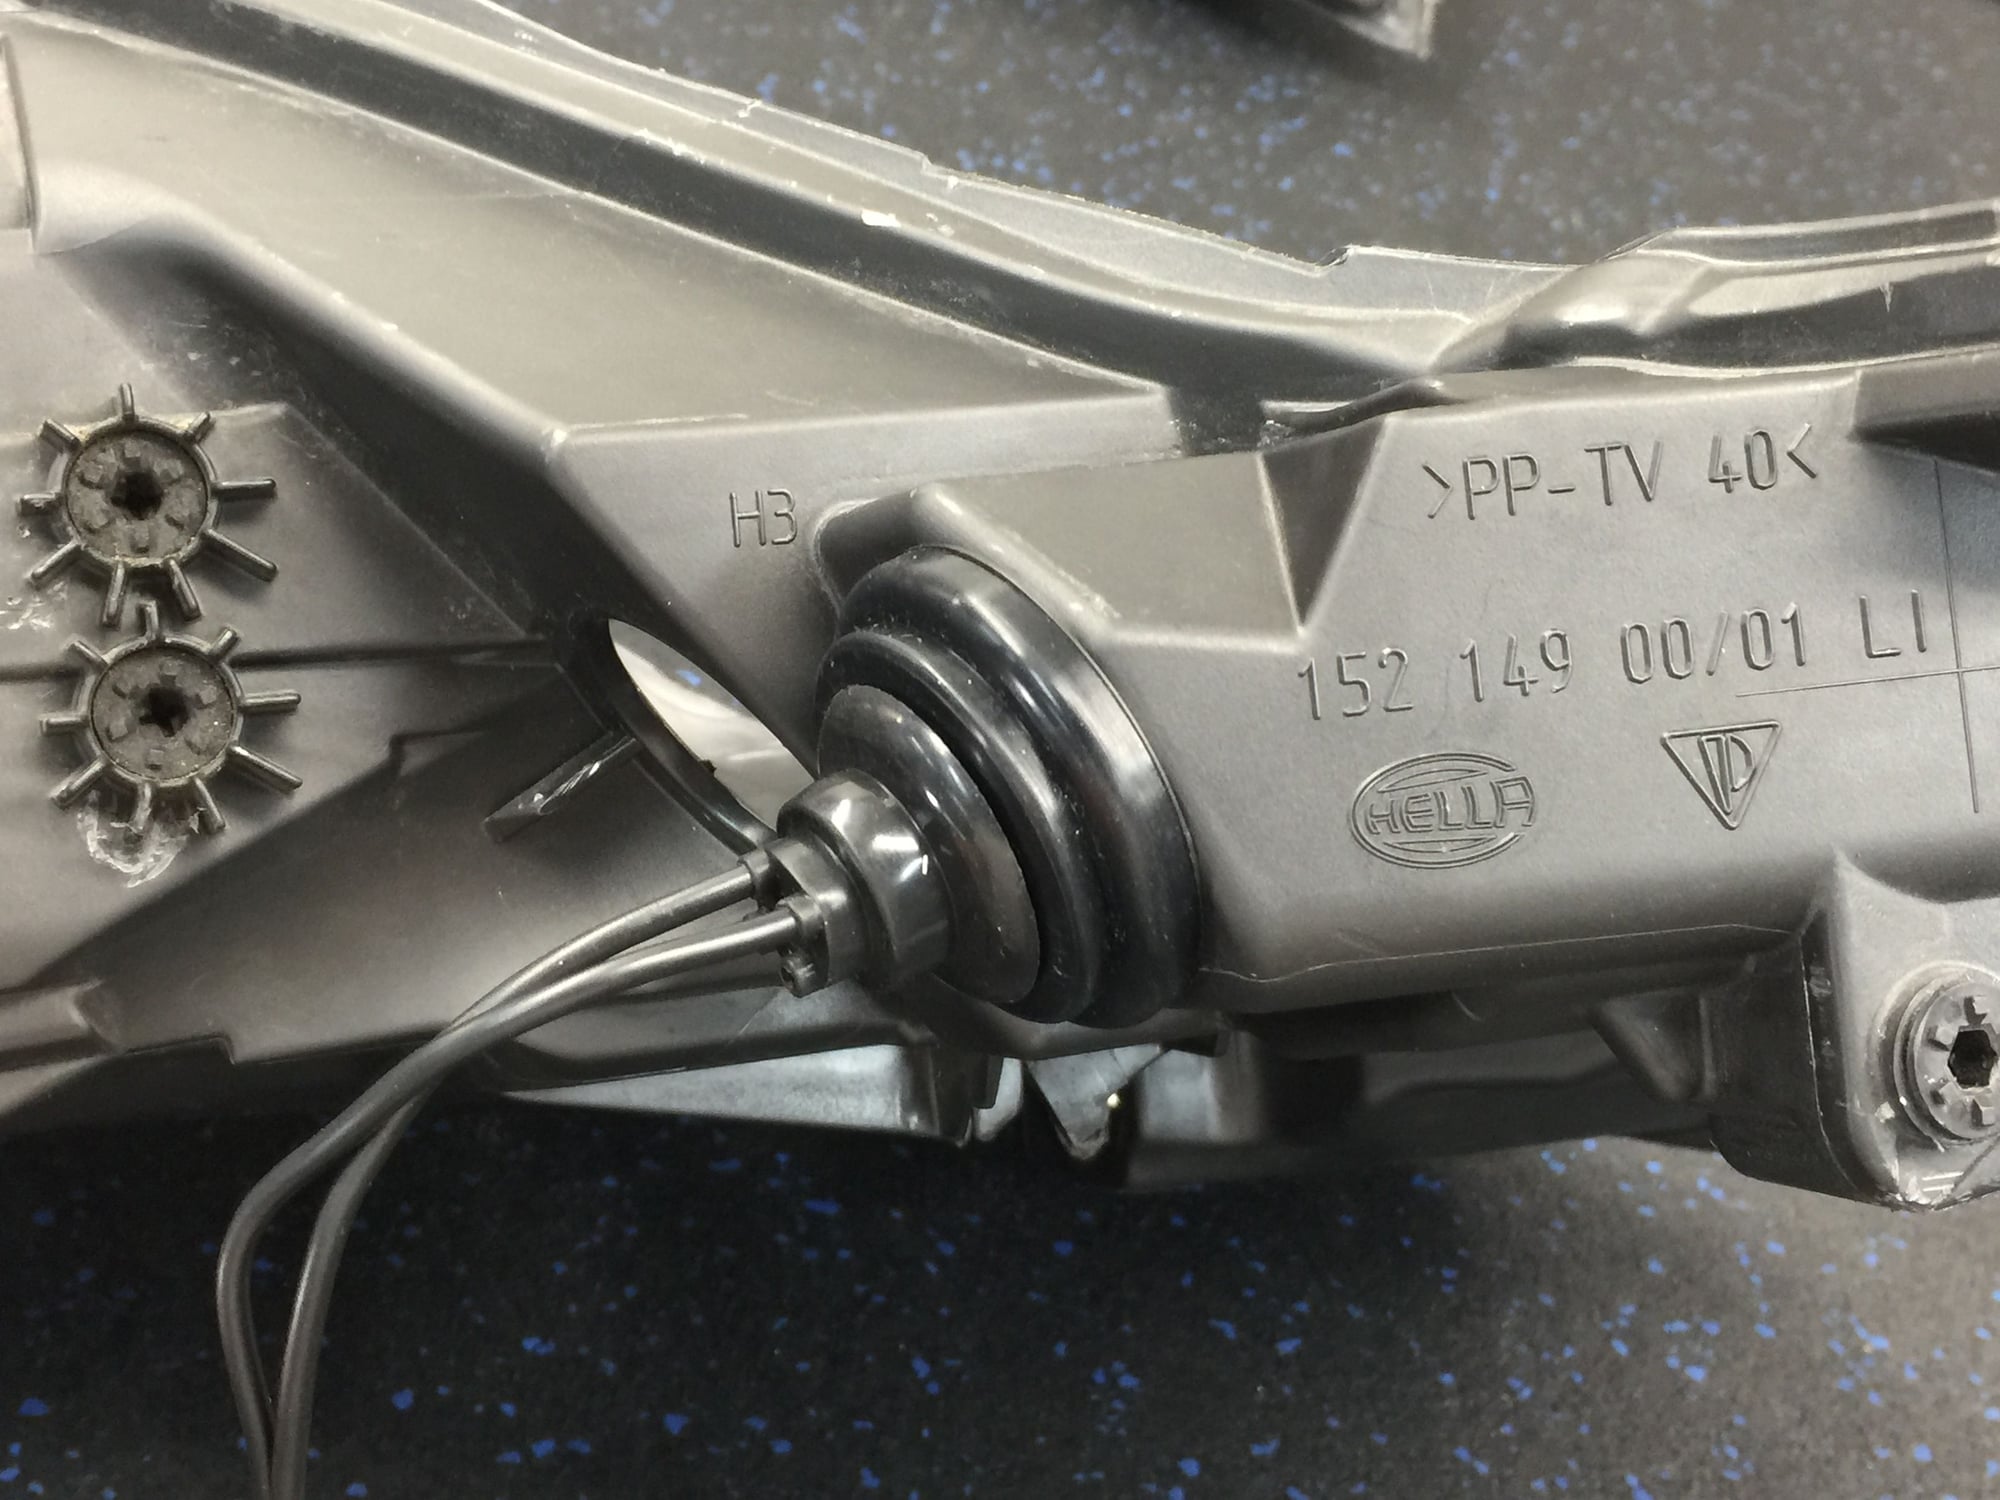
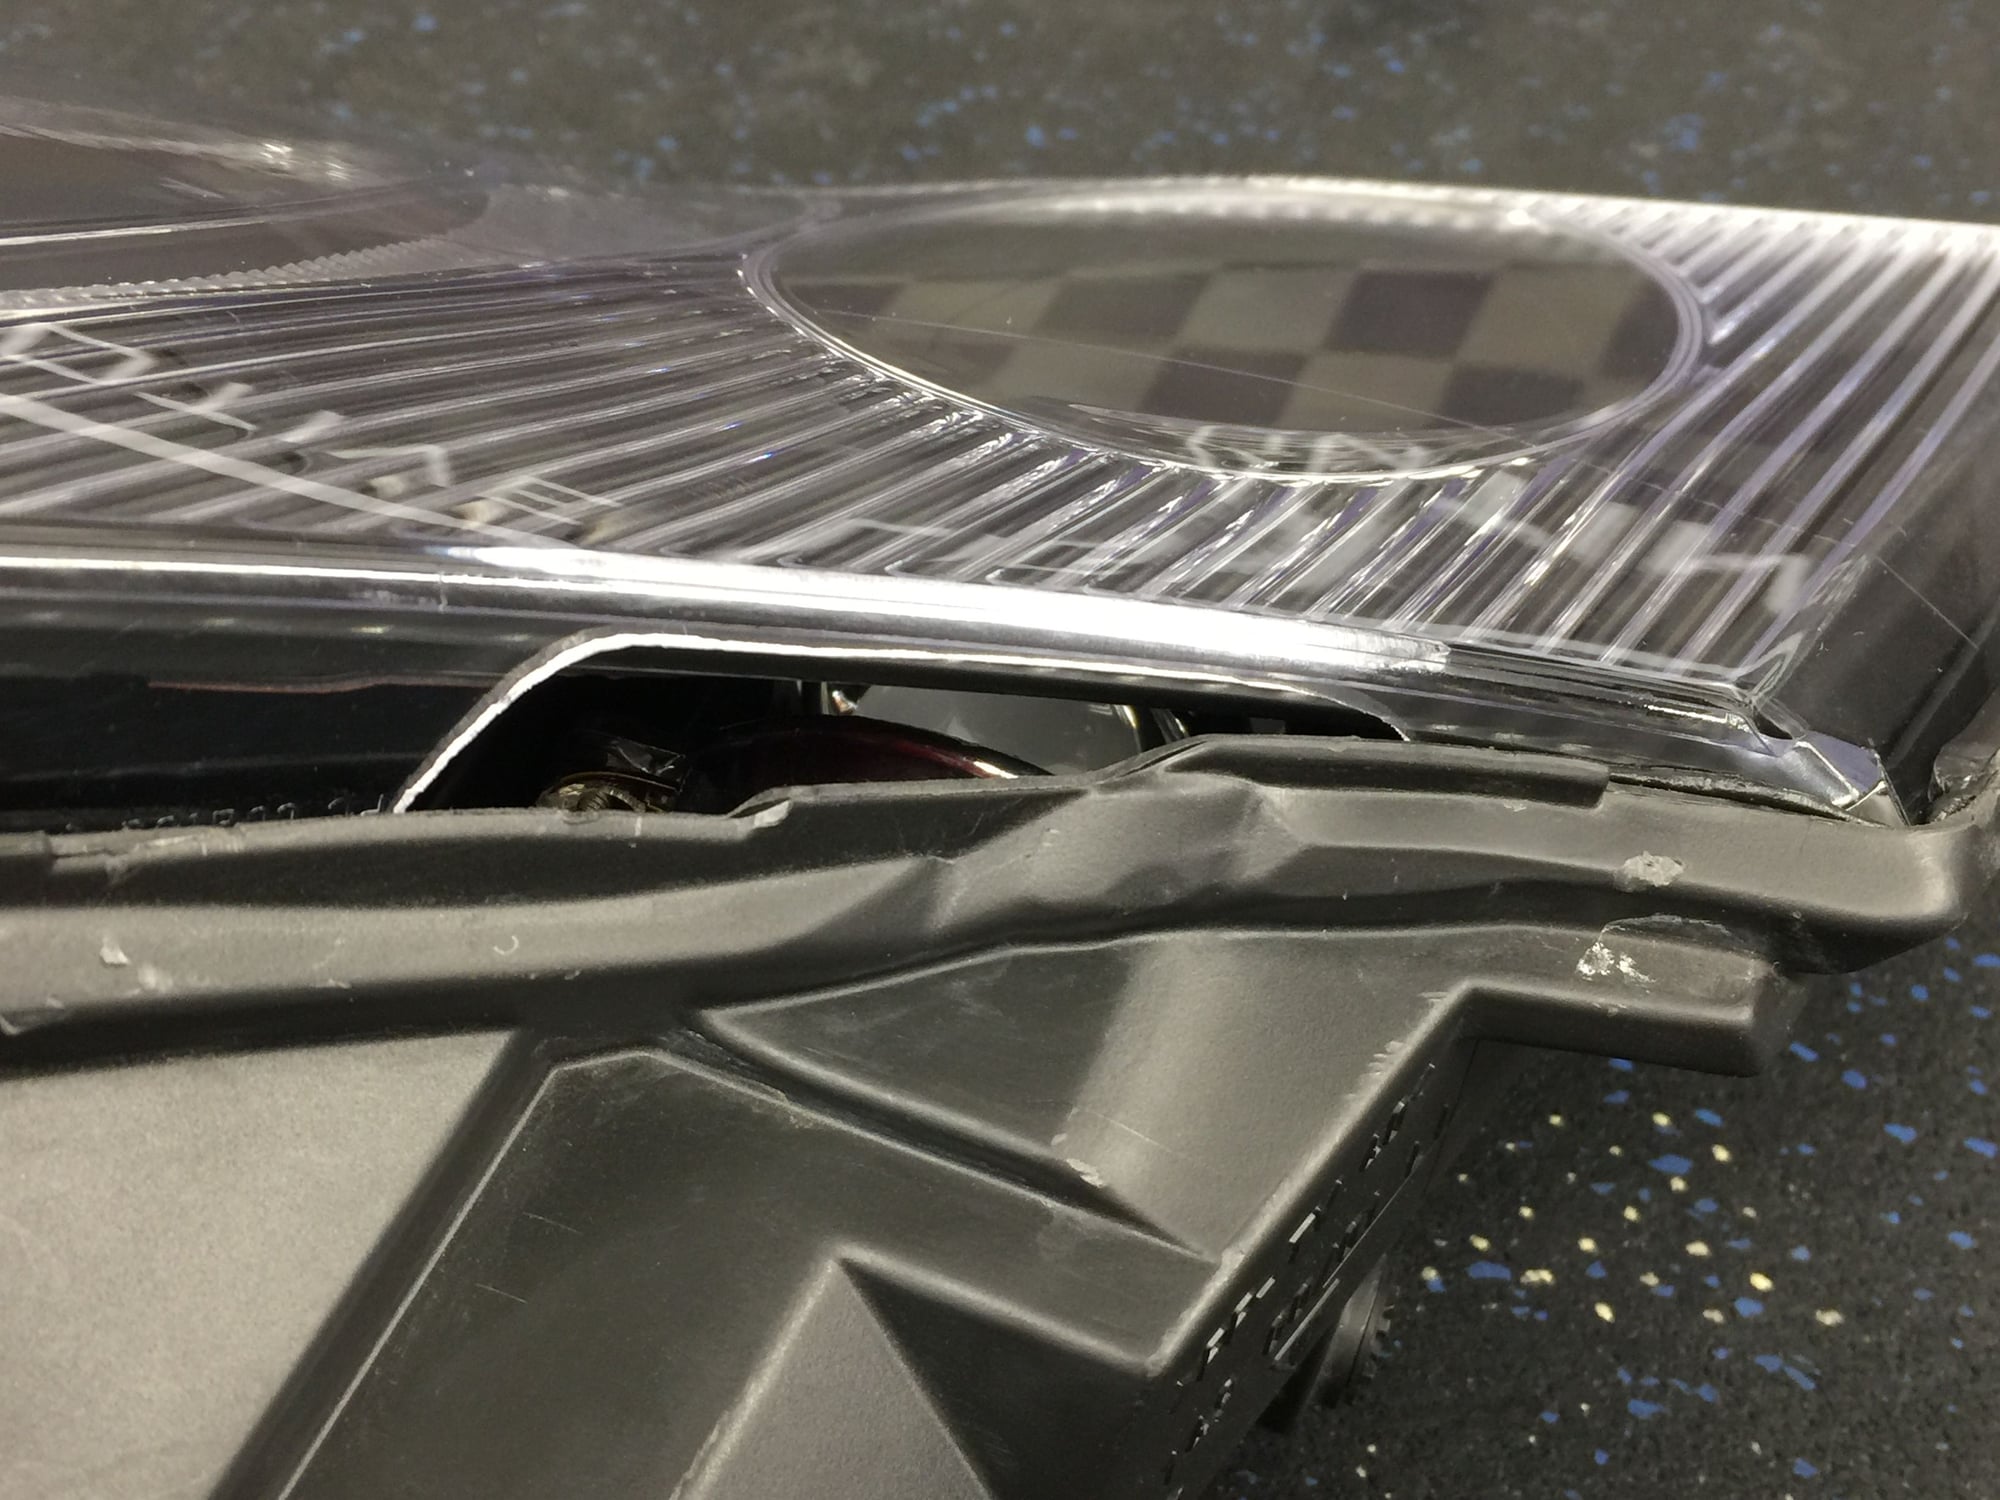
Probably the least enjoyable part of this whole project is "retrofitting" the external headlight washer into the interior bezel to plug the hole of the now deleted headlight washers. I need to test fit the mounting depth to make sure there will be no contact to the underside of the headlight lens, that would be no bueno.
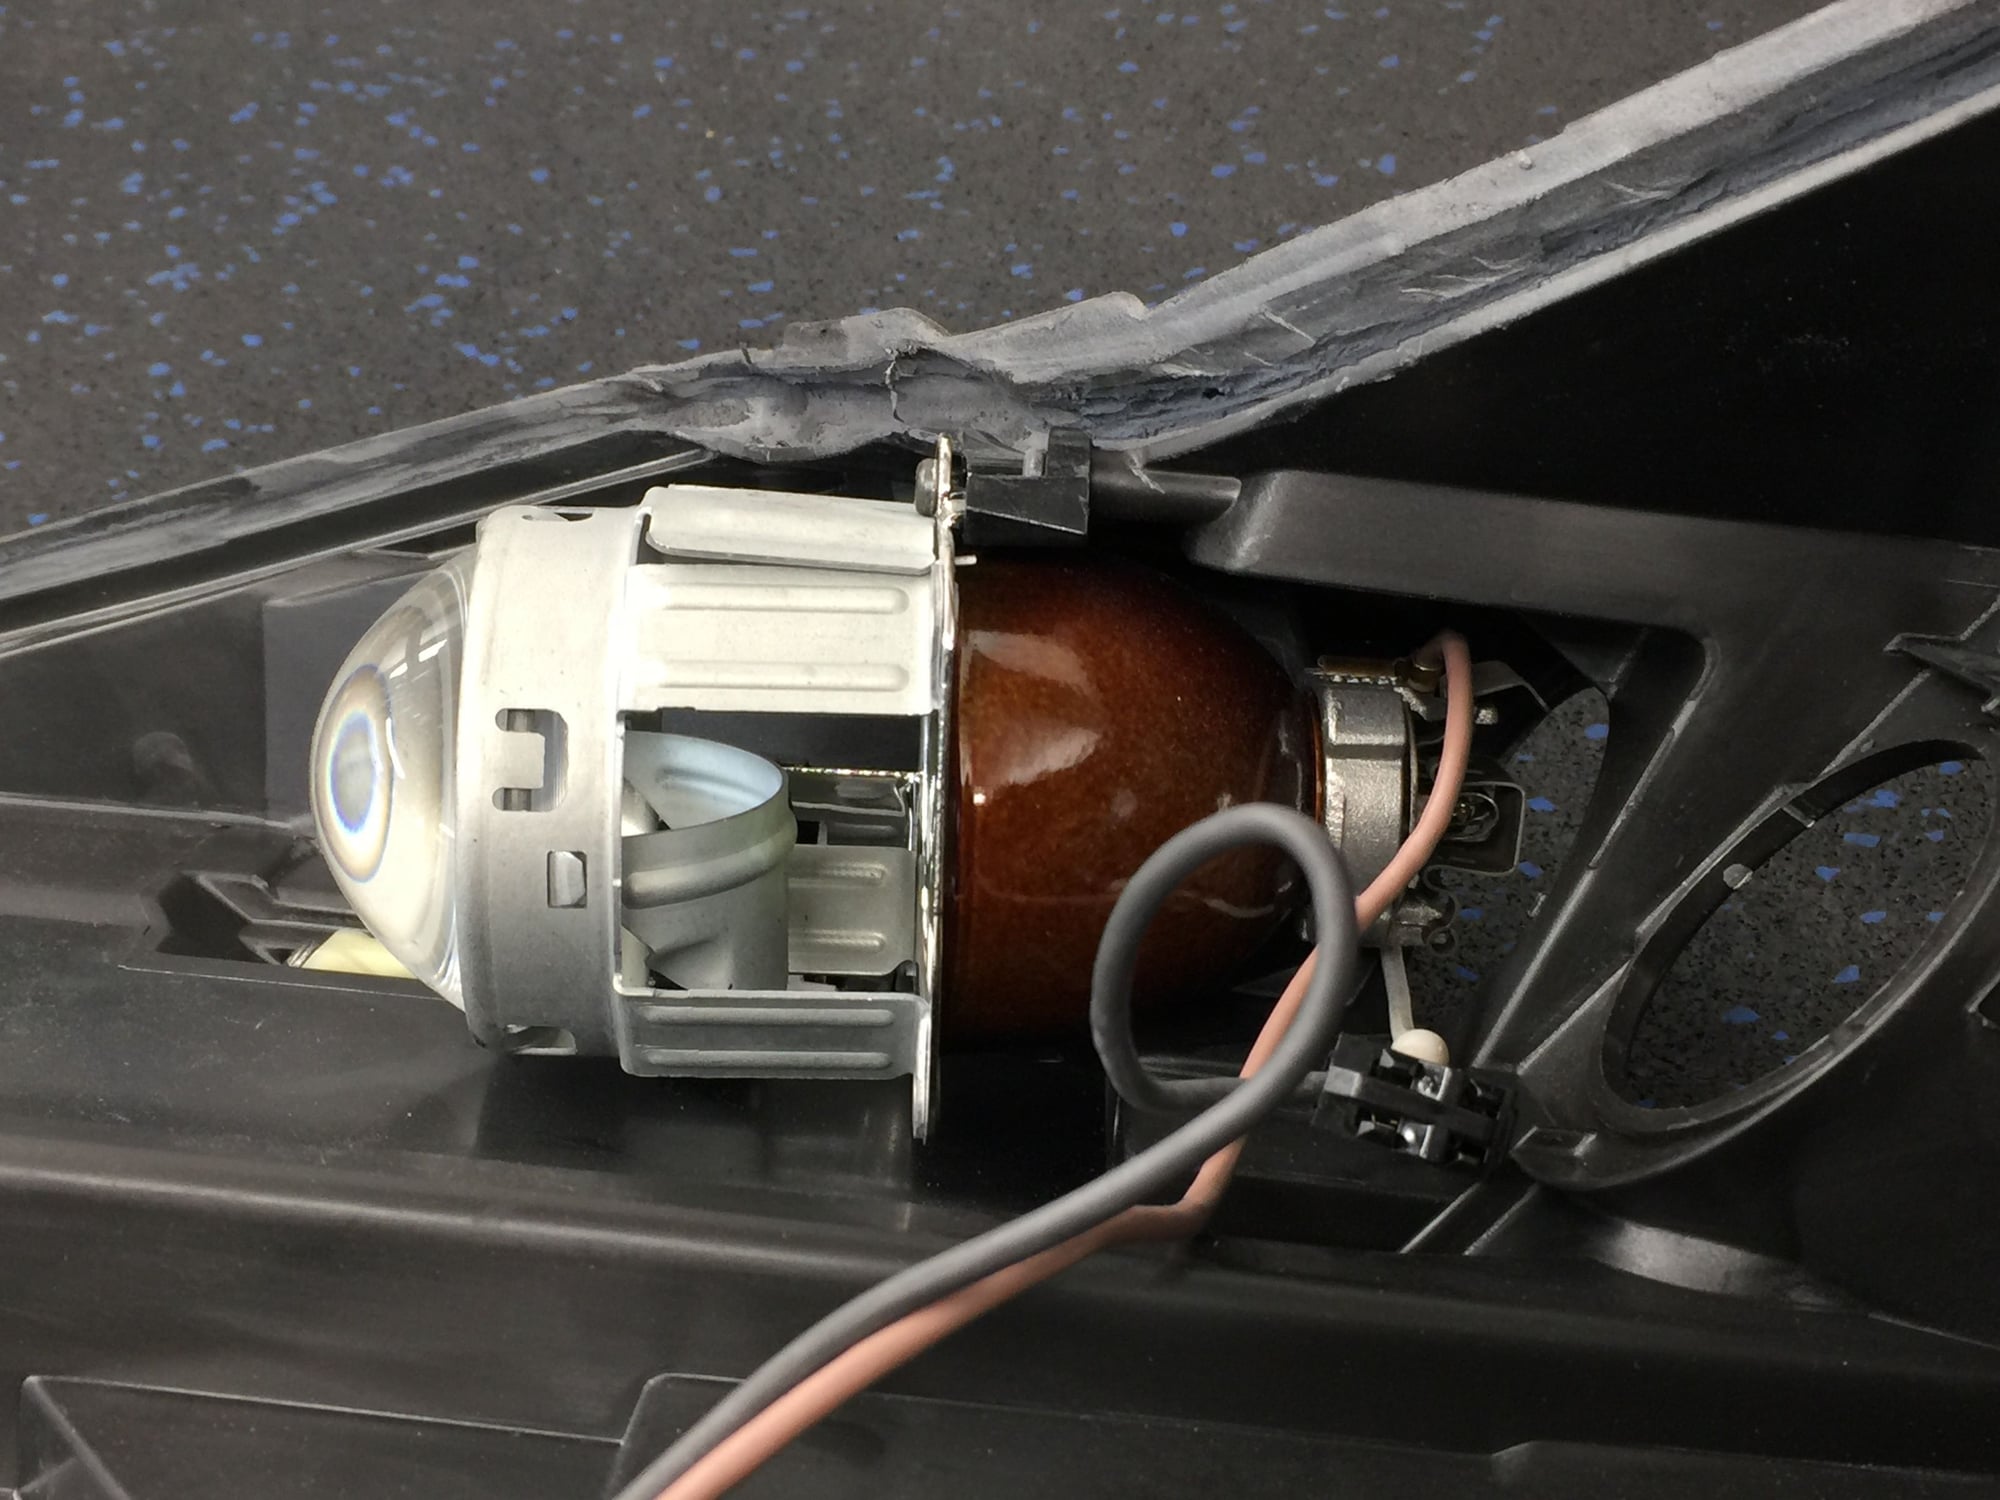
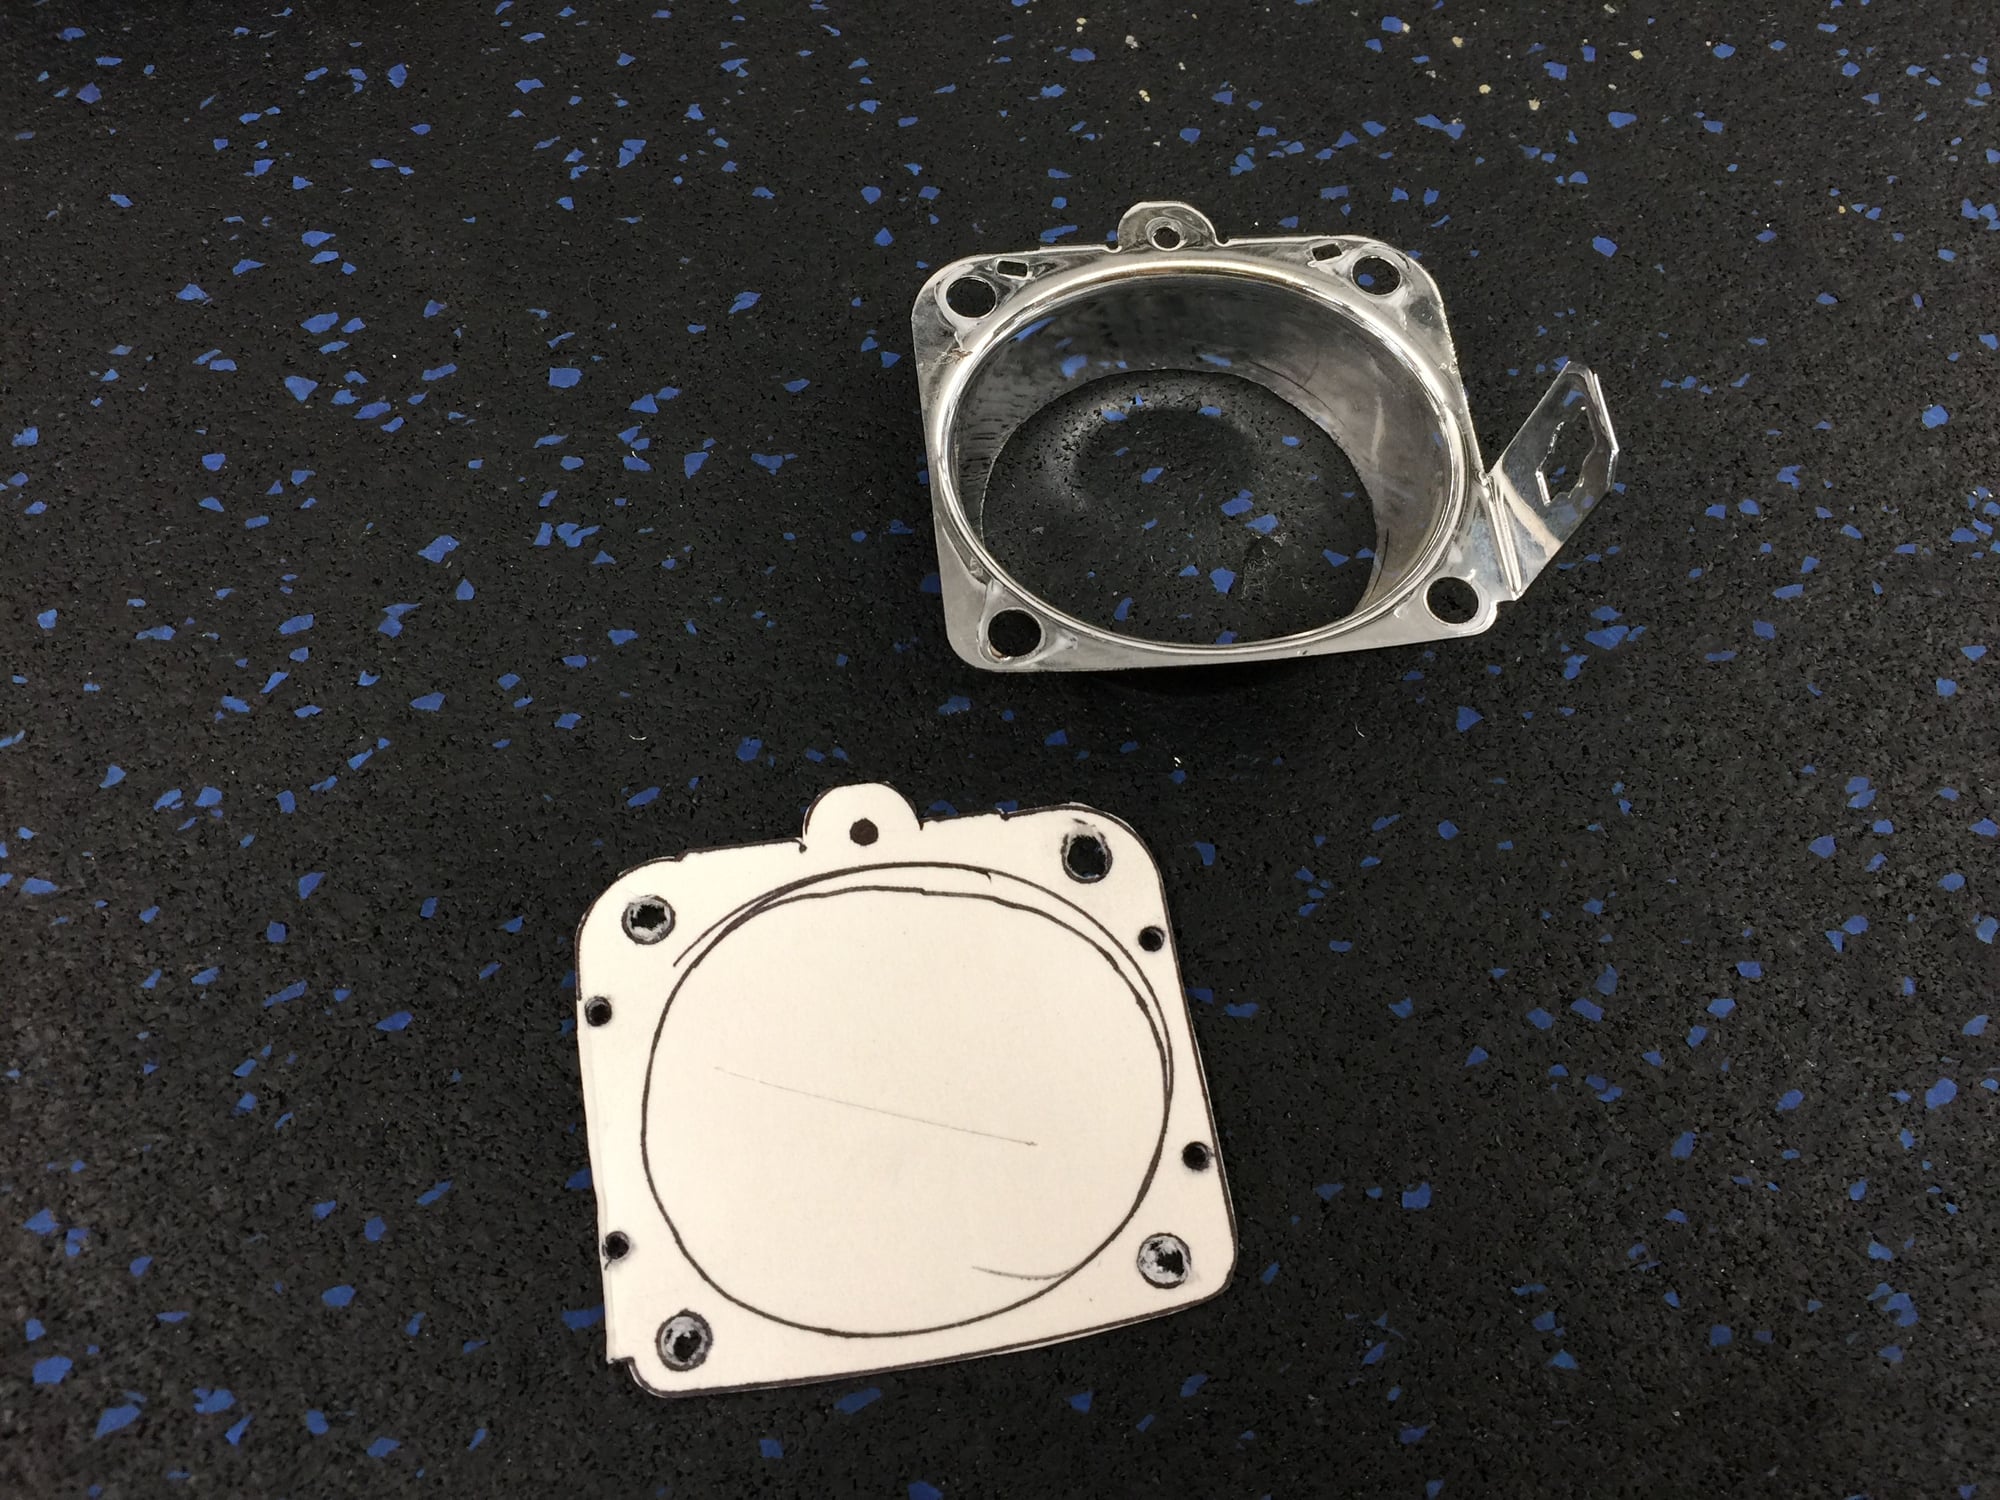
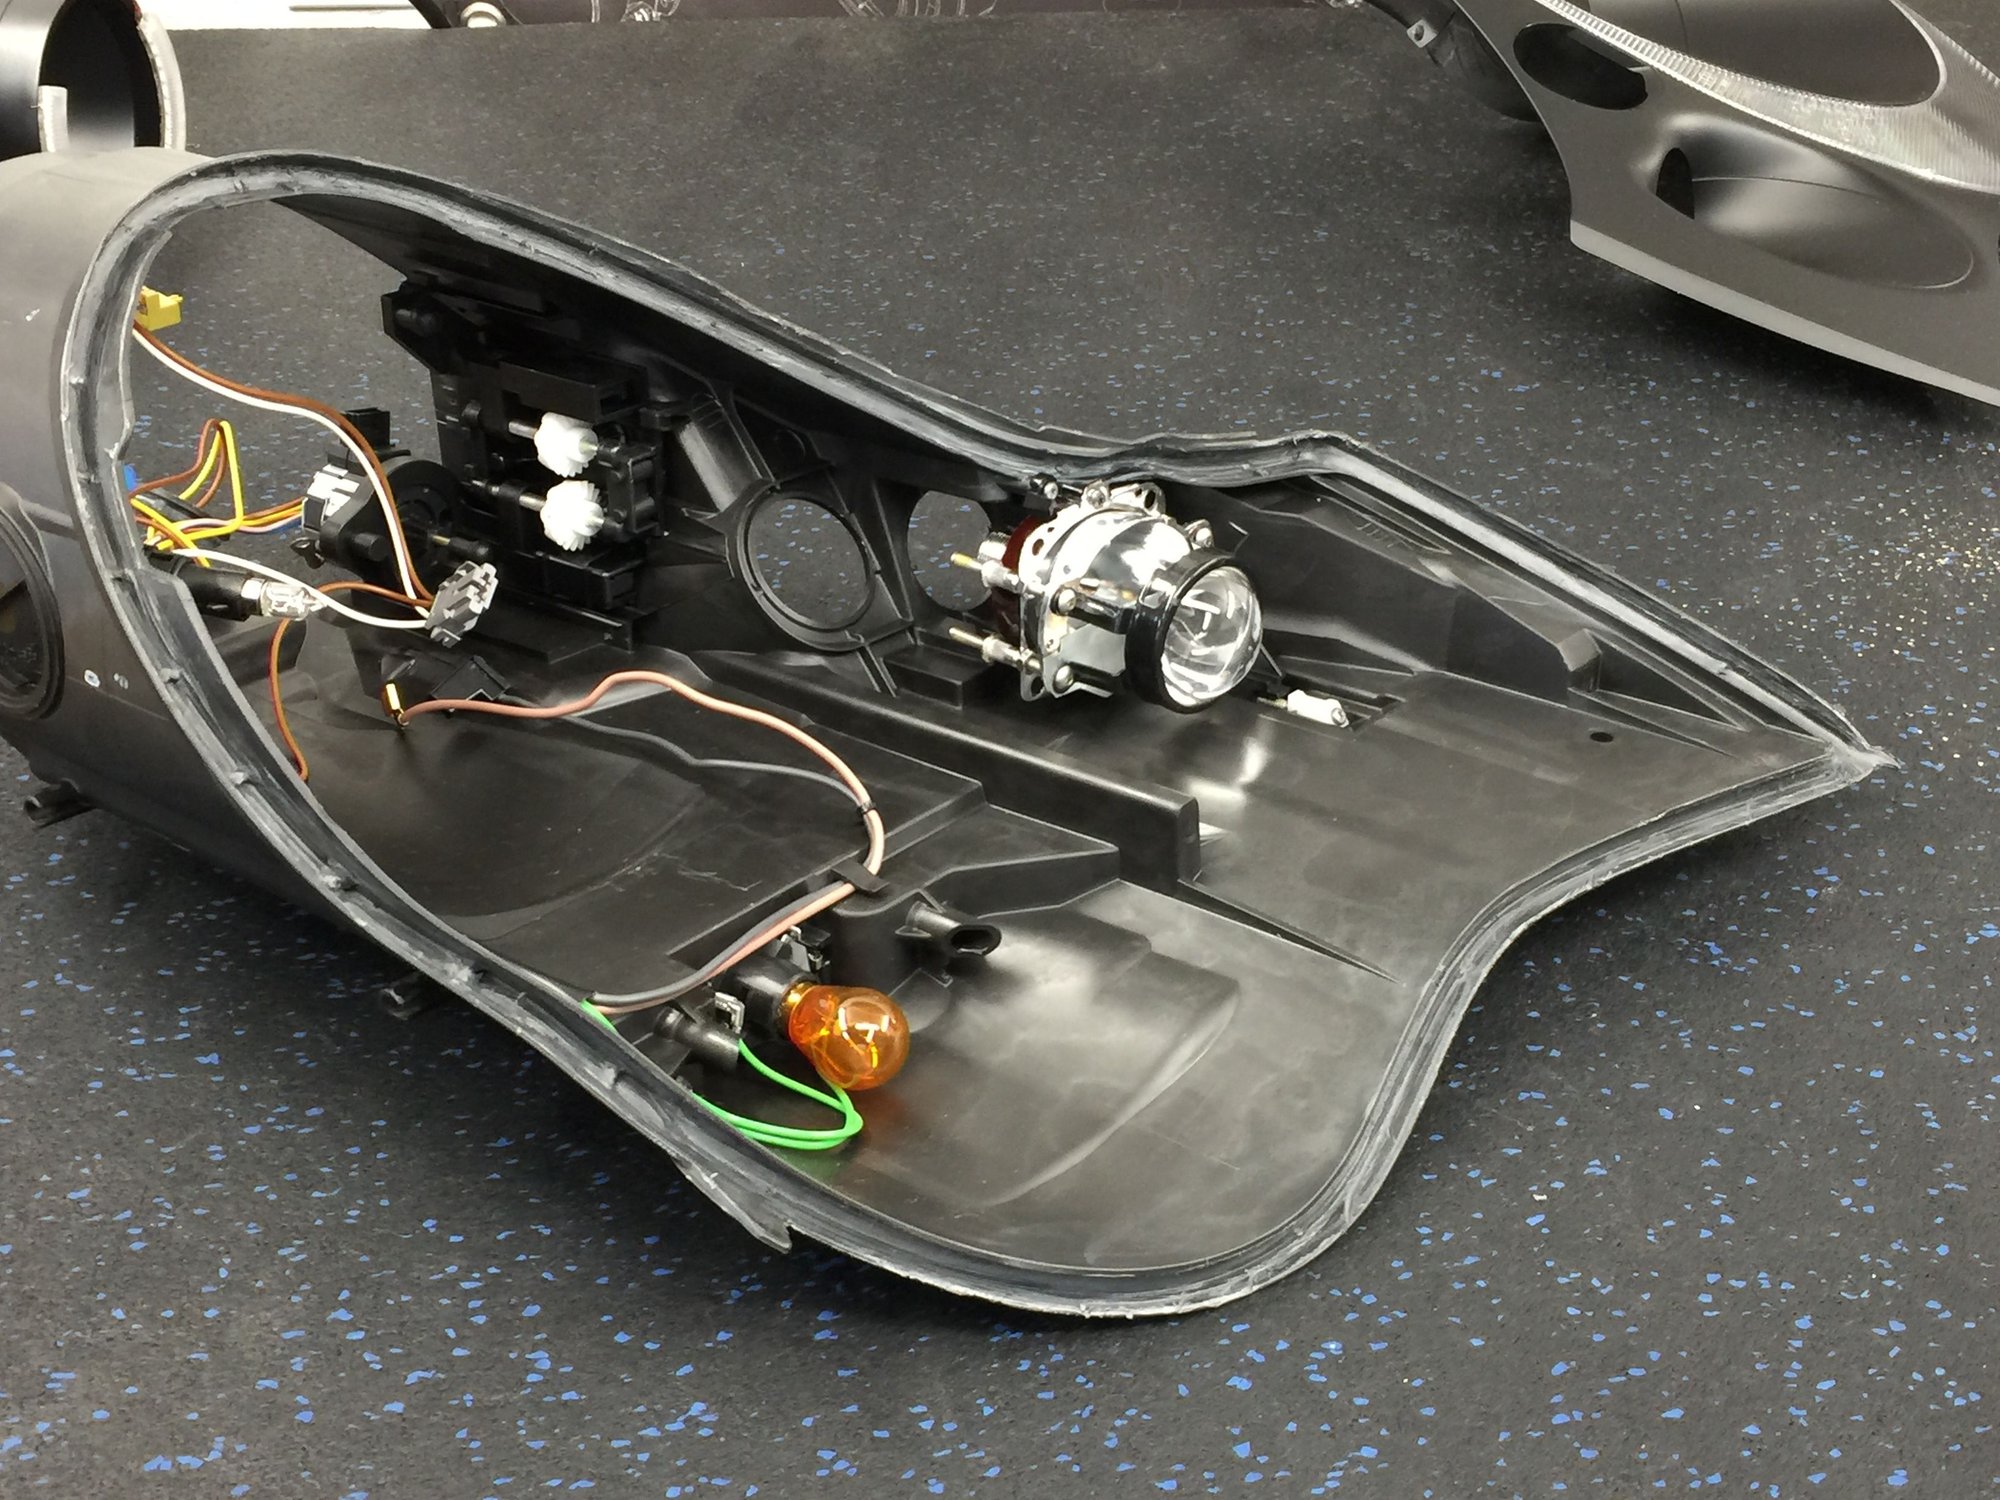
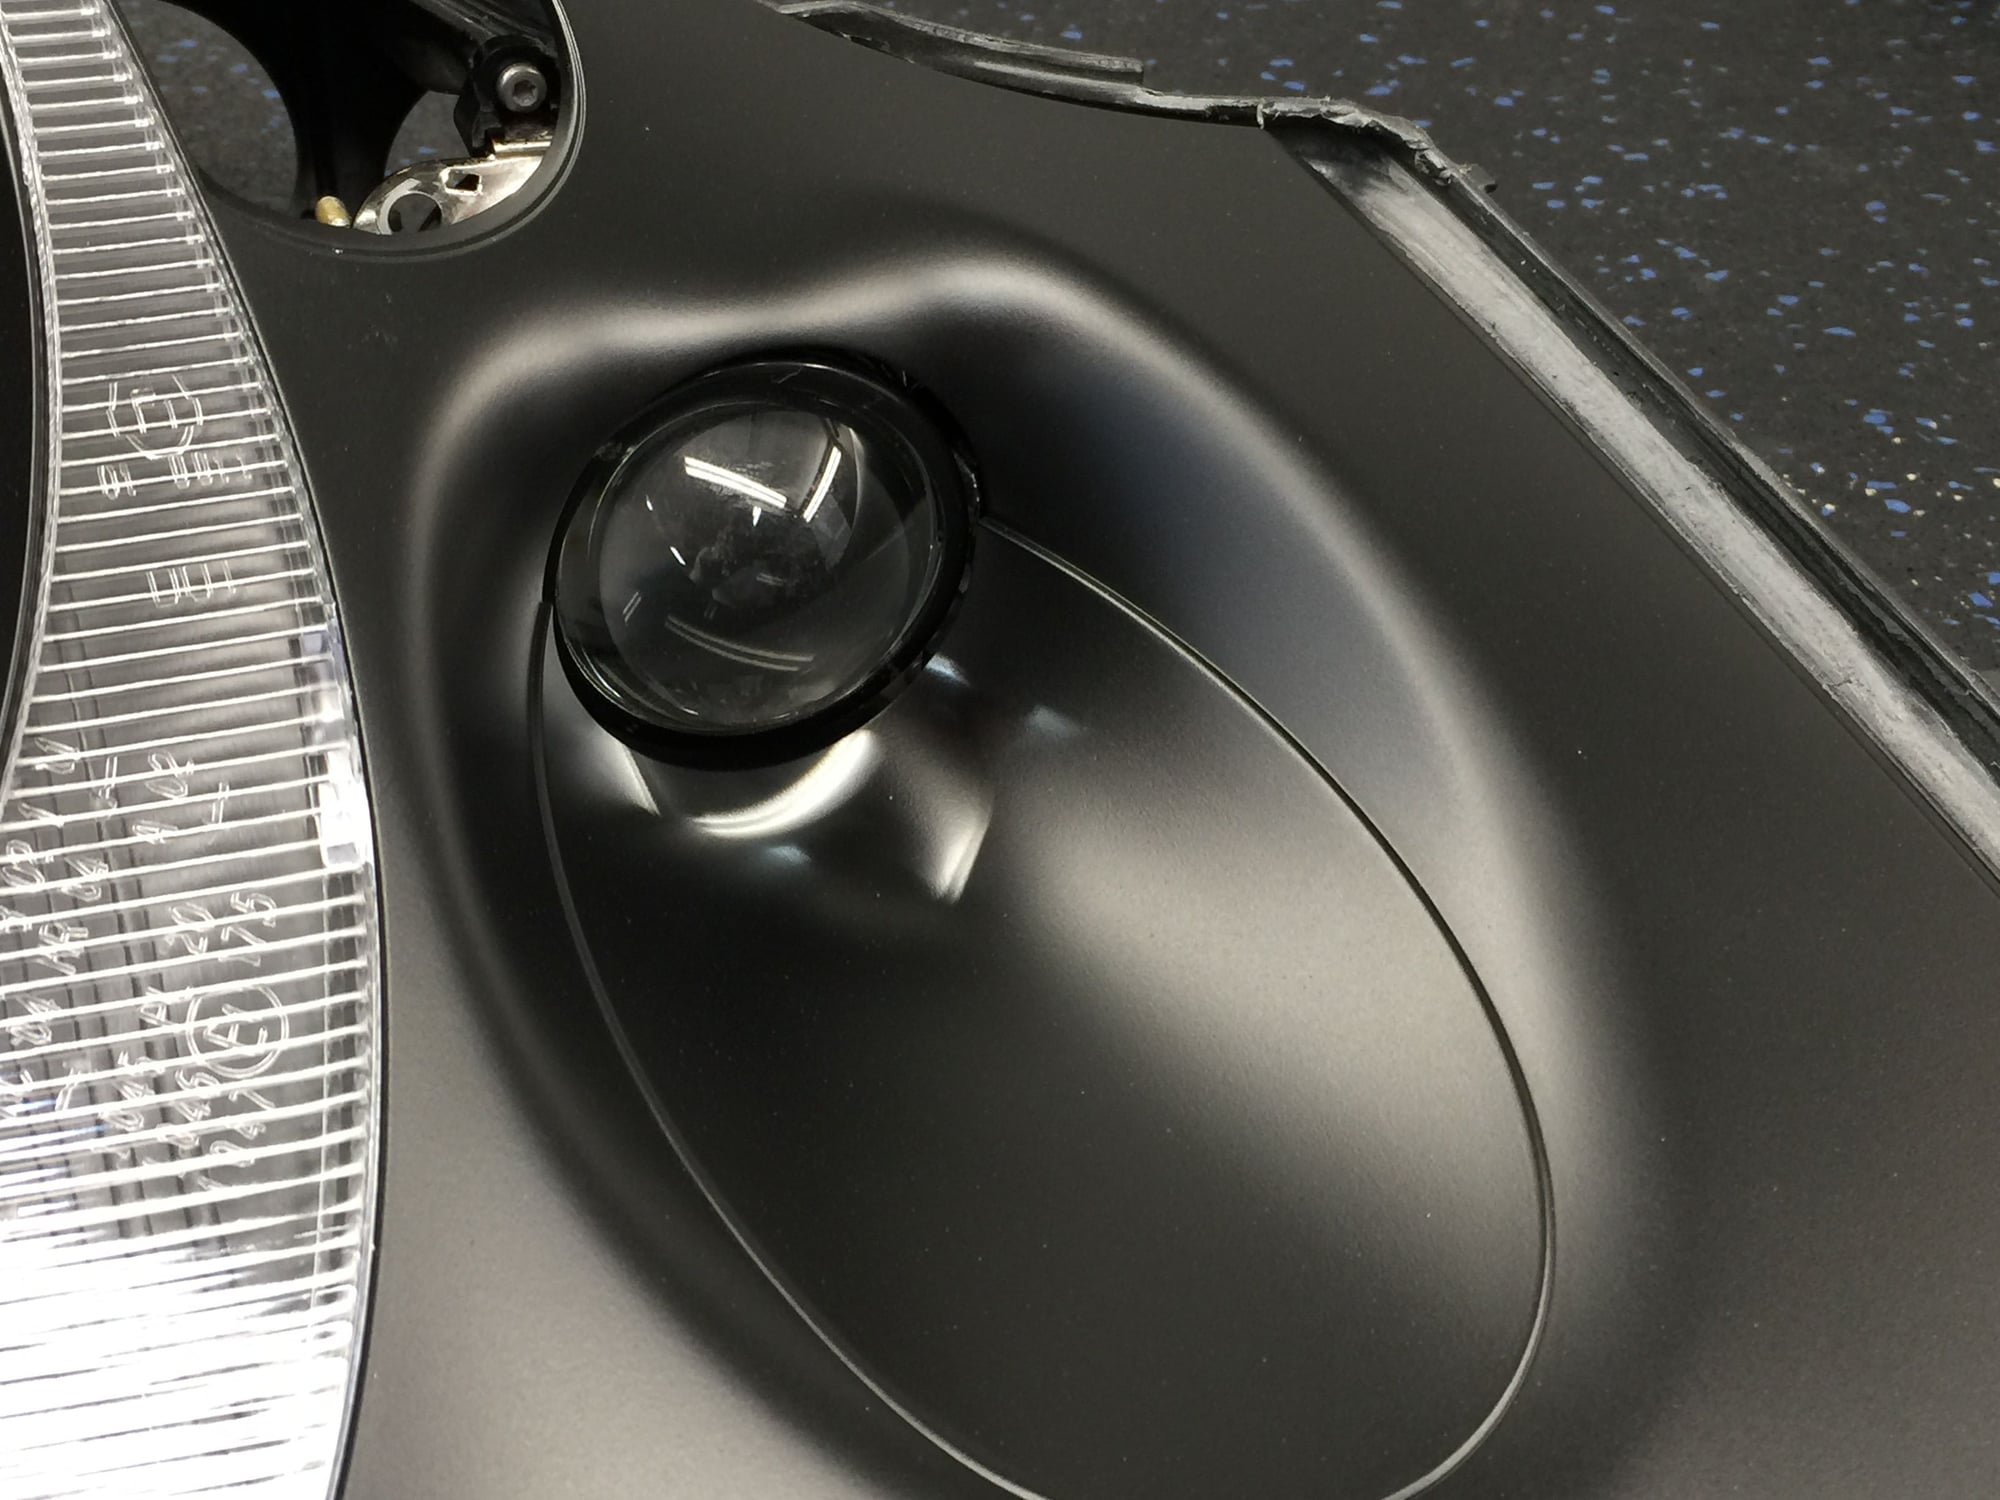
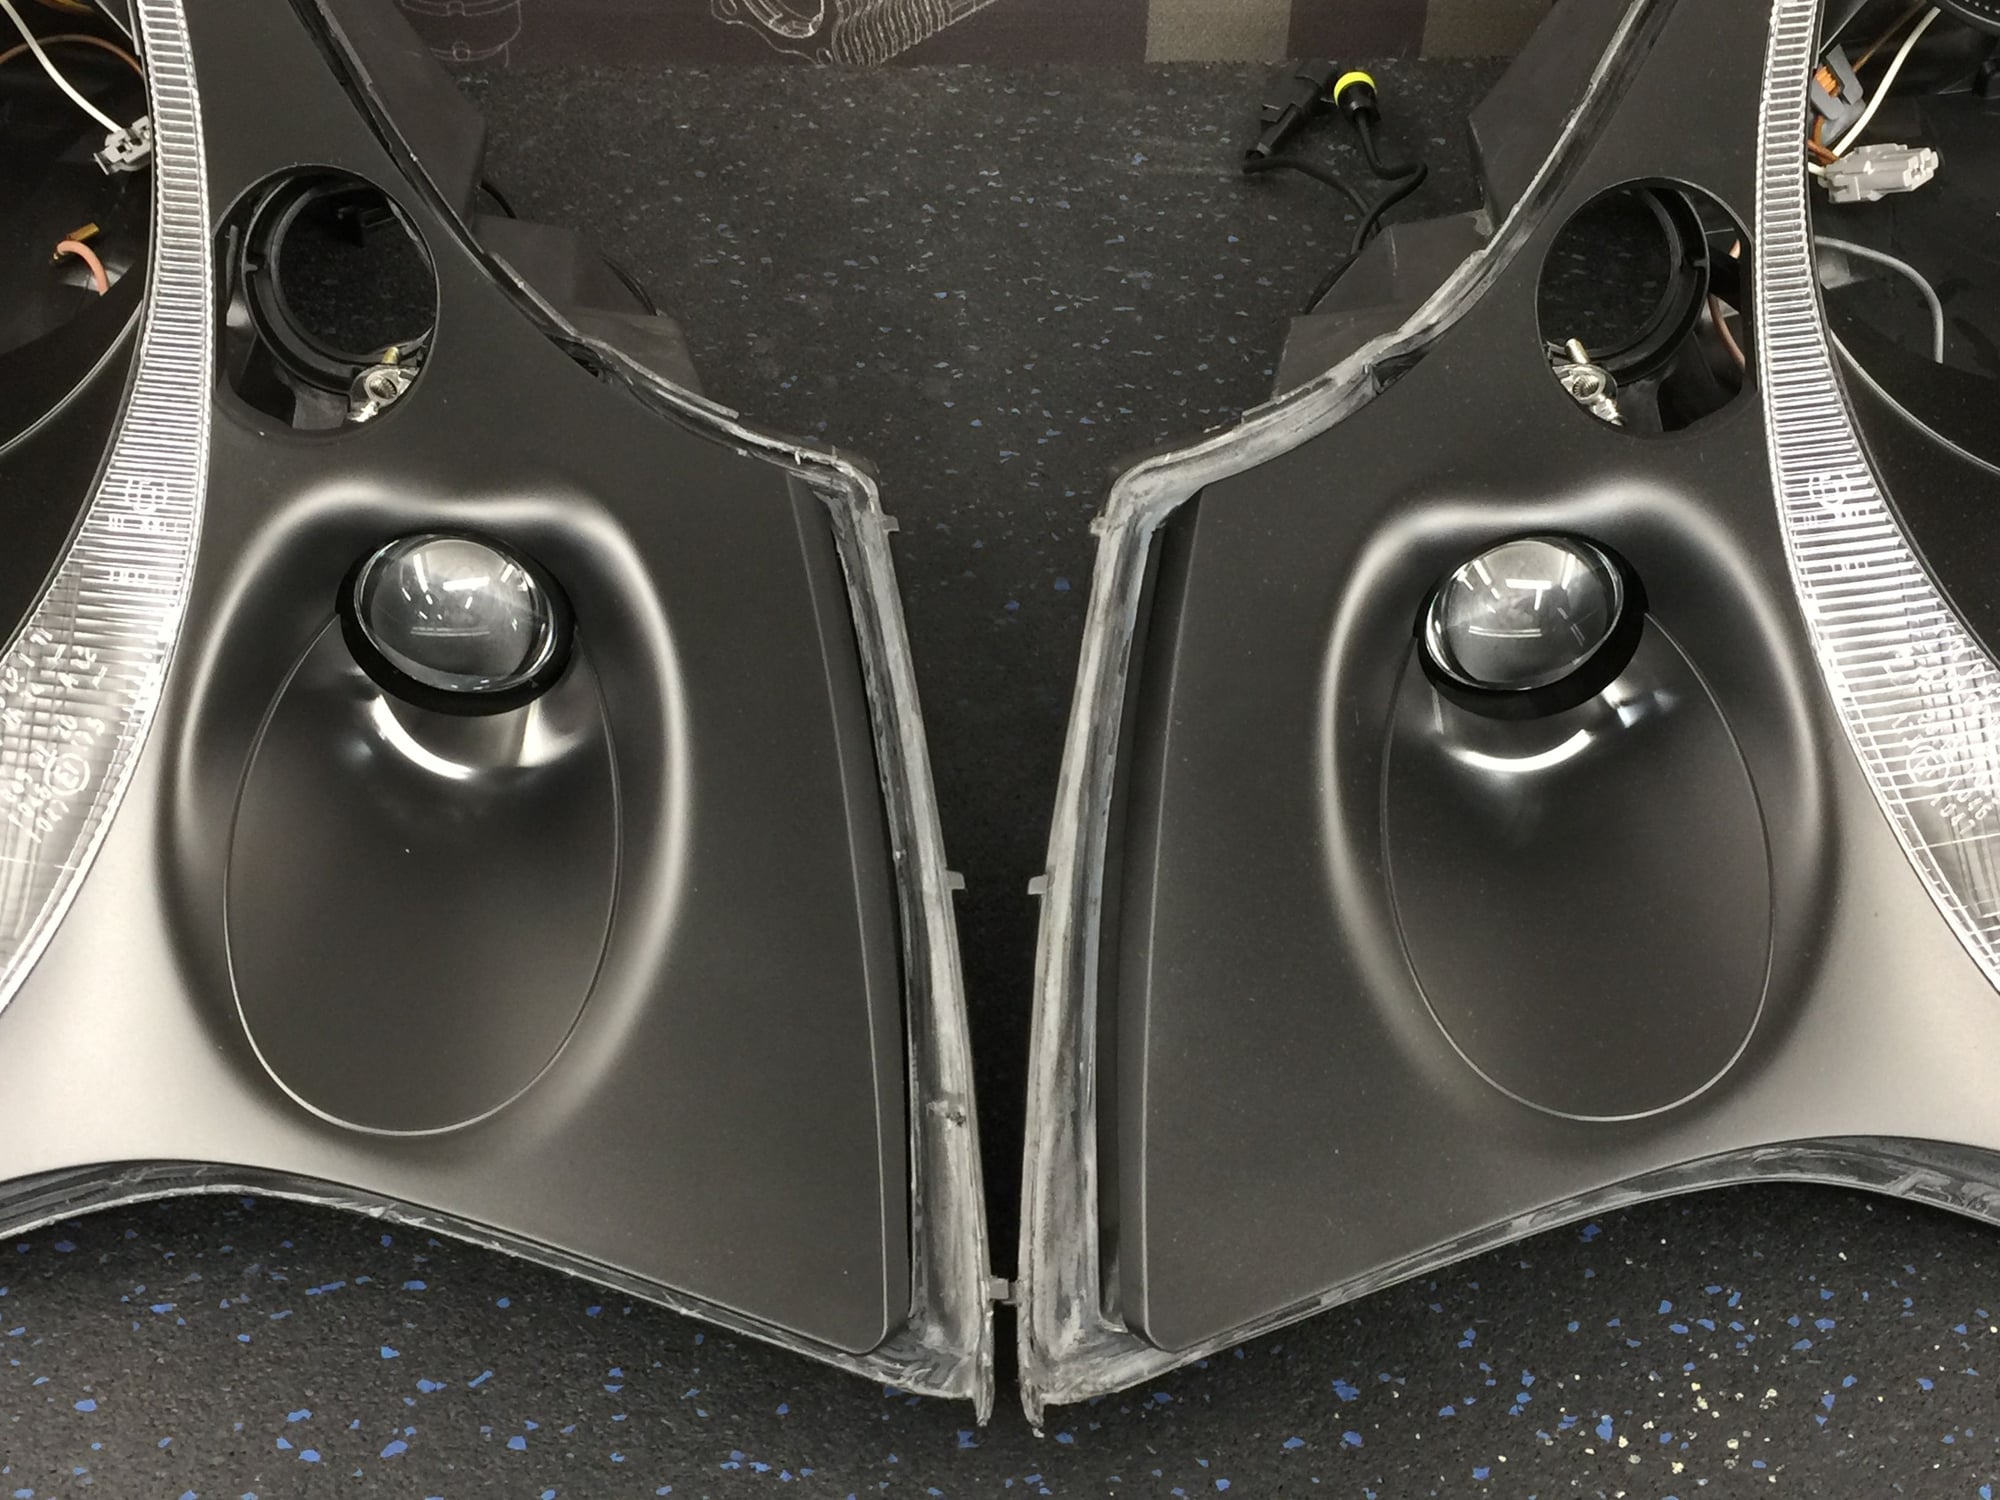
Here is the orientation of the oem projector fog light, as you can see space it TIGHT, only a few millimeters of clearance all around.
The Morimoto "matchbox" HID projector will be replacing the stock halogen projector. Believe it or not the matchbox is actually a bi-xenon projector offering both a low and high beam but the high beam won't be necessary for this fog application so the shield and solenoid are removed, I will be building a custom shield out of aluminum flashing.
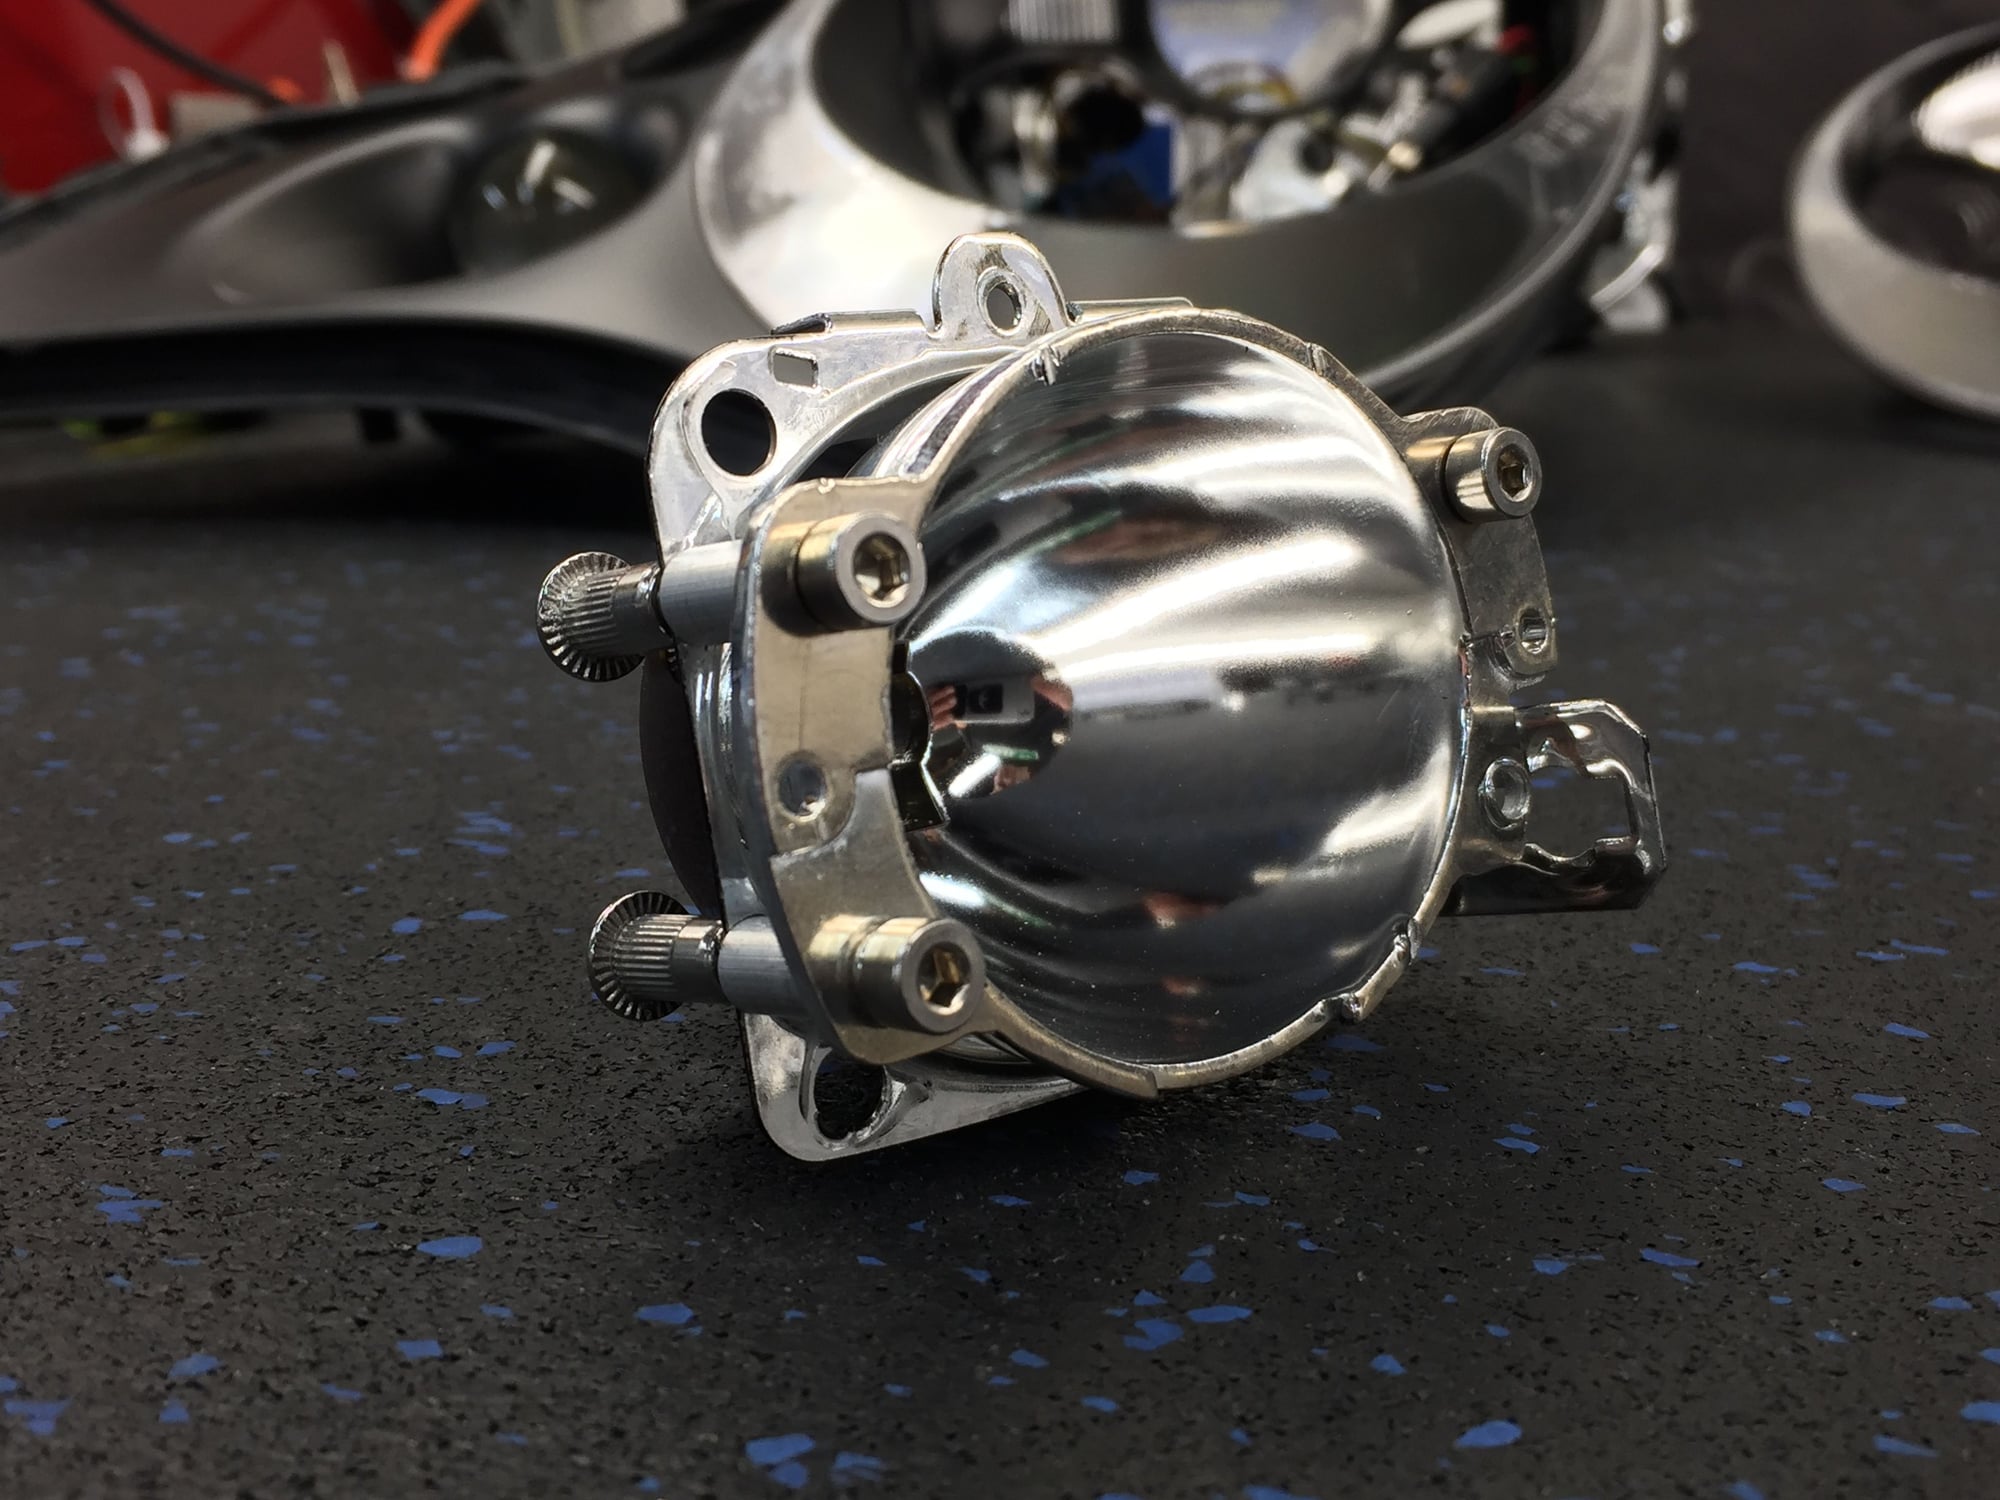
Thankfully I was able to shoehorn the HID projector inside the oem fog light after some trimming, this is important as the manual height adjustment will be retained so the fogs can be dialed in as needed. #Function
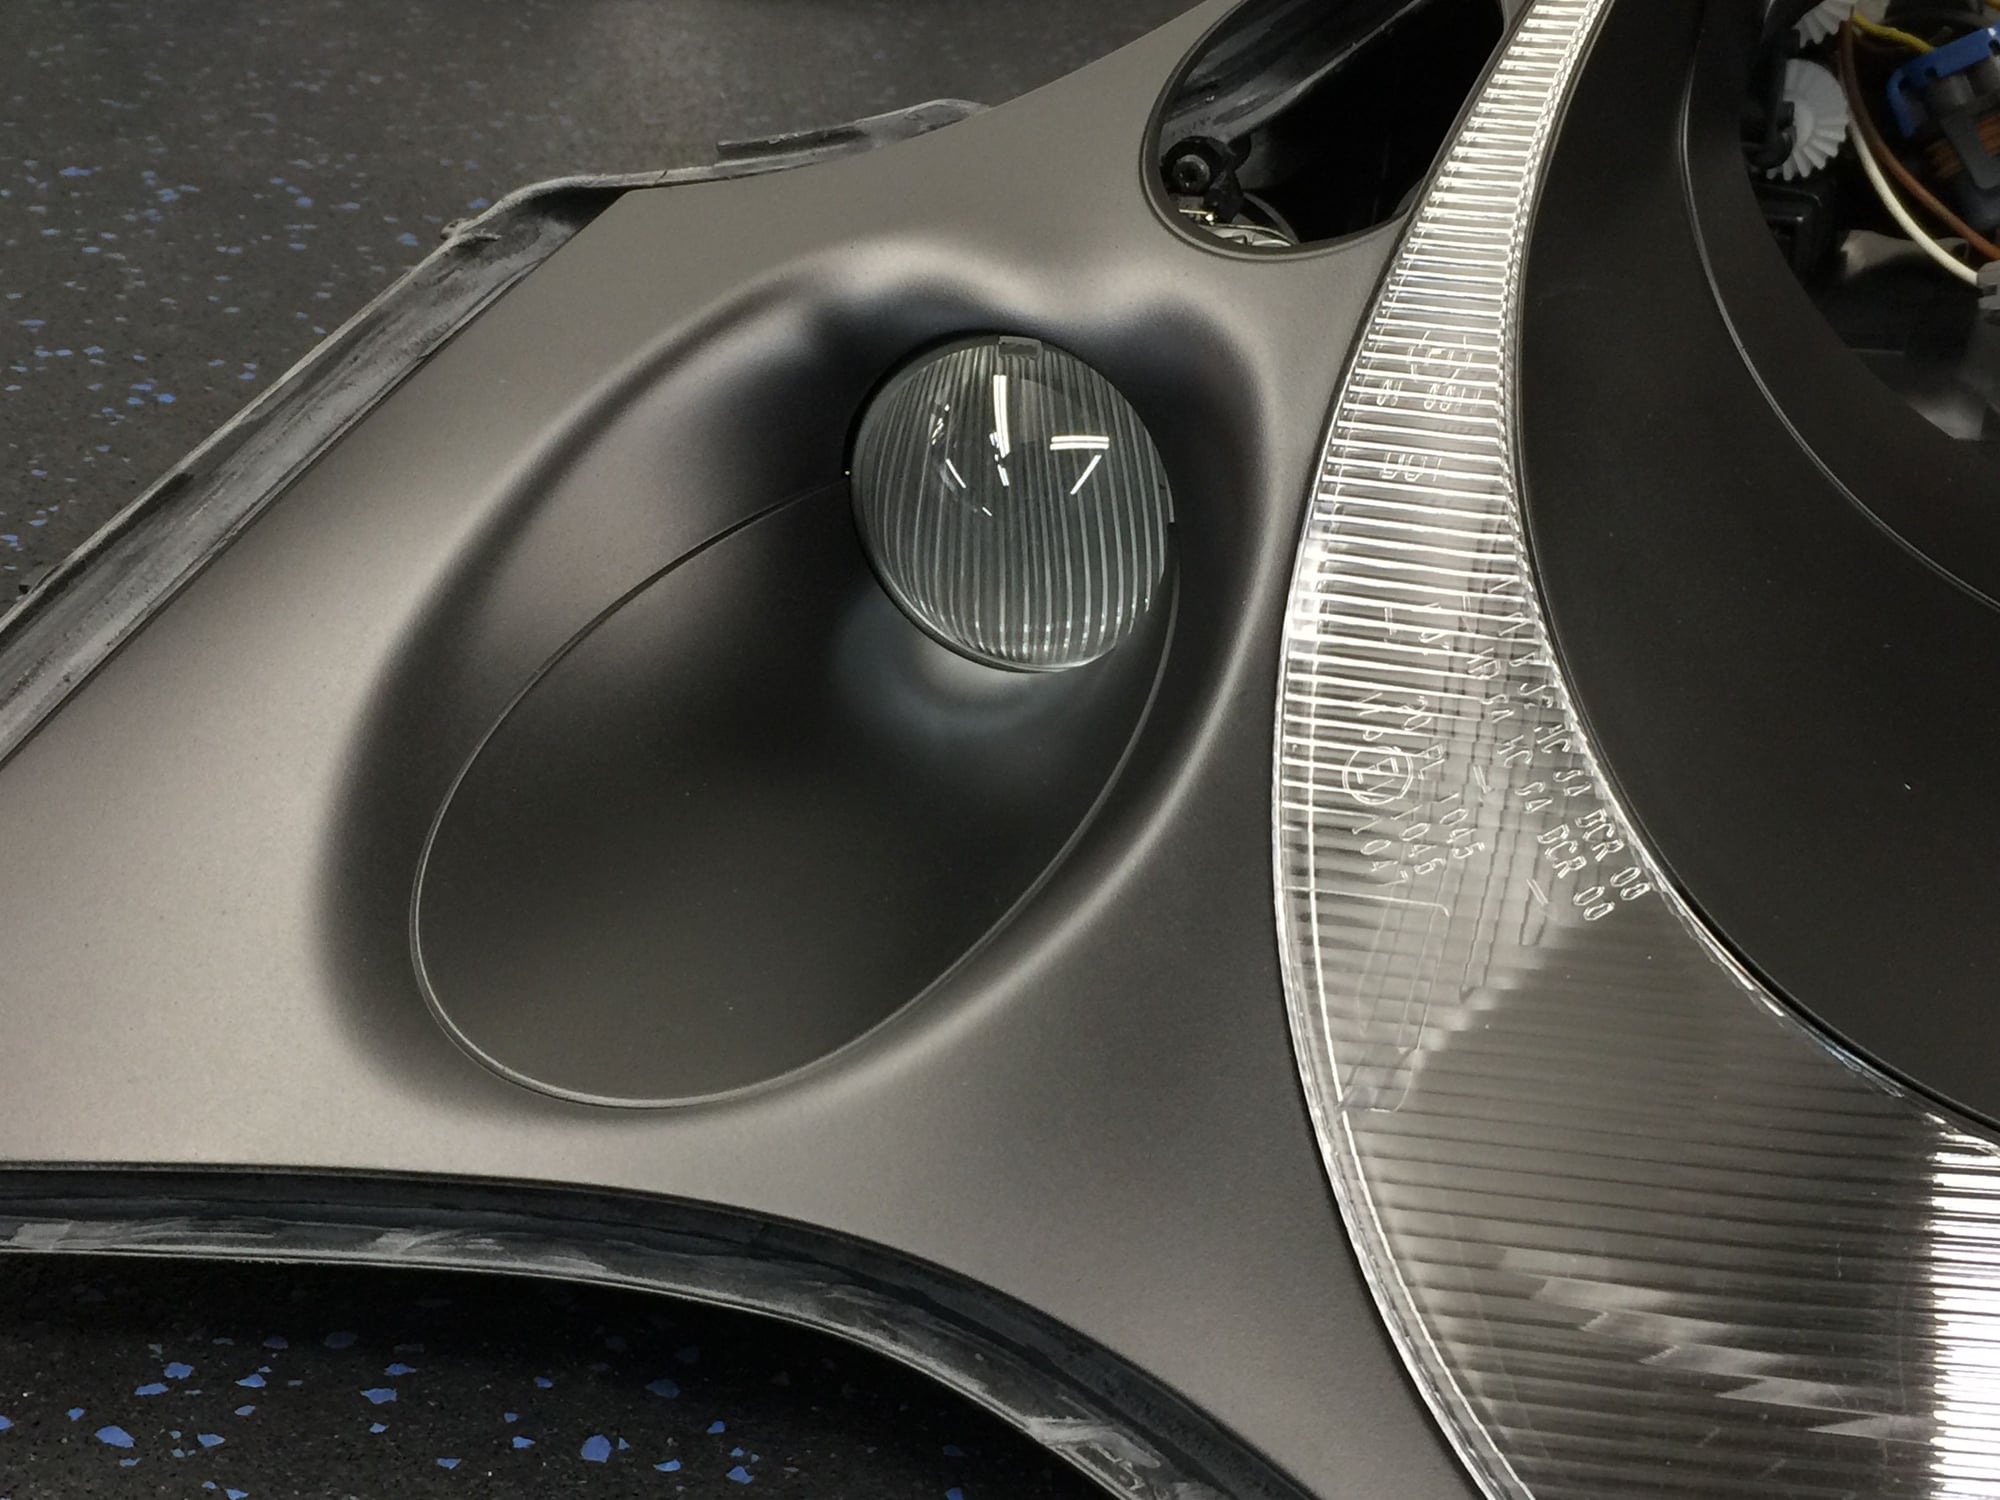
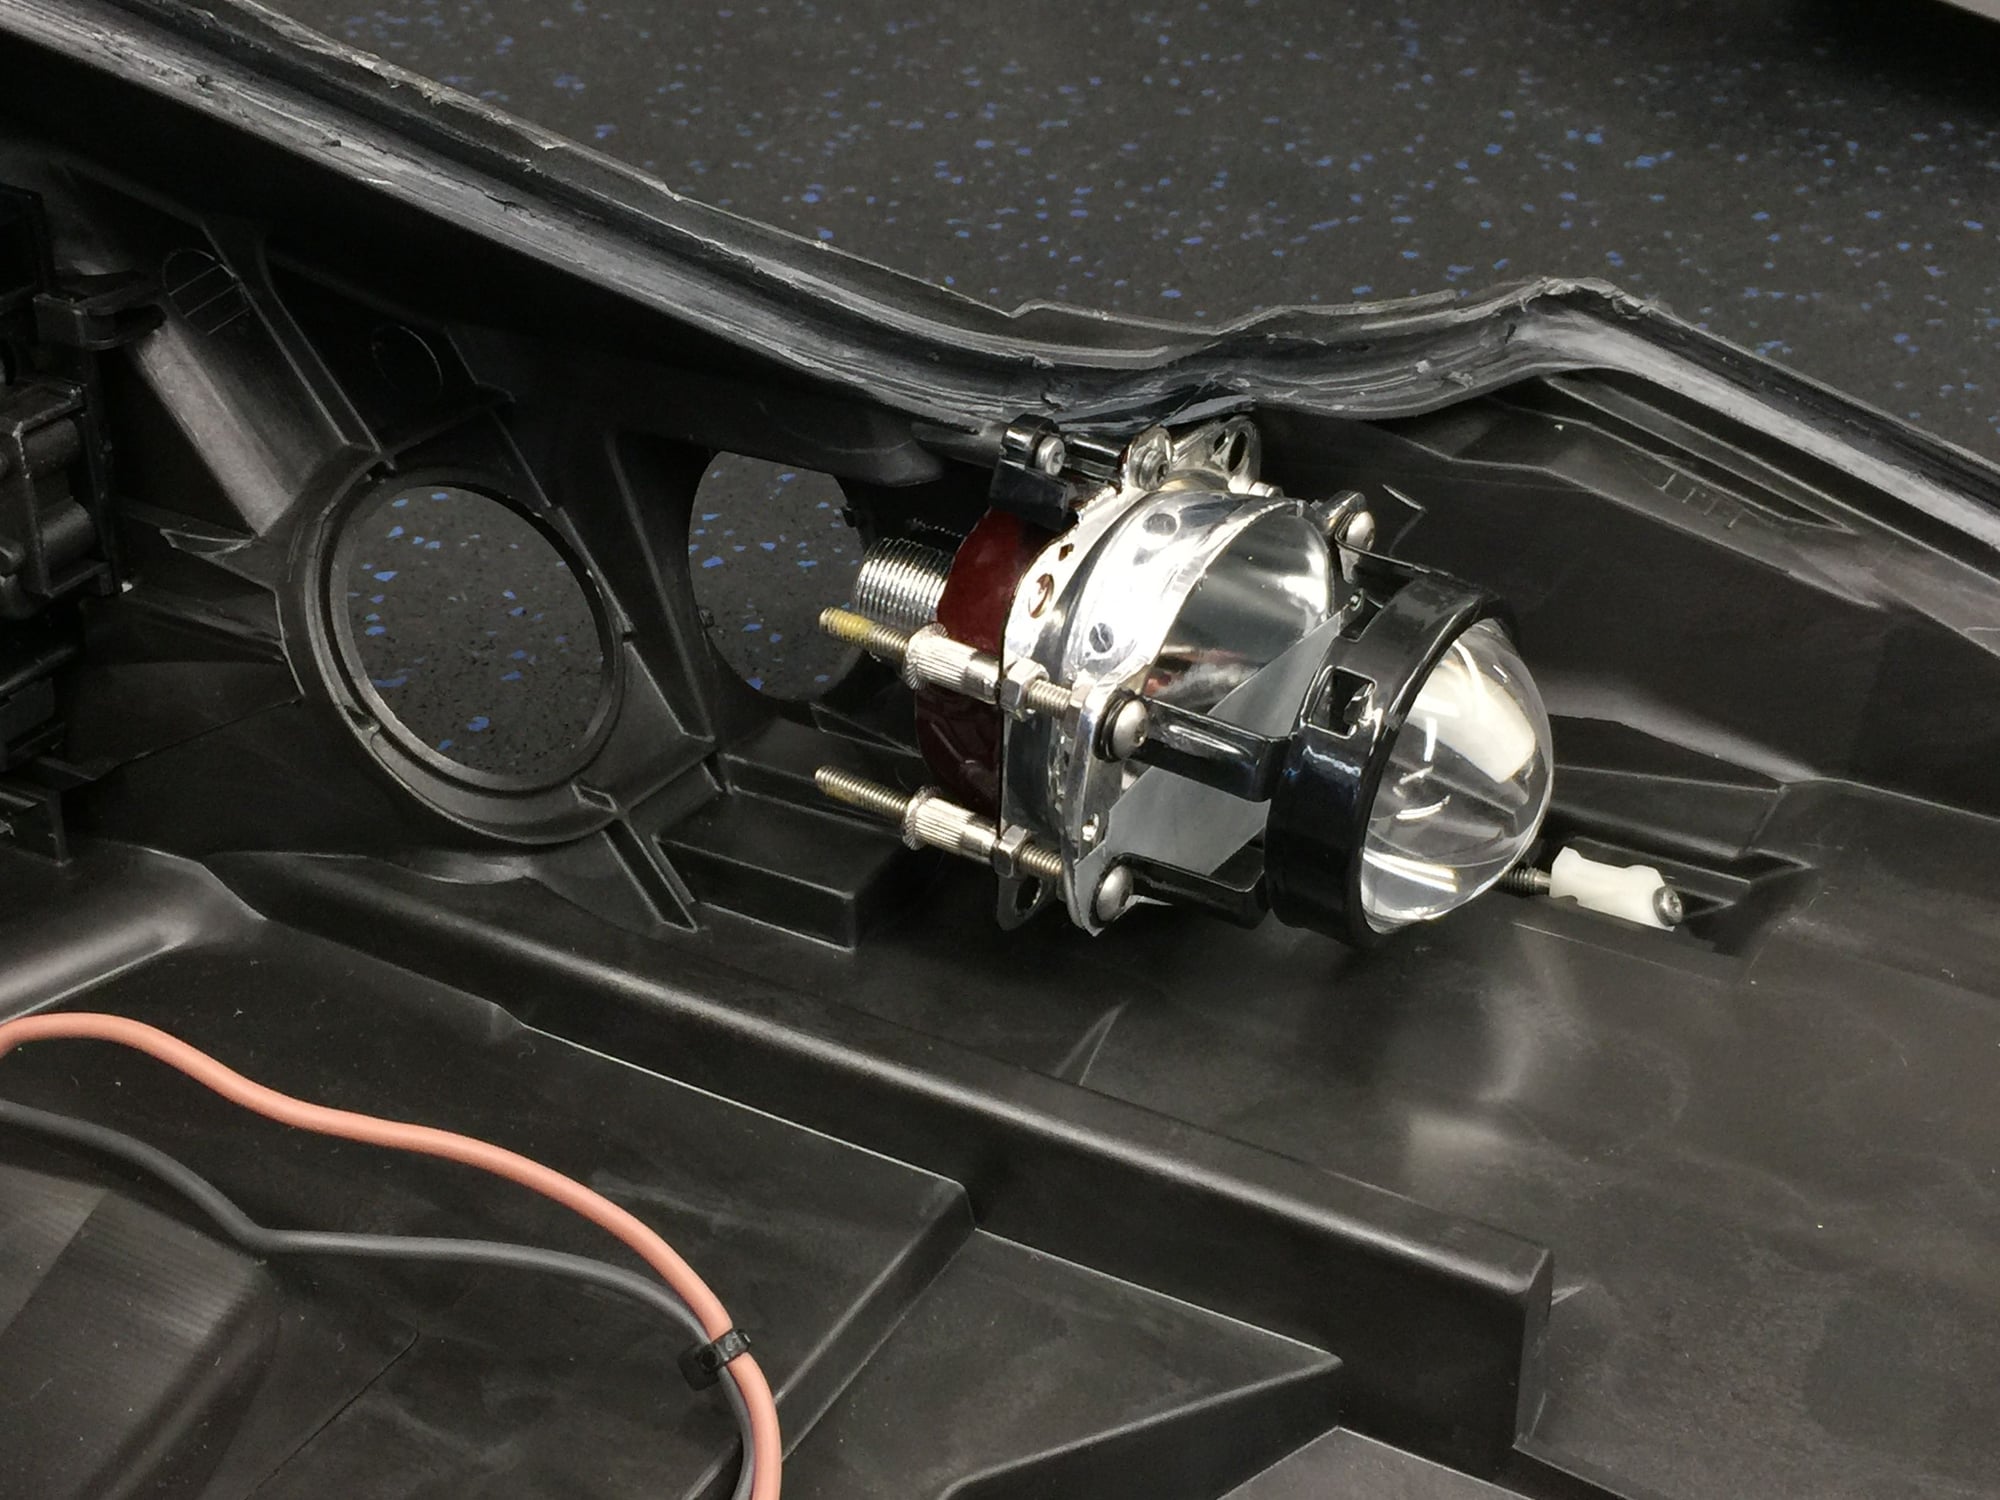
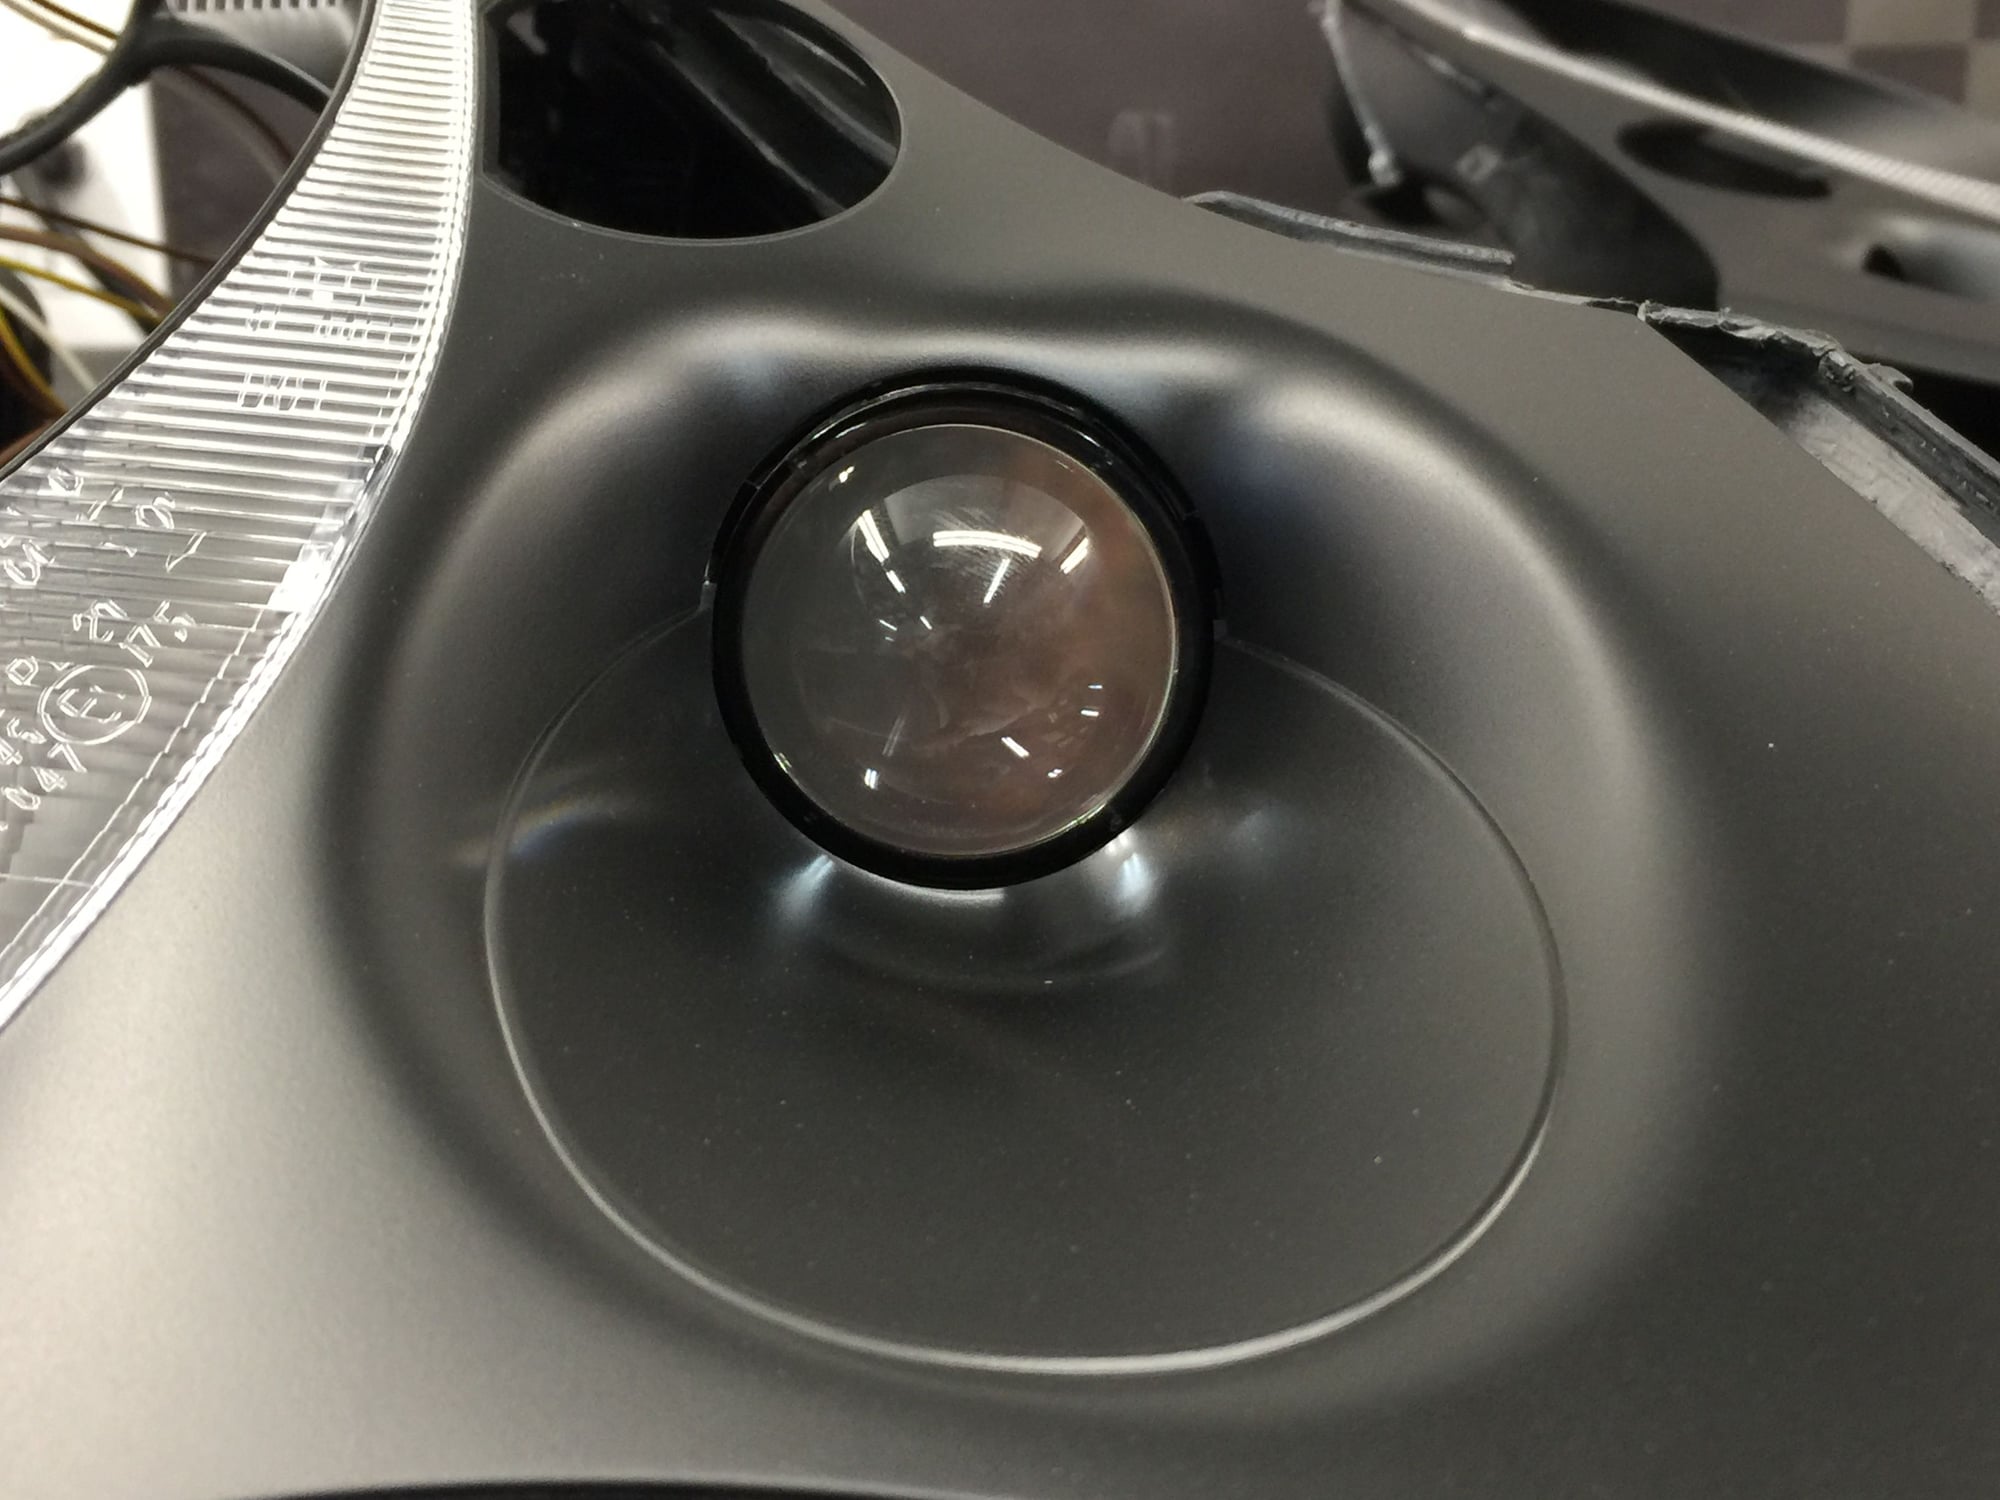
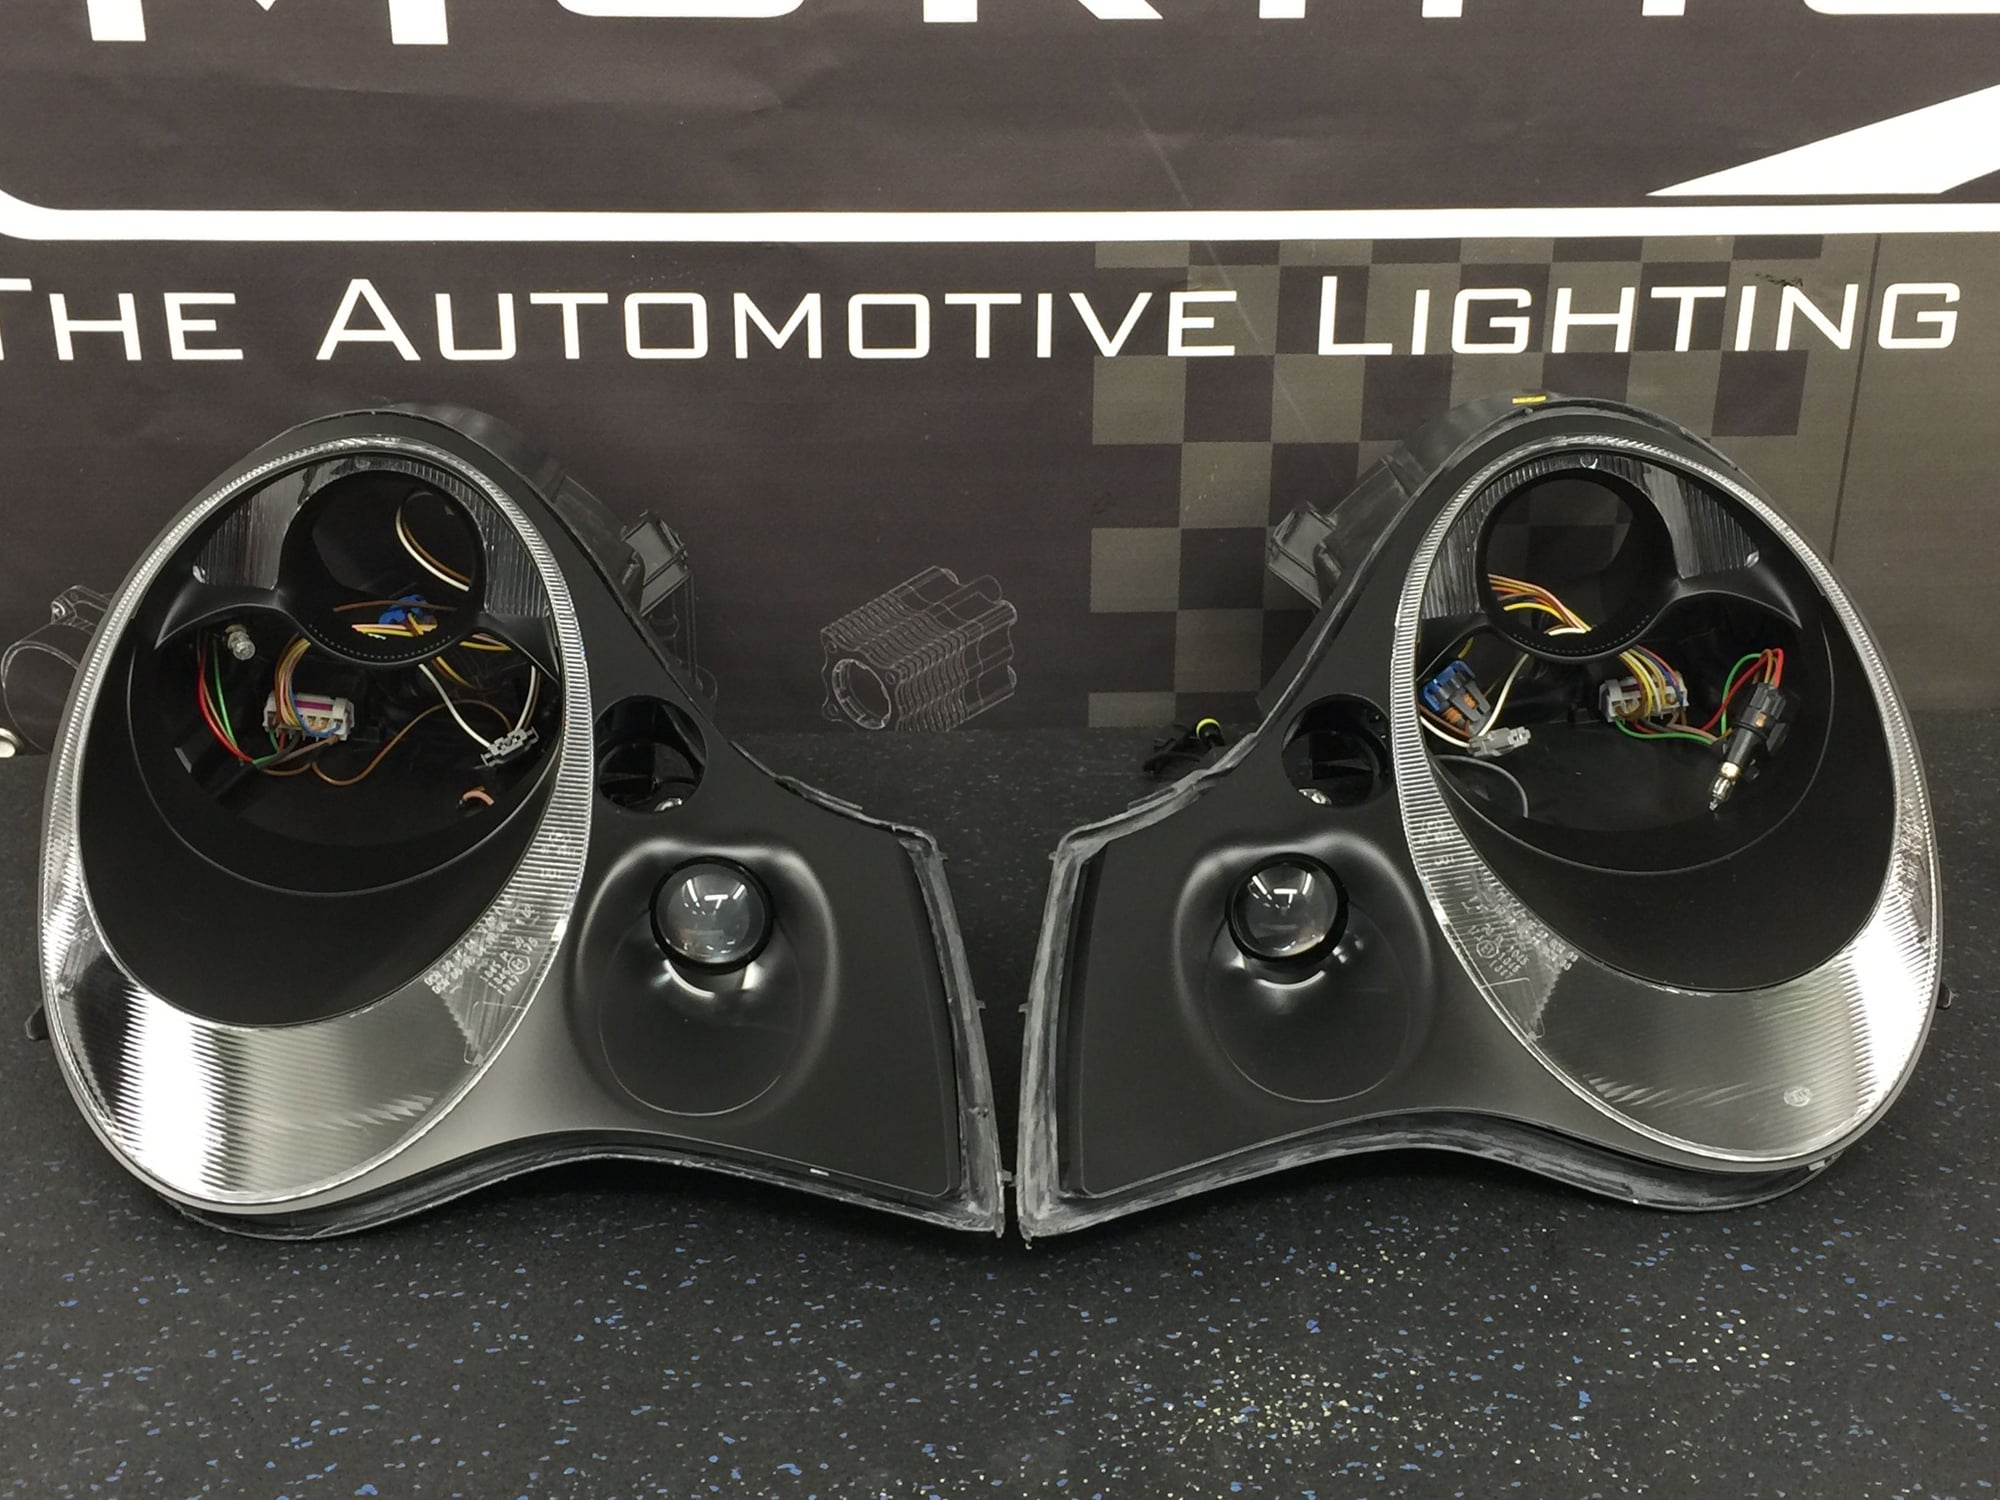
Retrofitting these mini HID projectors has been the biggest hurdle of this project and one of the more challenging retrofits I have done due to the REALLY tight dimensions I am working with. With the bezel in place there is only 1-2mm of clearance between the projector lens and the shroud, on the other end the HID bulb protrudes rearward and actually sticks past the housing so the stock cap can't be used. This is all compounded with my goals to always make headlights function in an oem fashion and in this case that means retaining the manual vertical adjustment of the stock projector. I am happy to report I have had success but it took many hours of grinding, test fitting, measuring, readjusting, testing fitting, in repetitive cycles.
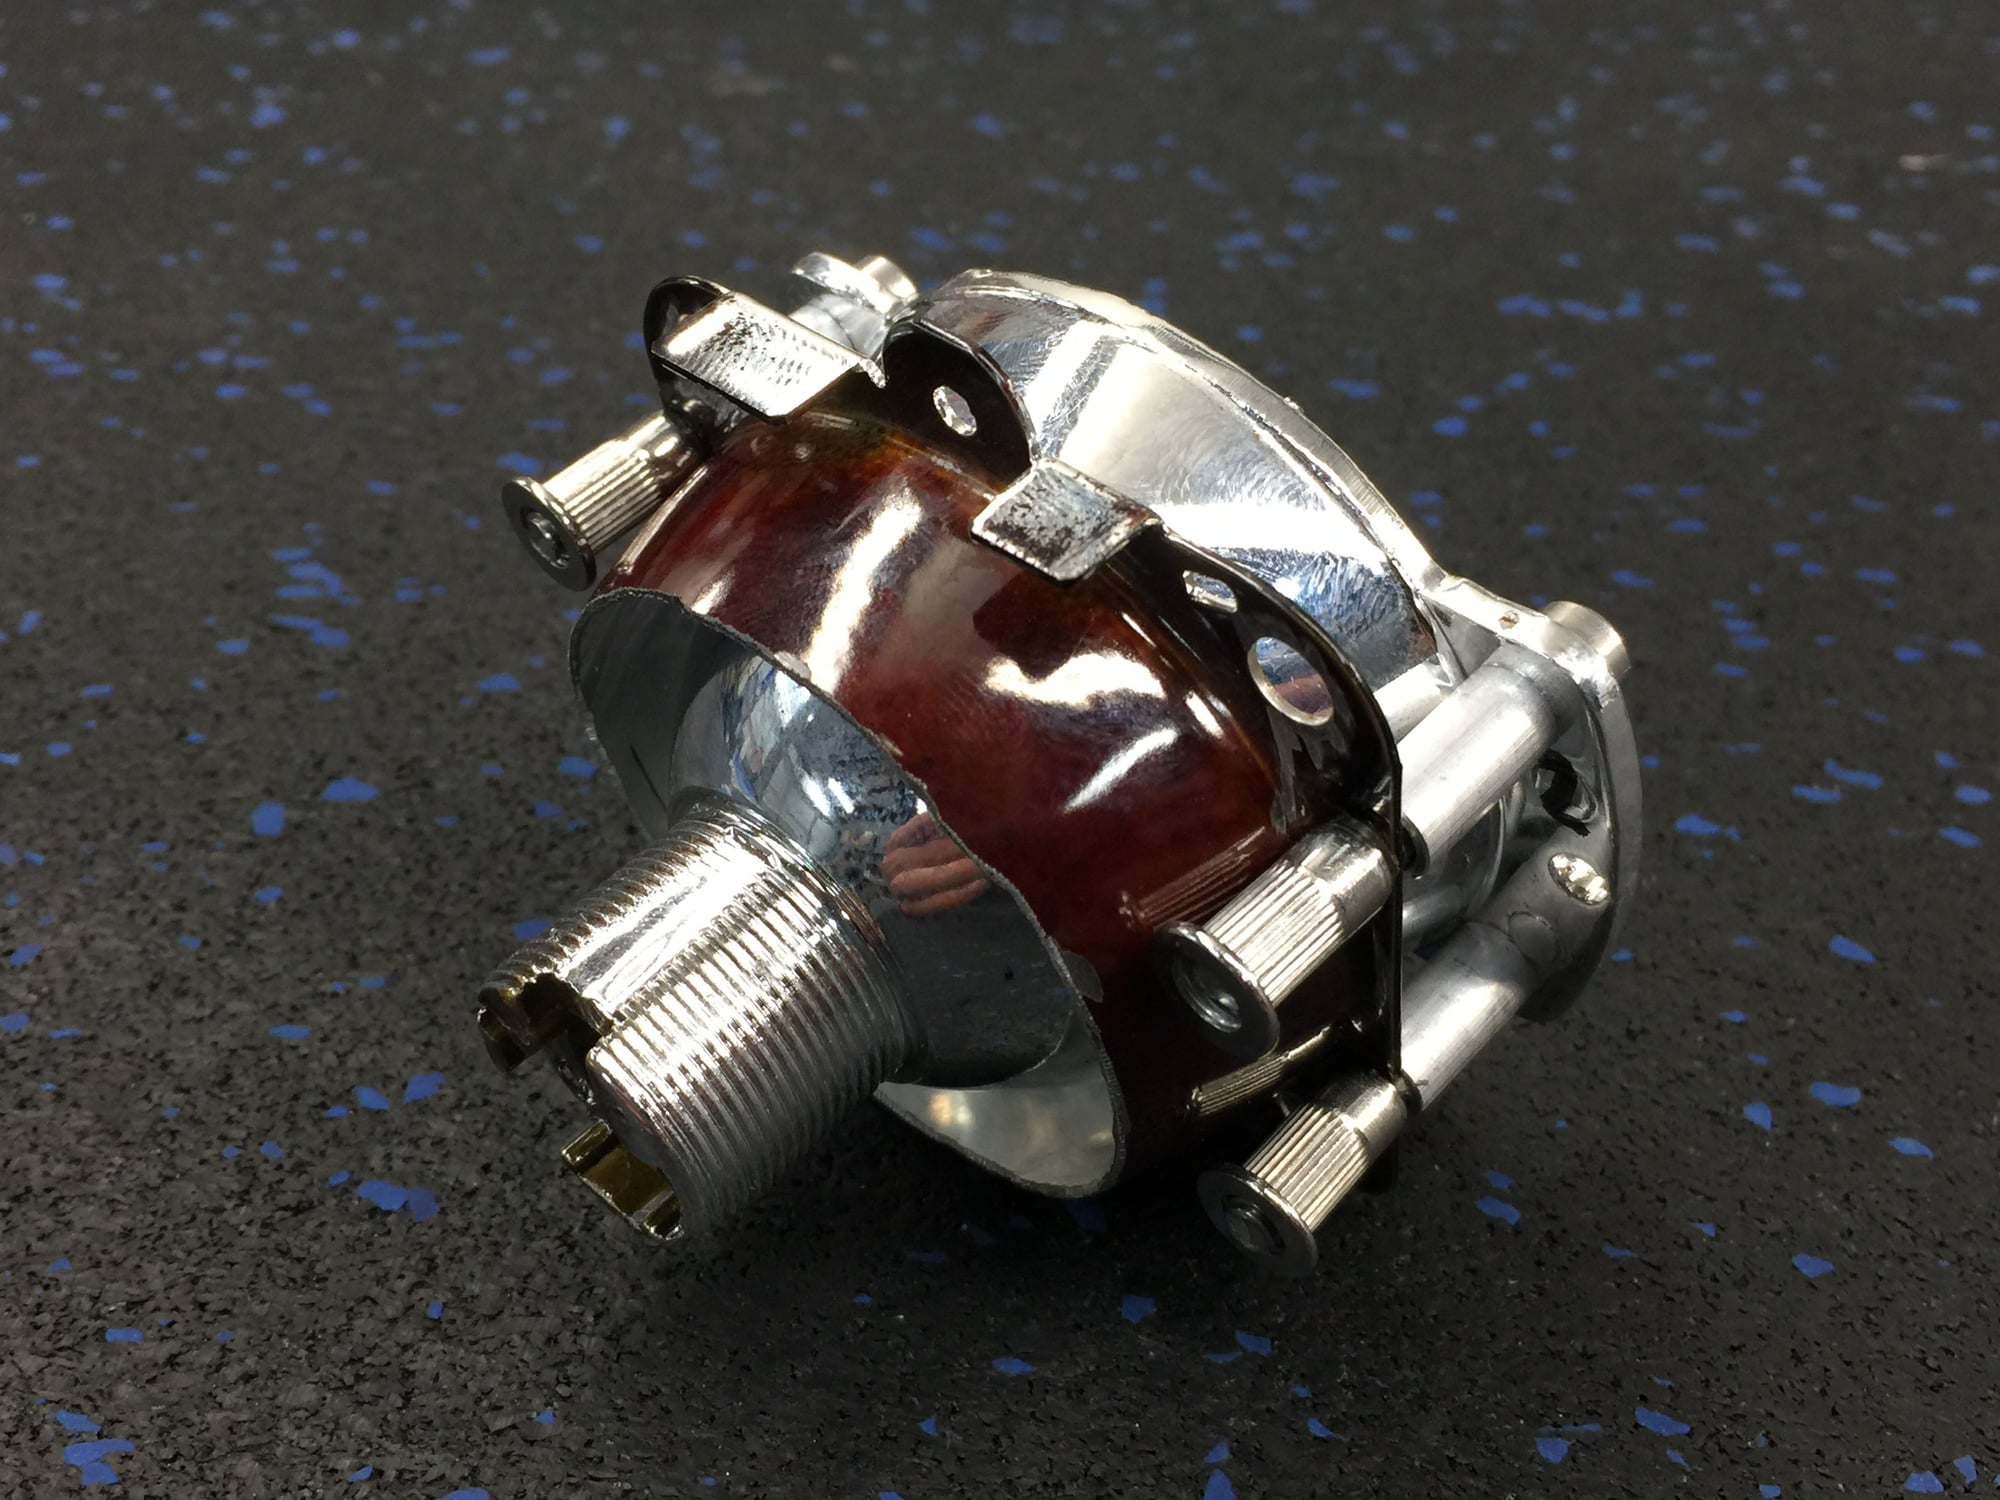
I revised the mounting solution for the projector from fixed spacers to nuts and red lock tight which allows fine tuning of the projector adjustment. I noticed that with the fixed spacers, even though they were all exactly the same size the projector wasn't sitting flat. With these individual nuts I am able to flatten the vertical aim and also adjust the toe-in, think of it as an alignment on your car but for light output.
Since the stock bi-xenon shields were removed I built some custom shields form aluminum flashing.
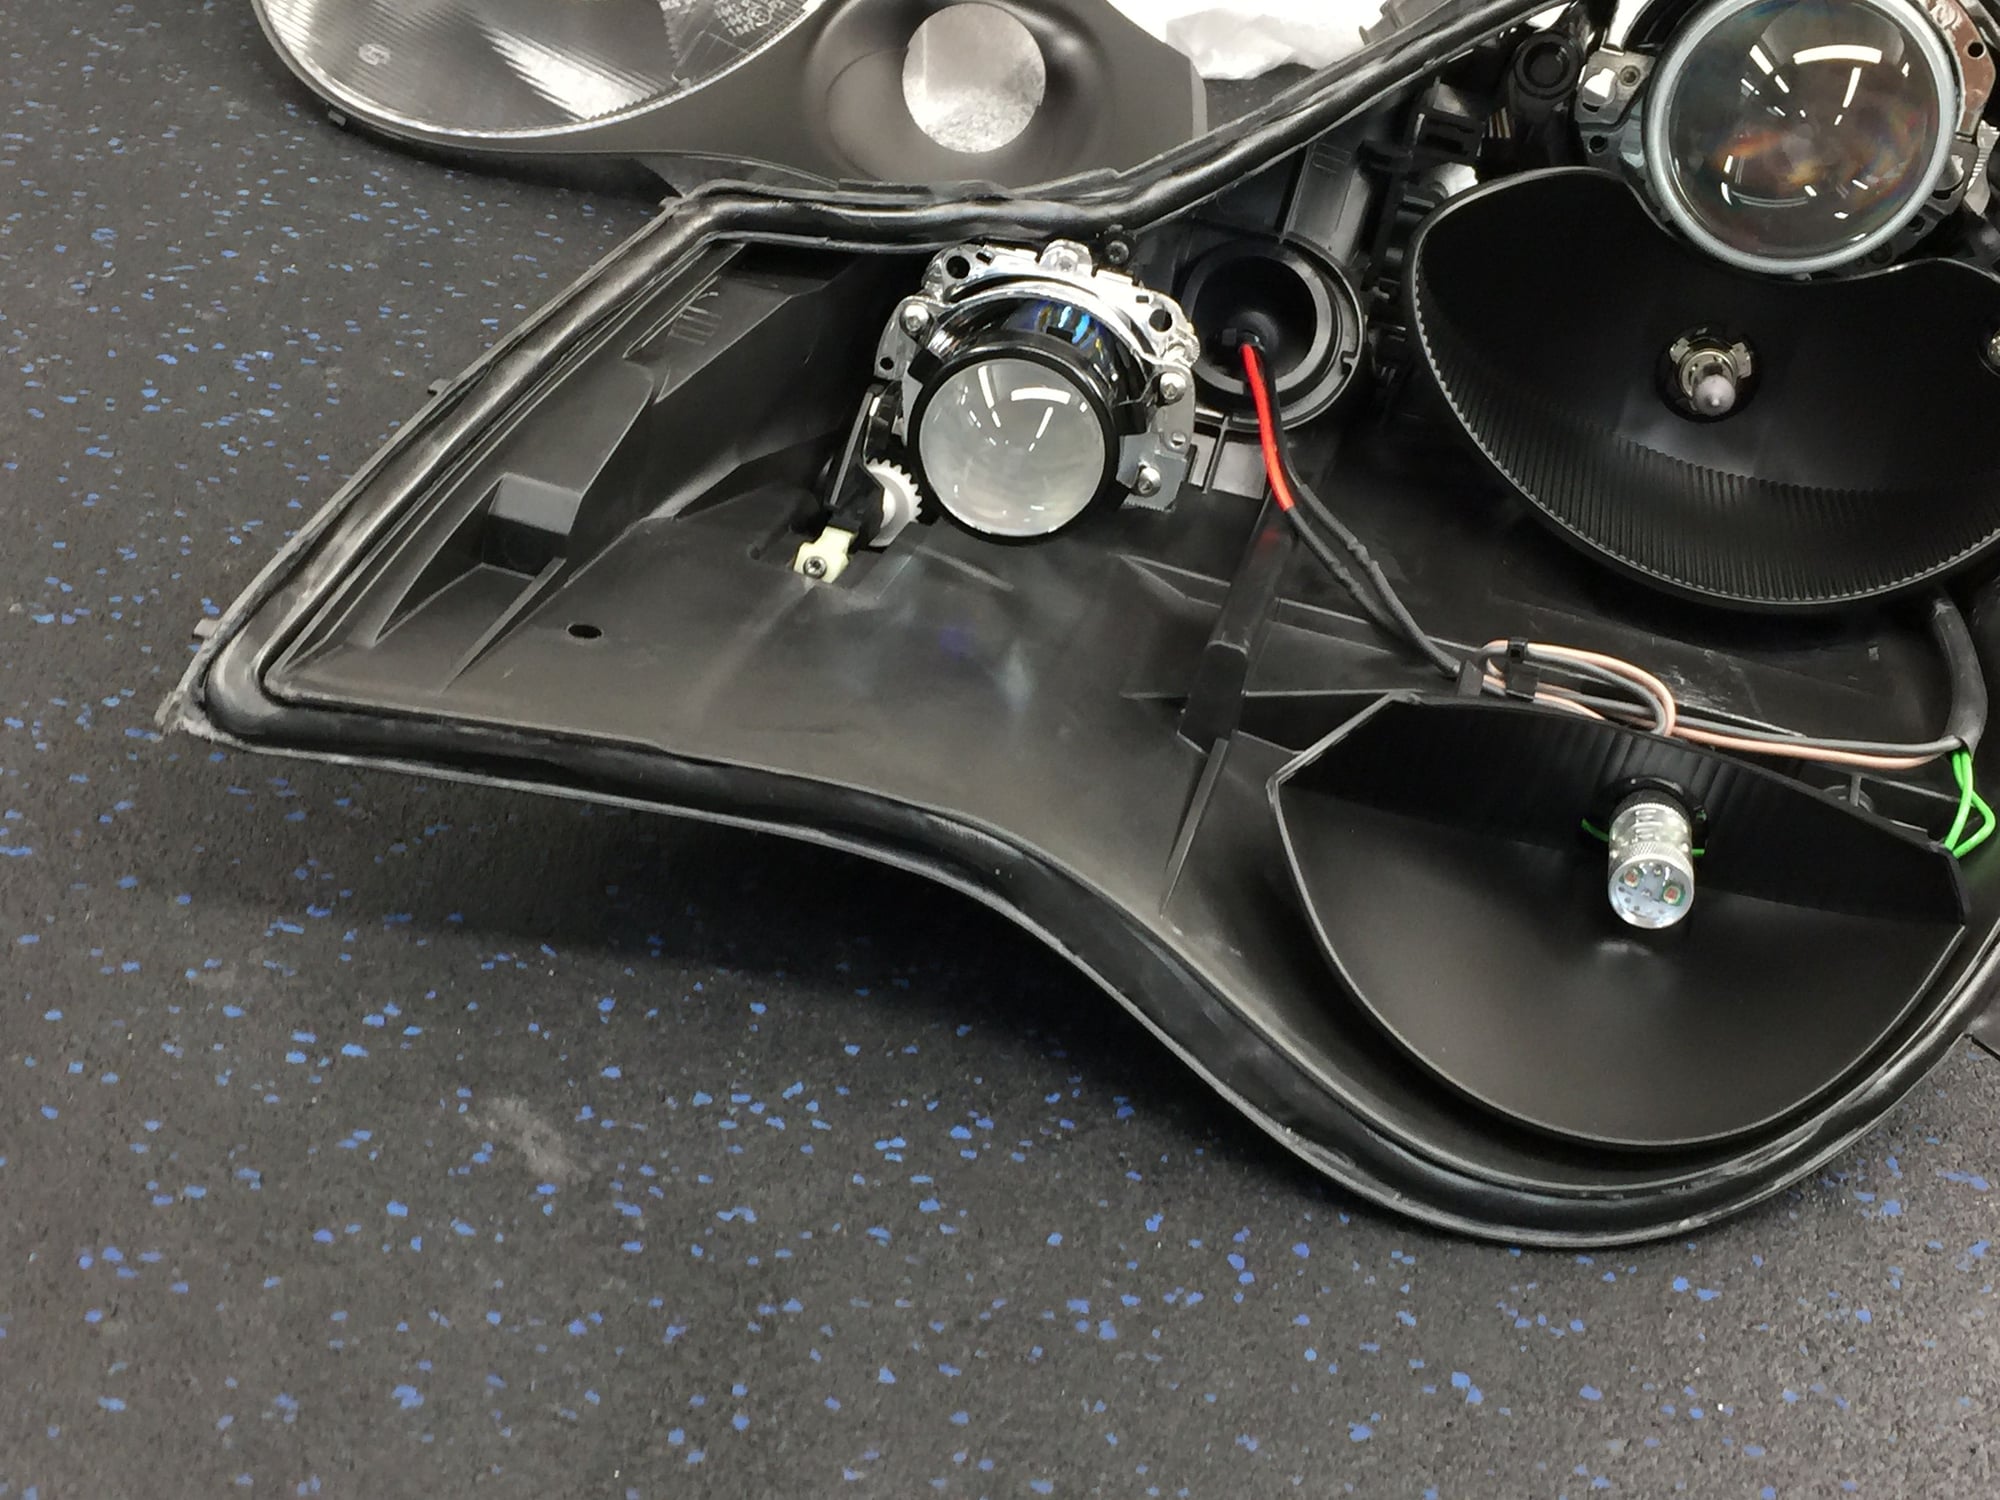
Since the oem cap wouldn't fit I had to make a hybrid cap with what I had lying around, it turned out great. Mini victories like this are very satisfying with retrofitting #problemsolving
You can see the bulb protruding from the housing
The cap does a great job not only sealing the housing but also it allows enough clearance for FULL range of adjustment of the projector.
Here you can see just how tight the clearance is between the bezel, tight but it fits!
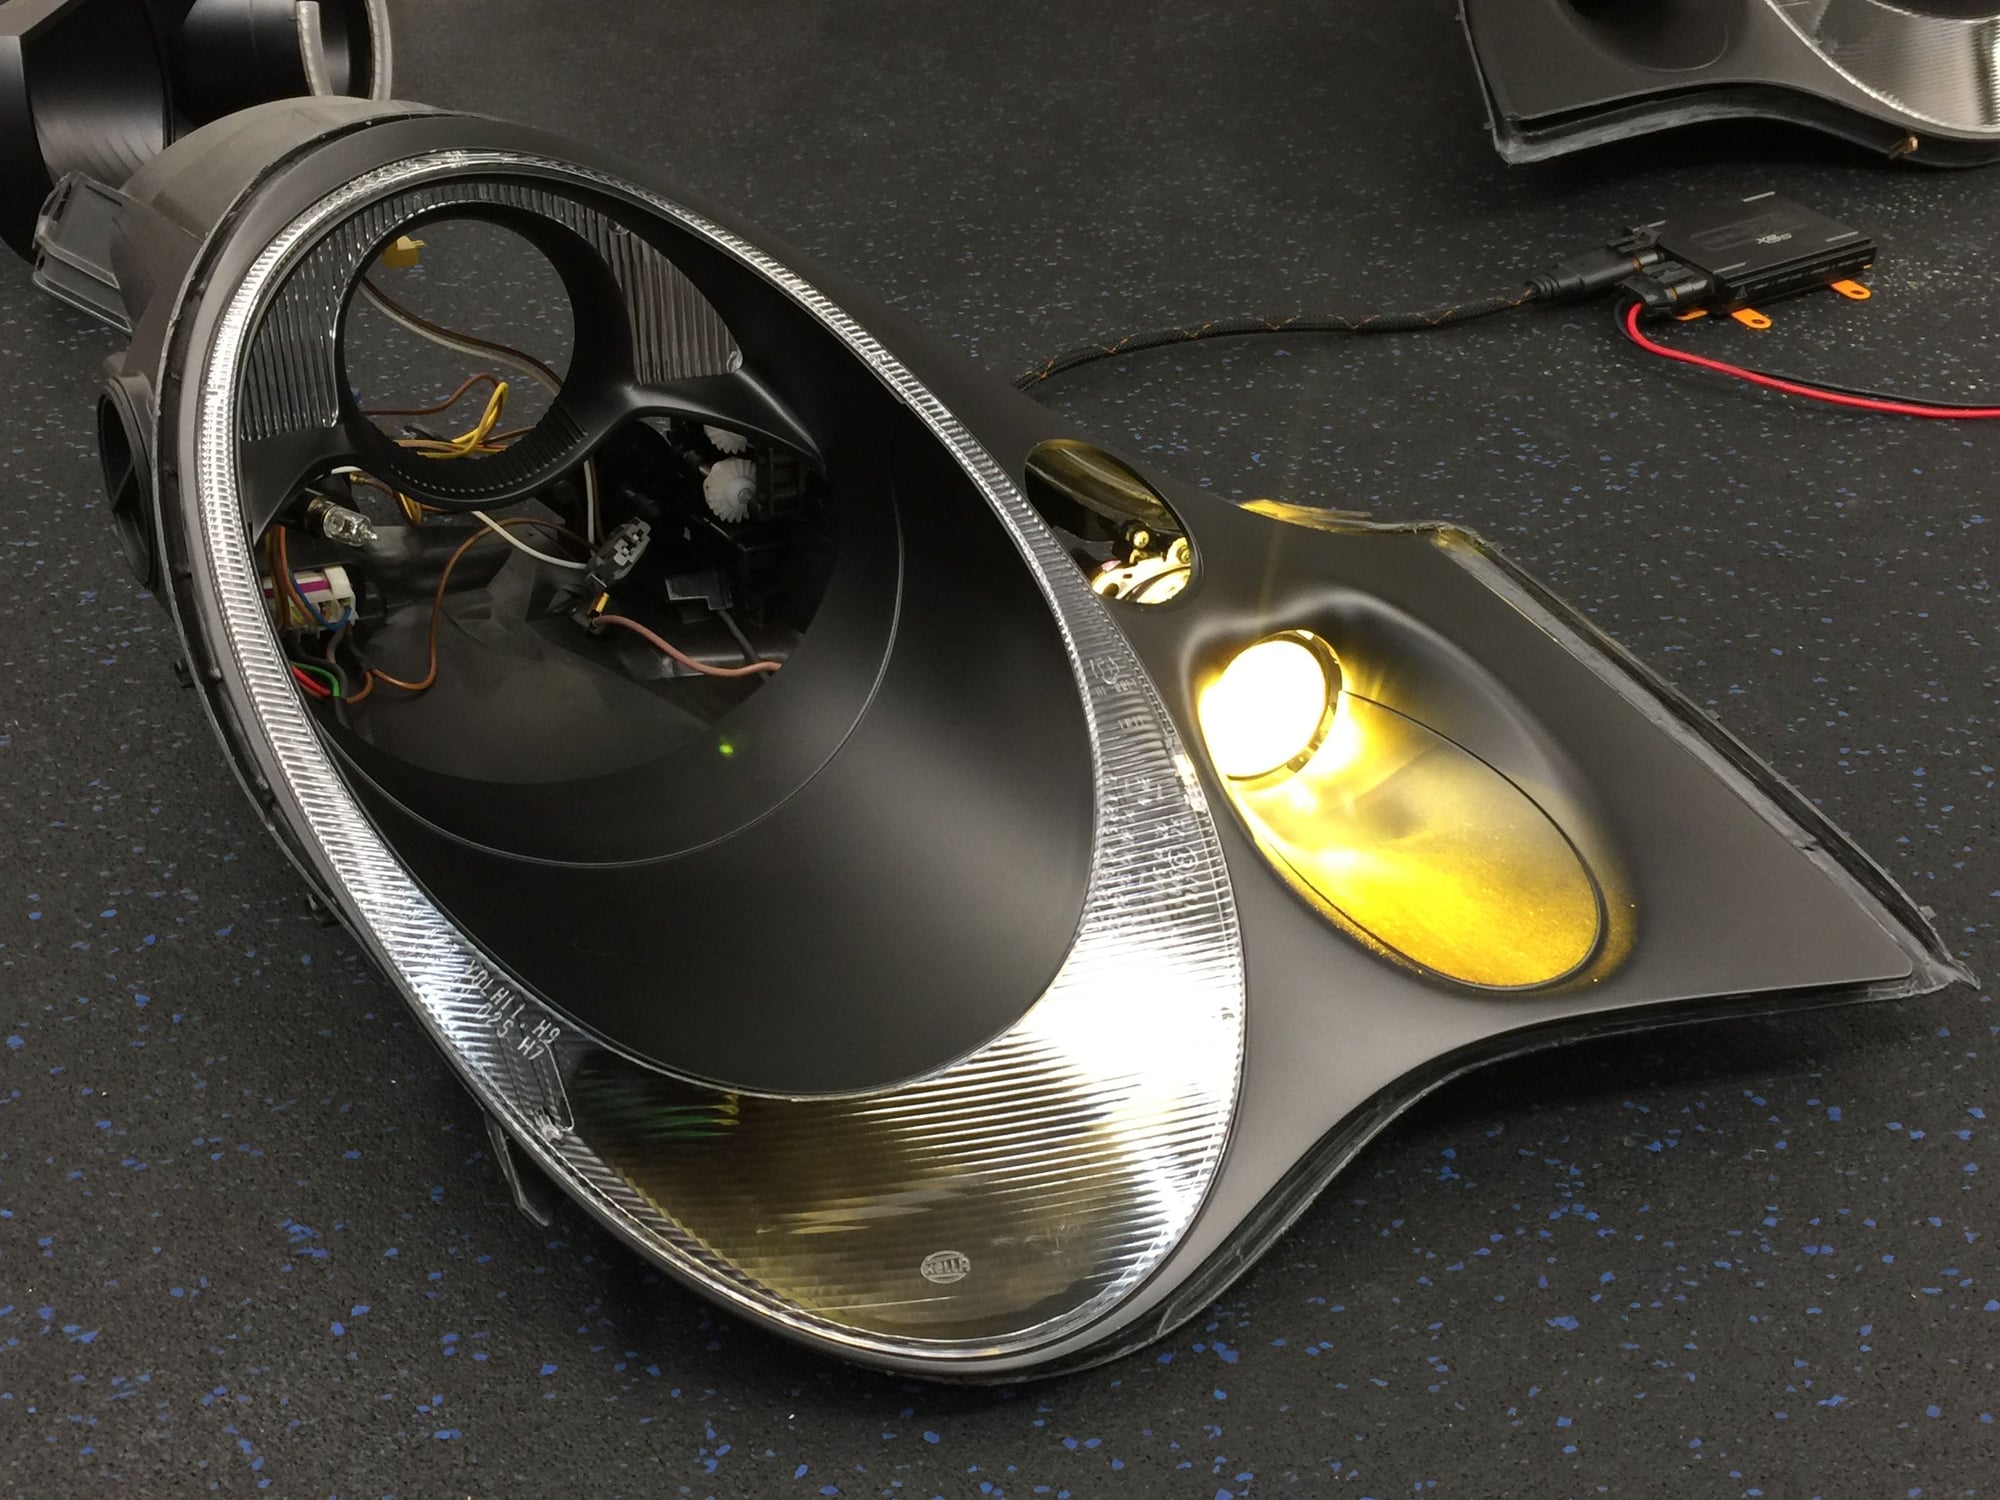
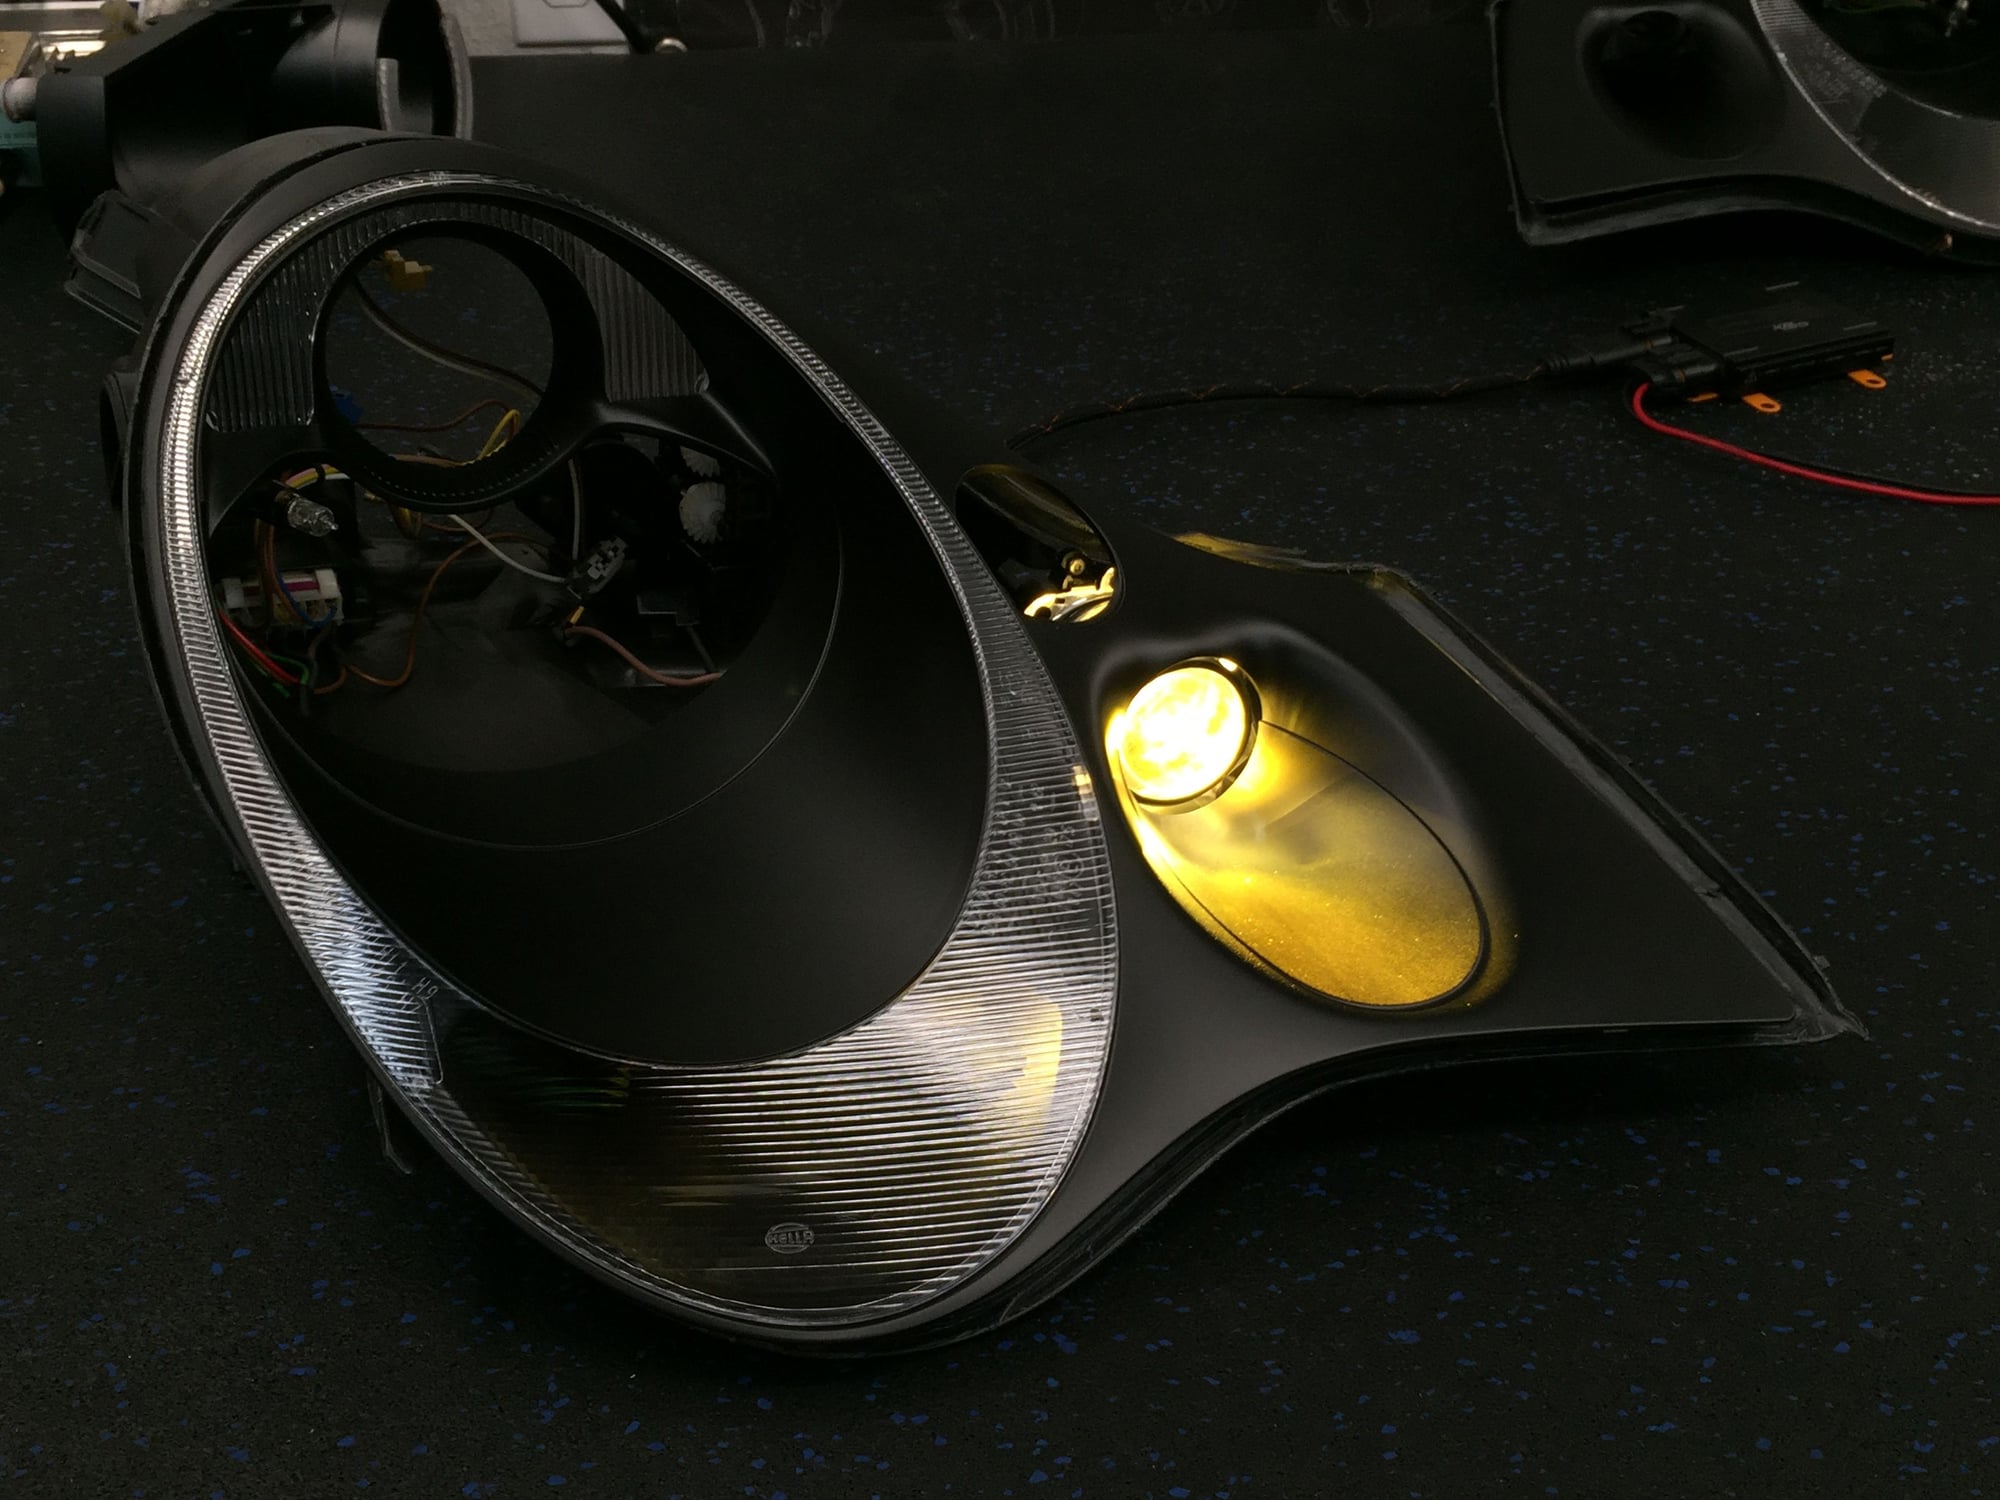
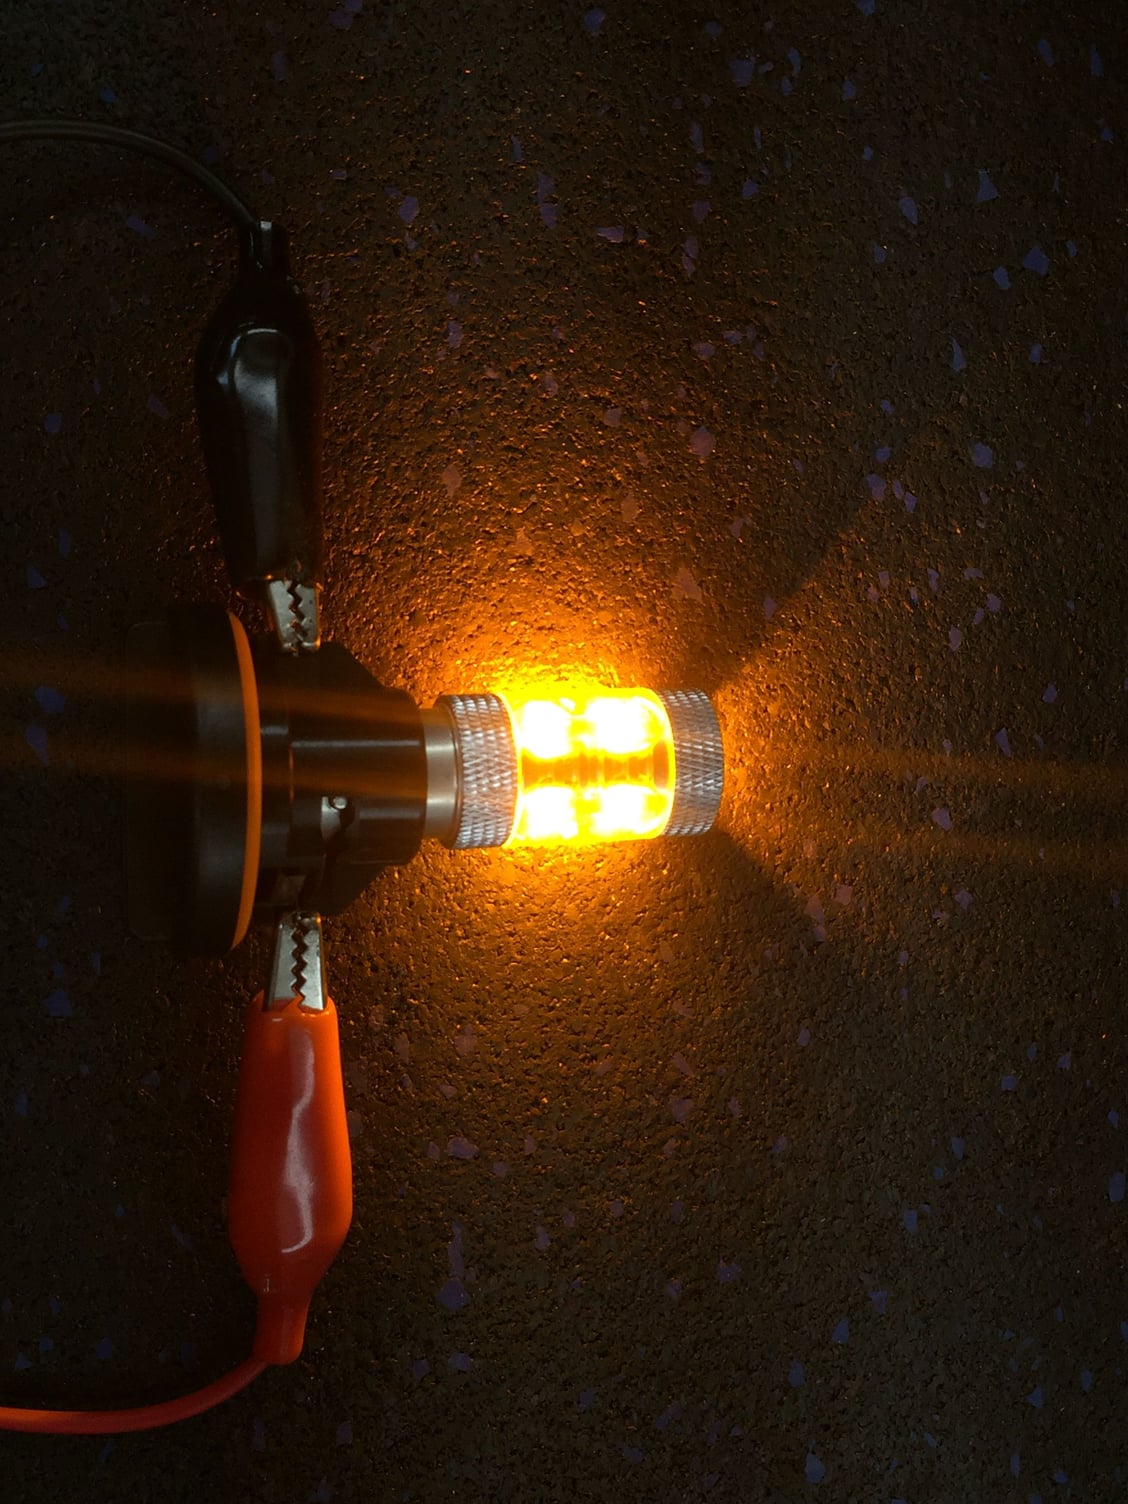
3,000k HID bulb fired up
Exposure dropped
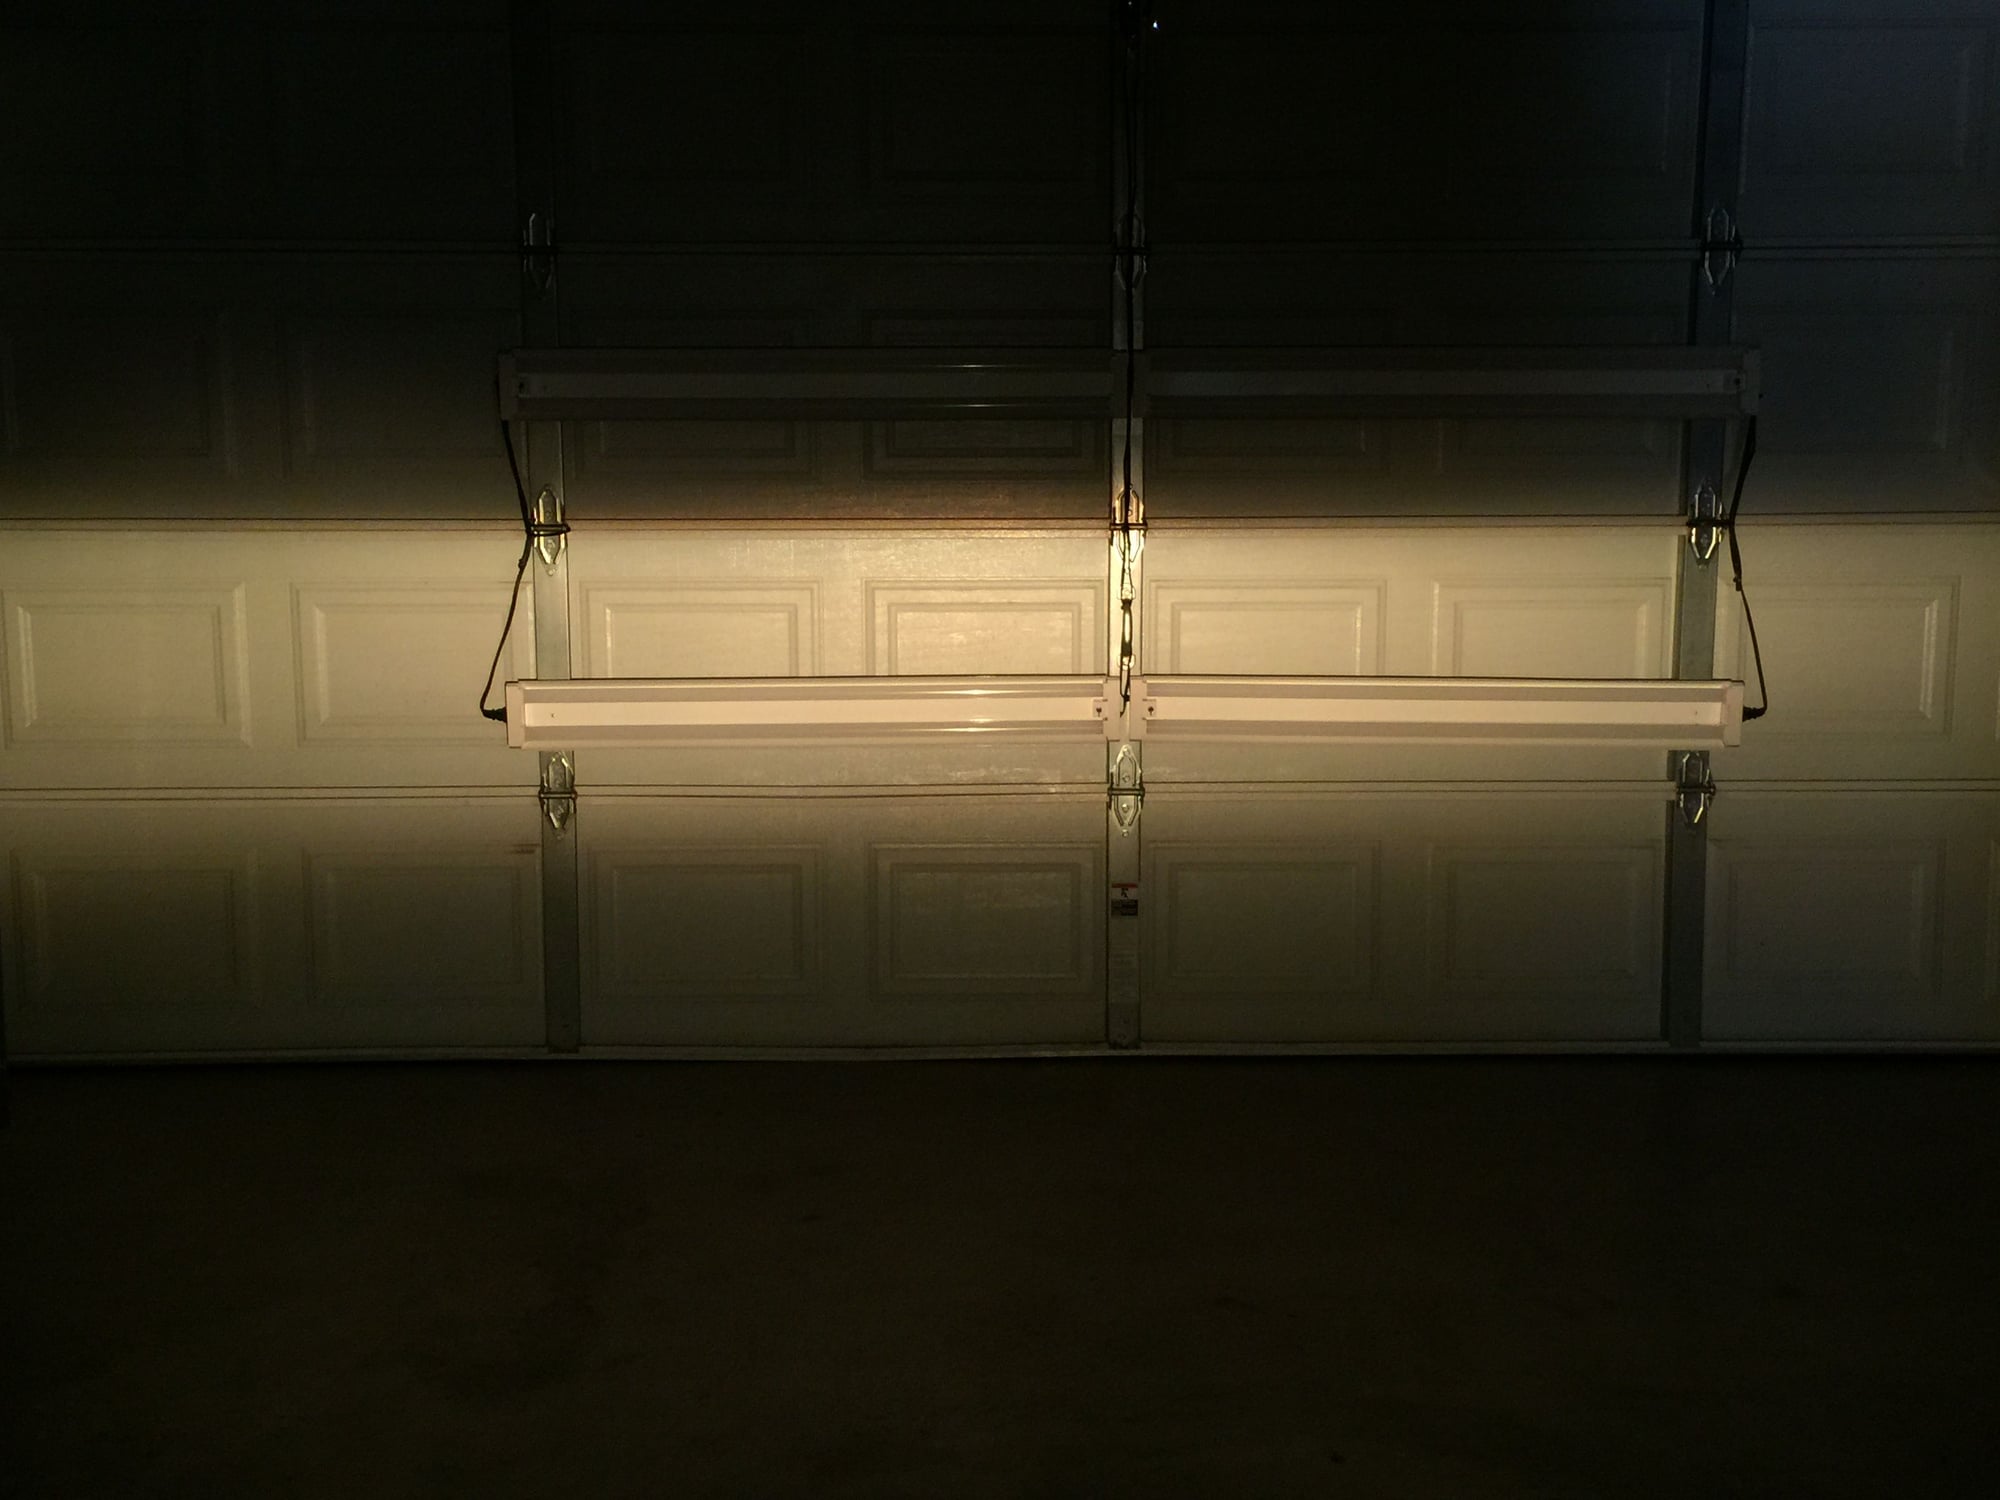
Here is an output pic of the stock fog projector with a "yellow" halogen bulb. The yellow doesn't really come through.
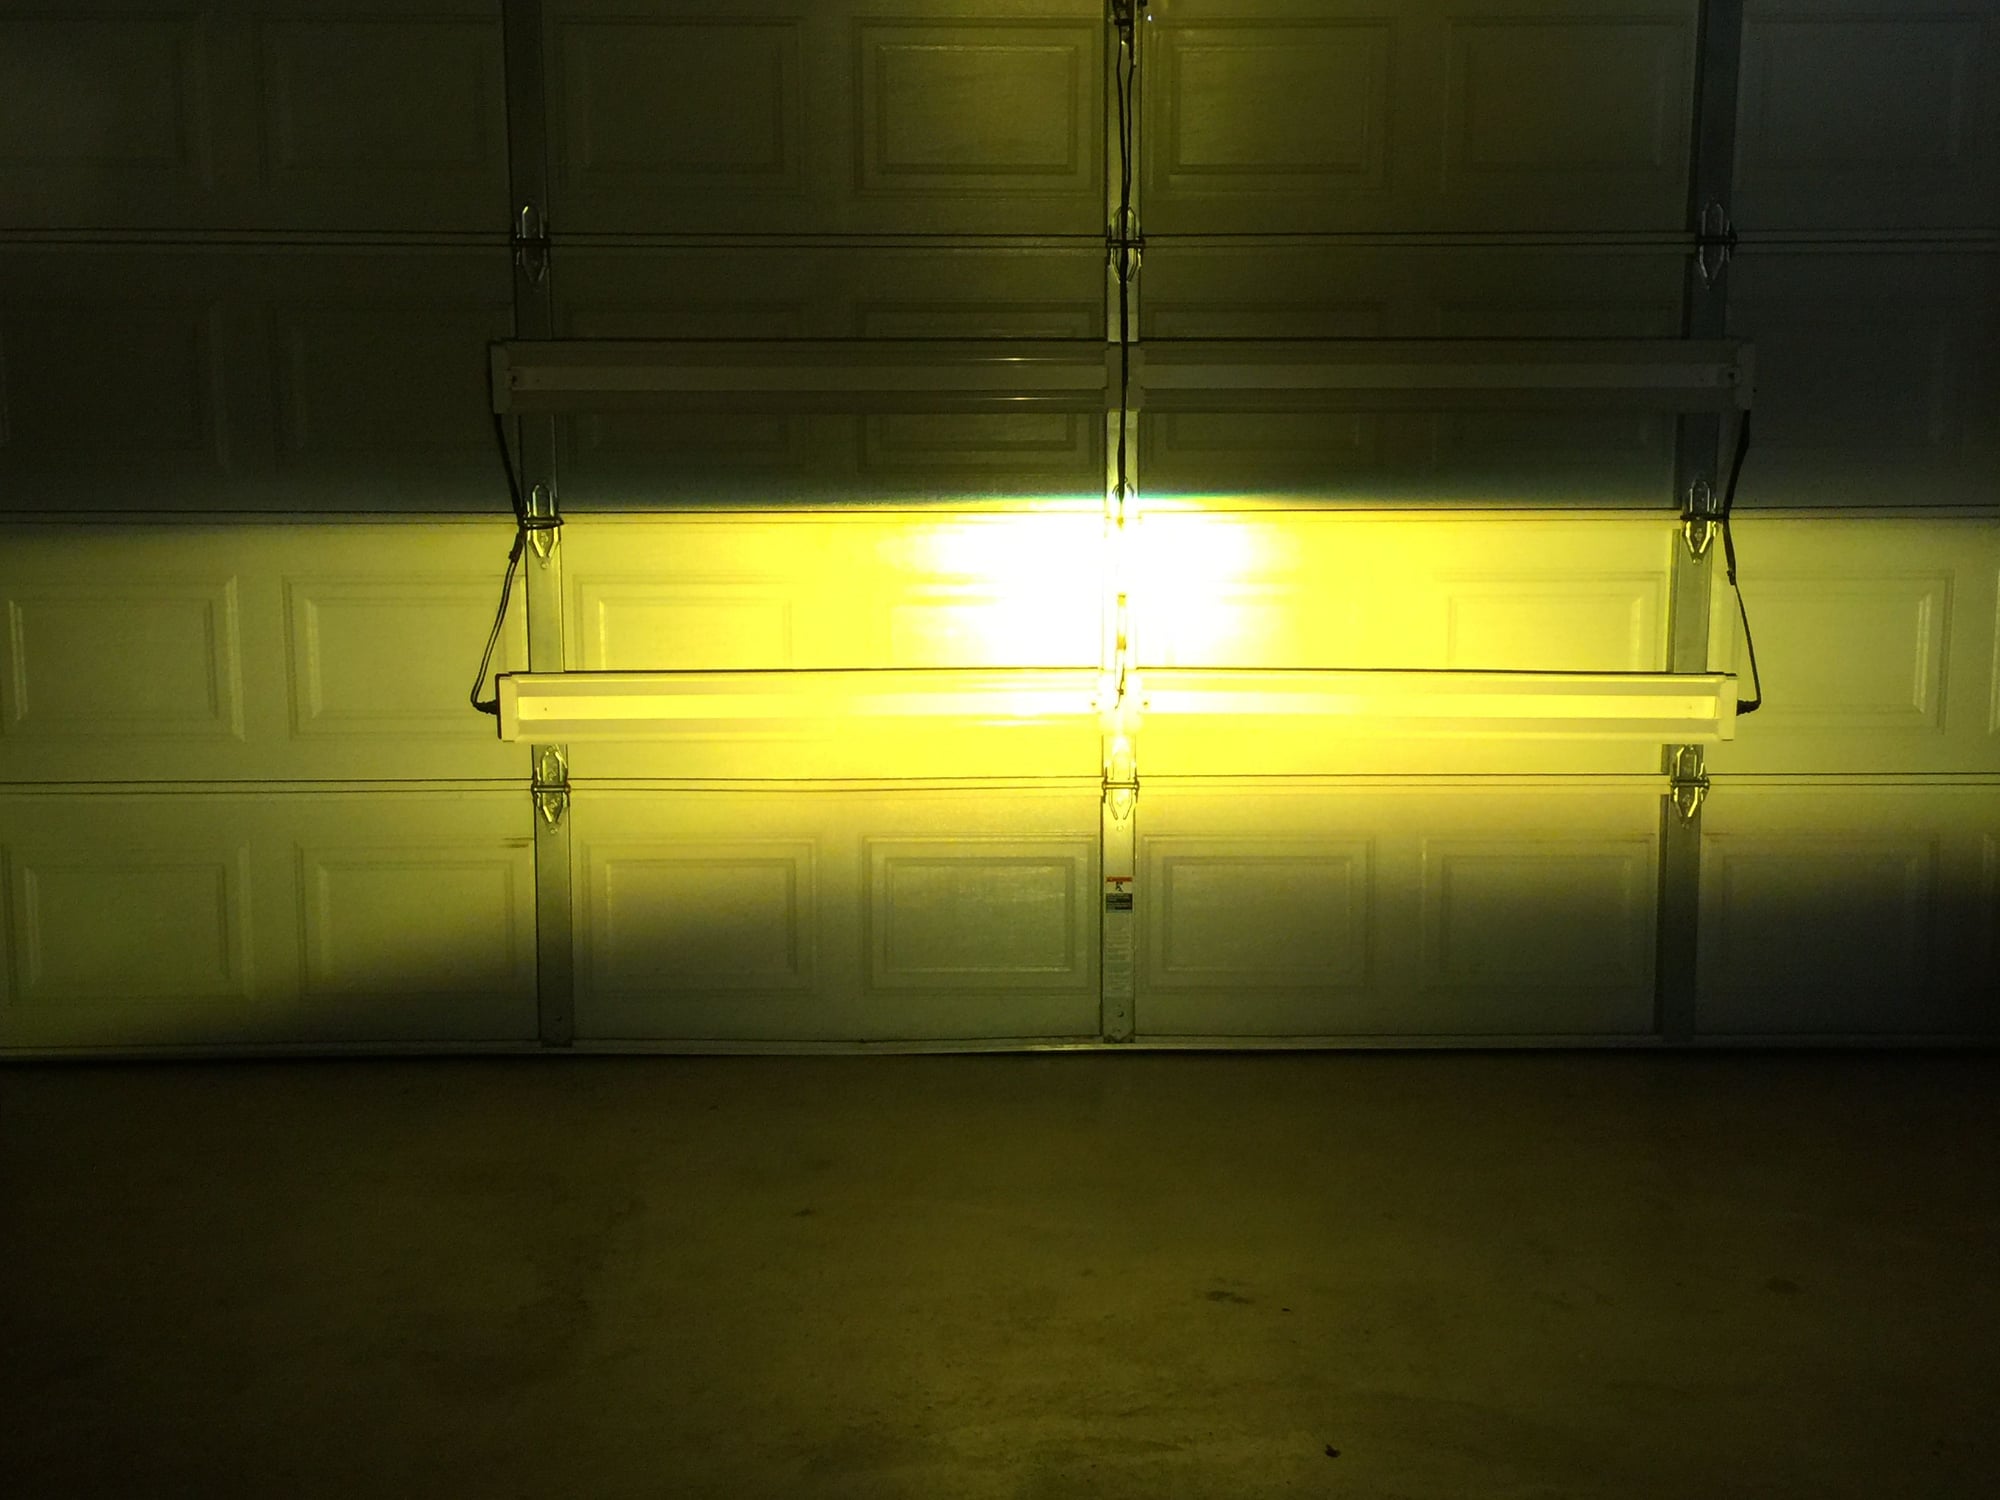
Exposure was locked between this photo and the next.
As you can see the 3,000k HID bulb is much brighter and also has a true yellow color. The bottom of the output is wavy due to the headlight trim, the halogen projector above was removed from the headlight and had nothing to potentially block the output.
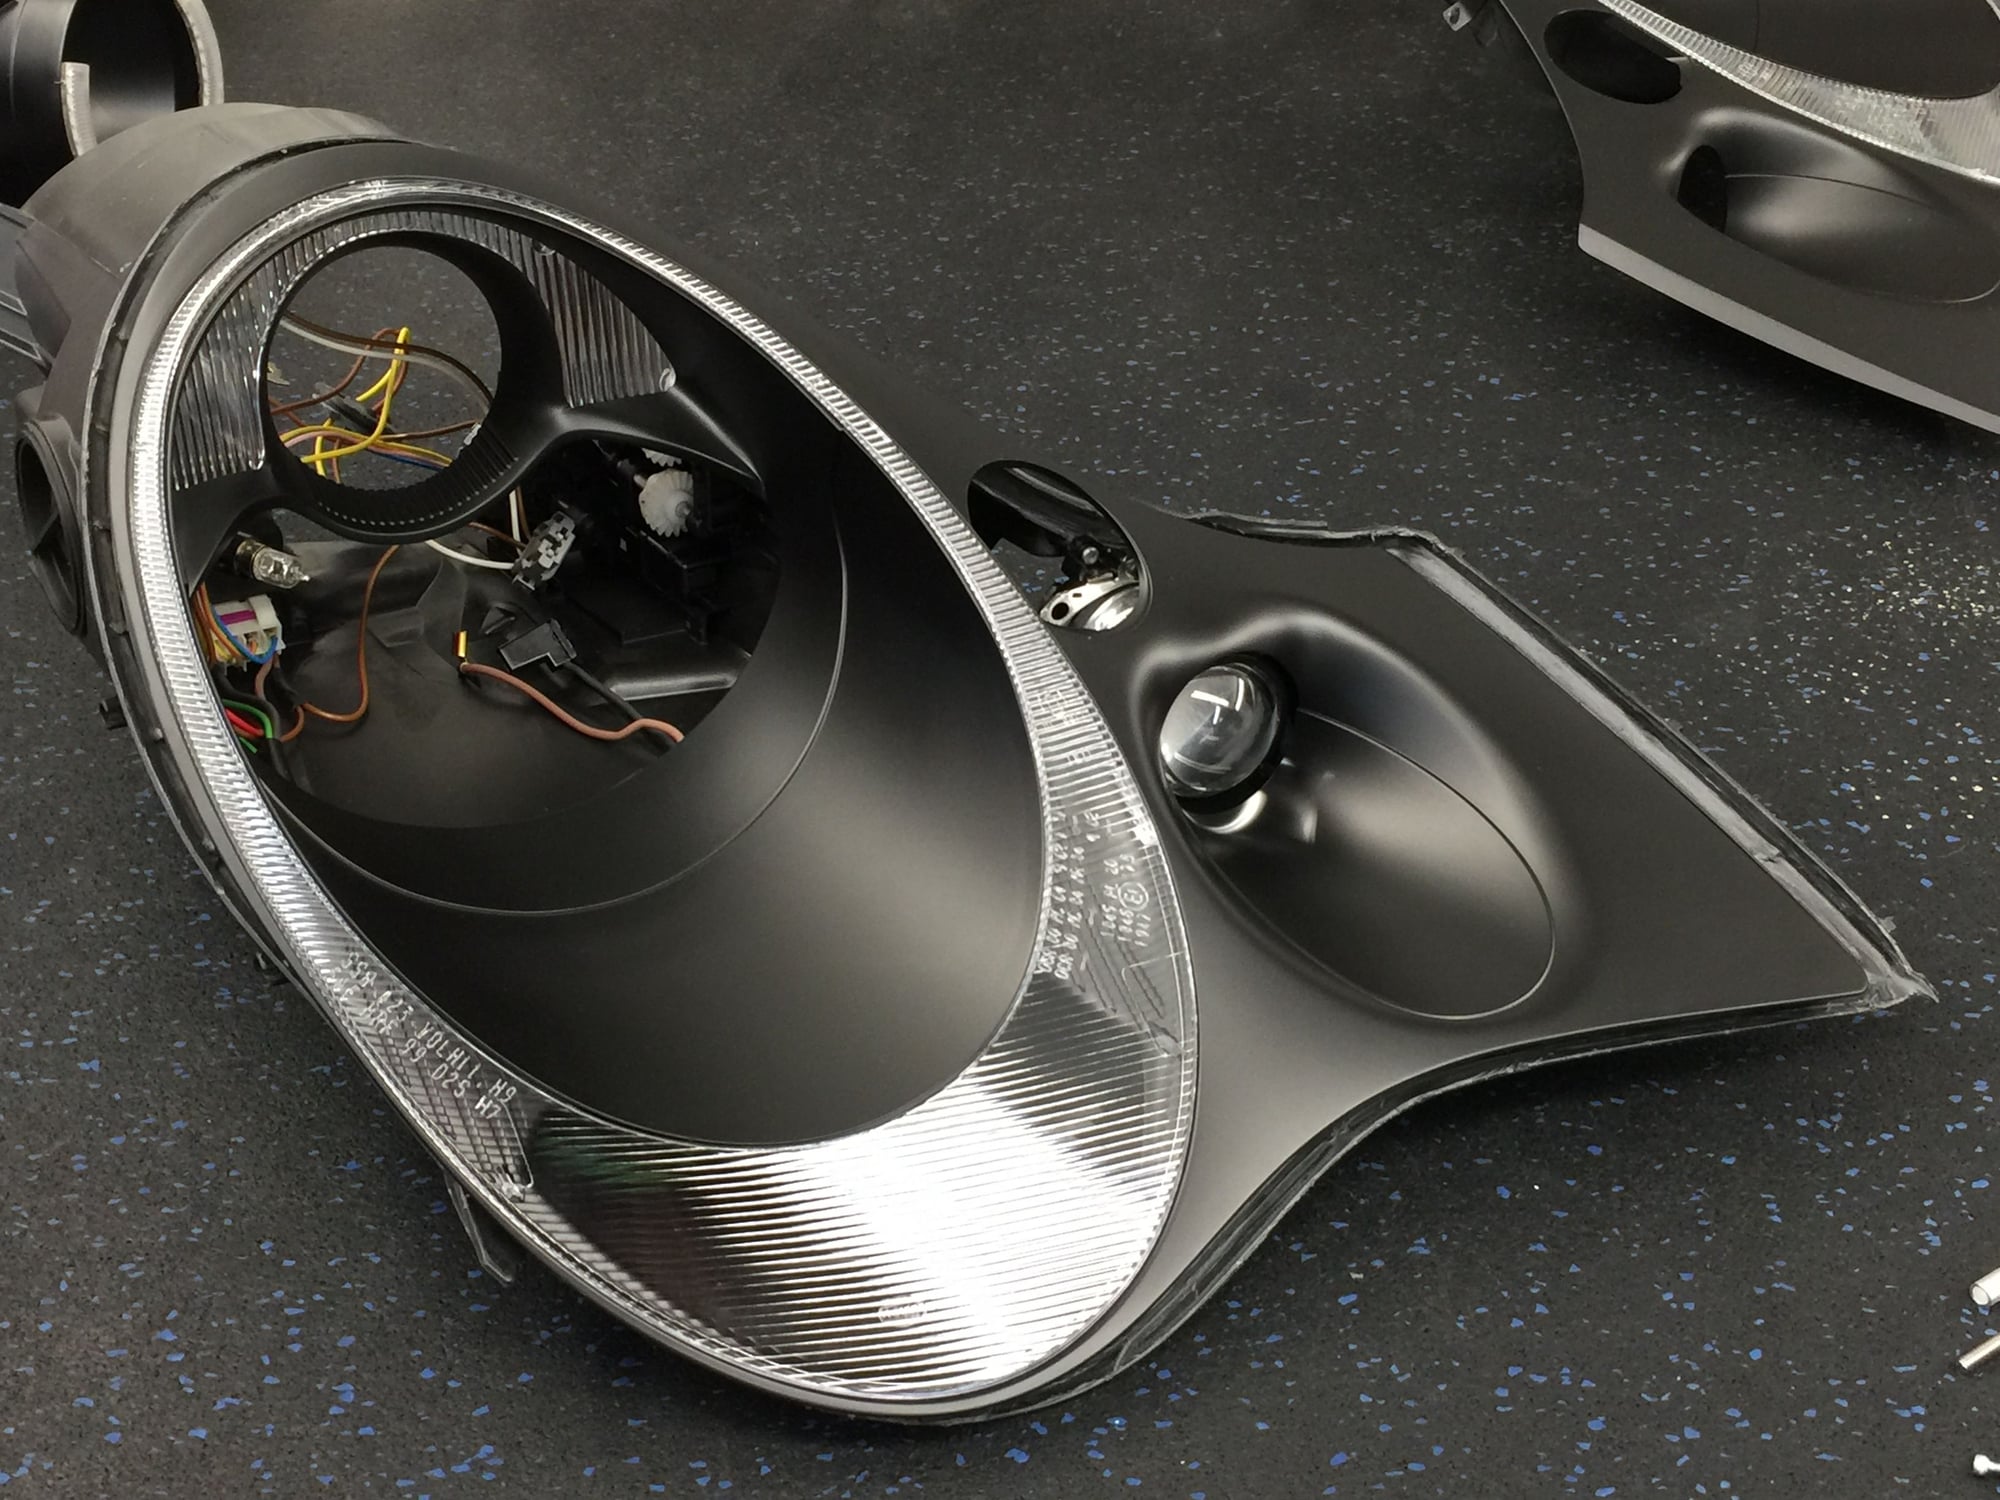
Almost there, next will be mounting the bezel plugs, then cleaning, resembling, and testing everything before sealing up the lights.
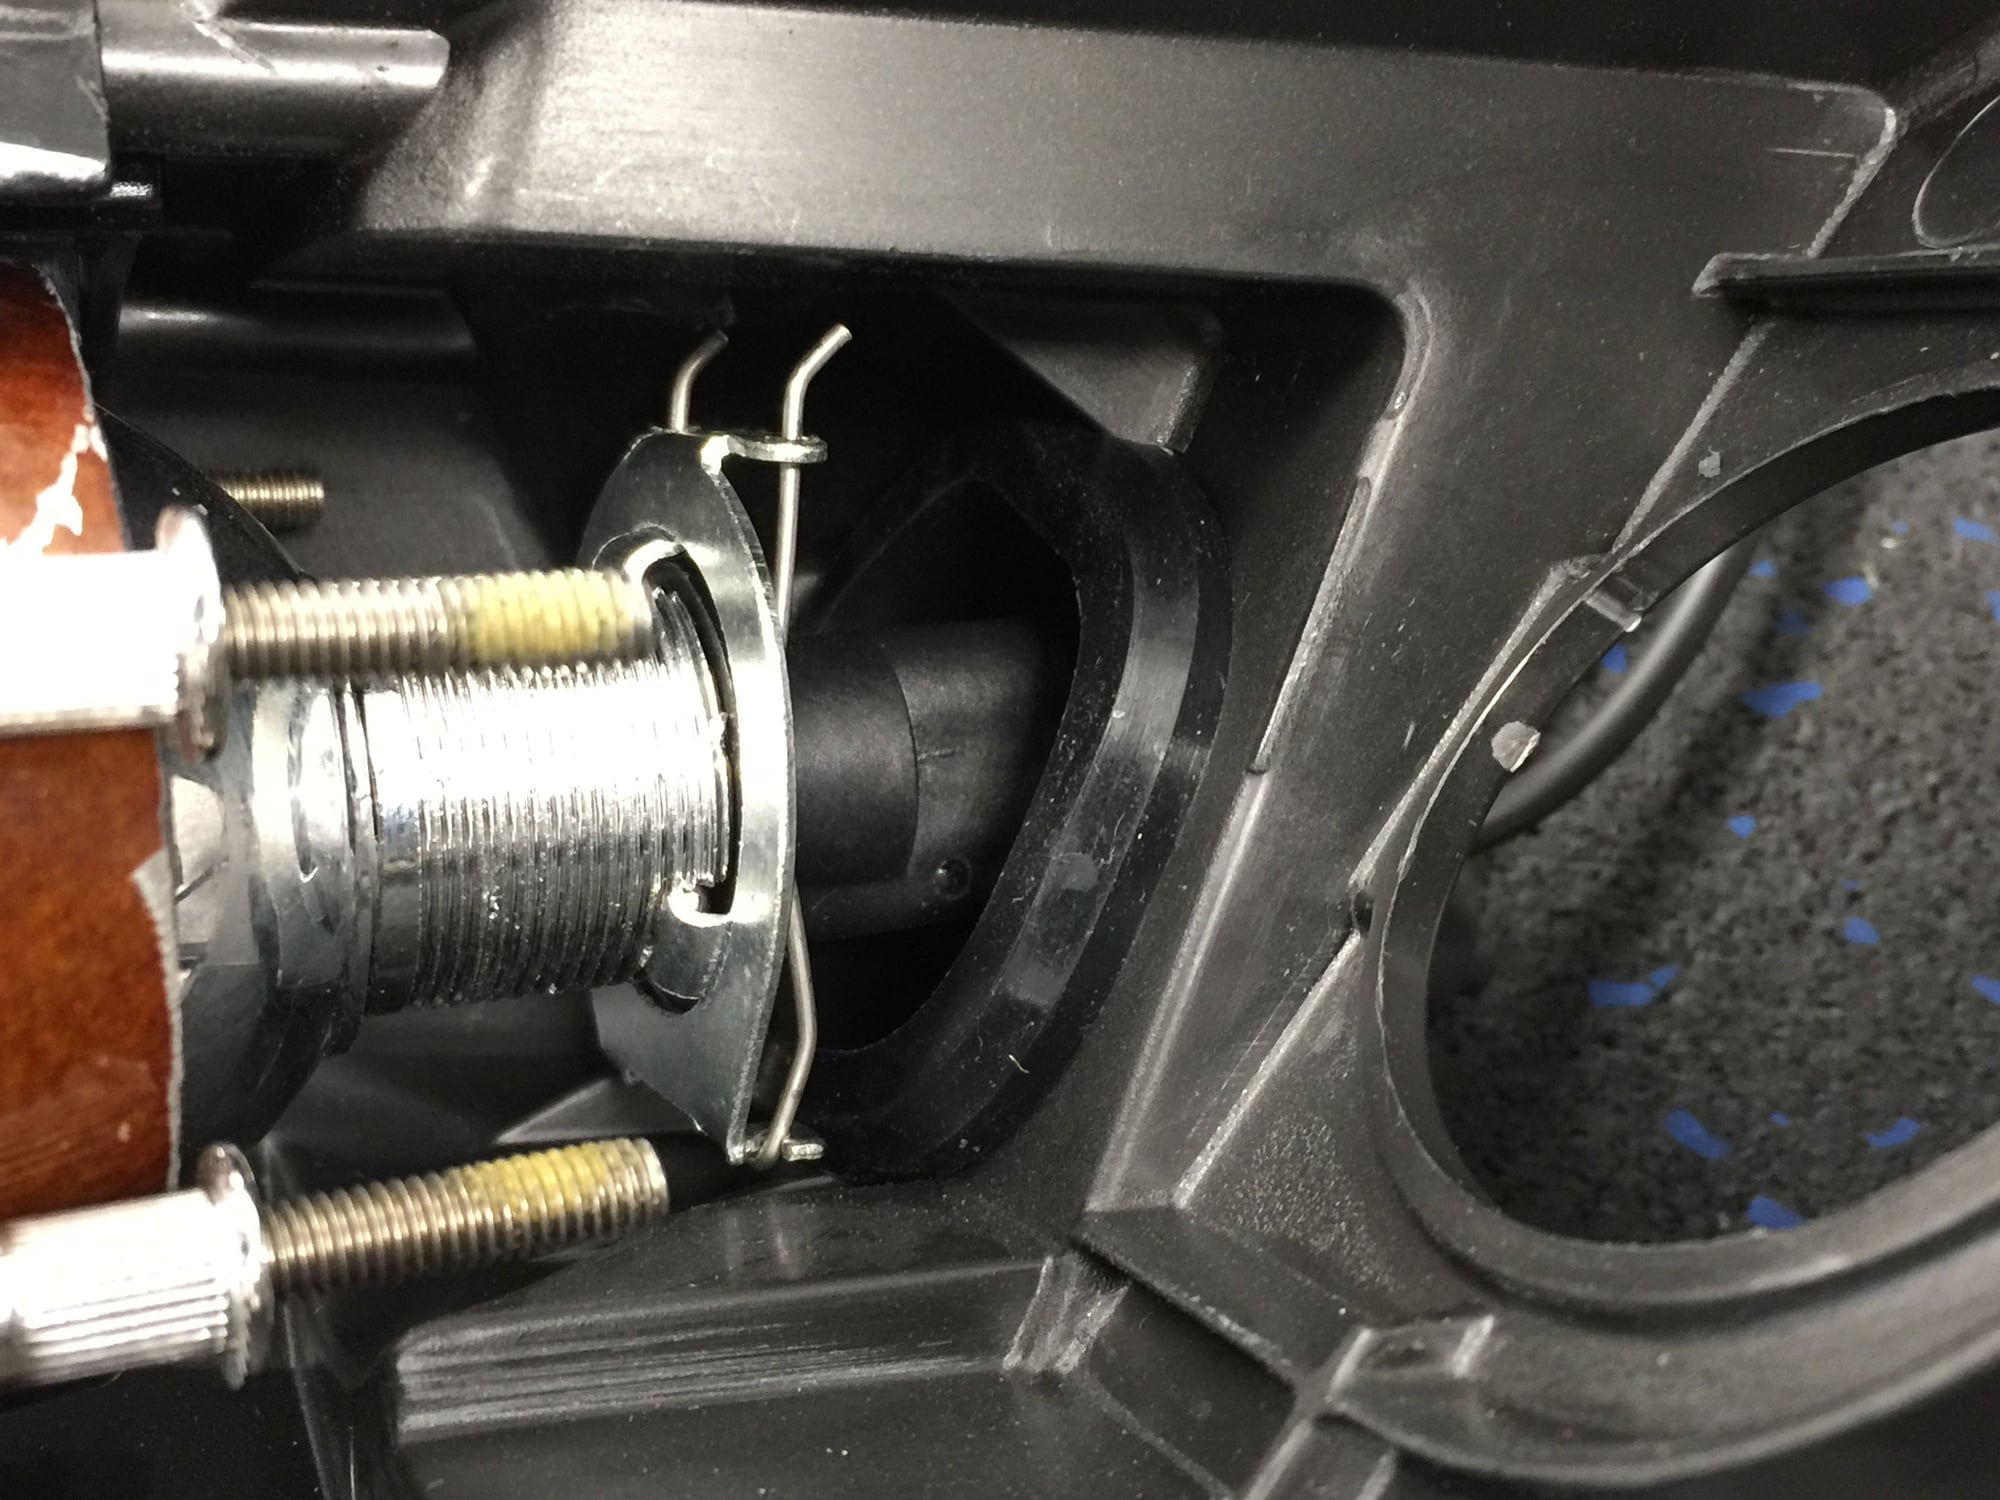
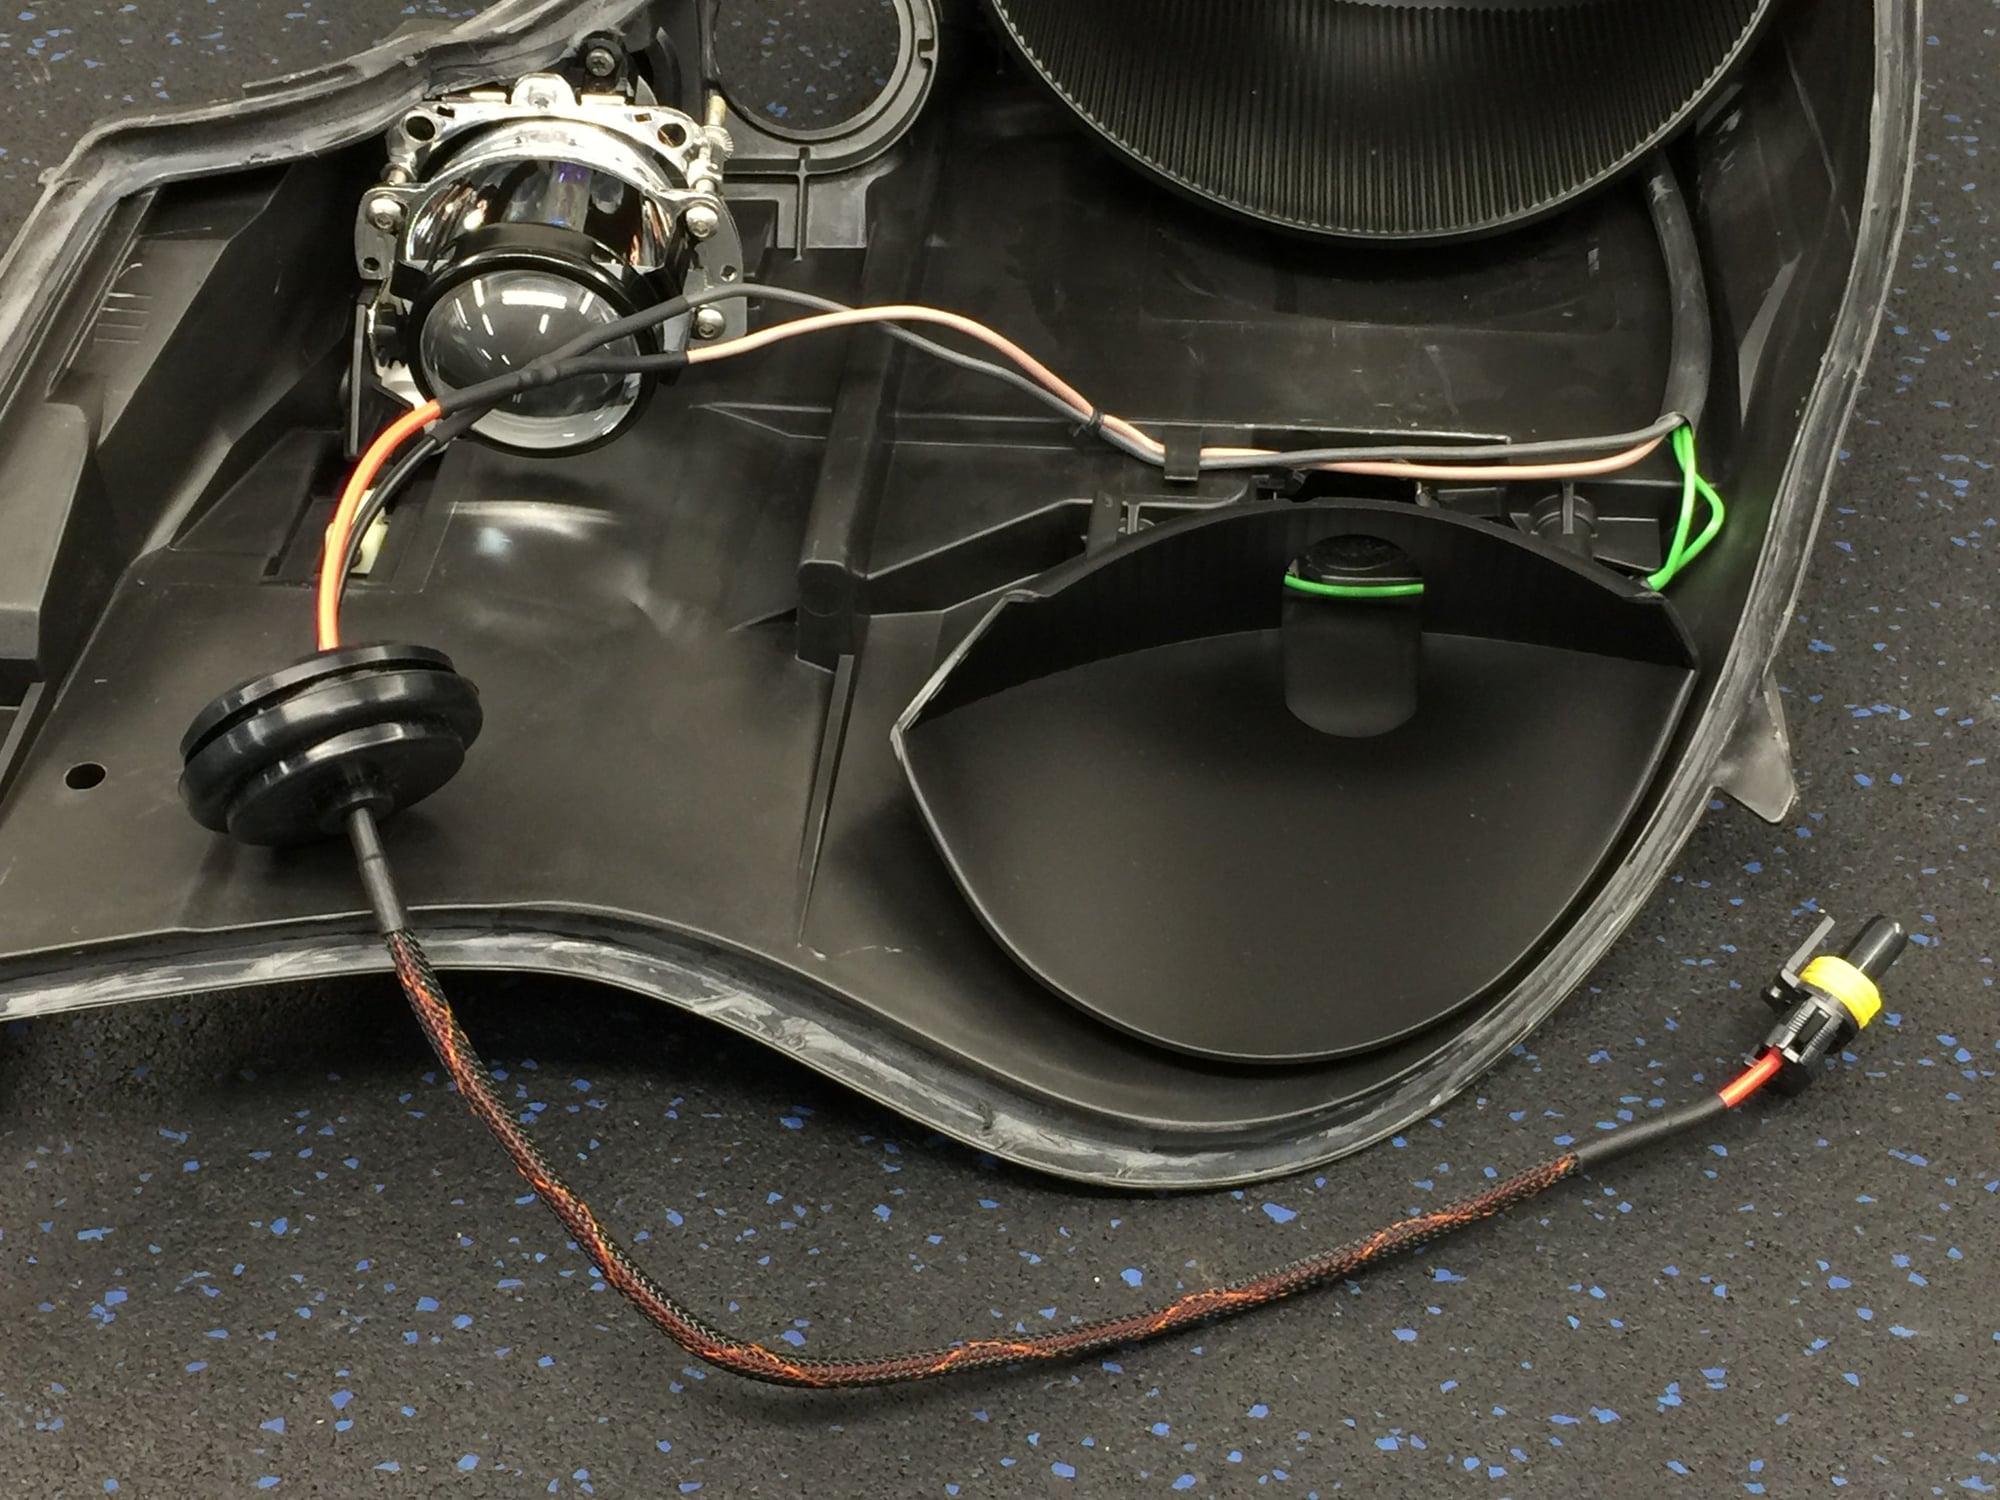
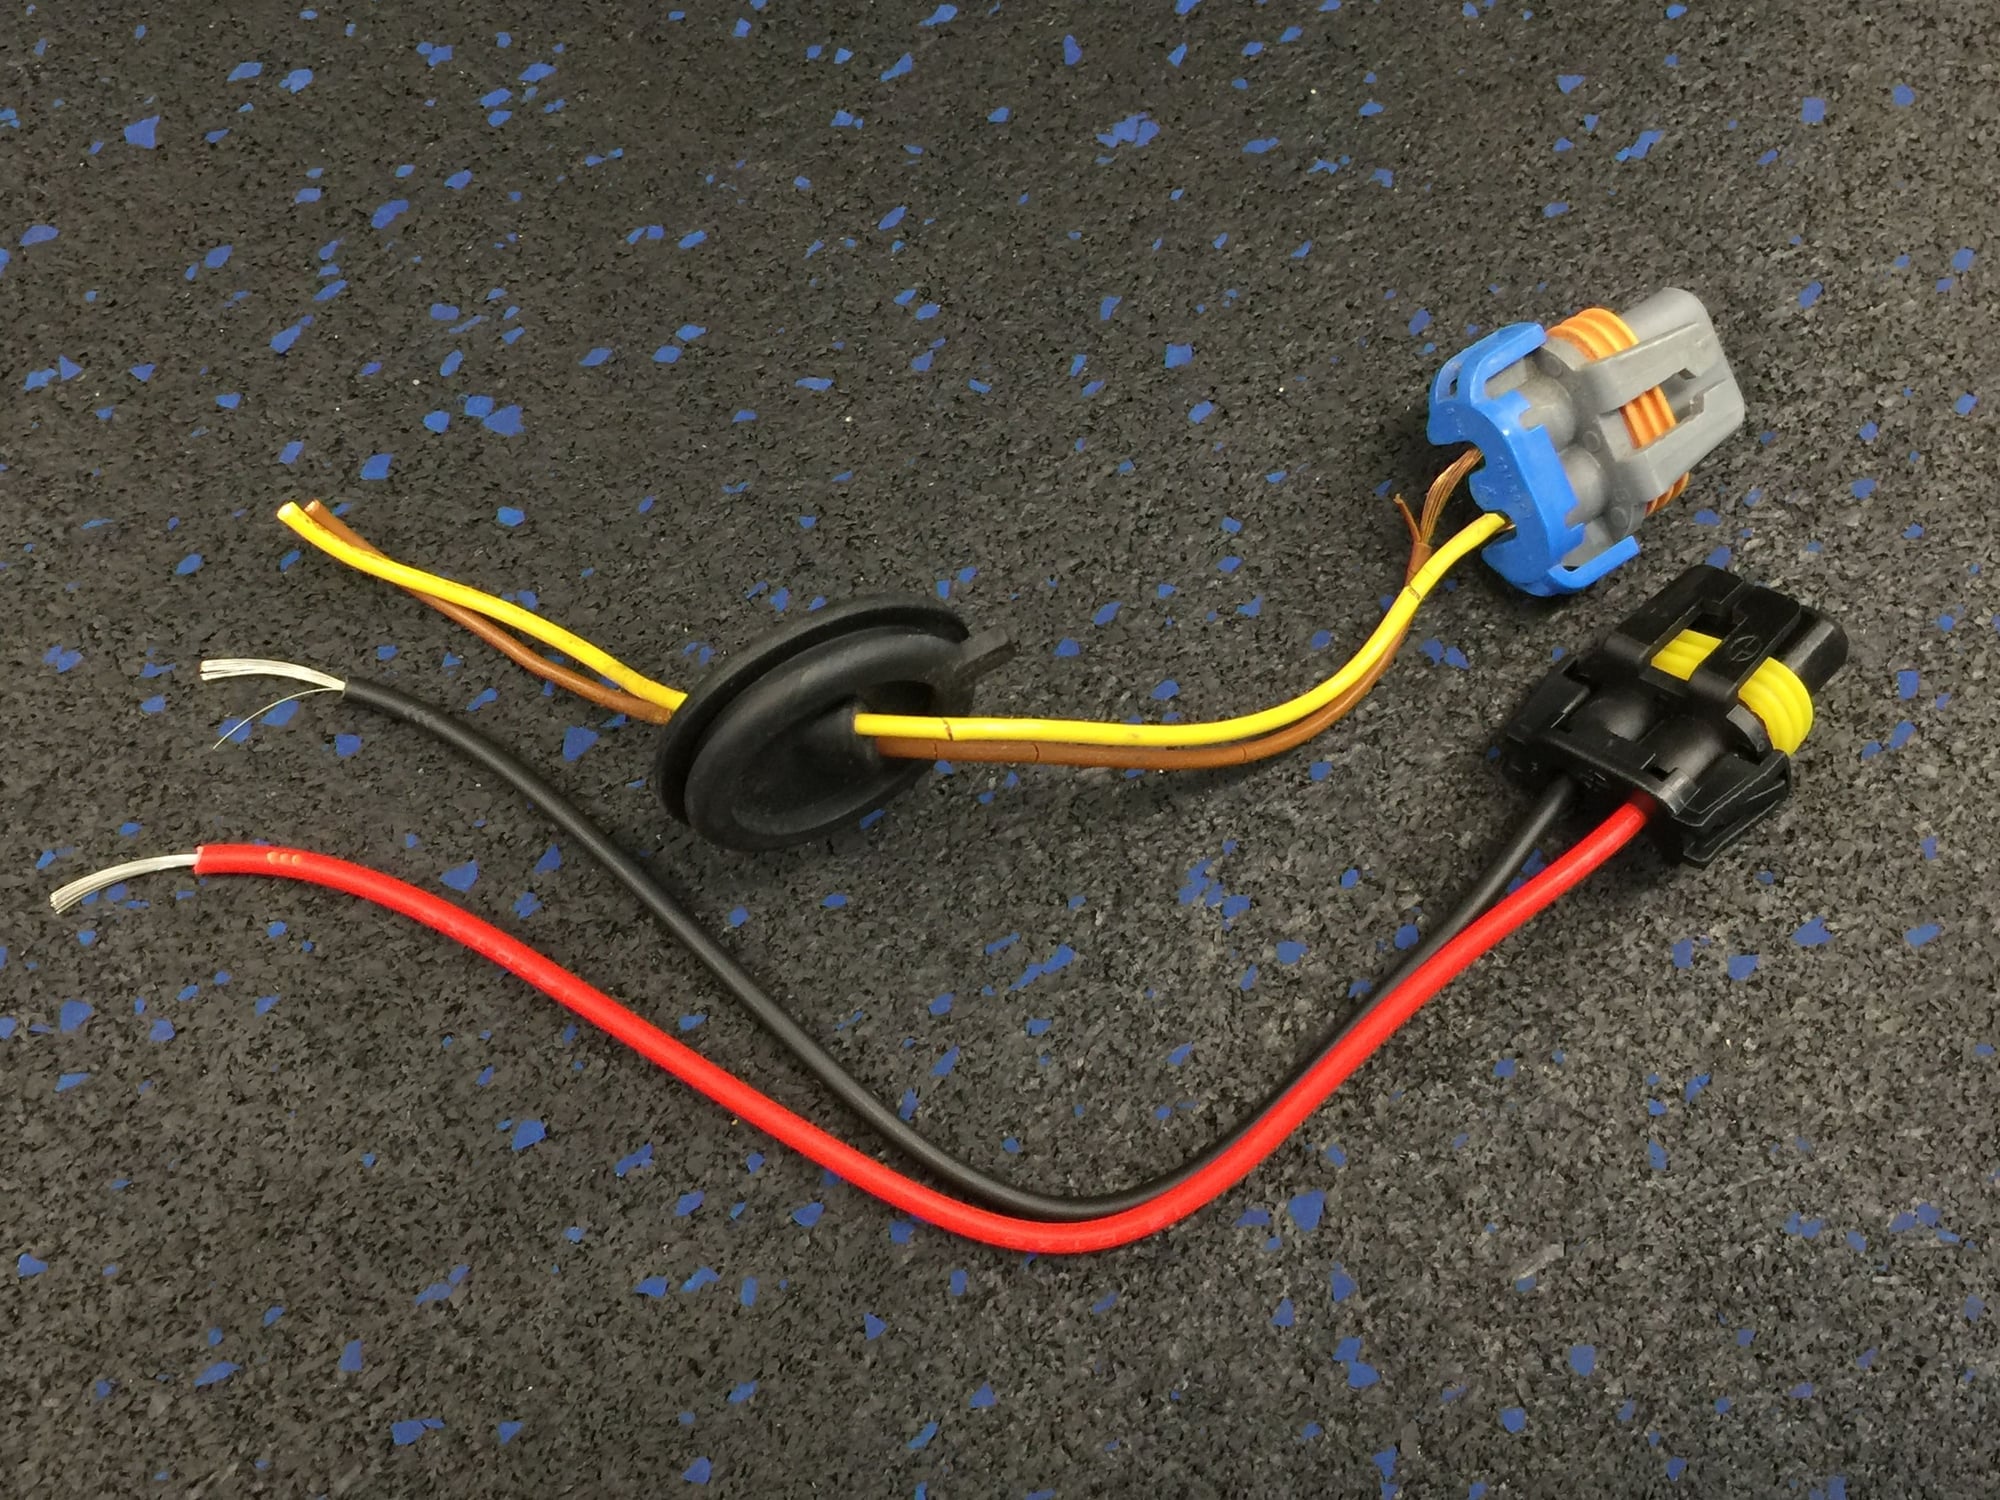
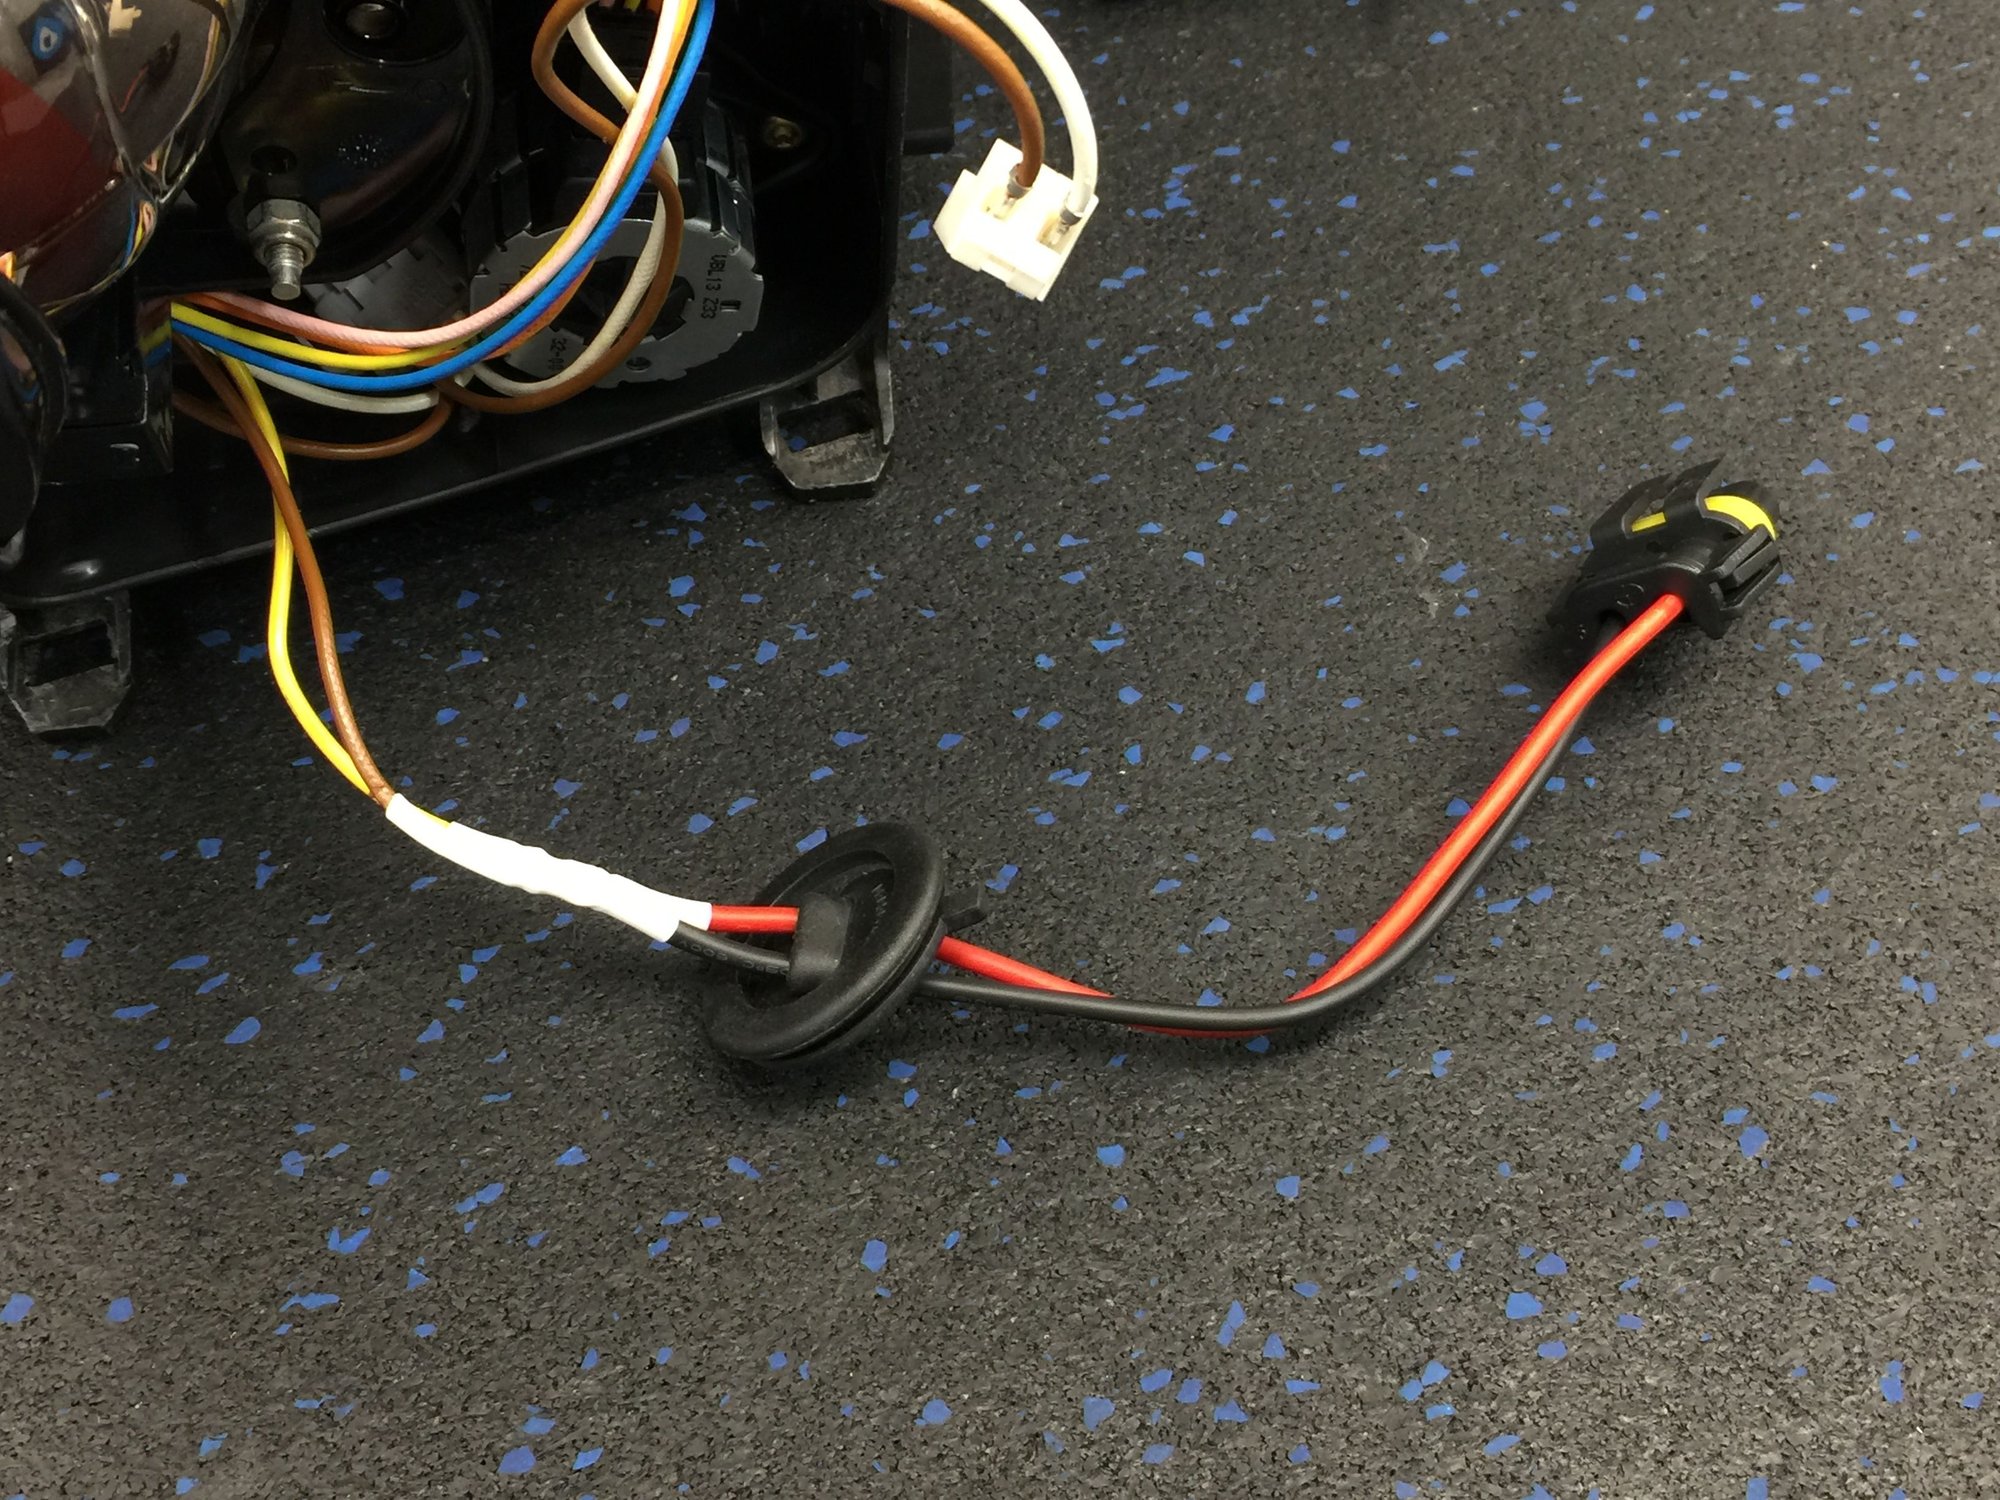
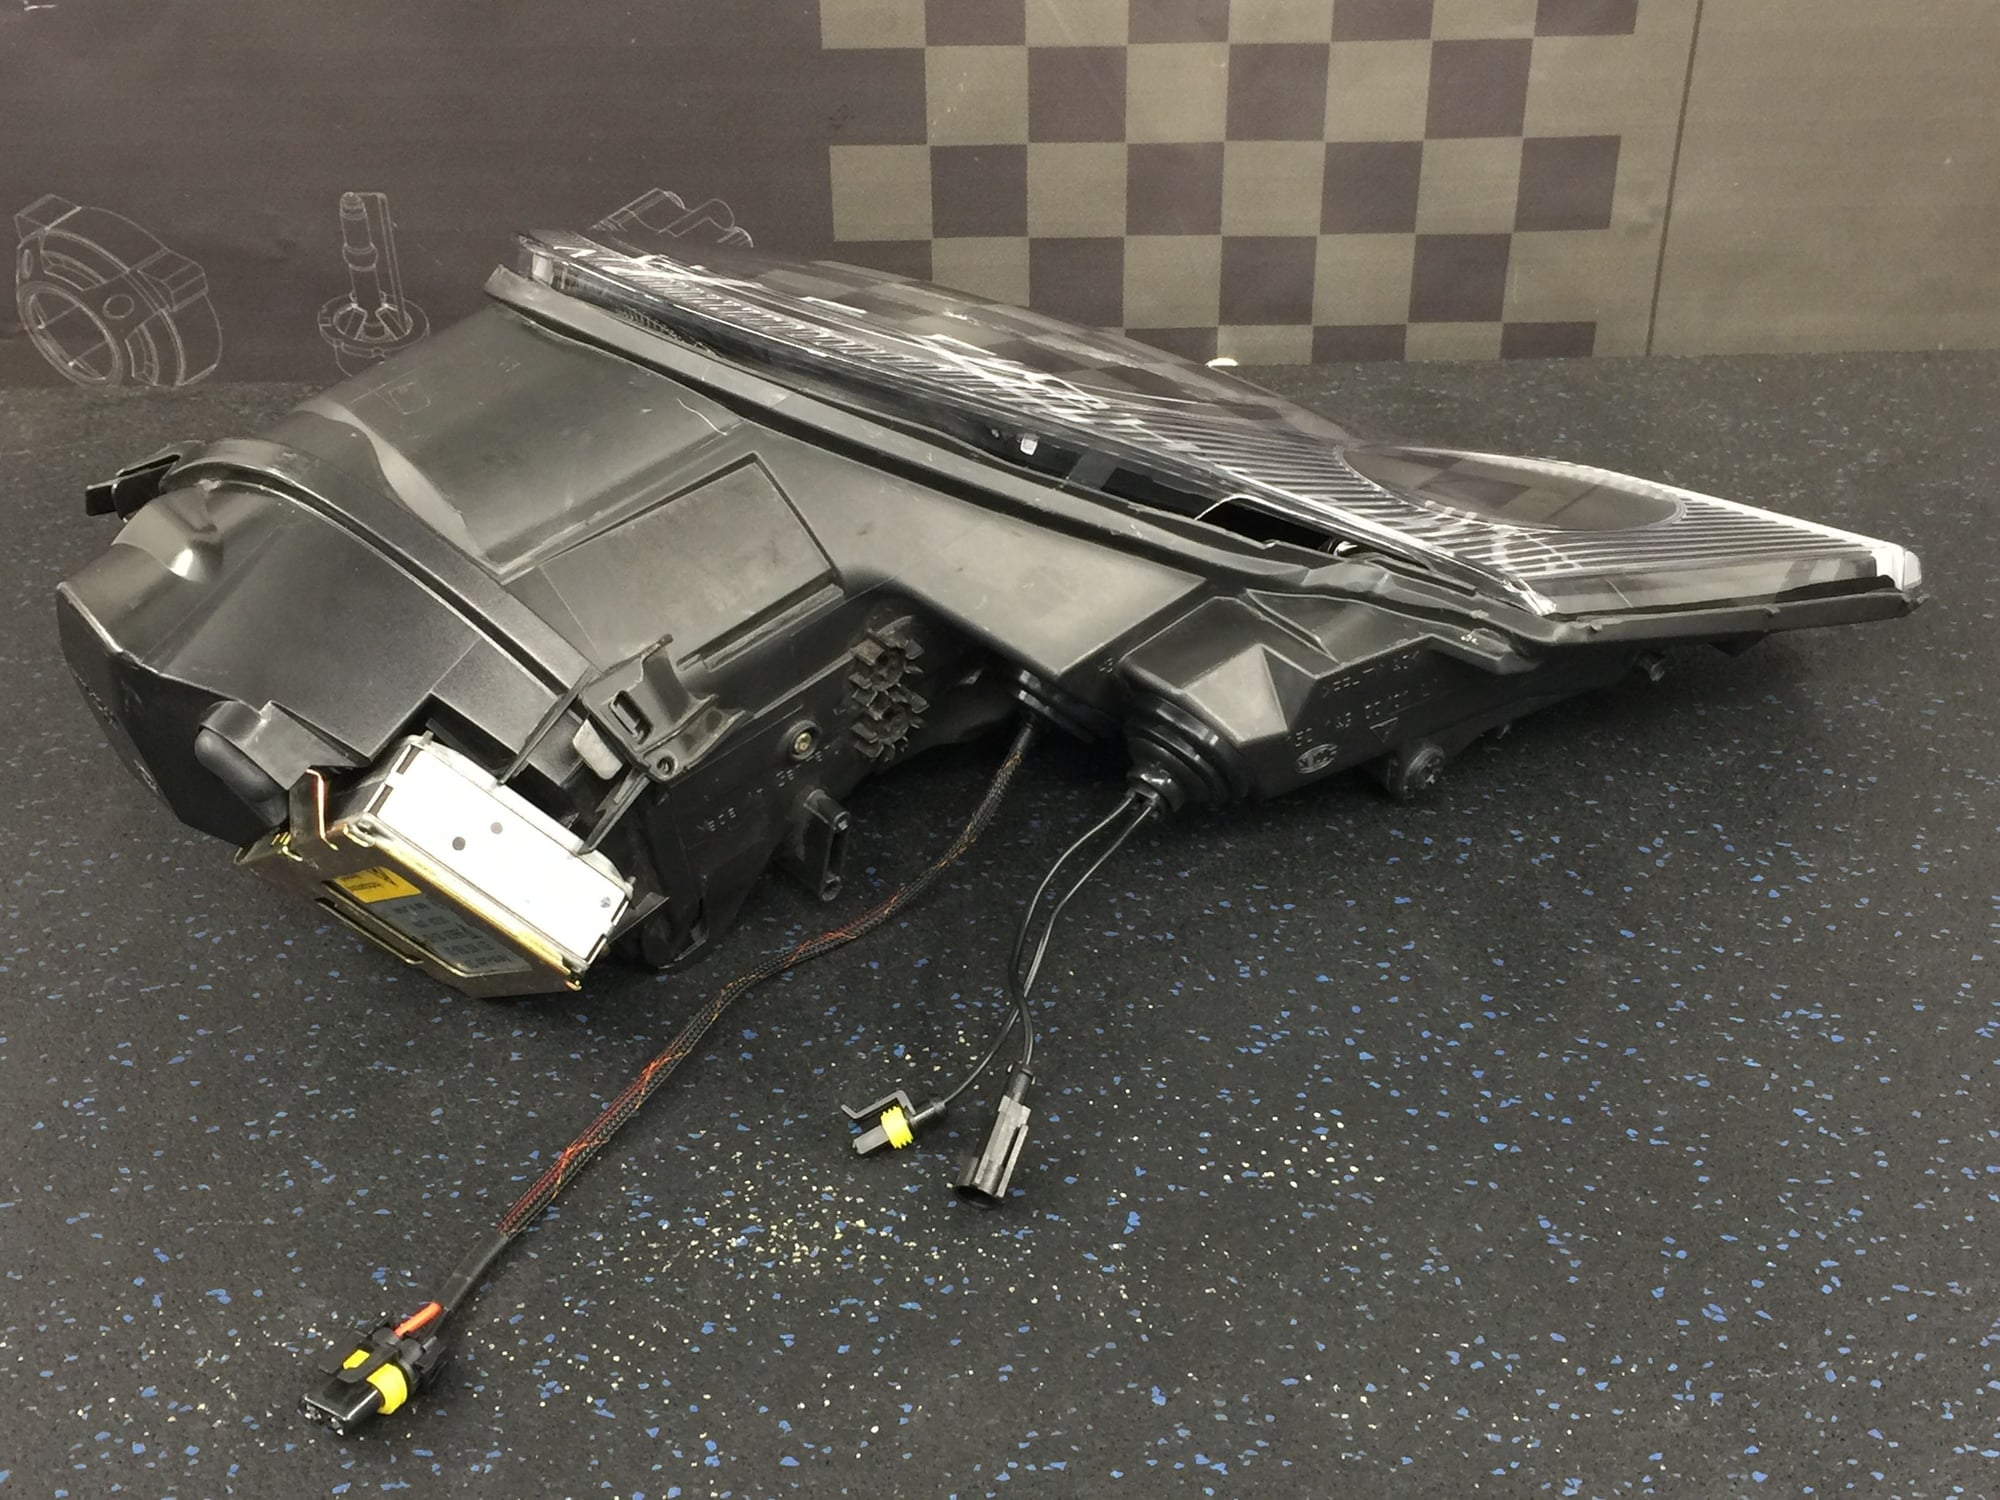
Tiding up a few loose ends. The HID ballast for the fog light will be externally mounted so a 9006 pigtail was soldered to the factory halogen fog wiring and ran through a rubber grommet in the hole which previously housed the headlight washer.
Crumbling wire casing and exposed wires are no bueno, factory wiring for Bi-Xenon Ballast input repaired.
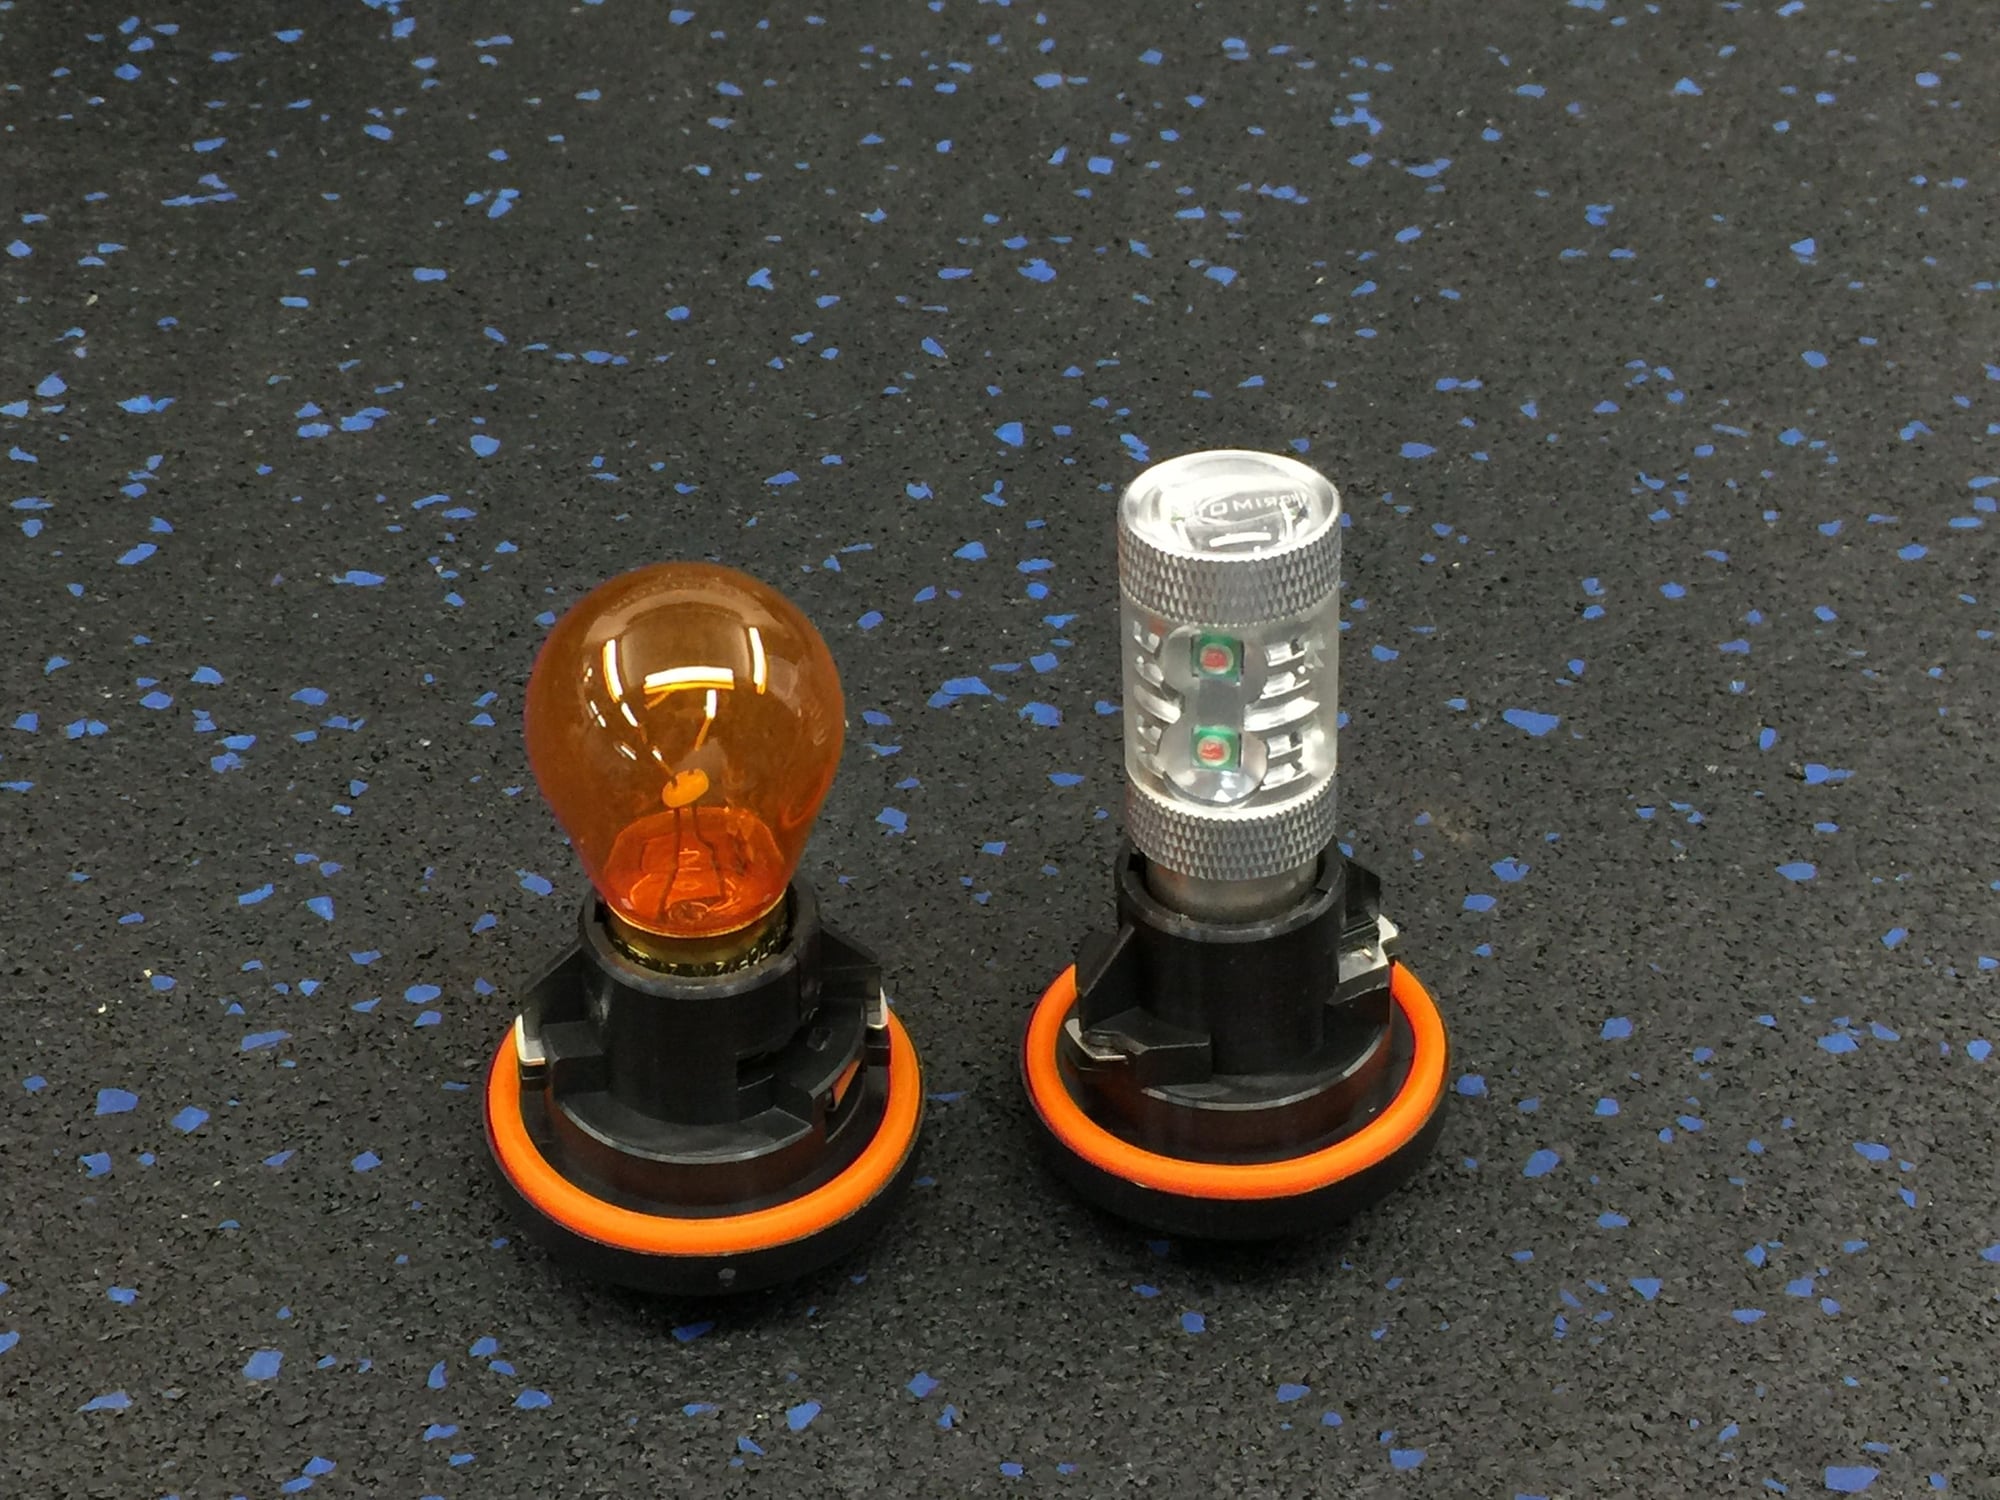
Since the turn signal bowl was blacked out a brighter LED bulb was installed. Sorry for the crooked pic.
Butyl was used to reseal the lens.
GT3 RSR Lenses are actually race spec and have holes and opening on the lens itself which means the headlights are not weather proof. #BecauseRaceCar
I DEMAND A HIGHLY COMPETITIVE PRICE POINT TO RETROFIT HID PROJECTORS INTO MY EXISTING NON-LITRONIC MK2 HEADLIGHTS. I ALSO DEMAND A REASONABLE TURNAROUND PERIOD OF 1 WEEK PER PAIR. PLEASE CONTACT MY ASSISTANT WITH PARTICULARS.
In all seriousness, I've read most of the thread and am curious if this will be available for regular joes like me. MK2 with a non-litronic set of lights looking to upgrade to litronic. My needs would focus mostly on the main projectors being updated to HID. Fog lights as well would be a nice to have. Any appetite there for a PM to discuss details?
 07-30-2017, 05:42 PM