When you click on links to various merchants on this site and make a purchase, this can result in this site earning a commission. Affiliate programs and affiliations include, but are not limited to, the eBay Partner Network.
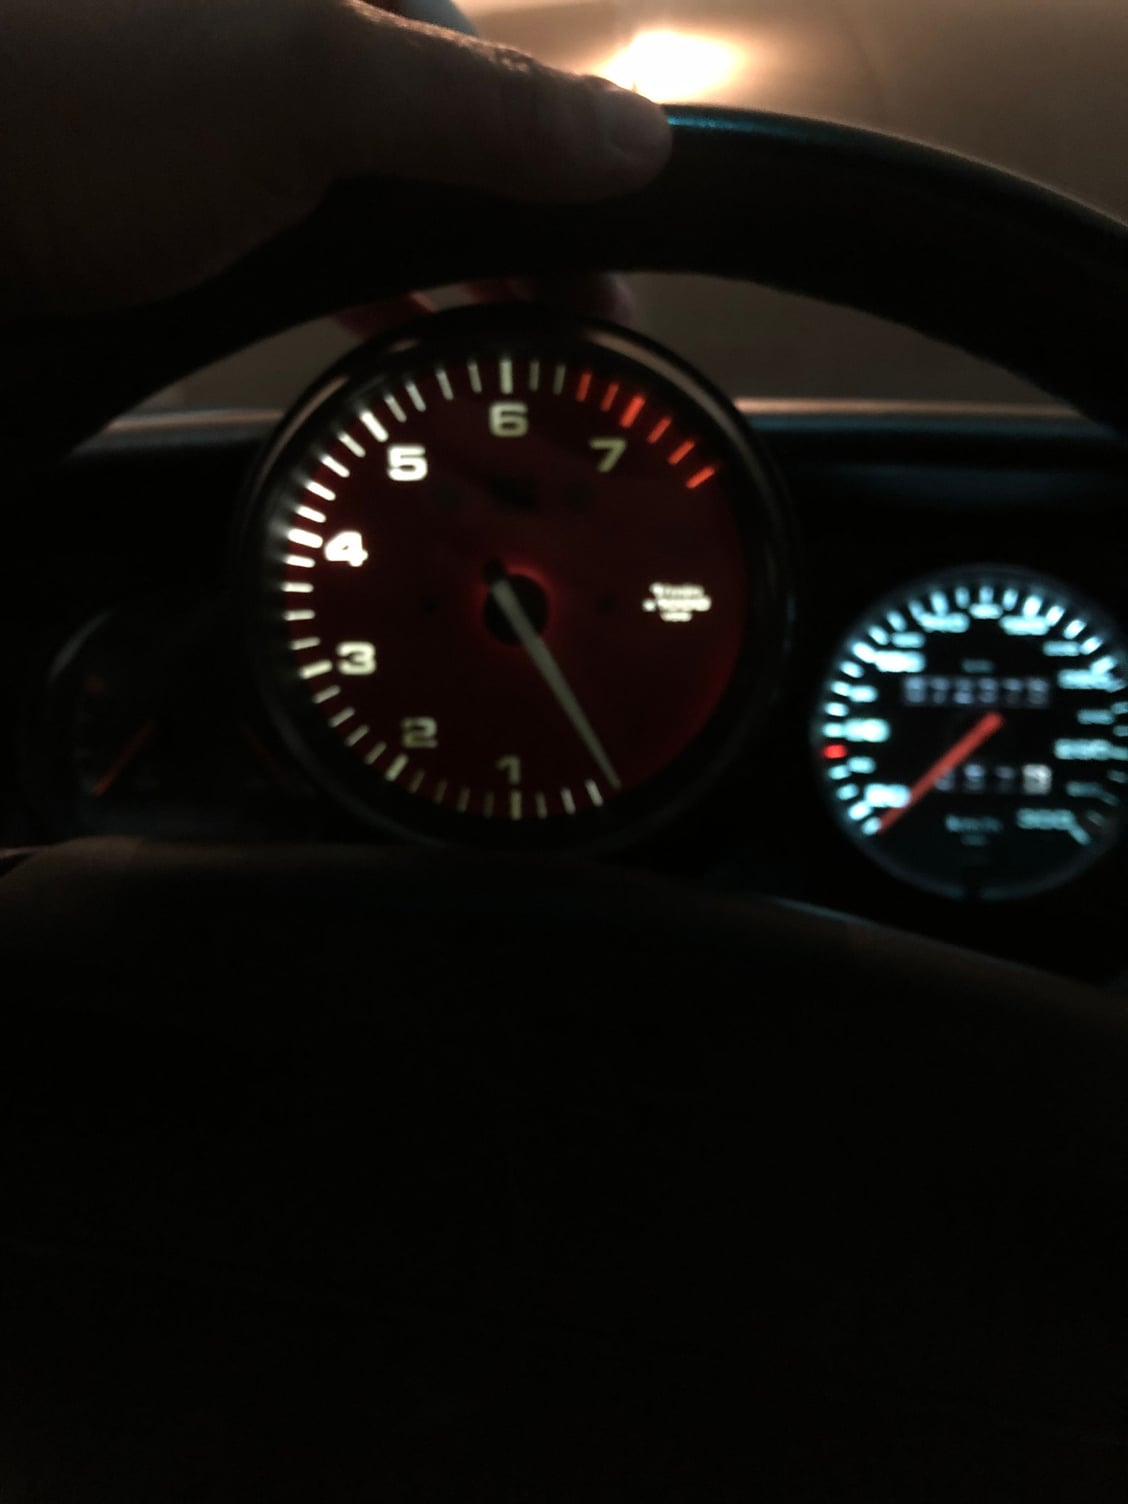
Here�s an update on my project. Because I wanted the additional contrast of a white needle/pointer, I decided to get another tach so I can easily return to stock if desired. I struck up a conversation with the seller and when I explained my project he offered to paint the needle white for a very reasonable fee. Here�s the tach with my red face on it. Also visible in the frame is my highly technical needle removal tool. I used a compass to measure the distance to the first hash to get the correct alignment.
LED�s from superbrightleds website are in transit. When I make progress I will post. I should have taken a picture with the face off - there�s tons of room in there to add more bulbs if someone wanted to do that. The cunning eye will notice the bezel is not all the way back on. I will first see how the LED lighting looks before fully reassembling everything in case I want to go back in and add more lights.
The project is nearing completion so it�s time for an update. I did the LED conversion to all the lamps, including warning lamps. Actually, I ran out of red ones so I�ll pop the clock out when more arrive. What I found was some pretty bad hot spots on the tach.
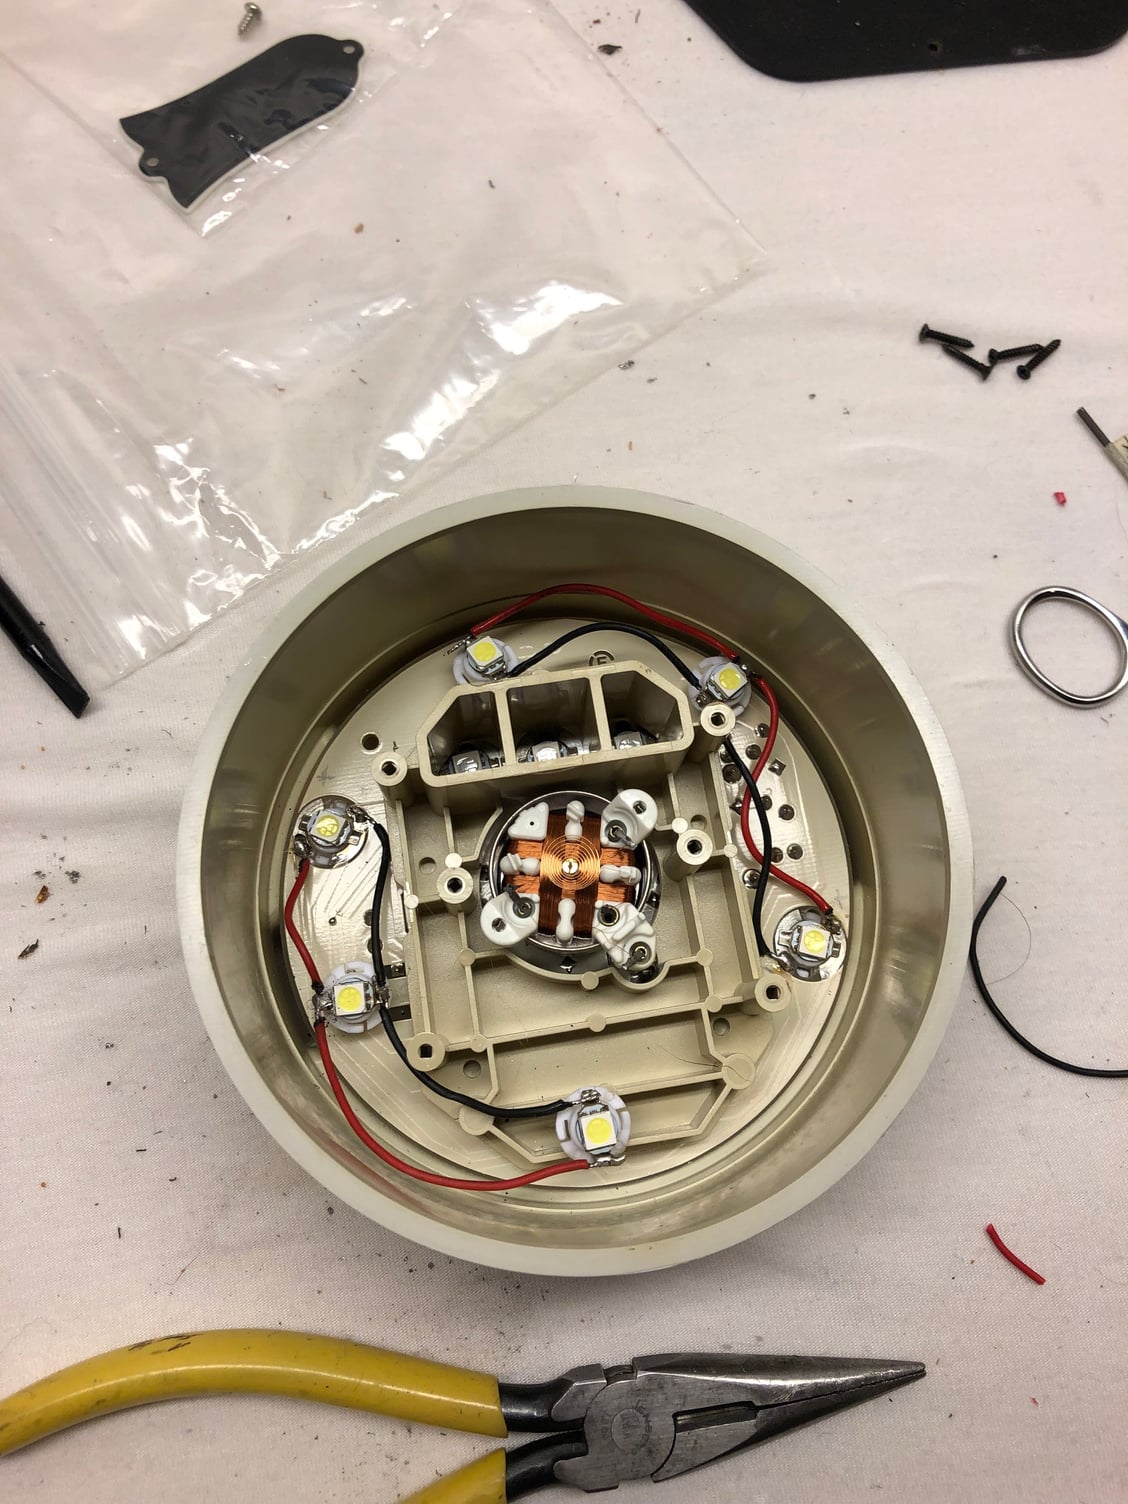
so I decided to go ahead and add more LED�s since I noticed there was plenty of space to do so.
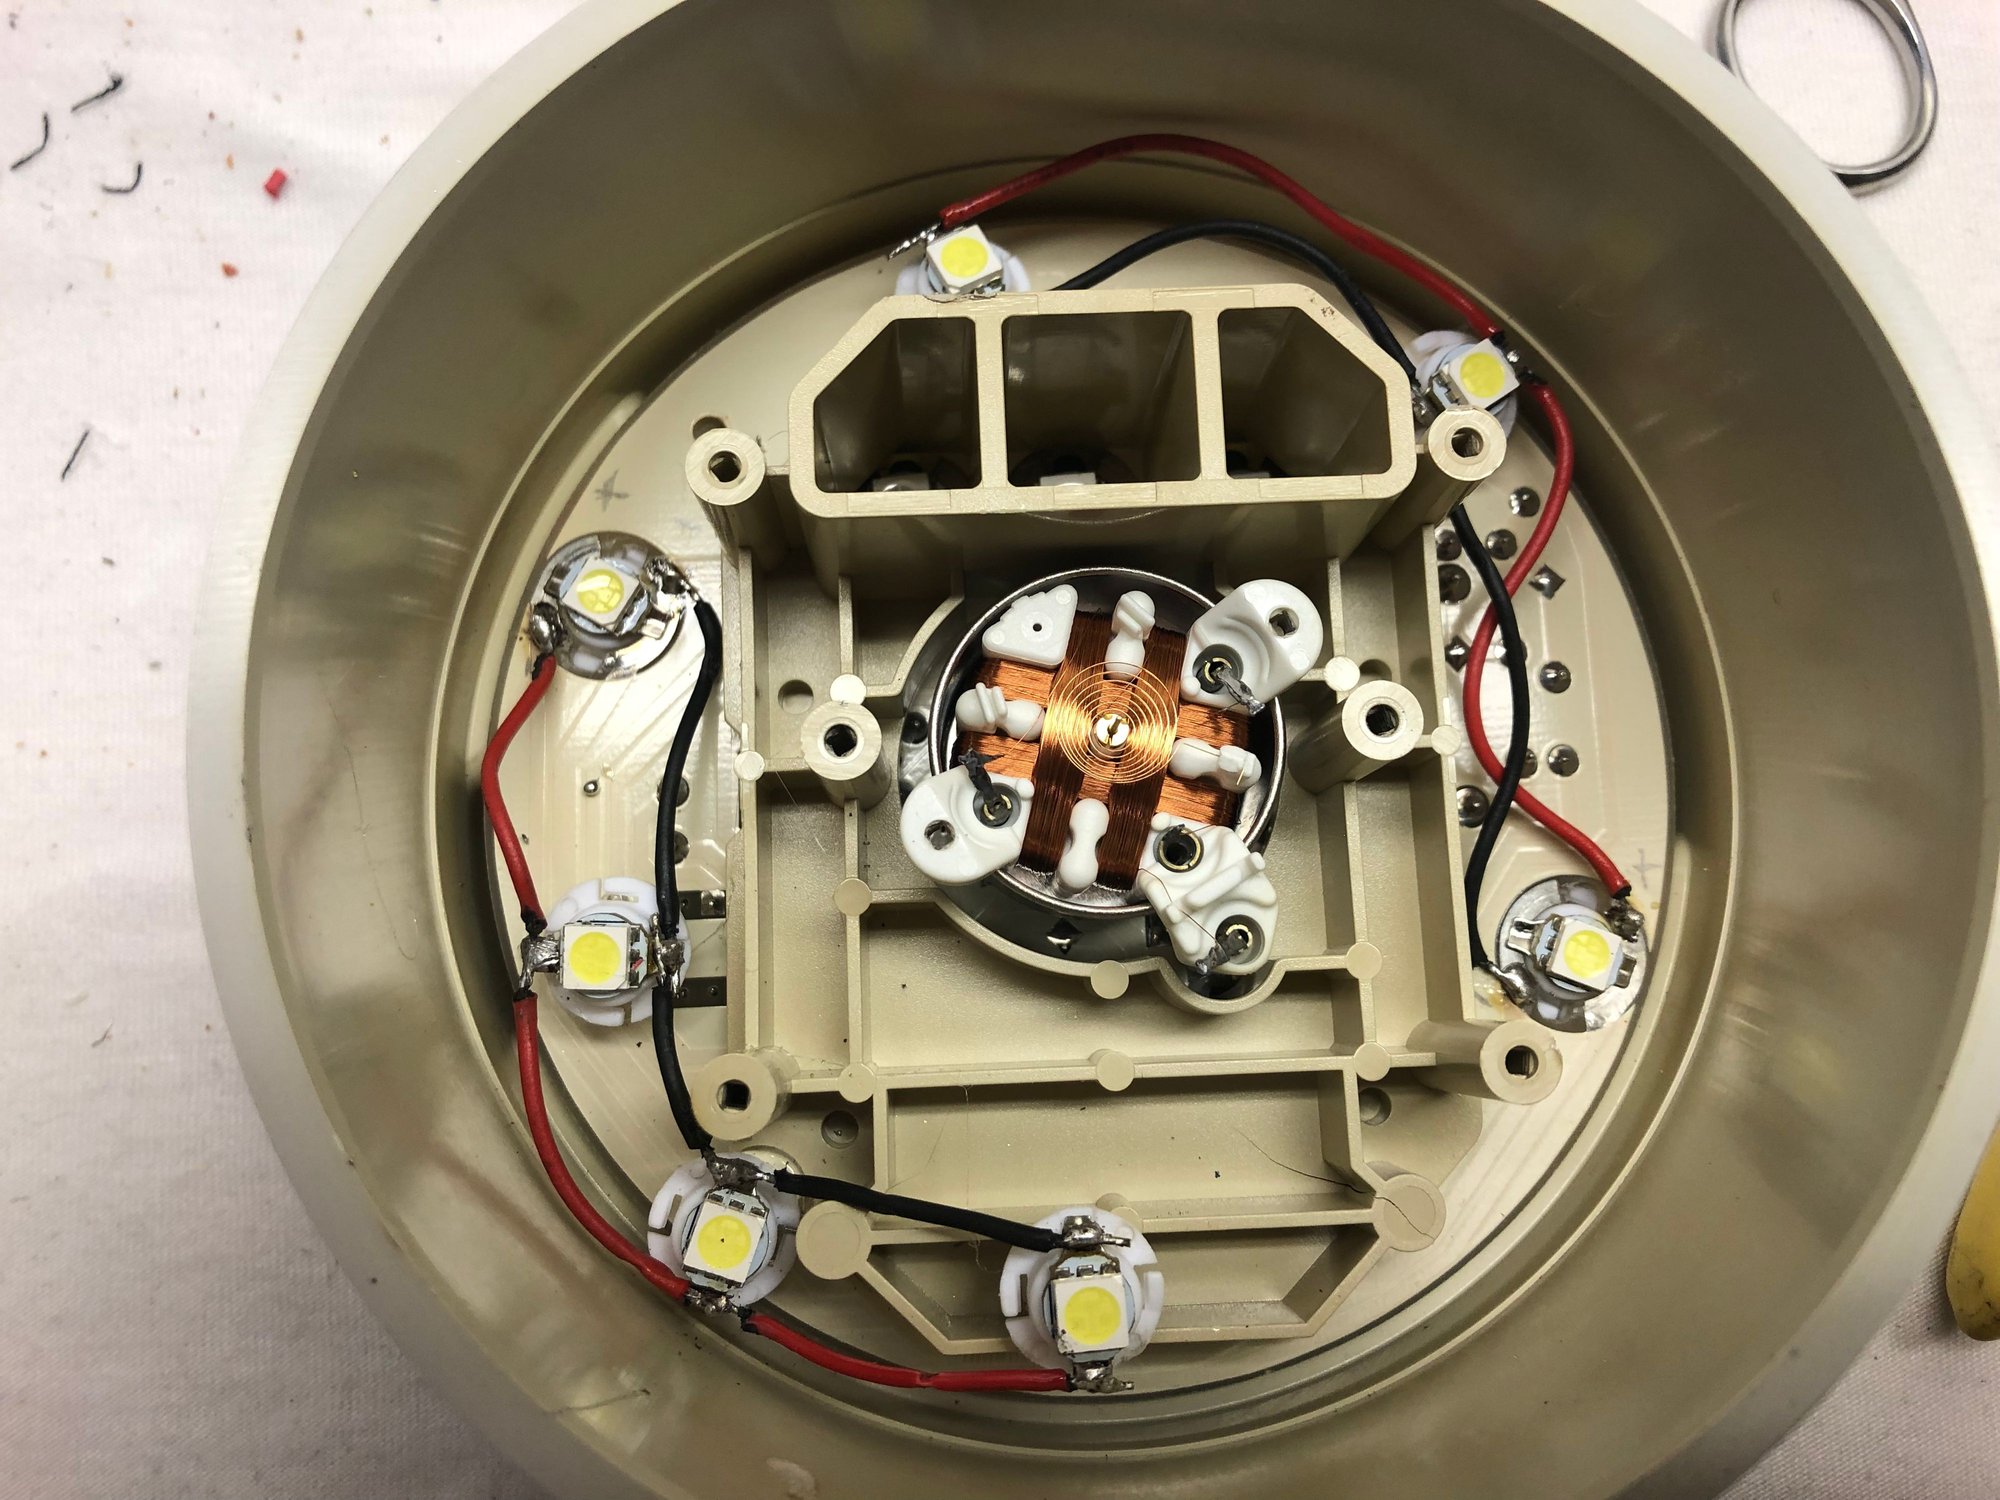
I ended up adding 5 more after doing 4 and having a dim spot at the 2.
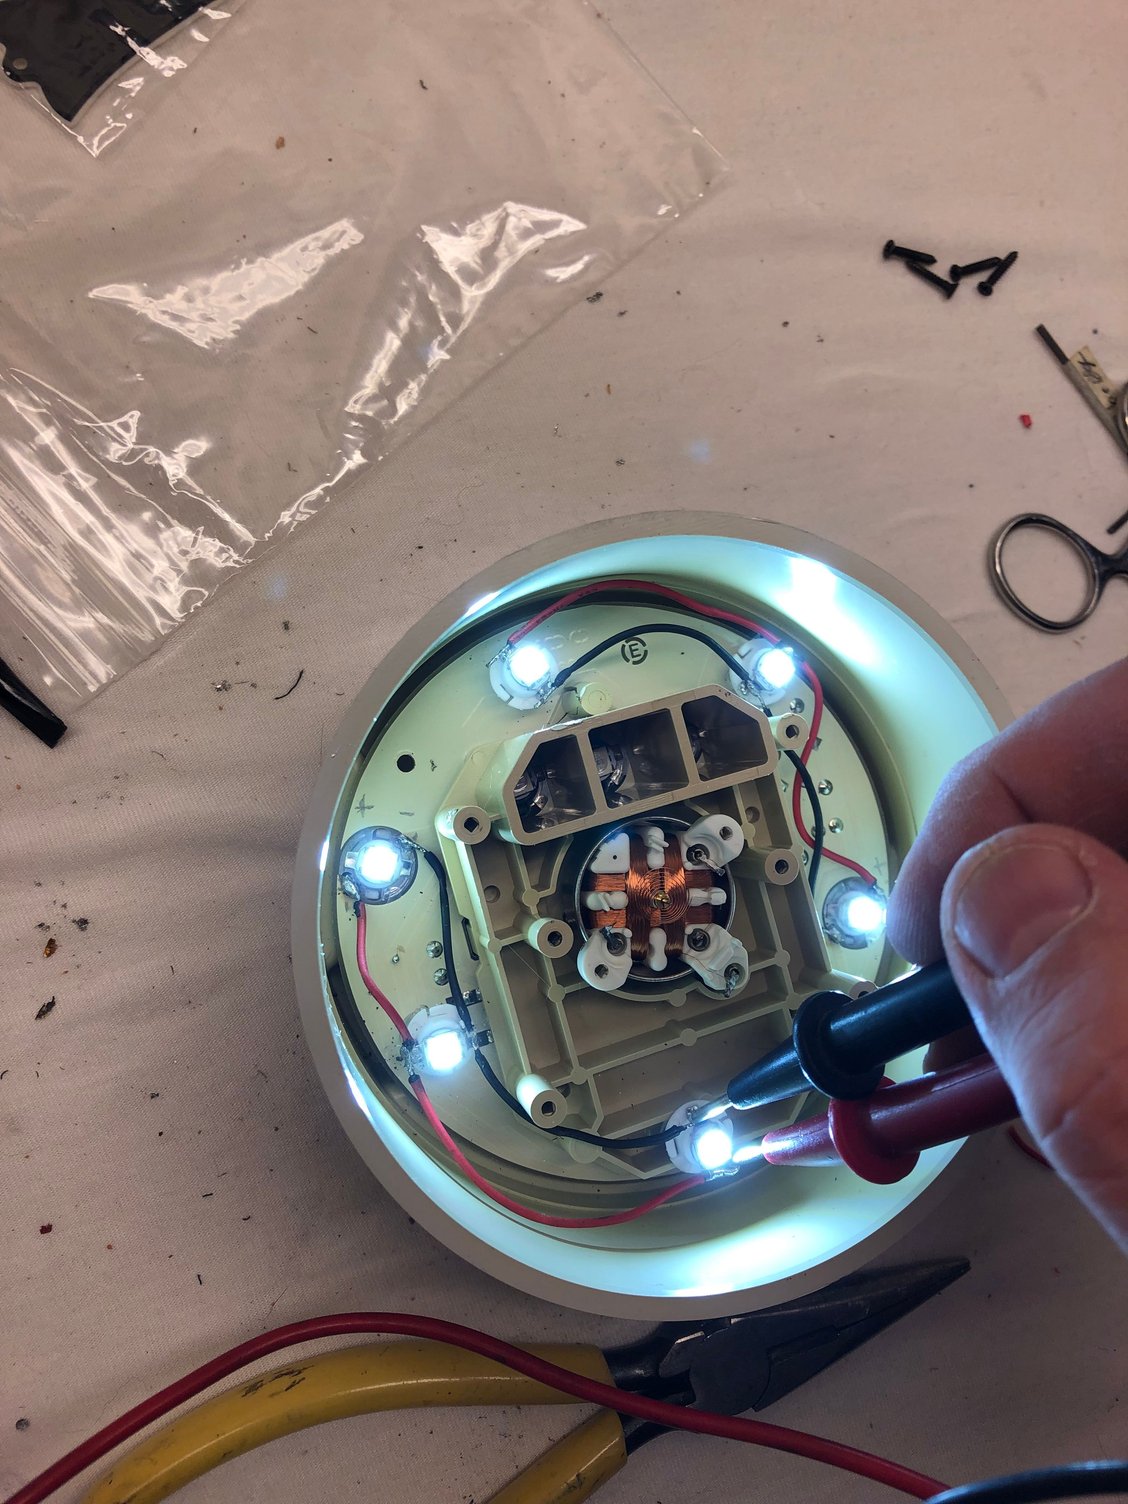
The procedure is easy. Using a battery tender as a power supply, I first determined the polarity with the two LEDs installed in the factory location. I noted the positive and negative with a pencil on the pc board. Then I soldered wire right onto the bus, taking care to place the solder joint on the end of the trace that would not interfere with removing and installing a lamp in the future.
Then i determjned thr polarity of the lamps I used and marked the positive side with a pencil. These were attached to various points with a hot glue gun. Then it was a matter of soldering leads to connect them all. I reassembled, found the cold spot for the 2, cried a little and took it all apart to add a 5th light, and put it all back together again. Tested, rejoiced, and then installed the tach back into the dash.
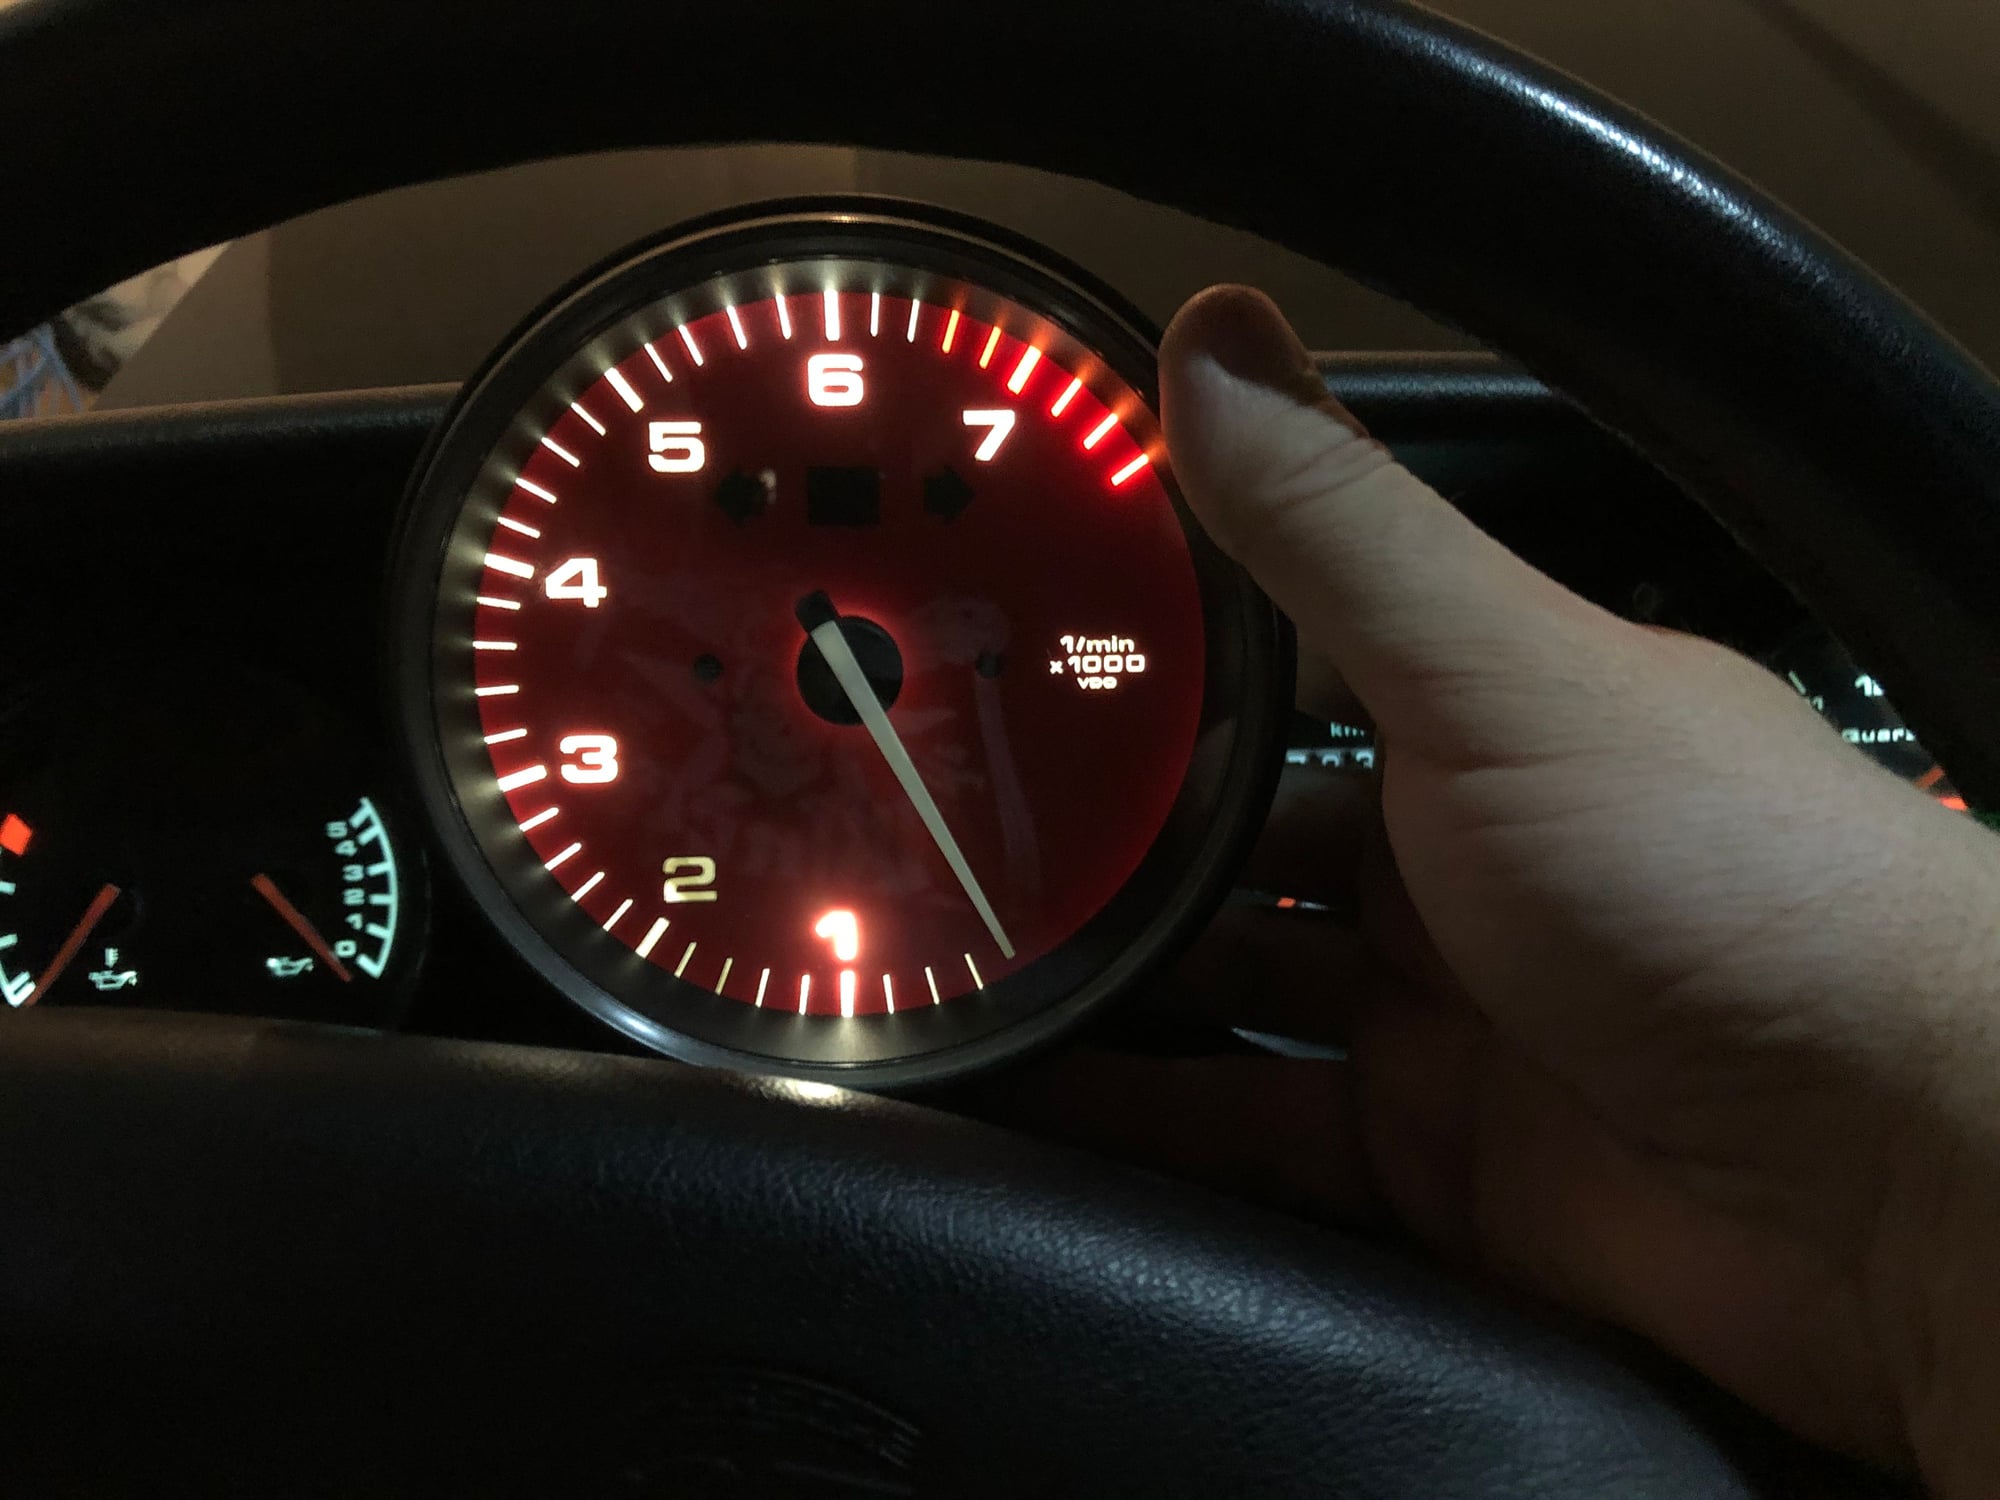
Final footnote about the LED colors. I use the coolest white offered for all. You can see the tach white looks different from the other gauges white and that�s because the overlay is not oem and I went with black in day because to me it looks more sinister, which I like.
in real life the while on the oem gauges doesn�t look as blue as the pictures. To my eye it just looks like a very crisp white and way way nicer than the old newspaper white of the oe incandescents. This upgrade is a must-do in my opinion. I also did the dome light, and the little light that shines down on the ignition. It really modernizes the car.
I forgot to mention, the final step for me is to put polished trim rings around all the gauges once I double check all my warning light work right and I clean up the dash of fingerprints and the grease they put on the rubber surrounds. If I think of it I�ll post a picture the final product.
Wanted to mention that I had replaced all the warning lamps with LED except the airbag light because I read that the circuit relies on the load of the incandescent to know if the light is working.
i had problems with both the immobilizer light (stayed on all the time) and the CEL (flashed very rapidly and presented a 1691 code related to not being able to �see� the light. Returning both to regular incandescents solved the problem.