When you click on links to various merchants on this site and make a purchase, this can result in this site earning a commission. Affiliate programs and affiliations include, but are not limited to, the eBay Partner Network.
I read an old post on Pelican Parts about someone installing their garage door remote into the wiring of their 993. In the same article it spoke about getting a Homelink module from an Audi A4 (B5 series 1999-2001) sun visor and doing something similar. That second idea seemed much simpler and I thought "why not"!
So I purchased the sun visor on eBay for $50 and went to work. It was actually a very easy job. Some of the things I learned:
1. It does not have to be from an Audi A4
a. seems that many cars around that model year used the same Homelink module.
b. Mine is the larger module -- there are "hidden" versions that only show the three buttons. I like the larger module as I was installing it in the central tunnel and did not want to do any further trim work.
2. You have to get the polarity right for it to work
a. During a test fit, it did not work! I thought I had killed it somehow. Then I read somewhere that there is a positive and negative side. Whew!
3. Once you program it, it remembers the codes after the power is gone.
a. Now that is really neat.
So here are some photos and instructions.
1. Carefully cut the Homelink module from the visor
a. A thin cut to separate the leather/vinyl cover off first.
b. Then you will see the module (a big metal strip is glued to it -- that can be removed and recycled).
c. cut the wires at a good distance away from the connector that goes into the module. This will give you some wire to work with.
d. The module will pop out of the styrofoam visor.
2. Center Console Tray
a. I had the version w/o the Cassette storage on top so this made it real easy to do the install.
b. Remove the two screws holding it and then proceed to remove other internal screws so that you can run the wires up to the front where the switches are. It's really straight forward, just take your time and record where each screw goes to.
c. Drill a small hole in the tray -- closer to the front of the tray, still on the flat bottom area (this will be covered by the rubber mat and the Homelink module). Be careful to make sure the the hole will be in an open area to give you room to run the wires. I drilled mine so that the hole was slightly to the right of center. The hole does not have to be that big -- just enough to get the 2 wires through.
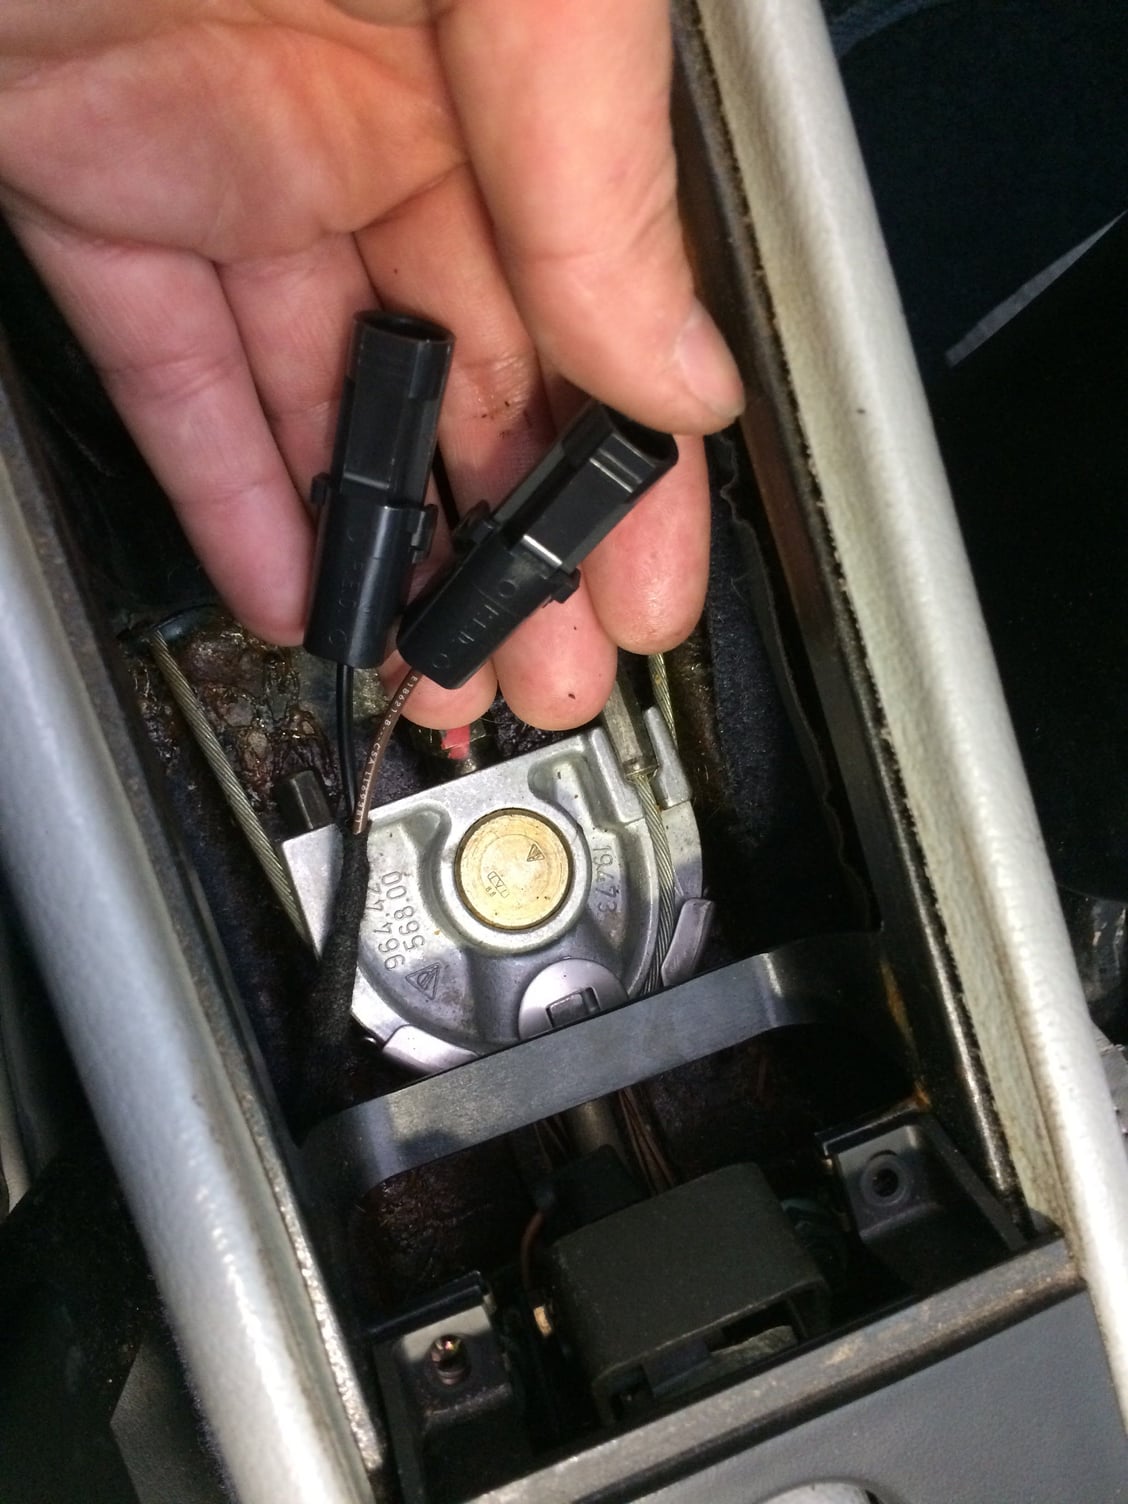
d. Once the test fit was good, I then threaded the wires through the hole and then made the connectors. I have weatherpack connectors (really overkill and too big, but you use what you got), so I can remove the module if necessary without cutting later on.
e. Once the wiring was threaded to the front, I then screwed everything back together.
3. Wiring
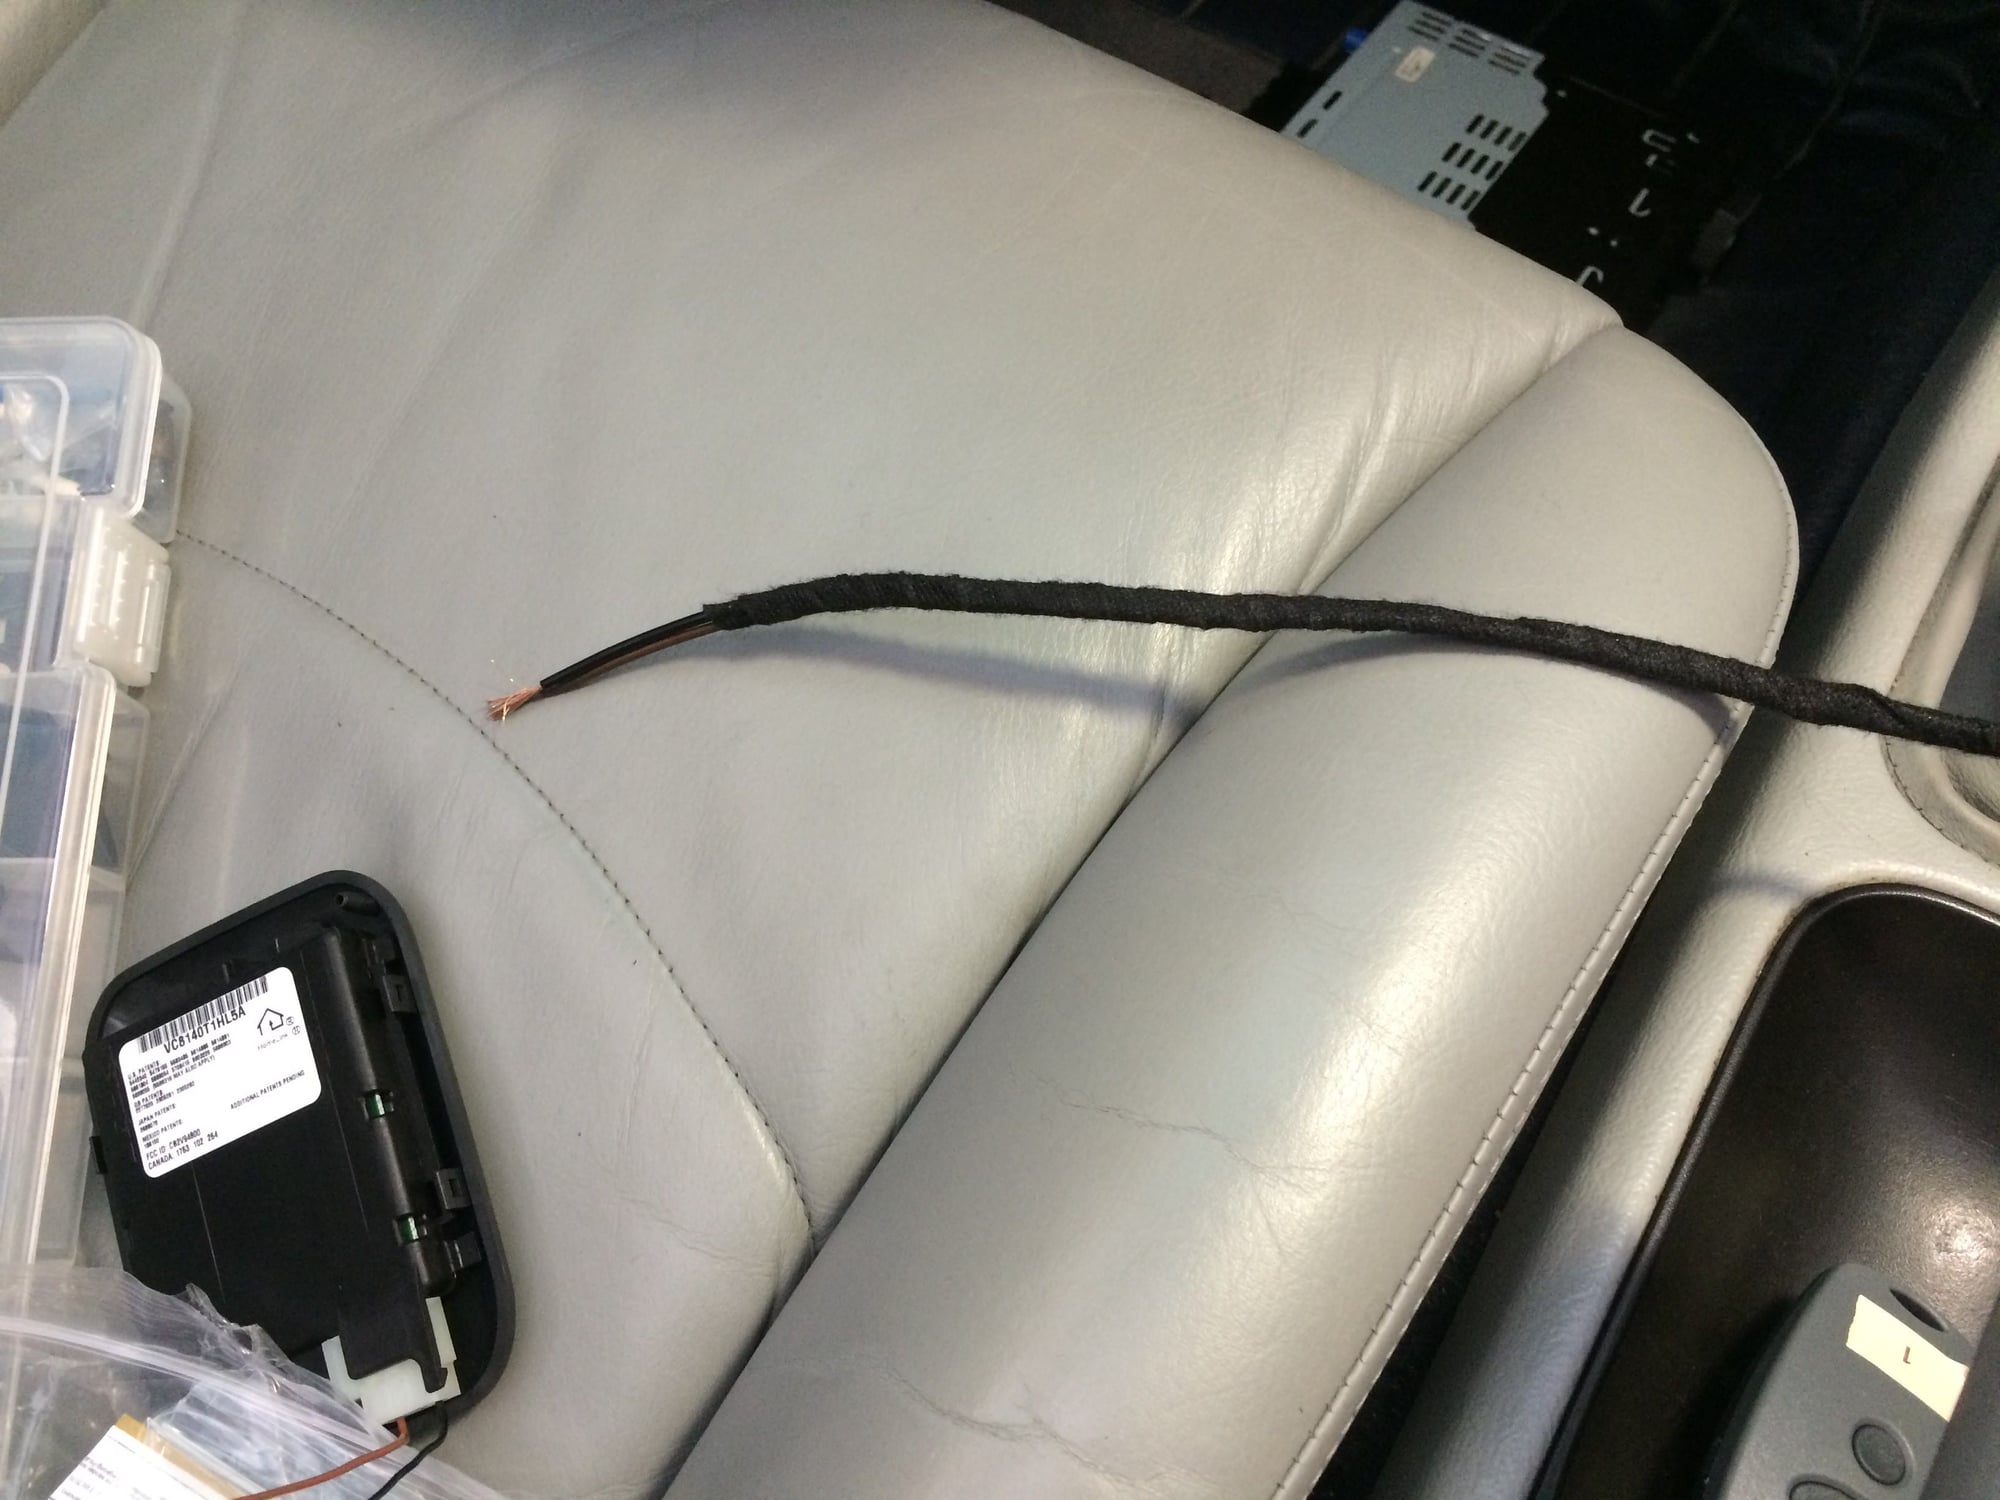
a. Bought some similar gage wire (I think I used 18 gage) and then wrapped it with Tesa fabric electrical tape -- same as the OEM stuff. Tesa 51608 -- my favorite wiring tape -- Amazon. You want this stuff.
b. Added a weaterpack connector on one end and then went looking for some power and ground.
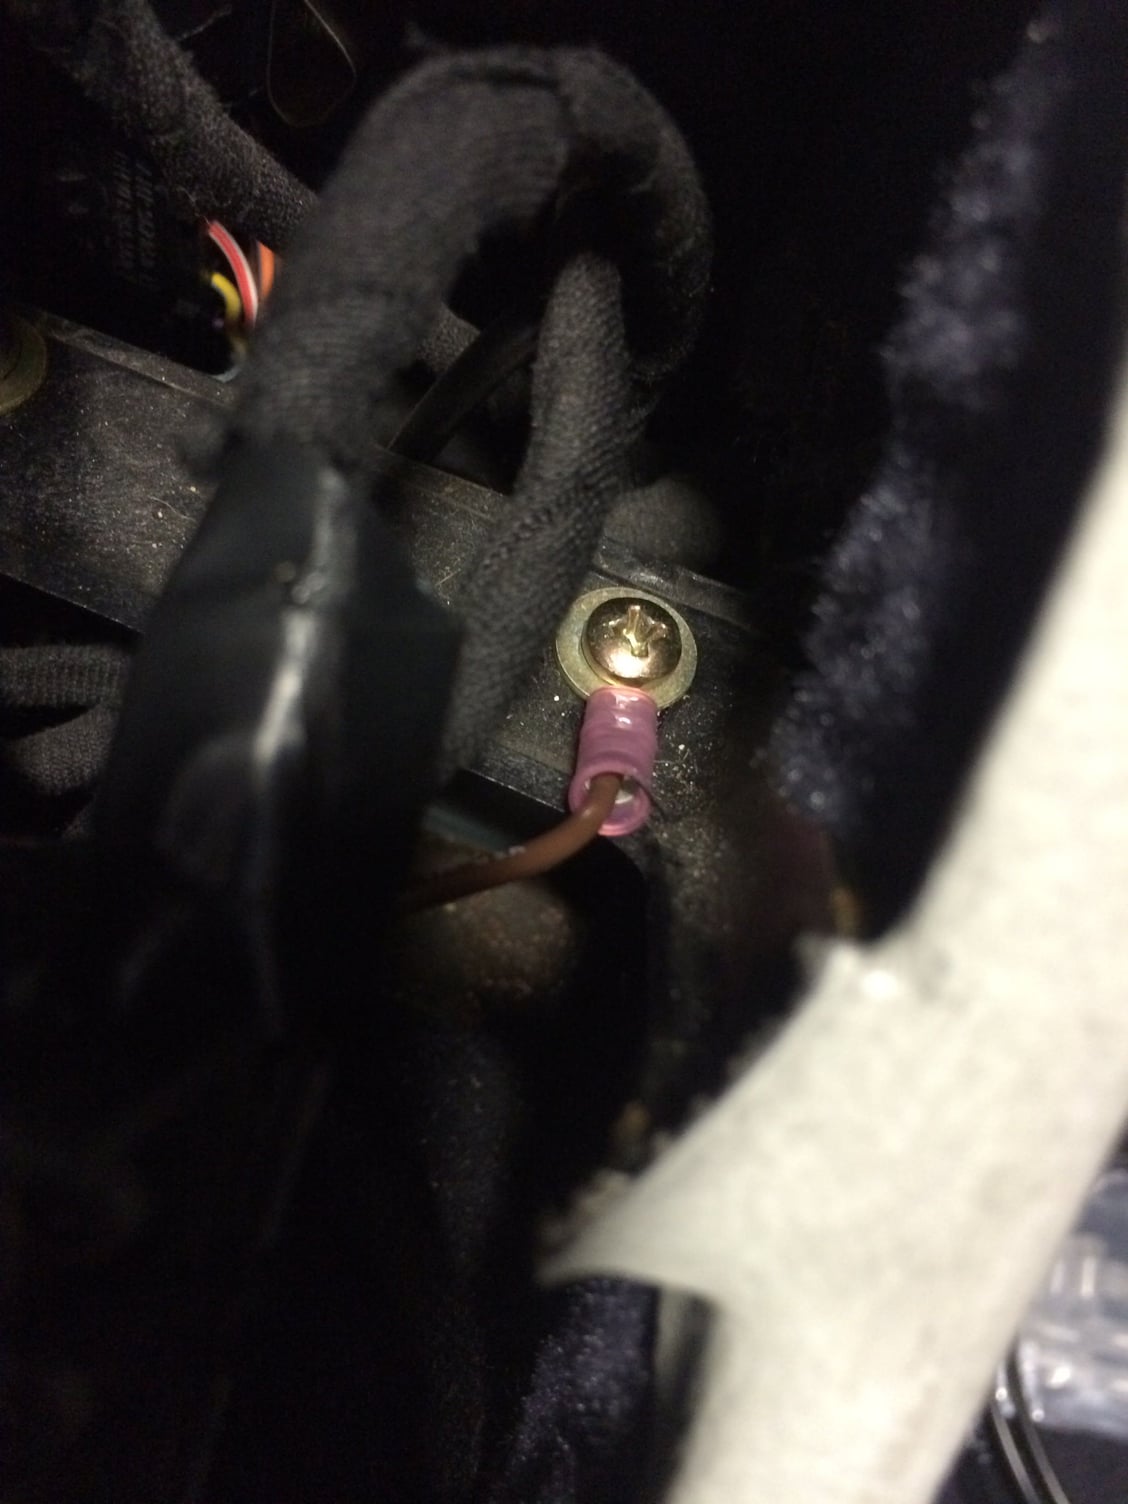
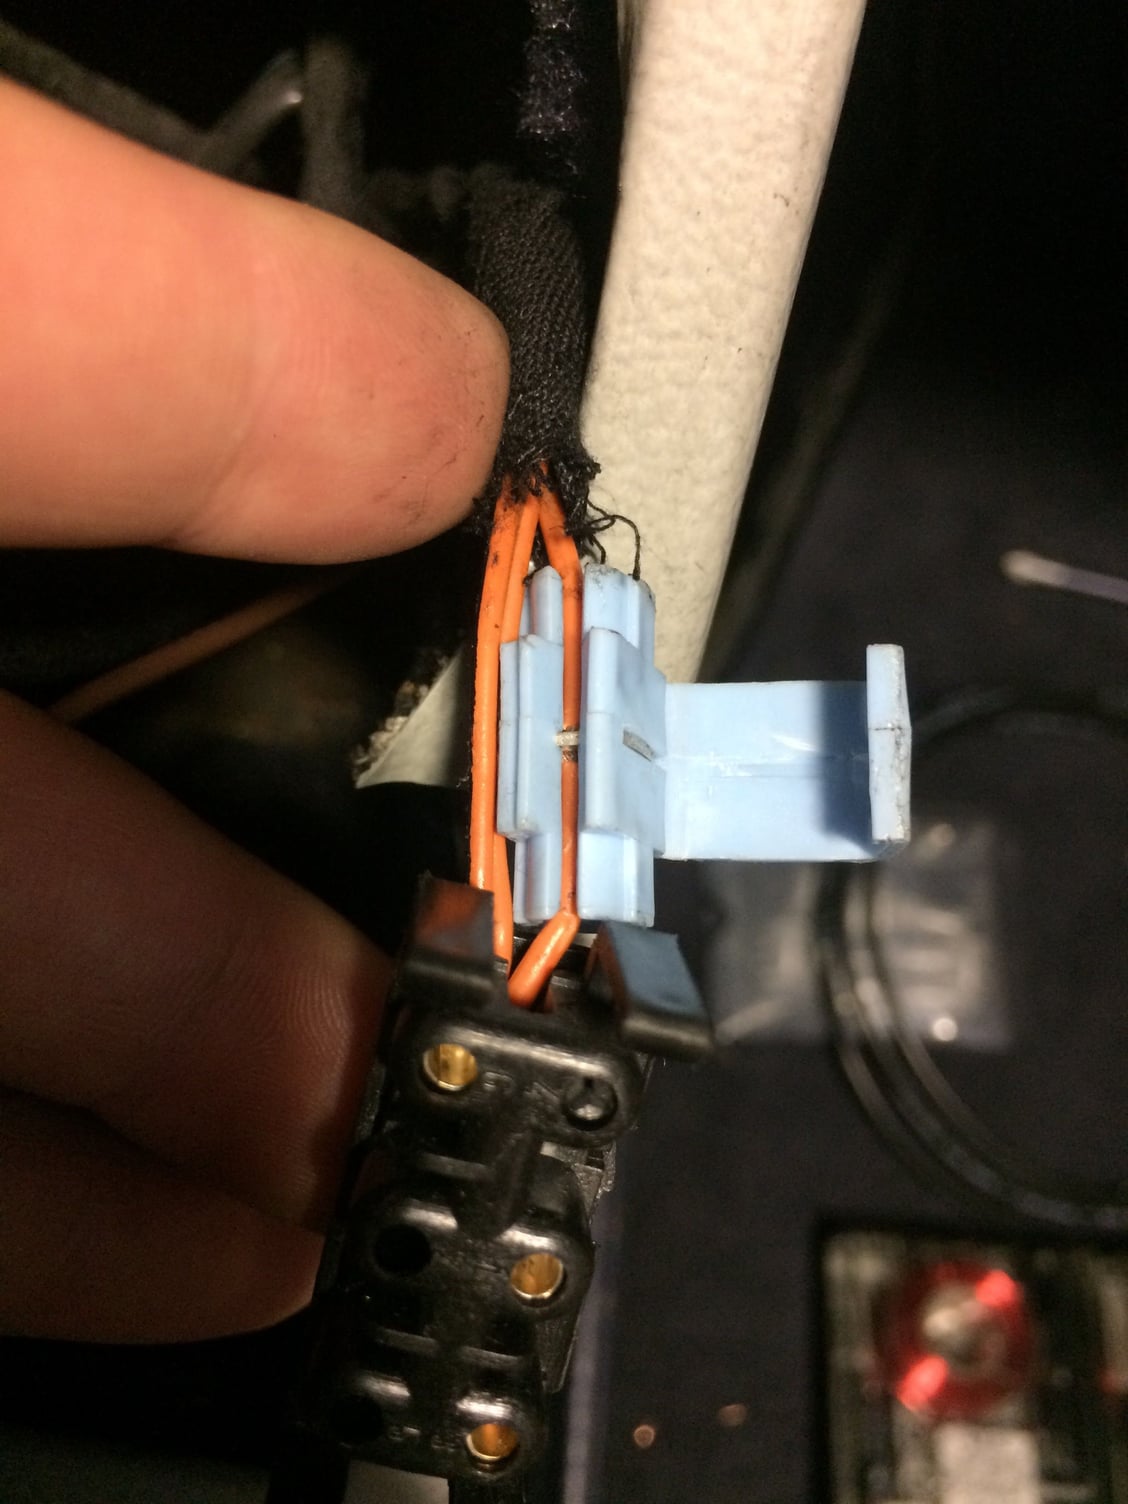
c. This is where I got some help from my local Porsche mechanic (Hi-Tec Automotive in San Rafael, CA -- 5 stars), as I am new to the car (just 2 months in and I had scheduled some other work with them, so perfect timing) and did not want to blow-up the wiring. They secured the ground on the metal bar behind the bottom row of switches. For power they connected to a SWITCHED 12v circuit from the "I" switch on the top row (far right on a Targa). The SOLID RED wire.
4. Results
a. The Homelink module is just hand snug fitted to the tray. The wires are routed under the rubber mat. Done! Looks almost OEM.
b. Programmed via the instructions from the Audi A4 owners manual -- I researched the Audi A4 forums -- was simple. You just need your original handheld remote(s) -- you can program up to 3 -- and be in/near the main garage door opener.
With the Homelink and the new Porsche Classic Navigation Radio (a future post) the car is now MODERN!
Photos
Final result
1. Homelink module on seat. New wiring after Tesa taped ready to be installed.
2. New wiring with weatherpack connectors
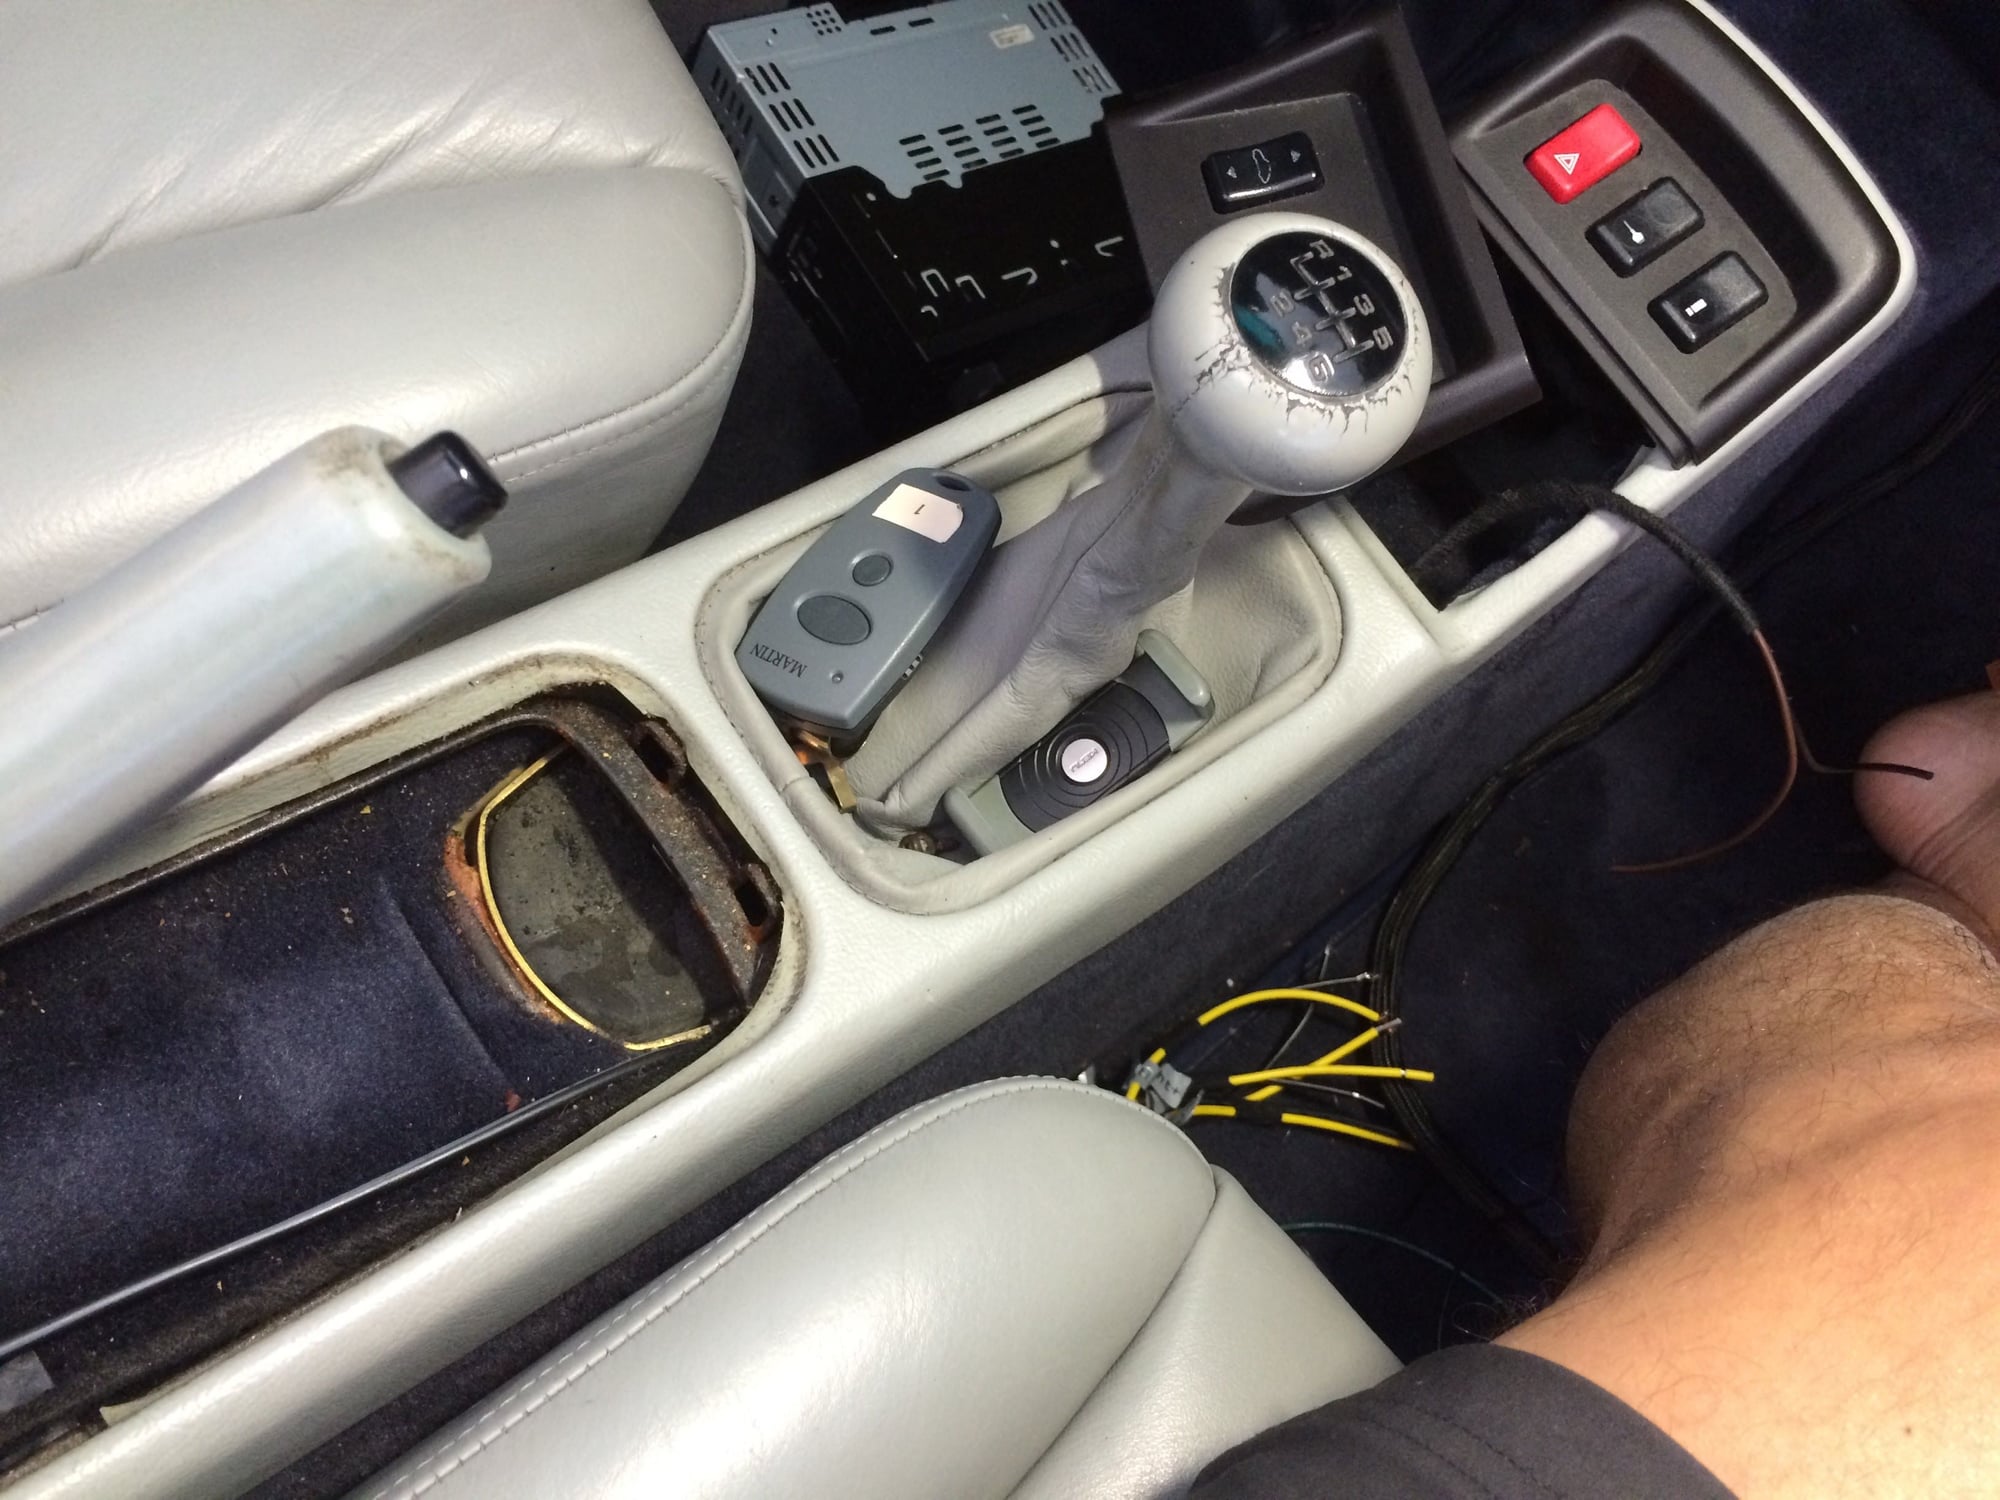
3. Removal of the plastic surround for the hand brake and screws holding the tunnel in place
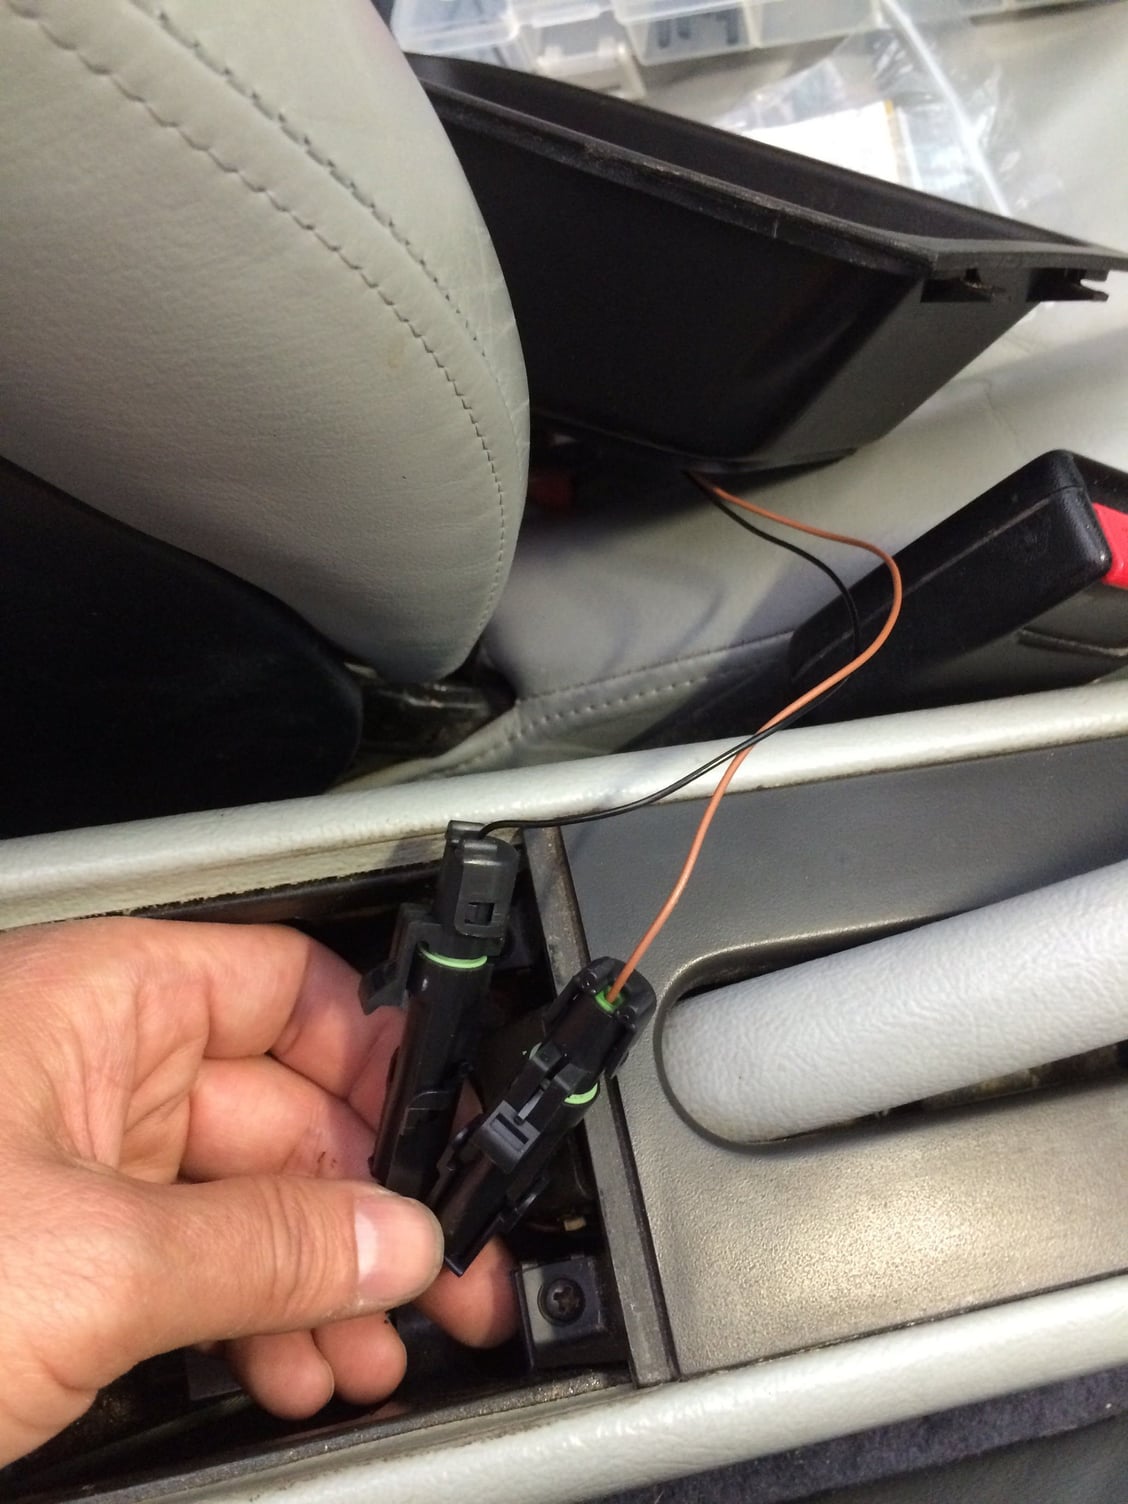
4. The new wiring coming out of the front switches
5. Homelink fitted to the tray with the wiring coming out the hole in the bottom
6. Testing the connection
7. Ground connection
8. Power connection. The SOLID RED wire. I then used Tesa tape to wrap the connection for a secure and OEM look.
9. DONE!
Last edited by will007; 07-04-2016 at 01:55 AM.
Reason: grammer
Nice job, very clean. I went about it in a different way. I bought a two-pole Porsche switch and installed it in the lower center console slot. It activates my two openers which are hidden under the console.
 07-04-2016, 01:49 AM