When you click on links to various merchants on this site and make a purchase, this can result in this site earning a commission. Affiliate programs and affiliations include, but are not limited to, the eBay Partner Network.
Hi guys,
Got a problem I think may have an obvious solution but I'm having difficulty finding a previous post on the matter.
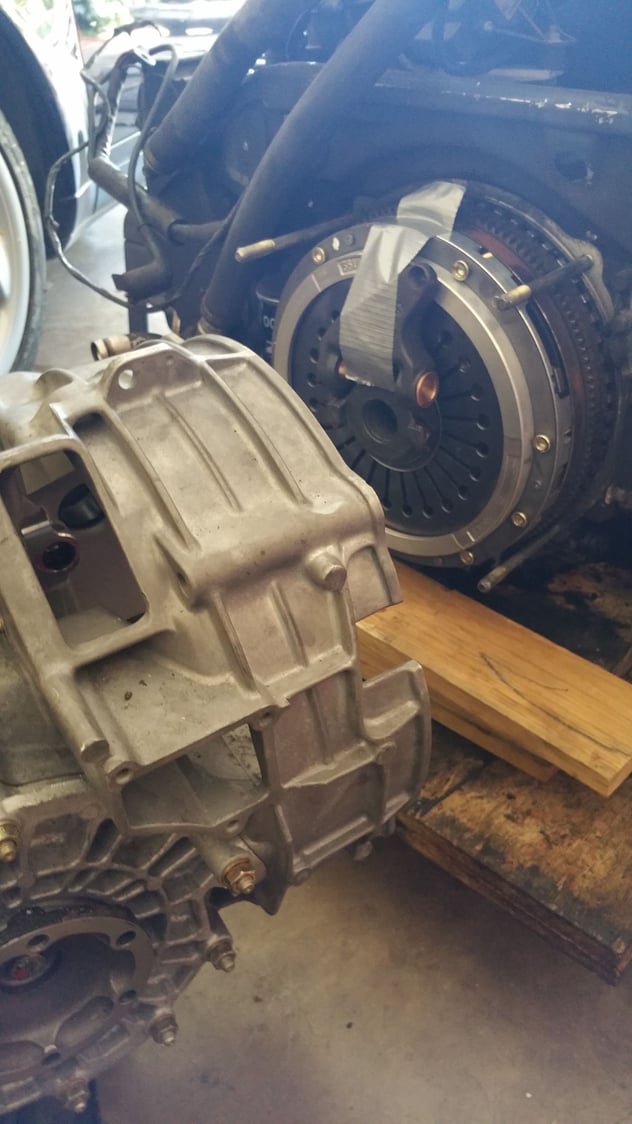
In trying to mate the transmission to the motor, I am having difficulty with what I believe is a misalignment of the splines between the clutch plate and the transmission.
Having just gotten the bell housing back from the magicians at California Motorsports, it would stand to reason that things have moved since the engine and trans were together. My question is - assuming my theory is correct - what is the best way to realign these splines?
I can easily get the gearbox back on the studs but there's obviously no wiggle room once it is seated. Can't imagine I'm the first guy to have this problem but given the length of time and money spent to get the gearbox in good order, I really want to do this right.
Appreciate any insight you guys may have and any redirects to previous posts on this.
Now onto bleeding the clutch and a handful of other small things before the motor goes back in the car!
This is all very exciting. Having bought the car in 2013, driven it 80 miles before the bell housing failure ...this has been a very long time coming. She hasn't moved under her own power since then. Here's hoping the week ends with on a very happy air cooled note.
Also - as to your question of cost, I'm not entirely sure. I had the bell housing broken down by a shop here in the Dallas area.
They shipped it out and back for the repair and I paid Mayo performance for everything. I know what my invoice was from them but I do not know the exact answer to your question.
I cannot speak highly enough about both shops though. It was not cheap but they both did fantastic work.
Grab the output flanges together and turn them together forward and back as you wiggle the transmission forward, it will help rotate the input shaft into place.
Also, have you put a little lube on the input shaft?
Bleeding the clutch was strange. If you are pressurizing the system, you have to fill the reservoir until it almost over flows, otherwise it sucks air.
Hi Adam, I remember you and your car from the original DFW Fister soundoff! I was lucky to see it in one of those 80 miles I guess! Hopefully you'll have her back on the road shortly.
On the clutch, I bled mine with the motive twice. Once dry, once wet. Wet was infinitely easier and well worth the additional work of cleaning up of the motive afterwards. Bleed the brakes at the same time for additional labor payoff. Good luck!
Thanks for the tip Vince - I'm starting that job now.
JB - I remember meeting you as well and I greatly value additional labor payoff. Excellent call! So far I've spent considerable effort getting very short distances with tremendous difficulty(see Rear Main seal, trying to replace lover valve cover gaskets without removing heat exchangers, seized fuel filter fitting, et al).
As to the outcome of that soundoff - my Fister II's arrived just over a week ago. I knew that day that this was a must and I am VERY eager to hear the new sound.
Back to the garage. I'll follow up with updates.
As we all know - there is no glory without suffering.
Thanks Will! I've followed along with the Soda Blasting and Zinc Plating. Very cool stuff.
Sadly, I made no progress on the clutch today. Turns out the power bleeding tools I needed were not readily available off the shelf. Having seen other have success with the Motive Power Bleeder, I ordered one this afternoon, hopefully to arrive Friday.
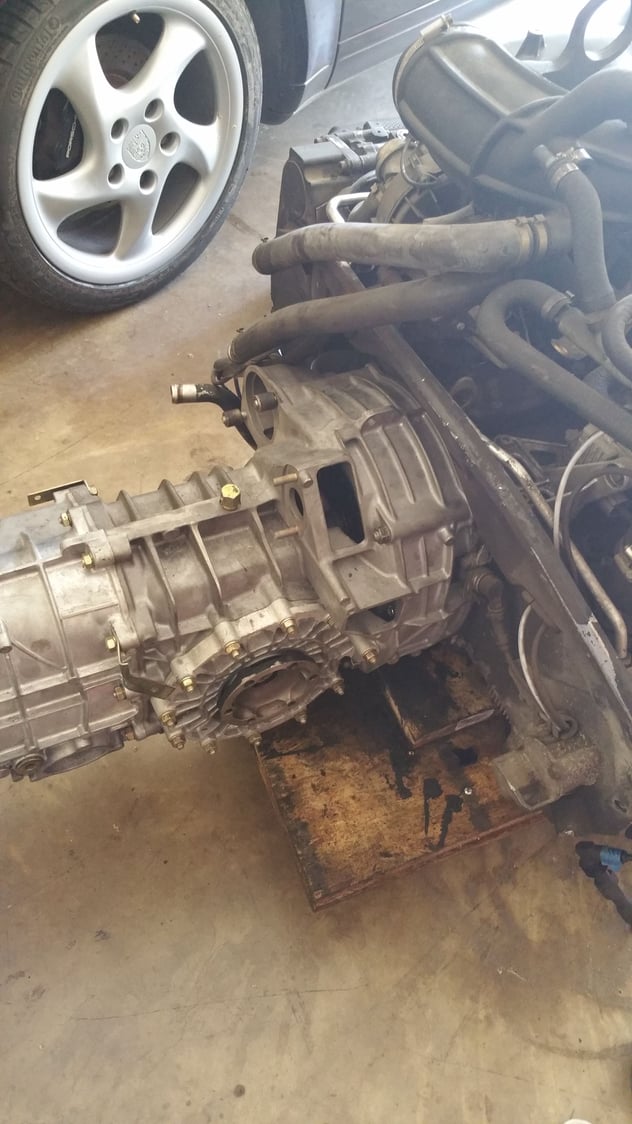
In the interim, I think I'll focus on getting the engine in place. I'd much rather bleed the clutch with it out but you've gotta make hay while the sun shines. Once in, I've got to pull the manifolds and heat exchangers to complete the lower valve gasket job. I decided to go that route once it became clear those obstructed bolts were in no mood to come out. Heeding the advice of many on this board and hopefully saving some hassle overall.
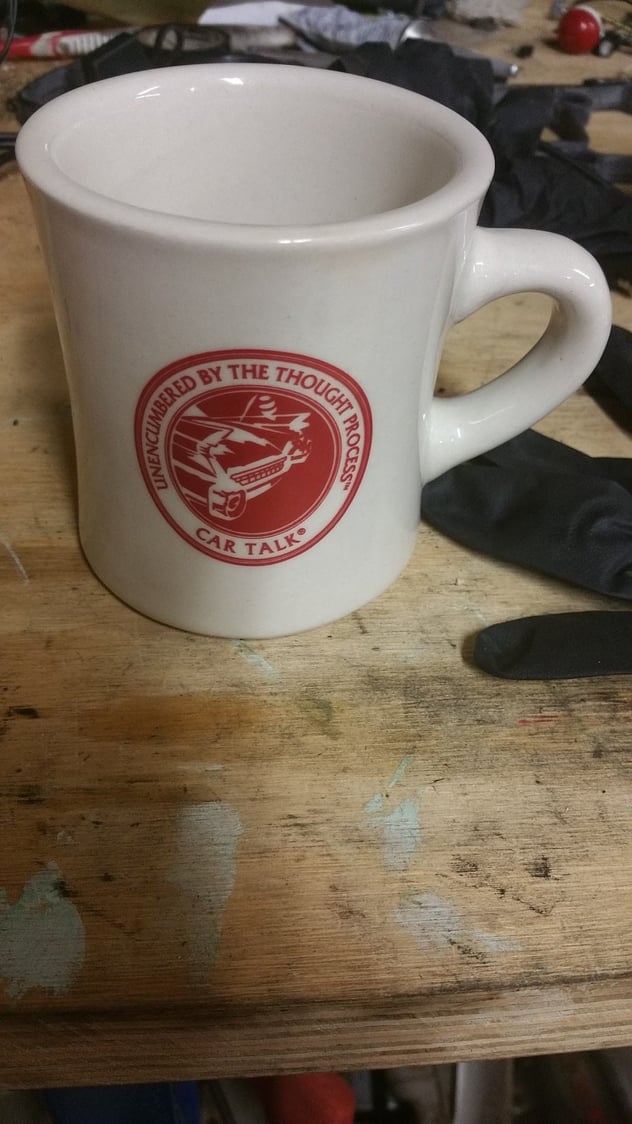
Given my lack of progress today, I think I'll switch mugs for tomorrow morning's pot of coffee. This one just feels more appropriate.
In the interim, I think I'll focus on getting the engine in place. I'd much rather bleed the clutch with it out but you've gotta make hay while the sun shines. Once in, I've got to pull the manifolds and heat exchangers to complete the lower valve gasket job. I decided to go that route once it became clear those obstructed bolts were in no mood to come out. Heeding the advice of many on this board and hopefully saving some hassle overall.
Given my lack of progress today, I think I'll switch mugs for tomorrow morning's pot of coffee. This one just feels more appropriate.
Thanks Will! I've followed along with the Soda Blasting and Zinc Plating. Very cool stuff.
Sadly, I made no progress on the clutch today. Turns out the power bleeding tools I needed were not readily available off the shelf. Having seen other have success with the Motive Power Bleeder, I ordered one this afternoon, hopefully to arrive Friday.
In the interim, I think I'll focus on getting the engine in place. I'd much rather bleed the clutch with it out but you've gotta make hay while the sun shines. Once in, I've got to pull the manifolds and heat exchangers to complete the lower valve gasket job. I decided to go that route once it became clear those obstructed bolts were in no mood to come out. Heeding the advice of many on this board and hopefully saving some hassle overall.
Given my lack of progress today, I think I'll switch mugs for tomorrow morning's pot of coffee. This one just feels more appropriate.
At your local home improvement store, you can do the same as a Motive Power bleeder with a hand held sprayer, some tubing and small brass fittings...Smaller is better with regards to the sprayer.
Truth be told, I have a power bleeder and it works great, but I had not seen the hand held sprayer suggestion, till 1.5 yrs later
As Vince implied; much better/easier to bleed the clutch prior to installing the motor. The bigger your hands and forearms, the greater the difficulty, once installed in the car!
The lift I used obstructed the manifolds. Far from ideal but I was able to button everything up today.
Now I'll start to hook everything and bleed the systems when my equipment arrives.
This may ultimately be a good learning experience as my rotors are all pretty heavily oxidized, as one might expect. The car hasn't travelled more than 100 miles in the last 3+ years. I realize this may be surface rust but in case they need to be swapped, at least now I'll know how to bleed the system.
This Builder Is Turning Heads With Its Slantnose 911 Creation
Slideshow: A small Polish tuner has reimagined the Porsche 911 Slantnose for the modern era, blending 1980s nostalgia with widebody tuning culture and serious performance upgrades.
Porsche 911 GT3 Artisan Edition Pays Homage to Japanese Culture
Slideshow: Porsche has created a Japan-only 911 GT3 Artisan Edition that blends track-ready hardware with design cues inspired by traditional Japanese craftsmanship.
Porsche Reveals Coupe Variant of the Electric Cayenne With a Fresh Look
Slideshow: Porsche's latest electric Cayenne Coupe blends dramatic styling with supercar acceleration, turning the brand's midsize SUV into a 1,139-horsepower flagship.