When you click on links to various merchants on this site and make a purchase, this can result in this site earning a commission. Affiliate programs and affiliations include, but are not limited to, the eBay Partner Network.
You'll know you've really caught the 993 disease when you're reading this thread to plan your own engine rebuild... and looking forward to it!
Somewhat helpful answer -- most of this stuff you take care of "while you're in there" for an issue the demands attention. For me, that is excessive oil consumption (probably) from valve guide wear.
Wow, this is impressive! I am not in the same league as you guys! But your project brings up a question I have regarding tune ups. I have a '96 4S that has 30k miles on it. At 18k "10 years ago" I replaced the plugs, rotors, caps, etc. The car still runs great.
Do these parts degrade over time? Should they be replaced again due to age? Or should I just let it be?
When u guys plug ur SAI what are you using to plug the ports?
I used 2" plumbing pipe testers. They worked great, but a one-time only use for them. The tectron/carb-cleaners started to eat away at the rubber and plastic. Worked like a charm though.
I am using SAI port plugs from Patrick Motorsport. Very easy to order from them, shipped right away. Kind of pricey at like $18 for the two plugs, plus like $11 shipping. Many here have used them.
Do these parts degrade over time? Should they be replaced again due to age? Or should I just let it be?
I would leave it be. Visually inspect plug wires for cracks and/or dry rot, check valve covers and cam chain covers and surrounding areas for oil leaks/seepage and if nothing found, put another 18k miles on it (at least).
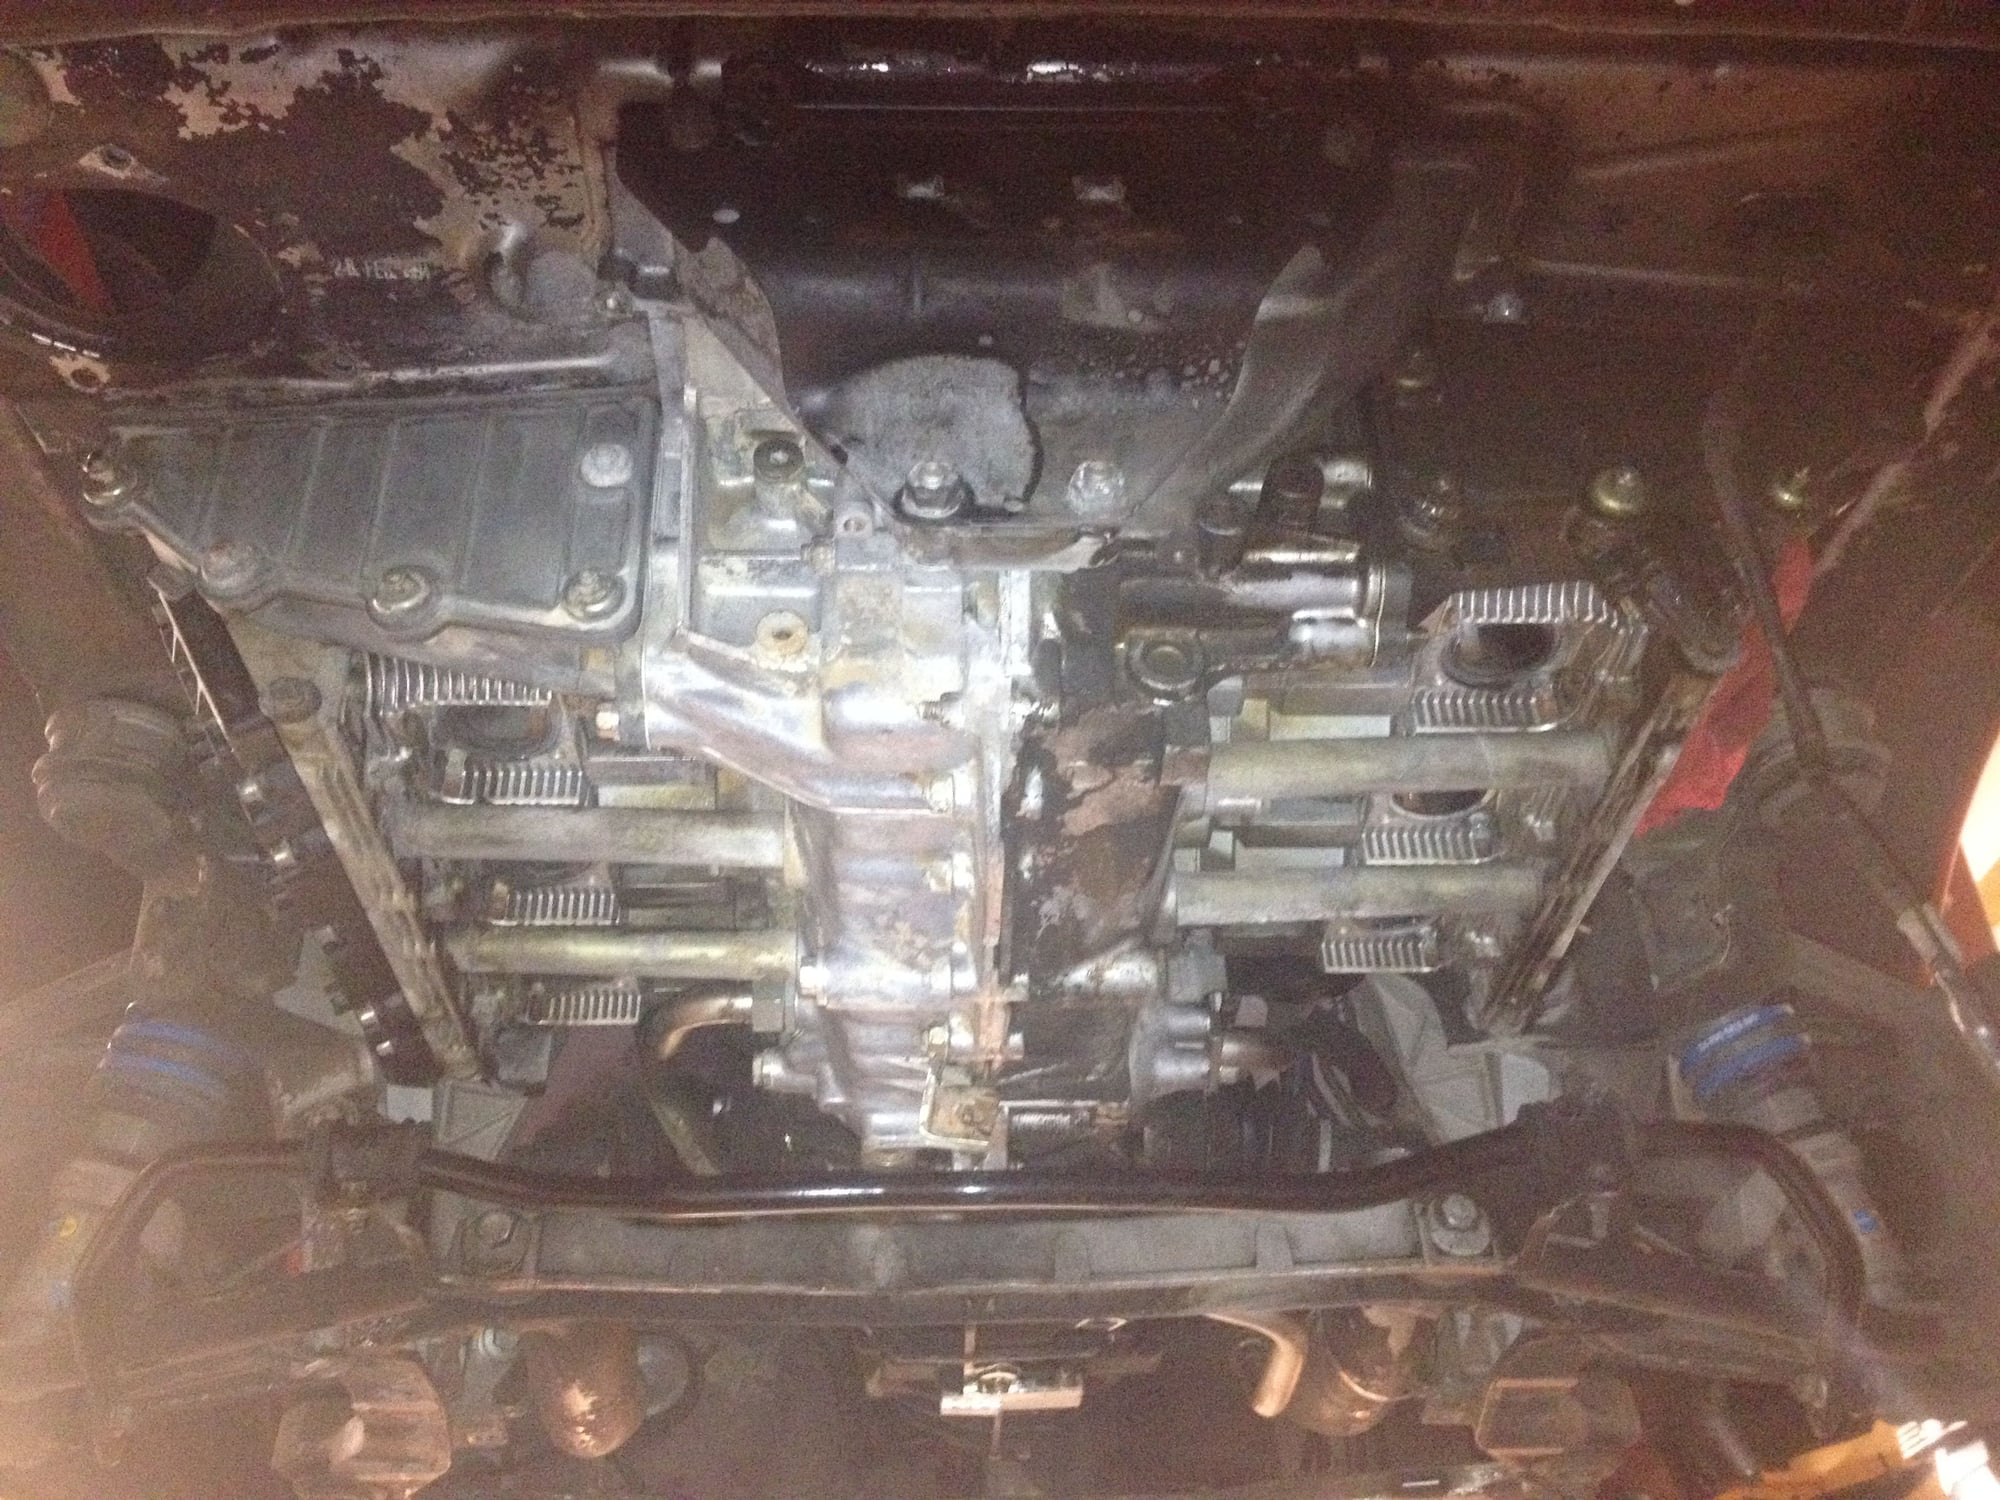
Crappy cell phone pic of engine cleaning progress. Drivers side clean (mostly) passenger side not. This is really dirty work. Contact cleaner and a toothbrush kind of thing.
I would leave it be. Visually inspect plug wires for cracks and/or dry rot, check valve covers and cam chain covers and surrounding areas for oil leaks/seepage and if nothing found, put another 18k miles on it (at least).
Exhaust nuts/bolts (at the cylinder head/header),
Alternator "fan" nut (on rear of alternator),
Alternator "pulley" nut (on front of alternator).
When re-installing the exhaust, is there a coating or some sort of RTV that is to be used on the exhaust gasket and head to header surface? There a remnants of RTV on the cylinder heads on the exhaust side, but not sure if that is from sloppy install by previous owner or factory recommended. I don't normally use anything at this surface. I have new gaskets for this.
Also, what size/shape tool/wrench do y'all use to turn the crank? All belts removed, alternator and fan removed, and lower plugs removed (no compression). I used a belt on the crank pully to turn the crank whilst I was servicing the hydro lifters, but would like to be able to put a wrench on it when the dizzy comes back to make sure I am at TDC #1.
I think it is the best collection of torque values in one place that I have found.
I don't see a number listed for the plastic fan at the front of the alternator shaft. All it does is hold that fan on though so I personally would wing that but if I had to guess, I'd say low, if the 7-10 ft lb range but I'd just go by feel, youll know when it is tight enough.
On the engine fan end that nut is listed as 37ft lb and note the three hex heads are listed at a lower 7lbs.
I just pulled out my new Bentley (as of yesterday!)to see what they listed for torque values as I am working on my alternator also and they may have an error. They say "Fan/alternator pulley to alternator shaft 14Nm (10ft lbs) which obviously is way lower than commonly listed 37 and way to low in my opinion. Unless somebody else can point out how I might be inferring this wrong I may start a new thread titled 'known Bentley errors' that any new owner can update their book with on purchase and we can bump it when if we find other errors. I don't think such a thread exists, does it? I've seen a few review threads but that turns into a lot of waffle Im looking for just an error thread. They did not list a value for the front plastic fan or the 3 hex bolts.
Edit... Hmmm earlier in the book 3-29 they have it listed correctly at 37. Maybe later 27-17 they are referring to the plastic fan at 10ft lbs, but in that case it is a little misleading to say fan/alternator pulley, they should just say (plastic) alternator fan ???
With page 27-17 ""Fan/alternator pulley to alternator shaft 14Nm (10ft lbs)" I believe they are referring to the 3 hex bolts that attach the fan pulley and fan to the fab bearing/hub.
I don't like that wording and those specs should be early with the belt replacement procedure (3-29) where they arnt listed and not with the alternator replacement, imo.
Thanks for the assist JB911. I have been to the pcarworkshop site many times, just never noticed the specifications page(s).
I am STILL cleaning, degreasing, and detailing stuff, but now at least I am on the assembly side of the equation. Alternator is ready for pick up, Dizzy should be done first week of '15, and by that time I should be ready for assembly.
SAI stuff removed today and Patrick Motorsports plugs installed.
I will post some before and after pics a little later, she was crazy dirty, to the point I am a little embarrassed I let it get so bad. Too busy driving her I guess.
The cleaning process is taking quite a bit longer than desired and/or anticipated but (as is obvious from pics) surely was time to do it. The trouble I have with this is that I can't really get it where I want it in terms of cleanliness with the engine in place. But engine removal is for another time.
Currently everything is cleaned and prepped and ready for re-assembly, just waiting on a last round of parts from Pelican (oil temp & pressure switches and various crush washers and O-rings) and for the dizzy to come back from the left coast.


 12-19-2014, 04:07 PM
 I am not in the same league as you guys! But your project brings up a question I have regarding tune ups. I have a '96 4S that has 30k miles on it. At 18k "10 years ago" I replaced the plugs, rotors, caps, etc. The car still runs great.


