Notices
993 Forum 1995-1998
Sponsored by:
Sponsored by:

Engine bay Insulation failing - Help

Thread Tools
 
Search this Thread
 
Old 08-07-2014, 12:22 AM
  #16  
Ed Hughes
Rennlist Member
 
Ed Hughes's Avatar
 
Join Date: Jul 2002
Location: Bend, OR
Posts: 16,523
Received 82 Likes on 56 Posts
Default

I'd have to look when I get home. I had it in my '84 for a few years-never had a fire!

Used it to seal up the 993 in Dec. No fire yet!
Old 08-07-2014, 12:38 AM
  #17  
soundbehindyou
Burning Brakes
Thread Starter
 
soundbehindyou's Avatar
 
Join Date: Feb 2014
Location: Scottsdale
Posts: 1,070
Received 217 Likes on 93 Posts
Default

Thanks for taking a look....good to hear no spontaneous combustion...
Old 08-07-2014, 10:31 AM
  #18  
mpruden
Three Wheelin'
 
mpruden's Avatar
 
Join Date: Sep 2013
Location: Folsom CA
Posts: 1,673
Received 51 Likes on 35 Posts
Default

Originally Posted by mike cap
Many complicated suggestions for a simple and common problem.

Buy a bottle of Pliobond Industrial Adhesive and some disposable battery brushes. Cut up six or eight pieces of cardboard to sue as wedges, maybe 6" squares.

Cover the engine with plastic in case you drip the Pliobond. Use the battery brushes to coat the foam and body metal with adhesive. No rush, the Pliobond will stay tacky for a while. Use the Pliobond liberally as it will soak in to the foam. Reach in as far as you can with the battery brushes to get adhesive back in.

When done use the cardboard wedges to hold the foam up against the body metal and let the adhesive set overnight.

I did this ten years ago and the insulation still looks perfect.
I'm having a hard time understanding the battery brushes and cardboard wedges. Can you clarify?

What's so special about using them? Wouldn't a brush with longer bristles be better suited to reaching far back between the failing pad and metal?

Also, do you push the cardboard over the metal studs to give the pad more support while drying?

Thanks, and apologies if this is obvious to everyone else. I haven't finished my coffee this morning yet.
Old 08-07-2014, 10:58 AM
  #19  
x50type
Three Wheelin'
 
x50type's Avatar
 
Join Date: Jul 2007
Location: gretna
Posts: 1,712
Likes: 0
Received 2 Likes on 2 Posts
Default

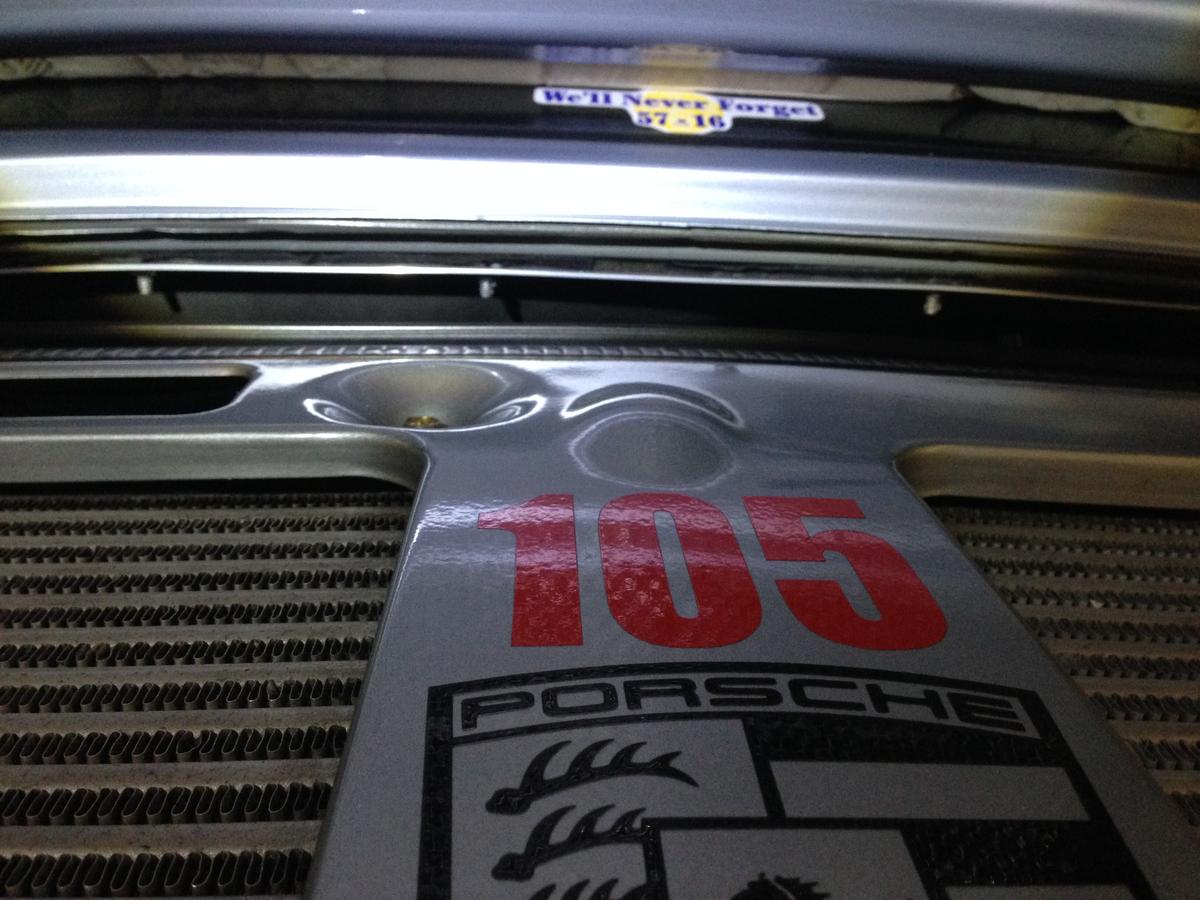
My Pliobond efforts were unsuccessful, probably because the foam is hard and prone to crack - hence the aluminum 1" strip to hold the top edge positively in place.

Old 08-07-2014, 11:23 AM
  #20  
OverBoosted28
Rennlist Member
 
OverBoosted28's Avatar
 
Join Date: Nov 2010
Location: Central California
Posts: 3,484
Likes: 0
Received 14 Likes on 13 Posts
Default

I used 1-1/2" aluminum stip and speed nuts. Was able to sandwich it more than just using the plastic trim thingys
Old 08-07-2014, 01:42 PM
  #21  
x50type
Three Wheelin'
 
x50type's Avatar
 
Join Date: Jul 2007
Location: gretna
Posts: 1,712
Likes: 0
Received 2 Likes on 2 Posts
Default

OverBoosted28

you have a photo of that? i'd like to see what you did.
Old 08-07-2014, 02:18 PM
  #22  
OverBoosted28
Rennlist Member
 
OverBoosted28's Avatar
 
Join Date: Nov 2010
Location: Central California
Posts: 3,484
Likes: 0
Received 14 Likes on 13 Posts
Default

Really simple. Go to Lowes or whatever, get 48"X1.5" aluminum strip & (I think) 3/32" speed nuts,cut to desired length, drill the five holes. Elongate the holes fore/aft a little so you don't have to fight aligning them.

Name:  image.jpg
Views: 728
Size:  124.3 KB
Old 08-07-2014, 06:25 PM
  #23  
x50type
Three Wheelin'
 
x50type's Avatar
 
Join Date: Jul 2007
Location: gretna
Posts: 1,712
Likes: 0
Received 2 Likes on 2 Posts
Default

This is a speed nut; you used these -- why?
Attached Images  
Old 08-07-2014, 07:05 PM
  #24  
OverBoosted28
Rennlist Member
 
OverBoosted28's Avatar
 
Join Date: Nov 2010
Location: Central California
Posts: 3,484
Likes: 0
Received 14 Likes on 13 Posts
Default

Originally Posted by x50type
This is a speed nut; you used these -- why?
No, these are speed nuts. I think I got some 3/32" and 1/8" so I made sure I had something that'd work.
The ones I found didn't have the rubber inserts as above. They were just zinc nuts.

Name:  image.jpg
Views: 757
Size:  133.3 KB
Old 08-07-2014, 08:42 PM
  #25  
cgfen
Rennlist Member
 
cgfen's Avatar
 
Join Date: Oct 2006
Location: Vista CA
Posts: 7,759
Received 894 Likes on 589 Posts
Default

apply adhesive
apply pressure

that's pretty much all there is to it

have fun.
Old 08-07-2014, 09:19 PM
  #26  
x50type
Three Wheelin'
 
x50type's Avatar
 
Join Date: Jul 2007
Location: gretna
Posts: 1,712
Likes: 0
Received 2 Likes on 2 Posts
Default

OverBoosted28

Old 08-08-2014, 12:33 PM
  #27  
sdm100
Rennlist Member
 
sdm100's Avatar
 
Join Date: Oct 2010
Location: Rhode Island
Posts: 937
Received 222 Likes on 116 Posts
Default falling foam

I took the thinnest aluminum bar painted it with bbq paint drilled out holes and used the stock plastic bits to hold it in place
Attached Images  
Old 08-08-2014, 02:13 PM
  #28  
MartinC2S
Burning Brakes
 
MartinC2S's Avatar
 
Join Date: Aug 2012
Location: Edmonton, Alberta
Posts: 756
Likes: 0
Received 14 Likes on 11 Posts
Default

sdm, what's that goop that's on the edge of the insulation?
Old 08-08-2014, 02:48 PM
  #29  
OverBoosted28
Rennlist Member
 
OverBoosted28's Avatar
 
Join Date: Nov 2010
Location: Central California
Posts: 3,484
Likes: 0
Received 14 Likes on 13 Posts
Default

That's why I used the metal speed nuts, can't tighten it enough (to sandwich the old edge of falling foam) with the plastic split fasteners
Old 08-08-2014, 04:23 PM
  #30  
pegdrag
Racer
 
pegdrag's Avatar
 
Join Date: Sep 2011
Location: Oregon
Posts: 413
Received 6 Likes on 6 Posts
Default

Is this the stuff??

http://solutions.3m.com/wps/portal/3...glD4G6G70WNFbl


Quick Reply: Engine bay Insulation failing - Help


All times are GMT -3. The time now is 12:45 AM.