Gasket replacement on exterior door handle
The following users liked this post:
oalvarez (08-23-2019)
#17


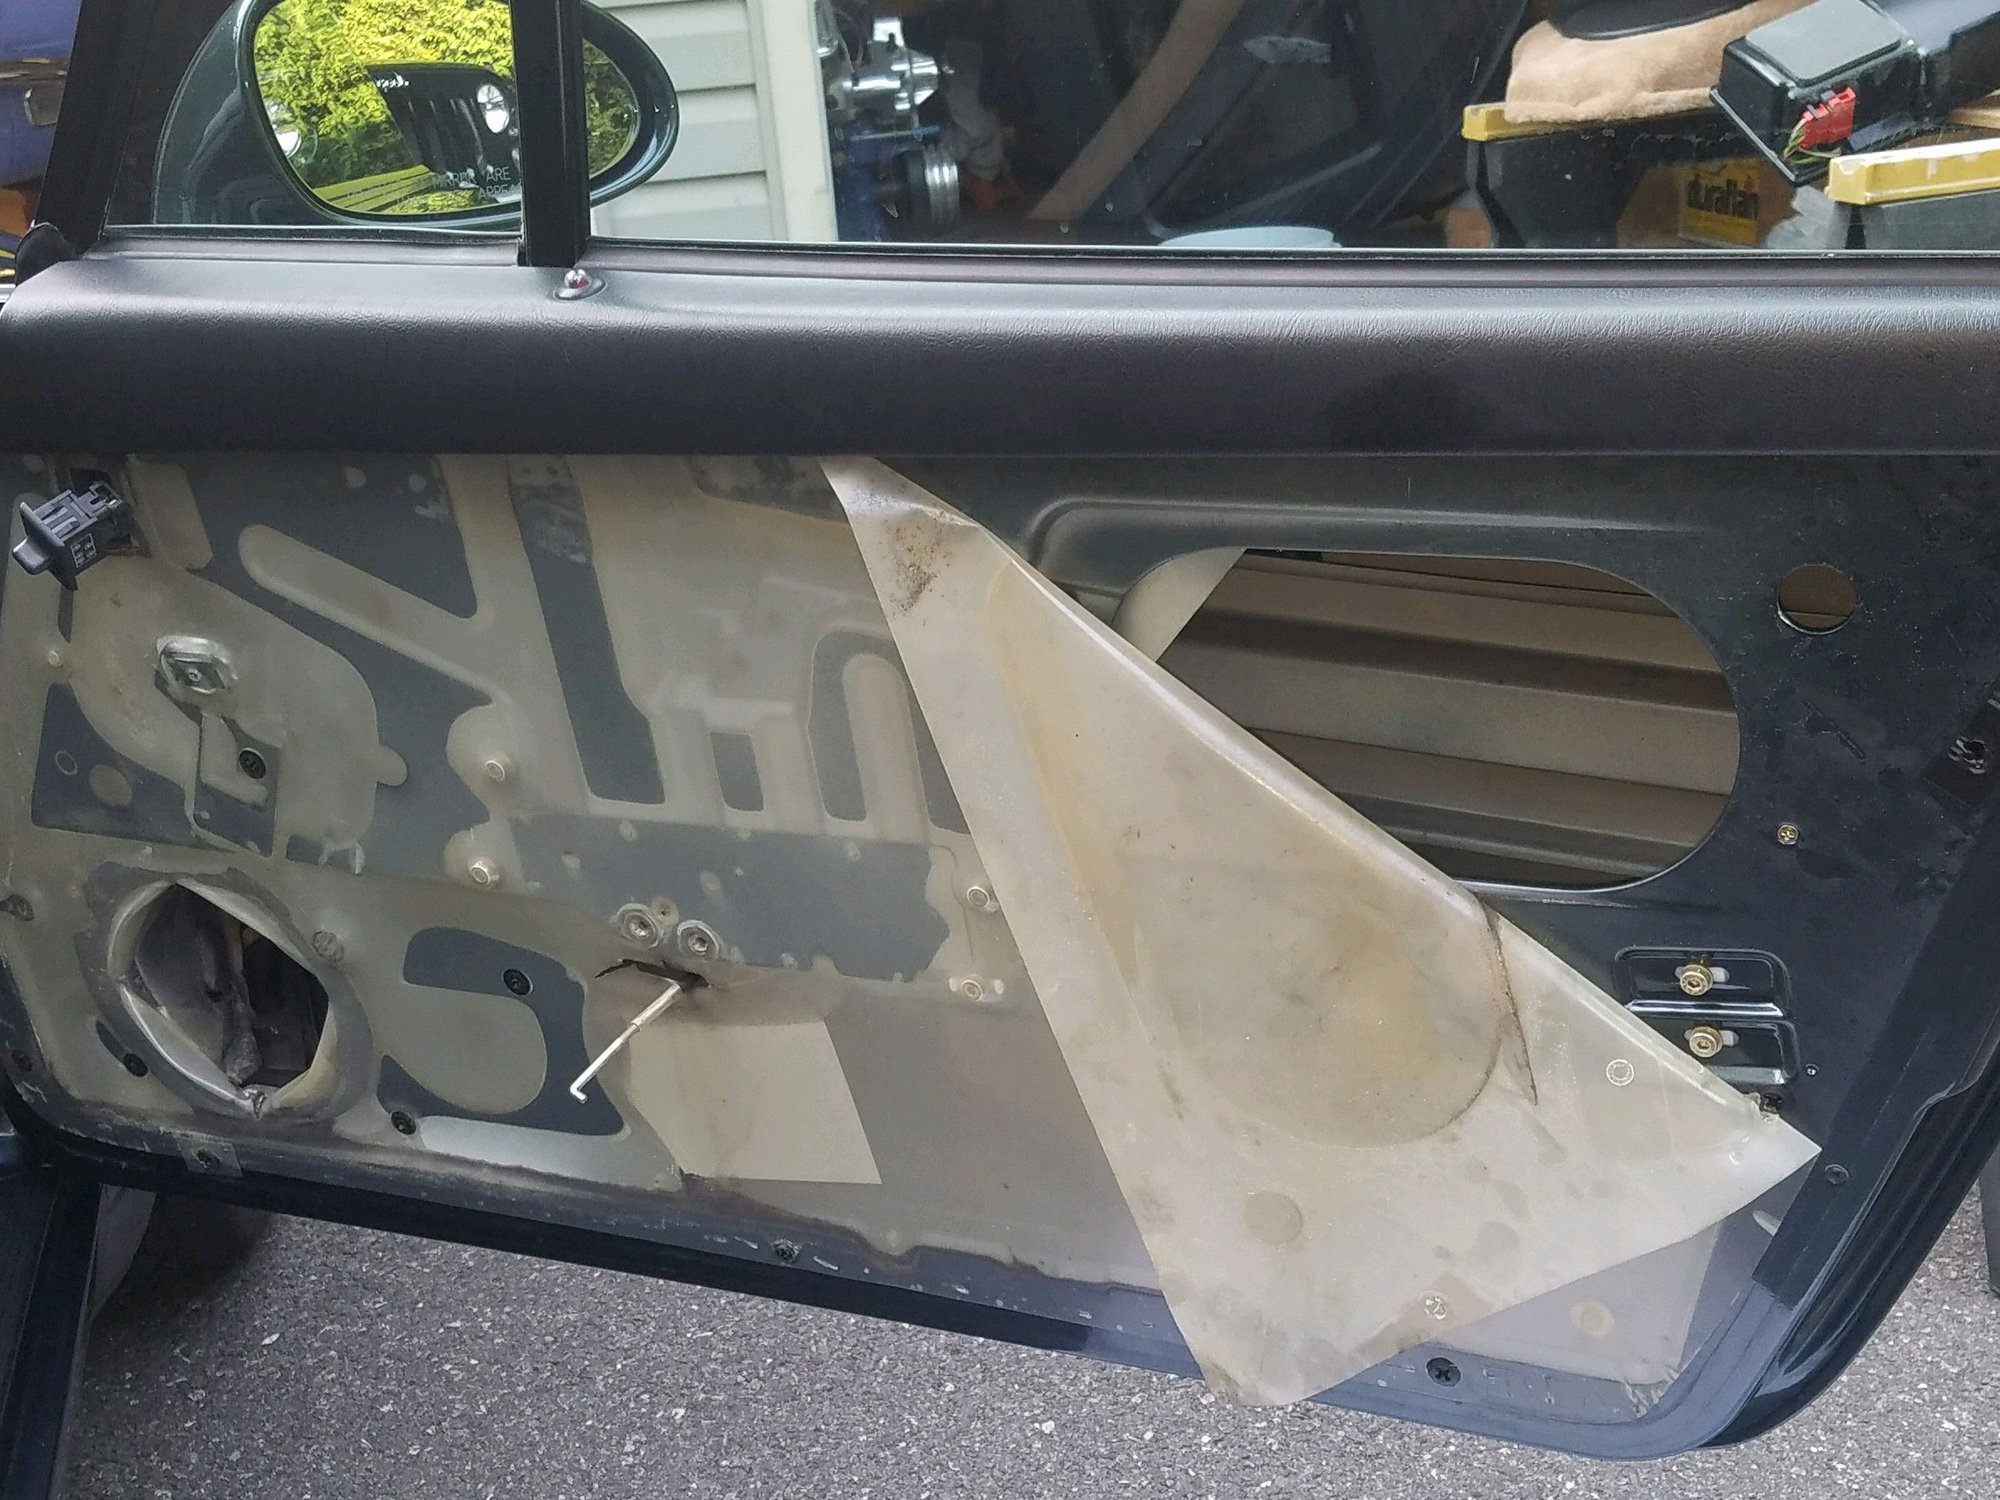
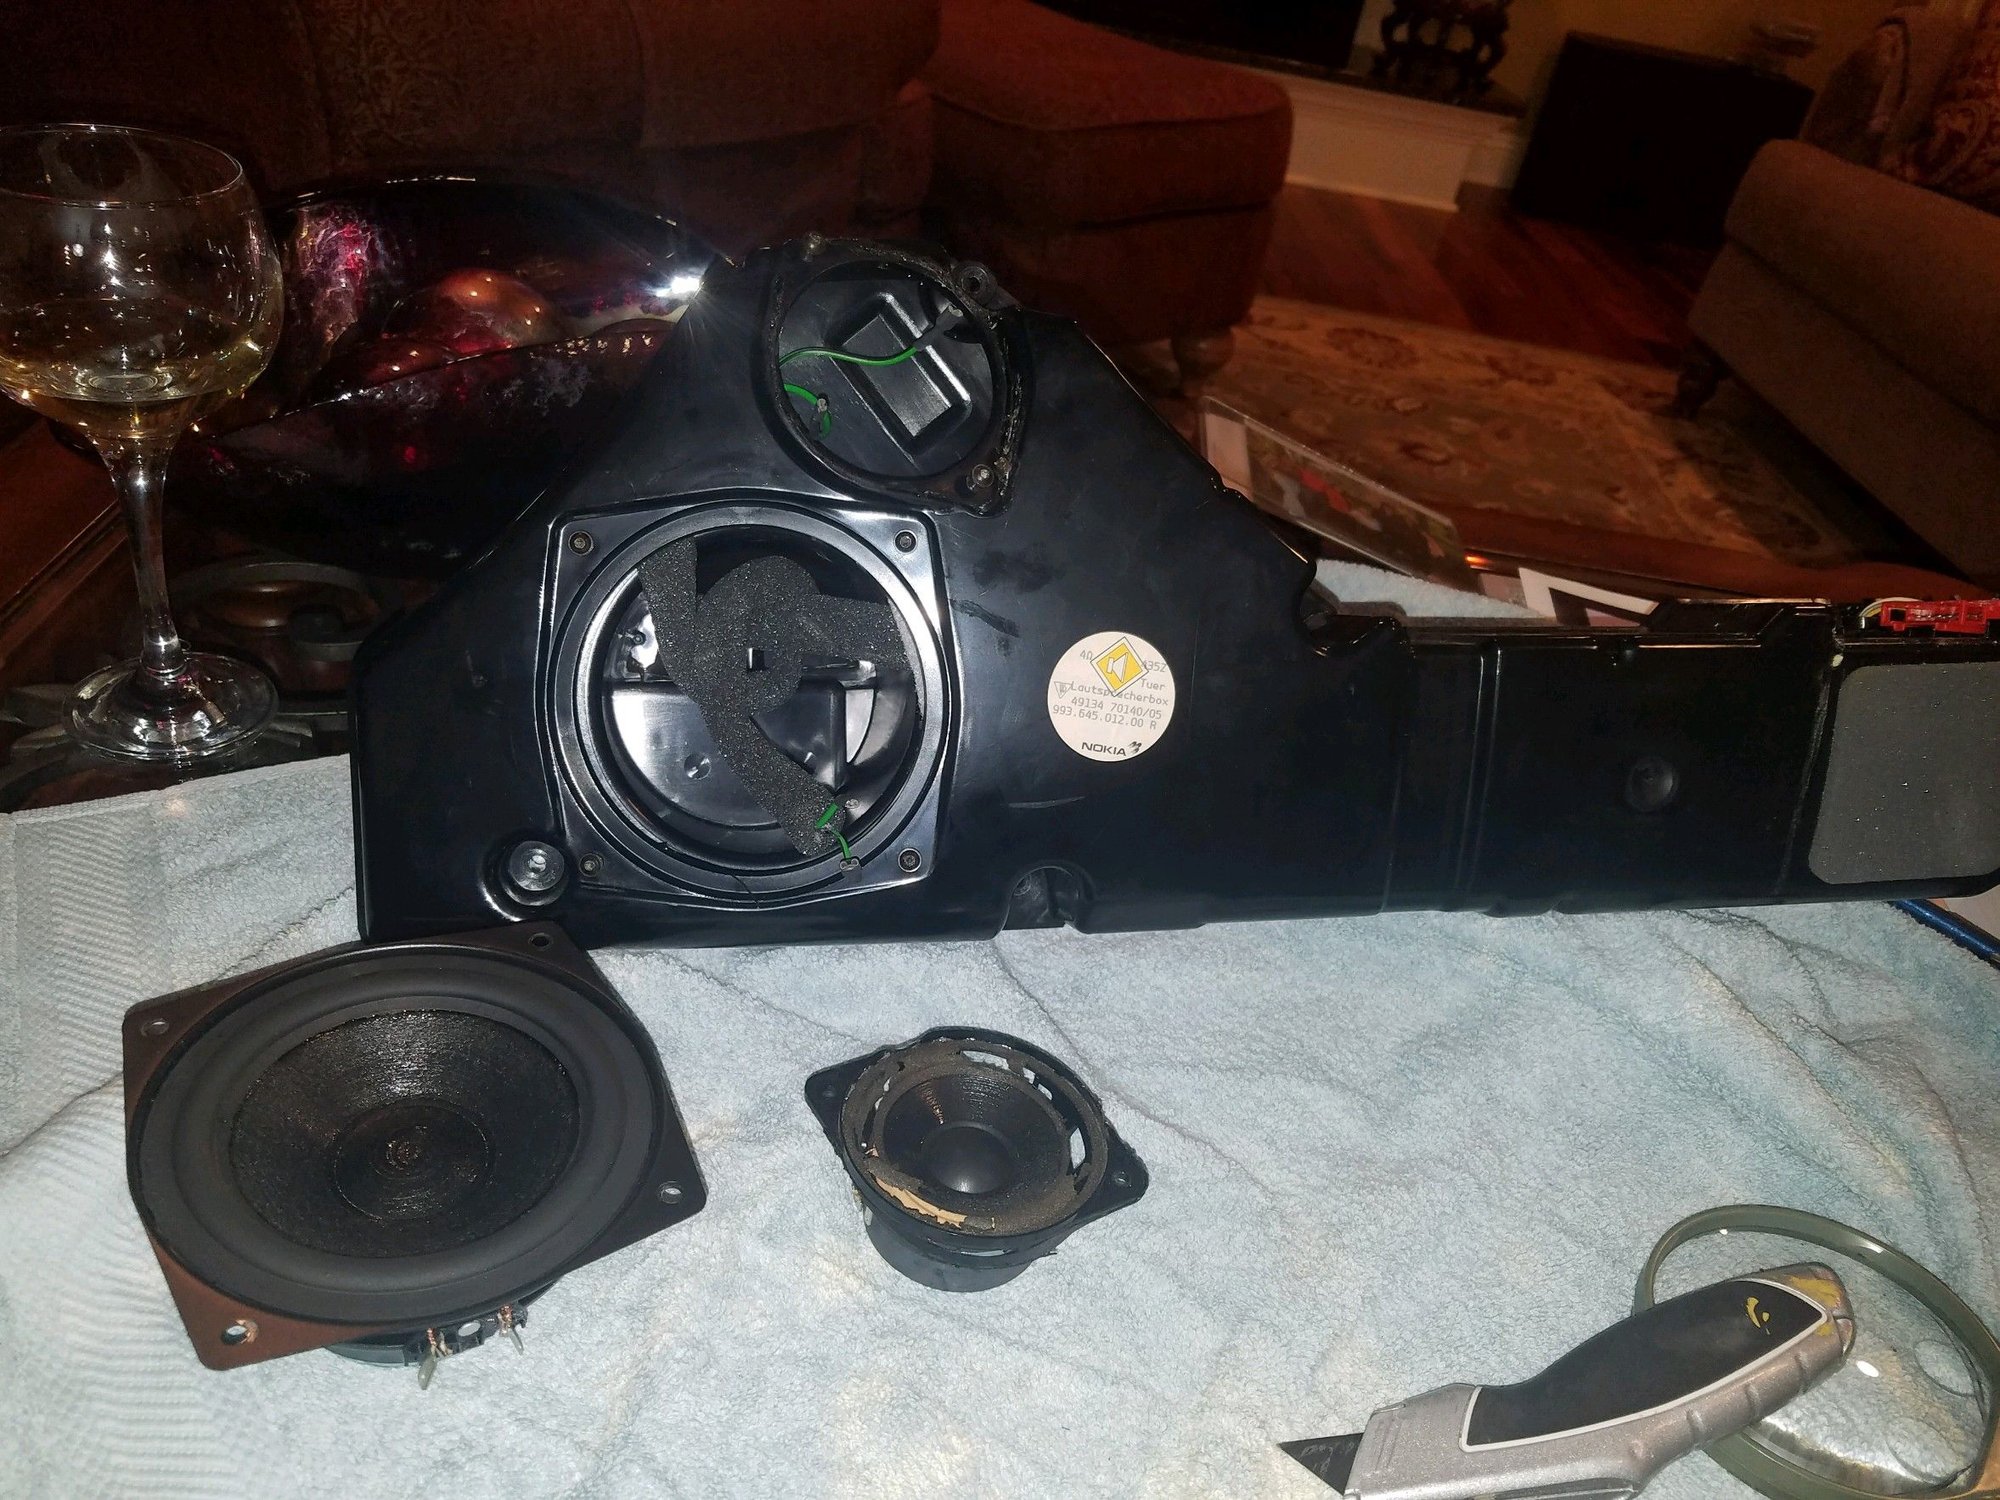
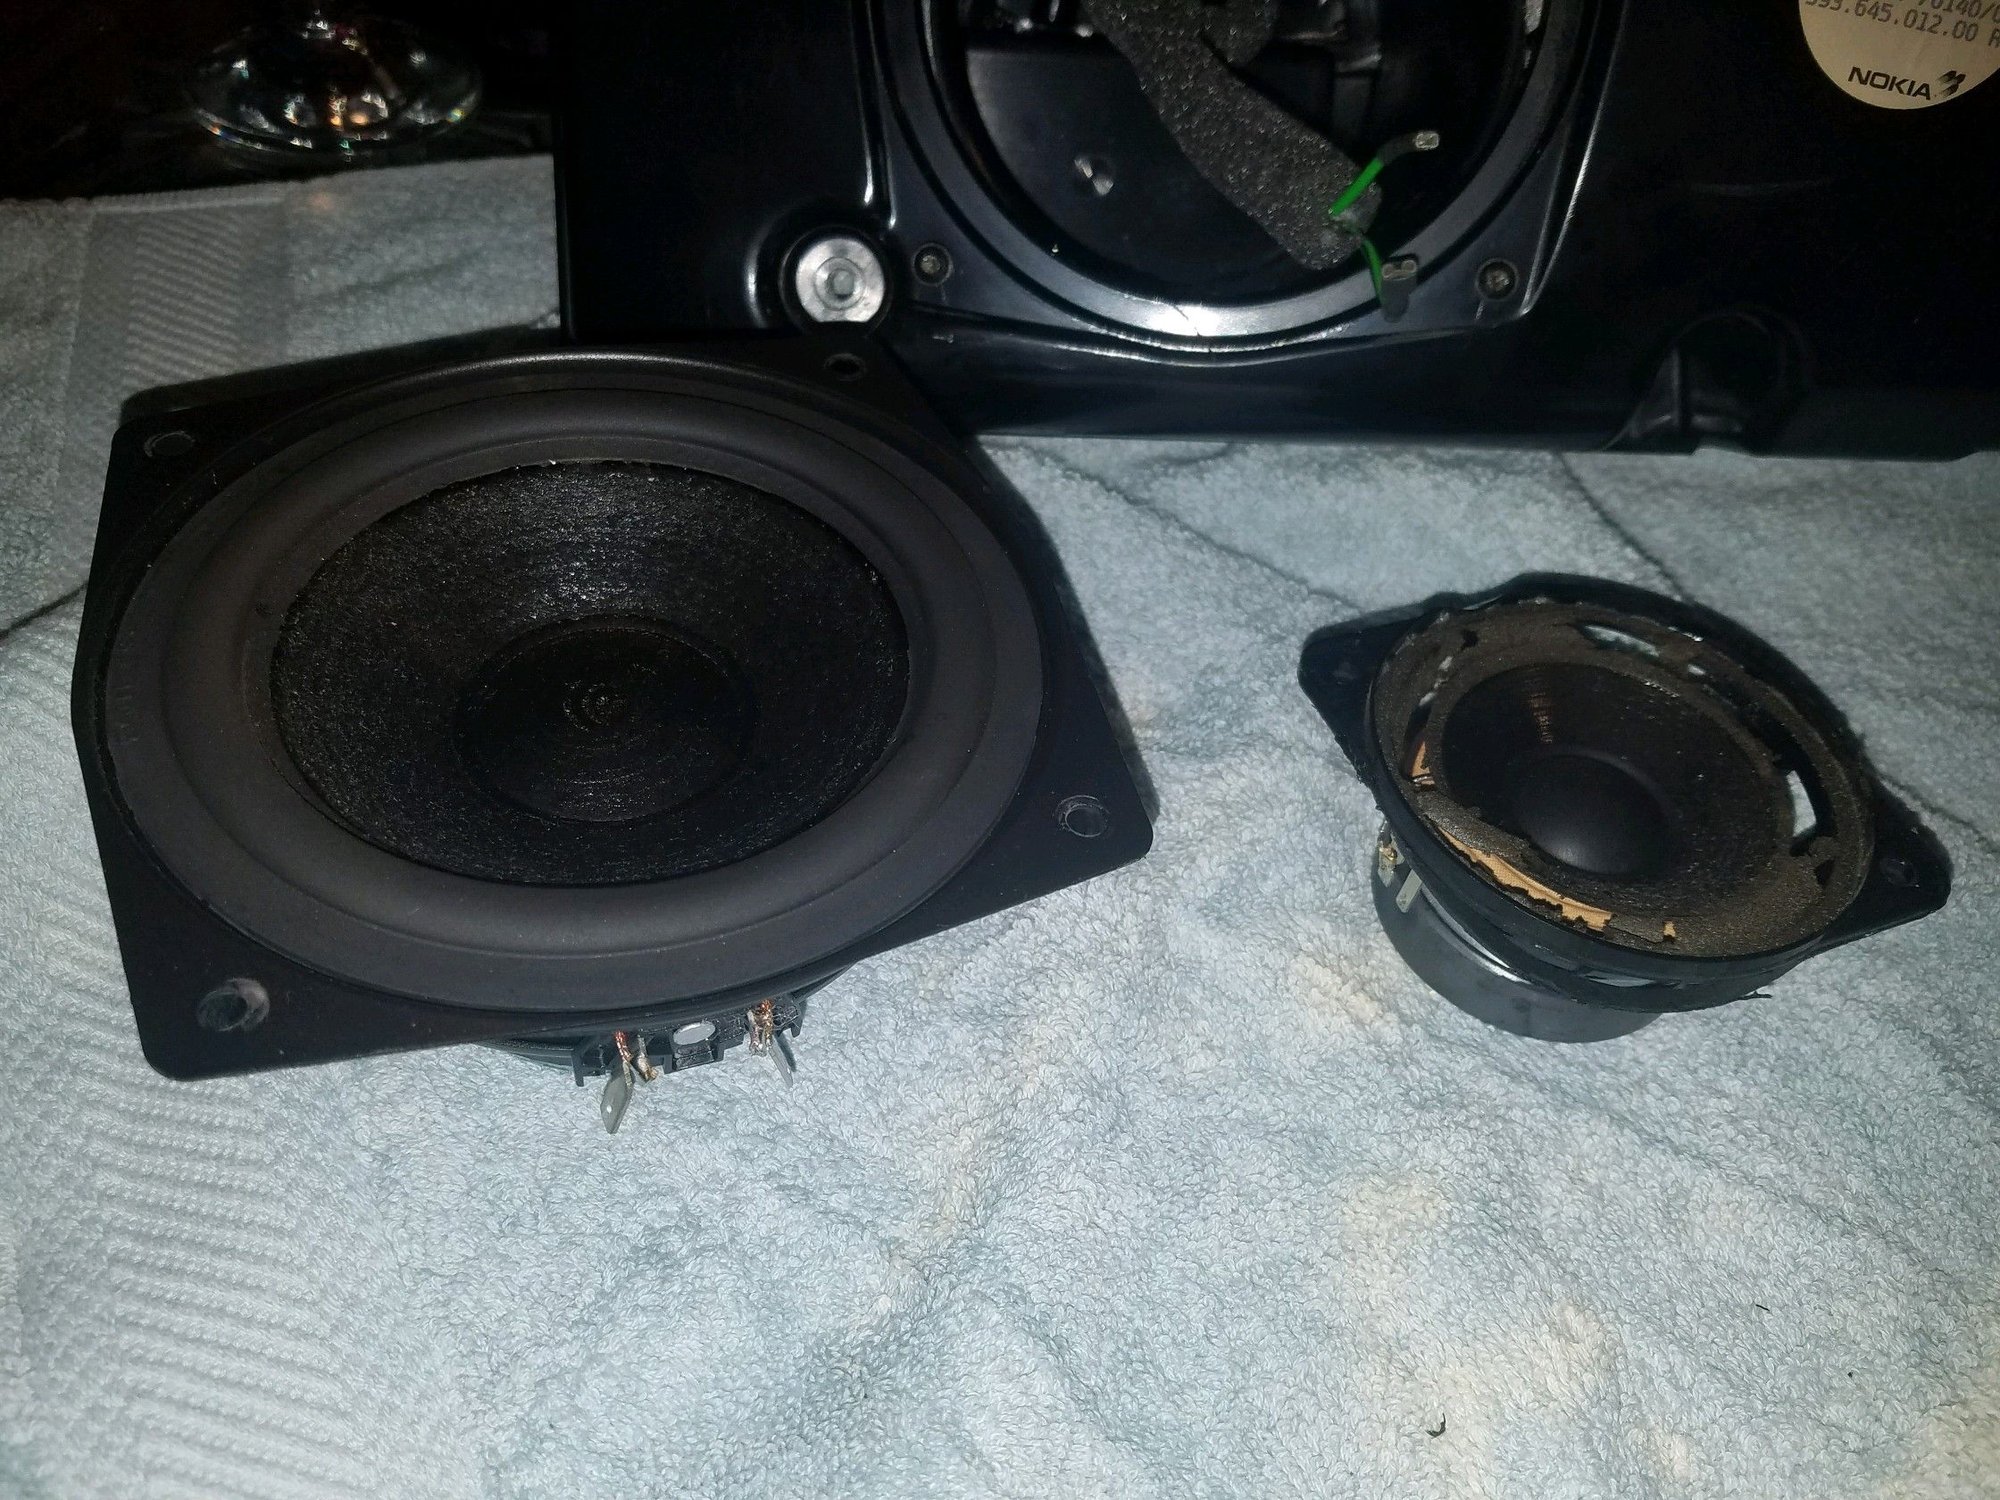
1,400 to do this is basically telling you they do not want the job but if you are willing to pay a significant premium they'll oblige. As a first timer I did one door today in 3 hours but did not finish because I want to address the speakers while I'm in there and I compounded the door handle area, polished and waxed the door. The most time consuming for me as a first timer was locating the fasteners and familiarizing myself with the disassembly, I used the Bentley service manual for pics which helped. PITA for me was figuring out how to reposition the plastic cover inside the door that blocks the furthest most nut.
#18
Advanced
I did this last weekend, fairly straightforward if you read up on the 'How to's' beforehand. Key is to make sure you get all the various screws, washers and bolts that retain the door card and inside door handle before yanking it off. One thing to note is making sure you unhook (and rehook) the door latch mechanism (small metal rod that connects to the inside door pull lever). Also be mindful of not breaking the speaker wire connectors as this will be attached. I didn't realised and now have no sound on my RHS speaker DOH! Also when I removed the window control switches the connectors fell back inside the door so have a pair of needle nose pliers to pull them forward enough to reconnect the switches if this happens.
It took me about 45 mins to do the first side and then 25mins to do the next one once I knew what to do.
It took me about 45 mins to do the first side and then 25mins to do the next one once I knew what to do.
#19
Rennlist Member
I've seen so much discussion of this, but have never seen anyone address the hardest part -- how to actually get the gasket in place once the handle is removed. The problem is that the handle has an attached wire that runs into the door and winds all over the damn place. So you have to either unhook the wire from the handle (which I couldn't figure out) or trace the wire all the way back, completely extricate it, then run it thru the gasket. That looked near impossible so I said screw it and just sliced the end of the gasket to get it over the wire. I always wondered if there's a more "proper" method. Anyone?
#20
I've seen so much discussion of this, but have never seen anyone address the hardest part -- how to actually get the gasket in place once the handle is removed. The problem is that the handle has an attached wire that runs into the door and winds all over the damn place. So you have to either unhook the wire from the handle (which I couldn't figure out) or trace the wire all the way back, completely extricate it, then run it thru the gasket. That looked near impossible so I said screw it and just sliced the end of the gasket to get it over the wire. I always wondered if there's a more "proper" method. Anyone?
I changed my gasket. There was no wire attached to the handle.
#21
Advanced
I've seen so much discussion of this, but have never seen anyone address the hardest part -- how to actually get the gasket in place once the handle is removed. The problem is that the handle has an attached wire that runs into the door and winds all over the damn place. So you have to either unhook the wire from the handle (which I couldn't figure out) or trace the wire all the way back, completely extricate it, then run it thru the gasket. That looked near impossible so I said screw it and just sliced the end of the gasket to get it over the wire. I always wondered if there's a more "proper" method. Anyone?
#25
Yes that's mine. Can't remember but it wasn't a problem replacing the gaskets, just need baby hands and double jointed wrists.
#27
Rennlist Member
Hmm. So I guess you unplugged the wire and extricated it from the door so you could get the gasket over it. Maybe in my car they just went a little crazy with the routing because extricating the wire seemed too complicated.
#28
RL Community Team
Rennlist Member
Rennlist Member
The following users liked this post:
Gjbacci (11-03-2022)
#29
RL Community Team
Rennlist Member
Rennlist Member
- To keep it simple couldn't one just put a slit in the gasket on the underside of the handle where it is not visible and is not subject to water run-off like the top of the gasket is. Would this eliminate the need to entierly remove the handle, just loosen it up a little to slide the gasket under it?
- The easiest way to fix it may be to use a little black silicone calk from a small squeeze tube to form a replacement bead where the original one cracked off and be done with it?
#30
- To keep it simple couldn't one just put a slit in the gasket on the underside of the handle where it is not visible and is not subject to water run-off like the top of the gasket is. Would this eliminate the need to entierly remove the handle, just loosen it up a little to slide the gasket under it?
- The easiest way to fix it may be to use a little black silicone calk from a small squeeze tube to form a replacement bead where the original one cracked off and be done with it?
Honestly, I didnít think this DIY was that big a deal - and Iím no MacGyver. It took about an hour for one door.
The following users liked this post:
Gjbacci (11-03-2022)


