project M003
 05-10-2014, 03:10 PM
#1
Racer
Thread Starter
Join Date: Apr 2009
Location: London
Posts: 427
Likes: 0
Received 0 Likes
on
0 Posts
Seeing as there's so many wonderful project threads up here I thought i'd add my own. Some folk may have seen my car already on my webiste.
Spec is:
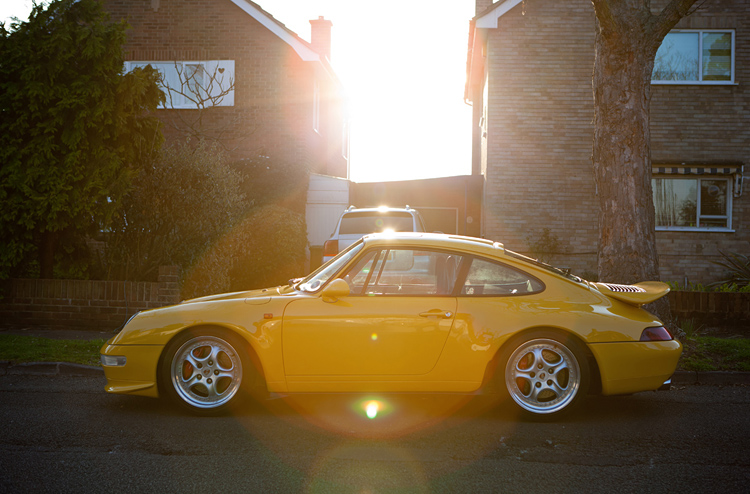
993 C2, 1995, manual, varioram, speed yellow/blck interior
M220 ABD LSD 4ch. ABS
Rolled arches
Hardbacks
RS M002 aero kit
RS speedline alloys
RS calipers f&r
RS discs f&r
RS uprights
RS front wishbones
RS evo tie rods
RS front ARB
RS bushed rear A arms
RS bushed rear Kine arm
RS rear arb
RS monoballs f&r
RS engine carrier
RS short shift
RS engine mounts
RS heater blower tube
RS steering wheel
RS gearshift lever
RS front carpet
Goldenrod
PSS10
Solid rear side bushes
AC delete
Headlight washer delete
Decat pipes
Hargett valve covers
Fister D tips
Pagid RS29
Well anyway the itch to fiddle has set in again and I am heading for a new round of mods. I'm not certain exactly where I will end up this time round but here is the current definite list:
Bare metal M003 interior
Fully welded M003 replica cage
Sunroof delete
M003 buckets
RS door cards
Manual windows
Manual mirrors
Central locking delete
M003 instrument cowling
M003 glovebox
M003 lower dash protection strips
M003 ashtray
M003 battery cut off
M003 aero kit, rear spoiler and front splitter
RS aluminium bonnet
RS bonnet strut
RS washer bottle
RS storage tray
Front tower seam welds
Front tow bar double skin
RS side and rear glass
Now here is where the wishlist starts and this will depend on time and money and parts etc.. I suppose these will still be done in time if not imminently.
3.8 M64/20
G50/32 + 40/65 LSD
SMF + RS clutch
RS gearbox mount
RS drive shafts
RS CV joints
Hydraulic brakes, actuator + RS mater cylinder
Spec is:
993 C2, 1995, manual, varioram, speed yellow/blck interior
M220 ABD LSD 4ch. ABS
Rolled arches
Hardbacks
RS M002 aero kit
RS speedline alloys
RS calipers f&r
RS discs f&r
RS uprights
RS front wishbones
RS evo tie rods
RS front ARB
RS bushed rear A arms
RS bushed rear Kine arm
RS rear arb
RS monoballs f&r
RS engine carrier
RS short shift
RS engine mounts
RS heater blower tube
RS steering wheel
RS gearshift lever
RS front carpet
Goldenrod
PSS10
Solid rear side bushes
AC delete
Headlight washer delete
Decat pipes
Hargett valve covers
Fister D tips
Pagid RS29
Well anyway the itch to fiddle has set in again and I am heading for a new round of mods. I'm not certain exactly where I will end up this time round but here is the current definite list:
Bare metal M003 interior
Fully welded M003 replica cage
Sunroof delete
M003 buckets
RS door cards
Manual windows
Manual mirrors
Central locking delete
M003 instrument cowling
M003 glovebox
M003 lower dash protection strips
M003 ashtray
M003 battery cut off
M003 aero kit, rear spoiler and front splitter
RS aluminium bonnet
RS bonnet strut
RS washer bottle
RS storage tray
Front tower seam welds
Front tow bar double skin
RS side and rear glass
Now here is where the wishlist starts and this will depend on time and money and parts etc.. I suppose these will still be done in time if not imminently.
3.8 M64/20
G50/32 + 40/65 LSD
SMF + RS clutch
RS gearbox mount
RS drive shafts
RS CV joints
Hydraulic brakes, actuator + RS mater cylinder
 05-10-2014, 03:11 PM
#2
Racer
Thread Starter
Join Date: Apr 2009
Location: London
Posts: 427
Likes: 0
Received 0 Likes
on
0 Posts
So here goes:

At this point I gave the car a good test drive and decided that it wasn't really that much noisier and in actual fact the added sounds added to the fun and sense of occasion.
At this point I gave the car a good test drive and decided that it wasn't really that much noisier and in actual fact the added sounds added to the fun and sense of occasion.
 05-10-2014, 03:13 PM
#4
Racer
Thread Starter
Join Date: Apr 2009
Location: London
Posts: 427
Likes: 0
Received 0 Likes
on
0 Posts
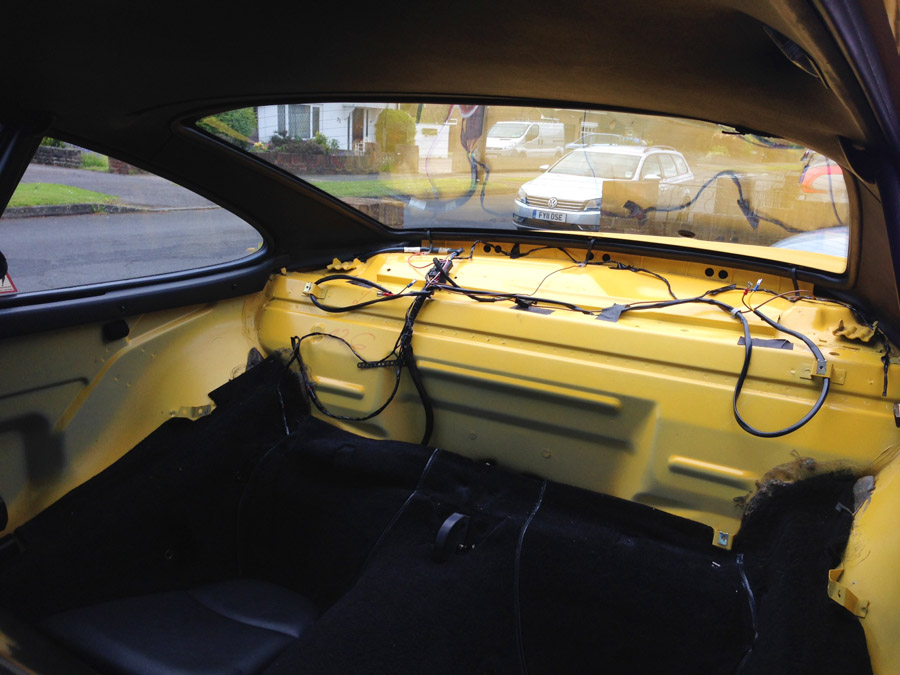
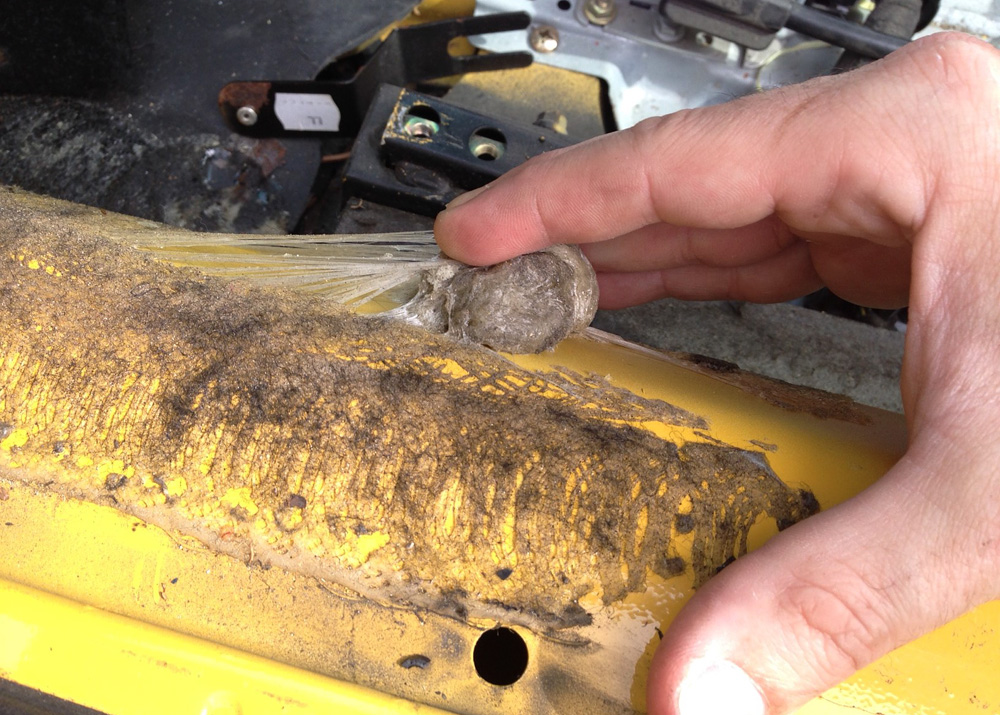
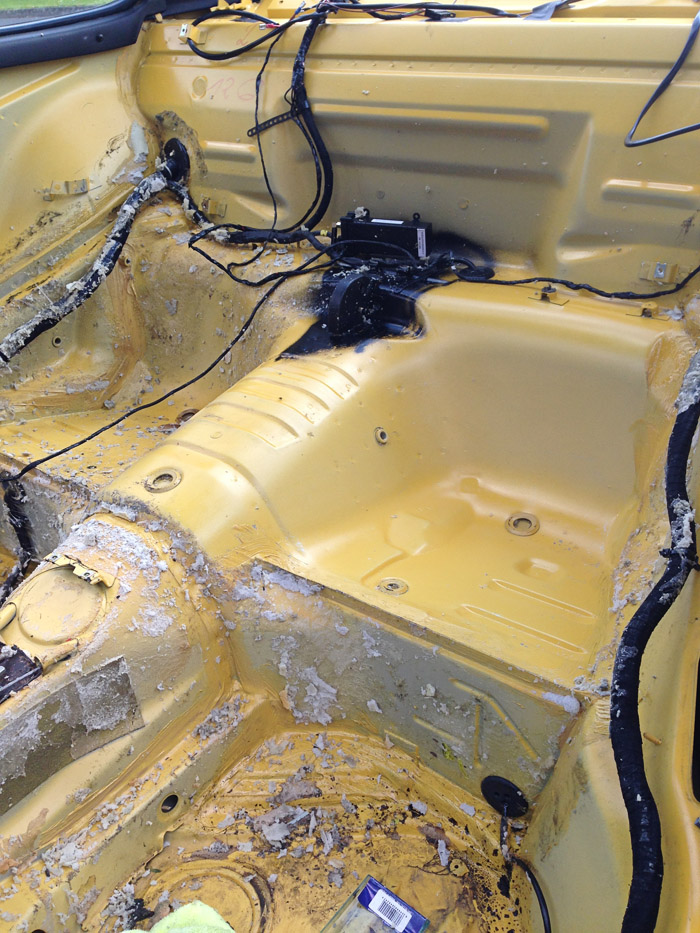
Onto teh seat area. Started the day like this:
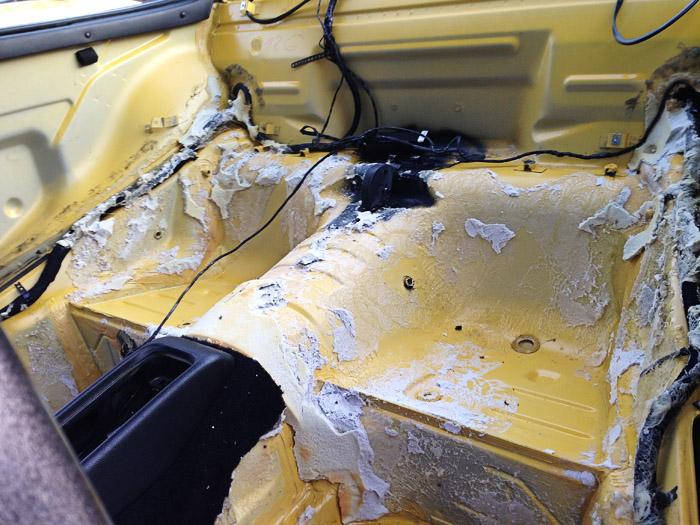
The glue doesn't show up that well against yellow in pictures but there sure is plenty there.
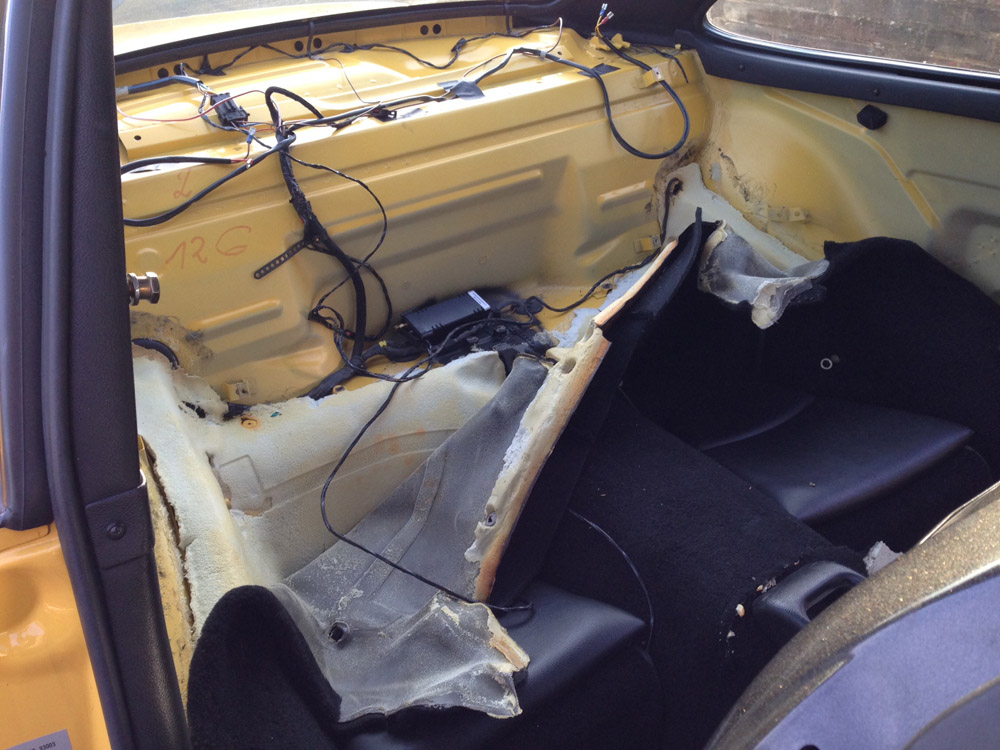
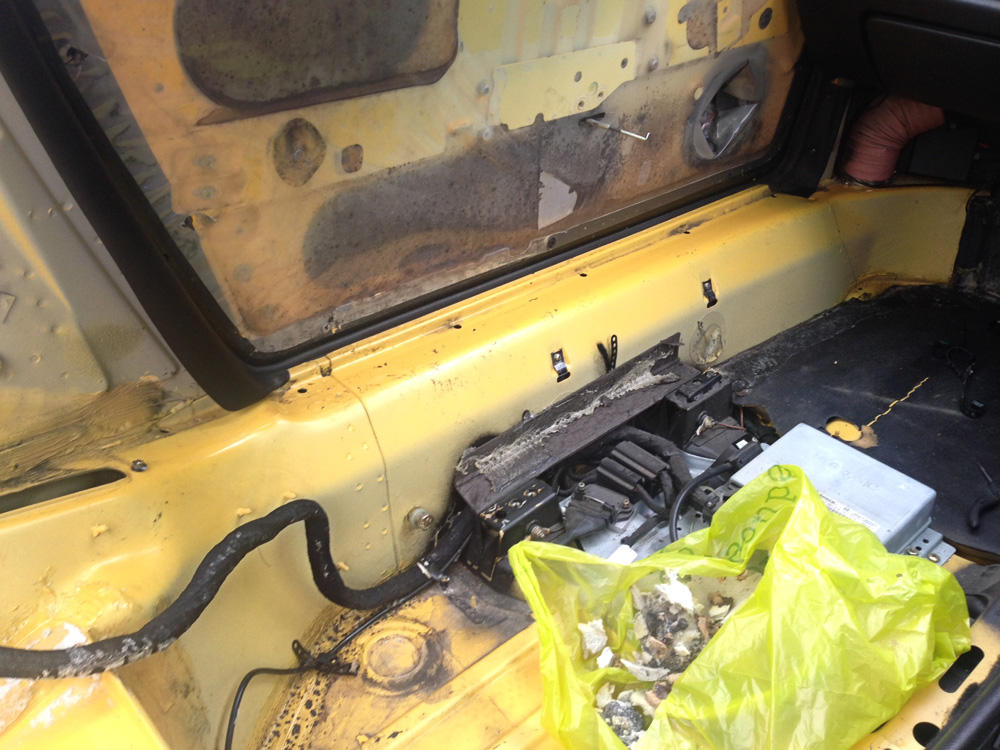
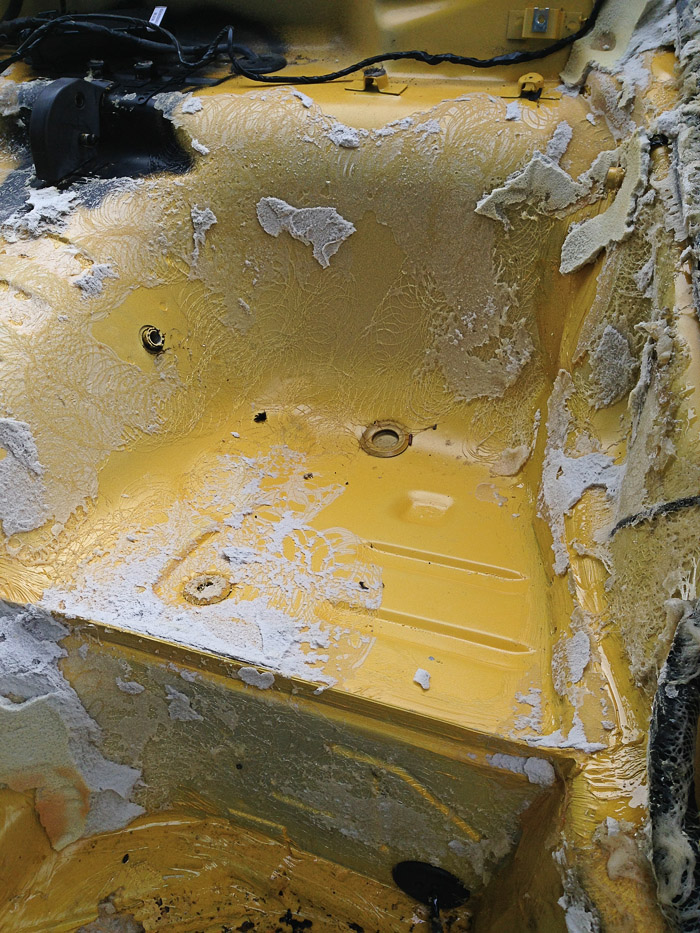
I got the DA polisher out and gave all surfaces a quick going over to scrub off some of teh remaining sound deadening:
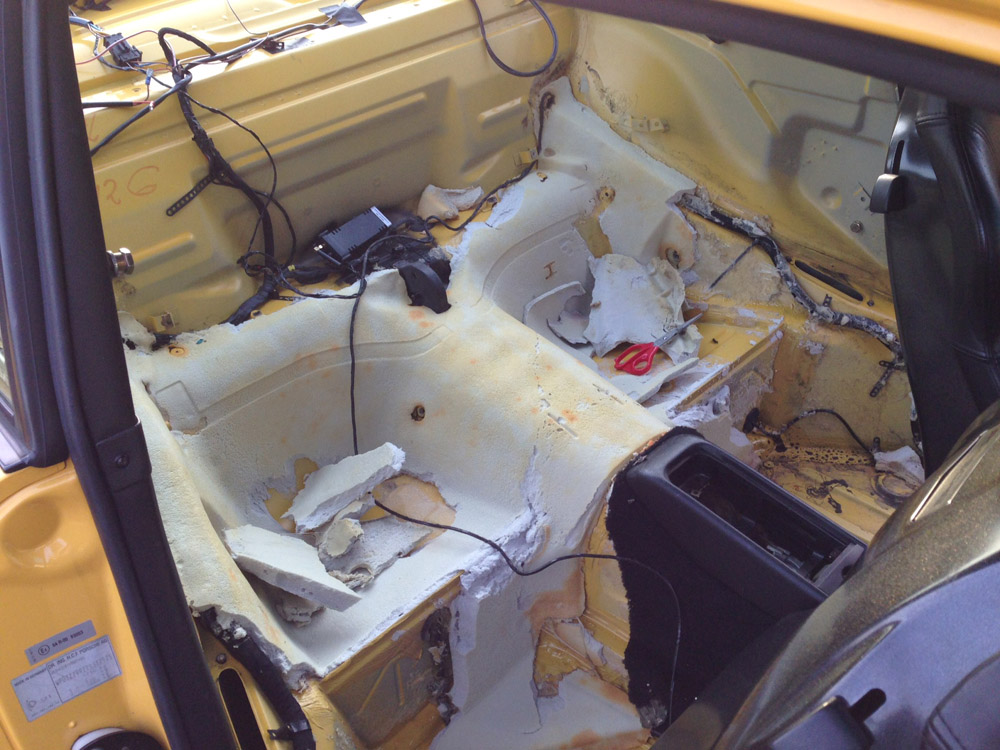
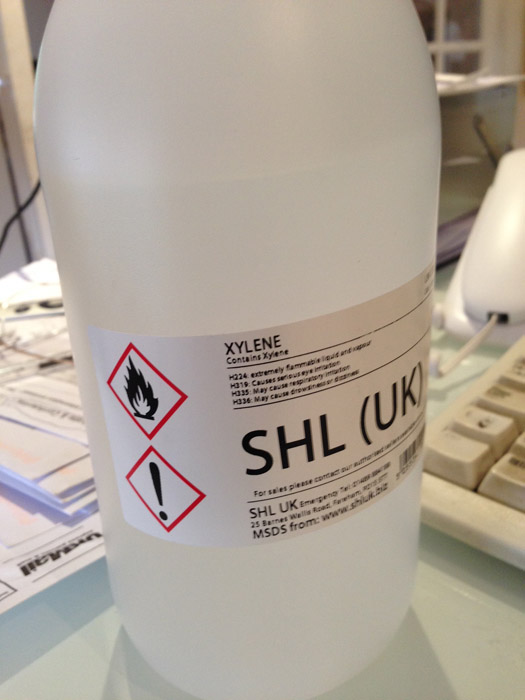
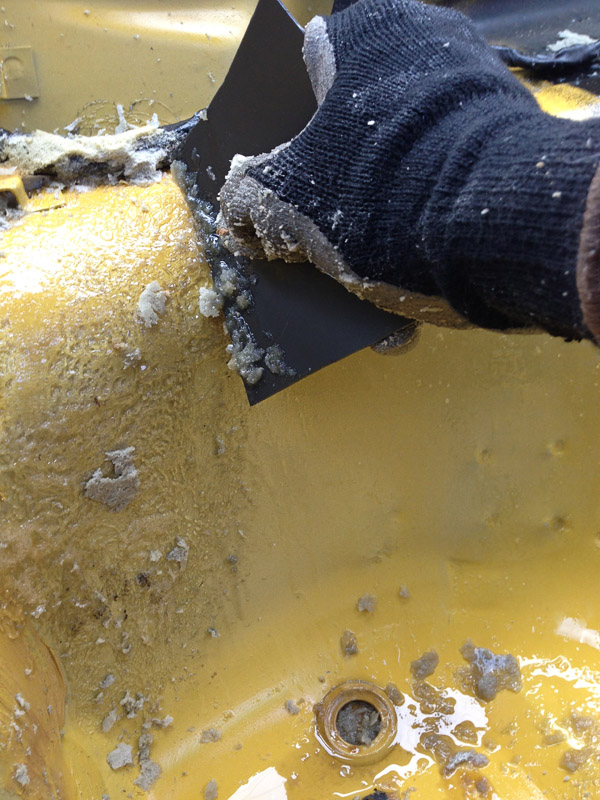
At first, with Xylene and rubbing with rags NOTHING happened .... the glue was mostly just too thick and abrasive microfibres soaked in solvent will simply not do it. It took me a while to work out all sorts of techniques with credit cards, edges of black CD's and other such scraping utensils. Really thick patches need a LOT of work so its best to concentrate on small 3cm x 3cm areas at a time. You need a lot of solvent .... scraper in one hand and a spray bottle of Xylene in the other, replenishing the solvent at very regular intervals like some sort of dental assistant.
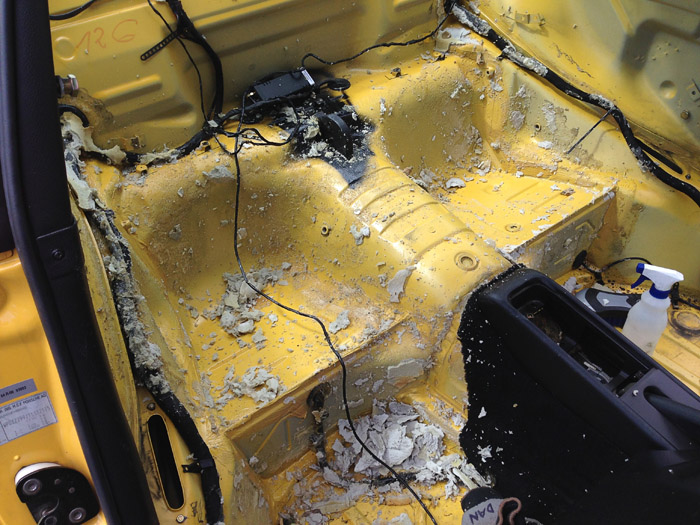
This is about 4 hours work in total. One seat done, the central hump and one side of the left hand seat. Not too bad once you have worked out your system and quite satisfying in that cleaning sort of way. So messy though .... glue everywhere including your rubbush bag, your gloves, shoes, trousers so everytime you try and do anything you get stuck to something and have to peel yourself away.
The glue doesn't show up that well against yellow in pictures but there sure is plenty there.
I got the DA polisher out and gave all surfaces a quick going over to scrub off some of teh remaining sound deadening:
At first, with Xylene and rubbing with rags NOTHING happened .... the glue was mostly just too thick and abrasive microfibres soaked in solvent will simply not do it. It took me a while to work out all sorts of techniques with credit cards, edges of black CD's and other such scraping utensils. Really thick patches need a LOT of work so its best to concentrate on small 3cm x 3cm areas at a time. You need a lot of solvent .... scraper in one hand and a spray bottle of Xylene in the other, replenishing the solvent at very regular intervals like some sort of dental assistant.
This is about 4 hours work in total. One seat done, the central hump and one side of the left hand seat. Not too bad once you have worked out your system and quite satisfying in that cleaning sort of way. So messy though .... glue everywhere including your rubbush bag, your gloves, shoes, trousers so everytime you try and do anything you get stuck to something and have to peel yourself away.
05-10-2014, 03:14 PM
#5
Racer
Thread Starter
Join Date: Apr 2009
Location: London
Posts: 427
Likes: 0
Received 0 Likes
on
0 Posts
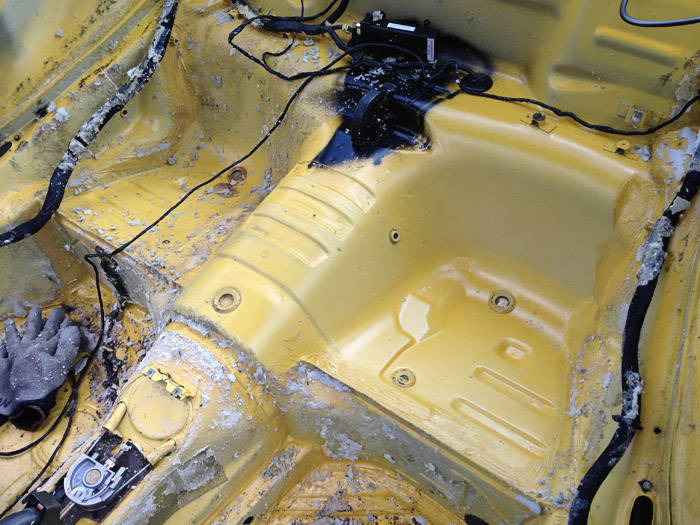
only around 1 hour spent on it today
getting quicker at it though that's for sure
life indoors has become a strange hunt for flexible plastic objects with sharp edges which I can harvest

getting quicker at it though that's for sure
life indoors has become a strange hunt for flexible plastic objects with sharp edges which I can harvest
05-10-2014, 03:15 PM
#6
RL Community Team
Rennlist Member
Rennlist Member
Wow, big project but that is a beautiful car!
Trending Topics
05-10-2014, 04:12 PM
#8
Drifting
Great work. I'd be careful with all that solvent and the wiring harnesses. You might dissolve something you didn't mean to dissolve. Don't light any cigarettes too close to the cabin either...
Keep up the hard work and the posts!
Keep up the hard work and the posts!
05-10-2014, 04:26 PM
#9
Rennlist Member
I have built a 993 RS Club Sport "Tribute" car that I track, and a wee bit of street, very wee. Been developing the car since 2001...finally finished, well almost.
05-10-2014, 05:05 PM
#10
Banned

Join Date: Aug 2011
Location: 6feet under snow of CANADA
Posts: 3,665
Likes: 0
Received 0 Likes
on
0 Posts
so subscribed. I have followed many jackal posts and teachings about 993 in the past and I am soo happy to hear that you will be continuing your journey. I must add that you have built one impressive car, thanks for posting teacher. Please continue to document these changes in order on your site it is a very useful tool for new comers and DIYers

 05-11-2014, 05:53 AM
#13
Racer
Thread Starter
Join Date: Apr 2009
Location: London
Posts: 427
Likes: 0
Received 0 Likes
on
0 Posts
so subscribed. I have followed many jackal posts and teachings about 993 in the past and I am soo happy to hear that you will be continuing your journey. I must add that you have built one impressive car, thanks for posting teacher. Please continue to document these changes in order on your site it is a very useful tool for new comers and DIYers
thanks very much guys ... its all going up on my website and i have a growing list of parts up for sale too
05-11-2014, 05:53 AM
#14
Racer
Thread Starter
Join Date: Apr 2009
Location: London
Posts: 427
Likes: 0
Received 0 Likes
on
0 Posts
 05-11-2014, 07:49 AM
#15
Rennlist Member
another tip for the same problem:
... and i have to say that it seems they used on my car more than double of that bloody glue...
a) soak everything first in MEK, get the first gross down...
b) soak everything in gasoline (super prefered :P ) for the main thing ...
c) fine clean everything with MEK again ...
gives top result and you don't need to scrap anything with tools, you just wipe away the sticky stuff ...
only be careful, if you wipe to hard with the MEK, the paint might come down too ... !!
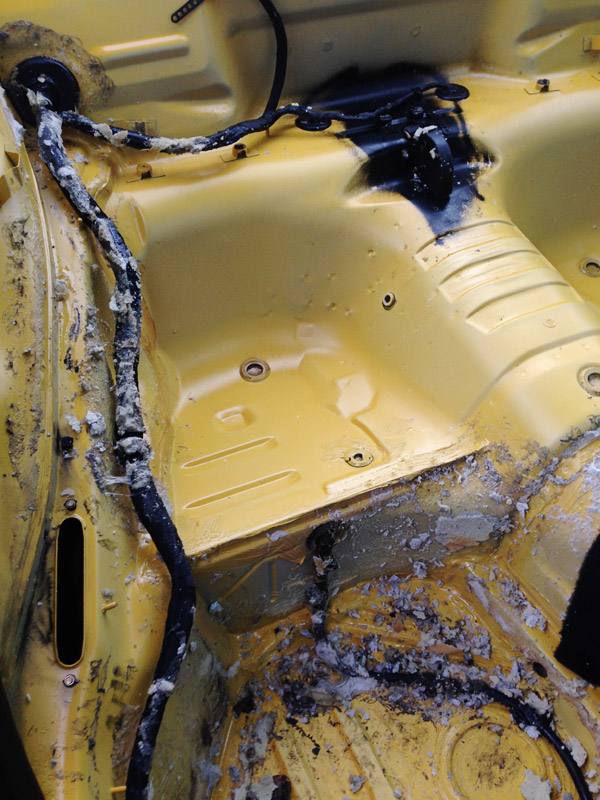
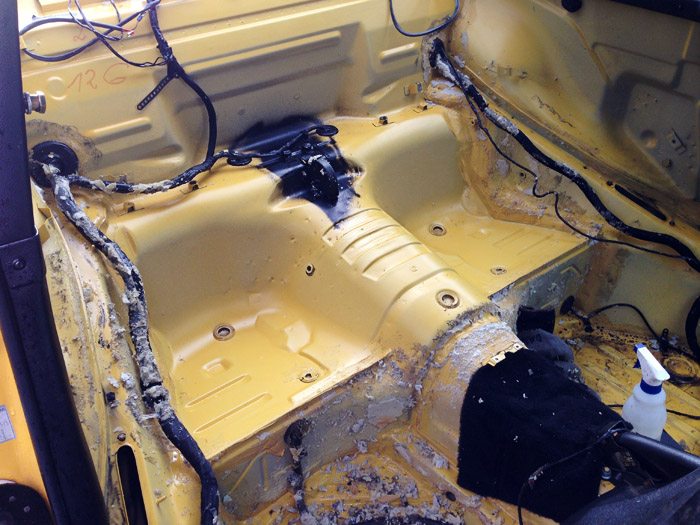
from here:

to here:

... and i have to say that it seems they used on my car more than double of that bloody glue...
a) soak everything first in MEK, get the first gross down...
b) soak everything in gasoline (super prefered :P ) for the main thing ...
c) fine clean everything with MEK again ...
gives top result and you don't need to scrap anything with tools, you just wipe away the sticky stuff ...
only be careful, if you wipe to hard with the MEK, the paint might come down too ... !!
from here:
to here: