
Basket Handle Holes Filled In
 01-02-2012, 01:57 AM
#1
Burning Brakes
Thread Starter
I had searched Rennlist for tips on filling the basket handle holes on my spare decklid that will be receiving an RS Tail and couldn't find much.
I found one thread that used fiberglass patch and a whole bunch of "I took it to a body shop" posts.
Being one of the "I can do that myself" kind of people (this usually costs more in the long run) I gave it a try.
I forgot to take my camera with me when I welded them closed so the during pics are from my phone in poor lighting.
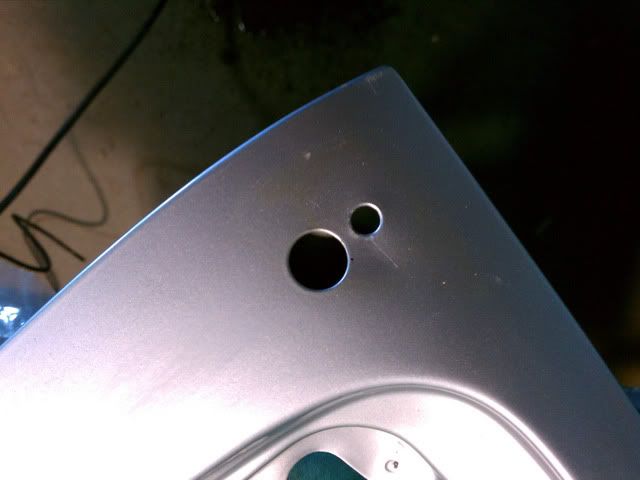
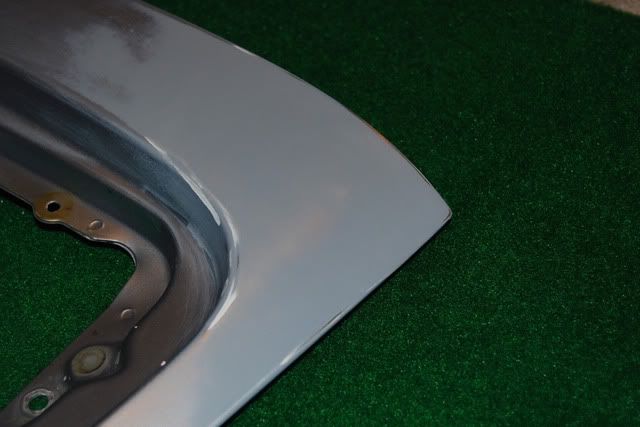
The double hole side was sunk down pretty far, I hammered and pulled trying to get it close as I could to flat but left it a little low figuring I could fill it if needed. My goal was as little body filler as possible.
Before:
I was not sure how I should fill them, I have access to MIG and TIG but my TIG/butt welding skills are non-existent I decided on the trusty MIG. I wanted something more substantial than just trying to add metal to the holes so the easy way was to hold some metal from below.
To fill the small holes I used a 6mm flanged nut held up from the bottom on a bolt to hold it there until tacked into place.
For the larger hole I used a washer with two flats ground so it would fit through the hole underneath but still fill most of the hole (Note, grind off the anodized coating before welding it in place )
)
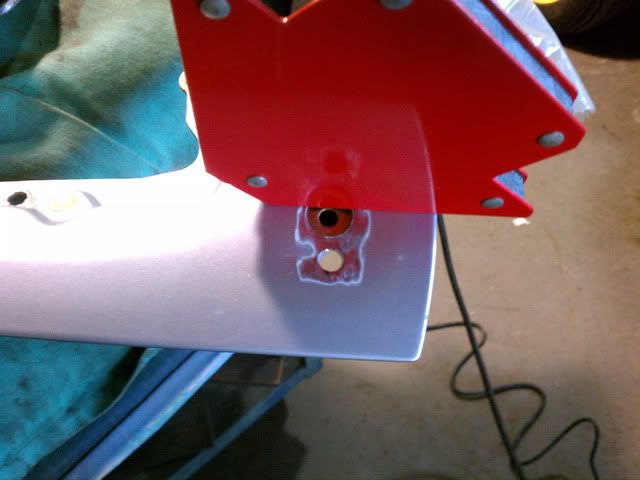
Weld in the nuts/washer filling from the outside in, the sheet metal the decklid is made of was pretty wimpy and I had to turn the power down to keep from burning through and still get a good weld.
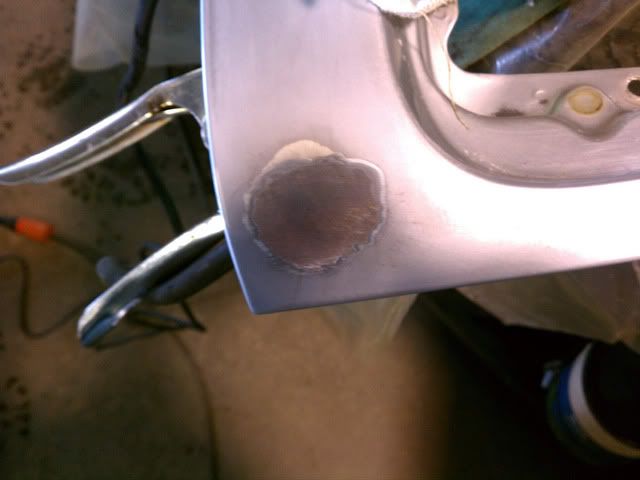
After filling grind and file into shape
Single hole
double hole
They came out better than I expected, and after a little hammering and shaping I was hoping to not need alot of putty. The fill was solid and didn't crack when I tapped on it with a hammer so I think it should hold up just fine.
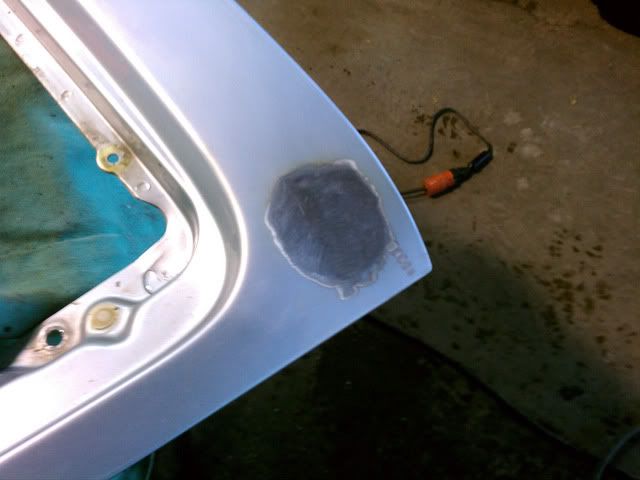
Here they are after a little filling, sanding and a quick coat of primer

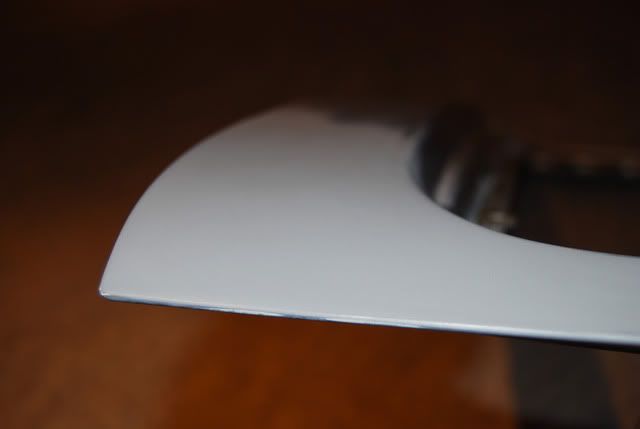
I wanted to get some primer on to cover the bare metal until I am ready to sand the whole decklid and prep it for paint, so the primer will be sanded down and redone but I am happy so far. It is smoother now than it was from the factory.
This was my first real attempt at something like this and if I can do it anybody can. I normally do not have the paitience for body work.
Now just a bunch of sanding and prep and with any luck it will come out OK. Thanks for listening, I am pretty stoked with the results and just wanted to share
I found one thread that used fiberglass patch and a whole bunch of "I took it to a body shop" posts.
Being one of the "I can do that myself" kind of people (this usually costs more in the long run) I gave it a try.
I forgot to take my camera with me when I welded them closed so the during pics are from my phone in poor lighting.
The double hole side was sunk down pretty far, I hammered and pulled trying to get it close as I could to flat but left it a little low figuring I could fill it if needed. My goal was as little body filler as possible.
Before:
I was not sure how I should fill them, I have access to MIG and TIG but my TIG/butt welding skills are non-existent I decided on the trusty MIG. I wanted something more substantial than just trying to add metal to the holes so the easy way was to hold some metal from below.
To fill the small holes I used a 6mm flanged nut held up from the bottom on a bolt to hold it there until tacked into place.
For the larger hole I used a washer with two flats ground so it would fit through the hole underneath but still fill most of the hole (Note, grind off the anodized coating before welding it in place
)Weld in the nuts/washer filling from the outside in, the sheet metal the decklid is made of was pretty wimpy and I had to turn the power down to keep from burning through and still get a good weld.
After filling grind and file into shape
Single hole
double hole
They came out better than I expected, and after a little hammering and shaping I was hoping to not need alot of putty. The fill was solid and didn't crack when I tapped on it with a hammer so I think it should hold up just fine.
Here they are after a little filling, sanding and a quick coat of primer
I wanted to get some primer on to cover the bare metal until I am ready to sand the whole decklid and prep it for paint, so the primer will be sanded down and redone but I am happy so far. It is smoother now than it was from the factory.
This was my first real attempt at something like this and if I can do it anybody can. I normally do not have the paitience for body work.
Now just a bunch of sanding and prep and with any luck it will come out OK. Thanks for listening, I am pretty stoked with the results and just wanted to share


 01-02-2012, 11:20 AM
#4
Rennlist Member
Unless it was an aluminum washer, I doubt it was anodized...a process used on aluminum. But I get what you mean.
To avoid the difficulty of welding two different thicknesses, I would have cut some sheet metal that had the same thickness as the body panel.
To treat the inside cavity, there are zinc-rich primers that you can use to protect the bare metal areas that were welded. Just spray/brush through the access hole you mentioned.