
Engine Drop Time Lapse

 12-26-2011, 10:25 AM
#17
Rennlist Member
Hey Travis, that brown cardboard box in your replacement parts layout pic certainly looks familiar. 
Well done and thought-out time-lapse. It got me thinking if a lift is even necessary since I am planning on getting one; I'll use the old-age, sore-muscles excuse now.
Well done and thought-out time-lapse. It got me thinking if a lift is even necessary since I am planning on getting one; I'll use the old-age, sore-muscles excuse now.
12-26-2011, 12:44 PM
#20
Pro
Thread Starter
Join Date: Oct 2010
Location: Seattle, WA
Posts: 626
Likes: 0
Received 0 Likes
on
0 Posts
Well, I looked at it as one mere man, and one clearly superior being..
I picked it up from Harbor Freight a while back to use as a motorcycle lift. I think the capacity is around 500#, which was perfect for a light supermoto, but I admit is a bit optimistic for this project. However, it got the job done (though once it was supported by the table by itself, I always had an exit strategy in mind when I was around it!). They sell higher capacity tables though, and I've been surprised by just how much I've used it for other things, so its footprint in the garage isn't hard to justify.
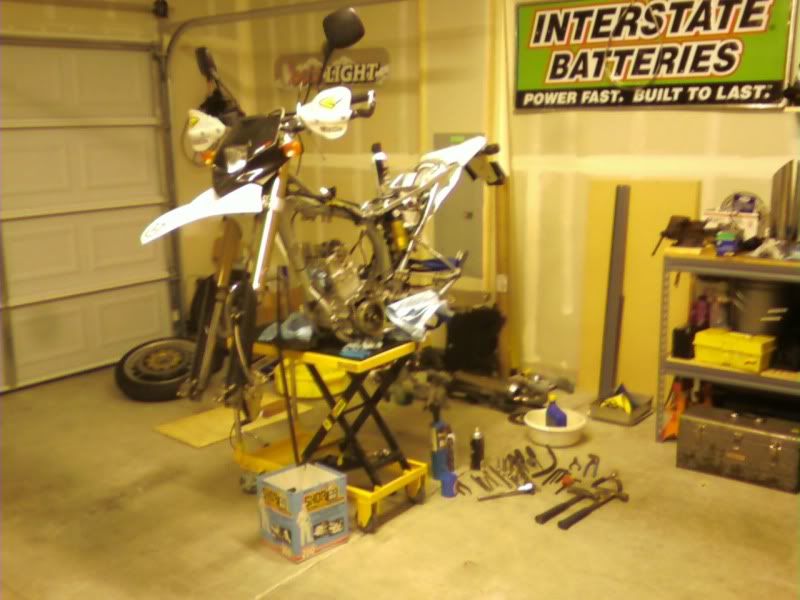

And a lift would be great, but I am in an apartment and it's not really an option..I will admit I am definitely feeling like I spent 14 hours rolling around on the floor!
Alright, I had better get back to work, I need to be back on the road again in less than a week..
 Thanks for the kind words everyone!
12-26-2011, 01:32 PM
Thanks for the kind words everyone!
12-26-2011, 01:32 PM
#22
Instructor

Great stuff Travis
Are we going to get the same time lapse treatment for the rest of the work?
What camera are you using?
Thanks for taking the time and effort to shoot this
Ash
Are we going to get the same time lapse treatment for the rest of the work?
What camera are you using?
Thanks for taking the time and effort to shoot this
Ash
12-26-2011, 02:09 PM
#24
Pro
Thread Starter
Join Date: Oct 2010
Location: Seattle, WA
Posts: 626
Likes: 0
Received 0 Likes
on
0 Posts
And speaking of old batteries, the camera is actually my old cell phone, a Motorola Droid (version 1). I am using a free app called, "Time Lapse Creator" to capture the images, and used the freeware program PhotoLapse 3 to make the video from the stills. There are just under 1600 shots in that 2:39 video..perhaps making this the most photographed 993 engine removal...[Clarkson voice]in the world.[/Clarkson voice]
12-26-2011, 02:17 PM
#25
Pro
Thread Starter
Join Date: Oct 2010
Location: Seattle, WA
Posts: 626
Likes: 0
Received 0 Likes
on
0 Posts

Surprisingly I've been having good luck with fasteners so far, the only difficult one was the oil line on the bottom which I had to make-shift something to keep it from spinning, but even that wasn't too bad. All in all, having been a daily driver since 20,000 miles in 2002, it's pretty dirty under there but I've been pleasantly surprised with the lack of actual corrosion (as a rust belt native, every day I am thankful for west coast cars!). I am pretty certain every single exhaust bolt is going to break on me though, they've been soaking for a few days now but they're looking pretty bad. I am just incredibly thankful it can all be removed as one unit as I'd hate to wrestle with those while it's on the car! Hopefully the electric impact will either help remove or at least speed up the breaking process..
 12-27-2011, 03:56 AM
#28
Pro
Thread Starter
Join Date: Oct 2010
Location: Seattle, WA
Posts: 626
Likes: 0
Received 0 Likes
on
0 Posts
I had originally intended to 'document' just the initial drop for kicks and giggles, but why not go the whole way I guess!
Day 3:
Seemed like a slow moving day, but as I type, maybe I did get a decent amount of stuff done.
Started the day off with cleaning up an oil spill from the oil line I left dangling. Then continuing with the cleaning theme I tried cleaning up a spot on the (filthy!) transmission and...you can probably guess it snowballed from there. And I now know why everyone hates Cosmoline so much!
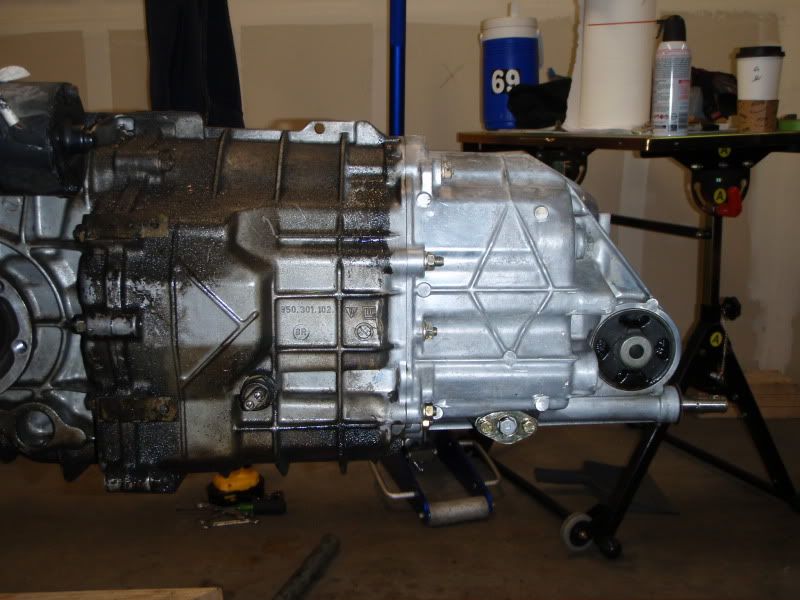
I picked up a cheap little steam cleaner knowing this would likely snowball in to a big cleaning operation..the steam seemed to work great, but this unit only delivers a spray roughly the size of half of a dime..and I don't have days to blow doing nice but unnecessary cleaning, so I tried some other things. First was some engine degreaser I had laying around, and then PB Blaster...but what seemed to do the trick was my old fall back and favorite aerosol. Brake cleaner! I wound up using a combination of PB Blaster, toothbrushes and brake cleaner. Other than hitting myself in the eye with the brake cleaner (had my safety glasses on top of my head..d'oh!), that went pretty smoothly. Makes me glad I cleared the sink a few days ago, it made for a half decent impromptu eye wash station..anyway, here we are after the fact:
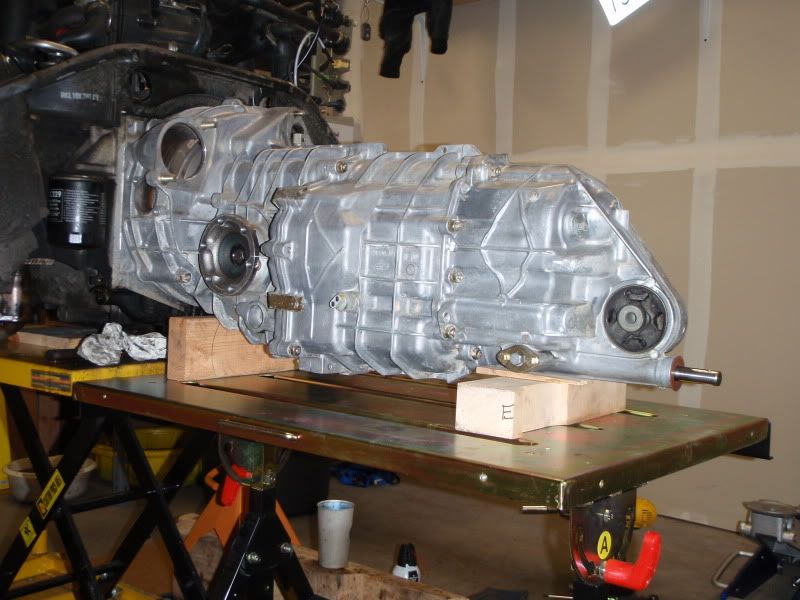
Next up was removing the transmission. Another perfect job for the lift table but..oh wait..the engine is already on it. This one involved a lot of head scratching. The table with the engine and transmission is over-loaded and it won't lift. The transmission probably weighs as much as I do, and while I've wrangled transmissions around before, they could also be replaced within 24 hours for $300-500 in a pinch..but damaging this would be pretty catastrophic. I don't trust trying to do it with just floor jacks, I can just see it rolling over on to the ground. I could run down to Lowe's and get some 2x4's and throw together a dolly..except I don't have a car. But wait! Maybe if I remove a cross bar from my welding table I can lower the top enough to get under the transmission if I can lift the engine and transmission up another 8" or so. So I decide to try "assisting" the table by using the jacks under the heat exchangers. Worked pretty well! Set it down on some wood blocks and strapped it down. And spent what seemed like two hours trying to get them apart. Yep, totally forgot about the cross shaft. D'oh again! If the video were in real time, I'm sure some of you would get a laugh watching me try to figure out why they wouldn't come apart.
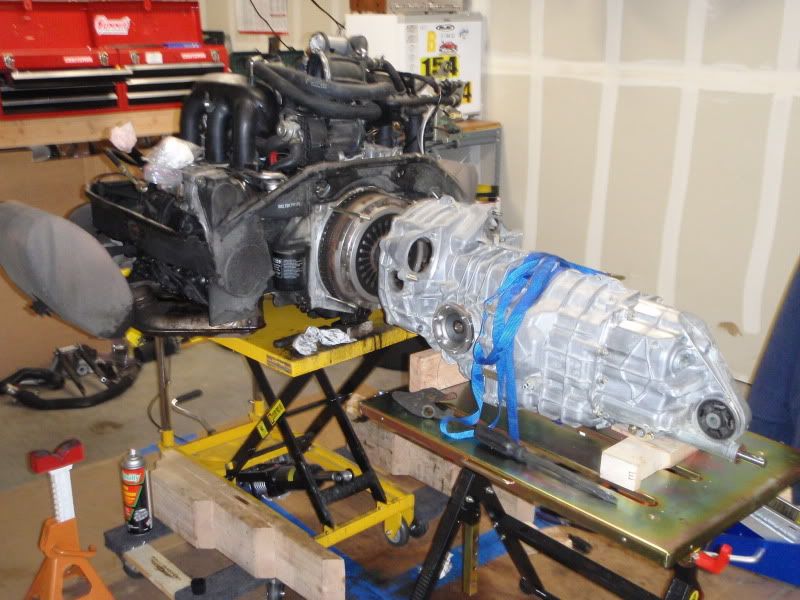
Moving on from there, I decided to zing the clutch and flywheel off. Except those are not torx bolts, as I found out the hard way...and not the same size as the flywheel bolts. One stripped, eight more to go. Ok...so the allen wrench trick kind of worked, but it still stripped three more. Some head scratching occurred, and I decided my best bet would be to weld a nut on the bolt heads, since the 8.8 fasteners would probably be too hard to drill out with my relatively cheap drill bits. Or would they? To my surprise, I was able to drill them out without any hassle at all. Which was good, because my welder is buried under and behind parts, boxes and tools..
From there, I just started attacking random things. Got the tips and mufflers off, after breaking the bolts like I had predicted. Wires came off..found at least one bad plug end (cracks showing on the boot), so I've got more parts to buy I guess (tomorrow I'll probably try to get everything apart and check all of them for resistance). I have to give credit to people who do this while it's in the car..it was intricate enough with the engine out! Next up was vacuuming about 10 pounds of leaves and debris, popping the injectors out, and removing the SAI and PS pumps. Hopefully tomorrow I can get the rest of the exhaust and all the shrouding off.
Final impression of the day: good grief, is there ever a lot of junk crammed in that trunk! I've got a huge garage for an apartment, and I'm starting to run out of places to put stuff already.
To be continued...
Day 3:
Seemed like a slow moving day, but as I type, maybe I did get a decent amount of stuff done.
Started the day off with cleaning up an oil spill from the oil line I left dangling. Then continuing with the cleaning theme I tried cleaning up a spot on the (filthy!) transmission and...you can probably guess it snowballed from there. And I now know why everyone hates Cosmoline so much!
I picked up a cheap little steam cleaner knowing this would likely snowball in to a big cleaning operation..the steam seemed to work great, but this unit only delivers a spray roughly the size of half of a dime..and I don't have days to blow doing nice but unnecessary cleaning, so I tried some other things. First was some engine degreaser I had laying around, and then PB Blaster...but what seemed to do the trick was my old fall back and favorite aerosol. Brake cleaner! I wound up using a combination of PB Blaster, toothbrushes and brake cleaner. Other than hitting myself in the eye with the brake cleaner (had my safety glasses on top of my head..d'oh!), that went pretty smoothly. Makes me glad I cleared the sink a few days ago, it made for a half decent impromptu eye wash station..anyway, here we are after the fact:
Next up was removing the transmission. Another perfect job for the lift table but..oh wait..the engine is already on it. This one involved a lot of head scratching. The table with the engine and transmission is over-loaded and it won't lift. The transmission probably weighs as much as I do, and while I've wrangled transmissions around before, they could also be replaced within 24 hours for $300-500 in a pinch..but damaging this would be pretty catastrophic. I don't trust trying to do it with just floor jacks, I can just see it rolling over on to the ground. I could run down to Lowe's and get some 2x4's and throw together a dolly..except I don't have a car. But wait! Maybe if I remove a cross bar from my welding table I can lower the top enough to get under the transmission if I can lift the engine and transmission up another 8" or so. So I decide to try "assisting" the table by using the jacks under the heat exchangers. Worked pretty well! Set it down on some wood blocks and strapped it down. And spent what seemed like two hours trying to get them apart. Yep, totally forgot about the cross shaft. D'oh again! If the video were in real time, I'm sure some of you would get a laugh watching me try to figure out why they wouldn't come apart.
Moving on from there, I decided to zing the clutch and flywheel off. Except those are not torx bolts, as I found out the hard way...and not the same size as the flywheel bolts. One stripped, eight more to go. Ok...so the allen wrench trick kind of worked, but it still stripped three more. Some head scratching occurred, and I decided my best bet would be to weld a nut on the bolt heads, since the 8.8 fasteners would probably be too hard to drill out with my relatively cheap drill bits. Or would they? To my surprise, I was able to drill them out without any hassle at all. Which was good, because my welder is buried under and behind parts, boxes and tools..
From there, I just started attacking random things. Got the tips and mufflers off, after breaking the bolts like I had predicted. Wires came off..found at least one bad plug end (cracks showing on the boot), so I've got more parts to buy I guess (tomorrow I'll probably try to get everything apart and check all of them for resistance). I have to give credit to people who do this while it's in the car..it was intricate enough with the engine out! Next up was vacuuming about 10 pounds of leaves and debris, popping the injectors out, and removing the SAI and PS pumps. Hopefully tomorrow I can get the rest of the exhaust and all the shrouding off.
Final impression of the day: good grief, is there ever a lot of junk crammed in that trunk! I've got a huge garage for an apartment, and I'm starting to run out of places to put stuff already.
To be continued...
Last edited by TravisB; 12-27-2011 at 12:47 PM.
12-27-2011, 05:26 AM
#29
Nordschleife Master
Well done 
12-27-2011, 01:04 PM
#30
Pro
Thread Starter
Join Date: Oct 2010
Location: Seattle, WA
Posts: 626
Likes: 0
Received 0 Likes
on
0 Posts

Speaking of Shop Cat Charlie, he was not a fan of the steam cleaner, hah. I think he likes it less than the vacuum. Once things got messy I elected to kick him out, fearing grimy paw prints all over the place. Plus I figure the chemicals wouldn't be good for him..my brain is fried already, but he's still so young and full of potential!