Another SAI DIY story with a couple of improvements. If I can do it, you can!
 01-29-2010, 08:07 PM
#31
 01-29-2010, 08:24 PM
#32
Pro
Thread Starter
There are other write ups on his topic that I looked at very closely before taking action. The other threads have nice pictures of the SAI ports. They sit just above the exhaust valve in each exhaust port. Once you remove the heat exchangers you can look up into the exhaust ports and see the SAI holes. That is where you need to drill up through the carbon build up. From the Check Valve opening on top in the engine compartment I poured the chemicals and used an air compressor to blow them through the air passages. When you blow the chemicals "from the top" they spray out of the Secondary Air Passages and out the exhaust ports below (hopefully). Other people have better explanations with pictures on this SAI issue. I just wanted to show everybody what I found to be a really really good solution for every 993 owner. Simple inexpensive and a very doable DIY.
01-29-2010, 08:59 PM
#33
Pro
Thread Starter
Ok here are some better close ups from my lousy camera.
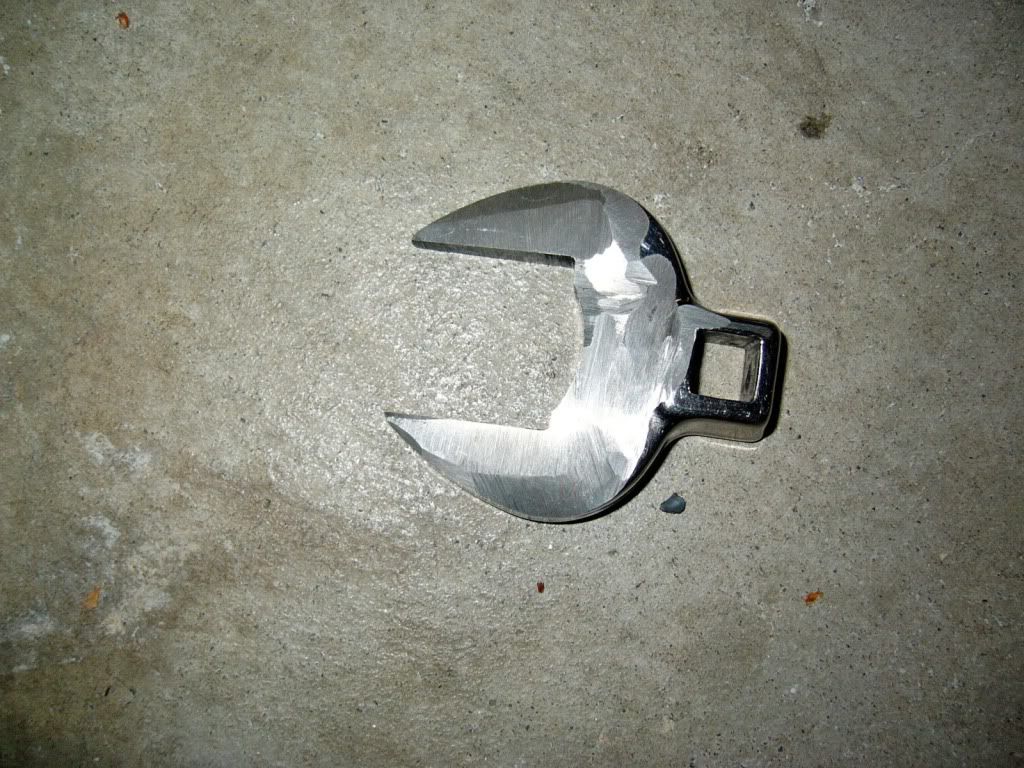
I used my grinder to widen the 1" crows foot to 1 1/16".
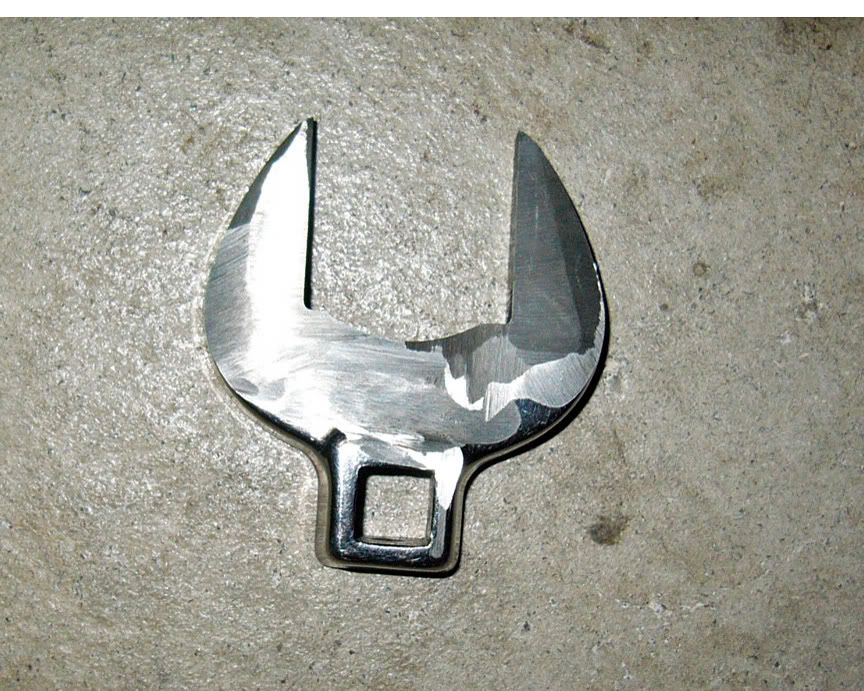
I also used the grinder to narrow the width of this crowsfoot to allow it to fit underneath and between the SAI valve and where it screws into the engine.
There is another great write up on this with great pictures.

Shows the 1 1/2 drain testers I purchased at Home Depot. Simply shove them in the hole and turn the nut un..this sounds a little dirty.
Shows where the cable attached to the brake on the bike. I put this end into the drill
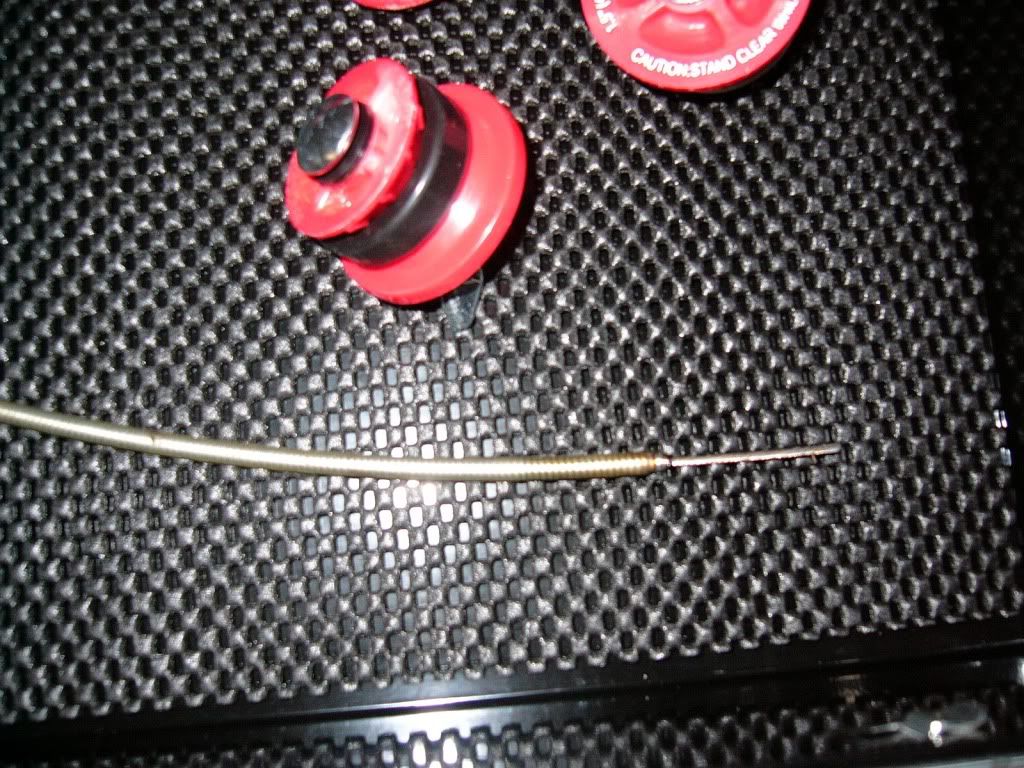
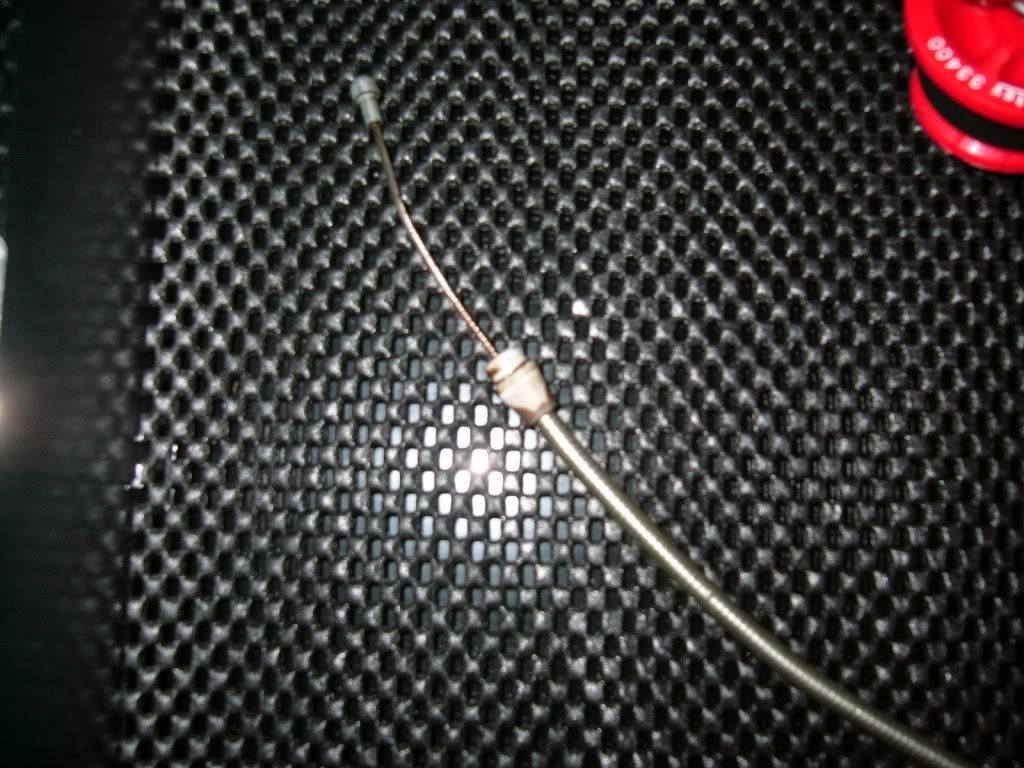
This shows where I cut the cable and how I cut the outer cover a bit shorter.
I hope these pictures are a bit clearer.
I used my grinder to widen the 1" crows foot to 1 1/16".
I also used the grinder to narrow the width of this crowsfoot to allow it to fit underneath and between the SAI valve and where it screws into the engine.
There is another great write up on this with great pictures.
Shows the 1 1/2 drain testers I purchased at Home Depot. Simply shove them in the hole and turn the nut un..this sounds a little dirty.
Shows where the cable attached to the brake on the bike. I put this end into the drill
This shows where I cut the cable and how I cut the outer cover a bit shorter.
I hope these pictures are a bit clearer.
 01-29-2010, 10:17 PM
#35
Drifting
Good timing on this, I have a friend who just threw some codes and will likely need to do this. Has anyone tried using a speedometer cable, or maybe the drive cable from an electric seat, I thought I read that somewhere? It's thicker than a bicycle brake cable and has a square end that might cut through the carbon better.
02-01-2010, 07:28 PM
#37
Racer
Actually I did see your write up,and I am sure it worked well with the cable you were using. Unfortunately, I did try this with the first piece of the bike brake cable when after about 5 minutes I was getting nowhere. It completely unwound and gave me a bit of a scare about having pieces of wire breaking off in the port. So with a second cable piece I put the drill back into Forward and found that It worked well (just needed a little patience and a couple more minutes) and did not unwind and could be used again and again (which It did on the other ports). You can see from the picture that the cable after drilling through three air passages remained in great shape.
Anyway, I'm glad it worked out for you!
02-01-2010, 10:08 PM
#38
Rennlist Member
Thanks for the write up Don! You most likely saved me a bunch of time. My car has been throwing the wonderful SAI code on occasion. I should probably add this to my quickly growing list of things to do.
02-02-2010, 12:56 AM
#39
Pro
Thread Starter

Thank you all, for the help and advice you have given to me over the years. You have truly made ownership of my P car a truly wonderful experience.
02-02-2010, 11:12 AM
#41
Race Director
I too have the modified crows foot if anyone needs to borrow it. It really isn't a big deal to make, just get the stock foot and <5 min. on a bench grinder and you're set. PM me if you want to borrow mine.

