Another SAI DIY story with a couple of improvements. If I can do it, you can!
 01-29-2010, 12:25 PM
#16
Pro
Thread Starter
4 and 5 were plugged completely. and 2 was partially plugged. I say partially because some fluid came out of the opening initially, but when I ran the cable up the air passage there was some resistance that cleared easily.
 01-29-2010, 12:30 PM
#17
Still plays with cars.
Lifetime Rennlist
Member
cdmdriver,
Great write up and hints. I trust you will not mind, I have copied your post into the 993 DIY forum to make it easy for others to find! Congratulations!
Best,
Great write up and hints. I trust you will not mind, I have copied your post into the 993 DIY forum to make it easy for others to find! Congratulations!
Best,
01-29-2010, 12:44 PM
#18
Rennlist Member
Great to hear! Funny when I got to where you were removing the exhaust.........I immediately thought seized nuts, or that you couldn't get the tip of the socket in there. Having worked my way up from 911 engines v. 1.1 ('68 2.0), it would probably escape me that everyone didn't know you need the allen head for those nuts.
Now if you want to hear about frustration, how about removal after someone who has managed to put an exhaust on using regular nuts in all twelve positions.............
Now if you want to hear about frustration, how about removal after someone who has managed to put an exhaust on using regular nuts in all twelve positions.............
01-29-2010, 12:51 PM
#19
Pro
Thread Starter
Great resoursefullness! It's funny...I just finished putting on Walrod bushings and PSS10's on my car last week. Your garage floor with cans, tools, peices and parts looked just like mine! I dread the job CEL but am glad you posted this...filing in my "HOPE I DON'T HAVE TO THIS DIY" file! Thanks.
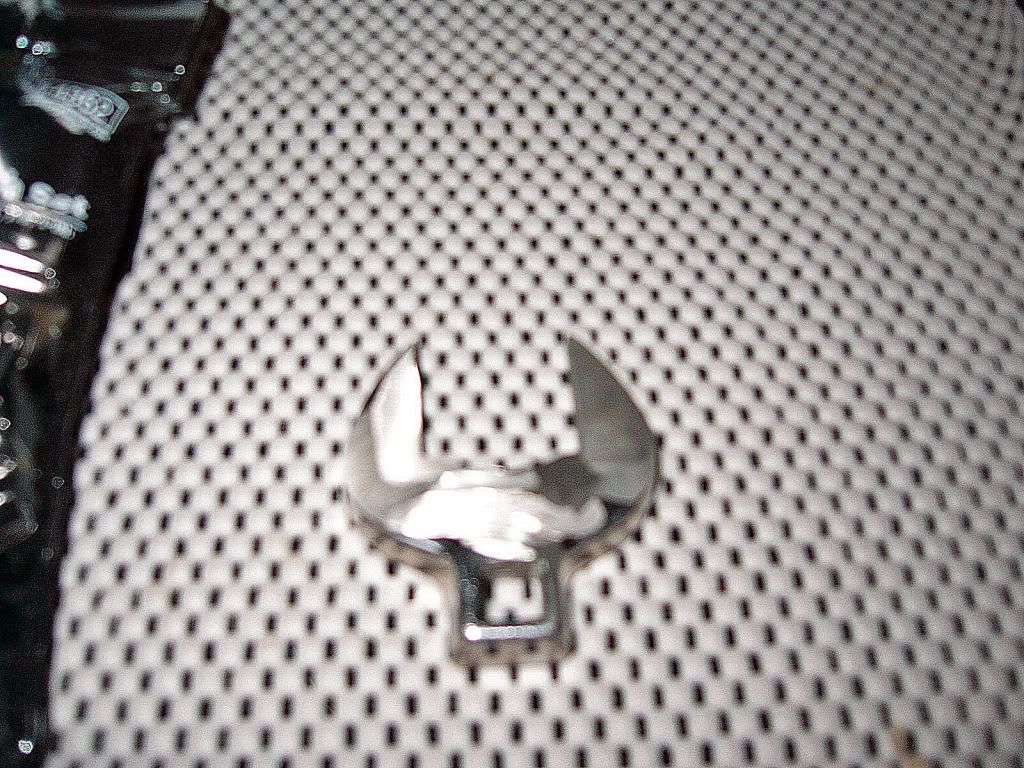
In my rush late last night I forgot to add the picture of the fabricated crowsfoot.

 01-29-2010, 12:52 PM
#20
Rennlist Member
Great write up!
Regarding the bicycle cable tool, did you solder the ends to keep them from unravelling?
My smog is coming up this fall, and if I can't "trick" the OBD II again I'll be going your route.
Thanks for having at it. Issues like this bond us together and increase our love for these fantastic automobiles.
Phil
01-29-2010, 12:56 PM
#21
Pro
Thread Starter
01-29-2010, 01:01 PM
#22
Pro
Thread Starter
Great write up!
Regarding the bicycle cable tool, did you solder the ends to keep them from unravelling?
My smog is coming up this fall, and if I can't "trick" the OBD II again I'll be going your route.
Thanks for having at it. Issues like this bond us together and increase our love for these fantastic automobiles.
Phil
Regarding the bicycle cable tool, did you solder the ends to keep them from unravelling?
My smog is coming up this fall, and if I can't "trick" the OBD II again I'll be going your route.
Thanks for having at it. Issues like this bond us together and increase our love for these fantastic automobiles.
Phil
01-29-2010, 02:55 PM
#24
Instructor
Join Date: Mar 2009
Location: Behind the Zion Curtain
Posts: 106
Likes: 0
Received 0 Likes
on
0 Posts
Read this with great interest over my morning coffee. I did the flush without the roto rooter last year, and it worked just long enough to pass emissions. Then, 2 months ago, the light and code just disappeared when I replaced the battery. It passed emissions just last week with no codes or not-ready indicators. I thought I was in the clear...
Back to this morning after reading this successful post. Upon startup, new trouble code and its once again the dreaded SAI!
I wish someone would get their SAI electronic "fix" on the market and many of us could just forget about this stupid system.
Great job; I hope that yours lasts longer than mine.
01-29-2010, 05:39 PM
#26
Pro
Join Date: Dec 2007
Location: was: CA, 956XX now: Bavaria 910XX
Posts: 556
Likes: 0
Received 33 Likes
on
22 Posts
Just to understand this right, you took the headers off and drilled from the outlet part of the head, upwards right? From the top, where the SAI sits, you flushed from the top down.
What were the red plugs for?
Thank you for sharing. I know sooner or later I'll have to do the same and try to read up on it now so I won't have to later.
Ed
What were the red plugs for?
Thank you for sharing. I know sooner or later I'll have to do the same and try to read up on it now so I won't have to later.
Ed
01-29-2010, 07:31 PM
#27

The plugs are close off the other 5 ports so all the pressure and solvent is directed to one SAI port being worked on. Otherwise the solvent will take the path of least resistance which is the open ports. Once a port is clear, plug that exhaust port and open the next one.
01-29-2010, 07:50 PM
#28
Racer
No, the bike cable is so strong I did not have to do a thing to it other than cut the outer cover shorter than the inside cable. In fact, the picture of the cable in the drill was taken after It was used to open both of the plugged ports. Just don't run the drill in reverse.
Since you are using the cable housing to guide the cable all the way to the port, the cable won't come apart and lose it's shape (except at the tip). I found that this was the key to making this work well, because fraying the tip allowed the cable to make the tight turn inside the port much easier and act as a mini wire brush when it contacted the carbon.
Once I ran the drill in reverse on the first port it went through in seconds. I was able to do all the remaining 5 cylinders in just minutes. Also, since the tip of the cable wants to expand as it unwinds, you are probably more likely to get the whole 5mm port cleared out rather than just punching a hole in the blockage. Cleared everything out nicely without having to do any of the liquid/foam flush stuff. I did blow it out from the top with air of course. That was over a year ago, and I've had no further SAI issues.
01-29-2010, 07:56 PM
#29
Rennlist Member
I am loving this thread even though I do not have the dreaded SAI CEL! I fear that if I keep looking and concentrating on it I will sooner than later. "SAI Karma"
Thanks for sharing. Oh, I am interested in your crows foot fabricated tool...I cant see it for the focus problem. Is there a better pict? ( not to pick or cause work, I just am wondering about the subtleties of your tool mod!)
Andy
Thanks for sharing. Oh, I am interested in your crows foot fabricated tool...I cant see it for the focus problem. Is there a better pict? ( not to pick or cause work, I just am wondering about the subtleties of your tool mod!)
Andy
01-29-2010, 08:07 PM
#30
Pro
Thread Starter
Actually I did see your write up,and I am sure it worked well with the cable you were using. Unfortunately, I did try this with the first piece of the bike brake cable when after about 5 minutes I was getting nowhere. It completely unwound and gave me a bit of a scare about having pieces of wire breaking off in the port. So with a second cable piece I put the drill back into Forward and found that It worked well (just needed a little patience and a couple more minutes) and did not unwind and could be used again and again (which It did on the other ports). You can see from the picture that the cable after drilling through three air passages remained in great shape.