Andreas inspired me! (My clock build progress)
 12-09-2009, 11:02 AM
#1
Race Car
Thread Starter
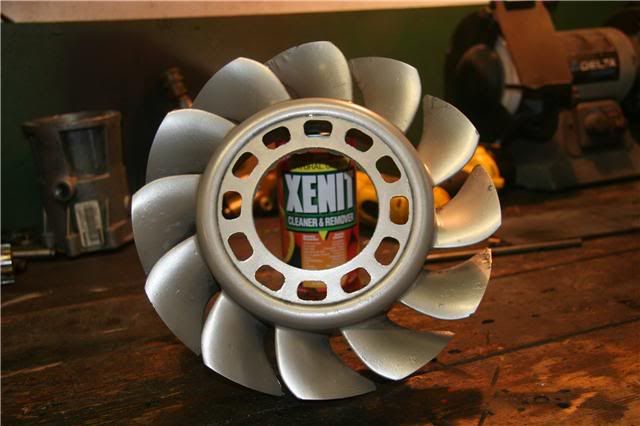
I know you be expecting a cleaning fest with Xenit here, but not the case… As you all may know, Andreas is the man when it comes to all things clocky. Well, a long time ago I saw one of his fan clocks and it inspired me. So, I decided I would try my hand at craftiness. This is my basic DIY to this point in making my fan clock. I know my pics suck, they were all taken with an iPhone and poor lighting.
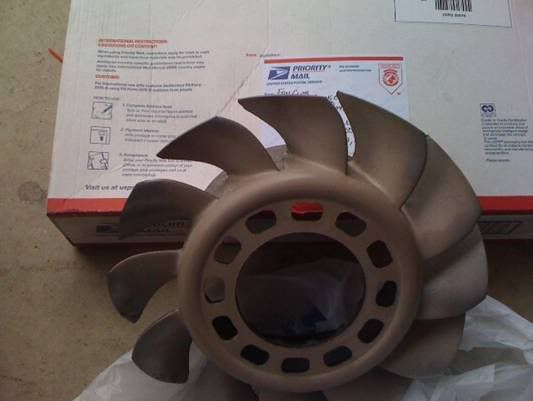
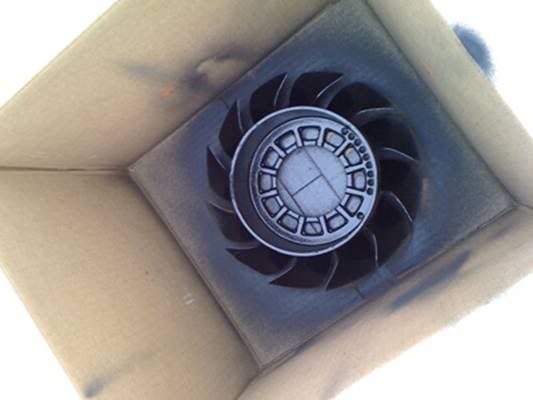
I asked Andreas a couple general questions about where he gets parts and he gave me the hookup. Sent me a fan for dirt cheap and even cut out the center hole for me! What a guy!
When he sent it to me, the return address was “Fan Club” (you can see this in the next fan pic below), so I guess the feeling is mutual.
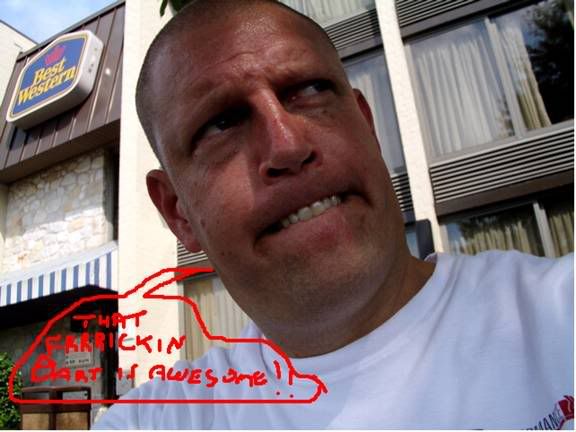
**The sorta Porsche shaped speech bubble says "That fr-r-r-ickin' Bart is awesome!!" I thought the sloppiness made it funnier, but perhaps it was too illegible.
He also gave me pointers on what and where as far as electrical equipment. Very helpful! I didn’t want to be a total clone of Mr. Clean (this name is in no way meant to make fun of Dre’s stylishly short coiffure, it is merely a compliment to the immaculate condition he keeps unseen parts of his car in), so I decided to pursue the project using a 911 clock. I like the fact that it has no indicator lights and the elapsed time hand it has. It’s also simpler to set – just push & turn the ****. There are drawbacks to it – primarily the illumination sucks.
So anyway, I ordered the parts needed and started working on the fan.
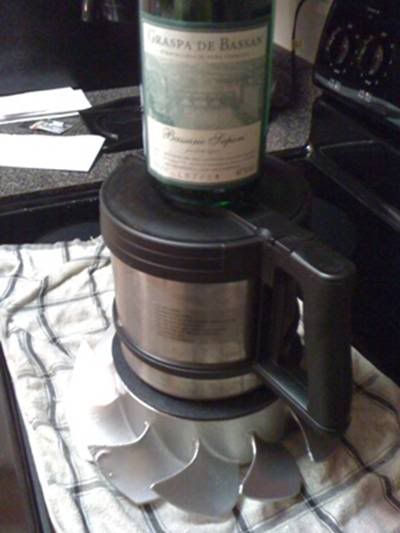
First things first when it comes to hardcore projects like this!
Next step was to strip the old paint. I just used a combo of brake cleaner, rags and Scotch Brite. Came out pretty well. I had considered bringing it in to work to ice blast, but was afraid it might damage the brittle magnesium fan. Also, I thought about filling in the cracks with some epoxy, but don’t want it to be so perfect it looks like some fake stuff you might buy at AutoZone.
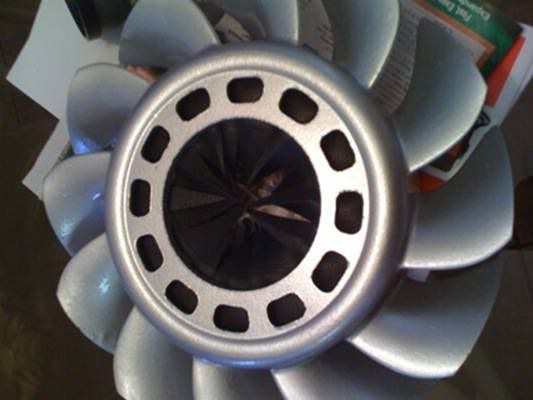
After getting it satisfactorily clean, I shot it with a few layers of flat black paint in my custom paint booth.
It was kind of cool out, so I then put the fan into my heated drying room. This seemed to accelerate the drying process fairly well. I then returned it to my paint booth and hit it with a few coats of silver wheel paint and clear coat. This was done over a couple of days to get good, smooth, uniform coverage. Finally the part was returned to my heated drying room (That’s right, I have a Porsche drying booth, don’t be a hater).
So, the fan is looking decent now. Time to start looking at other materials and deciding how to finish this baby off. I was thinking to myself; “Self, what other Porsche parts can I incorporate into this design?” Well, I had some Porsche vinyl laying around from a damaged door insert out of my car. I’ll use that to fill in behind the holes. I cut out the needed material and a cardboard template to be the backing for it.
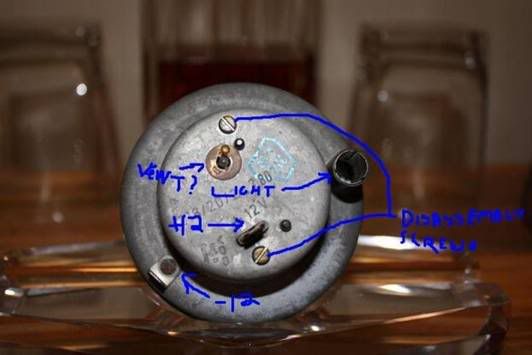
In the meantime I had gotten my electronic parts in and it was time to decide what was what with this clock. The hookups on it are simpler than the 993 clock, so it didn’t take long to figure out how to wire her up. I was corrected on the copper piece, though – it is a solder (saughter? That spelling always bugged me, even as an EE.) joint that connects the frame to the clock’s innard’s ground.
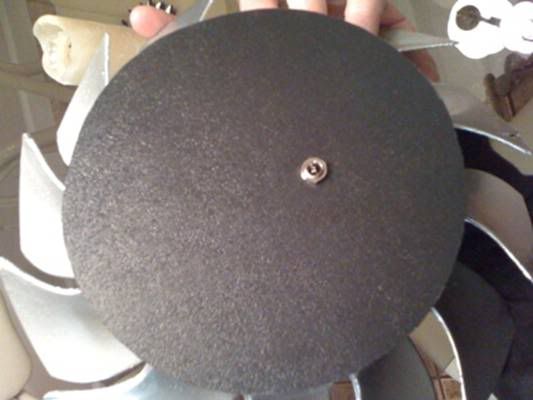
I had been thinking about how to do the back on this thing. I ended up deciding to use some materials I had around. I friction fit (quite tight) an MDF donut into the back of the fan and got a piece of a heat formable plastic I have called Kydex to be the outside cover. It has a similar texture to the vinyl used in the front of it. I glued these together with some Gorilla Super Glue. Pressure + Time = Stiction.
I considered putting the vinyl in the recessed area in front of the fan, but decided a cleaner look would be underneath the holes, as originally planned. The only trick to that is that the fan is very irregularly surfaced under there and tries to wrinkle the vinyl up. I solved this by using a donut of eggcrate foam between it and the MDF I used to back it up. I also cut slits in the vinyl between the fan holes, to give it some relief there, and also just did slits for the clock instead of cutting out a circle.
For the plug, I bought a female plug to go with the wall adapter that Andreas had suggested and just drilled through the Kydex to mount it, as it is wired to the clock now. From the first pic, the back looks too big, but it is almost the exact diameter of the fan.

So now, just to test fit it and make sure it keeps good time overnight:
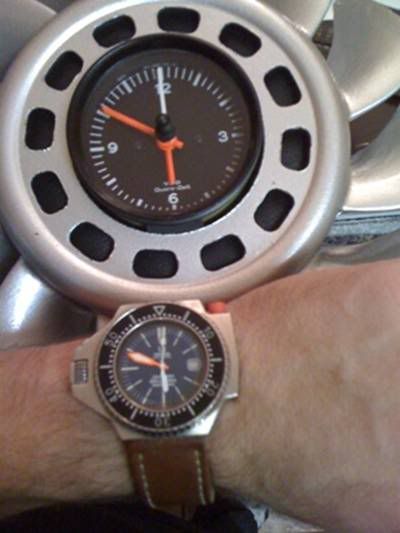
Ayup, looking good.
I was also going to hang the clock on the wall, but then the black cord is always hanging down in front of my white wall, so I decided to closer follow Mr. Clean’s example and make a stand mount for it. This is still under construction and will be shown with my finished product. And this will happen whenever I get the rubber mounting ring in that I ordered. Within a week or so, I hope.
As always, we must also finish these projects properly. Here’s one for my homie Andrea - Thanks for all the help!!

No problem, Bart!


I asked Andreas a couple general questions about where he gets parts and he gave me the hookup. Sent me a fan for dirt cheap and even cut out the center hole for me! What a guy!
When he sent it to me, the return address was “Fan Club” (you can see this in the next fan pic below), so I guess the feeling is mutual.
**The sorta Porsche shaped speech bubble says "That fr-r-r-ickin' Bart is awesome!!" I thought the sloppiness made it funnier, but perhaps it was too illegible.
He also gave me pointers on what and where as far as electrical equipment. Very helpful! I didn’t want to be a total clone of Mr. Clean (this name is in no way meant to make fun of Dre’s stylishly short coiffure, it is merely a compliment to the immaculate condition he keeps unseen parts of his car in), so I decided to pursue the project using a 911 clock. I like the fact that it has no indicator lights and the elapsed time hand it has. It’s also simpler to set – just push & turn the ****. There are drawbacks to it – primarily the illumination sucks.
So anyway, I ordered the parts needed and started working on the fan.
First things first when it comes to hardcore projects like this!
Next step was to strip the old paint. I just used a combo of brake cleaner, rags and Scotch Brite. Came out pretty well. I had considered bringing it in to work to ice blast, but was afraid it might damage the brittle magnesium fan. Also, I thought about filling in the cracks with some epoxy, but don’t want it to be so perfect it looks like some fake stuff you might buy at AutoZone.
After getting it satisfactorily clean, I shot it with a few layers of flat black paint in my custom paint booth.
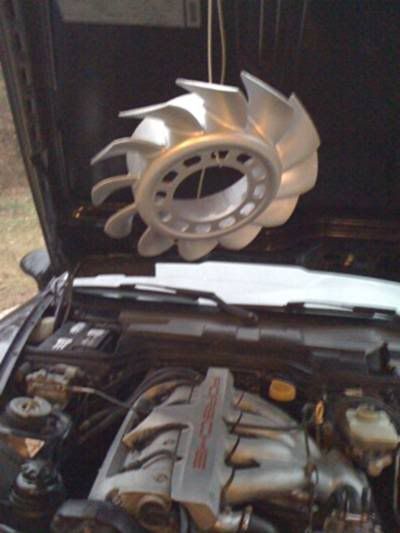
It was kind of cool out, so I then put the fan into my heated drying room. This seemed to accelerate the drying process fairly well. I then returned it to my paint booth and hit it with a few coats of silver wheel paint and clear coat. This was done over a couple of days to get good, smooth, uniform coverage. Finally the part was returned to my heated drying room (That’s right, I have a Porsche drying booth, don’t be a hater).
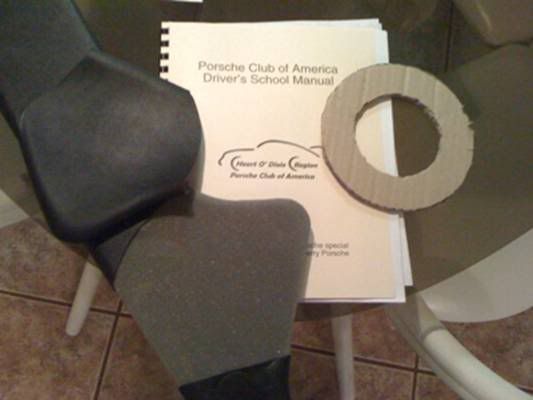
So, the fan is looking decent now. Time to start looking at other materials and deciding how to finish this baby off. I was thinking to myself; “Self, what other Porsche parts can I incorporate into this design?” Well, I had some Porsche vinyl laying around from a damaged door insert out of my car. I’ll use that to fill in behind the holes. I cut out the needed material and a cardboard template to be the backing for it.
In the meantime I had gotten my electronic parts in and it was time to decide what was what with this clock. The hookups on it are simpler than the 993 clock, so it didn’t take long to figure out how to wire her up. I was corrected on the copper piece, though – it is a solder (saughter? That spelling always bugged me, even as an EE.) joint that connects the frame to the clock’s innard’s ground.
I had been thinking about how to do the back on this thing. I ended up deciding to use some materials I had around. I friction fit (quite tight) an MDF donut into the back of the fan and got a piece of a heat formable plastic I have called Kydex to be the outside cover. It has a similar texture to the vinyl used in the front of it. I glued these together with some Gorilla Super Glue. Pressure + Time = Stiction.
I considered putting the vinyl in the recessed area in front of the fan, but decided a cleaner look would be underneath the holes, as originally planned. The only trick to that is that the fan is very irregularly surfaced under there and tries to wrinkle the vinyl up. I solved this by using a donut of eggcrate foam between it and the MDF I used to back it up. I also cut slits in the vinyl between the fan holes, to give it some relief there, and also just did slits for the clock instead of cutting out a circle.
For the plug, I bought a female plug to go with the wall adapter that Andreas had suggested and just drilled through the Kydex to mount it, as it is wired to the clock now. From the first pic, the back looks too big, but it is almost the exact diameter of the fan.
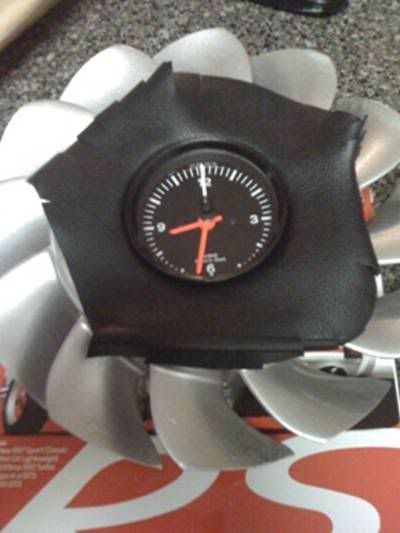
So now, just to test fit it and make sure it keeps good time overnight:
Ayup, looking good.
I was also going to hang the clock on the wall, but then the black cord is always hanging down in front of my white wall, so I decided to closer follow Mr. Clean’s example and make a stand mount for it. This is still under construction and will be shown with my finished product. And this will happen whenever I get the rubber mounting ring in that I ordered. Within a week or so, I hope.
As always, we must also finish these projects properly. Here’s one for my homie Andrea - Thanks for all the help!!
No problem, Bart!
Last edited by bart1; 12-09-2009 at 03:21 PM.

 Love it!


Trending Topics
12-09-2009, 02:48 PM
#8
Race Car
Thread Starter
12-09-2009, 04:38 PM
#10
Seared
Rennlist Member
Rennlist Member
 12-09-2009, 05:49 PM
#13
Race Car
