
A day cleaning the ride
 06-02-2009, 12:34 PM
#1
Racer
Thread Starter
Yesterday, Mike (Arena993) and I cleaned up my car. When he came over last week with his freshly painted car I said, "I'd like mine to shine like that too!" Well Mike, being the guy his is, said, "That can happen." We spent yesterday sanding with 3000 grit, buffing polishing, sealing, and waxing. I'm not a photographer but here are some pictures in the sun and the shade. I've got to say a big THANKS  to Mike for making the car a 1000% better and teaching me how to create a finish like that. He taught me - now whether I learned remains to be seen.
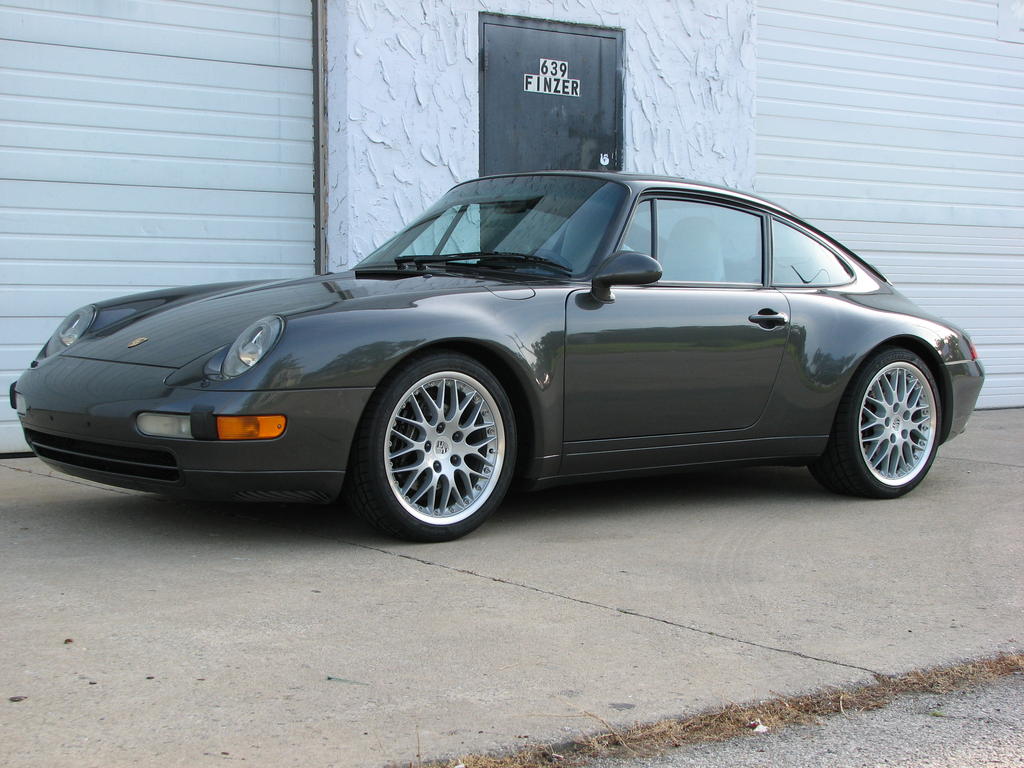
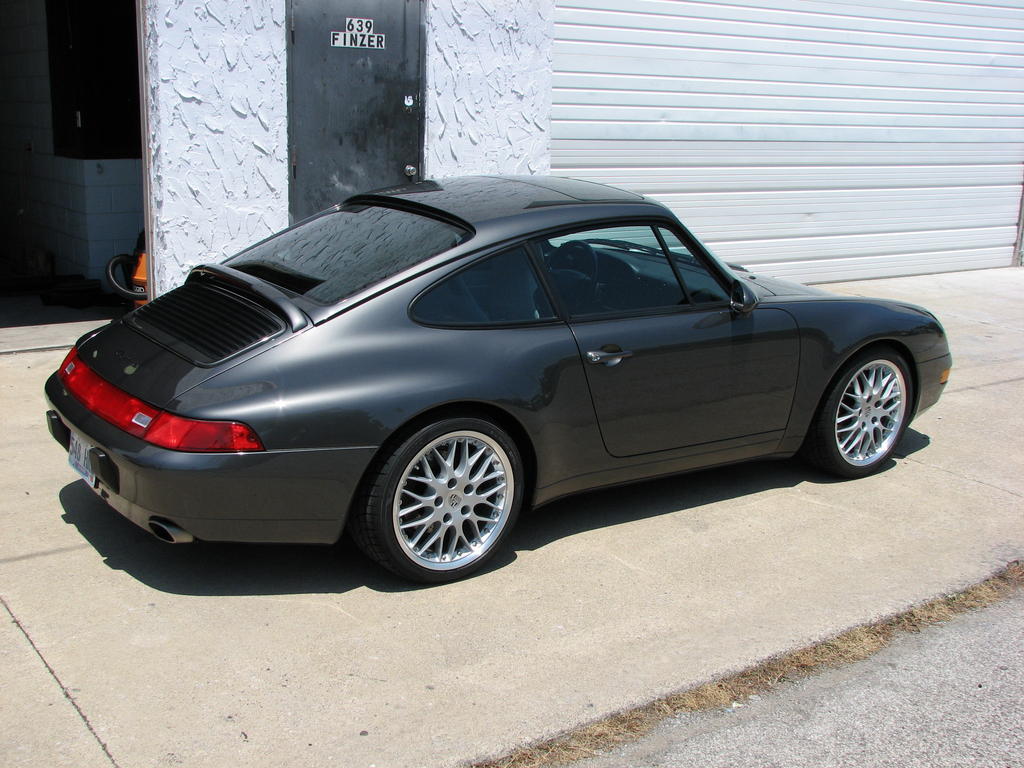
Before we started.
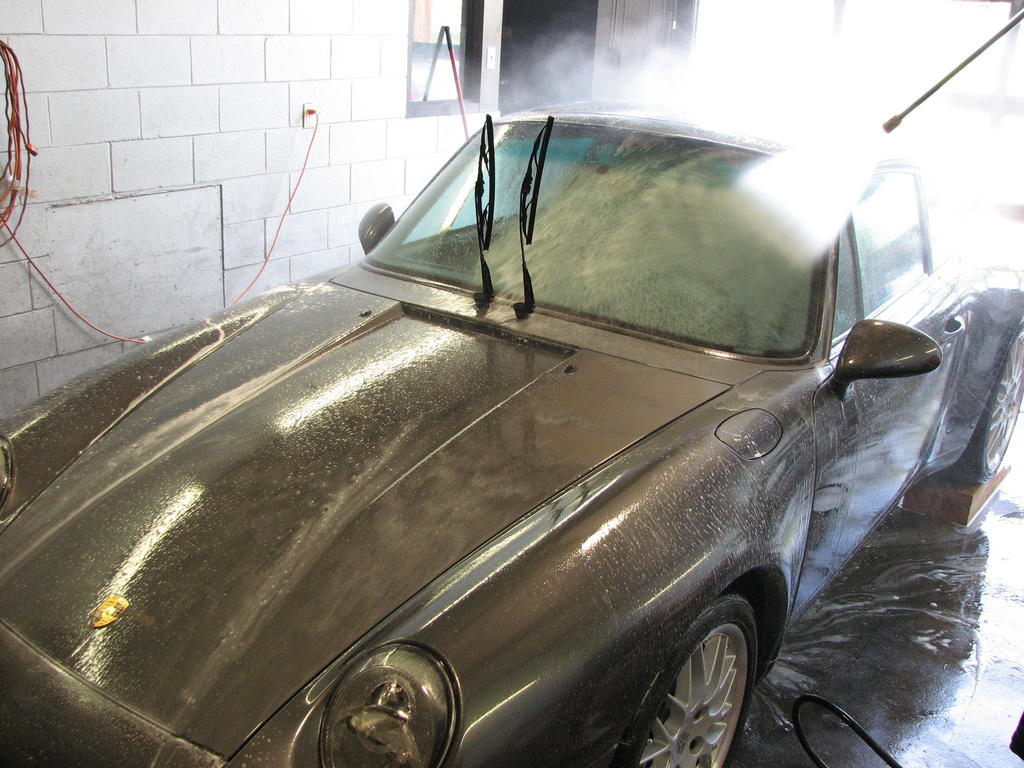
I had already clay barred the car so we started by pressure washing the car.
You can see how nasty the finish was.
We then used 3000 grit to smooth out all the scratches.

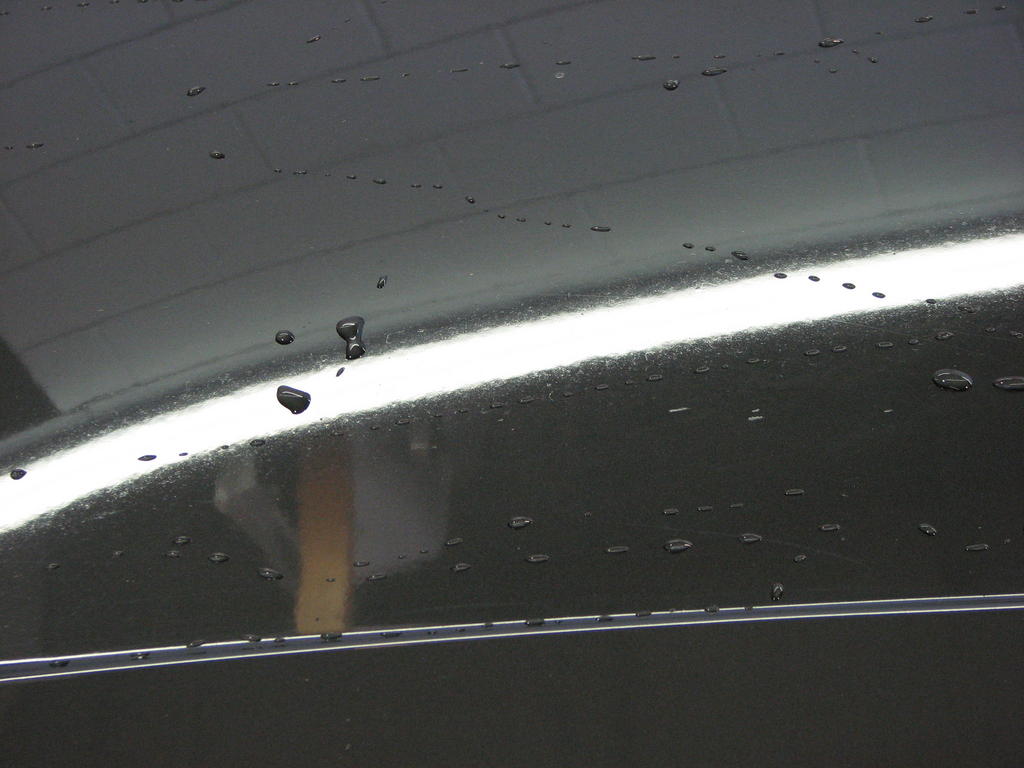
This is after the light cut and swirl remover passes. The paint is a lot more clear.
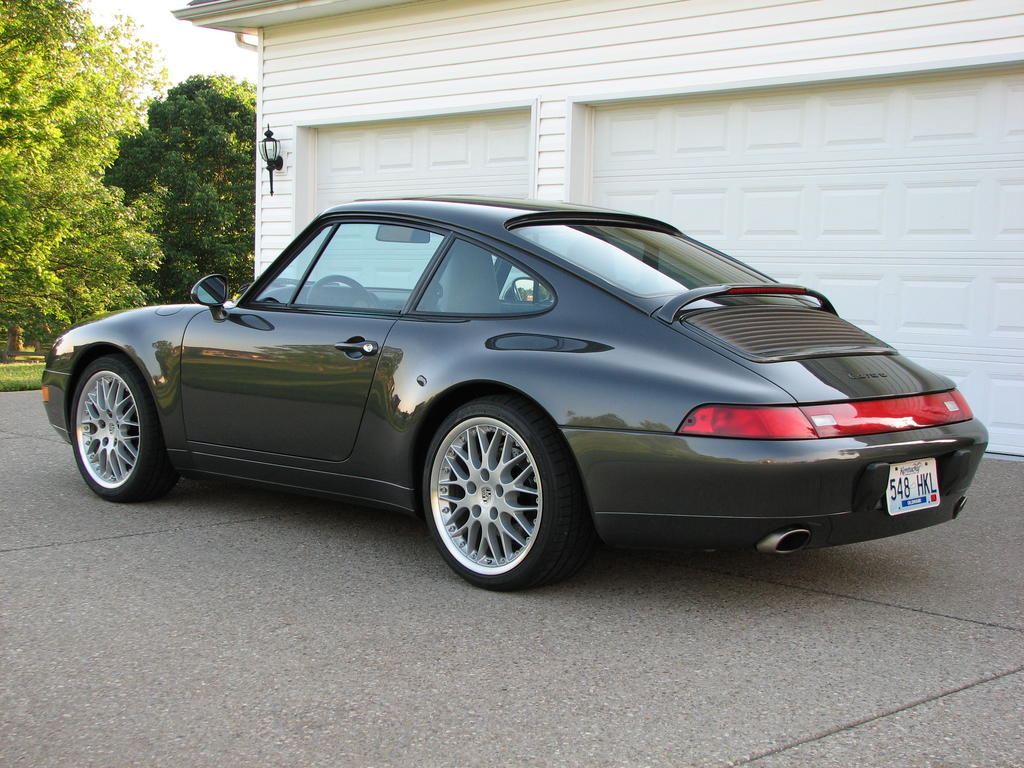
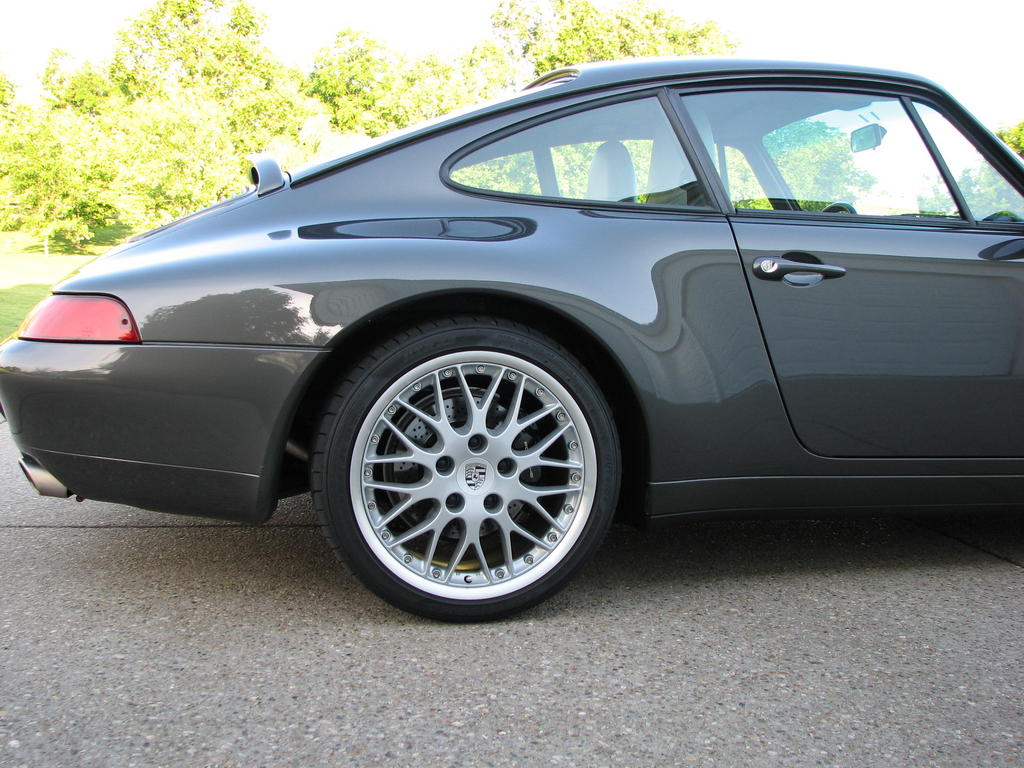
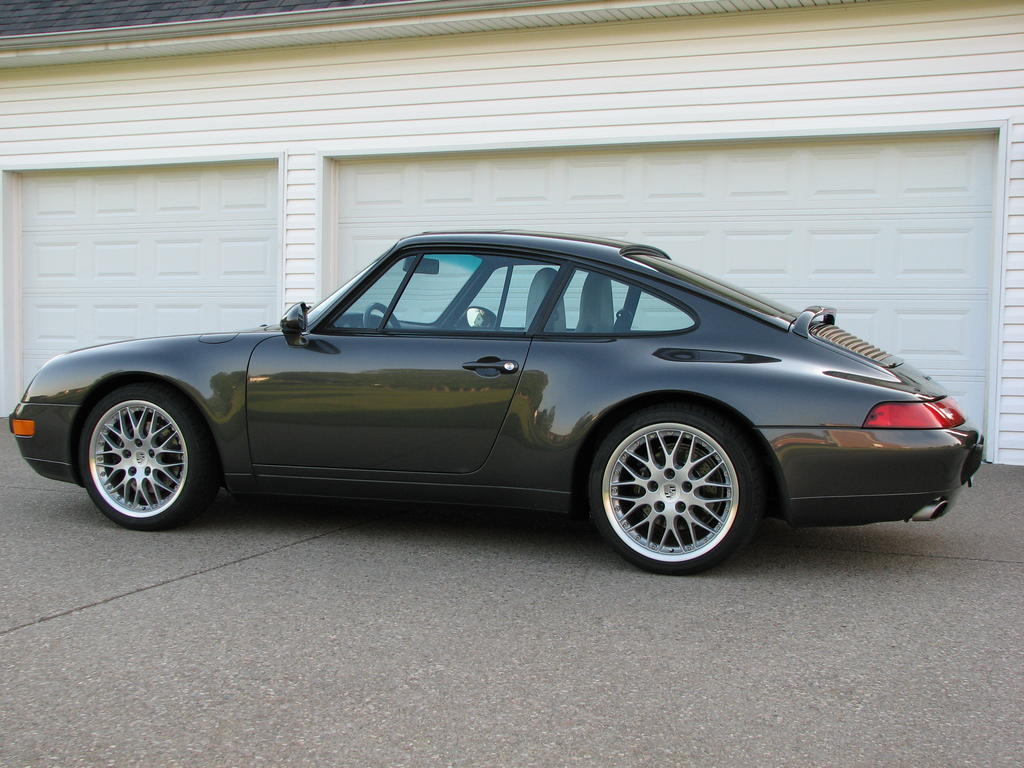
The finished product! The paint looks very wet.

Time to go for a drive!
to Mike for making the car a 1000% better and teaching me how to create a finish like that. He taught me - now whether I learned remains to be seen.Before we started.
I had already clay barred the car so we started by pressure washing the car.
You can see how nasty the finish was.
We then used 3000 grit to smooth out all the scratches.
This is after the light cut and swirl remover passes. The paint is a lot more clear.
The finished product! The paint looks very wet.
Time to go for a drive!

 06-02-2009, 01:03 PM
#4
Racer
Thread Starter
Thanks for the kind comments. I have to give Mike the credit for the finish. He really brought the paint back! The top speed went up another 5 mph due to the smooth paint.
I also need to give thanks to Mark D for the new stone guards. They were cut correctly and you can't even see them. It was a pain getting 14 year old guards off but well worth it.
I also need to give thanks to Mark D for the new stone guards. They were cut correctly and you can't even see them. It was a pain getting 14 year old guards off but well worth it.
06-02-2009, 01:12 PM
#5
Nordschleife Master
Wow. It's like night and day. Beautiful car/color by the way, it must be rare, you sure don't see many. I would love to do this, but I have some concerns because my paint (and clear coat) have seen alot of sun (Vegas for 50K, then So. Cal.). Should I worry about reducing the thickness of the clear coat?
06-02-2009, 01:15 PM
#6
Race Car
John:
Those shots in front of the white garage doors really show the color the best. The quarter panels have a great finish and show the lines of the car. Enjoy it, and though I appreciate the kudos you were right behind me with the Porter Cable and numerous microfiber towels. It truly was a great team effort and the results show. Enjoy the car. That color is SWEET!!!!!!!!!!!! Folks this car went through the following steps
1. Clay Bar
2. High pressure soap wash
3. Tirzact 3000 grit wet sand
4. High pressure soap wash
5. High speed buff with a fine cut compound
6. Porter Cable buff with a fine cut compound
7. High speed buff with a swirl free polish
8. Porter Cable buff with a swirl free polish
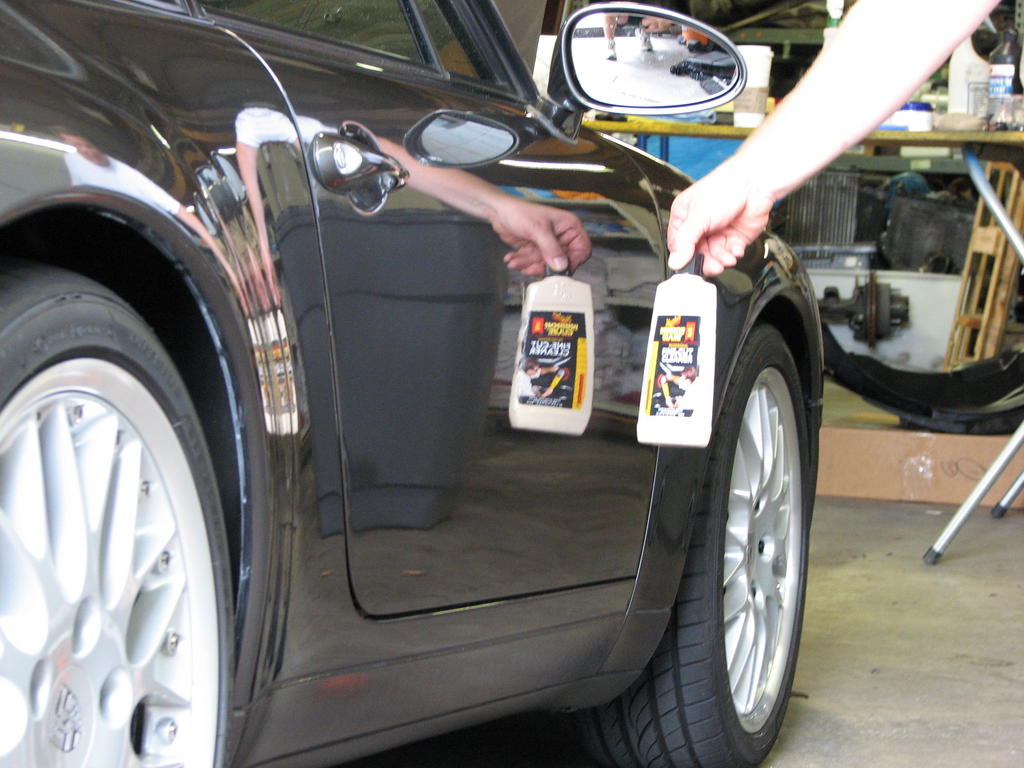
9. Porter cable buff with a polymer sealant
10. Hand wax
11. Wipe down with Final inspection
All day job with 2 people working non-stop. Plus John installed the new stone guards and buffed the lenses on all plastic lighting.
Mike
Those shots in front of the white garage doors really show the color the best. The quarter panels have a great finish and show the lines of the car. Enjoy it, and though I appreciate the kudos you were right behind me with the Porter Cable and numerous microfiber towels. It truly was a great team effort and the results show. Enjoy the car. That color is SWEET!!!!!!!!!!!! Folks this car went through the following steps
1. Clay Bar
2. High pressure soap wash
3. Tirzact 3000 grit wet sand
4. High pressure soap wash
5. High speed buff with a fine cut compound
6. Porter Cable buff with a fine cut compound
7. High speed buff with a swirl free polish
8. Porter Cable buff with a swirl free polish
9. Porter cable buff with a polymer sealant
10. Hand wax
11. Wipe down with Final inspection
All day job with 2 people working non-stop. Plus John installed the new stone guards and buffed the lenses on all plastic lighting.
Mike
Trending Topics
06-02-2009, 01:27 PM
#8
Great job....that looks fantastic, and a what great color! I was close to buying a 993TT last year in slate gray but the seller wanted a huge premium for it. I have to pipe up though that as much as those are nice wheels, that color deserves a more aggressive style wheel - or lower it a bit more and add spacers to fill up those wheel wells a bit more 
